Transcripts
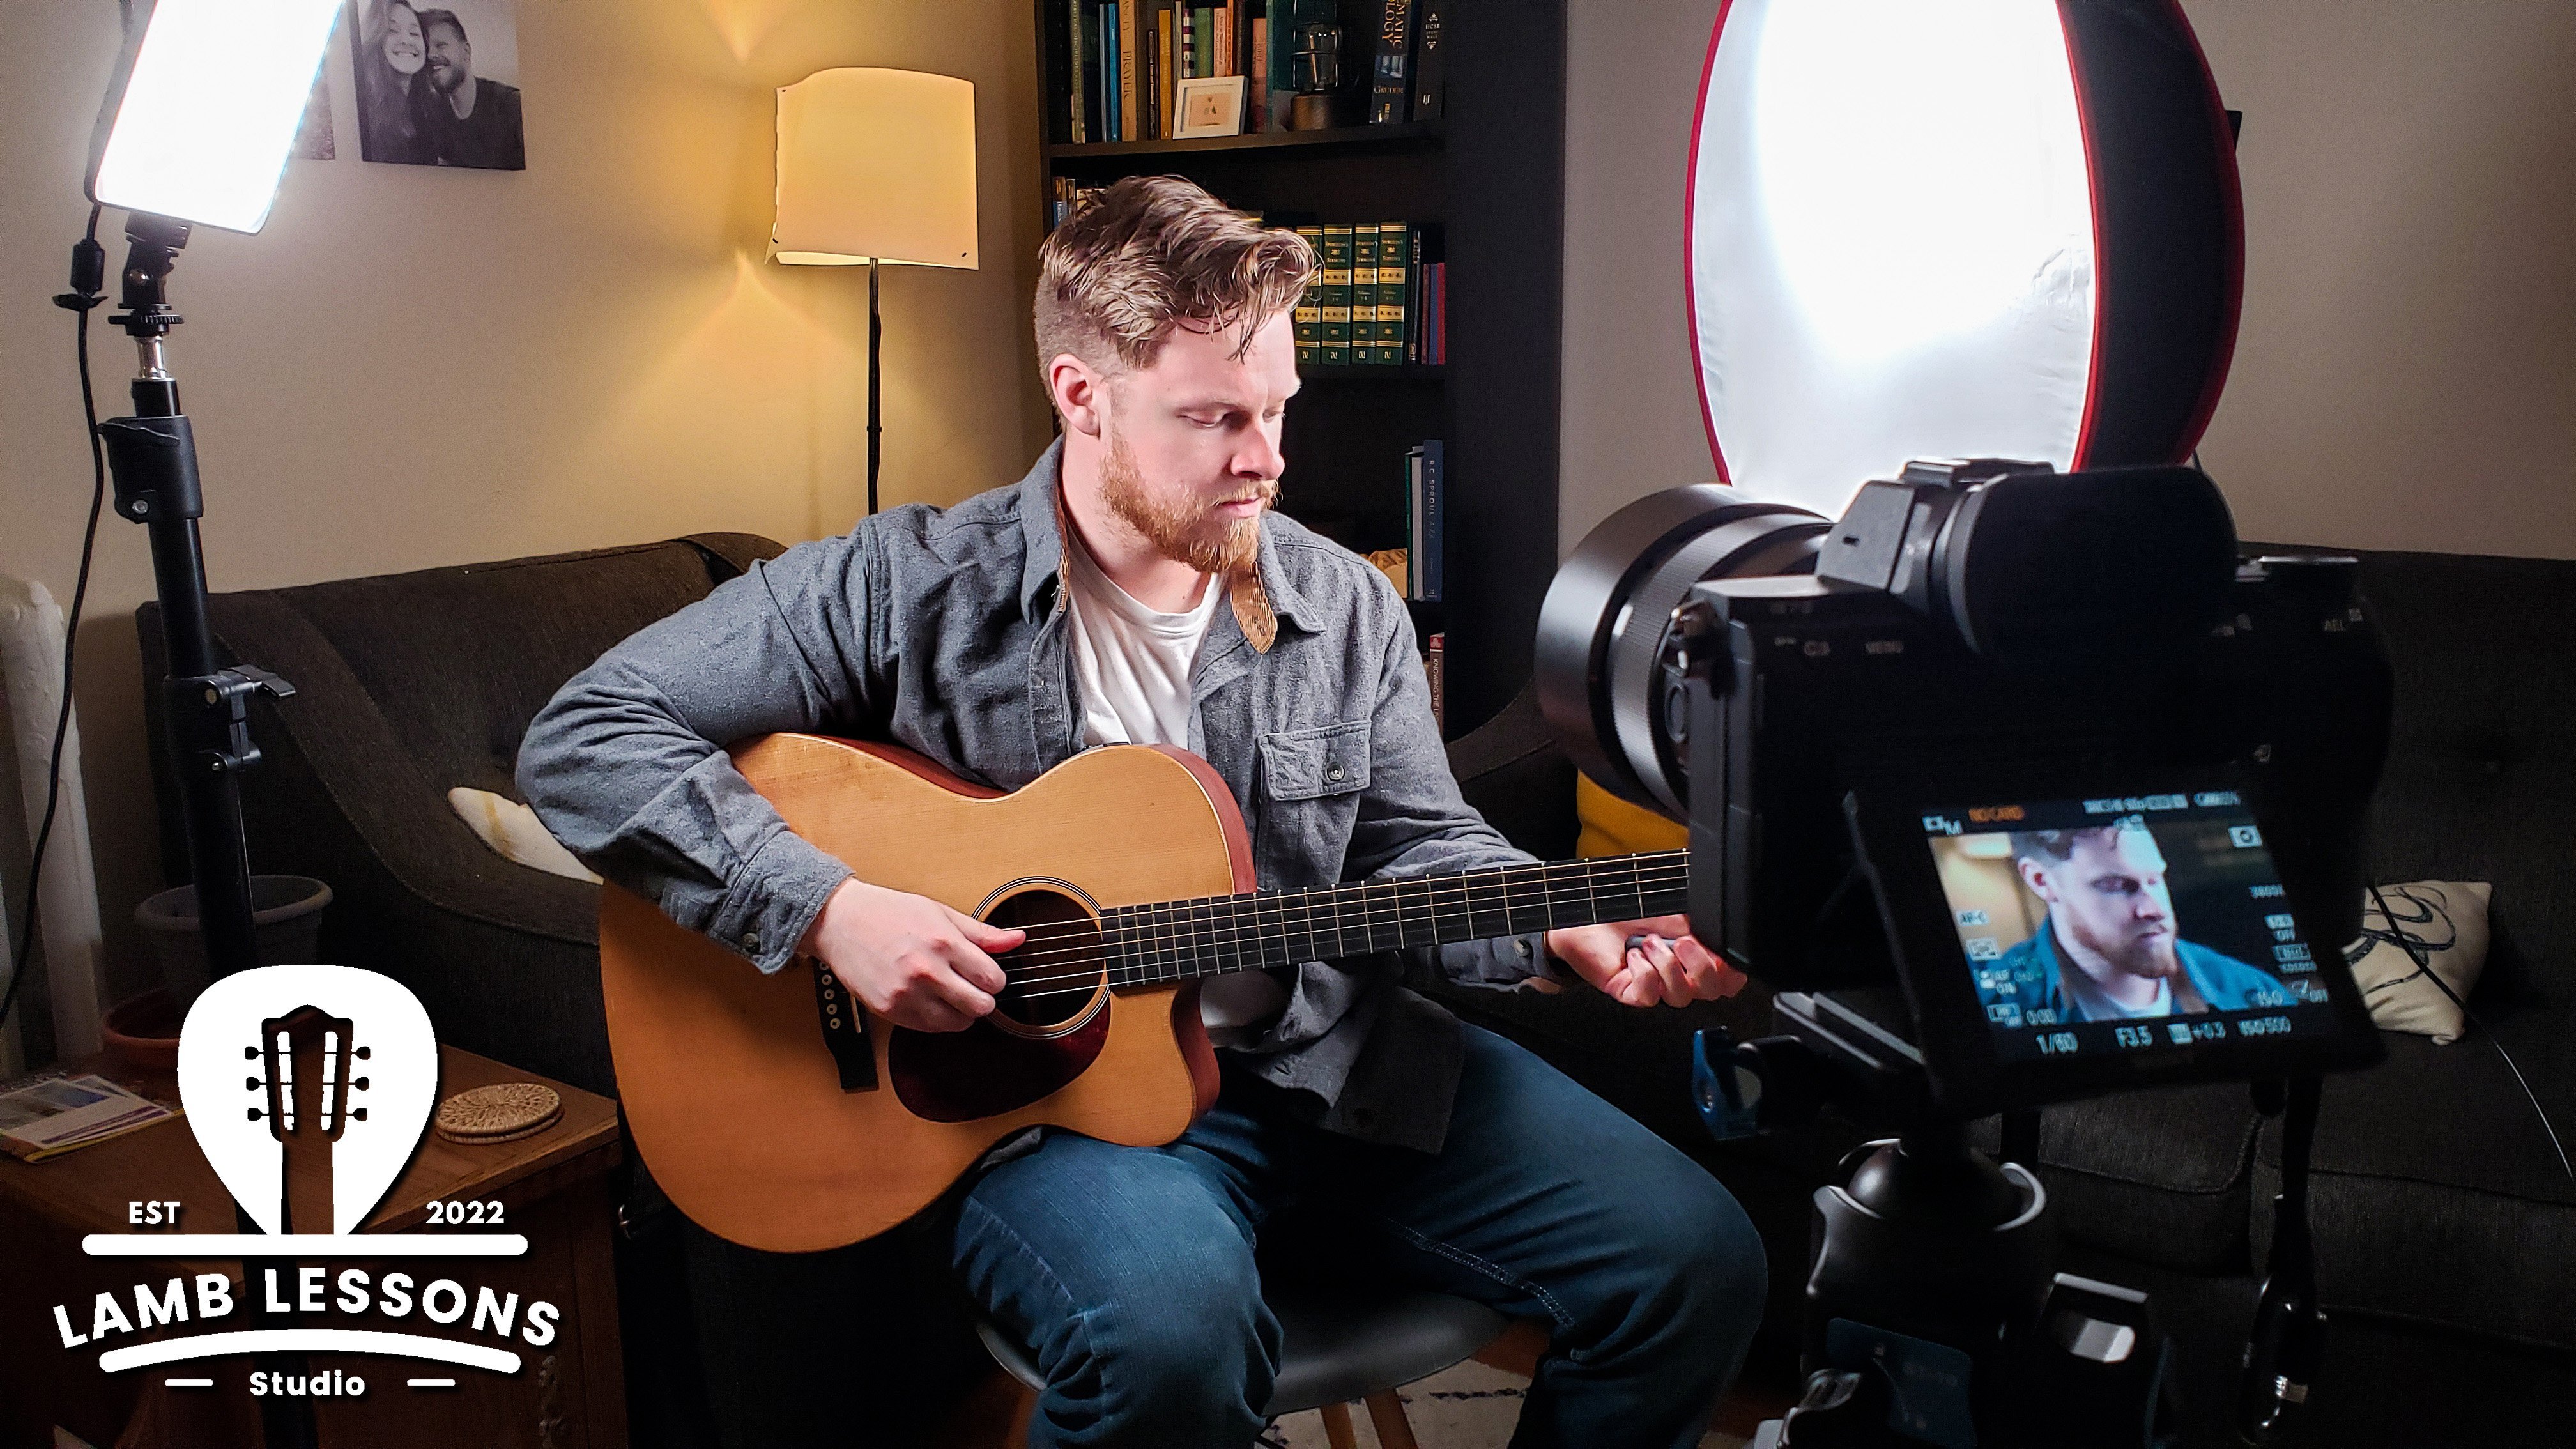
1. About This Course: Hi, my name is Jacob Lamb. I'm a professional musician and the owner of Lamb Music Lessons. In this course we're going
to talk about exercises and techniques to play
your guitar quicker. All of us feel like we've
hit a plateau sometimes, like our right hand and our
left hand just aren't sinking up and we can't hit the notes
as quickly as we need to. This course aims
to fix that with some techniques
that you can bring into your daily
practice routines. There will also be a
beginner, intermediate, and advanced variation of
everything that we talk about. These aren't ideas
that you're going to outgrow in your
playing career. I'm looking forward
to getting started, so let's jump in together.
2. The KILLER Metronome Trick: Now let's set up all
these exercises by talking about how we're
going to use the metronome. And if you're like me, you hear the word metronome
and you groan a little bit. But bear with me,
this is going to change the way we
practice these exercises. We're going to use a metronome to work on progressive overload. And here's what I mean by that. Let's say we start an
exercise and we're able to do it at 50 beats a
minute. That's awesome. Now we're going to push it once, we're
comfortable with that, to 60708090, And
then we're at 100, which of course is double 50. Very cool. Now what we're
going to do is drop back down to 50 and then
practice it double time. Okay, so now we're playing with our metronome
back where we started, but we're playing it twice
as fast and we go to 60, twice as fast, 708090100. So this is a really cool
way not to just see growth, but to kind of look
back and see, oh, now we're lapping
ourselves, right? We're playing twice as
fast or more than we were. So as we work through
these exercises, start nice and slow, grow it, drop it, double it, and grow it again.
3. Before we play… check technique!: Okay, you're here because
you want to play faster and we've got the exercises to
help you do exactly that. Exercises won't be useful if
our technique isn't correct. So let's double down on that
and make sure that we've got proper technique
when we're doing our exercises so
that they're useful. It isn't the most
glamorous lesson topic, but it just might
be the most useful. When we're talking about
playing guitar quickly, the biggest thing we
need is to be loose. Now, typically with
the human body, when we start moving quickly, we tend to tense up. And our body is trying to help itself do what we're
telling it to do. But when we're doing quick
picking and playing, the biggest thing
is staying loose. So if you're feeling
yourself tense up, either your fretting hand
or you're picking hand, be really cautious
to just loosen everything and then try
again as loose as you can, Shake your hands
out if you need to. With our picking hand, we want to be sure that
our palm is nice and low. And we're playing with
our wrist instead of our fingers or elbow, right? So if I'm here and my palm is scooped and I'm
playing with my finger. There's really not a lot
I can do from that point. We're going to lower our palm, Keep it as close as we can, and keep our pick nice and low. Then we're picking
with our palm, making sure it's relaxed. Same thing with our fingers. We don't want to be doing
exercises like this. There is a good gap of time
between hitting these frets. We want to keep them so low that people can barely tell
we're moving our fingers. When we move them quickly, it just looks like all four are pressed down
at the same time. This will take a little
bit of time to get down, but thankfully, we've got
some exercises coming up. So you're going to have
a chance to practice it. Two more things here. When we're picking, we're
not scooping, right, we're not twisting
our wrist down or up, we're just moving
back and forth. A great exercise for this is actually to take your
guitar and flip it around. I know we can't
play much this way, but just doing this will get that muscle memory going
for the movement we need. You can do this while
you watch TV or a movie. Super simple, okay? So just back and forth. The very last thing
to make sure we can play as quickly as we need to is efficient fingering when we're actually
playing a riff. I remember once
in music college, I was sitting with a professor and telling him I just cannot play any faster and I
don't know what to do. And he had me play a couple
of things and he said, Jacob, everything,
technique wise, great. And you've got the speed. You just need to adjust your fingering when
you're playing rifts, economy of fingering so that we have easy movements from
one note to the next. As long as your left hand and right hand technique is good
and you're making sure that your fingering for
each riff is the simplest and most
streamlined that it can be. Let's take a look
at some exercises together to speed up
our playing muscles.
4. The Basics: Alternate Picking: If you're playing
Rifts and songs, you probably know what
alternate picking is. But if we're just getting into the idea of starting to
play a little quicker, this might be a new
concept for some of us. When we first learn guitar, we know to take our picking
hand and move down with it. Whether it's chords
or single notes, sometimes in a
strumming pattern, we'll move down and up. Now we're taking
that down and up idea and moving it
into single notes. Instead of picking something
down every single time. Now we're alternating
notes down, up, down, up. This immediately,
right off the bat, gives us twice the speed, right? We can only go so fast,
moving only down. If we can make use of
picking both ways, all of a sudden we
have a lot more speed. Now, alternate picking is
huge and there are two ways we're going to use it when
we're doing these exercises. The first way is when
we start an exercise, we're going to pick down
first like we're used to. Okay, switch strings. Switch strings. The
other way to make the most use of our practice time is to start
the opposite way as well. Start picking up, up, down, up, down, up,
down, up, down. The reason we do it both ways
is that we're going to need to utilize both ways when
we're playing songs. So if we're comfortable
with both ways, there's not going to be a fast picking string jumping
technique that can stump us.
5. Learning to Walk: The Spider Exercise: We're going to start
with a simple spider walking warm up. Now for most of
these techniques, we're going to need to put
our fingers into a box. And by a box I mean four
fingers on a four fret box. But that box can be
anywhere on the neck. In fact, sometimes we'll move it in the middle of an exercise. For this one right here, we're going to start
from the third fret, so I'll put my first
finger on the third fret, second finger on
the second fret, third finger on the third fret, and the pinky on
the fourth fret. And that will be my
little box right there. I'm not going to change
where my fingers go for now. Now for this exercise, I'm just going to take a string and I'm going to play 1234, again using alternate picking. Now we can use this one from the thickest string to the thinnest string
and then back down. So I'm going to start
at string number six and I'm going
to play 12341234, all the way up the neck. And I'm going to work on
the alternate picking and keeping my
fingers nice and low. When I get to the top I'm
going to roll it back down. 4321 Daddo. Okay. That's the basic
version of this exercise. Now the intermediate version
doesn't change all too much, we're going to work
our way up 1234 again. But when we get to the top, we're going to take our box. We're going to shift
it up by one fret and then work our
way down, 4321. When we get to the
bottom of that, we're going to shift up again
and then work our way up. Now we're taking
this shape and we're moving it slowly up the neck. Here's what that
would sound like. I'll start again from the third fret at the top, from my pink, I'm going to
shift up and come back down. And then at the bottom
I'm gonna shift up again. Now I'm working my way up
to Fritz higher than I was Now for the advanced
variation of this, we're going to mix up the fret, so it's not just 1234. We can do this using
maybe a shape like 1324. We can pick whatever
shape we want. But let's look at 132-13-2132, If we want to shift up from there, we can
do that as well. We could even extend beyond
the four frets and reach the pinky for a fifth
fret outside of our box. So maybe we could
work up 135 to four. Again, always working on that alternate
picking as we play.
6. Starting to Jog: Doubled Triplets: Let's move on to
the next exercise which has to do with
doubled triplets. Now here we're taking
our box and we're picking three notes out of
that box to walk up with. Now we're going to play
each string two times, and we have a few shapes
that we can do here. I could play
124-13-4123, or 234. Okay, so let's start with 134. And I'm going to play
each string two times. Now why is this so useful? Well, some of those shapes, like 134 and 124 are
really common in modes. This is helping our
muscle memory shift quickly between
strings and modes. And especially for
our picking hand, using three notes instead
of four notes forces us to do the shape both
ways, starting up. Okay, so there's the
basic variation, you can go up and
back down with it. Now the intermediate variation is we're going to
take the two shapes, 123 and 234, and we're going
to walk all of those up. And then we'll change it
when we get to the top. 12. 323-412-3234 Now at the top, we're going to work our way back down and reverse the pattern. 432321. So here's the whole thing together. Now the advanced variation
here is a lot of fun to play. We're taking all four shapes, We're going to play
them on each string before we move to
the next string. And we're going to keep
expanding them up. So we're going to play 12, 312-413-4234, And you'll notice we
keep changing one note. The first one is 123, we're changing our top
note to the panky, 124, we're changing our
middle note up, 134, and then we're changing
our lowest note, 234. Now we have to do
that on every string, coming up and down. Mm. Now coming back down, we're reversing 43, 243-142-1321 Let's try that quickly together. That is a hard one, but really satisfying when
you finally get it right.
7. We’re Running Now: String Skipping: Okay, so we're getting
more comfortable with odd patterns in our left hand and alternate picking
in our right hand. Now we need to get
more comfortable jumping from string to string. So what we're going
to do is take the original spider exercise and we're going to start
sharing it between two strings. So as a really basic exercise, we can do 1234, but this time instead
of moving 1234, I'm now sharing the string, every other note, 6565. And my next time will
be five and four. Five and four. Now I'm keeping the
alternate picking going, so I'm hitting the outside of both strings and when I
shift the alternate picking, so I'm trying it the other way, I'm hitting the inside
of both strings. So let's do 1234 and share
it between two strings. Now from here I'm going to shift which note is
on which string. So I'm playing one on
the higher string, two on the lower string, three on the higher string, four on the lower string. Now the intermediate
version is to extend that box and
add in a fifth note. So maybe here I
want to do 13524, again alternating
between strings, and then I would shift it 13524. Those are some really
interesting patterns that we've probably
never played before. For the advanced version, now we're using six
notes in total, so one of them will
have to be doubled. But we're playing two notes on a string before we
change strings. So on the sixth string, one, two notes on
the fifth string, one, two notes back to the sixth string
for one, two notes. So something like this, maybe I want to play. Well, we'll keep it simple. We'll go 123454.
Back down, right? I would play 123454. Let's make it a little
more complicated. Let's go 124354 and then back down. Your job is to make up some
creative patterns that will challenge both
your fretting hand and your picking hand.
8. Going Beast Mode: The Mode Shuffler: Now here we're talking
about the mode shuffler. If you don't know your
modes or you're not familiar with some of
the shapes, that's okay. Go and learn them and then
come back to this lesson. Now, the mode shuffler is
when we jump around a mode, it helps us both
memorize the shapes, which is super helpful. Then of course, challenges our fretting hand and
our picking hand. There are a few ways to do this, let's chat about them. For the basic method, we're walking up a fret by two steps, and then taking one step back, up by two and down by one. Something like this,
one, two back. And we can do the same
thing on the way down, going down by two
notes and up by one. Another way I like to do that basic variation
is to not play the note in between
and just jump up two steps and back by one. This makes it a little more challenging on the picking hand to go back and forth so quickly, but better for the fretting hand to hit all the notes in between. Now the intermediate
variation is the same thing, but we're going up by three
notes and down by two notes. So we'll start from
our root here, and this time we'll
go 123, 121-231-2123, And the same thing
on the way down, moving down 123 and up 121234. Now, as you may have guessed, the expert or advanced
version of this is moving up by a whole four
notes and down by three. So from our root we're
moving up 1, 2, 3, 4, 1, 2, 3, 1, 2, 3, 4, 1, 2, 3. The same thing on the
way down, 1234, 123. Now again, not only will
that get your picking and your fretting hand
really comfortable with playing common shapes and
jumping string to string, but will also help you memorize your modes
really quickly.
9. Beast Mode Bonus Step: String Skip Modes: Here's a bonus
step, not beginner, intermediate or advanced,
for the mode shuffler. Now as I was planning
out this course and writing out the exercises
and techniques, I actually figured
this one out and discovered I really enjoyed
it and how it worked. Now we're taking a mode shape and we're working up and down, but jumping strings, so
we're moving two strings, one string back, two strings up. So for example, I would
take the Ionian mode and I would play up the sixth
string to the fourth string, back to the fifth string,
to the third string, back to the fourth string, to the second string, back to the third string,
to the first string. So it would sound like this and then back down. That one is great
for practicing gaps, jumping over a string and
picking gaps as well.
10. Burns so Good: The Forearm Killer: The fore arm killer, the bane of every
guitarist's existence. Now this one is the closest to a workout of anything we've got, and it will actually tone your
forearm. So added benefit. This one here, we've got
our four fingers and we're going to tap as quickly
as we can between them. So we don't need our
picking hand for this, but we do need a timer. Now, the variations, beginner, intermediate, and Advanced are just going to be more time, 1020/32 For this one, I'm going to take my first
to second finger and tap as quickly as I
can for 10 seconds. When I've done that,
I'm going to shift the next two fingers to my two middle fingers,
two to three. When I've done that, I'm going to shift again three to four. By now the arm is
probably burning. But we've got three
more shapes to do now. We're going to put some
gaps between our fingers. I'm going to hit one to
three for 10 seconds. Two to four for 10 seconds. Then finally one all
the way to four. I've done all the
combinations of my fingers. Now your hand is cramping, your forearm is burning. Why did we do that?
We're just in pain. Well, all the muscles that we're fatiguing right there, we're
actually strengthening. And they're the muscles
that we need to be able to continue to
play quickly, right? We don't want to play
one riff and then our hand hurts like
nobody's business. We want to be able to continue playing after we play fast. And we want to be able
to play faster, longer. So this one works out all of the muscles we need to do
that fight through the pain, and you'll be a
better guitarist.
11. A quick Cool Down: String Stretches: All right, we've got our technique down,
we've got exercises. We've burned our forearm. Now it's time to cool
down a little bit. Here's what we're going to do. We're actually going to stretch our fingers in a way that's
specific to our instrument. I'm going to take all four
fingers and I'm going to place them on the first string. Now what I'm going to do is I'm going to reach one
finger at a time, all the way back to
the sixth string. I'm going to extend it far
as I can and pull it back. And I'm going to do that ten
to 15 times for each finger. With my first finger, I'll reach forward and
reach back ten times. This is not only working
out my finger dexterity, but it's also going
to help how quickly I change things like
chords or notes. Now I'm going to
do the same thing with the middle finger, then I'm going to shift
it to the third finger. Finally, I'm going to do
it with my pinky finger. When we've got this down, or we've at least done it, we can shift our fingers
to the second string. Then maybe try the same thing. We don't want to overdo
this on our fingers. Maybe just stick with
first and second string. If you're doing both
strings, do it ten times. If you're doing only one string, you can do it up to 15 times. But just once a day on
this exercise is great and we've loosened up a lot of the tendons that are ready
to play even faster.
12. What’s Next: Practice Tips: Having these exercises and being able to add them to our
practice routine is great. But how do we actually
know that they're helping? Well, like we mentioned at
the beginning of this course, playing with a
metronome is huge, but we don't play
with a metronome. To stay where we're at
with the metronome, I would say grab a piece
of paper and a pen, or open a notes book
on your device and start marking down how
quickly you played, at what date, and then set
some goals for yourself. Say, okay, in one week I want to raise the speed
of this exercise by maybe five beats per
minute or even seven go one beat per minute
faster every day. Well, by the end of the
month, if you've done that, you should be 30 to 31 beats per minute faster
on an exercise, which is a huge gap. So not only do we want to write down goals to speed
metronomes up, but we want to look back so we can kind of chuckle
at ourselves and say, oh my goodness, I used
to be able to play that exercise at 80
beats per minute. Now look at me, I've
got it going at 111 beats per minute. Now the cool thing is that doesn't stick with
these exercises. We can start utilizing
that method to riffs when we combine this
metrono method with riffs. And we bring in
these techniques to help warm our hand
up and cool it down. And teach it all these
shapes and how to move, we can all of a sudden start
seeing progression in speed.
13. Final Project and Congratulations!: You've made it to the
end of the course. Congratulations. Now
as a final project, we want to take one of these exercises and show the class how you're
doing with it. It can be the basic intermediate
or advanced variation. It doesn't matter
where you're at, but we want to see you do it. If you don't have a
means to record or you're a little recording
shy, that's okay. Just write down which exercise you picked
and how it's going, what you found easy, what
you found difficult, what rifts you're
trying to learn, and if any of them helped you. If you have any questions, you can always reach out
to me at Jacob at Lamb Lessons.com I love
hearing from you guys. Or you can go to me
directly at Lamb Lessons.com and I'll see
you there. Happy playing.
 Jacob Lamb, Musician, photographer and videographer