Transcripts
1. Introduction & Class Overview: Panoramas have the power to transport the viewer
into the heart of a scene and create cinematic images which display
the view in its entirety. Panoramas provide
quite literally an expanded canvas for creative expression
and storytelling. And digitally merging images together into a
panorama allows you to overcome the challenge
of capturing vast scenes with the
lens you have on hand. But not all panoramas
are made equal. Those created using
photographs taken on D SLR or mirrorless cameras
are far superior to anything you can capture
using your phone camera. And that's when using adobe
ltrm comes into play. I'm Dominic Kugini Brand, a photographer,
designer, and teacher, passionate about candidly
capturing the world around me and creating
photographs which tell a story. I teach a range of
photography classes, covering the subjects which
I'm most passionate about, including color editing, black and white film photography,
and photo restoration. And with this class, I'm excited to invite you
to explore the world of panoramas as a genre and learn how to
create professional, seamless panoramas
in Adobe Lightroom. In this class, we'll
start by diving into the historic
background of panoramas as a creative genre and exploring the pros and cons of creating
panoramas using your phone. And then you will learn
practical tips for capturing photographs
using DSLR or mirrorless cameras and how
to get the most out of Adobe Lightroom's panorama tool to create captivating panoramas. This class is designed for landscape and urban
photographers, looking to level up
their skills and create professional level
panoramas perfect for large prints or
digital displays. It is also an
excellent choice for photography students
who are looking to gain new technical skills and enhance their cultural understanding
to support their studies. For the best
experience possible, familiarity of the interface
and tools available in Adobe Lightroom or
Adobe Lightroom classic is highly recommended. Even if you've experimented with creating panoramas before, I hope this class will help you enhance your understanding
of the tools needed to create perfect panoramas using different types
of photographs. Join me in this class
and let's explore the expansive world of
panoramic photography together.
2. Brief History of Panoramic Art: The history of panoramas and dioramas predates by
a considerable degree that of chemical photography, which was pioneered by William Henry Fox Tolbert and Louis D G in the
early 19th century. Some of the earliest
surviving examples of panoramic murals are from 20 AD and were discovered
in the ruins of Pompeii, which was a Roman settlement, which was buried in the
pyroclastic flows of Mount Vesuvius'
eruption in 79 AD. The use of panoramas in art
and creativity is widespread. And over the past
several millennia, there have been many examples
of panoramas and diamas. An early example of a
panorama is the Bo tapestry created to depict the
events leading up to the Norman conquest of
Saxon Britain in 1066. It measures over 68 meters
in length and incorporates 58 individual scenes
stitched together in cloth. Although the Bay tapestry is not a true panorama featuring
a single scene, when viewed together,
it produces a contiguous story which functions like a panorama
both in shape and form. Although artists during
the Renaissance era and for the greater part of the second millennium tended to produce works conforming
to the golden ratio, there were examples of works which took on panoramic form. Particular examples
are the murals on the ceilings of churches, cathedrals, and
ornate buildings. These often featured
indirect lighting, so the light looked like it was emanating from the
painting or mural itself. Before the eventual development
of chemical photography, Robert Barker was
considered by many to be the preeminent panoramic
artist of his day and actually coined the phrase panorama
as a portmanteau of the Greek words pano and
Hama, meaning to view all. Robert Barker set about defining his genre and started producing
large scale cityscapes, exhibiting a cylindrical
depiction of the city of Edinburgh in London. The exhibition was only
moderately successful, and this made Barker question his approach with him
ultimately deciding to up his game and start producing full scale, 360
degree panoramas. And to this end, he and his son purchased a rotunda
in Leicester Square, where they created a 250 square
meter panorama of London. In the era before chemical photography and moving pictures, panoramas and
cycloramas were hugely popular and were a somewhat
immersive experience. They were often used
to depict scenes which were too large in scale
for a single canvas. Two famous examples are the
Gettysburg cyclorama by Paul Filippeta and Louis
de Mulan's depiction of the Battle of Waterloo. Both of these cycloramas
are housed and exhibited in specially constructed
circular buildings. I
3. Panoramas in Chemical Photography: With the development of chemical
photography processes in the 1830s by
photographic pioneers like Louis De Gu and
William Henry Fox Tolbert, it was only a matter
of time before panoramas would be
produced photographically. Two of the earliest pioneers in photographic panoramas
were Josef Puchberger and Frederick Von Martens, both of whom constructed special daguerreotype cameras to capture panoramic scenes. Puchberger's camera had
150 degrees field of vision and featured an eight inch focal
length and a hand crank. It was, however, Von Martens, who developed a more
advanced camera, featuring a special
curved plate and a geared mechanism to
ensure an even exposure. Despite this early start, photographic panoramas
from this period are rare because
they were expensive, time consuming, and
difficult to produce. That said, however, there were some notable early practitioners
from the 19th century. For example, Bernard Otto
Halteman and Charles Baylis, who produced large scale
panoramas of landscapes, including Lavender
Bay, Sydney in 18 75. Their image is constructed
from 23 individual plates and when viewed together create a full 360 degree
image of the bay. The next major technological
advancement in photography, which also ushered
in a new era in panoramic photography was the introduction
of flexible films. This enabled the
development of new cameras, commercially available
and specially designed to take panoramas. Examples of these
new cameras include the Kodak panoram which used roll film and had a
special swing lens. Panoramic cameras and special
techniques for producing panoramic images continue to develop through
the 20th century. And over the decades, there have been a number of different
systems developed, including Rudolph Stern's
Wonder panoramic camera, which was rotated by
the photographer and produced an 18 inch
negative on a roll of film. Short rotation
cameras, which use a rotating lens and a curved film plane to
ensure an even exposure. Full rotation cameras
which could produce a full 360 degree panorama and typically used some form of clockwork mechanism to rotate the camera and
fixed lens systems which have a wide field of view, like the advanced photosystem
cameras in the 1990s, which could produce
cropped images in a panoramic aspect ratio by
using a smaller film area. It is important to note that relatively few panoramic systems can produce a full
360 degree image. And to develop a camera which is capable of this is
quite challenging. Most panoramic cameras
basically have a wider view angle and produce images in an accepted
panoramic aspect ratio. My first memorable experience of a panoramic camera
was when studying photography at Huntingdon
Regional College. We went on a field
trip to Rome in March 2004 to photograph the
city and its architecture. My tutor brought a Fuji
g617 panoramic camera. I remember this being a
giant of a camera and having steady metal bars for
handling it around its lens. On the front of the
camera, there was also a spirit level so
that you could get the camera level before
taking your photograph. Because when taking
panoramic photographs, what could be a slight error in a normal photograph could be a major slant in the
panoramic image. Whilst fascinating to use in photography's
heyday, thankfully, digital cameras and modern
photo editing software have enabled us to dispense with this world of specialist
camera equipment, and it is now easier than
ever to produce a panorama.
4. Panoramas in Digital Photography: Before we move on
to the tips and techniques for creating
professional level panoramas, using proper digital cameras
and adobe light room, it would be fair to mention
the pros and cons of the easiest and most
accessible way of creating digital panoramas
using smartphones. Nowadays, most modern
phones have features in their camera apps
which allow you to quickly and easily
create basic panorama. However, there are
some limitations because of how your phone
produces panoramas, which can create image
abnormalities and distortions. Using a smartphone,
you typically create your panorama by panning
the camera sideways, and the phone records the
panorama as the camera moves. Phones do this
because it is more intuitive to get the
user to move the phone across the scene
rather than taking two or three
separate photographs and then stitching
them together. However, this can
cause problems like jagged edges and lines
which do not match. This method of panorama
construction can also create very long panoramas with extreme perspectives that can be uncomfortable to look at. Phones and apps are
improving all of the time, and they are great for
quickly producing panoramas, for example, when
you're on holiday. There are also some apps
which allow you to stitch multiple images together and create seamless
panorama on your phone. But if you want to produce high quality professional
level panoramic images, you'll need to capture
your photographs using a digital la or mirrorless
camera and then create your panorama from a series of photographs
in Adobe light room.
5. Tips for Capturing Images for Your Panoramas: Before making your panorama
in Adobe light room, you're going to need some
photographs to merge together. Typically, 3-5 photographs
works best for this process, but feel free to
experiment with more or less and see what
results you get. There are also a few
dos and don'ts and best practice for taking photographs for your
panoramas to keep in mind. First of all, try to
make sure that all of the images you are using in your panorama have
an even exposure. Adobe light rooms merge panorama process stitches
photographs together. Having uneven exposures and
strong light sources like sunbeams increases
the chances of having or creating
image abnormalities. If you're unsure about your exposure or have a
tricky lighting scene, photograph and raw so that these settings can be
adjusted afterwards. Next, watch out for high speed moving objects
in your photographs. For example, a car which moves across the scene whilst
you're taking the photograph. Chances are, photo merge will
consider the same car as two separate cars and display it twice if it is in
several photographs. Long vehicles like
trains can also cause problems because they're very difficult to get
into one photograph, and they move at speed
through the image. So if possible, use a
high shutter speed to freeze fast moving objects and wait for the object to pass before taking the next
shot and generally avoid having repeated
or long objects moving through your photographs. When taking several photographs of a scene to use in a panorama, it is necessary to have a reasonable overlapping area
between your photographs. This will allow Adobe
Lightroom to produce the best results when
merging your photographs together because
the areas towards the photographs edges are produced by your camera's
lenses periphery, which are of inferior
image quality compared to the central
area of the camera lens. I would consider one quarter to a third of the image area,
a reasonable overlap. Using a tripod or monopod when taking your photographs
is not essential, but can aid you in taking level photographs with
an appropriate amount of overlap between images. Avoid changes in the depth of field and do not refocus between the shots because
this will cause image abnormalities and cause
the whole process to fail. Chances are that if you are photographing a wide
scene or landscape, then you are
unlikely to be using a shallow depth of
field or refocusing, in any case, because
of the focal distance. But this is something
to keep in mind, if your subject is something
which is relatively close, there is no rule saying
you cannot create a horizontal or landscape
panorama from portrait images. For example, if you study
Bernard Holeman and Charles Bayless panorama of
Lavender Bay from 18 75, you'll see the panorama has
actually been created from a large number of
portrait images displayed as a
gigantic landscape. So go ahead and photograph portrait images
for your panorama, but make sure they are orientated correctly before
merging them into a panorama. And don't try mixing portrait and landscape images unless you're prepared for
unpredictable results. Whilst not really part of taking pictures for your
panorama, per se, it is not a good idea to destructively pre
edit the photographs you have taken to use in your panorama outside
of Light room, as uneven and
inconsistent image edits can cause problems and image abnormalities when
being stitched together. It is best to
create the panorama first and then edit
the resulting image. That said, if you're working with raw photographs or editing JPEGs or TIFs in Lightroom, editing
photographs beforehand, using the tools in
the development panel should not negatively affect the results as edits are non destructive and even if your photographs are
edited differently, Light room will merge
them together and apply the development settings from the first image you have selected when merging
your panorama. So capture some photographs
for your panoramas, or find a suitable sequence
of images in your archive. And in the next lesson,
we'll get started with creating panoramas
in Adobe light room.
6. Getting Started With Creating Your Panorama: With the photographs ready, we can now start
creating panoramas. In this class, I will be using
Adobe Lightroom classic. But if you have a
desktop version of Adobe trum, you can
use it as well. To create panoramas, we will be using the panorama
merge feature, which is located
in the photo menu in both versions of the app. For demonstration
purposes, I've got a selection of photographs and a specially created library. Normally, however, I just
keep my photographs for panoramas intermixed with
my other photographs. H. So here, I've got a number of
images taken in sequence, which I want to merge
into a panorama. To start with, I'm only
going to use these three because too
many images might create an unbalanced
perspective in my panorama due to the image's depth and
range of foreground, mid and background objects. For your first experiments
with panoramas, I'd recommend not going too crazy and only using
several suitable images. Make sure the images you are
selecting are a sequence of images without any gaps and a suitable amount of
overlap between the images. Select the images
whilst holding down the Shift key and then
go to the photo menu, photo merge, and
select panorama. This will open the panorama Merge preview window where
you can set up your panorama. It might take a few moments to open because to
preview your panorama, Adobe litrom needs to
merge the images together. Now that Adobe Lightroom has finished
processing the images, we can get a first
glimpse of our panorama. Sometimes at this stage, if there is a problem
with your images, for example, the images you have selected are not suitable
for creating a panorama, or there is not enough
image overlap for Adobe Lightroom to stitch
the images together, you'll get a grade
out preview and a message saying unable
to merge the photos. If you get this message, you can sometimes rescue things by playing around
with the settings. But usually, this means you
cannot create a panorama with your selected images and need to select more or
different images. Assuming all is well, and you can now see a
preview of your panorama, let's have a look
at the controls and settings for creating panoramas.
7. Selecting a Projection Mode: Not all panoramas are
created the same way. Adobe litrum has a number of controls and settings
which allow you to adjust how your
particular photographs are merged into a panorama. First of all, there are three projection
modes to choose from. But before we start checking the differences
between these options, let's quickly uncheck
the auto crop here to see the
effect and also make sure that the fill
edge here is not checked and that the boundary
warp is set to zero. We'll look at each of these
settings in detail later. Projection modes control how
your panorama is created, and you can choose
between spherical, cylindrical and
perspective options. The spherical projection
option aligns and transforms images as if they were mapped
to the inside of a sphere, and it is great for
really wide panoramas. Use this option if the scene you are creating features
a very wide angle. The cylindrical
projection option is similar to the spherical
projection option, but maps the images onto a
cylindrical shape instead. It is also very
good for creating very wide angle panoramas and helps in keeping
vertical lines straight. The perspective projection mode, however, is a little different. It projects your
photographs onto multiple planes and thus keeps any straight
lines straight. So it is great if
you're working with architectural
photographs and images where you have an
abundance of vertical, horizontal and diagonal lines. But be careful because when this mode is not the right
choice for your photographs, it will stretch part
of your images. So with this logic in mind, play around and experiment with the different projection modes and see what works
best for your images. Select the projection mode
which allows you to keep the correct geometry for the elements in
your photographs, and don't worry if
the whole panorama looks a little squashed
at this point. For this panorama,
I'm going to use the cylindrical mode because it works best with these images, depth angles, and shapes. Be sure to inspect your panoramas preview to check the images have
been merged seamlessly. And if you're working with a small panorama preview window, zoom in a little closer
to see the details. And next, let's have a look at the other settings you can use to further adjust your panorama.
8. Boundary Warp: You might have been lucky and have already managed to find the correct
projection mode using the boundary warp
value set to zero. However, we need to
take a closer look at the boundary warp
feature because working in conjunction with
a selected projection mode, it can have a
considerable impact on how your panorama looks. Boundary warp is touted by
Adobe as a tool to warp your panorama's canvas and preserve the features at
the edge of the image, which might otherwise be lost when the panorama
is auto cropped. However, to do this, it is warping the canvas, which can cause
image abnormalities. So use this feature
with caution. What boundary warp does is dependent on the projection
mode you have selected. For example, if you have the
cylindrical mode selected, increasing the
boundary warp value effectively increases the
size of the cylinder, thereby reducing its
curvature and consequently helping to preserve the areas of the image which might otherwise
have to be cropped out. And the same is true
with the spherical mode. When it is selected, increasing the boundary warp amount increases the size
of the sphere, ergo making its shape relative to the panorama size
less pronounced. With the perspective
mode selected, the boundary warp
tool automatically places a vanishing
point within the image, and then the images are
projected onto the planes. This creates perspective,
but sometimes it can be too much and can give the appearance of
stretched edges. Increasing the
boundary warps amounts brings the image's
vanishing points closer, thereby reducing
the perspective. If you are using the
perspective mode to create panoramas featuring architecture or lots
of straight lines, boundary warp will distort
the lines in your images. So if you are working
with this type of images, then it is best to avoid using the boundary warp or
use it with caution. Play around with the boundary
warp value and try to get the geometry of the elements in your photographs looking
right and not too distorted. If after selecting
the projection mode and applying the boundary warp, everything looks
reasonably good, but the overall proportions of the image still
look a little off, or you have what appears
to be a lens distortion. Don't worry about it too much
because you'll be able to further adjust it after the
panorama has been created.
9. Composing Your Panorama: Apart from the projection mode and boundary warp settings, there are also auto crop, fill edges, and auto settings which allow you to prepare
your panorama for output. Autocrop is a useful feature which saves you from
needing to manually crop your panorama afterwards
by cutting off any edges and negative
space around your panorama. The area which auto crop preserves depends on
which projection mode you have selected and how much boundary warp you use
in your panorama. I prefer keeping it switched off while selecting the
projection mode and adjusting the boundary warp
value and turn it on when I'm happy with the way my images
are merged together. Unless you want to include
the negative space in your panorama and then manually fill in the missing
areas whilst retouching, I'd recommend using autocrop. It will help ensure
that you don't end up with any empty areas
or weird edges. But of course, you can also crop your image after
creating a panorama. If you don't apply autocrop, you can instead use the
fill edges feature. When switched on, it will fill any areas of negative
space around outside of your panorama with areas cloned from other
parts of the image. It can save you time filling in empty areas
manually afterwards, but it usually works best when dealing with
pretty simple fills. And if you have some
complex elements around your panama's edges, you might end up with some
strange image abnormalities. So check it out if you want and inspect the preview to see
whether the results work well. You cannot use both
the fill edges and auto crop at the same time because they do opposite things. And generally, I'd recommend using auto crop out of the two. And when taking photographs
for use in a panorama, simply make sure you have
enough room around the edges, so your panorama can be cropped without the composition
being compromised. Next, here is the auto
settings checkbox, which allows you to apply auto exposure development
settings to your panorama. This tool is useful
if you are time pressed or just want to quickly create a
panorama as a mockup. But auto settings can never replace properly
editing your image. So use it if it is needed, but I would recommend simply leaving this option
turned off and then properly editing your panorama afterwards like you would
any other photograph.
10. Merging Your Panorama: Now we're almost done.
But before merging our panorama and returning to
Lightroom's main workspace, we need to cover the
create stack feature here. This is a really
useful tool which helps in organizing
your photographs, especially if
you're dealing with a lot of images and images which have been
specifically taken with the aim of creating a panorama. When selected, create stack, takes the images you are
merging into your panorama and stacks them in a pile with the
generated panorama on top. But you can open
the stack to see the original images
from which it is made. You don't have to
use this feature, but sometimes it is useful for hiding the clutter in
your light room library. So finalize the settings
of your panorama. And when ready, it is time to select merge and wait
for the results. Depending on how powerful
your computer is and the size and number of photographs you
have chosen to use, it might take some time
to process the panorama. So don't be surprised if you have to wait
several minutes. When your panorama has
finished processing, it will appear in
your library next to the original photographs
or as a stack, including the
original photographs. And next, you can further edit it using the tools in
the development panel.
11. Finishing Your Panorama: With merged panorama ready, you should next go to Lightroom's
development module and edit the image the same as you would any other photograph. Before you do anything else, select the crop and straighten tool and straighten
your image if required. You can simply hit
the auto button here or manually
straighten it using the level tool and
drawing a line along the horizon or some perfectly vertical
elements in your photograph. Since I cannot see
the horizon here, I will straighten
the image along the vertical line in the bridge. With the panorama straightened, go to the lens
corrections settings. Here, check, remove
chromatic aberrations, which will help you eliminate any color fringing which often occurs in
landscape photographs. Then if your
original photographs were shot with a
wide angle lens, and if you still have some undesirable distortions
in your panorama, check enable profile
corrections, and play around with the
distortion amount here. If Lightrm cannot
detect your lens, and there are no similar
lenses on the list, and you cannot use the
sliders here or if using the maximum value
does not allow you to compensate for all of the
distortions in your panorama, you can go to the manual tab and adjust the distortions
manually instead. For example, I'm going
to further adjust the distortion amount to make the bridge look as
straight as possible. When drastically changing
the distortion amount, you'll inevitably stretch
some elements in the corners. But if you hit
constrained crop here, these will most likely
get cropped out together with any white areas
around your photograph. And you'll also be able to crop out any distorted elements in the periphery of your panorama later when finalizing
the composition. With lens distortions
corrected, next, go to the transform settings and see if there's anything
you need to adjust. At this point, your image should already be
generally straight, but you can further straighten it using the options
available here. I usually select guided and then activate
this guide drawing tool and draw guides along the lines which should be
vertical or horizontal. To make it work, you'll need
to have at least two guides, and it's best to have them spaced as far apart as possible. In this case, two
vertical guides will do. But if you have some elements
which must be horizontal, you can also add one or
two horizontal guides. You don't have to use any of
the upright options here, and whether you do or not, you can also manually
transform your image. For example, change
its proportions using aspect slider or tilt shift it using the vertical
and horizontal sliders. Because my panorama is
a little bit squashed, I'm going to play around with aspect slider until the
proportions look correct. Be sure to adjust the aspect
ratio of your panorama. Do get it looking just right. And if necessary, compare
it to your source images to double check the proportions
of specific elements. After getting any transformation and lens correction
out of the way, go to the crop and StratenTol again and finalize the
composition of your image by repositioning and
resizing the crop box and cropping your panorama to
your desired aspect ratio. If you are not after a
specific aspect ratio, unlock the proportions here and manually resize the crop
box to your liking. If you want to use a specific
custom aspect ratio, go to this menu and
select Enter custom. Type your desired
proportions in this window. For example, I'm going to
use widescreen aspect ratio, which is 2.35 to one. Then click Okay
and then move and scale the crop box to create your desired
final composition. When you are finished
with the composition, next, you'll need to edit
the look of your panorama. I'm not going to go into
image editing in this class, as it is a separate subject, but be sure to experiment
with your panoramas exposure, tonal curve, and color grading to create
your desired look. And if you want to
learn how to create stunning color edits
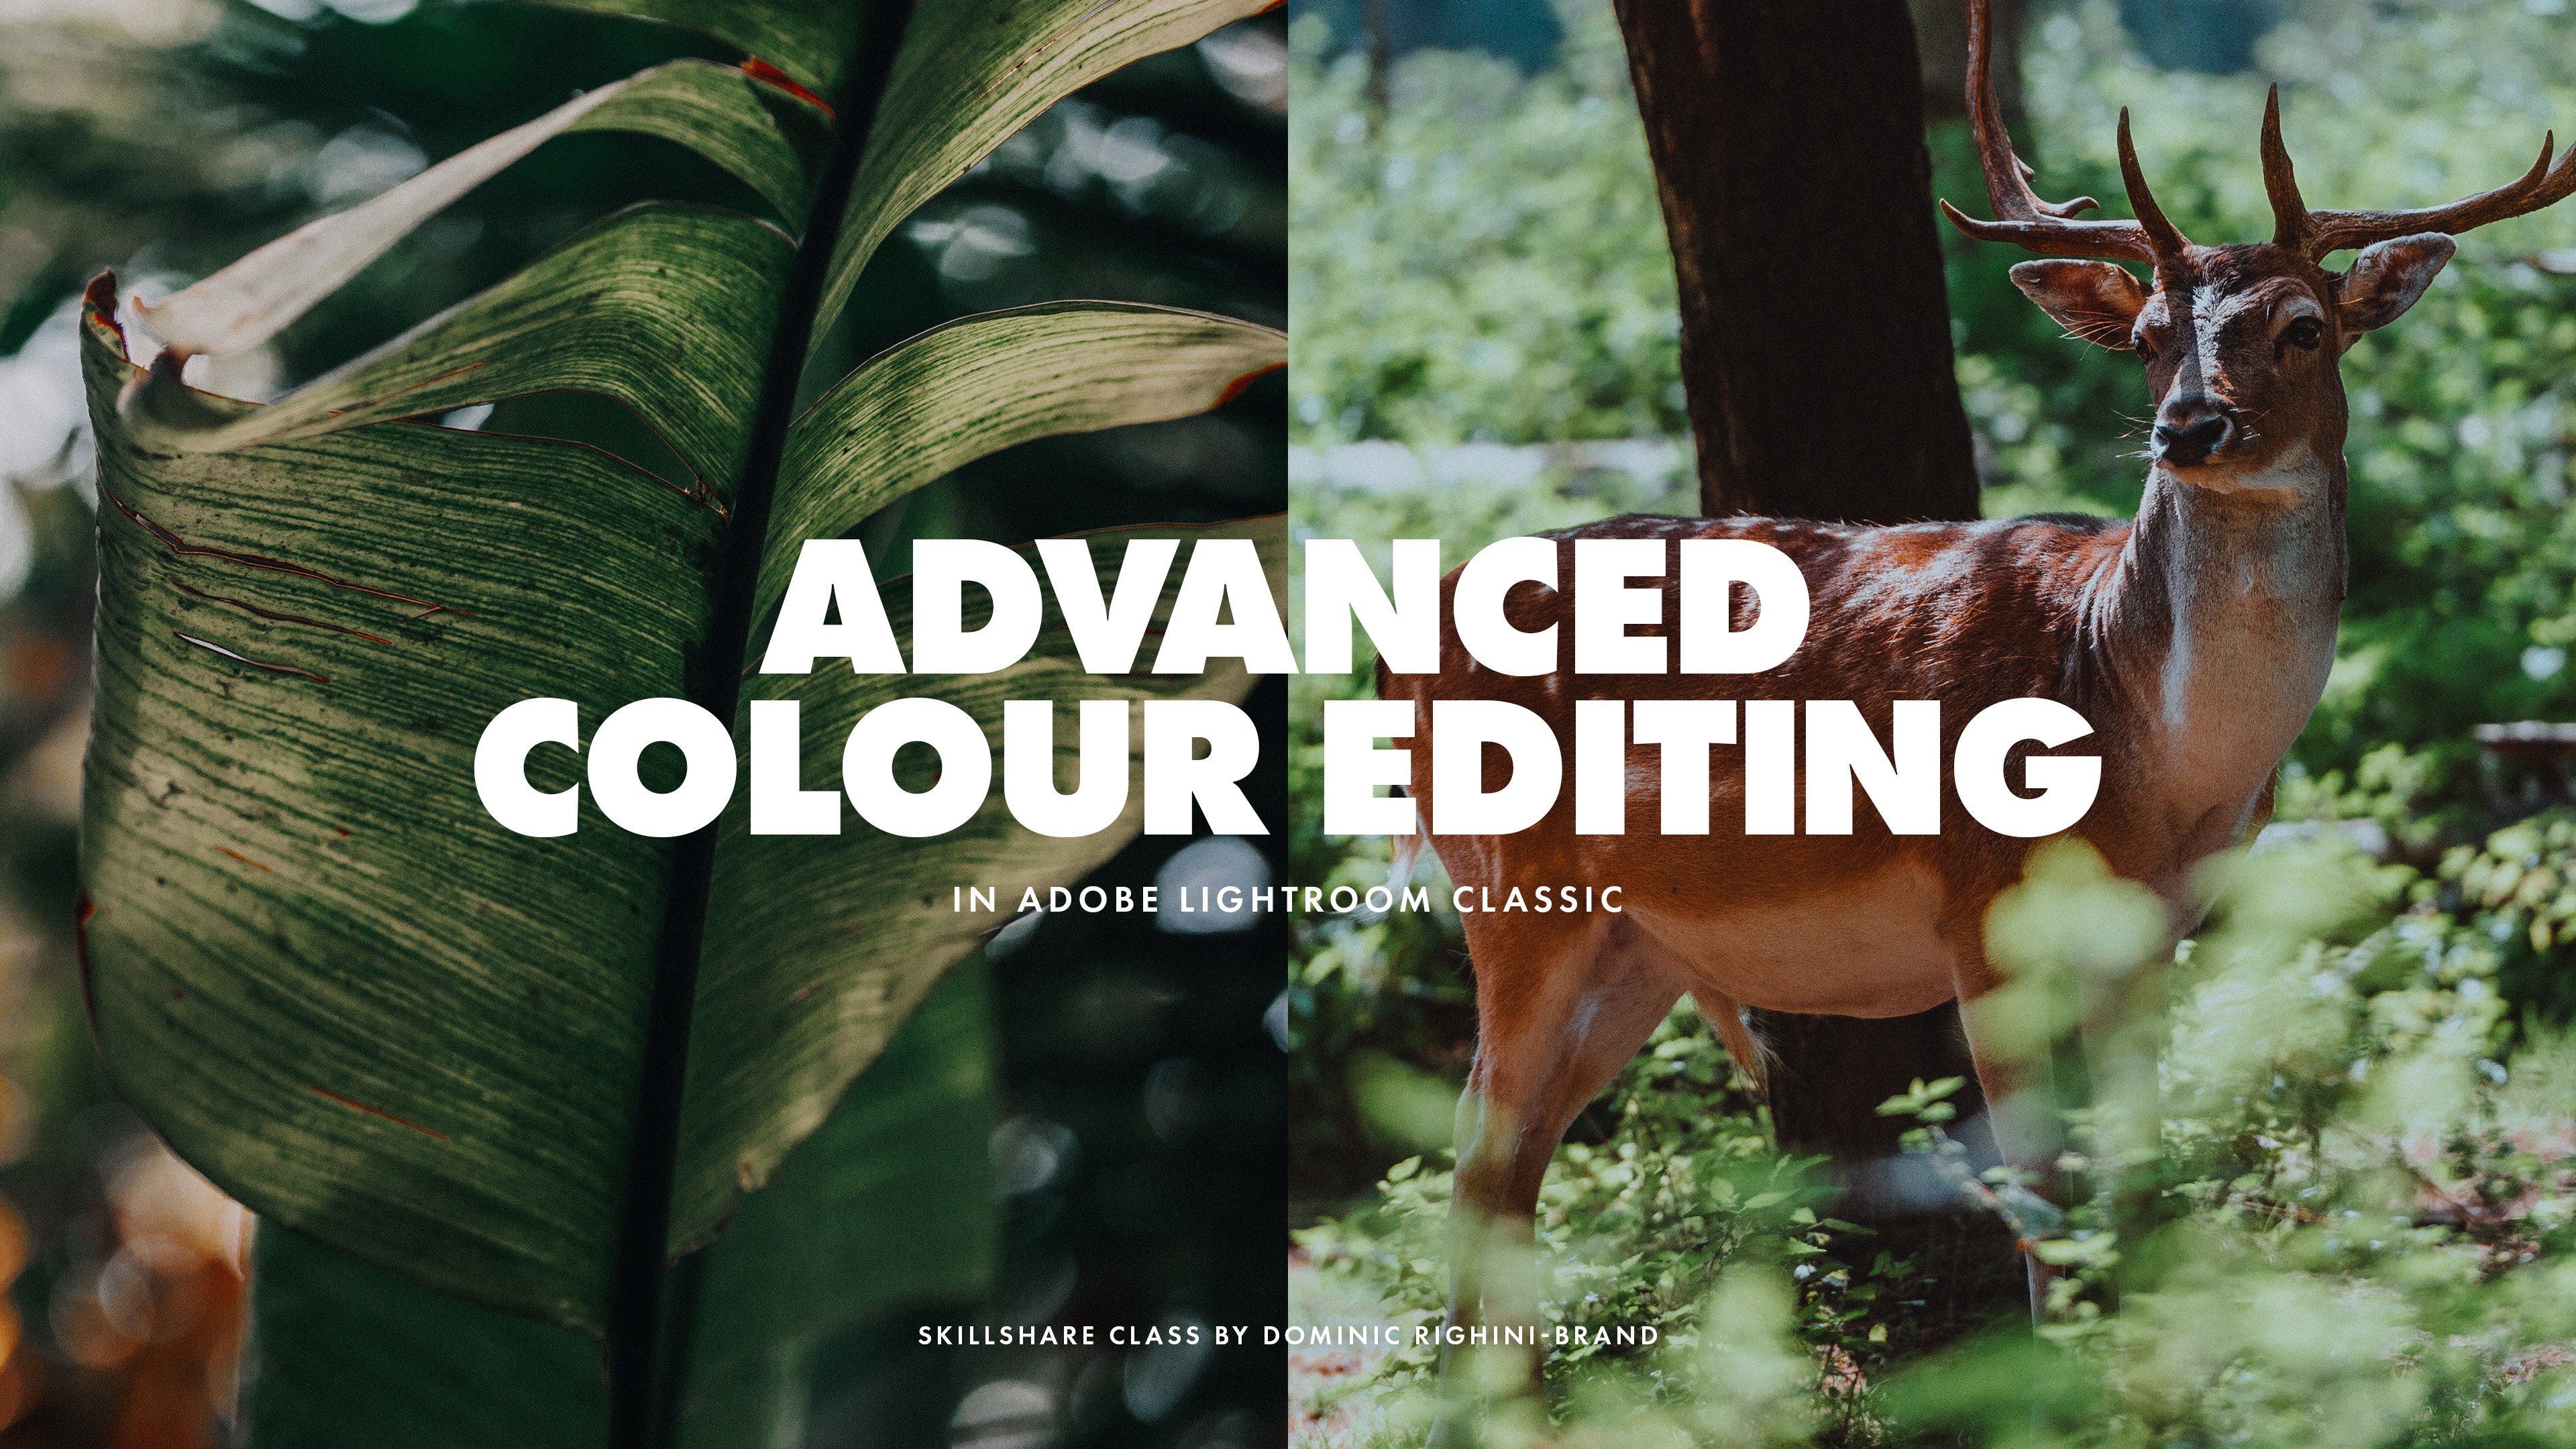
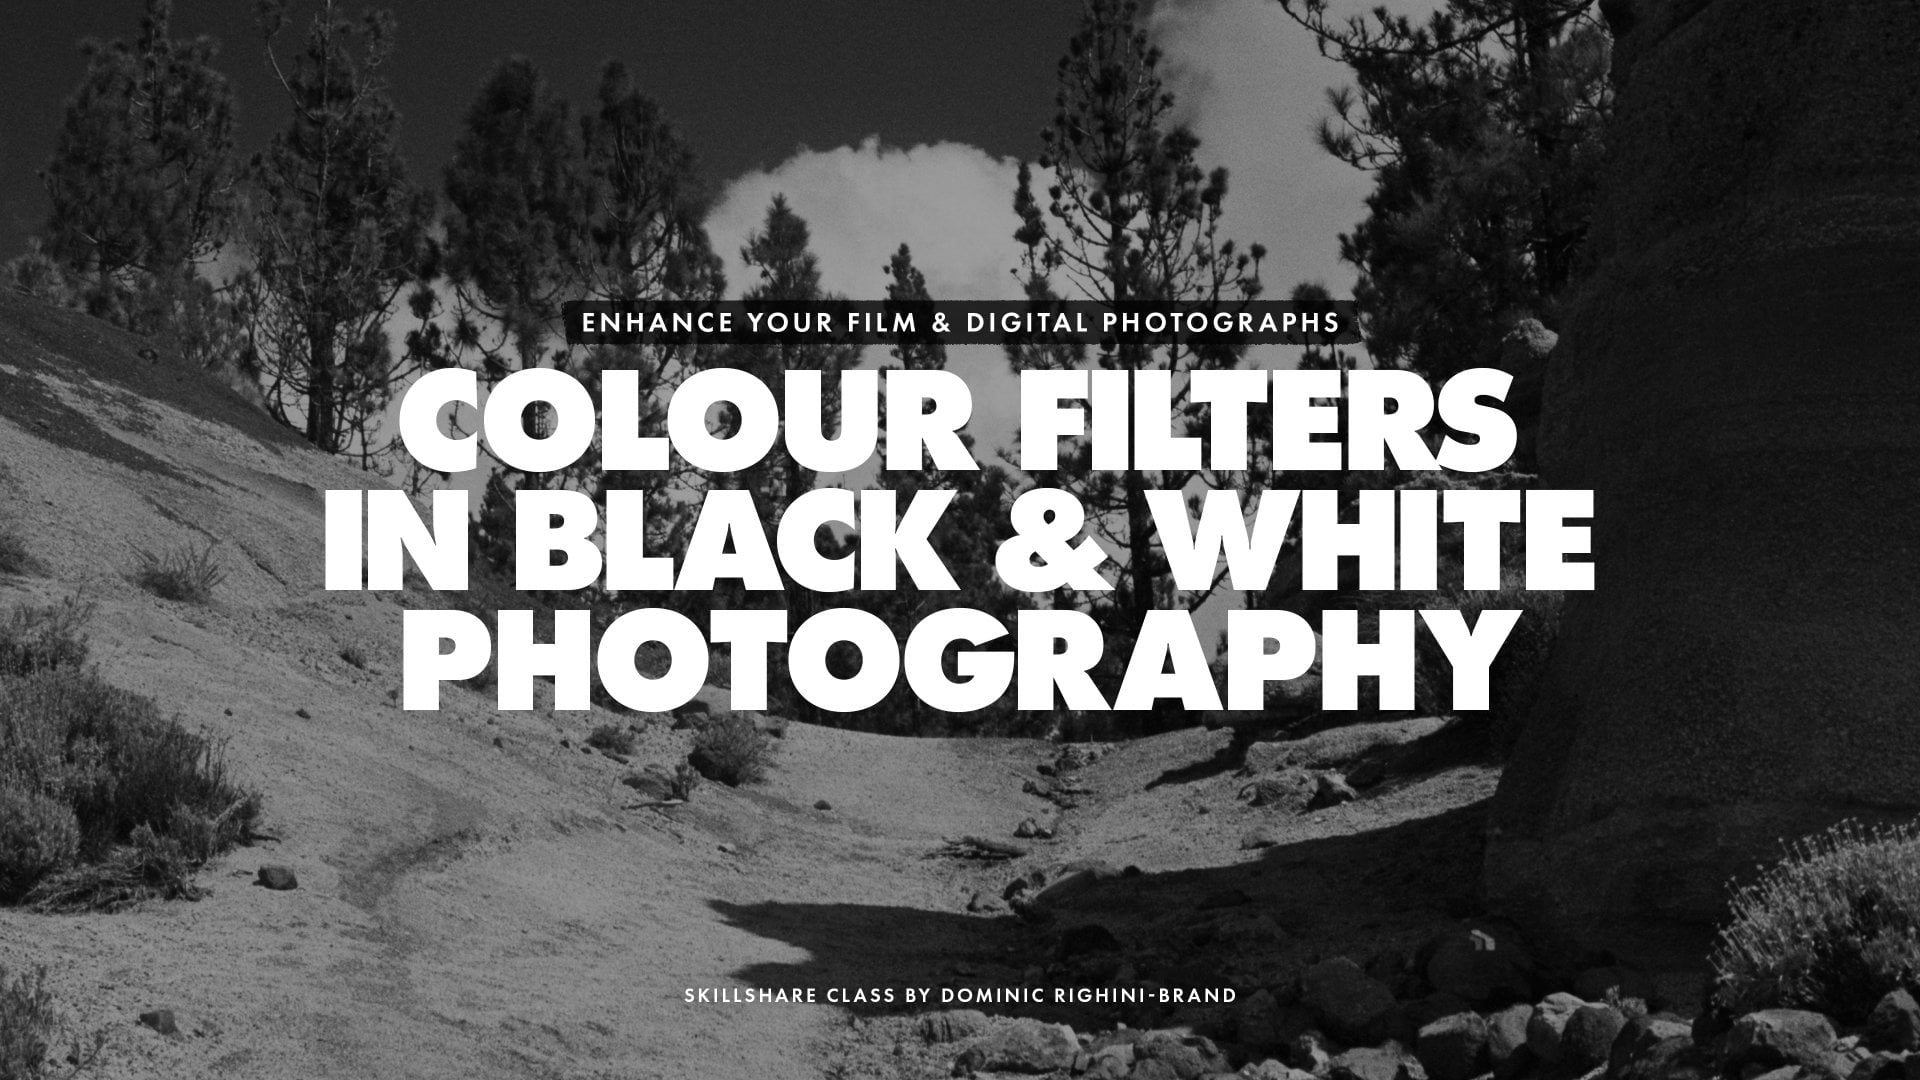
in light room, be sure to check out my class, Adobe Lightroom classic, advanced workflow and tips for enhancing your color edits. Or if you are into Black
and White photography, you can learn a few tips
and tricks for editing your digital photographs in my class Black and
White photography, using color filters to enhance your film
and digital images. So play around with the tools in the development panel to finalize the look
of your panorama. And in the next lesson, I will share with you
some final thoughts and ideas for creating
your panoramas.
12. Final Thoughts & Conclusion: So this is it for
the general process of creating panoramas
in Adobe light room. I hope that you have enjoyed the process and
learnt something new. Start by experimenting with creating your
panoramas 2-4 images, like I have demonstrated
in this class. But if you've taken more
photographs for your panoramas, don't hesitate to
experiment with creating panoramas from more images
and see how it goes. If you are limited by
the lenses you have, consider taking some
vertical images for your panoramas instead of more
intuitive horizontal ones. This will allow you to have a bit more vertical
room in your images. If you're feeling experimental, you can also try creating some vertical
panoramas, for example, if you're photographing
architecture or mountains, also, remember that panoramas do
not have to be made from images which have been
seamlessly stitched together, and the ability
to easily do that is a very recent thing in
the history of photography. So if you're feeling creative, why not explore some
alternative approaches like displaying several
images of a subject taken in sequence
as a diptych or triptych or as separately
framed images, which when viewed as a series
form a panorama of sorts. The spaces around and in between the images can be
considered negative space. And you can also consider experimenting with
image placement. For example, how about
displaying framed prints on different walls within a room to represent views from north, south, east, and west. Basically, there is a lot of stuff which can be
done with panoramas. So experiment and have fun. This is it for this class. I hope that you've enjoyed this class as much as we
have enjoyed planning, creating, and teaching it. And if you have,
then please leave a review because
this really helps us get our classes discovered by other students and be
sure to follow us here on Skillshare and check out our other classes if you want to learn about
color image editing, shooting and editing
in black and white, retouching old photographs, and bringing old photographs
to life through color. We always love seeing your work, so be sure to post a project
in the project section for this class and share your panoramas created
following this class. The original photographs
you have used and a few words about your
photographs and the process. And if you've got
any questions about the process or creating
panoramas in general, then ask away in the
discussion tub for this class. I will do my very best to
provide some feedback and advice on your class project and answer any questions
you might have. Be sure to check out my project in this class to see a range of different panoramas I have created and to learn about the process behind
creating each of them. And check out my
photography blog to see more of my work and explore my articles about photography's technological
and anthropological history. Thank you for joining
me in this class, and I hope to see you
in our other classes.
 Evgeniya & Dominic Righini-Brand, Graphic Design & Photography