Transcripts
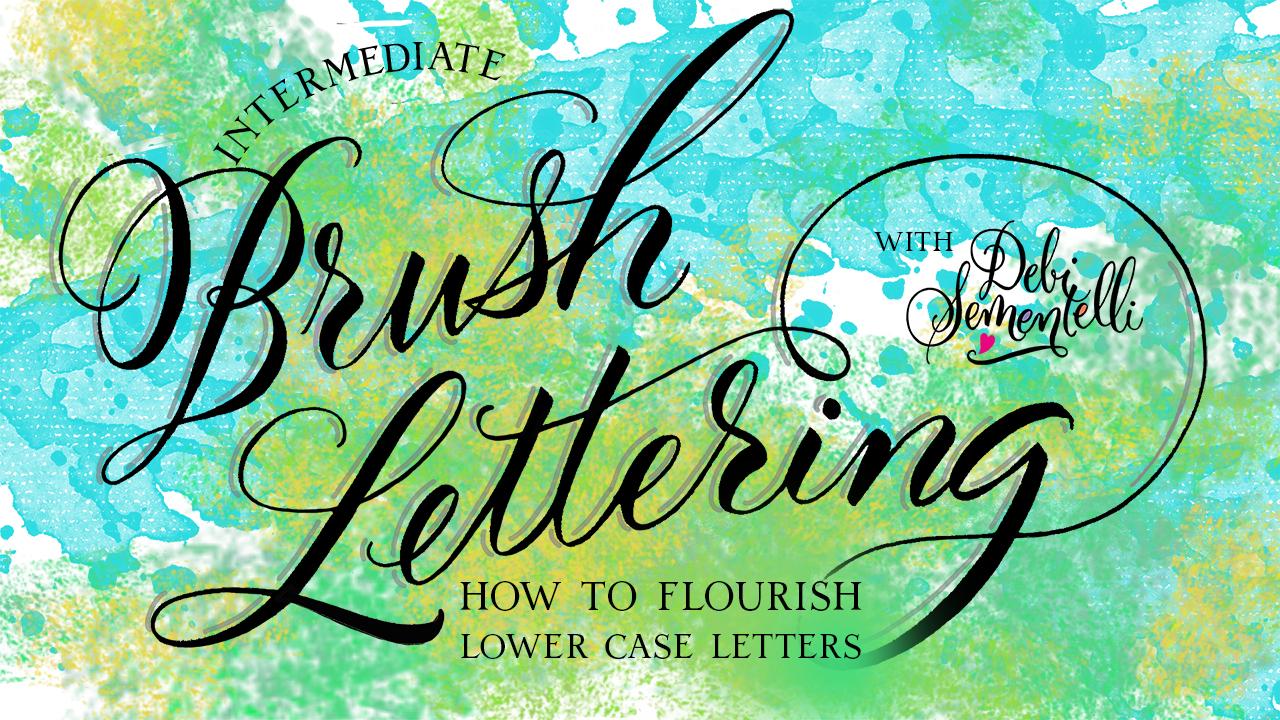
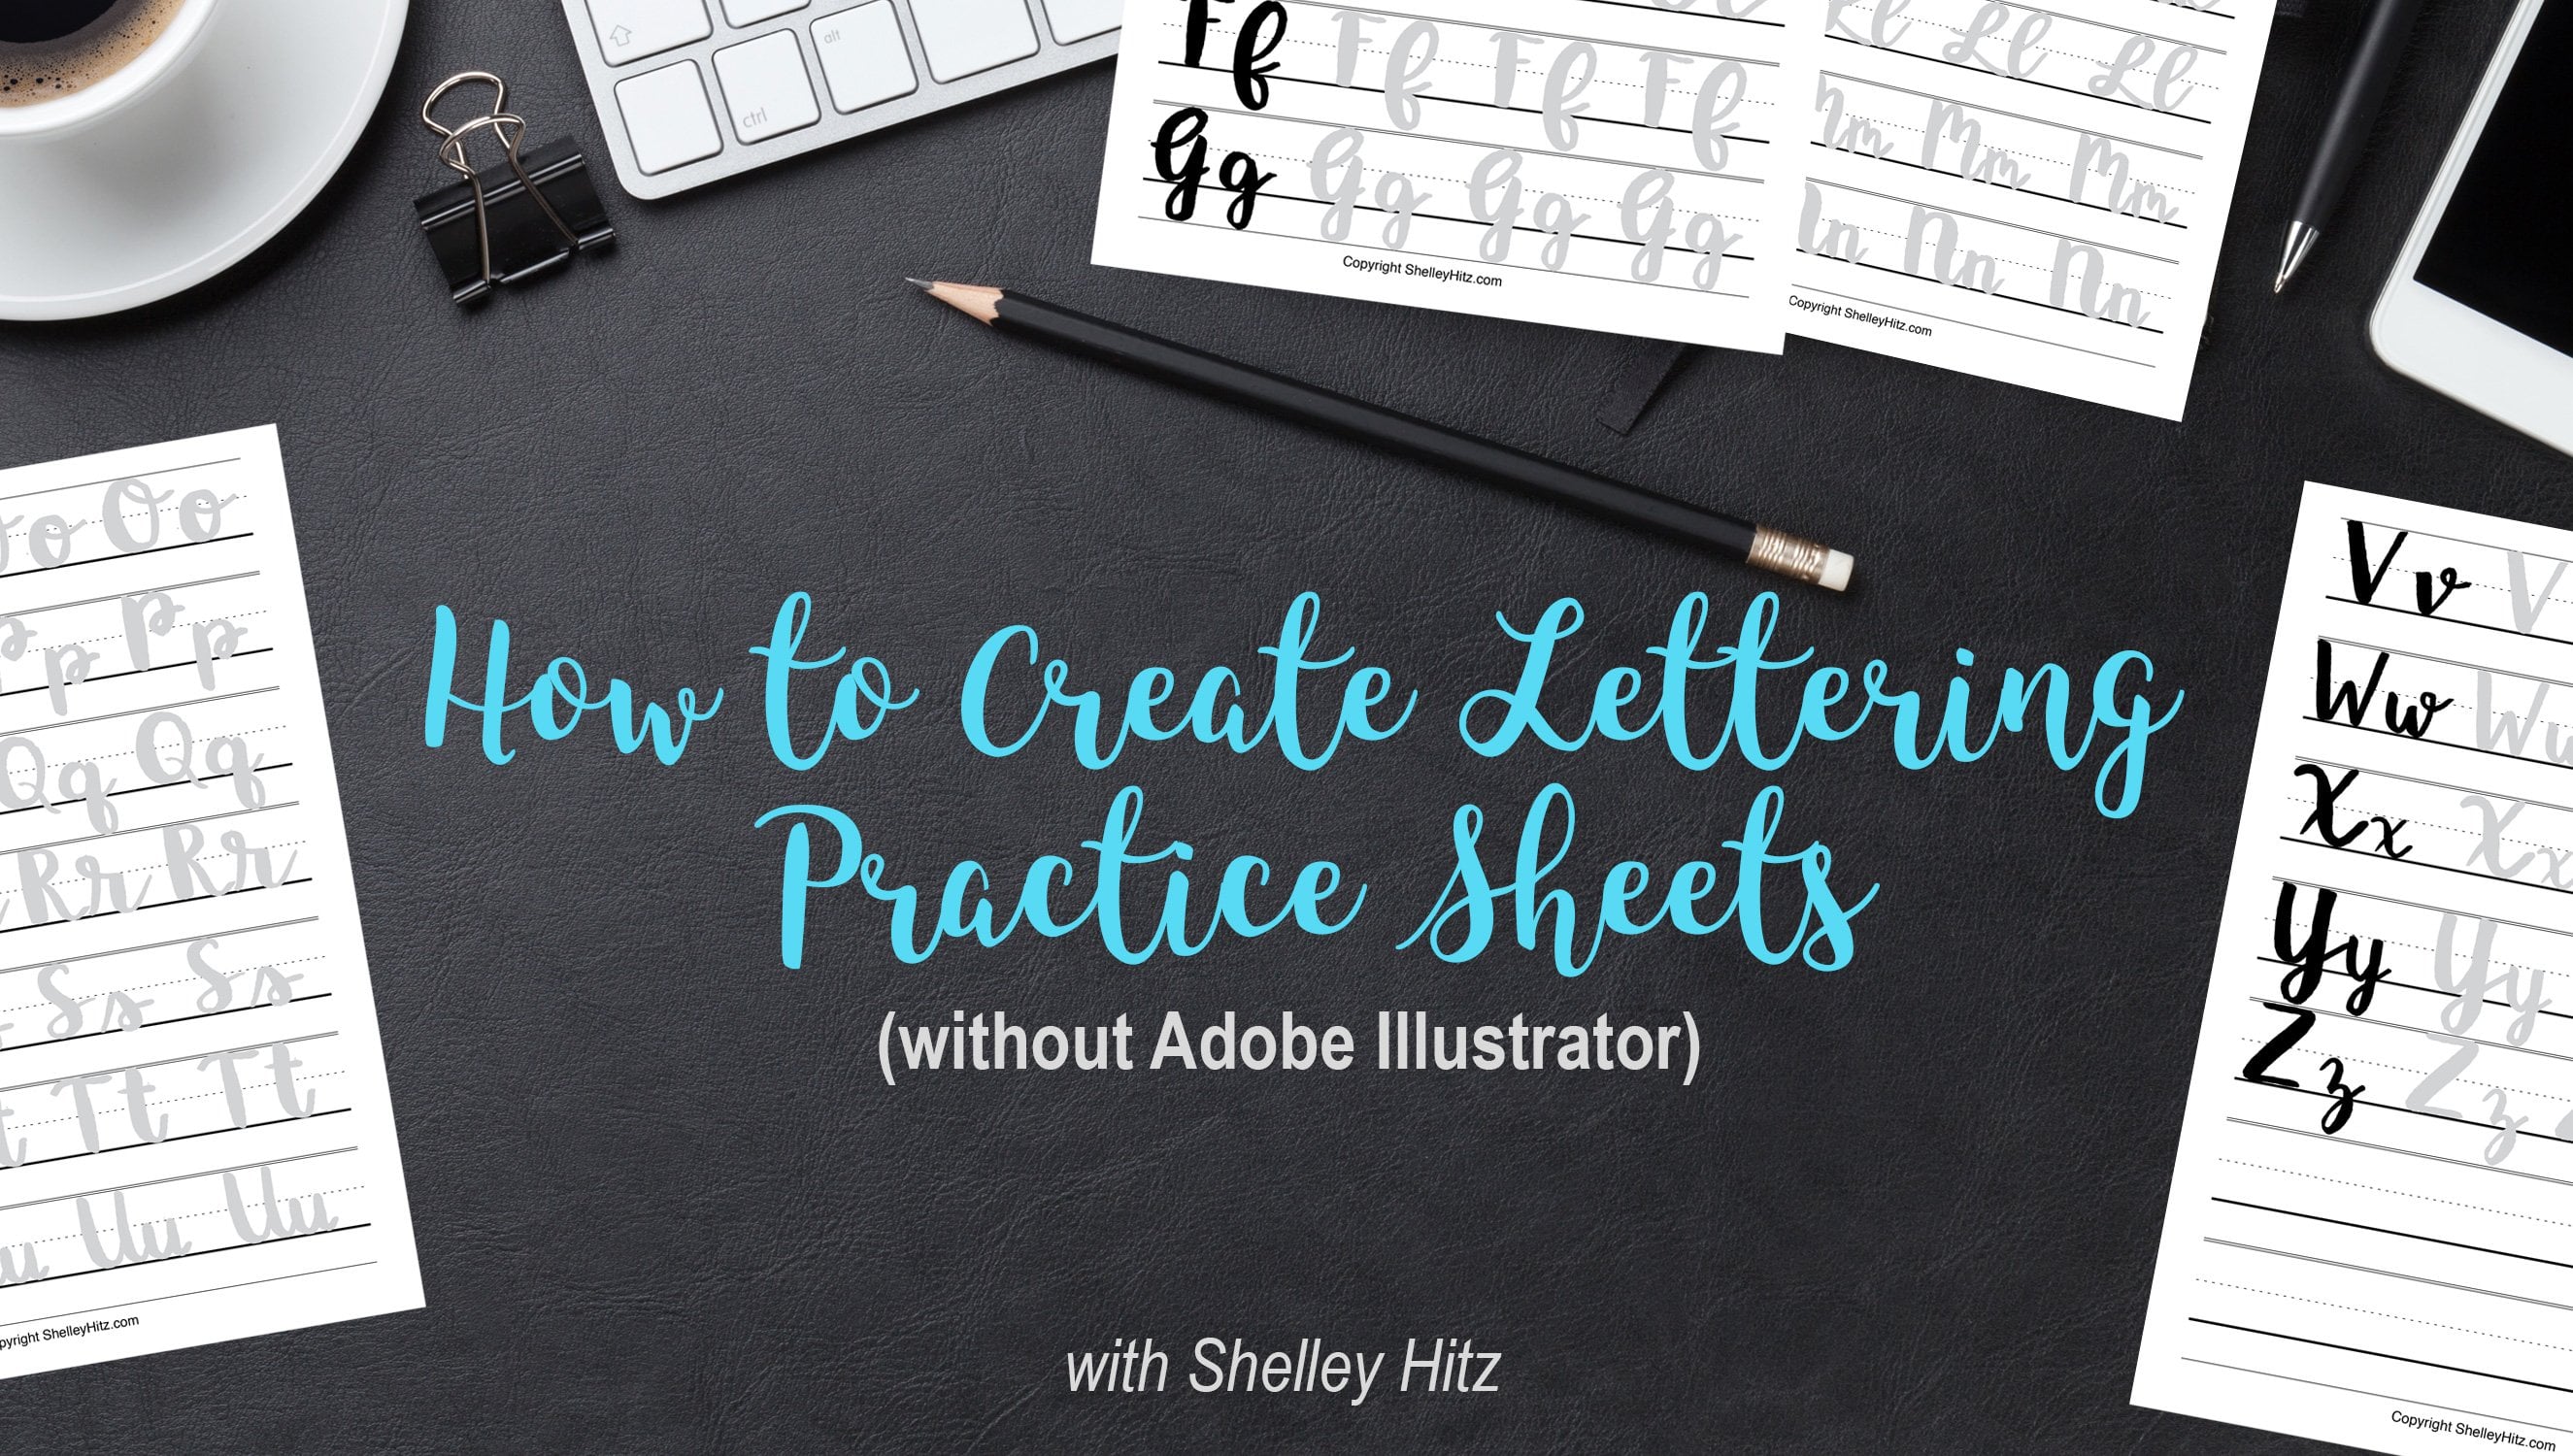
1. Intro to Flourishing Lower Case Letters : Hi, I'm Debbie. Seven telly. Welcome to my studio. I've been a lettering artist for the past 30 years and a font designer for the past eight years. So whether you're a beginner or more experienced, I have lots of chips and tricks to share with you in this class. I'm going to teach you how to flourish. Lower case script letters. It's one of my favorite things to do. I'll show you how whole arm movement is the secret to creating big, Beautiful Flourishes. This is an intermediate level class, however, if you've never picked up a brush before and you'd like to give it a go, I have plenty of downloadable templates that are very helpful, so you could give it a try. Or you can take my beginner rush lettering class. After taking this class, you'll know the secrets to creating big, beautiful flourishes as well as the basic types of flourishes, where to add flourishes to a letter and how to make flourished letters work within a word. And most importantly, your lettering will look amazing. All you need for this class is the downloadable handouts, some basic tracing paper and a brush marker, and that's it. And then we're good to go. I hope you'll join me. Got lots of flourishing to do
2. Set up and Body Mechanics: So I've got my tracing paper and my hand out that has the basic lettering, template and my fabric crystal marker or whatever brush marker you have that is about that with, I am placing the non writing hand at the top so I could hold the paper study. My feet are on the floor and I'm holding my brush in the position between my forefinger, my middle finger and my thumb.
3. Whole Arm Movement for Fourishes: so I know everyone loves the big flourishes, and I'm going to show you how to do those. But before I actually get into the letters, I want to tell you a secret. One of the things that allows you to have those big, sweeping flourished letters is whole arm movement and the proper body mechanics. And this really gives my hand the freedom to move more from the shoulder. I'm also going to be touching the paper from the tip of my pinky to the bottom right here of my hand and gliding it around the surface lightly. So all of that is a part of what helps you create those flourishes and put life in the flourishes. So before you try to flourish and do those big loops, you want to do some whole arm movement practice. So I want to point out a few things when I'm talking about whole arm movement and moving from the shoulder. I don't mean that that's the only place you ever move from. If I was just moving from my wrist, it would just look like that. So you're getting more movement from the elbow, and then as you get larger in your stroke, you're getting more movement from your shoulder. So the further up the arm, the larger the movement and in the elbow and wrist smaller movement. So you can also practice that going from large two smaller, too small, trying that movement from the shoulder and the elbow and the wrist. Hi. So you've already seen an overhead shot of my hand When I'm making whole our movements. I thought I'd give you a shot of my actual shoulder making movement. And as you can see, that's where that's where it starts. So this way you can make wonderful beautiful. Flores is with sound affects when you're using whole arm movement.
4. Where to add flourishes: So the first thing I want to talk about is where to actually add flourishes. The typical places are at the entry strokes and the exit strokes. So in the A, that would be here and here. Now what I'm going to show you with a different color marker is the second thing to consider which is, is the letter going to sit at the beginning of a word in the middle, or at the end of a word that also determines what kind of flourish you can use? So, for instance, this 1st 1 let's say, is at the beginning of the word. Here's the entrance stroke right here. What I can actually do is come into that entrance stroke like this. This would be a middle A. So because I have a letter on either side, I can't do that. But what I can do is use the space below, so I might come down here, come over and now I'm turning the page so that the paper and the brush is pointing towards my body, which gives me the most control of the brush. So that might be a an A that would work in the middle as long as we didn't have a G or why on either side. And lastly, we have the A at the end of a word, so there's many things you can do. But let's just add a spiral. Okay, so that's a typical X height letter. Let's look at an a sender letter. Let's look at the B. So again, if this were a beginning letter, we could come around here and go into the entrance stroke right there. And that would work well for that. If this were a middle letter, we can't come out that far, but we could possibly come around here and again. It kind of depends on what letter is here. But assuming that we have something like an E or an eye or a, you have some space there to do that. And lastly, we haven't ending letter, so there's many things we can do. But let's add a nice big swash so you can see we're not gonna have any problem interrupting another lender there because it's at the end. Now let's look at a descending letter. So for beginning letter again, we have something here, but we don't have anything here, so There's lots of things that we can do. Let's just take that in like that. Now let's look at a GI that's going to be in the middle of a word now again, if you had a why here or why there were going to be limited in what we can do. But let's assume that we have X height letters on either side. So as long as we stay below those, we can do something really fun like that. And again, we have an ending letter so we can bring this out. Come around, do something like that. So that's the first part of how you create a flourish you think about, Is it in the beginning, middle or end of a word? And thats what starts to determine what type of flourish you can put there
5. Basic Types of Flourishes: Now let's look at the different types of flourished. Now these air just some. There are so many different flourishes, but these are what I would say, the basics. So the 1st 1 This is an ark to curb where you could just call it an ark. So let's take, for instance, the letter E. And we just want to add that and come out. Obviously, that would have to be at the end of a word. Next is a loop. So just like we did before, we could do that at the bottom of a G. And we could also do loops above with a sender's. Now let's look at the spiral. Obviously, that's gonna be more of an ending letter and the curve basic curve. There's your basic curve. We have an s shape, and this is typically in many different directions. Let's try that H again with an s shape at the top and we've got a combination. Really. This isn't s shape and a loop. It doesn't really matter what you call them. It's more about just playing around and experimenting. Next we have this train Giller shape. So a typical place to use that might be on and s, and that also is called reverse direction. When you're going in one direction and then you change directions, you could also do that in a letter like this j So those are the basic shapes. But again, it's all about experimenting and playing around and see what shapes are pleasing to the letter and fit with whether the letter is it in the beginning, middle or ending of the word.
6. Visualize and Take Practice Swings: so I want to talk for one minute about visualizing a flourish, and why this is important is because you want to get your mind and your body ready to make that movement. This is another reason why it's good to use a skeleton, a pencil skeleton of the flourish, especially to practice. You want to get used to seeing what it looks like, the spacing that's involved and also you want to take some practice swings. So you're telling your body what you're gonna ask it to dio. Now it doesn't mean it's gonna be perfect, but the more that you practice and the more that you do this every time you want to make a flourish, the more you're committing the memory to the muscle. And another thing you can dio if you want a practice. Getting that smooth movement is put a piece of tracing paper underneath your hand, so that way it flows more easily, and now I'm slowing down and there you go. So get into the habit of visualizing and taking what I call practice swings in the air and you'll commit the memory to the muscle
7. How to make Big Flourishes : So are you ready to get to the big flourishes? Hopefully, you've done your whole arm movement. You're sitting up straight. You got your brush in your hand properly and you want to have your exemplar, your alphabet exemplar underneath your tracing paper. Always use something, whether it's the guidelines or the actual exemplar, because why you're learning, you always want to have that structure beneath you. So we've got our arm motion going. And one of the things that is good to Dio is to kind of practice in the air what you might want to do once you have the brush down. Okay, so let's start with the A playing around with something to do on the bottom there. And let's try a nice big movement coming into the B. Drop it down to Well, im doing these. I might be also making some other variations in the letters. I want to a little cap on that. I'm trying to show you some really big swash is Everybody loves those. I'm gonna try coming over here. Coming in. Let's go really big on that, De No, What I did here is normally this would have been the first stroke like this and then coming up here would be the second stroke. So what I did was I took the entry of the second stroke and just pulled it out over here and did that first and then the first stroke. So sometimes when you're flourishing, you can kind of pull things around a little bit, move things around, I should say. And e, I want to try something. Here we go. That could be interesting. So this is all about playing to the G? Because, as I said, there are lots of different strokes that you can add. But sometimes, you know, you just create them and sometimes they work, and sometimes they don't. But that's why you practice. We're gonna try a totally different approach to the H, and I want to come down. I don't like to do too many bizarre things with the I. It's, too, unless it's on the end. It's typically kind of a foundational letter like E and a. Now what I just did here was I turned the page because you have the most control over the brush when the stroke is coming into your body. So to do that you actually turn the page to create the stroke again. We have a nice a center with the J. So let's see what we can do here. Let's go down really low and I kind of come down like this, so that could be some something fun. And again, if we were writing the word raise, there'd be no problem with putting that are there because we don't have any d senders s one of the fun things to do with an S. You come around here, turn your page, come back into the stroke and come back. That's a little bit of a reverse direction. Kind of got a little squared off there. I like to dio just a straight T sometimes and then you can dio of fun flourish for the crossbar. You see, I like to bring this up really high and enlarge that circle. And another favorite is come out and really thinking that up at the top. W It's fun to kind of come down. So now I'm making some alterations. But that's what part of Flourishing is also altering parts of the letter. The X and we're gonna turn the page. I wanna have most control over that stroke. I'm gonna come up high, go very thin through the middle and come down really far. So the important thing is, whenever you're crossing lines, you always cross a thin line with a thick line. Never cross a thick over a thick is just not pretty. Why? I'm gonna do a little practice here, come up and go back around. So come around When you keep your lines thin enough you conduce you mawr loops like this If they're too thick, it gets too jammed up and again just does not look good. Let's do the Z and I'm gonna practice in the air something like that down low. Oh, her And you can also do a different type of Z This so if you wanted to flourish this all different kinds of things you can do. But it's all about playing around doing those whole arm movements as you're practicing so that your lines are flowing. They have some life in them. They're not cramped up in tight and too thick
8. Are the Flourishes working ?: if that was on the end of a word, that could be a very beautiful finish. But if you used this letter as well as 45 other letters that were flourished, it could be too much. So while this looks balanced as a letter, it may not be balancing the word that you're putting it in. The other question asked is, Does it still read like a letter? This could be read as an H. So unless we had a word that was very clearly a B, and even then it may not work. You had still doesn't work to me. This is just way too large for the rest of the word, so I would not use that. So every flourish letter that you create maybe doesn't work as well as you would hope so you really have to ask those questions. Does it still read like the letter? Is there enough negative space? For instance, if I were to do this a differently and really crammed it in something like that, that's just way too heavy. That's competing with the letter. So you have to ask these kinds of questions because while this in itself, the flourish is actually fine. The weight of the lines is not appropriate for this letter. So asking is there appropriate balance? Is there enough negative space? Does it still read like the letter? Those are really important things to consider.
9. Adding Flourishes to a Word: now, the other thing to consider is how does the letter work in the word that you're trying to put it in. So let's take the word celebrate, and what we're going to do is we're just going to create with pencil a skeleton of the word so we can look at the possibilities of where to flourish while considering the other letters beside it. So if the letter is at a beginning or end, you know that you have space on either side to create some flourishes. So we could easily bring this out, do a little spiral there. And if we wanted to, we could come into the sea like this kind of counter that spiral. What letters are on either side of the letter, you're going to flourish. So we looked at this word and we see that we don't have any G centers, so that means we have a lot of room to play down here and we have three A centers, so we know that those would be great places to flourish. So we want to be very careful to not flourish every single letter so that the X height letters are kind of the foundation. So let's look at what we could do to the L Add a live there, and we could bring it down here to the B. We could also add a look. We could even come in and we could change the loop and bring a little higher. This is another thing to consider when you're flourishing. We could have these loops exactly the same size. That would be one option, but it's a little bit more interesting to vary the size and also the height. So this is slightly taller than the AL again, We've got the tea that we could bring down. And we've got all this space here. And if I were to do this, the same thing is the l again, maybe a little bit too boring. So what if we did a reverse direction and brought that back? Now that kind of fills that space in nicely, and we don't want to do too much with the tea with a crossbar, because we've got a lot of flourishes going on, and I think just keeping it simple is really best. So now let's take a look and see what that would look like Once we use our brush, so we're going to line it up with our baseline. It's always always good to use a guide underneath, especially when we're practicing, because it helps to train your eye in your hand to create the proper forms and the proper spacing and eso. We always want to make sure to try to do that. So let's start with our spiral into the sea. R E Very simple e. We don't need to do anything with that. Let's let's bring this out a little bit. I'm even gonna bring it over and tuck it down in there a little. And when you create the skeleton, it gives you these opportunities to look at other options to try. In fact, I'm going to extend this over and do that where they are, and I just change the A slightly I turned the oval on its side instead of being up and down , actually lower that a little bit, and when you're doing a flourish that's a long flourished, this isn't s curve also reverse direction. It's best to have that pointing into your body so you turn the paper so that it's pointing into your body and that way you are sure to have the most control of the brush. Never spiral on the end, and we're just going to do a simple cross of the T. Always remember, you want to cross a thin line over a thick line, never a thick line over a thick line. So now I can look at that and I can say, How did flourishes add to the overall look of the word? They add a lot of life to it, and they really kind of bring out more of the meaning of the word. So that's working. Is it balanced or too overdone? I would say it's fairly balanced. We've got a little bit going on here. We've kind of got thes balanced on the ends and this is all looks visually pleasing to me. Does it read like the letter? Yes. Every letter here reads like the letter it's supposed to be. Is there enough negative space? Yes, there is. We've got this nice space here. We've got some space here. The spirals have some nice space in them. Same thing with the loops so that we can check that box on. So this is the process that you go through to create flourishes in lower case script letters and then eventually inwards. And I also have a class how to flourish a word that further talks about this process, so I hope you'll check that out as well.
10. Final Thoughts: I hope you enjoyed this class. It's one in my brush lettering. Siri's Flourishing is one of my favorite things to do, and my goal is to break it down into manageable parts so you can understand how and where to add flourishes. I'd love to see what you've done. So please post pics of your practice. That's the class project on the project page. And if you be so kind, please leave a review and follow me so you will be able to hear about all my upcoming classes. Thanks so much. I appreciate your being here with me.
 Debi Sementelli, Brush Lettering Artist and Font Designer