Transcripts
1. Introduction: Even if you hate reels uploading [inaudible]
effects to Instagram can increase your visibility and help you gain new
followers passively. Hi. My name is Olena. In this class, I'm going
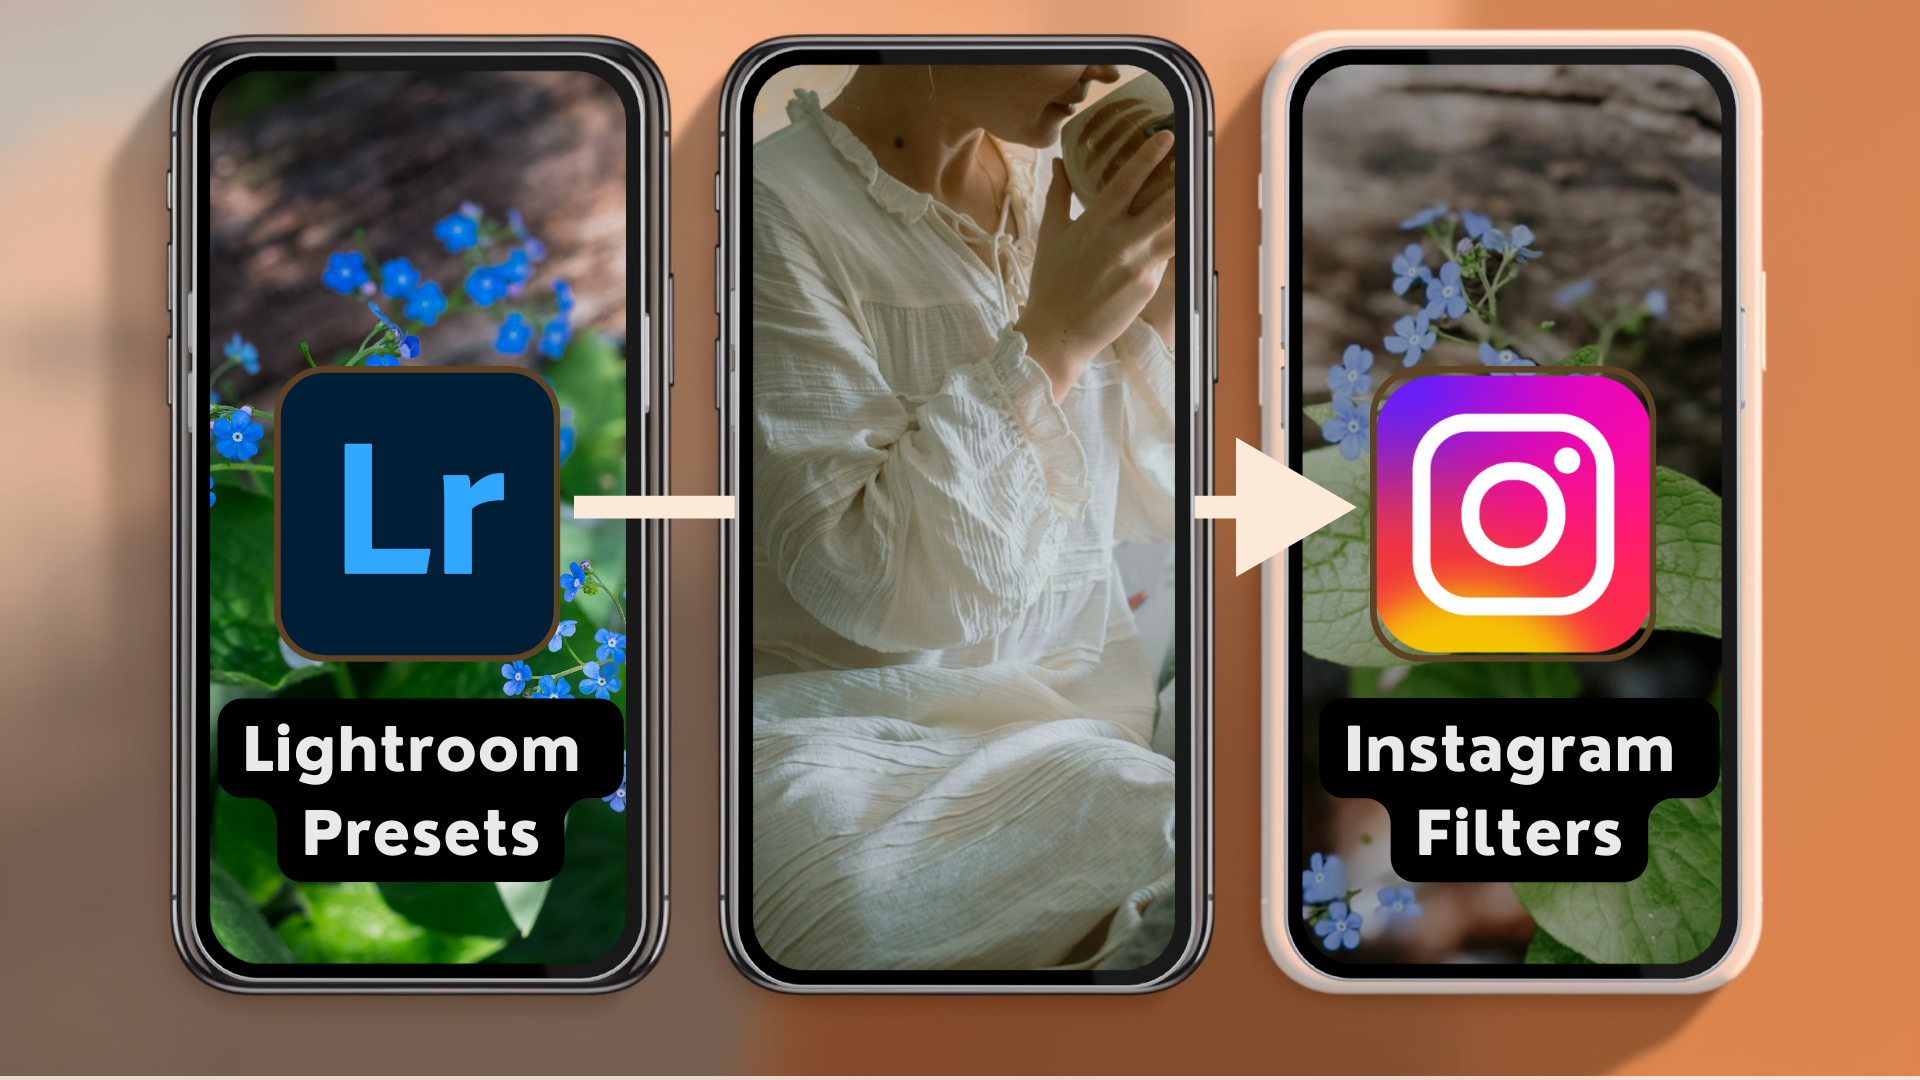
to show you how to turn any preset of your choice into an Instagram effect that
will show on your profile. I'm going to take you
behind the scenes of my Meta Spark Studio
where I created my most popular
effect that has over 300,000 impressions
on a weekly basis, and has given me 40% increase in engagement and
traffic on my Instagram. It was actually very
simple to create, and in this class
I'll show you how to get approved for it and step-by-step process of
how to actually make it without any coding
experience required. To grow on social media, it's no longer enough
to just share reels, stylized stories in lives. Your content needs
to stand out and unique Instagram effects will help set your content
apart from the rest. Thus if like me
you're tired of using the same filters and
want to stand out, join me and learn to translate your favorite filters and
presets into Instagram effects. My name is Olena and I'm a Food and Product
Photographer and Videographer with over 250,000 followers on my
Instagram accounts. I'm a top teacher
here on Skillshare, and over the years
I've been teaching lifestyle photography and
Instagram growth strategies here on Instagram and through my newsletters and
photo challenges. The techniques I use in this
class are easy to follow, and I'm confident that with
a little bit of practice, you'll be able to create professional-looking filters
in 10 minutes or less.
2. Project & Class Overview: When you share in effect, it will be discoverable through Instagram Effect Gallery and can be used by other users in their own Instagram
stories in reels. If a user shares reel
edited by your effect, and that reel goes viral, so does your Instagram effect. People may start following your Instagram account to see what other effects
you have created. For this class, you don't need
any previous knowledge of working with augmented
reality software or coding. If you've never made a
Lightroom preset before, don't worry, I'll show
you how to do it. The spark AR Studio
is available as free download on your computer through your Facebook account. I will provide you with all the necessary
files required for step-by-step process of creating and publishing your very
own Instagram effect. To jump right in and follow
along with the class, you will need to upload
the following software; Spark AR Studio on your
computer, Spark Player app, on your phone, Lightroom Desktop or Lightroom mobile app, and if you don't have access
to it, please don't worry. You can use VSCO or any other editing app in
a similar fashion too. You also need to download
the following files, neutral BaseColor card to which you will apply
your color preset, FastColorLUT for Spark
studio and the Workbook, which will provide you with the step-by-step instructions
and screenshots as we go along converting our color preset into the
Instagram filter. You will find the
links to spark studio and app in the class
description and can download the base
color PNG file and FastColorLUT from the project
and resources gallery. For the project of this class, I would love for you
to create and publish at least one Instagram effect using the method I
cover in my lessons. It will involve
creating a Lightroom or any other preset and applying
it to the base color card, starting a new project in the Meta Spark Studio and
importing our files there, previewing your
effect on your phone, publishing your effect on
Instagram, and finally, sharing a screenshot
of your effect in the project gallery
so I could try it out, save it, and share it
with the other students. Remember, the more
eyeballs on your effect, the more people
will discover it. Also feel free to add
a photo editor to zero effect and
share it along with the link or a QR code so that other students in this class
can easily find it too. Now that you know what
to expect from the class and what downloads you
need before we can start, please join me in
the next lesson, where we will go over creating a Lightroom preset and applying it to the
base color file.
3. Creating Your Lightroom Presets: Welcome to class Number 3, creating a Lightroom preset. By now, you will
have checked out the resources gallery and uploaded your files
to the computer. If you have Lightroom software, please save the base color file from the projects
and resources of this class on your desktop and import in into
your Lightroom. I will demonstrate how to
make and apply the preset on my computer for the purposes of this class as it's
easier to see. But the same steps will work
on Lightroom Mobile as well, on your phone if that's
your preference. You can also apply the
similar adjustments in VSCO or any other editing apps. Thus I just wanted you
to know that you are in no way restricted to
using Lightroom only. You can use other
editing apps of choice and make
some adjustments. In the end, you will
just need to apply those color and
contrast adjustments to the neutral color
base and import it into Meta Studio for
further processing. If you don't have a
ready-made preset, please don't worry, I'll show
you how to do it right now. As our focus of this class
is Instagram effects, we're not going to spend too much time on
making presets and are going to create a
really simple one with only a few
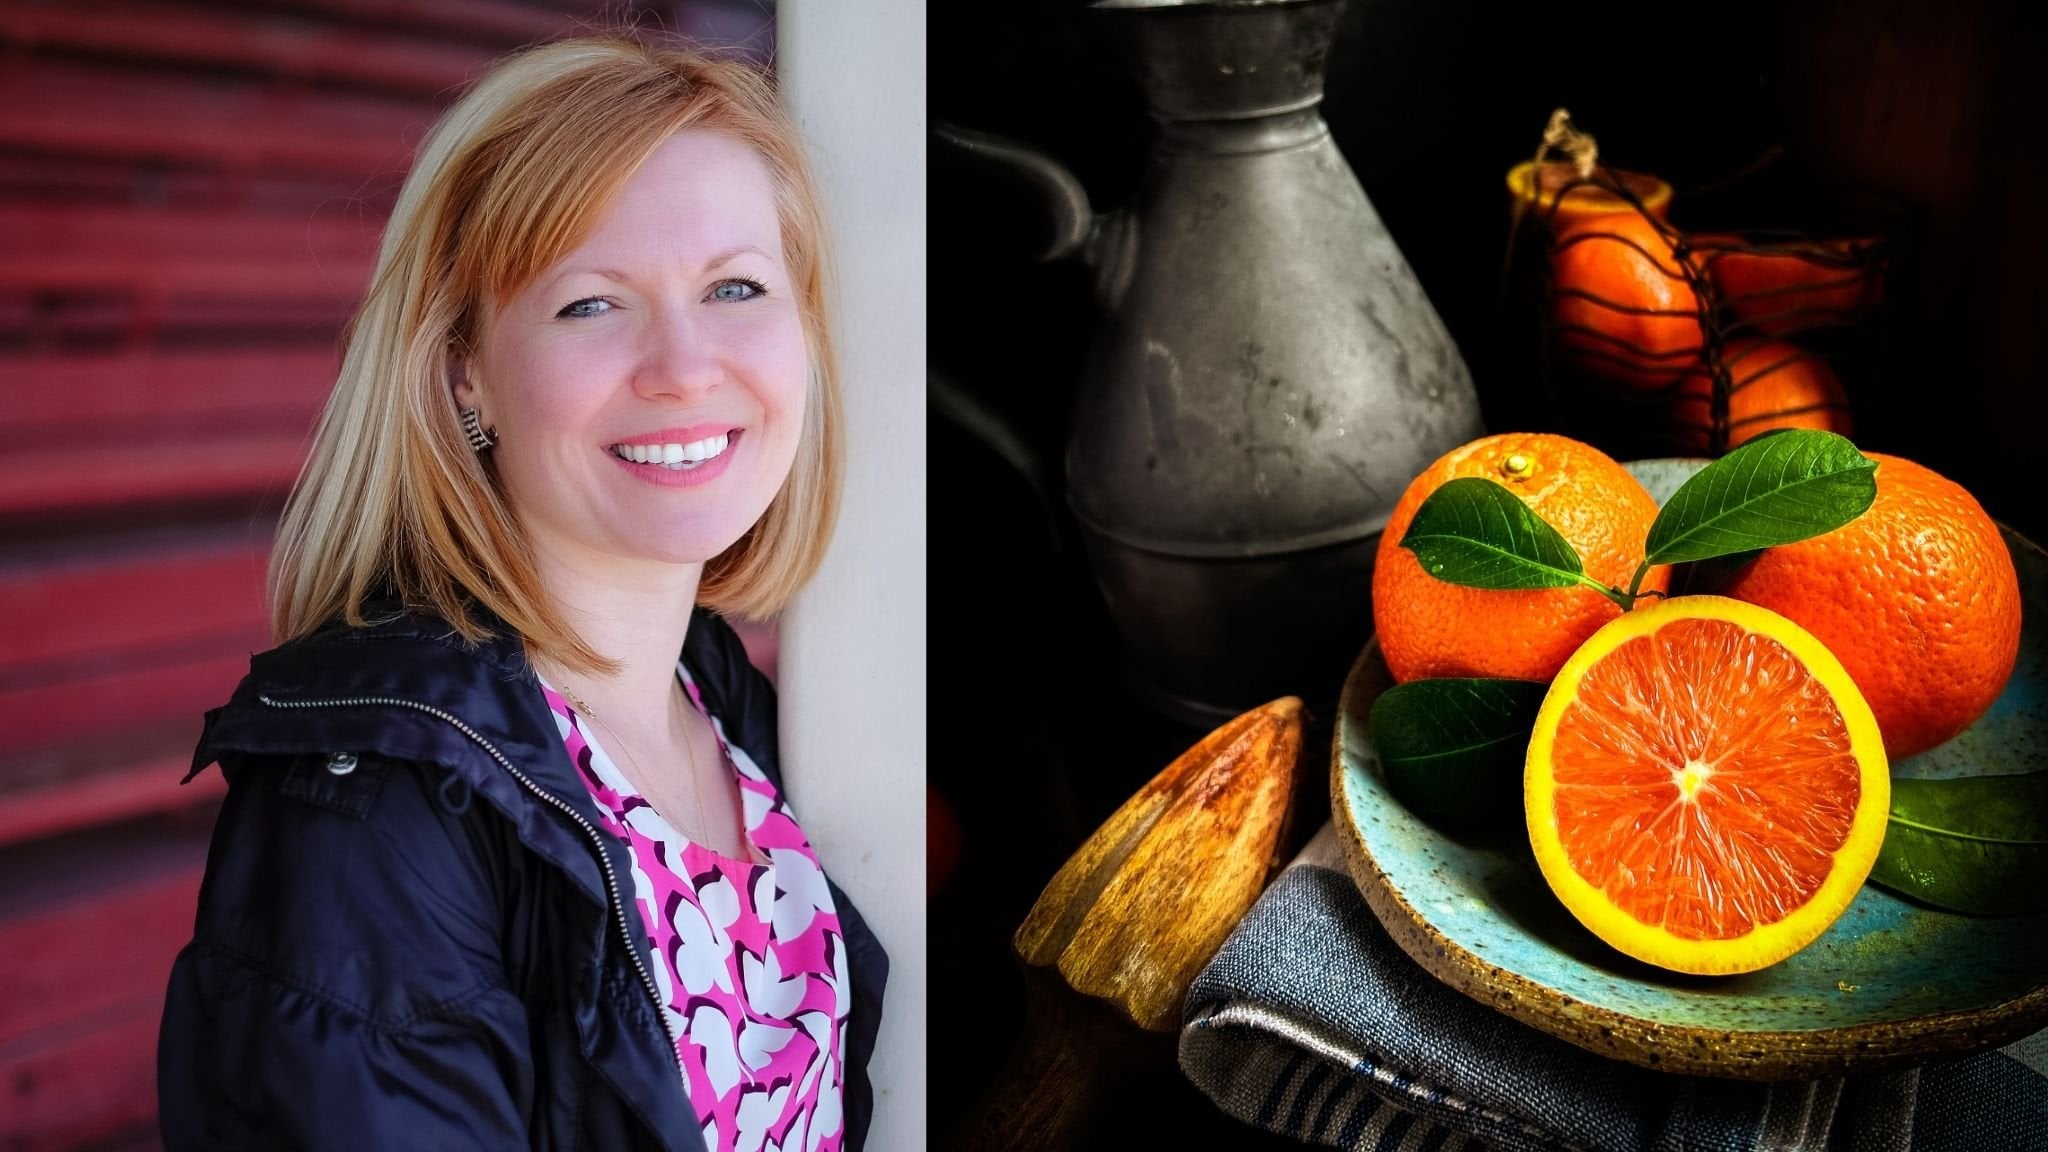
basic adjustments. Now let's open the photo
we want to edit and make a few tweaks that will have
a visible but subtle impact. The first thing I usually do to my photos is in
''Develop'' module, go to ''Lightroom
Premium Presets'' and apply the one I like from
the lifestyle collection. LF05 tends to work well
with this photo I think. I'm going to apply it to the
partial strings of about 60. Then I'll click on ''Auto'' to see if it improves the light. I'll check the exposure to see if it needs
more light or not. I'll most likely leave the highlights slightly
to brighten up the image. Maybe I'll adjust
the whites a bit too to create the sunshine
effect within the frame. I'll then slightly
lighten the shadows. Then I would increase
contrast to make it pop and finally, I'll lift the blacks a
bit and boost vibrance. Further, I might play with the tone curves a bit mainly to lighten the mid tones as I like a brighter area
look for this photo. Normally, I would always
sharpen the image and apply a bit of masking especially
when I'm editing portraits. I would also reduce the
noise particularly luminance and color and then I would
tweak individual colors. In this photo I would
like to adjust yellow and move the hue slightly towards the orange to
improve skin tones. I would make orange
more luminous and that would make
skin glow and lastly, desaturate and
lighten the greens. Since I'm going for
a dreamy airy look, I might do a bit
of color grading and boost luminance in shadows, mid tones, and highlights. Then I would go up to the top
and apply a color profile. I'll like to use modern profiles and usually apply Modern 1 with
a very light hand, Modern 2 or Modern 4. I particularly like the dreamy, warm feel Modern 2 will
give to this photo and I might just reduce
the intensity a bit. It may take a long time to get your photo
looking just right. But for the purposes
of this class, let's just stop here and say our preset is
ready to be saved. Let's go to the presets on the left and scroll all
the way up to the top. Let's click on "Plus Tab" on the right and choose
"Create Preset". Now ''Developed Preset''
window pops up. Let's give our preset a name. I'm going to call mine
spark dreamy green. Since we're using it in Spark, we have to make sure that all the values under
the ''Detail'' tab are set to zero to prevent color meshing in
shadows and mid tones. Thus, we will uncheck
the Detail tab including sharpening and noise reduction
in luminance and color. This is where you need to pay very careful attention and
maybe even take a screenshot. This step is very important as otherwise you might
end up with a filter that has very
pronounced red noise and dark shadows that
simply won't go away. I've made this mistake
before and it took me days to figure
out how to fix it. To avoid the problem
in the first place, just make sure those
fields are unchecked. Now let's bring up
our base color image and apply our new preset to it. Let's double-check quickly
that all the adjustments are applied and that all the
detail values are set to zero. To do this, I would usually
go to ''Library'' module, right-click on the photo to bring up ''Develop Settings'', check copy settings to make sure that the detail
field is unchecked. Looks good to me. Now
we are ready to export. In the file settings, please choose PNG file rather
than the usual JPEG because PNG files do not usually lose its resolution
when exported. Let's go ahead and
export the file to our desktop into a new folder, which I will call a IG effects. This is where I'm going to
save various color cards, these presets I want to add to my Instagram effect library. I will need to have
this files handy when I'm ready to import
them into Meta Spark Studio. Make sure you save it somewhere
where it's easy to find. If you want to apply a
different preset as well, just go back to develop module, reset the file and apply
a different preset. Check to make sure that it
looks good and export as PNG. Just a couple of words about
the presets you create, I notice that mine
tend to appear a lot harsher once they're
imported into Instagram. Thus I would go
easier on saturation, vibrance and contrast,
and perhaps reduce the intensity when applying
them to the base color card. Otherwise it may look a bit
weird in the final product. Since your filter
will be used with different lighting situations
especially at night, it's best to go with more
subtle look and tone down on the strings of your filter when you
apply to the base color. Also what looks great on one skin tone can look
horrible on another. Thus, by making sure the color
adjustments are settled, there is more chance
for your filter to work well in any scenario. When you think of filter, think of the choices you make when you're choosing
furniture for your home. Neutral pieces go
with everything. Likewise, neutral filters
will work in any scenario. Finally, just to
recap on this lesson, so far we've created a
new Lightroom preset. We applied it to the
base color file, and exported our
new color file in PNG format into IG
effects folder. To monitor the progress
and keep on track, please download the
Workbook for this class and check the fields pertaining to the steps we just completed. Now the assignment for
this class is to think of possible names for your color preset and to your
Instagram effect. You could name it based
on your dominant color, on specific adjustments
that you used, on the season, the
city of origin, theme or the application. Is it best for still-life? Is it best for portrait, great for food,
home, or lifestyle? All of those should be
considered when naming a preset. That's all we need
for now and we're ready to head straight
to Meta Spark Studio. If you haven't
downloaded it yet, please go into the projects
and resources section of this class and click on
the links to download. See you in the next lesson.
4. Importing Your Presets Into Spark AR Studio: In the previous lesson, we learned how to create a Lightroom preset and apply it to neutral
base color card, which we will import
into Spark AR Studio to add a preset as an effect
or filter to Instagram. If you haven't uploaded
the class workbook yet, please do so now. To get started, you'll need to download and install
Spark AR Studio. You can find the
download link in the Projects and Resources
section of this class. And please don't worry if the software looks
intimidating at first, I'll walk you
through the process and with a bit of practice, you'll be able to publish your effect in 10
minutes or less. The first step is to prepare your base color card
with the preset applied. You can find the
neutral base color card in the Projects and Resources
section of this class. This card is like a recipe
that tells the computer how to adjust the colors
and contrast to create a certain
mood or atmosphere. If you use Lightroom, VSCO or any other editing
app on your phone, just save the color card to your phone and apply
the filter to it. To apply the filter, open the color card
in your editing app, apply the desired preset and make sure that the
detailed values, such as sharpening and noise
reduction are unchecked. Once you're done,
just export the file. You'll also need to download
the FastColorLUT which is the patch used to convert your color preset to
an Instagram filter. You can find the
FastColorLUT in the Projects and Resources
section of this class. Now that you have
your color graded base card and your FastColorLUT, open Spark AR Studio and
choose the blank project. In the workspace,
you will see a field dedicated to assets in
the bottom left corner. Now, let's go ahead and
import both the color graded based card and the FastColorLUT
from your computer. They will appear
under the Assets. You can do so by clicking on plus and downloading
files from your computer. Next, let's click on the
collage looking icon in the top left corner to
select Show Patch Editor. Now, we'll drag the
FastColorLUT patch into the editor field. You'll see that there are two input ports on the
left of this patch. One for LUT which
is a color filter, and another one for texture, and one output
port on the right. All of these components
need to be connected to something and they are required
to make Instagram effect. Now let's go ahead and input your ColorLUT by
dragging it into the patch editor and
connecting it to the LUT port of the
FastColorLUT patch. Next, we want the
camera texture to connect to the texture
port of the patch. To extract the texture
from the camera, let's go to the camera in the upper left section of the
workspace and click on it. This will bring up a
new camera field on the upper right section
with different options. As you move down this field, you'll see texture extraction. Go ahead and click on the
plus sign next to it. If you look back
on your Assets and Texture sections of
the bottom left, you'll notice that the
camera texture file gets placed under
your color filter. Now, drag the file
onto the editor and connect it to the texture
porch of the patch. This is how you extract
texture from the camera and connect it to the
port on the FastColorLUT. Now, we need to create a layer on top of the camera lens, which will become our
final Instagram effect. In order to see the
filter in action, we need to choose the
appropriate cameras simulation or turn on the face time
camera on our computer. You can do this by going to the camera icon in the
upper left section, clicking on it and seeing
which mock up works best for your skin tone
or your intended subject. My camera is on and soon
we'll see the effect in action as it will be applied
to my camera in real time. But first, to do this, we'll create a canvas. Right click in the
workspace in the top left quadrant and
select add canvas. Then right click on the Canvas
and select add rectangle. As a result, you will see a little checkered rectangle
appear in the corner. To make it stretch across
the entire screen, click on the width
and choose fill the width and do the same
thing for the height. Currently, the canvas appears checkered because it
lacks a material. Material can take
a form of a photo, an illustration, a
design or a texture. Or in our case, our material will be the color filter that
we want to apply. Think of material as an overlay of paint on the clean canvas. To add the material, we need to click on the plus sign next to
the material option. This will automatically
add the material to our assets under the
Materials section, Let's give it a new name, such as Spark, followed by the
name of the chosen preset. Once we have renamed it, we can extract its texture by clicking on the little arrow
pointing to the texture. This will create a
patch that we can connect to the output
of the first color lot. And voila, the effect has now been applied and this
is what it looks like. From here we can
either preview it on a device and then
publish it to Instagram, or replace it with
another color filter. Suppose we want to replace the current filter with another. To do this, we can import another color filter
from our computer. Basically, it's another
base color card with a filter applied. It will appear in our textures. We can drag it to our editor, remove the existing filter, connect the new one, and voila, we're done. We've done such a
lot in this lesson and everything is
quite overwhelming. Now let's go step by step
and summarize this lesson. In this lesson, we
learned how to create an Instagram filter using
Meta Spark AR Studio. We started by downloading
a neutral Base Color Card and Fast Color LUT from the Projects and
Resources of this class. Then we opened a new blank
project in Spark AR Studio. We then imported our
files into the workspace. We can find them under Assets. We created a patch
in our editor, which looks a little bit like electric circuit in physics. Then we extracted a
camera texture and created a rectangular
canvas filter layer for camera simulation. We applied the material, which is our filter to the canvas and
extracted its texture. Thus, we created four
different patches that came together to
create an Instagram effect. Now, you can preview
the effect on a simulator or on
your own camera live. In the next lesson, we will test our Instagram filter on a device and record
a screen video. But before we do that, we need to assign a
category to our filter. Categories help users to find filters that
they're interested in. It also helps with the
discoverability of your filter. Some examples of
categories are beauty, art, entertainment,
sports, and so on. Thus, the assignment of this lesson is to choose
the category that you think your filter
will best belong to and write down
in your workbook.
5. Previewing Your Effects: Welcome to Lesson 5, previewing your
Instagram effect. Before publishing,
it's important to preview your effect life and test your filter on a device to make sure it works as expected. To test the effect
on your phone, you need to install
meta spark player app. You can find a link to it in
the projects and resources. Now let's get our phones out and connect them to the computer via a wire to test the filter
in real life situation. To do this, I would like
you to follow these steps. Open the Meta Spark AR Studio, and make sure that your
project is open and selected. Next, I would like you
to connect your phone to the computer via a USB cable. In my case, I'm using an iPhone. On your phone, you will
see a pop-up message asking you if you can
trust this device. I'm choosing trust. Go ahead and open the meta spark player app. On your computer,
click test on a device and then install the
experiences you want to test. There are three
experiences available, sharing the effect, video calling, and ads. Sharing effect applies to Instagram and Facebook
stories and Reels. Video calling applies to Instagram and
Facebook Messenger. You can go ahead and
install them one by one. But for the purposes
of this class, I'm going to focus on
sharing the effect only. In the sharing effect option, choose camera and existing
media within the Instagram. You could apply the
effect both to live footage as you're recording
and to existing footage. Please click on "Send"
next to every option. To test the filter
on your phone, just go to meta spark
player app and open it up. Then go back to Meta
Spark Studio on your computer and click on the "Send" button next to
the name of your phone. Here you could either record
a video in a selfie mode or click on Media bottom-right
and choose existing footage. The filter will be automatically applied to whatever you
have open on your screen. This will be the demo
video you will use when publishing your filter
through Meta Spark Studio. If however, at this point, you notice that there's
something wrong with your filter, for example, there is a weird red color appearing on the dark shadows, there is a quick fix. Go back to Spark Studio, click on New Preset
in the assets. It will open texture file
information on the right. Go to compression and make sure your device is not
compressing the file by scrolling down to
select no compression or none selection
under each device. Preview the filter on
your phone again and make sure that this problem
has been taken care of. Now you can go ahead and
find the preview video on your camera roll to make
sure everything looks good. You can also preview the
effect on Instagram stories. I like to do it by copying the test link to my notes and
following it on my phone. Finally, congratulations,
you have successfully created and tested
your Instagram filter. Now in the next lesson, we will learn how to publish our Instagram filter
on the platform. Finally, the assignment
for this lesson is to record a test
video of your effect. This will be your
demo video later. In the next class, you are going to publish your effect to
Instagram platform.
6. Publishing Your Effects: In order to publish your filter, you will need to create
a Spark AR Hub account. You can create one by going to Spark AR website and following
the steps to sign up. There are two ways
you can publish a new effect in Spark AR Hub. You can either publish directly from the
Meta Spark Studio, after you've tested an
effect on your device, or go to Meta Spark AR Hub and upload your exported
effects file there. Both of these ways will
lead to the same end goal, submitting your filter
for the review and ultimately publishing
your effect on your Instagram profile. I'll demonstrate both
methods in this lesson. But before we go into
publishing the effect, let's review what we've
done so far in this class. We've created a
filter in Lightroom, VSCO, or any other editing app. We added the filter to the
effect in Meta Spark Studio, we previewed the effect on the device and tested it
on Instagram stories, and finally, we are now
ready to hit Publish button. Let's go back to
Meta Spark Studio and examine our options there. Please go ahead and click on Publish button in the
lower right corner. There is a popup window
asking you to either publish new effect or to
update an existing one. Please choose to
publish a new effect. You may choose to upload a demo video at this
stage or do it later. I usually do it later. But if you click
on the demo video, it gives you an option to record a live video using
your computer camera. Now having made sure that the file sizes and capabilities
meet the requirements, you could either export
to save the file, or go straight to uploading. I usually export the effect
file, given it a name, and edit to the same
folder as my preset, my demo video, and
image thumbnail. It makes it very easy to find, share, and use in the future. Another benefit of exporting and saving the
file first is that you can use it as a template for your future
similar projects, and publish new effects
just by swapping the pre-set filter file as I demonstrated in
the previous lesson. Now let's click "Export". A pop-up box will appear, let's type in the name of
your preset and click "Save". Now, if you're ready to upload
your effect right away, let's click on "Publish" again
and go straight to upload. If you already have an account registered with Meta Spark Hub, the system will take
you there right away. If not, please go
ahead and create an account using your
Facebook profile. Thus, it's essential
that your Instagram is connected to your Facebook
account for effect publishing. If you're not ready to
publish the effect now, you can do it later,
and here is how. Once you've signed up with
Spark AR Hub account, you can create a new effect by clicking on the
Publish button in the top right corner and upload the saved
effect project file. Either way you will end
up in the same place, publish an effect page. Let's go through each field and fill out the
required information, such as the effect name,
category, and keywords. If you've been using
your workbook, you will have already completed some of this work ahead of time. Let's start with the name. As mentioned before,
you could name your effect based on
the dominant color, specific adjustments that
you've used when editing, season, a city, theme, or the application. Go ahead and choose
a unique name. I chose to name
mine magnolia pink. I think it will work
for still-life selfies, flowers, seasonal
editing, and nature. I'll go ahead and type it in. If you have more than one Instagram and Facebook accounts, please make sure that you choose the one you want to
publish an effect on. Next, let's select the platforms you want your effect
to be published on. You can select them all
or choose a specific one. Personally, I think
the more the better it is for engagement
and visibility. Now you have the option of
displaying your effect on your Instagram profile or
hiding it from the view. You obviously want
to display it, thus, please make sure the hide your effect option
is de-selected. Next option, allow
Instagram users to also use your effect on photos
and videos already taken. I think it's a great option. Many people like me add content from their camera
roll at a later time. Now that we are in
categories field, please review each
one and select the four that are most
suitable for your effect. I believe my effect will
work well for appearances, selfies, color and light,
and events categories. Next, keywords. You can choose up to 20 keywords
to describe your effect. Please don't skip this
step as effects with keywords enjoy higher
engagement rates. When thinking of keywords, think of specific colors, editing adjustments,
the use of your filter, the season or the city, and whether it's best
for indoors or outdoors, for people, animals or nature. Whether it's a
vintage or modern, and if you used a
specific physical filter, it might be good to
mention it here too. A good keyword will be useful in finding your effect when
searching the effect gallery. In this way, keywords are similar to hashtags
for your filter. Be as specific as
possible with them. Click "Enter" every time
you type a keyword, as simply separating them by the comas will not
be sufficient. Next section is a demo video. You cannot publish you
effect without it. Let's upload the video we
captured of our effect in use, and if you tested your
effect on your phone, you will have a demo video already saved on
your camera roll. If you haven't recorded it yet, the easiest way to do it is to go back to your Spark Studio, hit Publish and
record demo video by tapping on the red button. If you're happy
with the recording, you can hit Save or Retake. If you would rather record the video with
your phone camera, please connect your phone
via wire to your computer, click on "Test" on your device and open the Spark player
app on your phone. Now you can record
the video there. Now let's go back
to Meta Spark Hub. The screen view on the
right lets you preview the appearance of your effect when shared on
Instagram profile. Your demo video is going to be key in promoting your
effect on Instagram. It needs to demonstrate the
best use of your effect. Thus, it can be either a
selfie video or a video of an object that will favorably show off your effect in use. In fact, it can even be a video previously
edited with your preset. Now let's upload the best and the most eye-catching image
edited with your effect. Suddenly you are ready
for publication. You may choose to set the date and time for your publication, which is useful when you
want to make an announcement for your followers to expect
your first or new effect. Or you may choose to
publish it right away, which is what I usually do. Let's go ahead and
choose to publish as soon as possible
and click "Submit". Now we have submitted the
effect for Instagram review. The review process
for new effect can take about several hours. During this time, the effect
will be tested to make sure it meets Instagram's
policies and guidelines. This leads me to
the next question I'm asked all the time. Are you able to make changes to an effect after
it's been approved? I will answer that question
in the next lesson.
7. Managing & Promoting Your Effects: The question I get
asked all the time is, are you able to make changes to an effect after
it's been approved? Yes. The good news is, yes, you absolutely can
make changes in pretty much every field of the
published and effect page. But the bad news is that approval process is going to take a little longer
in this case. On average, in the past, it took me 1-2 days. To make changes to
an existing effect, you need to go to Meta Spark
Hub dashboard or homepage, where you will see all of
your published effects. Depending on their popularity, you may wish to
continue hosting it on your Instagram profile
or make it invisible. Let's click on an
"Individual Effect" to see all of the
available options. Once here on the
specific effect page, you can view the insights for all of the
in-depth analysis. If you scroll down, you'll see demographics
of all the users who tried out or shared content
edited with your effect. But the most useful piece of information is the
conversion funnel, specifically opens
and impressions. As long as your impressions are significantly higher
than your opens, your effect is thriving and showing growth
and engagement. But please be prepared that it may be a little slow at first. Some of mine started off slowly and then got
onto trending list, which significantly
boosted their performance. The most valuable
thing to know is that your effects keep on
living and growing. They're like evergreen content, and like a passive
stream of income, they keep working
while you're asleep. If you feel your engagement
is slow after a while, there are a few things you
could do to improve it. You can share your effect
with your Instagram and Facebook followers
using a link provided, or you can make changes to
the effect by updating it. Update button will take you to the Publish and Effect page where you could change the
name, categories, keywords, upload a different video
file or image thumbnail, or even upload a
new project file if you feel there are some problems with
the existing one. Lastly, if you no longer like
the effect you published, you can turn it off temporarily while you
figure out a way to improve it or delete it all together
by clicking on three dots. Once your effect
has been approved, you can view it
on Instagram app. To do this, go to your Instagram profile and
click on "Effect" step. Your effect should appear
under the stars section. Simply save it, share
it with your followers, or edit to your
Instagram stories. Before you go, please take a screenshot of your
effect page and share it as a project in this class along with the link or QR code, so that I and other fellow students
could try it out and save it
for their own use. Remember, the more eyeballs on your effect from the start, the greater the
chance of success.
8. Conclusion & Final Thoughts: In this class, you
learned how to make your Instagram
filter with presets. We created a preset
in Lightroom. We imported that preset
into Spark Studio. We made some magic
there and exported it into Instagram gallery. Finally, we set it free. If you enjoy the class and use this tutorial to create your
very own Instagram effect, please share the screenshot
with a link or QR code in the project gallery and leave a review so that others
could discover this class, try your effect, and
follow you on Instagram. Remember, the more people see
your effect from the start, the better it is for
your engagement. If you would like some inspiration
for Instagram effects, please find me on Instagram
at mangelka and naughtities. Say hi and try out the effects I've
shared in my profiles. I simply can't wait to see, to try out, and share
your effects. Thank you.
 Olena Hassell, Photographer, Videographer, Stylist