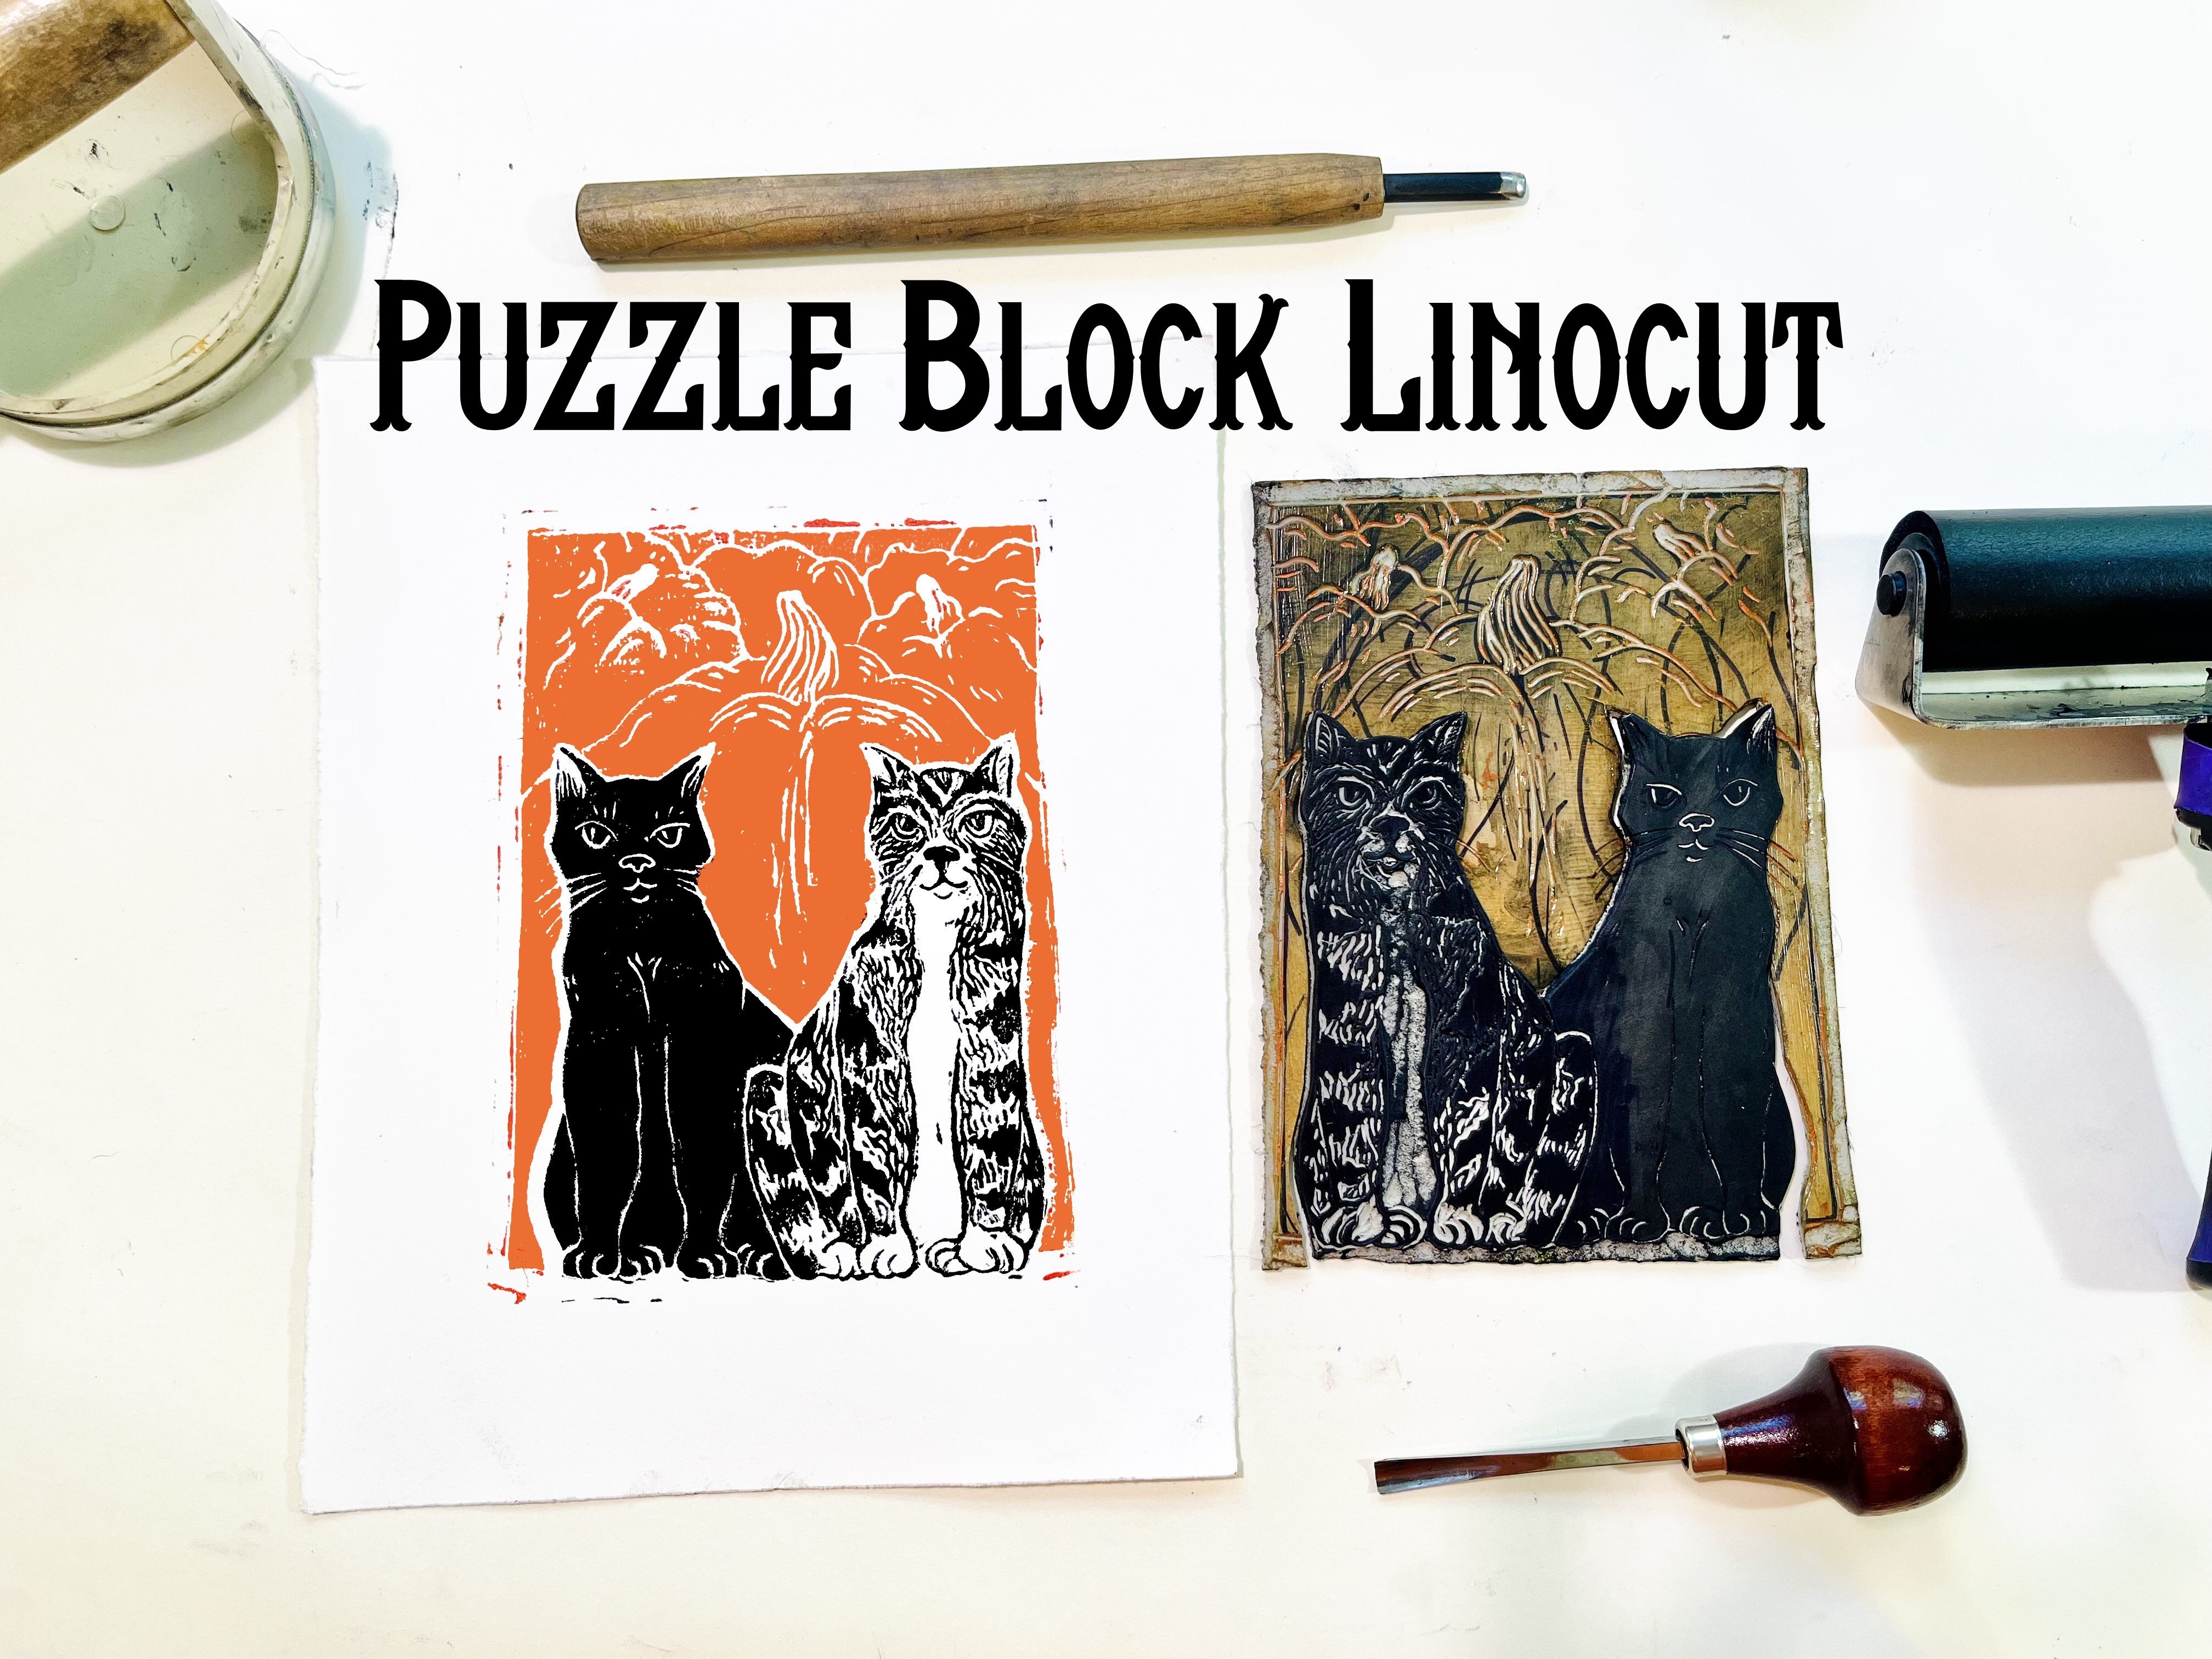
Transcripts
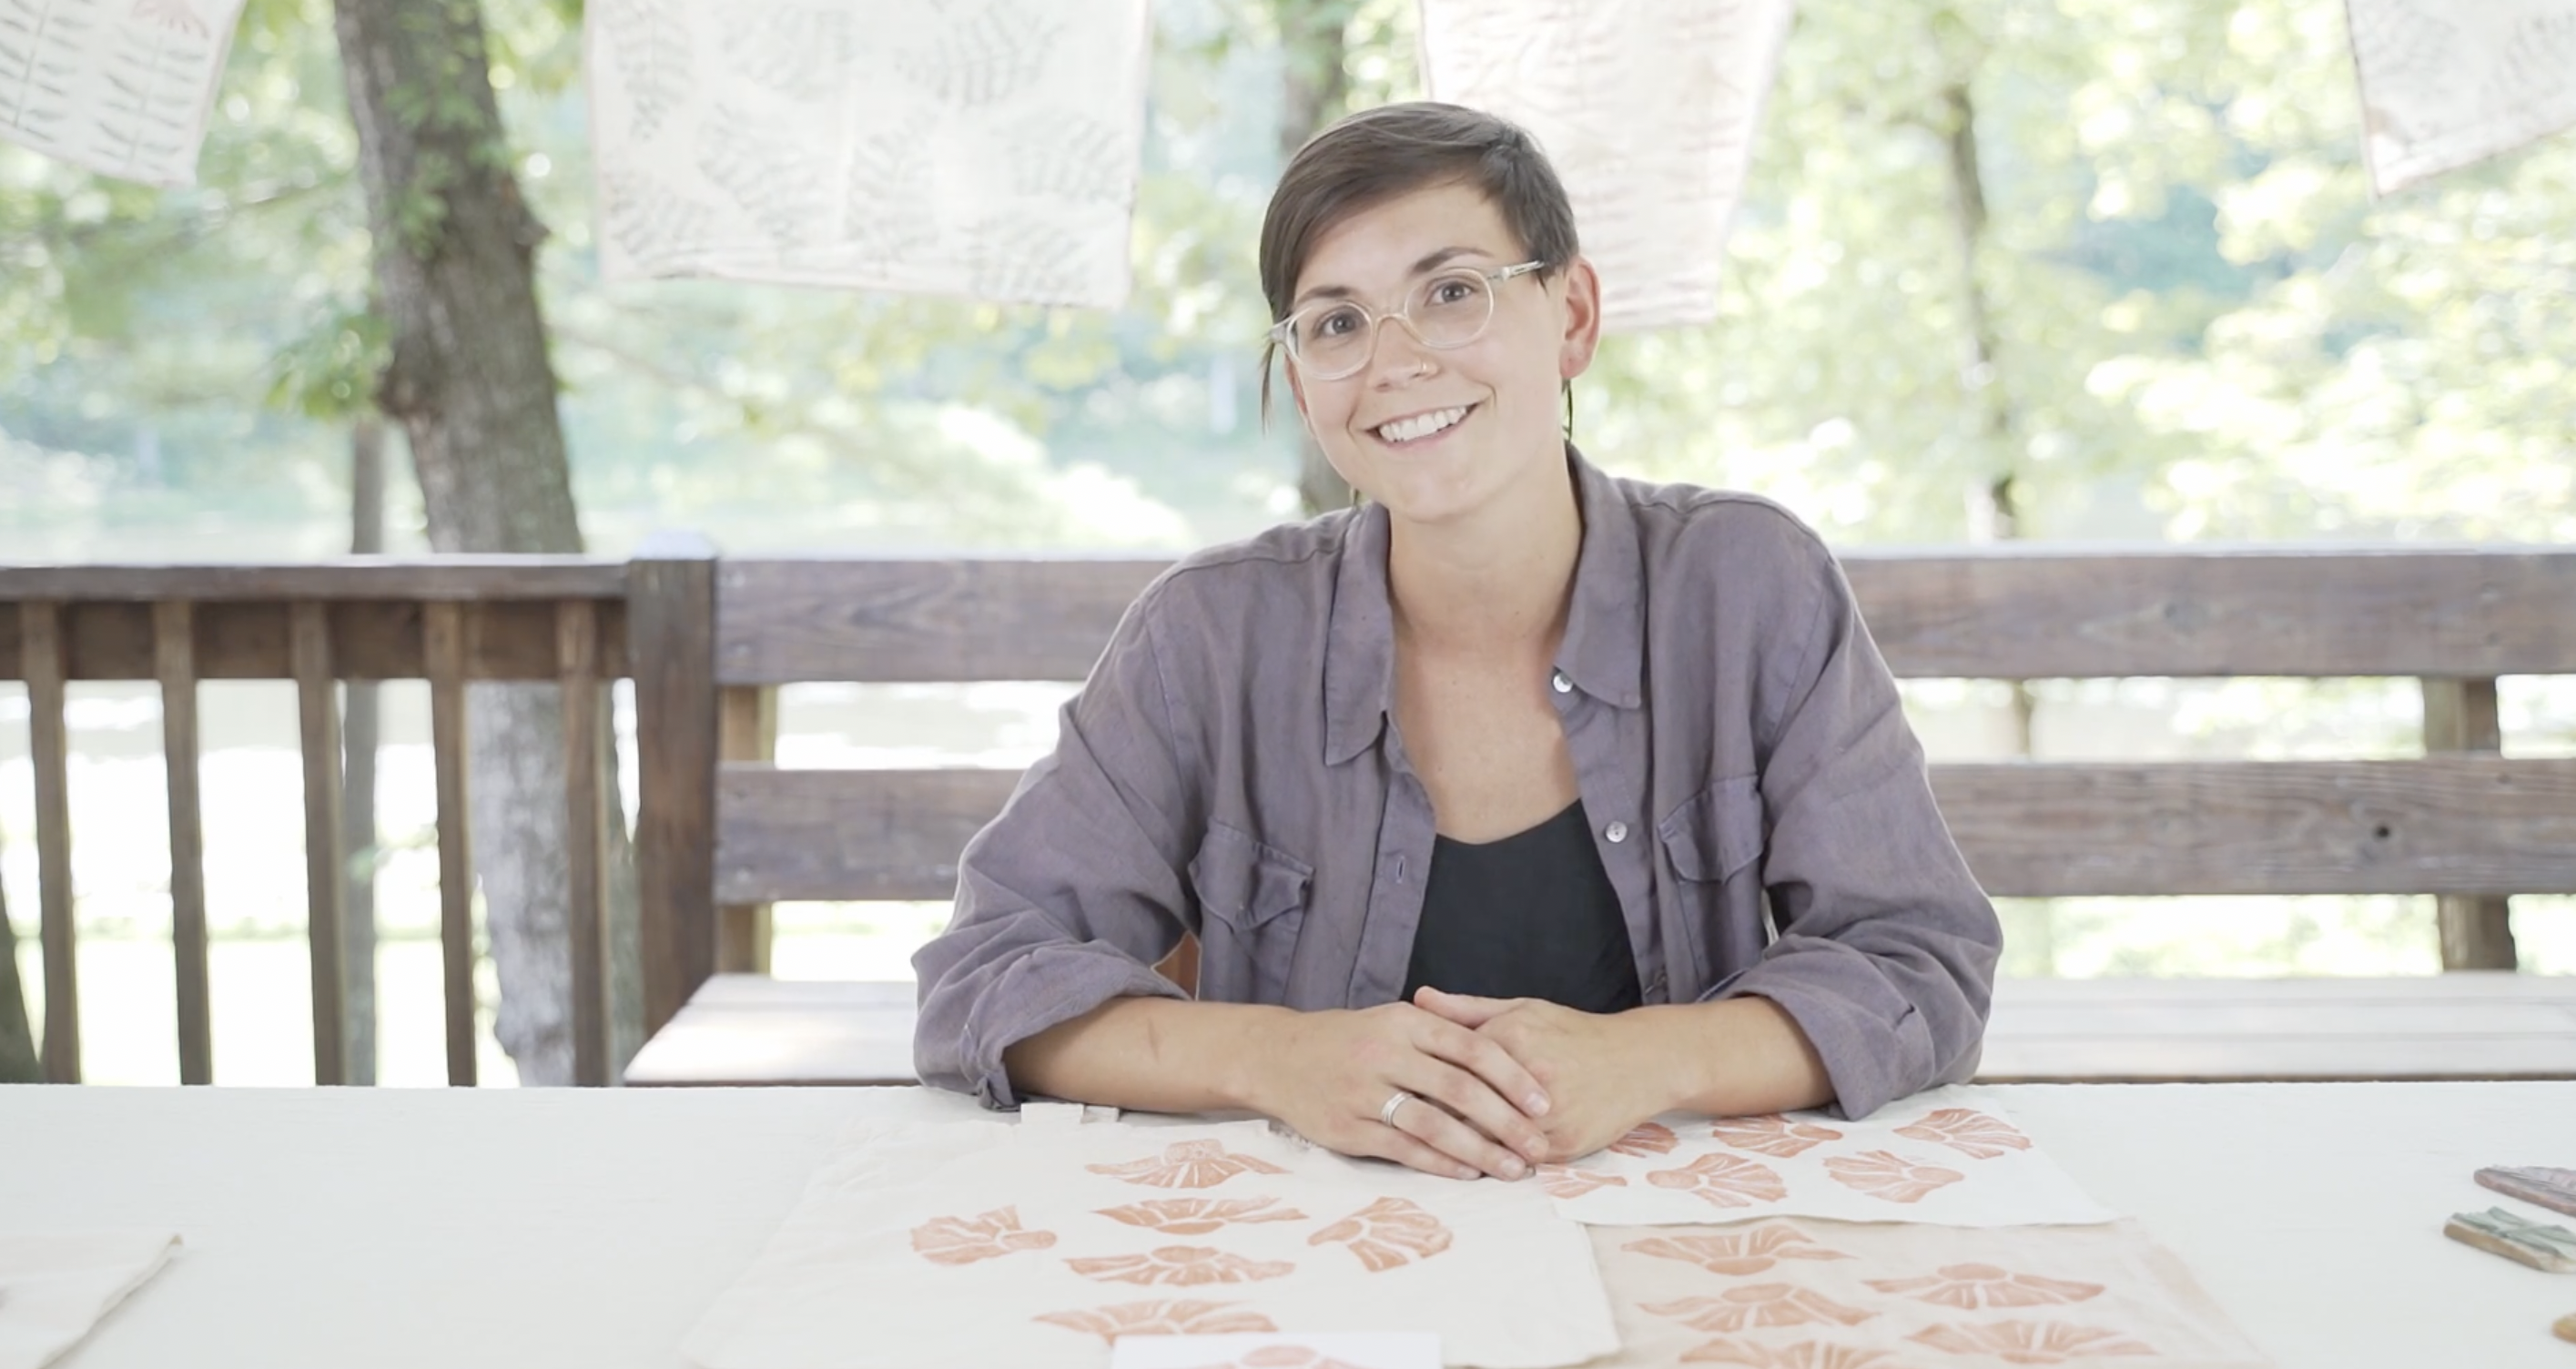
1. Introduction: My name is Emily Wool, and I run my block print, this is Emily Ruth Prints, out of my home studio in Central Virginia. About six years ago, I got really excited about turning what I saw in nature into functional items. I learned how to block print because it's a pretty easy printmaking process to set up. I could go out into nature, do some sketches, take some pictures, curved what I saw, and then print that on fabric. These days, I turn that fabric into things like bags, tea towels, pouches, and even clothing. I started teaching my process because I saw how intimidated people are by nature. I felt like I'd really found a way to take what I saw and turn that into beautiful works of art. That's what I'm hoping to teach you today.
2. Project Overview: Block printing gives us the opportunity to take what we see outside in nature and translate that into a really nice shape for printing on fabric and paper. You really don't need access to a complicated outdoor space. You can use the house plants in your home, you can go outside if you have a garden, you can even look at pictures on the Internet if there is a specific plant that you like. So I'm going to teach you how to look at these plants, draw them, trace them, carve them, and then print them onto paper and fabric. I'm going to walk you through the steps from start to finish so you don't have to worry about knowing anything in this project. During this process, I feel like it's really important to remember that we're not looking for hyper-realistic reproductions of plants and flowers and things. We're looking for your eye, your true eye or what you're seeing. That might look like something like a fern leaf, and this isn't a perfect friendly. If I drew this by hand and carved it and that's what this is. It's doing stuff by hand. Or you may see a dogwood flour and if you look at photographs of dogwood flowers, there's all kinds of stuff going on there that you may not be able to translate to your block. But that's fine. That's perfect. Whatever you make and what is reflective of your own process is what we want to see here. So even things like textures, lines, shadows, all of those things that you can see in nature can be translated into a print and can make a really beautiful pattern on fabric if you're printing a repeat. So I'll show you how to print over a whole piece of fabric or even just a simple note card like this.
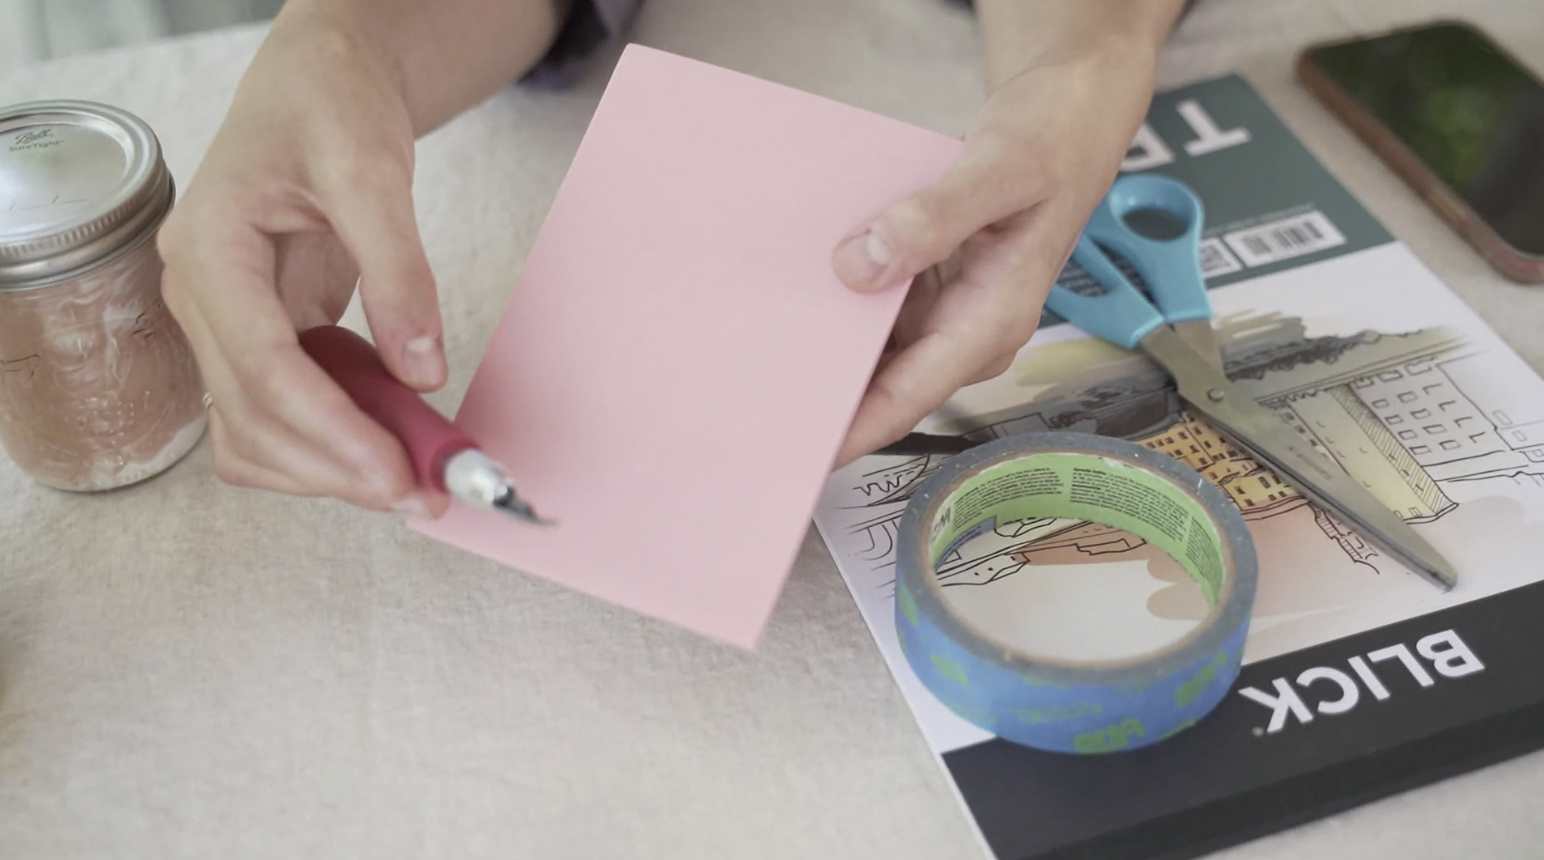
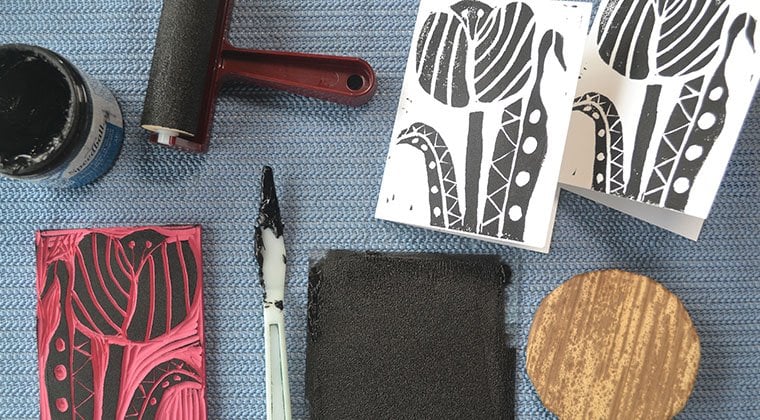
3. Supplies: When you go outside and start sketching or you're sketching around in your home, you're going to need a notebook. I like to use a spiral-bound sketchbook because it makes it easier to lay flat. I also like to bring a few different kinds of drawing materials with me. I like to take a pencil, a pen, or a felt marker. You can use any of these things. It doesn't matter what you start sketching with. You'll need a number 2 pencil later when we come to the transferring process. Sometimes I like to draw with a pen though, so it stops me from erasing too much. You can also take a phone with you out when you start to observe. Sometimes it helps frame the image and give you a better idea of what it is that you're going to draw and print. When it comes to transferring our drawing to our block, we're going to need some tape. I like to use painter's tape because it's less likely to rip the paper. It's nice to have a pair of scissors, and then tracing paper. You can use any kind of tracing paper. I just have whatever is on hand. You don't need much of that. Usually, I only need about a half a sheet. Then we'll carve. I like to use Speedball Speedy-Carve. This is about four by six inches and you can get it at a lot of craft stores. We also have the Speedball Lino cutting tool, and there are all the different size nibs on the inside of this tool. I'll show you how to use this later. We'll also be using Speedball Screen Printing Fabric Ink. This is water-based, so it washes off really easily with water. I normally buy primary colors so that I can mix them together and make any custom colors I want. I'll be printing with some of that Speedball ink today. You'll need a three-inch paint [inaudible]. This you could find at any hardware store, it's really affordable. Eight by ten-inch Plexiglas sheet, which is also at hardware stores and spoon. I'll be teaching you how to print on both paper and fabric today. I have a few just blank note cards that are card stock weight. Any kind of notebook, any kind of paper, any kind of cards that you have on hand you can print on this. I'll be showing you that. I'll also be showing you how to print on a tote bag, just a regular cotton tote bag. I'll be showing you some other substrates like my tea towel, blank tea towel materials in case you want to print tea towel. Just regular cotton, like that, and then linen.
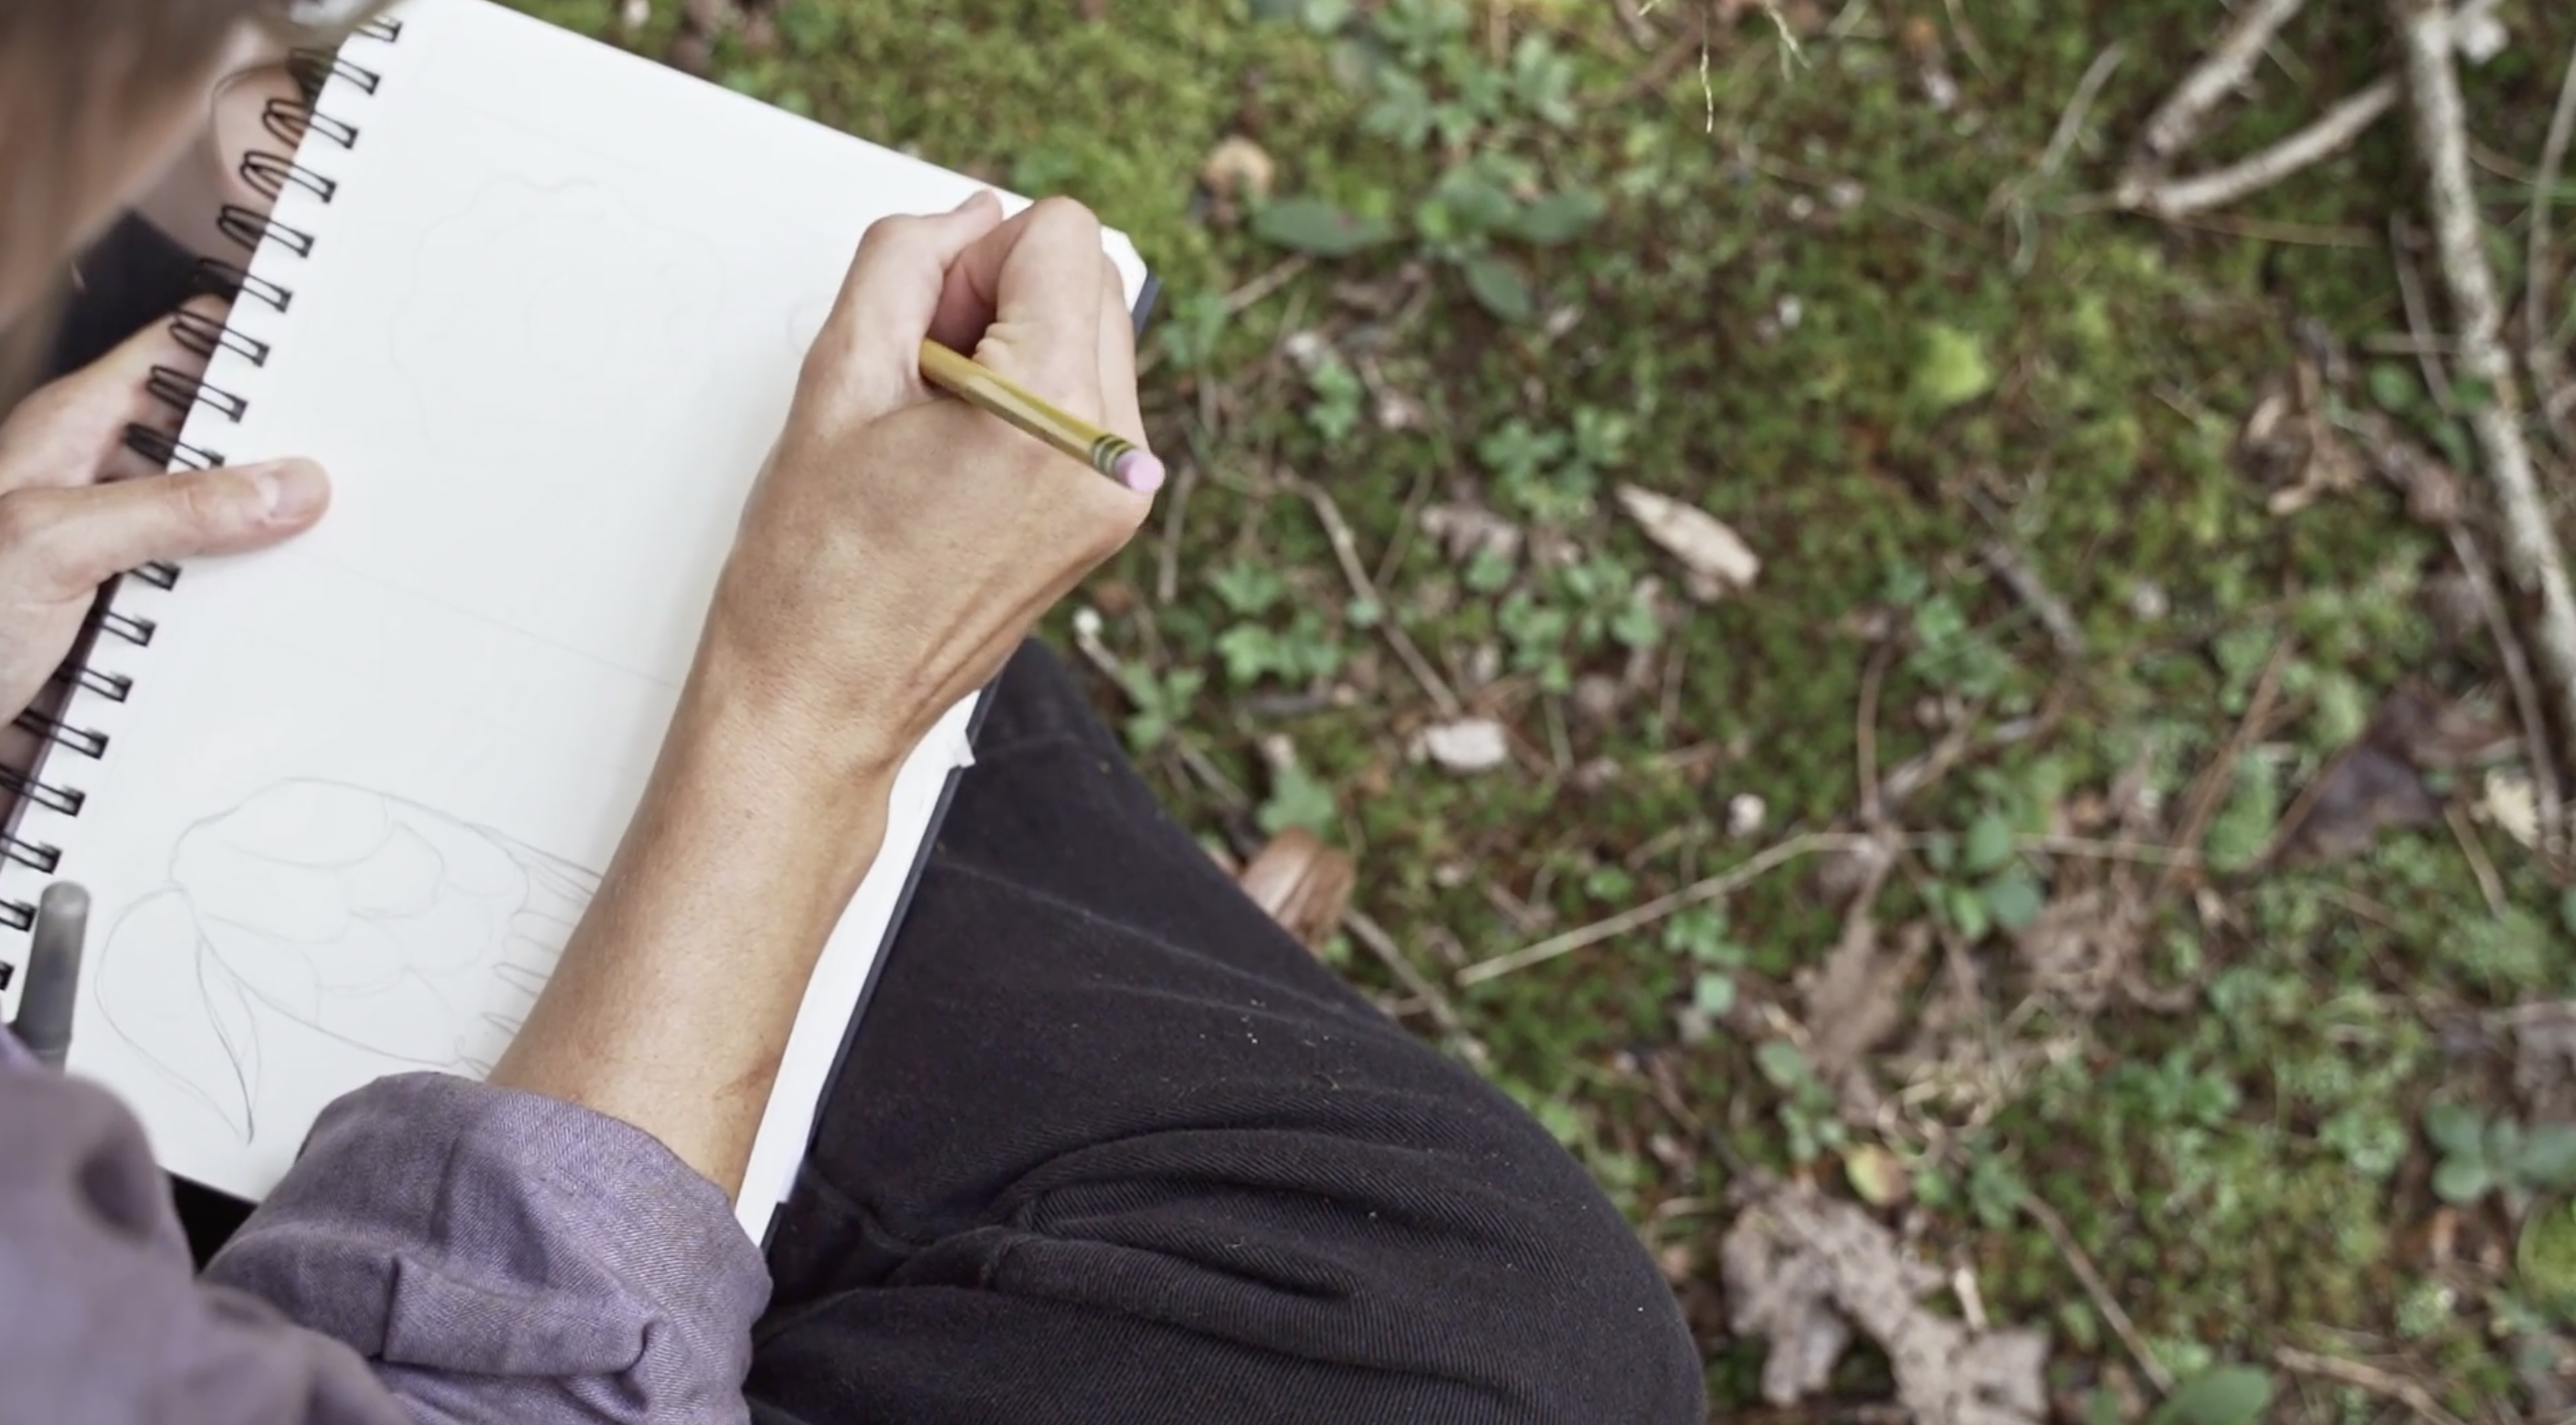
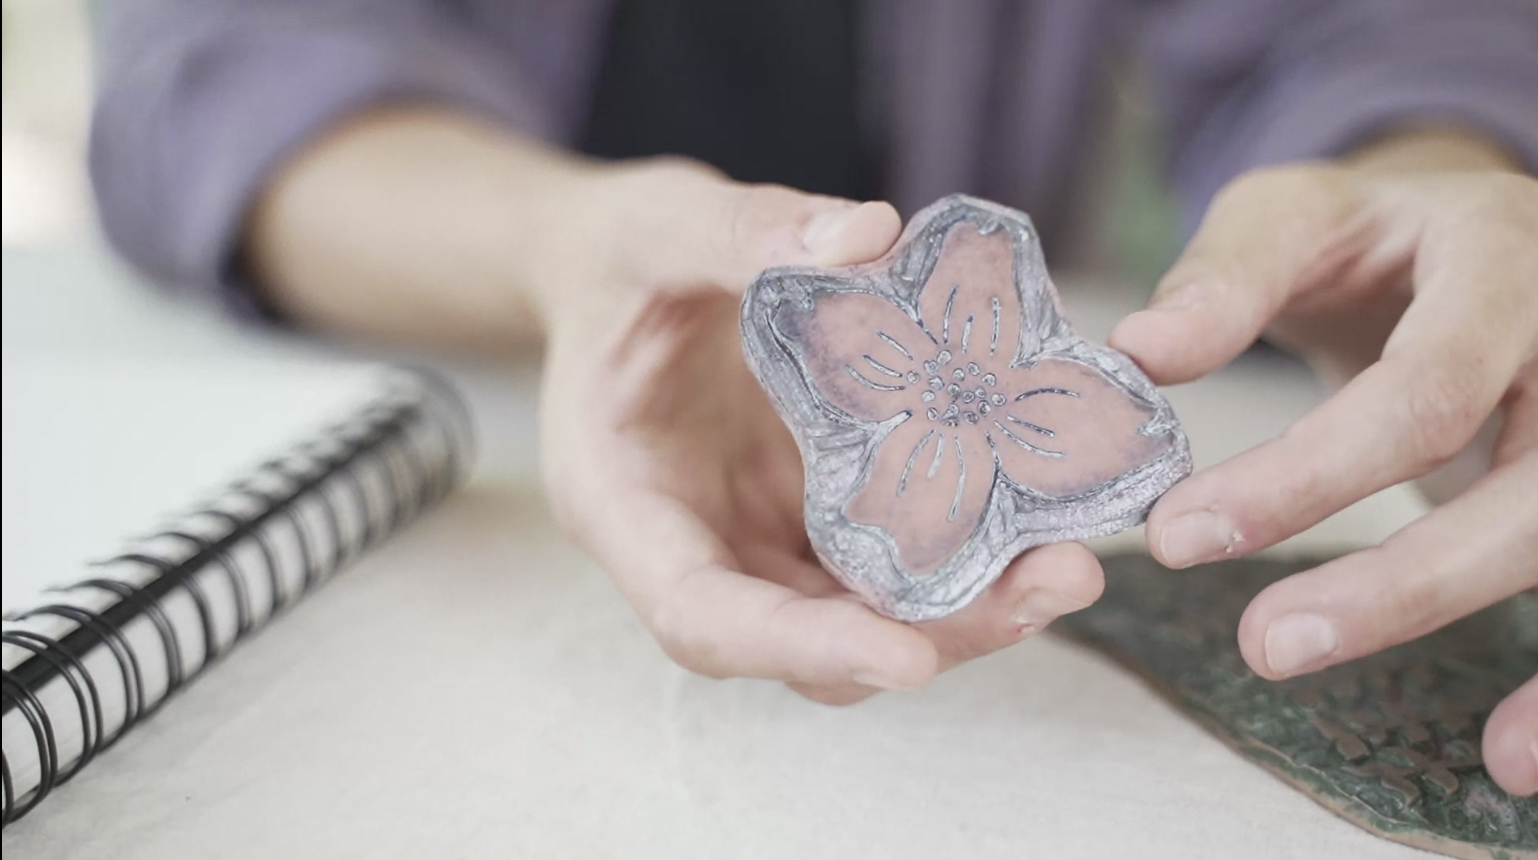
4. Observe + Sketch: The first thing we're going to do is to go out and observe nature. Now, I'm not talking about taking what you see and making these really hyper-realistic carvings. As you can see from my work, this is an echinacea flower. If you see it out in nature, it's not necessarily a perfect representation of that flower. When I carve my prints, I like to emphasize the major things about the plants. Maybe it's that each leaf was across from itself, or that there is a little bit of texture in with the top of the flower. When you get your prints, when you finish carving and printing, you can see that it's just an overall texture and it does have a hint of what the flower was that I was inspired by, but it's not a perfect representation of that flower. The first thing we're going to do is take our stamp and trace it onto our paper. What that does is it just tells us where our boundaries are. It's easier to go out and start sketching when we know what space we have to up time. I like to trace that out with, doesn't matter, a pen or a pencil and just give myself a few boundaries to work with so that I know that when I go out it's going to fit in the stamp I'm going to carve. Let's go observe.
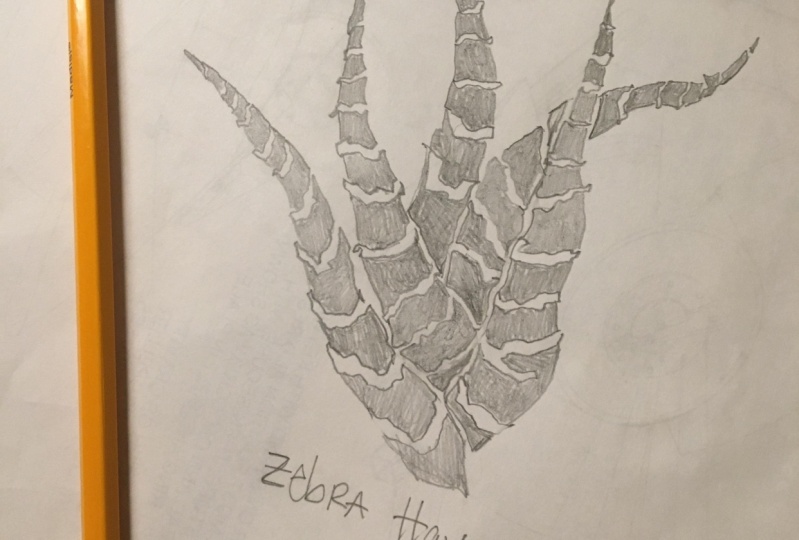
5. Sketching Outdoors: Something that can be really fun to do is to look small, so to look at plants that might have buds on them or really small parts of them that can become a print. I'm looking over here at this guy, and it's got some really neat textures and the base part of it, it's got some petals coming up out of it and it's on the end of its life, but it's making a really neat shape that I really love. I'm actually going to draw it larger than life. I'm not going to try to draw anything to scale unless it's a really large leaf that maybe won't fit on your page or something like that. But you can take small things and blow them up and make them really big and that can make for a really nice print. Usually, I just start by deciding how much of the plant that I'm going to draw. I think this case, I'm probably just going to draw maybe the end of this piece right here. It has a few nice shapes to it, a nice texture at the end. Again, I'm not trying to look at this as a process of drawing realistically, I'm looking at this as what textures do I see? What shapes do I see? I'm not even sure what this plant is called. I think what I'm going to do is just go for it and start drawing the shapes that I see. I've also decided that the best orientation for this plan is to do it vertically, so I turn my paper because you can do either way with those stamps. Since I have the four inches by six inches, I can turn it on outside side get a taller view. I've got the base here, and then I'm also going to draw a few of those spikes coming up out of the plant. What I really like about this plant is the texture that's down at the bottom. It looks like scales to me. Again, I'm not going to try to replicate them perfectly, I'm just going to draw the scales in. One thing you might notice while I'm drawing is there is a lot of loose lines around the shape and this is okay. Once we go into our transferring process, we can use our tracing paper to help us clean up our drawing. We're not thinking about this as a final, we're thinking about this as just trying to get the shapes down that you see from nature, and just trying to get the feeling for the plant. Again, this doesn't look like this plant, this is just a shape that I'm drawing. But when I go in and I clean it up on my tracing paper, carve it and then print it, it'll become its own thing, and that's what I like about this process. Looking at things from different angles can also give you inspiration. Sometimes mushrooms look really cool from above, sometimes they look really cool from the side, so try looking at things at different angles and see what shapes you see.
6. Taking Photos for Inspiration: One way to isolate a shape that you might want to draw is by taking your phone and snapping a picture. I know I'm not going to be doing this whole plant. I just want to zone in on one of its leaves. Try to find a place where there's maybe not a lot of background going on. This one is in a little dirt area, so it's standing out pretty well against its background. I'll take a few shots. My phone is actually focusing in on just the leaf that I want. It's moving a little bit, but it's going to give me a really good idea of what the shape of that leaf is. Fortunately, I have a nice brown background there. Once I get a clear shot, I'll zoom in, and that's the picture that I can work with to do my sketch.
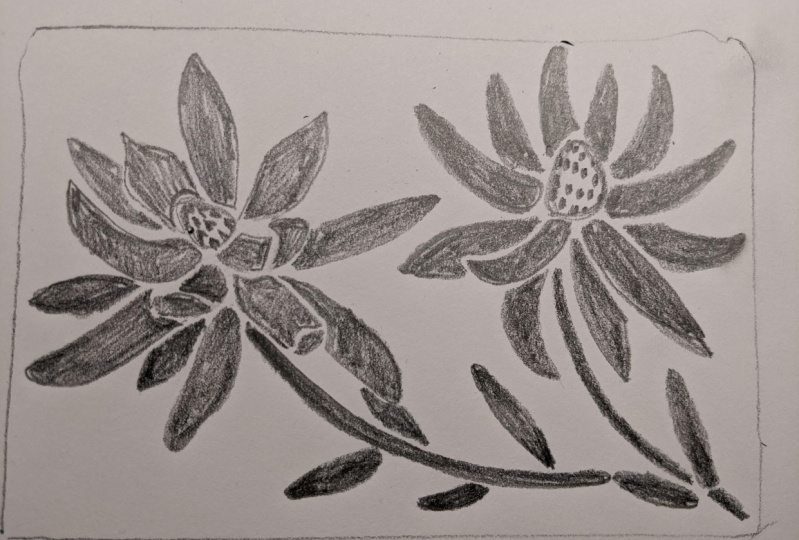
7. Tracing: Now that you've gone out and done your sketches, it's time to pick the one that you like best, and it's really up to you at this point. Hopefully, you have a few that you like, and then maybe one that you're drawn to him than others. This is the one I'm drawn to more than the other ones. I just like that, guess it's technically a flower, but there's a lot about it that can be abstracted and can be made into a really nice print for fabric. I also like the idea that the flower can fit together in different ways when I start to print it and repeat, and I'll show you how that works. I'm going to take my tracing paper, and I can cut out about the same size as the design itself. You can use your stamp just like before to give you the boundaries that you want to cut out so that you have the right size tracing paper. You don't need to work with the whole thing, and one piece of tracing paper should last you quite a while. You can cut around that shape just like that. It doesn't have to be perfect. Then I like to secure my tracing paper with just a piece of painter's tape, and that means that I can pull it up later and use it for the transferring process. We're going to start tracing our flower, and the thing to keep in mind is, wherever you've used your pencil on your tracing paper is the thing that you're going to not carve away. Just think about it as pencil equals ink. So anything in pencil, it's going to meet ink later. Because I have this kind of simplified design and I have a little stray marks and things. I'm going to simplify it with my pencil. I'm going to trace around the top of this flower, just like that. It's pretty round, but right where it meets the petals it might get lumpy. So I'm going to draw that, and now I know that that's the outline of the middle of the flower. Anything that you outline and that you want to meet ink, then you want to shade it in with your pencil. Because when you end up transferring your design to your block, that's going to make it clearer later on what you're going to carve around. There's the middle of my flower, and then each of these petals comes out from the center, has a little wavy part to the petal. I know that my solid shape is just about like that. Then on the inside, I have a few lines. So you have a decision here you can either leave these lines open, and then you'll know that you'll carve them out later, or you can draw them in with your pencil, whichever one makes the most sense for your mind. I'm going to leave them open, leave them white. Let's trace around them, and then fill in the rest of that petal with my pencil so it's really clear to me when I transfer my design onto my block that that's what I'm going to carve. Just like that. I'm going to do that with each of these petals on the flower, and this is your time to really get the good outline of your design. Tell yourself what you're going to carve, what you're going to take away, and clean up some of those stray lines you might have had in there earlier. This is where you may start to see that your design becomes more of an abstracted shape. It's not a perfect flower. It's whatever you ended up seeing outside. It's whatever you imagined when you were observing. I'm not perfectly filling this in with pencil either. I'm just shading it in to remind myself of what shape I'm going to carve. Now that I'm done tracing, it's time to transfer my design to the block.
8. Transferring: To transfer your design to your block, you're going to take your tracing paper and make sure that the pencil side is faced down on your block. You can reuse the tape that you had on there from before, especially if it's painter's tape, it'll come right off. You can put that face down onto your block. Tack it down. You can also trim your tracing paper so it's a little bit smaller than your block so it doesn't hang off the edges. But I feel pretty good about the way that's positioned. My block is a lot bigger than my design, so I put it on half so I can use the rest of the block for something else. Then you're going to want to transfer the pencil onto the block. You can do that in a couple of different ways. You can use your thumb and rub the back of your design with your thumb. You can use the end of a pair of scissors like this. You can also use your carving tool like this. So anything blunt is going to transfer your pencil onto your block. As you go, you can even peek underneath just to make sure that it's transferring. I have an edge here and I can pull it up and just make sure that it's transferring on. When you trace your design onto your tracing paper, you really don't have to push that hard. You can draw like you would normally. The block is really sensitive to this pencil, so really, anything that you draw on your tracing paper will transfer well onto the block. Now I've transferred my design, and it's looking pretty good, and now I'm done transferring.
9. Preparing to Carve: Next, we get to carve our design. All the tools you're going to need are in the end of this lino cutting tool. The general rule of block printing is that you start from smallest tool to the largest tool. First, we're going to take our number 1 and the end of this tool loosens up so that you can slip the end of your nib into it and then tighten down to secure. I usually like to put the rest of my tools just inside so they don't fall on the floor. I don't put my hand on them or something. Yeah. First tool is number 1, and then we'll work up from there. One of the most important things I feel about carving is that, especially after you've done your observing, your sketching, your walking around, that can be an intuitive loose thing, but carving sometimes can become this tense tight thing. I don't want that for you, I want this to be fun. Just make sure that your shoulder's not by your ears, you're not tense. The best way to hold your tool, there's two general ways to hold them actually. You want to hold it like this, like a pencil and just come down and carve like that, that's fine. Or you can put the blunt end into your palm and use your pointer finger to guide. Either way works fine. Sometimes, I alternate in between those two methods while I'm carving so you may see me do both. But a good thing to do, especially if you have extra space around your design, is to hold your tool. Make sure it's at about a 45-degree angle to the surface of your stamp and make sure it's not too deep or too shallow. If you can hold your tool and move in a smooth line forward, you're probably at the correct angle. If you come in too deep from the top, sometimes it can chunk out pieces of your stamp and just make the lines not as smooth as they could be in. If you go too shallow, it's possible that when you go to print, the ink will sink into those lines and then you won't get as crisp the prints. So 45-degree angle about that, and then move forward smoothly, making sure that it's not taking out chunks or not too shallow.
10. Outlining: First thing, I'm going to carve the outline of the shape. I like to call the number one tool, the outline tool. When you start to carve, the easiest thing to do is to turn the stamp more than you turn your hand. You can get some pretty good curves that way. I'll show you with this circle. As I go around the circle, I'm not going to twist my wrist. I'm going to actually twist the stamp itself to get a really smooth outline on that shape. I'm also making sure that I run the left side of my tool up against the side of my shape. When I carve on the other side, I can use the right side of my tool, and I'll show you how that works. I'm using my hand to move the stamp along with the tool using the left side of that carving tool to hit the edge of my drawing. As I go down this side, I can use the right side of that tool, down the edge of the drawing, to get a really crisp line. I'm going to keep going on the outline of this whole shape so that I know what my main shapes are and isolating those.
11. Widening: I'm not going to carve any of the little details inside yet. I'm going to save that for later and just isolate the larger shapes first. I'm going to loosen up the end of my tool and take up my number 1 and open the end to get out my number 2 tool. It's basically the same as the number one, it's just a larger V-shape. If you look on the back of your tools, you'll see a number engraved into the metal and that's how you tell which one is which. This is our number 2 tool. I'm going to put it in the same as my number one tool, tighten it up, and then put all my nibs back in just so they don't get lost. Put the end back on. What the number 2 tool is going to do for me is it's going to widen and deepen my number 1 gouge. I'm using the outline that I already made for myself to guide my number 2 tool and just make a larger space in between or on the outside of my design. This is going to make it easier for me later to take out large pieces of this, the pink stamp. When you have small spaces like that, you can pick your number 2 tool in between if it's smaller or if it's wide enough. I think that looks all right. I'll go in with that. Then you can do the same thing as you did with your number 1. Use your number 2, fit it into the gouge you already made for yourself, and turn your stamp while you carve to get that nice smooth line. Just like that. We're going to do this all around our whole design, just like we did with the number 1, except with a number 2 tool.
12. Trimming and Number Three Tool: [MUSIC] I have a lot of extra space on the side of my stamp, I'm actually going to take my scissors and cut off that extra because when I go to carve out the rest, the excess of my pink stamp here, I really don't need to bother with the rest of this and I can save this for a future project. [MUSIC] After you've used your number 2, you have the option of going back in with a number 3 tool, which is a similar height to the number 2 tool, but it's a U-shape. What this can do is they can help you get even more space around your design so that when you go in and you take out the excess, you're less likely to carve into your shape by accident. If I changed to my number 3 tool and you'll see that it's a little bit more of a U-shape, you can go even more back over that number 2 shape to widen that channel in between your design. Right now, we're not really worrying too much about the edge of the outside edge of our stamp, we'll clean that up at the very end. Here's our number 3 tool, as you can see, it's just widening our previous line and just making a little bit more space around our design. I'm going to do that all along the outside just because it makes using the number 5 tool later on a little bit easier. Since we already have that number to gouge, you don't need to worry too much about being precise here we've got enough space to play with. There we go. There's a number 3, and now that I have my space around my shape all isolated, now I can see where the details might go in and it's easier to make those decisions. I'm going to switch back to my number 1 tool and go back in and carve out those little lines that I left space for myself earlier. [MUSIC]
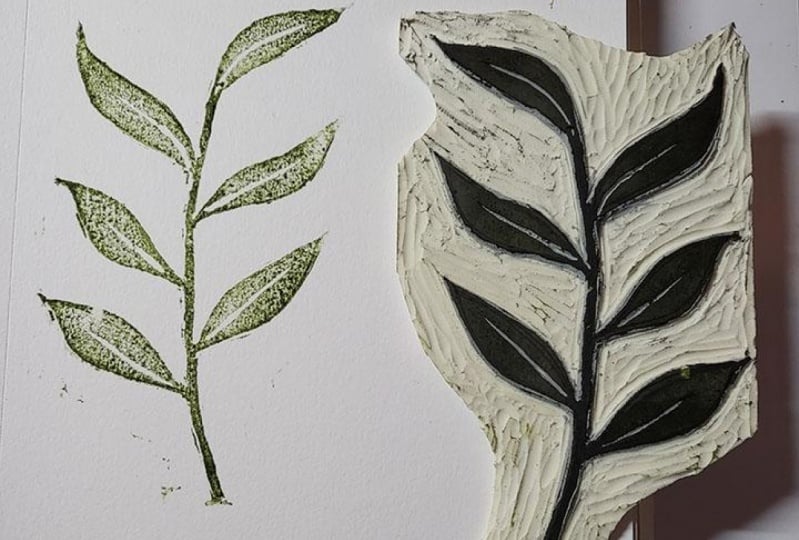
13. Adding Detail: Now I've got my Number 3 tool and I'm going to grab my Number 1 again. Same as before, only this time I'm going in for detailed work. If you have anything on the inside of your design that has maybe thin lines, veins of leaves, little parts of flowers like stamen, things like that, the Number 1 is really good to use for that. All I'm going to do here is just go through those lines that I drew for myself before and use the Number 1. I'm seeing that it's a little bit thinner than the line that I drew in earlier, but that's okay. I'm going to do a test print and test and see if it's wide enough and it just looks the way that I wanted to. Test prints are really, really good for making decisions like that. Because we're taking things away from this stamp, from this carving, you can't add them back in. If you're unsure about whether to leave something or whether to take it away, just leave it, do a test print, and then if you feel like you want to take more out, do that afterwards. I may just carve a thinner line here at first, do my test print, and then if I decide I need a little more space around it, I'll go back in and then do that. But I don't want to take too much out at first because I can't put it back. Another one thing you want to keep in mind when you're carving is to make sure to carve away from your main design as much as possible. Obviously, I can't really do that when I'm carving on the inside of the shape. But as you saw earlier as I was carving, my tool was always moving away. You don't want to carve into your shape as much as possible, because if you slip, you could cut into it. Almost too deep there. There we go. I think I have the lines taken out. I've got the detail that I want on the inside. I'm kind of considering adding a bit of texture into the top there. I didn't draw that in earlier, but those are the kinds of decisions you can make while you're carving. But I think what I'll do is I'll make a test print first and it feels a little bit too blocky there, I'll go ahead and take out some more material.
14. Finishing your Stamp: Now that we have our details taken out on the inside and a nice wide channel carved around our main print. We're going to switch to our Number 5 tool. The tools I use the most are the Number 1, the Number 2, and the Number 5, so you may end up switching back and forth between those tools when you go to carve. Number 5 tool is the largest one. It's a nice steep, wide u-shape, and it's the best for taking out large pieces of your stamp material. I'll put those back in just like that. Number 5, you're going to take it and set it into the gouge that you made for yourself earlier carving outwards towards the edge of your stamp. Like I said, don't worry too much about the edge of your stamp. You may get a little bit of a ridge there. We'll fix that later. See going to carve in going outwards to the edge, taking out all that access. It is hard to tell while you're carving if all of this is going to show up or not when you start to print. That's something else that your test print will show you. I think you'd be surprised, you don't have to carve that deep for it to work. I'm just going outwards all the way around my print. You can take it in and do some curves. Depending on the shape of your stamp, you may want to give yourself some information about what shape it is, especially when you go to print, it's nice to see some edges and not just a square when you turn your stamp over to print. I'm going to trim a little bit of the top just so I know where the top is, just like that. It's nice to have maybe about an eighth to a quarter-inch around your image, because when you go to stamp and you're holding it as you print, sometimes it can be nice to, you can get ink on your fingers a lot if there's no space there to hold onto. I turned it like that. Then I'm going to take my Number 5 tool and turn it at about a 45-degree angle and start to carve all the way around the edge of my stamp to miter that edge. This helps prevent ink from printing on those edges. Even if you have a few ridges mitering it can help make a cleaner print. Just like that all the way around. Now I'm going to do a test print.
15. Setting up and Testing your Print: Now that we're done carving our stamp, it's time to set up our workspace for printing. One thing that's really important to me is making sure that our workspace is somewhere we want to spend time. Not just thrown on the floor or maybe in your bedroom, somewhere where you actually going to be able to set up and have space to work. If you are right-handed, I always recommend putting more plexi plate where your ink is going to go, your roller, everything like that on your right-hand side because you're going to be moving from right to left, right to left while you're printing. That's going to create a really good flow for your space. It's really nice to have all of those things set up here. I've got my fabric, so I've got lots of different fabric, so I'll show you, I'll print on, we can see how that looks. Then I also have a few blank cards that I'll be printing on. I have my stamp, I also have my carving tool out still with me number five nib. Once I do my first test print, there may be some things that I want to change with my print. I'm just keeping my carving tool all handy so that I can make those changes if I need to. I'm also keeping on hand just a rag sometimes ink can get on your hands. It can get and tools that you don't want it to. Just having a rag, something that you don't really care if it gets messy around just to clean up those types of things. Here's my ink that I mixed up ahead of time. I use that same Speedball screen printing ink and just used a couple of different colors to make this nice, peachy pink color. I'm going to spread a little bit along the top of my plexiglass plate and then start rolling it out with my roller and a nice even plane. It's a bit of a guessing game, how much ink is enough. But when you start to print, you'll be able to see whether or not you have an even print. You can look on your roller to see if the ink is evenly spread out along your roller. I'm just going to spread it out on my plate, if you have too much ink, the ink will make streaks all of your plate. If you have just enough, it'll make what we're seeing here, which is that speckles look and it'll make a sticky tacky noise so when you start to spread it out. I think that's a good amount of ink and now I'm going to test my print. I'm going to keep my stamp flat. I'm going to keep my plate flat here. I'm going to roll the ink over the top and I'm really not using that much pressure. I'm not squishing the ink into all the, mixing crannies of the print you really don't need that much in order to get a good print. Roll it all over the top, all the way to the edge and then flip it over and use my palm. Do a nice even pressure all over the whole stamp. Now we can peel it up and see what you done. I'm pretty happy with that, there's definitely a few lines are on the outside that I might take out, so that's why we have our number 5 tool on hand and we can even see where the ink is on our stamp. We can take that tool, if you want to and go in and take out some of those shapes. Sometimes I don't really mind having some texture around my stamp. It's okay if you leave this, it's up to you. We'll take a few out and then I'll do another print and see how my final image looks. I'm going to add a little bit more ink to my plate. When we have these new rollers, they tend to soak up a lot of ink. As you keep using your rollers, you may find that you don't need as much ink to get a good print. I'm going to turn it over, press with my palm again, peel it up, and I'm happy with that.
16. Printing on Paper: The great thing about this ink is that it can work for a variety of materials. I'm going to show you how to use it to print on paper so that you can make your own cards. You can also use it to print on large pieces of paper for wrapping paper, things like that. But we'll start out by doing some cards. So same thing, same process. We'll take our ink. I added a little bit more because I felt it may have been a little bit thin. Then I'm going to roll my ink back onto my stamps. Every time you do a new print, roll on more ink. You don't necessarily have to add ink to your plate every time, but you do have to roll it onto your stamp again every time. Take my ink like that. I actually think it may look cool if I do a mirrored image of this flower. I'm going to do my first print down here at the bottom of my paper. The important thing about paper is not to get too much ink on your stamp because it can slide around on you if there's too much. So do a pretty thin layer. I'll put that down at the bottom. Using my fingers, I'm going to keep it stable and use my palm to press all over the stamp. You don't have to press too much, most of the ink will transfer just by being placed down on the paper. Now I'm going to peel it up. That's pretty good. I'll do another one on the top just to mirror that flower and then we have our card. This is the great thing about printmaking too, you can keep going and keep doing lots of different arrangements and prints and things like that. It's a repetitive process by nature. If you enjoy that kind of thing, this is for you for sure. We'll press all over the stamp, peel it up again, and we've got our card.
17. Printing on Fabric: [MUSIC] I've got two more materials here. This one's just a regular a cotton muslin and then this one is a 100 percent linen. Sometimes these stamps can show up differently on different textures. This one's really smooth, this one has a little bit more of a texture to it. Another thing you can do when you're printing is it's fun to decide how to orient what you're doing. As you're printing, especially with these more abstract shapes that can be fun to play with the way they are on the fabric, so you can turn them upside down. Once you start printing, you'll be able to see the shapes, the negative areas that are made by your stamp. You can actually use that to your advantage. While you're printing, decide maybe I'll sneak that in there. Then once you print a larger piece of fabric, you'll see it starts fitting together and makes an overall texture and overall pattern on your fabric. This is what I do when I make fabric to print out for pillows and tea towels and bags and things like that. I'll just print large pieces of fabric and play with the way that the design is oriented. It can really make for some really cool textures, especially when you have these little parts that are showing up here, they can repeat. As you print, you may also find that those little textures show up a little bit more. If they bother you, if you don't like them, keep your tool handy and just take those little bits out as you go if you want to so that you can get a cleaner print. You can also keep a scrap piece of fabric on hand and just wipe it off while you're printing so the ink doesn't work into those little bumps. I'll take a little bit of that off, but it doesn't bother me too much. You can see that as it's repeated it makes this really nice design, that stops looking so much like a flower and more just like an overall print. There's my cotton and I'll add a little bit more ink to my plate. You also may notice while you're printing that the print lightens up in some areas and that can be due to pressure. Sometimes it's a pressure thing, sometimes it's an ink thing, but the more you print, the more you'll get a feel for how much ink to add and how much pressure to use. Now I'll try out this print on my linen. Yeah, you can see it does look a lot different on there than it does on the cotton. If you have Scott fabric around or if you have access to Scott fabric, play around with it and just see which you like to use best. There are lots of different things out there and thrift stores have drifted sheets and curtains and things you can experiment with if you don't want to invest in fabric, there's lots of options for sourcing fabric. I will move this out of the way. This one just made sense to me to print like this, but just experiment with your design. It may speak to you and tell you how it wants to be printed. Each thing is just a little bit different. Some I print randomly, somethings I print linearly, it depends. That's how you print on fabric. [MUSIC]
18. Printing a Tote + Heat Setting: Just like with cards, it can be really fun to print on an item that's going to be a finished product once you're done printing on it. I have a pre-made tote bag here. The same goes for real printing processes with other things, just to keep adding ink to your plate if you feel like it's getting dry. But something that helps a lot with block printing is getting leverage on your prints. You're not using your back and you're not hurting yourself while you're printing. Sometimes I like to stand while I print and that might help you too. Just like with anything else, if you're printing your tote bag, you just pick a spot where you want your print to go. I want to start at the middle and maybe go out. I'm not printing large pieces of fabric like I might in my other work. Just printing it to a pad like this can be fun. Once you're done with your printing, you have to let your ink dry for about 12 hours before it's ready to be used. This ink in particular has to be irons to be heat set for washing. Once your ink is dry, you're going to take an iron, place a cover cloth over your fabric and iron it on high with no steam for three minutes per section. After you do that, your fabric is safe for washing and I like to wash my things on coals. It's just something I feel like helps preserve the ink for longer and then you can dry it however you normally would. If you print on both sides of a tote bag, make sure you iron both sides too to make that both of them are safe. [inaudible]
19. Wrap Up: I hope you learn from this class how to look at nature and how to use your unique eye to create a print that you can print on anything from napkins, to tea towels, and cars, and tote bags. I'll attach the supply list and where you can get everything for this process. I hope you show me what you're working on, whether it's sketches or works in progress, and I can help you take a sketch to a design that works on fabric or on cards. This process can be intimidating at the beginning, whether it's sketching or carving, but once you get to the printing part, it can be really therapeutic. Stick it out and ask me questions if you need them. I hope you enjoy the video. Bye.
 Emily Wool, block printing inspired by nature