Transcripts
1. Introduction: I'm a firm believer in the idea that anyone and everyone can be an artist, because what makes you an artist is actually making art and anything you create can be art. Hi, my name is Olivia Hansen, also known as Oh the Imitator, and I'm a 16-year-old self-proclaimed artist and maker of things living in Durban, South Africa. I'm mostly a digital artist, but I do enjoy working analogue from time to time. Most of the art I do is semi-line drawn portraits of interesting people. In this class, I'll be guiding you through five of my favorite creative exercises designed to just get out of your head and start making. These exercises will be using different mediums and methods and they give free experiment and mess around in ways that you maybe haven't before. I'll also briefly discuss some of the major obstacles you might have set up for yourself and how you can get past them. By the end of our time together, you'll have at least four artworks, which we will then use to feature in our fifth and final piece an aesthetic photograph of your artistic workspace. This class is made for everyone. If you want to express yourself through art but don't deem yourself artistically talented enough, or you feel discouraged by things other people have said, perhaps you're already an artist and you just need some fresh ideas to get out of a creative art. Or you're just someone who needs a little bit of calm, creative me time, then this class is for you. I think it's really important for anyone with creative energy to find their outlet and to make themselves and the people around them happy with what they create. I hope that today's class will either help you find your outlet, give you an idea to what it could be, maybe just inspire you if you're already making art, but most importantly, I hope we can have some fun together. Thank you so much for choosing to take my class, and I'll see you next lesson.
2. Before we begin...: Hi again and welcome to my tea talk. Wait. This is my very first Skillshare clause and I'm really excited to teach it because I think I would have really benefited from a class like this when I was younger and I really want to share the valuable lessons that I've learned so far in my creative journey with others. I want to do this despite being quite a bit different from lots of the other teachers here on Skillshare. I'm really young. I don't have a huge social media following. I don't even have a job and as a side note, thank you to everyone who is still watching after I said that. But seriously I do believe that everyone has something that they can teach others and this class is my attempt at doing that. Okay, so a little bit about my artistic background. I was never an artistic child growing up. I didn't like art class. I couldn't draw or paint really and I just pushed it to the back of my mind as something that I just wasn't good at because I didn't have the gift. Then when I was 14, I started going to this drawing club with my brother, who is quite artistically talented. What we would do at this drawing club is we would sit with a bunch of other kids around a table for about an hour and we would just draw from imagination. Guidance in this club really upset me because I was with a bunch of kids who I thought were really, really talented and I just felt really inadequate. I kept comparing myself to everyone else and my perfectionism and overthinking certainly didn't help either. So I felt really frustrated and discouraged but I was gradually starting to warm up to art. I was starting to get a little bit more interested and I ended up making up my mind that I was going to find my own way to make art. One of the ways that I did this was with bullet journaling. I couldn't and still can't draw from imagination, but I did notice that I was quite good with copying things that other people have already made, doodles and artworks that I found on Pinterest. I started making calendars and trackers and lists in my bullet journal so that I felt there was some purpose other than just making art and then I would decorate and I would add to them from things that I've seen online and this really helped me. I really enjoyed doing it and it felt like I was making something beautiful that was also practical and that no one was going to judge, as you would judge a painting or a drawing. About a year later, I discovered Skillshare. This was quite a game-changer. Suddenly, I was seeing all these different artists making all sorts of different art and almost every single one of them could do something that many of the others couldn't. Everyone had different skills. Another thing that I found interesting was, hearing stories from teachers like Carly Kuhn and Mari Andrew, who say that they didn't consider themselves artistic until their mid-20s. Being an artist was never part of their plan, it just accidentally happened. That really encouraged me and gave me a hope for my creative journey. One day after I Skillshare binge, I got a new idea for a style I wanted to try in Procreate. I wanted to try line drawing, but in a less intimidating way, not those super minimalists, elegant line drawings you see on Pinterest. I wanted to try to draw people and I wanted to try and draw all of their features, but keep the lines connected. I pulled up this photo of a redhead girl I found online and I tried to draw her. It turned out really well. I was super happy with it. I was so excited about this new style I'd found. I practiced and it turned into the style that I mostly work in today. These semi-line-drawn portraits of people with slashes of color and thoughtful sentences added in. This made me realize that I was, and am an artist. I just needed to find my spark. Hence, this class title, ignite your spark; five creative exercises for the aspiring artist, because that's what I was, an aspiring artist that just needed to find my creative outlet. Today I'm going to show you five of my favorite creative exercises that have helped me do that. These exercises really helped me to set aside my expectations because I have no idea how they were going to turn out and they made me consider art and my artistic abilities in new ways. But before we jump into that, let's talk a little bit about art and our mindset going into these exercises. When I was younger, I had a very ignorant and limited idea of what art was. My biggest problem was that I thought only drawings and paintings counted as art. Dancing, movies, sculptures; these things weren't art. When I thought of art, I thought of big paintings of still lifes and landscapes, and I didn't even like those. But as I got older, I started to see the other sides of it. I started to realize that anything you create can be art. Whether it be a meal or a music video, maybe a dance or a poem. All of this can be art and that was really big for me. That was a very big idea. What I then started to do is I trained myself to see beauty in all types of art, conventional or unconventional. I realized that any art can be beautiful if you just are open enough to see it. Keeping that in mind, here are three things that might affect your mindset going into these exercises. Number one, our good friend, perfectionism. This is always easier said than done, but I need you to throw our friend perfectionism out the window. There is no such thing as being perfect. I know it, you know it though we still try and be it. right now you just need to let go of it. We're going to have fun and experiment. We're not trying to make a perfect art piece. Number two is comparison. Please don't compare yourself to other artists and their artwork. We're all different and we're all going to make different things. A good analogy is that everyone else's apples and you are a pair. Don't compare the two because you are not the same thing. Third is making the art too personal. What I mean by this is sometimes when we make things and it gets rejected or we don't like it, we take it personally. People are rejecting me, but this is totally the wrong idea to have. The first three exercises of this class help with this by taking away a form of control. When we are doing an exercise and there's a certain lack of control, it helps us to distance ourselves from what we're making because I don't have full control of it, so if it doesn't look nice, it's okay, it's not my fault. This will really help you feel much more positive about what you're making. Now that we have all that out of the way, let's get to your materials.
3. Materials: One of the things that makes this class a little bit unusual is that we're going to be using different materials for each exercise. Let's quickly go through them. For our first exercise, you only need three materials; a pen, I'm going to use my Sharpie, some paper, this is just normal printer paper, and of course, a reference photo. Now, for reference photo, I love looking through my National Geographic's. They've got some great pictures of people in there. But today I'm just going to use a photo that I've already chosen on my iPad. For our second exercise, we're going to need a little bit more. In addition to our Sharpie and our printer paper that we already had, we're going to also use a pencil and eraser to do a little bit of planning. This time we're also going to need some colored markers. They don't need to be anything fancy like copex, I literally just have some like kids Crayola ones here, and that'll work fine. For exercise 3, we're going to do some watercolor things. Obviously, you're going to need some watercolors. It can be a cheap set, the kind really doesn't matter, obviously your brush and some water, and then your pencil and eraser for some planning once again. You'll also need a waterproof fine liner. It needs to be waterproof because we're going to paint over the ink with our watercolors. As for paper, I'm using this Mixed Media Pad. This is great for charcoal or watercolor, and as you can see, I've just cut it into two small squares. If you have proper watercolor paper that will work even better, but Mixed Media should be fine. Actually, if you just have thick paper that the water isn't going to ruin, you can even use that. For our fourth exercise, we are going to be making a collage. Obviously you're going to need some magazines or newspapers and some paper to put your collage on, something to cut with. I'm going to use my exacto knife and then obviously some glue. These are the necessities, but you're more than welcome to use any type of stickers, ribbons, paper or fabric scraps, candy wrappers, anything interesting you can think of that you would like to put in your collage. Lastly, for our fifth exercise, we're going to be using one of our previous artworks in an aesthetic photo. All you really need for this exercise is one of your artworks and a smart phone or a camera. Another thing I think is really important is your environment. Having an unsuitable workspace can really affect your mood when you're creating. For these exercises, make sure you have good lighting, a tidy-ish desk, and maybe add some music that you like. Personally, I love listening to podcasts and classical music when I'm drawing. In school and work environments, we're trained to following orders we get exactly, but this is not how my class or the Skillshare platform works. If you don't have some of these materials, that's okay. As long as you can think of a suitable replacement, you can totally use that. If you don't have a marker and you only have a pencil, fine, then use that. The point is the exercise not the materials. In fact, feel free to tweak and change these exercises if you're curious and you want to see what you discover. Now that you know what you'll need, let's finally start creating.
4. Exercise One: Line Drawing: For our very first exercise, we are going to be creating two line drawings and by line drawings, I mean continuous line drawings, which means that we are not going to be picking up our pen during the creating process. It's all supposed to be one line. Now, this exercise might be familiar to a lot of you. It's a very popular way to just get your creativity flowing. Or you might have seen some single-line drawings on places like Pinterest and these are super minimalist, very, very elegant, and they often look impossible to make. But don't worry, we're not going to go into that type of line drawing today. For our first drawing, we are going to use our non-dominant hand. This is a really good way to warm up and to open your mind because you know it's not going to look perfect. Your expectations are low, you're relaxed, and anything beautiful that then appears on the page will be a pleasant surprise. For reference photos, I personally love to flip through some National Geographic magazines. However, today, I'm going to be going onto one of my favorite websites, unsplash.com, and I will be choosing this woman to draw. For your first try, I really recommend using a person as a reference because the variations and possibilities when it comes to the human face is just absolutely endless. Drawings just have so much more character. As you can see, I have my sharpie ready here and my printer paper. I have an extra sheet here because I don't want my sharpie to bleed through onto my desk. My non-dominant hand is my right hand because I'm a lefty if you haven't noticed. I'm going to start with her head. Heads are notoriously hard to draw. But I find them to be quite fun when you're doing line drawings. I tend to go over the lines over and over again and that's definitely not what the Pinterest line drawings look like, but that's okay. Here is always fun to draw. You can try and make spiky hair, or you can make the hair sticky. Placing a lot of straight lines, but I'm trying to go for a soft, flowy effect. It sounds dramatic but therapeutic to draw hair. I'm not worrying about it turning out perfect. I'm making so many squiggly uneven lines, and I'm going over some places over and over again. But it's okay because I'm having fun. My favorite part of drawing someone is always their eyes. This woman has very beautiful eyes. I think everyone has beautiful eyes if you just look at them briefly. If you do these exercises over and over again, you'll notice it in tendencies. One of mine is, I always connect one of the eyes with the nose. It's just something that's popped up as I've done these exercises over and over again. I think I'm done, so I'm going to sign it, always on your work. There is my non-dominant hand, single-line drawing. I'm really happy with how this turned out. I think it's quite pretty. She definitely doesn't look anything like the reference photo, but that doesn't matter because I just created something that didn't exist in the universe before, and I think that's pretty cool. Now that we've warmed up with our non-dominant hand, let's move on to our dominant hand. This is my left hand. I'm going to move my reference photo to the other side so I have some space to draw. Even though we are going to be drawing with our dominant hand now, which means we will be much more comfortable drawing, please keep the mindset of we're just having fun, we're just trying something new, and we don't know what it's going to look like. In fact, now that we do have a little bit more control, we can experiment a little more wildly than we did in the last one. Eye lashes aren't this prominent in the picture, but who cares, I want to try this. There you have it. We've done our two-line drawings. I hope you enjoyed this exercise. This always stays one of my absolute favorites. This is the exercise that inspired me to start doing my digital work. Feel free to try this exercise multiple times on the same reference photo. I like to do that sometimes and it's so cool to see the different joins you come up with, none of them look the same. Good luck, and I'll see you in the next lesson.
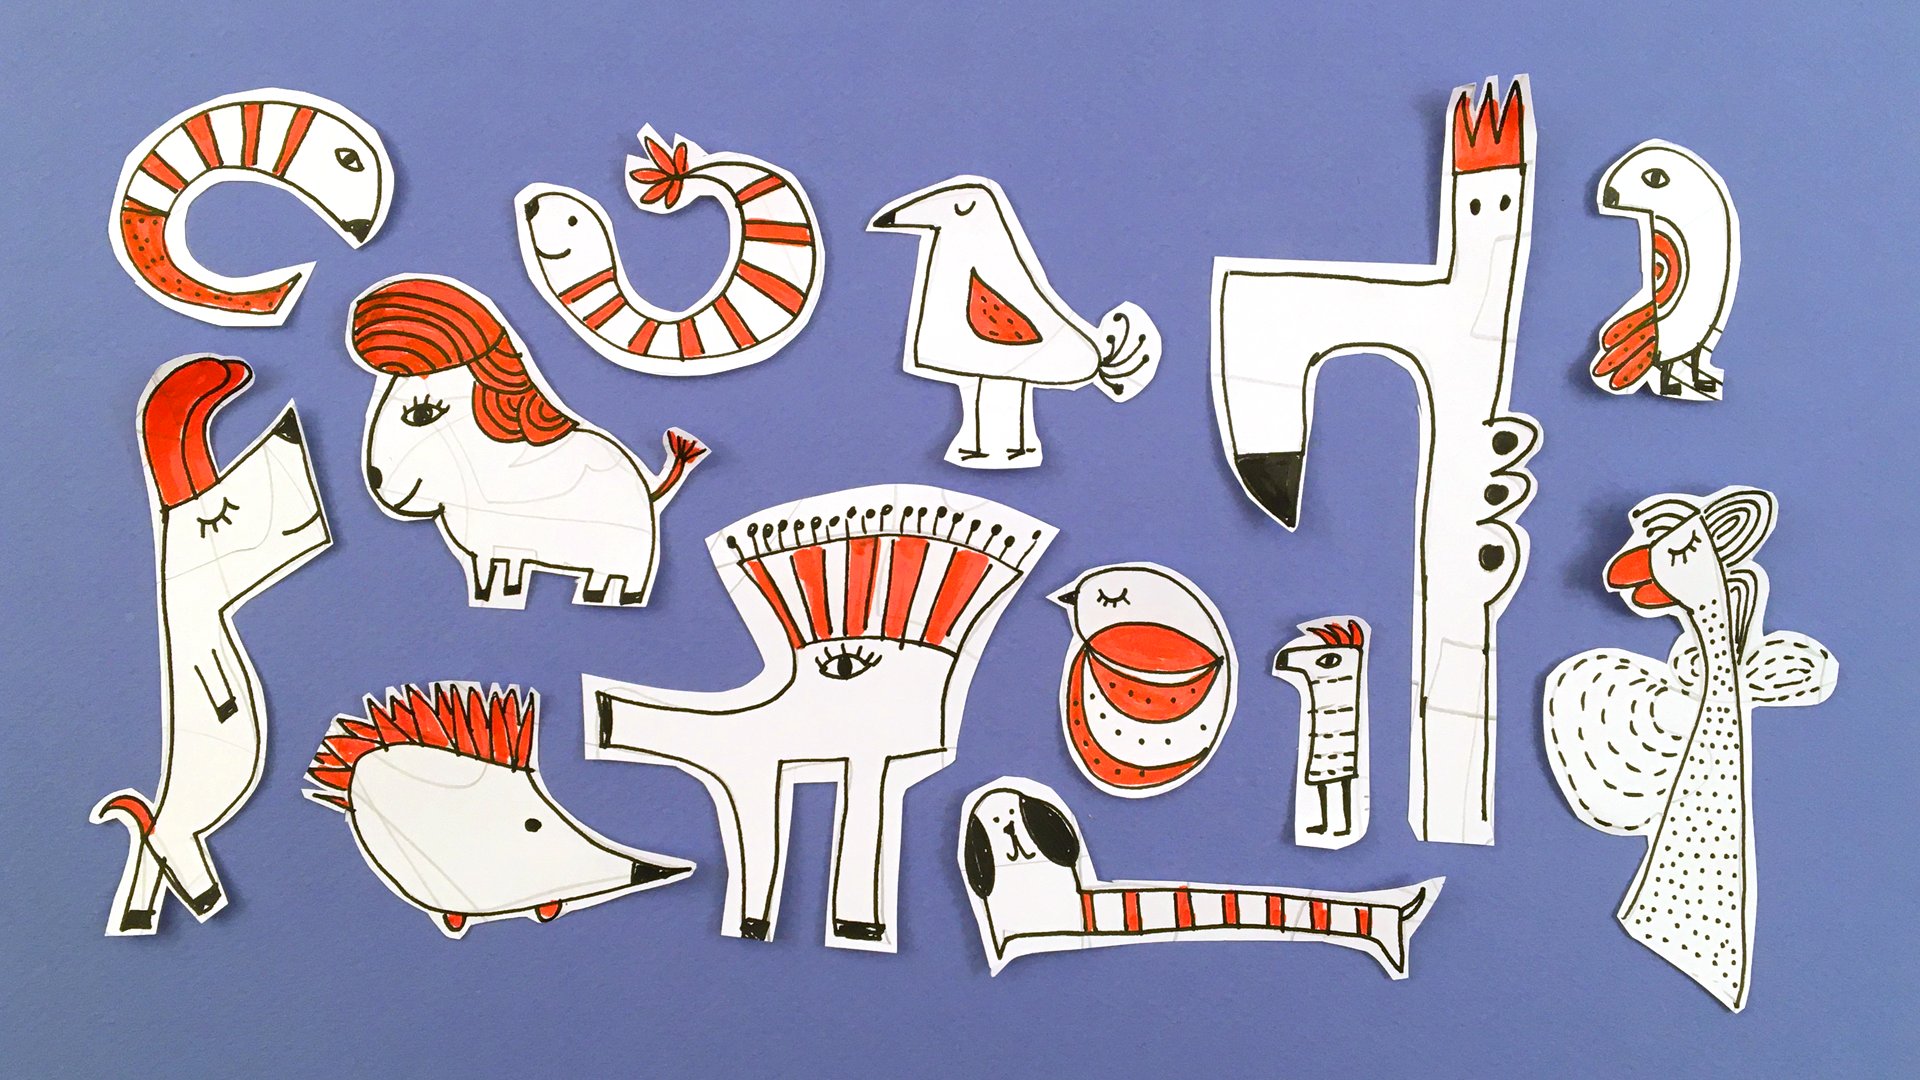
5. Exercise Two: Word Symmetry Drawing: For our second exercise, we are going to be making a word symmetry drawing. What that means is you're going to be picking a word. It can be any word, though I recommend you use a short one. Today I'm going to be choosing the word sport. You're going to take your word, turn your page horizontally and then write your word on the page. Then we're going to mirror the letters and like a word butterfly and then we're going to try and make our drawing look like some creature or monster. Then finishing up by adding some color with our markers. Now if this sounds a little bit confusing, don't worry, I'm here to guide you through every step. I'm going to be using my pencil and eraser to do a little bit of planning beforehand. You can draw a line in the middle of your page to help you mirror the letters. But I just like to fold my page in half. For your first try. I really recommend using blocky letters like I am now. Not sure why, but I just find that it gives me a lot more flexibility to make the lines look like anything I want them to. Think of how the first computer games were all pixelated and super blocky. Now I'm going to mirror my word on the other side of my page. As you can see the tail of the P that I did went over my line, so I'm just going to let that disappear in the mirror image. I did it quite skew, but never mind, I'll try and fix that when I go over it with sharpie, which is what I'm going to do now. Maybe I should use a ruler this time. All I'm doing now is I'm just going over my pencil lines with my sharpie and remember all I've drawn so far is my word and it's mirror image. I haven't added anything yet. Now that we've done that, let's try and turn our word butterfly into a creature. When I look at this, this looks a little bit like some rodent to me, maybe a squirrel. There are his glosses, there are his teeth and these up here could be ears. I'm going to play into that and see what happens. This is a cartoon or so. I think I'm going to make this his pants and these could be his shoes. This is the rough sketch of my rodent. Let's call him sparky. I feel like that's fitting. I'm going to go over my pencil joints with sharpie. Now we can start adding some extra details that we didn't do in pencil. I'm going to decorate the shoes a little bit. Since I have this weird stick coming out the top of his head, I think I'll turn that into a light bulb. I think it fits with this name. I'm done, meet sparky. Well, I'm not quite done. Here is the sharpie drawing of him, but now we should add some color. This is our finished product. I think it looks super cool. I'm going to go ahead and sign that using one of my very old signatures simply for the fact that I think it fits with the style of the drawing. One of the things I really love about this exercise is that it provides you a framework to start with and that's really great if you're anything like me and you can draw from imagination. You've probably noticed that my word symmetry drawing start like anything like my digital work or my line drawing and that's another really cool thing about this exercise is that it showed me a completely unique style that I didn't know I had and I hope that by doing this exercise, you might make a similar discovery. Now it's your turn. I can't wait to see what creatures you come up with.
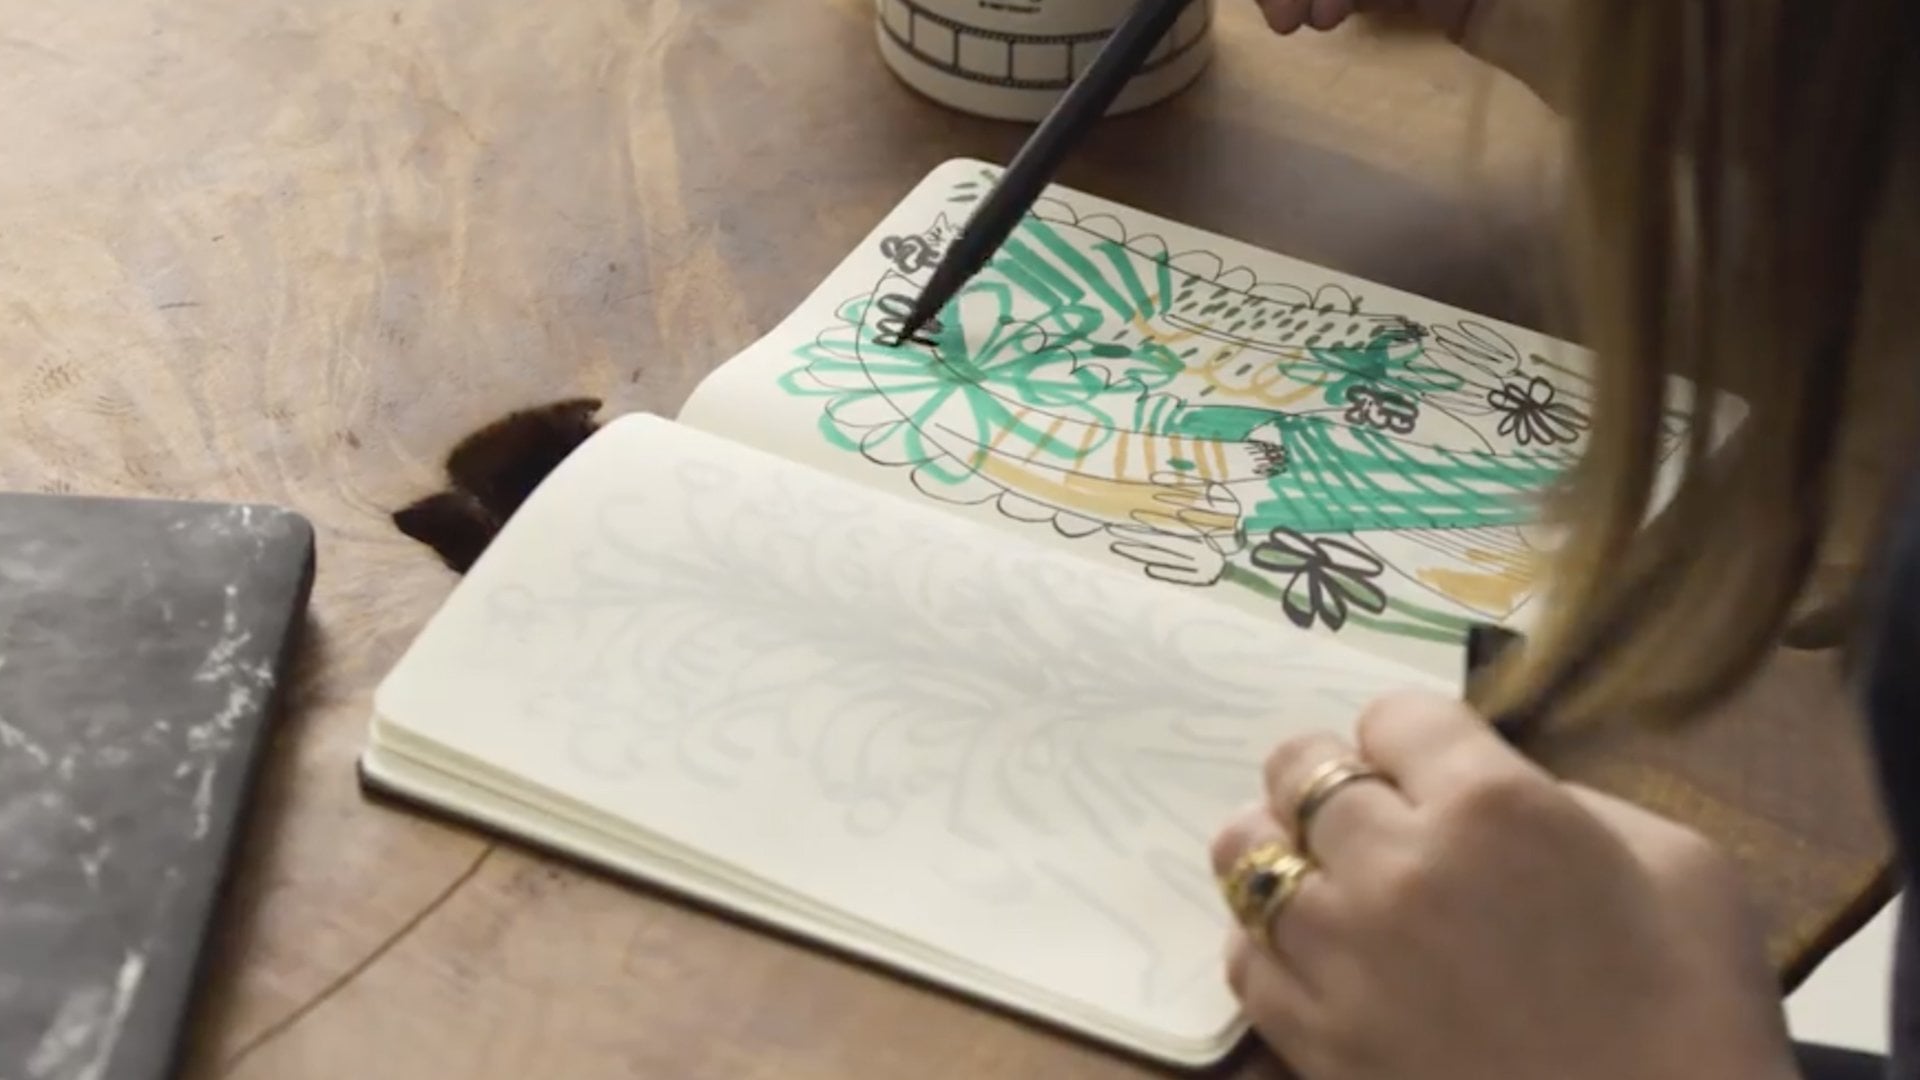
6. Exercise Three: Watercolour Doodles: Our third exercise is called watercolor doodles. This exercise is inspired by one of my absolute favorite artist called Mark John's, and the art that he's known for are the simple, charming little illustrations with unusual and often surprising annotations. Trying out this exercise is really fun because it's not too complicated and it's a really good way to practice some usually very unassuming objects. What we're going to do in this exercise is you are going to pick something to draw. It can be anything, as long as you can draw it in a simple way. Still-life objects are a good choice. Things like books or tea cups or toothbrushes. Anything that won't stress you out when you try and draw it. I'm actually going to be doing two of these because they're just so quick and simple. We are first going to sketch out our doodle in pencil. I'm going to go ahead and start that. I've decided to draw a soap bottle for my first doodle. When we're done with our watercolor doodle we're going to add some quirky caption to make it a little bit more interesting. I already know what mine is going to be. I'm going to draw this speech bubble which will make sense later. Now that we've sketched our watercolor doodle in pencil, now let's go over it with our waterproof fine liner. One of the goals for this exercise is to make your drawing a little bit unexpected. There are so many ways to do that. For example, I am going to write something on the label of my soap bottle and I'm going to write beet scented. I don't know if there are any beat scented hand soaps out there, but it's fun to imagine. Now I'm going to go in with my watercolors. All I'm doing is I'm just wetting my paint brush, mixing some colors. I mean, just coloring it like you would with a colored pencil. Make sure you let one color dry before painting right next to it with another or your colors might bleed into each other. I actually added a little bit too much water there, but that's okay because I'm just going to grab some tissue paper and just block that wet spot. I've just waited a little bit for my soap bottle labeled to dry before I try and repaint it. This is my favorite part. We're now going to add some quirky, unexpected comment at the bottom of our doodle. Mine is going to be this soap bottle. Thinks you're cool. I think it's cute and surprising and encouraging all at the same time. I think that fits perfectly with my doodle. There you have it. I'm very happy with my little soap bottle watercolor doodle. I didn't want to make this video too long. Instead of showing you the process of making my second watercolor doodle, I'm just going to show you the end result. I decided to draw a pot plot with little legs and the caption says, it was his third marathon. We're done. I hope you enjoyed this exercise. Feel free to do as many you like. I have sometimes done eight at a time. Go ahead and start doodling.
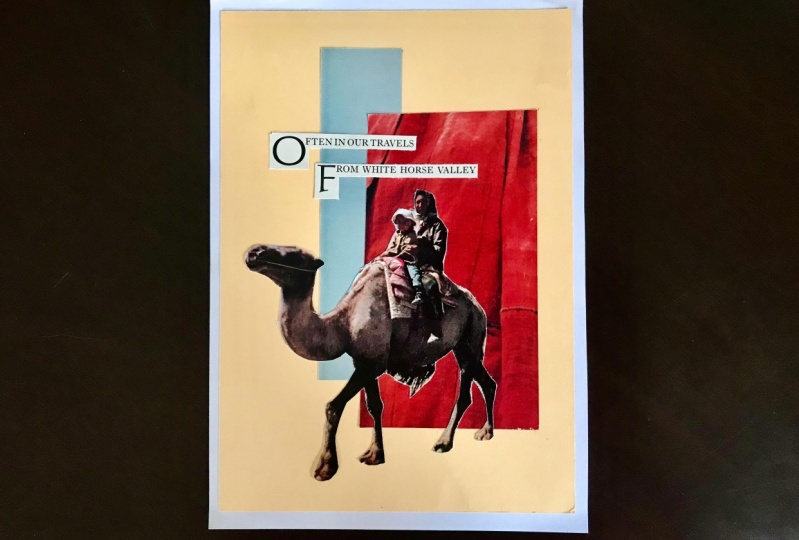
7. Exercise Four: Collage: For our fourth exercise, we are going to be making a collage. The reason I think this is such a great exercise is because you're making an artwork by using beautiful things that already exist. You don't have to draw a picture of a flower, you just find one. This is my collage notebook. You can do your collage in a notebook as well. But for today's exercise, I'm going to just do mine on paper. This exercise is pretty straightforward. You all know how a collage works. Here's my magazine, and I also have this piece of cardboard to put underneath the pages so that I don't cut through multiple pages at once when I'm cutting something out. The first thing we're going to do is just simply page through a magazine, trying to find maybe a centerpiece, anything that we would like to put in our collage. I'm especially drawn to people, they make really good pieces in a collage. I really like these camels here, so I might use those. Basically, what I'm doing now is I'm just getting an idea of what I have to work with because I'm just going to make my collages only in this magazine. There is going to be a lot of looking through your magazine or newspapers first, because there's usually just so much to choose from and you might have to go through it multiple times before you finally choose your centerpiece. I really like this camel, so I think I'm going to go ahead and cut this out. I really like this red cloth, the texture of it is really nice, so I think I'm going to cut out a square of that and that could be like an abstract shape in my piece. Let's see how this looks so far. I really like the composition of this. I think this is going to look pretty cool. I think I would like to have another square of colors, so I'm going to go ahead and look for that. I just noticed that this line says, 'often in our travels' and that definitely matches with my traveling camel, so I might just cut that out. When it comes to collages, you can use so many things. You can use printed text, or you could write something in your own handwriting if you would prefer that, you can use, like I said earlier, stickers, ribbons, candy wrappers. There are so many possibilities. I like this map. I think its sandy color is pretty fitting for my piece. I'm going to go ahead and cut that out. After arranging my cutouts in a few different ways, I've decided that I'm not going to use my map after all and that might happen to you too. You might cut out things that you don't need, but it's okay. You can always keep them for a feature collage if you want. I just got up and went and had a rummage in my craft toys and I found this piece of orange cardboard that I think will make the perfect background for my collage. Because at this point, I just think it's way too plain and white. This looks pretty cool so far. I can tell if this is going to be a pretty simple collage. If it's not broken, don't try and fix it,, I guess. I think it only needs about a thing or two. I think this guy looks pretty cool. If I stick him on the corner of my red square, it could look like he's a giant looking down at my camel, so I'm going to cut him out. I changed my mind again. Maybe I'm not going to use him in my collage. I keep feeling like I need another rectangle or a square that's just one color and I think this blue actually will be perfect. Half of my collage process is basically just arranging all my cutouts until I'm happy. So far, I'm really happy with this. I think it looks elegant and simple, so I think it's time to start gluing. I think I would like another line of text underneath the first one, so I'm trying to look for relevant sentences that might fit nicely. Oh here's one, 'from white horse valley.' That's not super relevant, but it's good enough. The two lines even work together, 'often in our travels from white horse valley'. I'm done with my collage. This looks pretty cool. I was planning to do something a little bit more complicated but as you can see, it didn't turn out that way. This exercise is really straightforward. We've all made collages, especially in school. But I still think it's really important because it is such a good way to create without actually having to draw or paint your own things. Now it's your turn. Grab your scissor and your glue and start making.
8. Exercise Five: Aesthetic Art Photo: For our first exercise, we are going to be taking one of our art pieces. I've chosen my collage as my centerpiece, and we're going to style it in our artistic workspace with props and decor. Then we're going to try and take an aesthetic photo that you can share with others on social media. As you can see here, I've put in some props. I've got my shell, and my tea, and mostly just my desk decor that was already there. But I've also got some magazine clippings that I cut out while I was planning my collage. I've got my scissor here, a pin. I've even got my collage notebook, things that I just thought were related to my collage process. Another important thing to consider is the colors that you're going to have in your photo. I've got the red scissor that obviously matches with this red square in my collage. I've also got a lot of neutral soft sandy colors that I think also works well with the camel. After you've set up your scene and you're happy with it, you're just going to take some photos, try and get some from different angles. Take multiple so that you have to choose from afterwards. You can do from the side or you can try some flat lay options if you would prefer that. Obviously, I am not a professional photographer, but I do think this exercise is really fun to gradually learn how to get the most out of photographing your artworks. Having a aesthetic scene always makes your centerpiece look nicer. Out of all the photos I took, I liked this one the most. After I applied one of my iPhone's filters, it looked even better. Obviously, this is not an award-winning photo, but I really do think that it has a lot more character than this one. Now, it's your turn. Start snapping away.
9. Final Thoughts: Congratulations for finishing this class with me. I really enjoyed doing these exercises and I really hope that you did too, and that you maybe discovered something new about your creative self or about creativity or just about art in general. One small piece of info I would like to share with you is that sometimes you get so into your art or it takes you so long to make something that you can't really appreciate it afterwards. It's a really good idea to sometimes just take a bit of a break from creating and then come back to your art later. When you see it with fresh eyes, it almost always surprises you. Now is your time to free experiment, to let loose. You can try these exercises with maybe different materials. What would a line-drawing look like if you try to do it with acrylic paint. May be experiment with the size of your joints. The possibilities are really endless and it is so much fun to just explore. I really encourage you to do that. Lastly, please share your work in the project gallery down below. I can't wait to see what you did, especially because these exercises were so transformative for me, I'm really curious to see how it might have affected you. I really encourage you to post at least one of your exercises. The best one would probably be your fifth exercise, your fourth exercise because that not only shows your photography, but it also shows off the art that you actually did. Sharing your creations on Skillshare is such a good way to get praise and encouragement and feedback from the Skillshare community. I personally have found it to be such a mood booster. Once again, thank you so much for joining me. Now, go have another creative adventure.
 Olivia Hansen, Oh the Imitator, artistic oddball