Transcripts
1. Introduction: So what's the
easiest way to turn static images into
video using AI? How do I avoid possibility
of copyright complications? And how do I get this done in a relatively short
amount of time? But most importantly,
can it be done even as a beginner new to AI? Welcome to how to
turn static images into video using
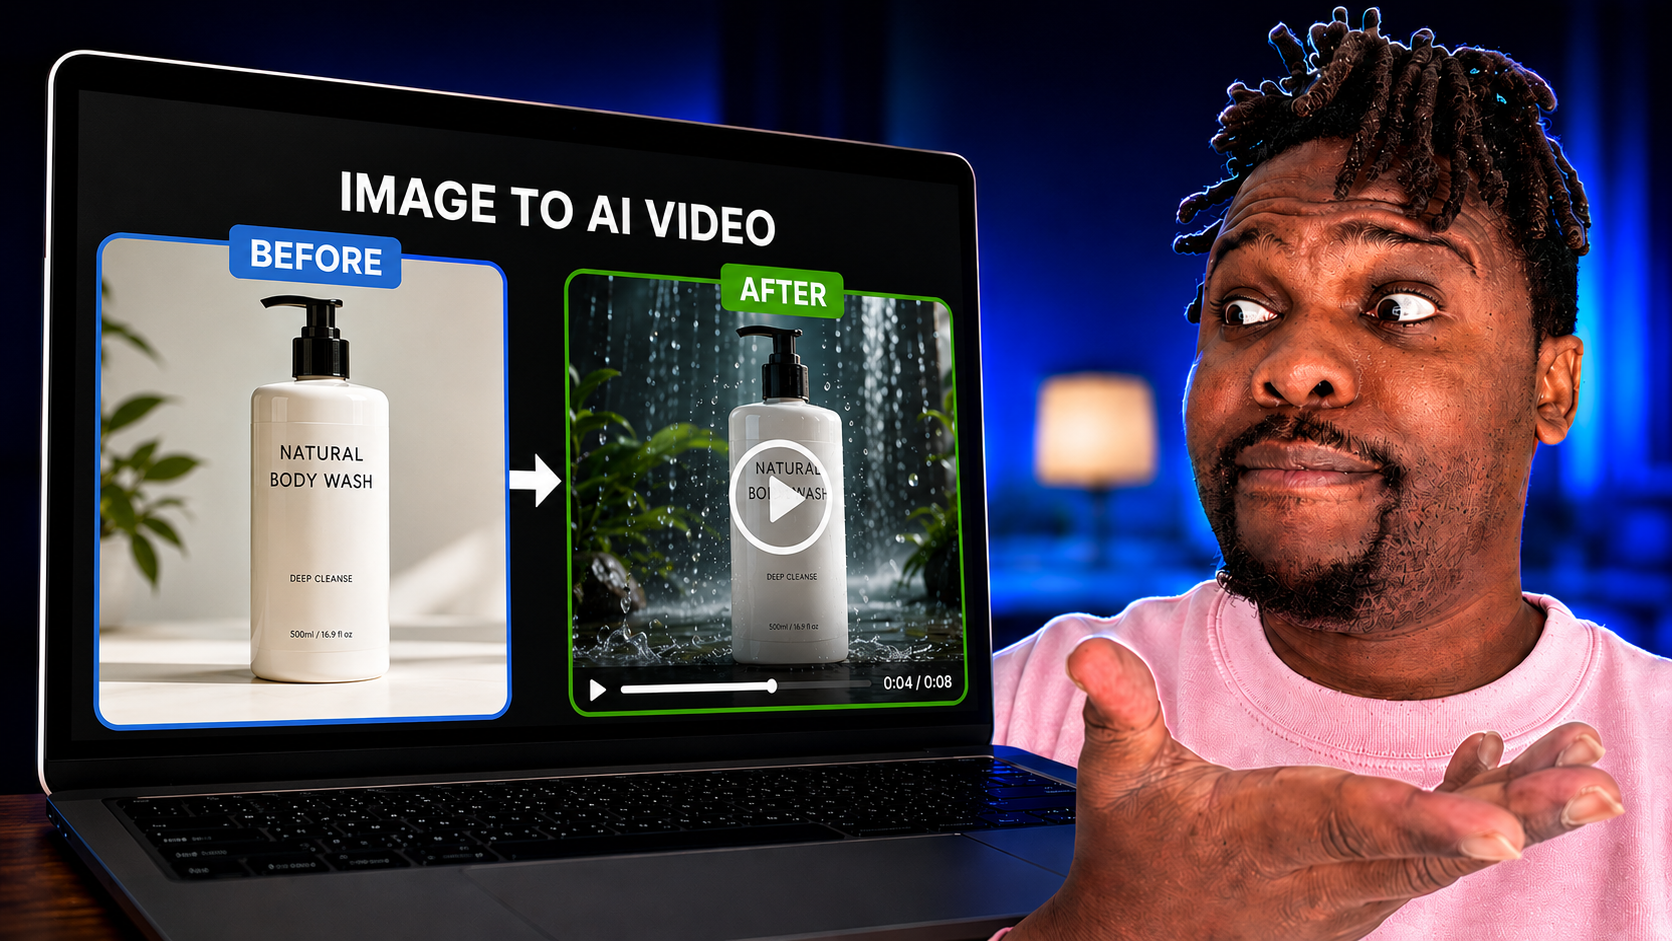
AI for beginners. In this short course,
we'll be answering all of the questions
above and showing you step by step how
to take a static image and turn it into
a short AI video. And make your own further
variations from there. So they use cases for why you might need to
do something like this. You may be an e commerce
brand seller creating. Ad, you may be someone that sells things on behalf
of other people, also looking to take those
static product images and turn them into Ad you
could be an artist looking for inspiration from
existing products similar to your video
you could simply just be having a little
bit of creative fun and learning a new skill
in the process as well. Regardless, welcome. The tools we are going to
be using specifically, are going to be Chat
GPT, Google, and CVA. Now, I believe you may
be able to follow on the free or lower tier
subscriptions within these tools, but for transparency,
I will be using CHAT GPT plus and CVA premium and just
the normal free Google. Everyone is able access. And by the way, if we're meeting
for the very first time, hi. My name is Victor. Alongside the normal boring
everyday life stuff, I run a one person content
marketing business, feel free to say hi
in the comments. Otherwise, if you're
curious about what else I'm up to on the
big worldwide web, my details are on my profile. But enough about me,
let us get started.
2. Class Project Brief : Welcome to Video two. What I'd like you to
create as a class or project is to follow
the steps I outlined in this course and
take an image of a popular product or your
own photo or bot image, wherever it is that you
source the image and turn that image
into a short video. It doesn't matter if
it's a portrait video. It doesn't matter if
it's a landscape video. The key thing is to
take that image, use AI, and turn
that into a video. I'd also like you to
include a short, simple, four or five bullet point
descriptions to get an idea of any challenges that you came across, how
you overcame them. And that little bit of extra context so we can
understand your journey. Any questions, feel free
to give me a shout.
3. Step 1 Sourcing Images : To Video three in this course, where we are going to
be covering step one, which is how to source the image if you don't
already have it. So you can source the
image by using photos that you've already taken on your mobile device or camera. You can source the image by
generating an image using AI if you are already
familiar with how to create images
from nothing, how to prompt AI to
generate images for you. You can also By
images so you can retain the rights of
those images as well. However it is that you
have gotten the image. What I would like you to
do is create a folder, save that one image or images into that folder just to try
and keep things organized. So I'm going to show
you exactly how I went about creating the
image for my example. So let's jump into
my screen and I'll show you the process
that I followed. So as a reminder, the
e commerce example is just my example. Whether you are within ecommerce or within the creative industry, whatever industry you're in, you can follow this
exact same process and adapt it based
on your use cases. So the first thing
that I did is go onto Google and look for
the magnesium complex. From a company named To
plot a bit of background on how in my example
I found this product. It's a product that I
saw on social media. In my example, I have
looked for images that have a nice clear background that have hands holding them. I've avoided images
that fool people. I just try to keep it
as simple as possible. Remember, the simpler is the
easier is for AI to take out what you need from
that image and give you the result
that you quire. Thankfully, there's a
bunch of different images here where it's just a product with a nice clear background, and that gives us a lot
of space for creativity. We can take that product. We can put it in
different backgrounds. We can get people of different skin tones
holding the product. The possibilities are
completely endless. Whether your product is a
motorcycle, a tennis ball, an animal, a dog, a parrot, whatever it is the
same thought process. So now that we have located an image all we do is
just save the image into a folder on your desktop or wherever your preferred
location is so you can stay organized because
you are going to need to go back and
collect that image. Once you've done
that, you're all set to move on to our next
4. Step 2 Prompt ChatGPT : Welcome to the next
video on our course, and our next step is
now engaging hattPT. So on the last video, we collected and sourced the image
we are going to be using. We talked about what to look for in the image that
we are selecting. We save that image so we
can access it easily. Now the next step
is to engage with hatchbT and what I mean by
that is taking that image, putting it into GPT or whatever LLM tool you are
using and working with the AI and communicating in a way
that allows it to understand what your requirements
are and give you your desired result. So we wanted to create a
crone of those images. We're going to
guide it to produce the result that we
are looking for. And by the end, we
should have some images that are ready for the
next stage in the process. And once again, let's
jump back into my screen, and I'm going to
walk you through my process and how
I went about doing. You can see that these are the product images
that I selected. Again, as mentioned
earlier, very simple. If I click on this one, simple
hand holding the product, hand holding the product, we can see the
actual tablets now within the packaging
of the product. And so for simple image of the
product with a background, again, just a simple image of the product there with
a white background. And I've then gone on to
say to check GPT that, Hey, I am creating a
TikTok shop video ad. It's going to be about ten
to eight to 10 seconds promoting this product. Uploaded some reference images. Please create similar images, each with subtle
differences like background environment setting
or different skin tone. As this is for TikTok Shop, each image needs to be
nine by 16 vertical, ultra shop high quality. I need each of the five
images created one at a time. Please generate the
first one now and then confirm me if we can proceed
to the next generation. So a couple of things
that I wanted to note on how I structured
this prompter. So firstly, I'm just giving
the tool some context here. This is what I'm doing.
This is my goal. This is what I'm
trying to get to. I'm trying to create this
video for this purpose. I've named the product on there. So remember, AI is now able
to browse the Internet. So when you're
giving it the name animal product setting, tool, gadget, it has got that context, so we can go in
the background and learn a little bit
more about that. I've uploaded some
reference images. Please create similar images, each with subtle differences
like background environment. So I'm just letting it
know now what I would like it to create from
what I have uploaded. I've also given it some additional context around
where this image is going, not just what I want, what
I'm going to do with it after I receive it.
This is for TT short. I would like this
to be nine by 16 vertical for those
who may not be aware, nine by 16 is your typical
smartphone aspects ratio. So your vertical video, which a lot of people will
be viewing videos and entertainment in if you
are using a mobile device, whereas if you are
using your television or you are using a
wider aspect ratio, that will usually be the
opposite of the 16 by nine. So keep that in mind
in terms of what aspect ratio you want your
video to come out as. It all depends on
what it is you are trying G. I've also said
ultra sharp quality. Given the AI context
there again, some people might
not want ultra shop. They might want VHS,
greeny, blurry quality. It's important to be
specific about that as well, now I could have
given some numbers and gone into
further depth there, but I've just left
it there for now just to keep it simple. Now I've also said
I need each of five images created one at
a time and the problem that I've found upon playing
around with Chat CibiTs got this tendency to create or to export multiple images in a grid format rather
single images, which can be super annoying. An example is when I'm creating thumbnails for long form video. If I wanted to create different variations of a thumbnail, rather than exporting the
images one at a time, it will just create a grid with all these
different thumbnails, which can be so annoying. But I digress. This
is the reason why I've specifically
said one at a time. I've also said, please generate the first
one now and then confirm with me if we can
proceed to the next generation. So what I'm trying to say
here is after you create that one generation after
you create each generation, let me know, export it. And once we've
approved it together, then we'll move to the next one. You don't just made it
automatically go onto the next one because
I might not like the one that you've created. So that's the thought
process behind that AI prompt first image that has come up with Brilliant. So I like this one. So this is now an image
that I've created. This is not an image that
belongs to someone else. The copyrights are my own there. And I've said to it, perfect. Next one, please. And then
it's created another one here, subtle differences there.
It's very similar. And then I said,
next one, please, we can see some
subtle differences in the skin tone there. Again, different background,
different background, different background,
which is what I said. So it's doing really well there. Next, please. Overall, the
style and the presentation of the image wasn't really as varied as I would
have liked it. So I then went on to Chat TikT and I said,
Hey, fantastic. How many more images
are remaining? Please remember we are referencing the images
I attached earlier. Ones of the standalone
product and the hand holding the tablet
next to the product. So I'm saying to you, Hey, you're doing a
great job, but look at these images that
I've uploaded here. They are not too similar. One is the product its own. With a background, one
is of the product, with virtually no background. One is the product being held, and one is even got
the tablets on it. So I think somewhere
along the way here, Chachi BT forgot
that information. So it came back to
me and said, Hey, we've created four out of five images requested
for farmining. There's one remaining
hand holding bottle, cozy living, modern kitchen. As for the final
stage, I can now shift closer to the other
reference styles you load, and it gives me a description of what it's going to
look at doing there, the strongest angle as well, because it's a way
I've giving it context because I've said
it's for TikTok shop. So straightaway hatchibT is now thinking within the confines of what works within that particular plot as it
would do for Instagram, as it would do for Facebook, as it would do for Snapchat and all these
different platforms, which is why it's important
for you to give it context. Now, then went on to
say next image, please, the one with the
capsules on the palm of the hand next to
the tablet container. Brilliant. I went and created it'll be janky here and there, not the best image,
but the writing on the product is
pretty much spot on. It's very hard to notice
any sort of subtle errors. So I like that one,
and then I said, finally, the one with
the product on its own. So again, I'm steering and guiding there into
the result I want, and boom, we've got one of
the product on its own, and I was happy with
that result there. From this point, what you can do is export by taking that button, and then you can
save and download back into that same
folder that we created. And here, we're going
to need them on the next stage in our process, so you want to make sure
that you stay organized and keep them within that
folder. I'll see you in
5. Step 3 Canva Image To Video : So the next step in our
process is going to be uploading exported
images into Canva. We are then going to save
them to a Canva folder. If you have got the option
to save to a folder, I believe that should be available even on
the free version. I'm not entirely sure.
Then we're going to choose a suitable aspect ratio. Min is going to be
vertical nine by 16 for this example and
then we're going to convert that
image into video. This is the most exciting part, by far, I believe. So let's so I am within
my Canva homepage here. As you can see, I mess
around a lot on Canva. But the image that I've
uploaded is right there. Now, what I meant about folders, if you click on the
three dots there, you can ally move it to a folder that you have created on here. Don't be like me. I'm
very disorganized. I've not put it in
a folder, but you can simply just
create a new folder. And then from there,
you can just move it onto the folder that
you have created. So I'm just going to
click on the image there, and that's going to take
us onto our editing page. Now, here, this is one that's already been converted
into a video. And just to give you an idea of what this is going to look like, I'm just going to click
on the video here. So here's what we do. Upload the image. So I'm going to click on there, create another Canvas by clicking the plus at
the bottom there, and I'm going to then
go into my uploads. I'm going to find the
image that I have loaded, which is it, and then I'm going to go and close the
uploads section. So once you upload the date, notice that it doesn't fill the background canvas
straight away, you want it to, of
course, fill the canvas. So when it is converted
to video doesn't have all that unnecessary white
space all around it. So what you do in order to do that you just
right click on it, and you select set
image as background, and just like that, it is
now the full background. And by the way, I'm just
showing you here with one image example, of course, we have got all these
different images that we can use for these
different settings here, but purposes and
the scope of this. Video, I'm just
going to show you one image geting
turned into a video. If you click on the image, then select Edit on
the file letter, and you now have an edit
menu that has come up. It's important to know
this menu will only come up if you upload an image. If it's already a video,
it will come up with a different rough
different options there. We've got magic
layers, magic edit, upscale, and so forth. But the one that we
are interested in is this image to video. We now have menu
that's popped up, which has an option to
generate a five second video. Now, it's also called a
tab for custom there, and this is where
I can flaunt it, give it some additional
instructions in terms of what
I am looking for. If you want to be a bit more detailed, a bit more customized, a bit more specific
around what you want to happen within the video,
you can use that option. Here, I'm just
selecting the smart one where I allow the
Canva AI to choose. I've got an option for
five second video, so I'm going to click
Generate five second video. And just like that,
it is working hard, making all those pixels move. You can see it's
scanning the image, it's scanning the product, it's scanning the background. It's scanning all the different graphic elements you
can see on there, the lighting, the setting, the mood, and just like that. That quickly it has
generated, and look at that. It's now even added a shadow
which wasn't there before, and that could huddle of a person that's moving
next to the product. Now, you could even take
that a step further and try a completely
different approach. And this time, I'm going to
go for custom instructions. I'm going to show you a little trick here
where you can go back into achiPT and you can actually ask TachiPT to
brainstorm and give you an idea of what to write
within this section here, what to prompt Canvas. So I'm going to go
back on this page. Here, I'm going to say,
please give me a short back. AI image to video prompt. In terms of the video, we are keeping it simple, health and well,
okay, there we go. So let's see what
ChachipT comes back with. And with this done,
we are then going to go back, grab the prompt, go into Canva, and we
are going to use that prompt and see if he's able to come up with
something decent. Slow handheld pushing, soft
natural light genkle camera, say cycle focus breathing. Perfect. Notice how this is not tied to any
one of those images. This is a sub universal prompt that we can use on
any of those images. So I've copied it.
We're going to paste the prompt from ChathPT there. Go ahead and generate. It's going to be interesting
to see how much of it comes out following that same prompt. And remember, also the
journey does not end here. Once you've got your video, you can take it onto an
external tool and do some additional editing on
there as well. It's shaky. It's realistic, like a normal handheld camera
would look like, or a video that's
filmed from Smartbll. Now, the beautiful thing here is because I've created all
these different videos here, I now have some varying angles
I can use for this video. So if I go and close the Abs tub and if I play Okay, that's a
static one there. Just wait until that's
start. There we go. So that is the first
clip for a person, and then the second clip
now has a nice zooming, interesting, simple movement
within the product video. Just like that, you've
converted a static image into an interesting video
using AI Chachi Bit Canva. And, of course, in
my case, Google. Gonna do an overall
play through just to see what it looks like. Camera going around,
camera zooming out, and we'll have a shadow, and then we've got
hamera zooming in, and you could be talking
in the background, describing whatever
it is in the video. You could be using music, whatever it is you
feel like adding the journey doesn't
necessarily have to end there. And from here, all
you do is play share, and this will allow you
to export the video. You can export it onto any
platform of your choice. You can simply do I do and
download it onto your machine, and from there, do
whatever you wish.
6. Closing & Next Steps : I hope that you found some value from that
and hope you appreciate the simplicity of it
and how quickly you can execute the steps
that I have mentioned. Once again, I look forward
to seeing your projects. I'm excited to see what you've created using and
following the steps that I've shared in this short course, feel
free to reach out. And you know in the comments, if you have got any
questions, again, if you're curious
about what else I'm up to in the big worldwide web, feel free to check
out my profile, otherwise, see you
out in the world.
 Victor Loyiso, Ex-Project Manager, AI Geek, Content Creator