Transcripts
1. Preview : Hi and welcome to masterful drumming. Volume one. My name is Larry Crowe and I will be your instructor. This course was designed to get you started on the drum kit. So if you've never played the drums before, this is the course for you. Here's what you will learn in this course. The components of the drum set musical terms and notation, exercises and patterns to practice. Build your confidence and expression on the drum set developed coordination and independence on the drum set, so let's get started.
2. Practice Hints: okay, practice hints or practice tips. You know, any time we have to learn something, sometimes things can be frustrating. We want to be able to play things really quickly and really well, right off the bat. And, you know, it doesn't always happen. So sometimes you have to really take your time. So what I would suggest is, when you're working your way through some of the exercises in this course, take your time. If you can't play the whole drum, be maybe work on just half of the drug be, you know, dissect things, take things apart. You know, really analyze what you're doing. Really help your understanding of what you're working. Okay, second tip is slow down. Um, a lot of the times, you know, if you can play this stuff really slowly and perfectly than speeding it up will be a lot easier. So, I mean, I do a lot of teaching, have a lot of students, a lot of young students, and they want to play fast right off the cuff, and it just isn't going to happen. And the best waited to get faster is to slow down. And I think a lot of that is We can't always really. We want to play fast, but we're actually not ready because we can't quite hear the beat that fast. And so by practicing and slowly, you really process everything that's going on, you know I have. Oh, the bass drum is playing here, So slow down. Take your time. There's no rush. The next tip is Listen, listen to what you're doing. What does it sound like? Does it sound good? Does everything sound really locked in and playing together, or does it sound loose and slob so again, part of that whole slowing down, It gives you a chance to really listen what you're doing. Make sure that you're striking the drums in the right place. You're getting the best sound. Okay, It'll save you a lot of time in the future, and it will speed up your learning process. The next thing relax. The drums were really physical instrument. So, you know, really? Relax, breathe. Take a breath while you're playing, or hold your breath when you're working on this stuff, you know, breathe naturally, you know, And just try to relax. Don't play in a really rigid fashion. Try to relax use your wrists. You know, try and make sure that everything's being played in a very relaxed fashion. Okay, because it is a very physical instant counting. I'm a big fan of counting. My big quote is practice slowly and count out loud and you'll see that all through the notation that goes along with this video course, counting everything. It's really, really important. Why is it important? Well, a couple of reasons. It helps with your timing. You know, if you're counting 1234 Nice, steady fashion. You know that you're going to be probably playing at a good, steady pace if you're counting like this. 123412341234 You know you're probably speeding up, so it's a great way to help your timing and develop a good sense of timing. Um, the timing will help you. You know the counting will help you figure out the rhythms that you have to play, whether it's triplets or 16th notes, you know, it also kind of helps to slow you down a little bit so that you have to process what's going on with your counting and what's going on with your plane. I also say that you know, counting is important for a drummer. It's important for any musician. But you know who is the guy that counts. The bandage is basically the drummer, right? What? 234 So counting is just part of being a drummer. And it's an important part of the learning process. And again, it will really help you. OK, so don't forget to count really, really important. And my last practice it is. Have fun. Don't kill yourself. Enjoy. Enjoy this and take your time and have fun with it, you know, and just enjoy the process process of learning how to play the drums already.
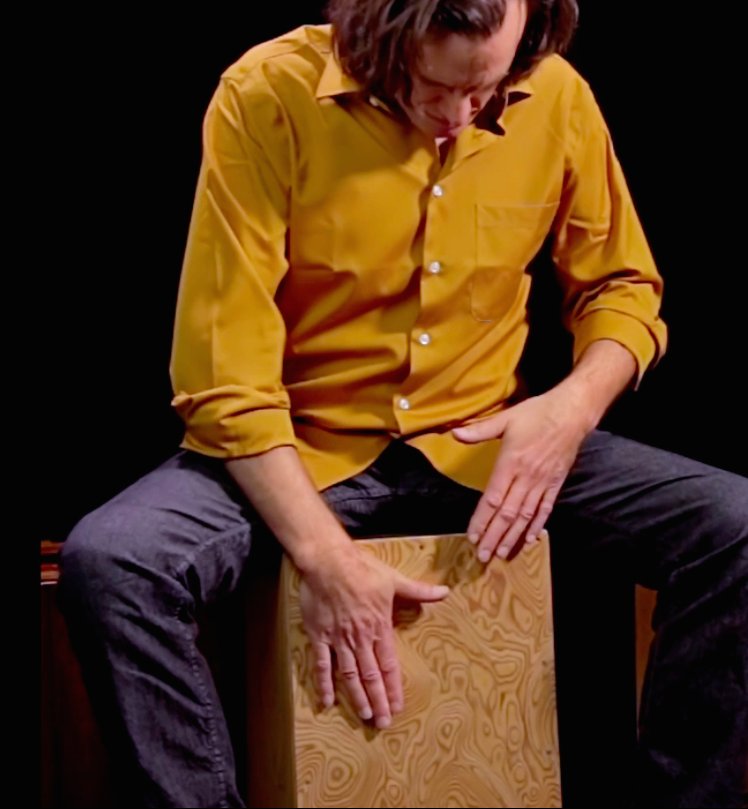
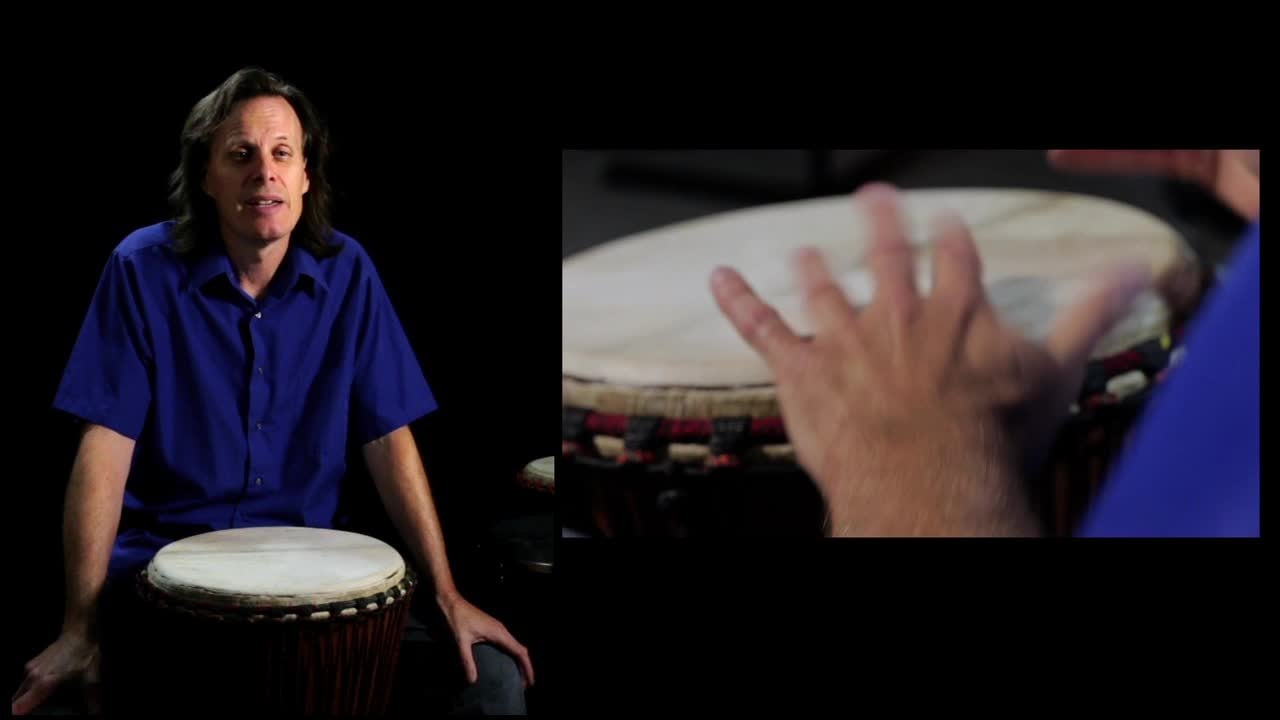
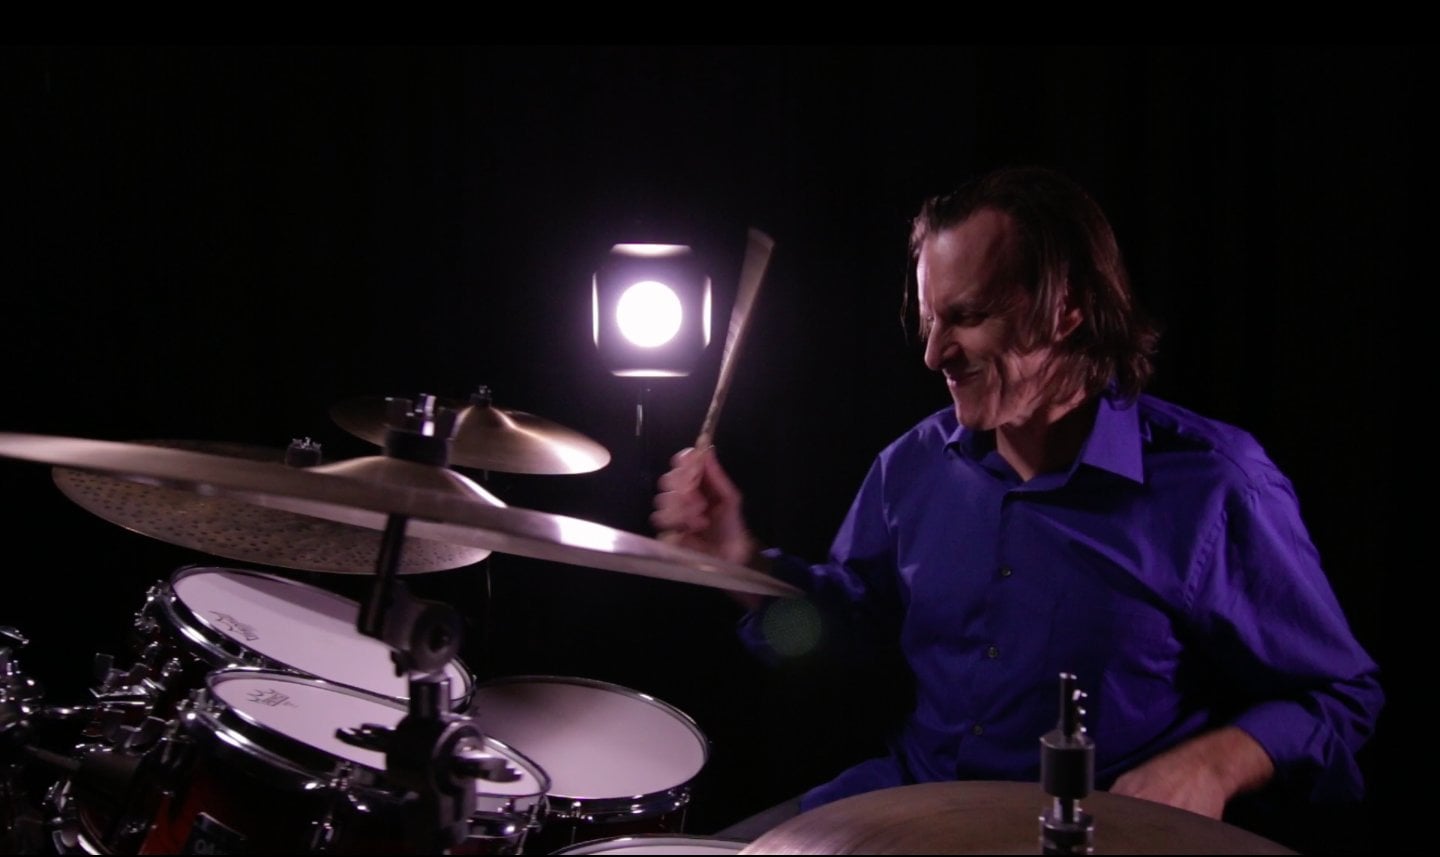
3. Components of the Drum Set: all right, The snare drum. This is the snare drum. It sounds like this that way, so the snare drum. It's probably the most important part of the drum set, and it's a drum you should be really make yourself really familiar with. And for our purposes, there's two basic ways to hit the snare drum, and first way, obviously, is to strike it like this. Of course, you should be able to do with either hand, and you want to strike the snare drum in the middle. It sounds the best. In the middle, the sound is more focused. So, for example, if I played on the edge, you can hear how the sound tightens up in the middle. So you want to strike the sneer in the middle, and that really goes for most of the drums in the drum set. So the second possibility, and you'll notice in the video that you'll see me playing sometimes a rim shot, which involves striking the center of the drum, or maybe slightly not in the center but also the rim at the same time. That's a really loud Sam, very it's really great for, you know, when you're playing grooves. Okay, so that's a rim shot on the other main way, striking the snare drum in the middle. Okay, okay. So the bass drum, which is here is is played with a foot pedal and a beater. And there's many ways to play the bass drum, and I'll just give you a few examples. The most basic way is to play with the heel down. So you're pushing with the ball of your foot and I'm bringing the beater back every time I strike. Now some players like to leave the beater in. It's a certain kind of sound, and like I said, there's a lot of a lot of different ways to play the bass from A lot of people played different, so that's that's called the hell down. So I'm leaving my heel down, and I'm playing like this, pushing with the ball of my foot. Essentially. Okay, so another possibility is the hell up approach. This is for louder playing, and it involves the whole leg. And as you can see, the beater is staying against the drumhead. Okay, so we've got the hell down method. For what I would say, more control and a softer sound. And then we have the hell up method, which gives you a lot more volume. And there's other possibilities as well. Uh, sometimes I use a technique where I'm using my heel and the toe, and I'm playing like this. So if you need a quick two notes, this is a way that you could do that sort of a heel toe technique. Okay, The high hat consists of a stand with a foot pedal and two matching symbols. And, um, basically, with the pedal, you're holding the two symbols down. And for the most part, drummers air usually playing the high hat closed and, well, demonstrate like this. So I was using this part of the stick and the tip of the stick as well. So for the most part, you want a nice sort of chick chick chick kind of sound on the high hat. And you get that by holding the Cymbals together with the pedal. Okay, so these are the Toms thes three drums right here and there. Various names. Some people call these mounted toms, and this is a floor. Tom for our purposes will call this Tom one, Tom to and Tom three and they sound like this. Okay, So for most of the fills and this in this video, these are the three times will be using. Okay, the symbols. Well, there's a lot of different kinds of symbols. And on this drum set, we have a ride Cymbal, which is the largest symbol on the drum set. And it has a very dry sound, and it's used and incorporated in the drumbeats that you play. So it sounds a little bit like this, and it has a few different sounds. This is called the Bow of the Symbol. This is the bell of the Cymbal. So that's the right simple. I have a couple of crash Cymbals here. Okay? And you know, if you've seen any footage of drummers playing, everyone has kind of their own unique taste. You know, some drummers might have a lot of symbols. Some drummers may only have a few. It depends on the music you're playing and your personal taste. But these air pretty basic a ride Cymbal on a couple of crash Cymbals. And just to finish off with symbols, I would just like to say that you know, they're used for different color And they had, you know, just interesting quality to the music you're playing and, you know, extra punctuation. Crash simple. Certainly add punctuation to any of the music you're playing. Okay, so I just wanna review you know how toe strike the drugs, where to play. So, for the most part, the drums, You want to strike them in the middle, the best send. Okay, So when you're working on your fills or or whatever you're doing on the drums, make sure you're striking in the middle. They just sound better, Okay? And you know, the high hat again. Just a review. You want to strike it with shoulder of the stick, they call this the shoulder of the stick. This is the tip. And, um, you know, it gives you a nice a nice, thick sam. Nice, chunky sound. You can also use the tip. That's for a later sound. Or sometimes you can use both. But just when you're starting to think about using the shoulder, okay. And also as far as the crash Cymbals concerned, you also want to use the shoulder of the stick. Okay, So when you're hitting that crash symbol, you want to strike it on the edge, Not here. You want to strike it right on the edge. And it will allow that symbol to really vibrate Really? Crash it. All right.
4. Sitting Position: okay. Seating position. Well, I like to sit comfortably and with my legs like this. You don't want to sit too close to the bass drum. You don't want your need to be above your ankle. You know you want it will work better. If you're your knee is slightly back like this. You don't want to sit too low. And, um, you want to sit obviously with your back straight. Good posture is really important. The snare drum and seating position. So the snare drum should be in this position. I like to have it just a little bit above my leg here. If this is too low, if the snare drums too low, you're hitting your thighs with your drums. This which you don't want. So you know, this is a good position. Access the bass drum. I can play the snare drum hitting myself, So don't have your snare drum too low. Of course. Don't have a too high. Don't be playing too high. This is This is a good position here. You know. You want your stick as close to the drumhead as possible to get the best sound. I don't wanna be playing like this. Okay?
5. Right or Left Hand: right or left hand. I'm a right handed person, so I'm a right handed drummer, and I use my right hand to lead with. It plays most of the high hat patterns and write simple patterns that okay, so you might be a left handed person, and this is something you'll have to figure out yourself. But, you know, you could play the drum kit in the left hand fashion. In other words, have the drum set completely reversed. Okay, and you know there's famous drummers like Phil Collins and in Pace that are left handed drummers and they after their kid completely turned around. There's also another possibility you could be an open handed player. In other words, your feet are playing right handed, but your hands are playing left hand. So the notation in the video and in the books is based and written from a right handed point of view. So some of the exercises you might have to alter, particularly the films that might be situations where you might have to come up with a different sticking approach that's more comfortable for your playing style. Okay, so if you're a left handed drummer, you'll have to probably reverse all the sticking patterns, okay,
6. Quarter Notes: quarter notes. The most common time signature today is 44 time, and it's also called Common Time. And if you listen to any kind of music like rock or country or jazz blues, most of the music is in 44 time, and so that's where we're going to start. So the first thing you need to know is that in 44 time we're looking at a count of four. So 123 that's all you need to do and counting is going to become a pretty important part of this process. Learning to play the drum set. Okay, so what we're going to do is we're gonna start by putting the high hat, the snare drum and the bass drum together with some simple quarter note exercises.
7. Quarter Note Exercises: quarter Note exercises. Exercise one. What to Okay, four exercise, too. What? Okay, four exercise three. One to 34 Exercise for what? Okay, four exercise 12. One to Okay, four. Exercise 18. Exercise 19. What? Okay. Okay. Exercise 23. What to exercise? 27 one to Okay, exercise. 33. What? To 34 Exercise 38 to four. Exercise 47 to four. Exercise 48 one to 34 Okay, exercise 54 to Okay, exercise 58. Okay, exercise. 62 size 64. One exercise 68 to exercise. 83 to please exercise. 113 to. Okay, four. Exercise. 124. What To three more exercise. 139. Four exercise. 145. What? Three. Okay, exercise. 159. Four exercise. 215. One, 23 Exercise. 229. What? To three four and exercise. 286. 234
8. Eighth Notes: if notes there are 8/8 notes in a bar of 44 times and you would count eat notes like this one and two and three and four and two and four. Okay, so you're basically subdividing the beats of the border and a lot of music uses. Eight. That's a lot of drumbeats are eighth note based, so that's where we're going to go next.
9. Eighth Note Exercises: ive note exercises. Exercise number one What. 234 Exercise number two one 234 Exercise number 31234 Exercise number four four. Exercise number five one four. Exercise number eight one to the board Oh, exercise number 14. What 24 Exercise. 17 What. 234 Exercise. 20 one 24 Exercise 21 What to four Exercise 27. What. Four. Exercise. 36 Want to 34 Exercise. 42 234 Exercise 52 1234 Exercise 61 What 234 Exercise. 70 one 234 Exercise 80 1234 Exercise 86 one to four Exercise 98 What. 234 Exercise 107 one to three Exercise 116. 1234 Exercise 126 12
10. Grooves and Fills: all right. So this portion of the of the course we're going to start to look at some drum fills by playing some grooves and some drunk feels so groove. What does that mean? That's kind of Ah, cool drum terminology for a drumbeat. So if someone says, Hey, that's a really cool groove that you played that just means that's a really cool drumbeat that you've played. So that's what that terminology comes from. And, you know, there's another meaning to playing in. The group were playing really playing really well so that people can play with you. So in this portion, we're going to look at playing some grooves and playing some fills in a drum fill. You know, you can hear that in music it has. It has a purpose. A drummer will be playing a beat for most of the time or a groove, and then he'll play a drum fill, and that drum fill has a particular function. It's setting up maybe a new section of music, you know, maybe the singer is going to come in, or maybe a guitar solo is going to happen. So if Phil has a definite function in music, it. It helps to set up a new section of music and typically fills air, usually at the end of a section toe. Lead you into a new section. Okay, so you could play. It could be an eight bar section where there's a drum, Philip the end or four bar section. I mean, most music is 248 bars in length. So that's what a Phil does. It definitely has a function, and we're going to look at a number of different kinds of Phil's. We're going to start off really simply by just alternating our hands around the drums and getting used to all the possibilities. Um, we'll look at some different sticking patterns, you know, incorporating some different sticking patterns. In our filles, there'll be some fills where we start with maybe the left hand and, uh, and also some fills were playing with two hands together and also looking at some groupings . In other words, some artificial groupings kind of a rhythm within a rhythm of the drum fill
11. Grooves and Fills: Getting Started: Okay, So when you're working on your fills, how do you start? When you look at the grooves and fills section, you'll see the drum groove in the drumbeat, and the philae would work on the Phil first. It's kind of the tricky part. So take your time, just work on it really slowly, you know, work out the sticking work out What drum You have to play. Make sure you're hitting the center of each drum to get the best sound and, you know, do it slowly at first. It can be if you try to go too fast, it can get really frustrating. So just do them really, really slowly. And the other thing, too, is just make sure you're getting a great sound of the drums, and the other thing to do is recognize this shape that you're getting into. You know, some of these films have interesting patterns, so you want to kind of recognize that maybe you're going around the drums, maybe going backwards. Maybe one hand is going around the drums, and one hand is staying stationary. So these are things that you can think about while you're working on these fills. You want toe. Repeat these fills, or I call it looping or cycle the Phils. Once you feel comfortable with it. You know, practice it for eight times perfectly tryto set yourself up a little. Goal. I'm gonna play this, Phil. Eat times perfectly at a nice, steady tempo. Okay, so that's one way you can approach this section.
12. Eighth Note Grooves and Fills: Okay. Eighth note grooves and fills. Exercise number one. - Exercise number two to exercise number four, - Exercise number six. What? - Okay , exercise number eight to be okay . The last one exercise number 12 12
13. More Eighth Note Fills: Okay, so let's take a look at some or eighth note drum fills. And some of these will have different sticking patterns. And we'll do a few where we start with our left hand and even some fills worry. Play with two hands together. So let's try the first film exercise number one one. - All right, exercise number two to Okay , exercise number six to Okay , So now let's take a look at some drum fills that have mixed sticking patterns. So number seven, exercise number seven to exercise number 12. 1234 Okay , exercise number 14. - Exercise 17. One to be Okay . Exercise 21 exercise 25 one. - Okay , Now, let's do a couple of exercises or drum fills where we start with our left hand exercise. 31. I want to. - All right, exercise 32 to Okay . And the last Phil we're gonna look at is ah, fill that uses both hands to get. So you're playing two drums at the same time. Gives you a nice, big sound. All right, exercise. 34 12
 Larry Crowe, Drummer, Percussionist