Transcripts
1. Introduction : Have you ever been curious
about fountain pens, but not sure where to start? I get it. That was me
when I first started. This writing instrument may
seem intimidating at first, but I'm here to
show you that using fountain pens can become one of the most enjoyable
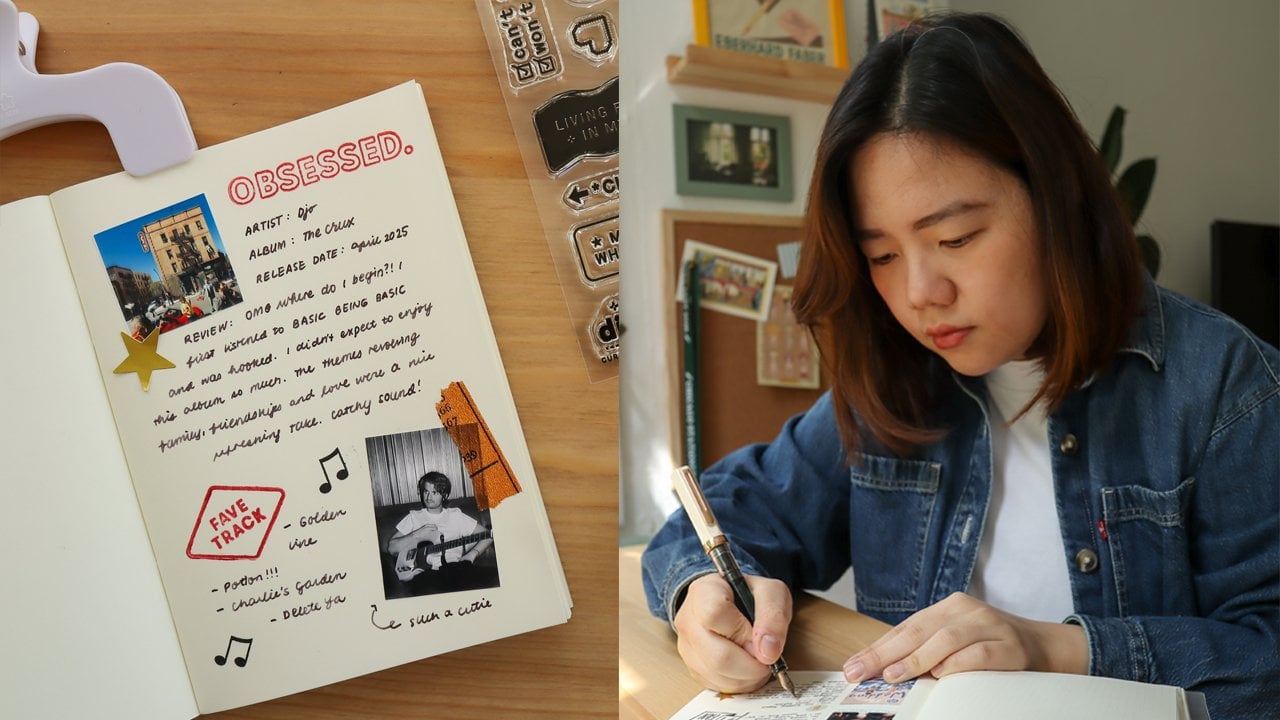
and meaningful parts of your journaling practice. Hi, I'm Abby C. I'm an
artist, author, and creator. I've been documenting
my life and travels for 15
years and counting, filling numerous journals
with my experiences. I've written and illustrated several books on hand
lettering and journaling, including the Art of
the travel journal. Welcome to my Skillshare class, How to Journal with
Fountain Pens. In this class, you'll learn
how to use a fountain pen, explore different ink
properties, and swatch them. And incorporate fountain pens into your journaling practice. Analog documenting is at the heart of my
creative process, and fountain pens have been
an essential part of it. Using fountain pens is
the perfect companion, as it allows you to slow
down and pay attention. This class is
perfect if you feel intimidated but or curious to know more about
fountain pens. If you're looking for journaling
ideas or inspiration, I recommend taking my
first Skillshare class, everyday journaling,
five creative ways to document your life, as this class is a more in depth look at
fountain pen usage. The end of this class, you'll have a newfound understanding, a fountain fans, and why it is such a well loved
writing instrument. I'm so excited to geek
out with you on pens, paper, and inks.
Let's get started.
2. Your Project: For the class project, you have two options. The first one is to complete
the provided worksheets and the second one is to create a journal page using
a fountain pen. I'll guide you step by step in the upcoming lessons on how to create these projects
and complete them. To make the most
out of this class, I invite you to
complete one or two of the projects in order for you to practice your writing skills. When you're ready to
upload your project, go to Projects and Resources and click the Submit
Project button. First upload a cover image to make your project stand out. Then add a title, along with any other
additional photos and videos. Finally, click Publish. Make sure to check the project and resources tab as I have a downloadable PDF with my favorite fountain
pens and inks, some inks watches, as
well as the worksheets I mentioned that you will
complete for the project. I'd love to see
your work so I can provide feedback and
share more ideas. I can't wait to
see your projects.
3. Things You'll Need: To get started on the class, you will need these materials. First, you will need a
fountain pen of your choice. I am using the sailor T Zoo and medium name in this
lovely red color, but feel free to use
whatever you have on hand and something that you feel comfortable
writing with. It can be at entry level one or higher end one anything goes. Next, of course, what
is a pen Without ink? You will be needing
ink for beginners, I recommend using
a cartridge first. But if you have a
bit of knowledge or want to just dive
straight into converters, I will also have a
lesson on that later. So I highly recommend
getting a bottle of ink and obviously the converter
that matches your pen. Right now, my pen is inked with Lennon toolbar,
Coastal Village, which is a nice, like,
muddy olive color, so we're going to be using that for the sample journal page. Last but not least a notebook
or journal of your choice. I am using an A five size
notebook right here. This has dotted pages, and I wanted to
use an A five size just so you can see how I
journal on a bigger format. So here is an example of a
previously completed spread. I also want you to make
sure that the paper you are using is fountain pen friendly and thick
enough to hold ink. Of course, you don't have
to use an A five size. You can also use A six or
B six or whatever size is more comfortable
to your liking. I also recommend
having stationary such as washi tapes or
stickers are optional. But if you would like to
decorate your journal pages, I recommend having them
as well for our project. By the way, just a disclaimer, you don't need to have the
exact materials that I have or the most expensive
fountain pen. Just grab your tools, and I'll see you in the next lesson.
4. Why Journal with Fountain Pens?: Before we begin, you're probably wondering why journal
with fountain pens? Good question. That's
also something I asked before I
started using them. But first, let me explain how a fountain pen actually works. Inside, there's a simple
but brilliant system, an ink reservoir that
stores your ink, a feed that regulates flow, and a nib that delivers it to the paper through
capillary action. As you write, ink flows down while air moves up to
balance the pressure. This delicate balance makes every stroke feel
smooth and consistent. Once you understand
the mechanics, you can appreciate why
fountain pens creates such a unique and special
writing experience. They make writing
feel effortless. Fountain pens glide
smoothly across the page, requiring far less pressure
than ballpoint pens. This reduces hand strain
and lets you write longer, perfect for daily journaling or extended reflective entries. Also, with consistent practice
and conscious effort, writing with fountain pens may improve your
handwriting over time. You can express mood
through ink and nib choice. Pairing your ink
colors with your mood, the seasons or your
personality adds a creative dimension to
your journaling practice. Your choice of nib
width also shapes your writing style and
personal aesthetic. I love how the fountain fans and inks I use are a form
of self expression, just like how I put
together an outfit. I look at a pen or ink bottle
that I like and think, Ah, this is so me coated. They're sustainable
and long lasting. Like disposable
pens, fountain pens are refillable and
often last for years. You can swap inks
instead of replacing pen bodies all the
time, reducing waste. And the best part is with
proper care and cleaning, it'll definitely
last you a lifetime.
5. Getting to Know Nib Sizes: Mm. The nib is a pointed tip of a
fountain pen which comes into contact with
the writing surface in order to deposit ink. If you take a closer look
at your pen's nib or body, some of them will have the
corresponding size there. These are the most
common nib sizes you'll encounter when picking
out a fountain pen use. EF extra fine. F, fine. M, medium. B, broad. One tip I highly
recommend is to analyze your handwriting style
and size and if possible, visit a store in order to
test the different nib sizes. I think this is
really crucial in order for you to pick
out a nib size that suits your personal handwriting the most and you don't
have to adapt to it. Personally, since I have
smaller handwriting, I tend to gravitate towards
finer nibs to suit my needs. The examples I showed
are Japanese nibs, but a rule of thumb is western nibs are a bit thicker
for the same nib size. Some brands like Sailor
have exclusive nib sizes, such as medium fine that are
worth checking out as well. If you're insured with finding
a nib size that suits you, take a look at your favorite
rollerball or gel pens, and you're probably going to be finding a corresponding
im size for that.
6. All About Inks: Mm Okay. Just like fountain pens, not all inks are made the same. Each comes with their
own different property and different types
of colors to boot. The variety is perfect
for specific spreads or, as I mentioned, expressing
your mood or personality. There are several ways to ink your fountain pen,
but for this class, we're focusing on two
main ways you can do that using a cartridge
or a converter. For beginners, I recommend using a cartridge as it's super easy to add your pen and ready to get your
writing immediately. Loading cartridges are super straightforward and the
easiest way to get into fountain pens because
they literally are these little ink
cartridges that you plug in your pen body
and you're good to go. I personally love using these
cartridges from platinum. They are carbon ink, which means they are
actually permanent. So if I write my to do list or I need to draw over some
kind of painting, I love using these ones, and I keep them on hand
with me all the time. We're going to be loading a cartridge into a
platinum preppi. This is another entry
level pen that I love. So with cartridges,
you just want to literally plug
it in like this. Make sure it's tight, and make sure it went
through the entire pen. Sometimes you need to squeeze
it a little bit more, and then you'll start
to see the ink sort of penetrate throughout
this feeding area. Close it like so. I always like to test it
before closing it just to make sure that I really
loaded it properly. So this is the platinum preppy. It's in fine, or it says
on the pen body, it's 03. So I will also write that. And platinum carbon ink. And your all set. Once you get used
to a cartridge, you can try out converters to have more freedom with
your ink options. I think this is
the most fun part about using fountain pens. Here are two pens with two
different filling mechanisms. I want to show you
each of them before we load them to their
corresponding pen bodies. So for loading
fountain pen inks, it's kind of similar
with cleaning. You will need I
just like to have a jar of water like this handy. And then I have the
ink bottles that I want to ink these pens with I also have a roll of tissue paper just in
case it can get messy. And last but not
least, if you prefer, also recommend having like a piece of cloth
to kind of block things over so that you
won't stay in your table. So these are two different
filling mechanisms, both allow ink to flow
through your pen. This one is specifically
a vacuum pump. And the thing is you press it up so that the ink goes up to the container as to where
you will put your ink in order for it to
flow well on your pen. This is a Pilot 70 converter loaded into a pilot cakunoPen. And then here we have the typical converter
that you will see. This type of converter is pretty typical for most fountain pens. You basically twist it
up and the ink goes up. I think you can see here
that the vacuum one definitely holds more ink
than the typical converter, but both of them do a great job at making sure the ink
flows through the pen. So now let's start
to fill it together. We'll start with the
cacuno pen first. So before anything, you want to insert the converter on
this part of your pen. So the idea is it will load up here to the nib and then
to the converter itself. So for the pilot cacuno, I wanted to use this Kobe ink in Shin kaichiGl another thing
I recommend is having, like, a paper tester nearby, so you have a space to
write out your swatches. So as I mentioned earlier, you want your hands
to kind of mimic this repetitive motion here, that is going to induce pressure
for the ink to flow up. It's a slow process, but as you can see here, the ink is starting to pile up. And the more you
press on it longer, the more it extracts up. So you also want to make sure
to keep that resistance. Also make sure your nib is not touching the edge
of the ink bottle. You don't want to damage it. Okay. I think that's
pretty much enough. Once you see that it's filled pretty much to the brim,
I like to take it out, and I like to wipe
the nib portion with my cloth or tissue just to make sure it
doesn't get messy, although this is really
really a messy process. You want to close
your ink bottle, and then we put
back the pen body. Of course, before we
put on the pen cap, let's try writing and seeing
if it turns out good. H. Pilot Cocono F CB number 22, ShingihiC. Now you have a freshly inked
pen using the vacuum filler. Definitely want to
give a disclaimer. I think the regular converter is relatively easier
than the vac filler, and it's a no nonsense
process of just twisting up and down
until you get the ink. I think the main
difference of this is that you can't
really get so much, and the tube is particularly narrower than the
one we used earlier. So this is a Sailor
T Zoo fountain pen. It is also beginner friendly, and I really love this
particular pen model. So we're going to put in
this converter to the pen. Body where the nib part is. Make sure it's pretty
tight like this. I also want you to get used
to this twisting motion. We're going to be
just doing it once. So you got to kind of
familiarize yourself with, like, twisting down means the
ink is being expelled. Twisting up means the ink is being loaded onto the vessel. Once you have that
going on for you, I want you to get
your ink bottle. For this pen, we're
going to be using this non toolbar
autumnal inspired ink. And of course, you want to
open your ink bottle, and, like, so we're just going
to put the whole thing in. I know it looks stupid, but promise, it
really does the job. So with something like this, you don't want to put it
all the way to the bottom, all the way to where
you can see that the nib has penetrated
the ink pool. You want to slowly
twist up the converter. Okay, can you see that some ink has entered
the converter. Now we have a really messy name. So we're just going to
wipe that with a cloth. I think it was
filled pretty well. And let's just put
back the pen body. Can you see how chaotic
my hands have become? Okay, now that we have that ink, I think we are good to go. So this is a
particularly smaller one that fits a smaller
pen body like this. And the larger one we loaded earlier is
relatively longer. So make sure when you are
looking for converters, they are the ones corresponding
to the pen that you own. If not, you're going
to have to get a pen that fits it because you won't be able to
use the converter. One of the most fun parts
of fountain pens is choosing and using
different types of inks. As I mentioned earlier, not all inks are
created the same. There can be a lot of properties
that comprise each ink, but some of the most common
ones you'll probably encounter would be
the shading inks, sheing inks, shimmering inks, and permanent inks, which all have different
ink properties. Different brands carry
different ink types and properties that
may suit your needs. For example, some
inks are archival, some inks are floorscent, forgery system, and all of that, depending really on what you prefer to have
in your collection. It's important to note that
fountain pens are designed to only hold fountain
pen specific inks, most of which are water based. So make sure to check that
out if you're looking at an art supply shop because
in the ink calligraphy ink, some of these might
actually damage your nib and your
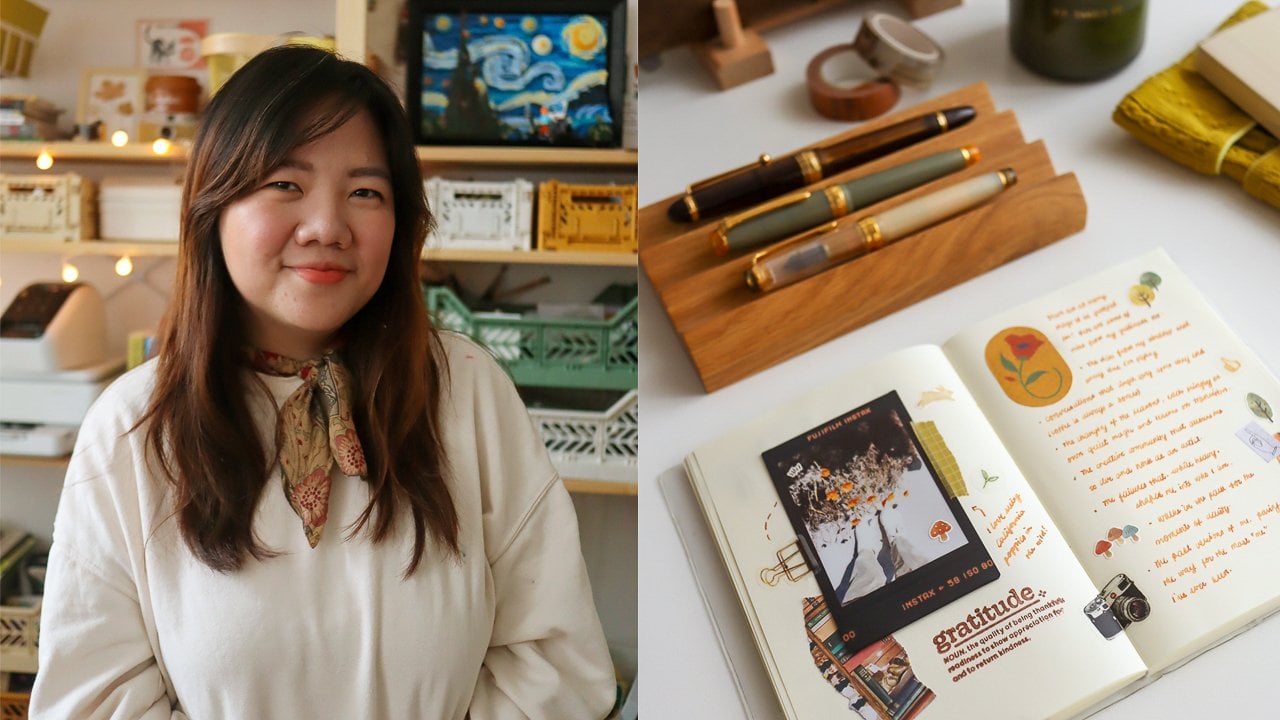
pen in the long run. I personally am always on the hunt for the best
brown or green inks. And over the years, I have kept a swatchbook to reference back in case I need to look
for similar shades or study certain
properties of the ink. I mean, this is
totally optional, but I personally love
the swatching process. I've been keeping
different types of swatch boooks and ways on how I can look at the
different inks that I own or samples that I've used. Also, these are
some swatches that I have borrowed from
friends collection, and who doesn't love a very color coordinated swatch book. Also love having a
reference of swatches, so I don't end up
buying the same ones. Once you find ink
colors that you love, you will definitely enjoy
exploring more and diving deep. It's definitely a fun
rabbit hole to get into.
7. Writing with Fountain Pens (Demo): M. Before we get to journey
with fountain pens, of course, we got
to do some warm ups and start with some
fountain pen writing. As I mentioned, this
is one of two projects you can complete to
finish this class. I printed these worksheets
out using a five size, loose TomoiRiver paper sheets. They're fountain pen
friendly and it has a grid layout for
you to practice on. I also have it in
an A four format, so it depends on your handwriting
style and preferences. If you also want to, you
can always just format it to an A six when it
comes to printing. Make sure to download these
print ready worksheets at the projects
and resources tab. By the way, for this lesson, I'm going to be using different
types of fountain pens, nib sizes, and ink so you
can see the differences. I'm going to be putting all the information on the screen, as well as in the Projects
and resources tab, so make sure to check
it out as well. My personal rule of
thumb when it comes to writing is how I postie my hand is similar to how I write with a regular
pen or a pencil, but my grip is relatively
not as intense. Do you know what I mean? Like, usually when
you're writing, you're very tight
with your grip. I try to loosen it up
specifically with fountain pens. We're going to start
with basic strokes. The template I
created has, like, a tracing area and
also one that you can kind of make your own
depending on your needs. And since my handwriting
is not that big, I decided to tailor fit it to something similar to what
you are seeing right here. This is also an invitation
for you to exercise, how tight or how loose of
a grip you have with pens, especially with fountain pens, because the different bodies
also have different weights. So for example, the pen
I'm using now is a Twisbe. It's relatively
heavier than, say, a sailor T Zoo because
of the pen body. So this is something
to consider if you're looking to upgrade
your pens as well, or if you prefer something
light and airy to start, especially if you
are beginner and you would like to
just explore and be able to try out the different types of pens and how they
feel on your hand.
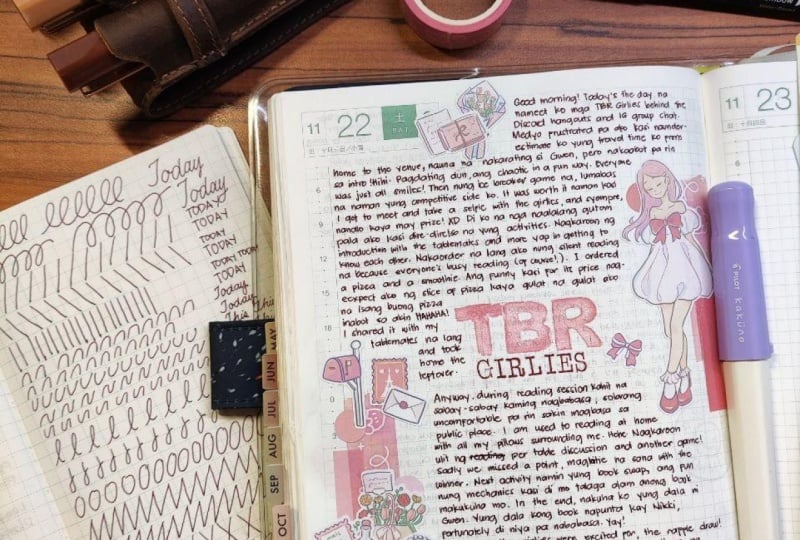
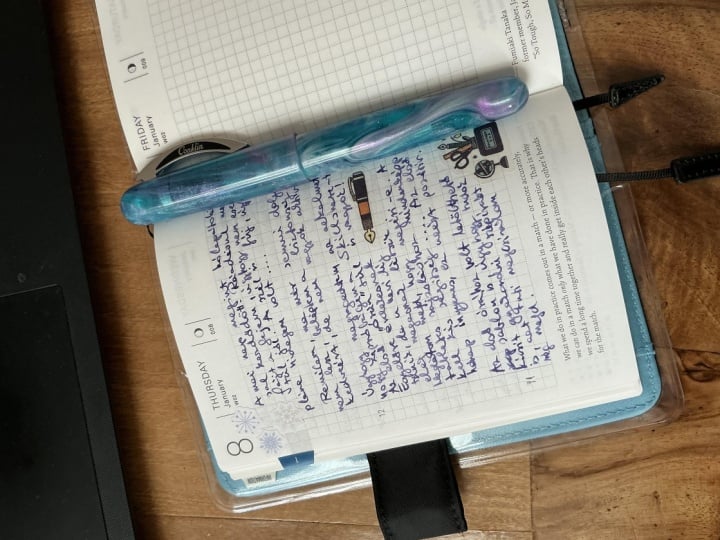
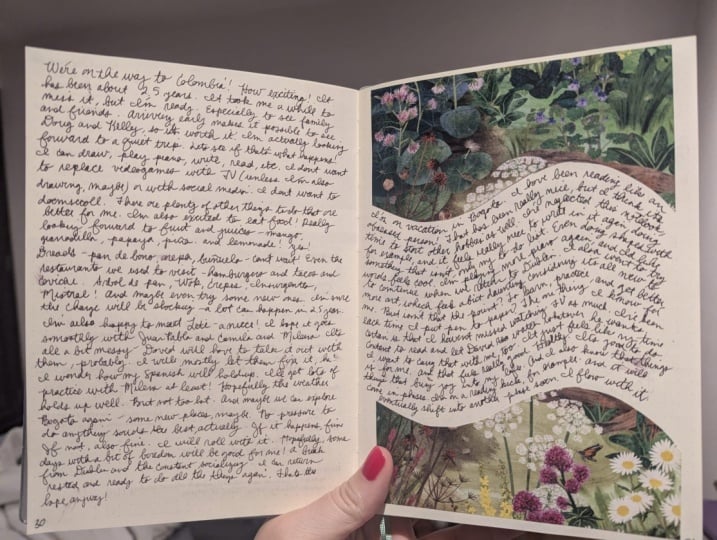
8. Journaling with Fountain Pens (Demo): Oh, Okay. Now that we've warmed
up with the worksheets, let's get to journaling. Make sure you take out your
tools, and let's journal. As always, I like to
start with my stationary, AKA, the visual part
of this journal page. For today's journal page, I'm doing something
pretty personal, which is a home
improvement update page. So I've recently
moved apartments, and that is the starting point of the journal page I
wanted to write about in order for me to celebrate the small things that have
improved since I moved. So I'm just adding in
some stationary usually, I like to design the left hand side and
the right hand side. You can definitely think
about something long form that you can write
and reflect on. It could be your daily documentation
of how your day went, or it could be
something like what I'm doing where it's more like grouped into
certain categories. I think I actually have not journaled about this
particular chapter of my life, so I think it was nice to
use fountain pens and be able to highlight certain things that I wanted to write about. One thing I want you to examine
while you're journaling, apart from the fact
that you are journaling and writing words on paper, is how much of pressure you are putting on your grip for
your fountain pen usage, as well as the speed
in which you write. You don't have to write
as quick as I do, but I tend to write really
quickly because I think it allows for the
pressure to be less intense on my hand
while I'm writing. Although this is
something I probably have discovered more as I continued writing
with fountain pens. Personally, also, for me, I don't think there
was a big adjustment when I moved from gel pens, slash rollerball pens or
regular pens to fountain pens, except for the material change. So this fountain pen that
I'm using the Sailor To Zoo, it's actually very lightweight, so I think it's pretty
easy to get into. But once I tried my pilot custom 83 and more higher end pens
that are heavier in weight, it gave me a little
bit of strain, so I had to take breaks
in between writing. So that is also totally fine and something you could examine and discover as you keep writing as this habit becomes consistent in your journaling practice. Another tip I want to share that I personally keep
forgetting to do, but I think it's great
if you want to track the inks that you are
using is to write the ink swatch and
the pen that you use on the lower right corner or at a corner of your journal page. If you want to record your ink swatch and pen of the day that you
use for your journal, I think this is a
great way to do that. And also, I like to write
the nib sizes as well. So next time that
I load this ink, for example, in a different pen, I want to see how the qualities
are similar or different. So I hope you picked
up some ideas through this journal of practice and here is the final
page for your reference.
9. Taking Care of Your Pens and Inks: Fountain pens can
last a lifetime or longer if taken
care of properly. With ink, remember
to store your pens, laying down flat
or horizontally. If that's not possible, if you're storing them upright, make sure the nib is facing up. Some fountain pens
can be fragile, especially those with more
delicate pen bodies or made with a higher
concentration of gold or steel. So make sure you
are keeping them in a safe and clean place. For ink storage, to
avoid complications or mold formations or anything that damages the ink properties, I recommend to store
it away from sunlight, especially if you have a window that is
direct to sunlight. I store most of my bottles and ink samples in this
toolbox over here. It's made with steel, and I think it protects
the inks very well. The concept of
cleaning your pen is similar to how you
load ink to your pen, which is called flushing. The only difference
is we're cleaning it and adding water
instead of ink. So you want to make sure
that your converter is fully free of any ink residue
from your previous ink. You want to avoid mixing colors, obviously and making sure
that all components are dry and clean before you load a new set of
ink to your pen. You haven't been using
your pen for a while, there is a tendency for
the ink to be drying out. So once that happens, it's very important to have everything thoroughly cleaned, especially with water
to flush out inks, not only in the converter
part of the pen body, but also in the nip
part where you write. Cleaning pens is very messy, but it's very
rewarding at the end. You will need a lot of
tissue or a towel that can be designated for
cleaning out fountain pens. You will also need water, and let's get started
with some cleaning. Cleaning, you want to start by removing all the components
of your fountain pen. I like to run everything
through my faucet, and usually I start with the nib part because
it's going to be, as you can see
here, like, residue of ink will be stuck in the nib. And you want to make sure
that it's fully washed out. My pen cap also
had some residue, so I wash that out and, of course, make sure to wash out the ink
from the converter. Depending on the ink type, some can get really nasty, so make sure everything
is fully cleaned out. Once everything's cleaned
out, I like to dab it a little bit in water
just to make sure it's all clean and
there's no ink remaining and I put it on top of a napkin or a tissue
paper just to let it air dry. I like to leave it on my desk for a full day, but if
you're short on time, maybe a couple hours
just to let it air dry and fully empty out
before you put in ink. And that's basically
how you clean it.
10. Conclusion: Hey, you've made it to
the end of this class. Thank you for sharing
your time with me, and I hope you enjoyed writing and journaling
with Fountain Pen. This is just the beginning of
your fountain pen journey, and I can't wait for
you to keep exploring ways to enjoy this
writing instrument. I'd love to see our projects
in the project gallery, and please consider
leaving a review. Keep writing and always
be creating. Bye.
 Abbey Sy, Artist, Author & Educator