Transcripts
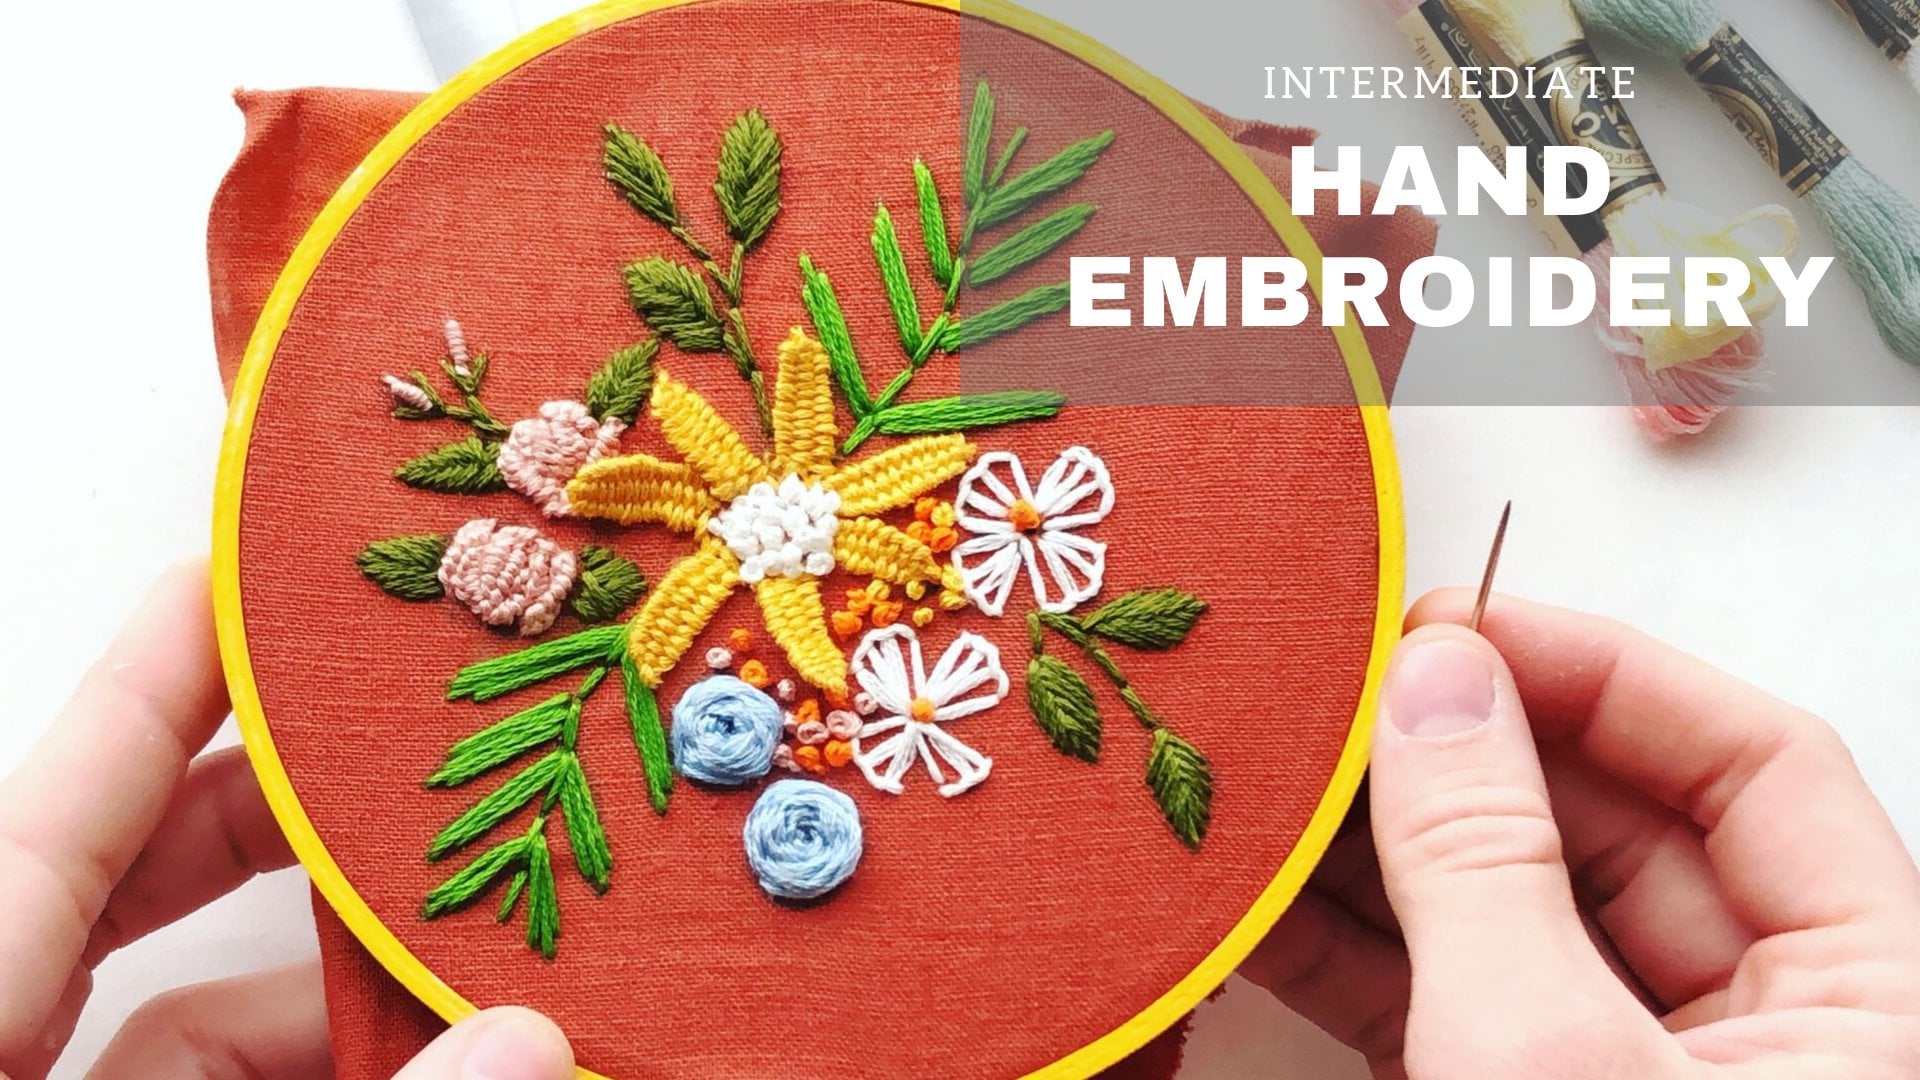
1. Introduction: Hello, everyone and welcome. My name is Danny Vinokourov. I'm a mixed media collage artist based out of Los Angeles, California. One of the techniques I used regularly in my work is traditional embroidery. Stitching into paper or canvas is a great way to add intrigue to your work. It can enhance your visual storytelling by connecting collaged, painted or drawn elements. It can increase the overall texture or dimensionality of your work by repeating basic stitches. Or it could become part of your work subject matter by using embroidery to paint or draw on parts of your substrate. In this class, I'll teach you step by step techniques on how to embroider paper and share some of the tips and techniques I've learned over the years. This is a great class for mixed media or collage artists looking for new techniques to add to the repertoire or for crafters and makers the opportunity to expand their skill sets. This is a great intro class to teach beginners the fundamentals of embroidery techniques and, specifically how to embroider paper, which has its own set of challenges than if you were to embroider on fabric or canvas. In this class, you'll learn the basics of embroidery, the tools and materials you need to get started. In addition, I will share five of the embroidery techniques I use regularly in my own mixed media work, including French Knots, the running stitch chain, Stitch the Bullion, Stitch Black Work and also share some ideas for incorporating these into your work. So let's get started.
2. Tools + Supplies: before we get started, let's collect our tools and supplies. Please feel free to download a copy of my shopping lists to help you prepare for this class . It's available in the class description, along with a handful of additional resource is for this class. You'll need the following items. Embroidery, floss or thread embroidery. Floss is a great, inexpensive way to get started. You can find a plethora of colors at your local hobby shop or fabric store. Personally, I prefer to use good Germans. Line of silk threats. I like the way it feels as I work the quality of the thread and it's forgiveness. When it comes to untangling knots needles, you'll need to types of needles for embroidering paper. First, you'll need a set of sharps thes air. For general use. Choose a size nine or 10. You'll also need a set of beating needles. I prefer to use the long needles for embroidering paper. I find the longer length makes it easier to pull the needle through the paper again. I prefer to use a very fine needle, typically a size 10. For those of you who may find threading needles difficulty, you may want to pick up a pack of needle threatens to help you. Jewellers mallet. This is optional. I use the mallet to drive the sharp needles through the paper because the jewellers mallet has a soft head, it won't destroy your needles. However, if you want to forego purchasing this tool piece, please feel free. To do so. You can simply replace your sharp needles with a fine tipped all paper and pencil. You'll use these to draw templates or designs for your piece. I recommend using a hard leaded pencil tow. Avoid sponges, computer paper or tracing paper. Work Work just fine. Graph paper graph. Paper comes in handy If you want to design on a grid or if you want to experiment with creating a black work piece, I'll explain more about this in a later segment. Side note. I have included a downloadable graph paper template for you to print on your home computer so you don't have to purchase any watercolor paper. I prefer to use 1 £40 or £300 watercolor paper for works that included broad ary. I find that thicker paper holds up better to being filled with holes and is less likely to crinkle er fold while I'm embroidering it, but feel free to use any paper you have available to get a feel for the medium washi or artists tape. These are great for taping down your design. Neither type of tape will destroy the surface of your substrate when you're ready to remove it. Scissors, you'll need a pair of scissors. I like to use embroidery sisters. They tend to be very sharp and cut thread to leave a sharp bent. But honestly, any old pair of sisters will do heavy paper or a self healing. Not because you're going to be poking holes in your paper. You're going to want to have some backing material to prevent you from just drawing your desk. You can opt to use a heavy paper or a self healing cutting that now that we have, all of our tools and supplies, were ready to start embroidering some paper. So let's get started
3. Getting Started: before we dive into the five embroidery stitches, I'm going to share some tips and techniques to set you up for success. First, let's go over how to transfer your designed to paper. I am list a couple of different techniques, depending on the end result I hope to achieve. When I'm adding at black work or intricate design, I intend to trace with thread onto my collage. I will sketch out my design idea on a piece of graph or tracing paper and tape it to the front side of my collage using washi or artists tape. I do this to avoid smudging my design or having to a race lines later. If I intend to fill a large areas of my collage with embroidery, I will very lightly draw the outlines on the front side of my piece with a very hard lead, like a three or four h using a hard let is important. So you avoid smudging graphite over the front of your piece, since my embroidery will cover most if not all of the lines, I don't have to worry about the marks on the front or erasing them. Now let's go over how to punch holes into your paper. This is the groundwork for embroidering substrates like paper. The thicker the paper, the more challenging or impossible it is to embroider paper by simply pushing a needle through. By doing it this way, you also run the risk of crumpling or creasing your paper. Therefore, when you embroider a heavyweight or a light weight paper for that matter, like watercolor paper, you'll have to drill each hole individually. Cumbersome, I know, but the result is beautiful. I use the sharp needle and jewelers mallet to drill each hole separately if you prefer. You can also use in all to add the holes to your paper. I always drill the holes on the front side of the paper. When you hammer the needle into the paper or push all through it, it leaves the rough or raised edge to the hole on the other side. For this reason, I find that the whole looks much smoother and cleaner when each one is formed from the front side of the paper instead of the back. Now let's briefly chat about how to properly thread your needle. If you are working with embroidery floss, you'll work from the end that easily pulls out from a packaging. Typically, the Angie pool is the end that you thread, while the end you cut is where you'll tie, you're not. In addition, you'll notice that embroidery floss is made up of multiple fibers. You may choose to work with the entire thread or pull the floss apart toe work with the finer fibres. Personally, I prefer to work with either one or two strands when I work with embroidery floss. But that's entirely up to you. Just remember, if you want to work with the entire story end of embroidery floss, you'll need a bigger hole in your paper and a much larger beating needle. Similarly, when working with thread, the engine pull from the school is the end. You thread through the needle, and the end you cut is where you tie your not when you're ready to start threading your needle. Cut a piece of embroidery floss or threat to about two feet or approximately an arm's length from the tip of your nose to your fingers. Take the and you pulled and thread it through the eye of the needle. Usually, I lick the end of the thread and drag it through my fingernails to create a flattened edge . I find it easier to poke through the eye, but if you find this difficult, you can also purchase needle threat er's. They make threading a cinch. Once you thread the needle, pull the thread through several inches. You don't need the two ends to be Even now we're ready to tie our and not to do this. I hold the end of the thread or floss between my thumb and middle finger, leaving several inches of threat at the end. Using my other hand, I looped the thread around my index finger and then pulled down until I can pin toe loop between my index finger and thumb. With a rolling motion, I move my index finger towards me, then grab the ends and pull tight to create a quick not at the end of your threat. Let's watch that one more time. If you don't feel like you're not, is big enough, you could make a simple overhand knot over the not to make the not bigger. Not tying might take a little practice, but the more you do it, the better and faster you'll get Lastly, let's chat about tying you're not. When you're at the end of your thread, when you have about 6 to 8 inches of thread left, it's time to tie off. To do this, I flipped the collage over onto the back side, holding the thread taught with one hand. I wrapped the thread around the needle several times, slide the loops off the back of the needle, pulled up on the side, coming out of the hole and pull the opposite side of the threat to position than not directly over the whole pull tight. Sometimes I use my finger nail to ensure that the not stays close to the paper. Snip your threat at the base near the not let's see that one more time.
4. 5 Embroidery Techniques Overview: now that you understand the basics of embroidery and I shared with you a handful of tips for embroidering paper. Let's dive into five embroidery techniques. French knots, running stitch, chain stitch, the bullion, stitch and black work. In the following videos, I will demonstrate each technique while explaining how to execute age embroidery stitch, and then I'll show you again. If you have any questions, please share them in the discussion below. In addition, I would share a few examples of how I've used each technique in my own work. To give you some ideas on how to incorporate embroidery into your own collages, please feel free to download the practice sheet. I've created a template for each of the techniques that you can print it home and practice each of the techniques it's available in the projects and resource is tap below
5. French Knots: the French not is one of my favorite embroidery techniques. The delicate little swirls are a great accent, any collage or make an excellent, albeit time consuming way to add texture over larger areas. To make a French, not drill a single hole into your paper, push your needle through until the threat is taught. Holding the thread in the opposite hand is your needle hand. Loop your thread over the needle three times, pinning the loops under your needle hand and keeping the thread topped with your opposite hand. Poke the tip of the needle back through the same hole. The not should be around the needle but close to the paper. Continue to keep the thread tight, but not so tight that you can't push the needle through. Push your needle back through the hole. Keep pulling slowly until a tiny not forms on the top of the paper. At this point, you can either drill your next hole and repeat or tie off your thread. Let's see that once again
6. Running Stitch: running stitches are great for creating lines or line work in your piece. They could be straight or curved, solid or dashed totally up to you to create running stitches. Drill holes along a line or curve for best results. I try to make these about an eighth of an inch apart. For curves, you might have to make the whole slightly closer. Start by poking your needle up through the first hole and down through the second, then up through the her third hole. At this point, you have a choice. You can either choose to create a dashed running stitch or a solid running stitch to create a dashed running stitch. Continue by pushing your needle down through the fourth hole. Keep repeating the pattern and tell your line is complete. To create a solid running stitch, push your needle back down through the second hole, then push your needle up through the fourth pole and back down through the third hole. Keep repeating and tell your line is complete
7. Chain Stitch: The chain stitch is a gorgeous variation on the running stitch similar to the running stitch. Drill. A line of holes approximately 1/8 of an inch apart. Poke your needle up through the first hole until the threat is taught, then thread back through the same hole while holding the thread under your thumb. Once you have a smallish loop, push your needle up through the second hole and through the loop. Pull tight. Keep repeating until your line is the desired length. The trick. Detained chains Ditching is not to pull your thread too tightly. Otherwise you make it difficult to thread back down through the holes. Let's see that another time to end the chain stitch. Simply thread your needle back through the last hole, making sure to loop over the chain loop. Finish within and not
8. Bullion Stitch: 1,000,000,000 stitches are some of my favorite. I used them to fill areas with texture or to add little visual elements to my collages. 1,000,000,000 stitches are a great way to add dimensionality to your pieces. Well, start by drilling two holes into your paper approximately 1/4 of an inch apart. Draw your needle and thread through the first hole until the threat is tight, then poker. Needle down through the second hole, leaving plenty of thread. Push your needle back through the first hole without pulling your needle all the way through. Loop the thread around the needle using your fingernail to push the coils down to the base of the paper. Don't pull too tight or the needle will be difficult to pull through. When you're ready, add enough loops to your needle to either fit the expanse of the two holes to create a stitch that sits flush against the paper or slightly longer to create an elegant loop of thread. When you're ready, push the needle through while holding the stitch between your thumb and pointer finger. If need be, use your fingernail to tighten this ditch as you pull the threat taught when the stitches tight. Push your needle back through the second hole. Now you can either continue on to your next ditch, are tired and not now. Let's watch that again.
9. Blackwork: black work is a wonderful weighed at elaborate patterns to your collage. The term black work refers to small floral or geometric patterns. Historically, this type of embroidery would have been used on hems shirts or she misses. Traditional portrait paintings dating from the 15th and 16th century often did picked men and women with elaborately embroidered clothing that was popular during this period. While it was most common to embroider white fabric with black thread, hence the name of the technique. In our case, you can use any color thread you fancy. I generally start by drafting my design idea on graph paper. I've also added several templates. You can download, print and practice on your own before trying to design your own patterns. You can also do a quick search for free black work embroidery templates and a gazillion options will pop up for you. Start by taping your design onto the front of your paper using washi or artists tape. Take your all or your needle and mallet and began drilling all the necessary holes into your paper. You will drill all the places were thread lines, intersect or end if you were using graph paper thes will most likely land on where the lines intersect when you are finished, removed the paper and tape to reveal a latticework of holes. Keep the paper handy to remember where you need to embroider and begin by methodically adding embroidery stitches to make your pattern come to life. For this, I use a plane's ditch. No need for special stitches when executing this technique.
10. Class Project: Now that you know the basics of embroidery techniques, you've learned some tips on how to embroider paper and some wonderful stitches that are great for paper. It's time to apply what you've learned to your own work. I encourage you to download the templates provided to practice the five different embroidery techniques. When you're ready, used the new skills to embroider a collage, a handmade card or any paper ephemera of your choice. You can choose to download and print and embroider one of the templates I've provided, or you can choose to create your own pattern. Please make sure to share your creations and projects, and if you share your work on instagram, make sure it attacked me. I'd love to share your embroidery work with my community.
11. Conclusion: thank you so much for watching this glass. I hope you enjoyed the subject matter and are inspired to add embroidery to your next collage, handmade card or other paper ephemera, embroidery or something very close to my heart. And I'm thrilled to be able to share some of the tips and techniques with you. If you have any questions, please post them in the discussion below, and I won't answer them as soon as possible. Please follow me if you enjoy this class and want to learn more about embroidery, paper cutting or mixed media collage and feel free to let me know if there's a specific topic that you'd like to know more about my communities. Feedback is important to me. I'm looking forward to seeing your projects until next time.
 Dani Vinokurov, Fine Artist and Designer