Transcripts
1. Introduction : What's up, guys? Welcome
to another class. My name is Brian Mercer. I'm an artist, YouTuber and I make content for
the Internet of Things. I will be your
instructor for this one. And I hope you're
excited because I am. We are going to be
covering how to draw a portrait and
how to make sure that we nail the proportions and
the features of a face. We are going to be using a
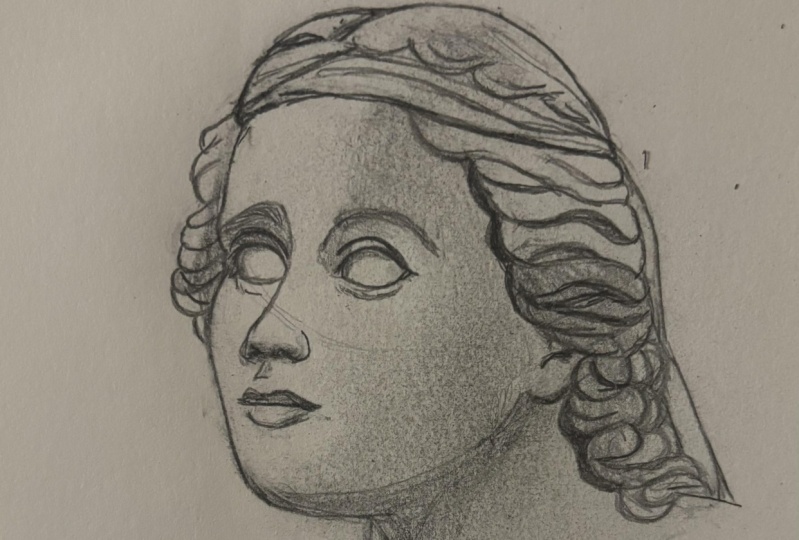
reference photo right here. This beautiful marbled maiden. I'm going to be breaking
it down step-by-step. First. We are going to be going over how you can look at
the reference photo. And from there, render the
perfect Lewis head by drawing your perfect circle and then your oval so that you can
establish your site plan. Your vertical and
horizontal axes. Punching in your
hairline, your brow line, the bottom of your nose, and of course, the
bottom of your chin. Once we have the Loomis
had established, then we really start having fun. We will be drawing up
the nose, the eyes, the mouth, talking
about proportions to each and how you can nail
those from the get-go. You're going to be
talking about hatching and crosshatching or line work so that we can
start to build out that underlying
form in our sketch, as well as Mr. out the hair. Where does that hair actually sit on that perfect
circle and boom, I said, we are going to be
covering all of that and more. And just talking about art in general and how it applies to sketching out a portrait
using the Louis said. Remember, this is 17 series set where we are going to be doing the
exact same thing. Only, going to be using
different references, different angles as it were. So that you can get
a full immersion into the luminous
method as it applies to all the angles that you would encounter when it comes
to drawing portraits. So if you are new to this method, don't
you stretch it all. I got links to all of the tools, paper, sketching, pencils. It's all right there
in the description. I hope you enjoy it. And
if you do leave a review, we always like to
hear how we can improve. That's what to expect. I hope to see you in class.
2. Step (1) Drawing out your Loomis Head: So we're gonna wanna
grab our campus and our green
sketch pencil here. We're gonna take this and
we're gonna set this to two. Place it right in the
center of the paper. And just really lightly
draw it or circle. Okay? So that's the first step. Notice the angle of the eyes. We want to follow that. So we're gonna take our pencil here and
we're just gonna do a nice light oval. And that's the side plane. Now we're going to establish our vertical axis and
our horizontal axes. There we are. And then I like to put a little plane
right here for the temple. I kinda elongates that circle. And ours is going to
pull these lines over. There is our hairline. And then our brow line right
above the eyes, right there. Then the bottom of the
nose, right about there. Then what I like to
do is I like to find the center line of the face. Let's pull down nice and light. Make sure to use a real
light pressure control. Then that is the bottom of
the chin right about there. Then we're just
going to pull up. Then from our vertical
axis we'll pull that over that attach that chin. And notice when you look
at the reference photo, notice how she is looking up. And so we're going to
draw this out here. That is the bottom of the chin. And that's just
about that. It took us less than two minutes. Let's not forget our
cheek plane here. All right, there's
the luma said, let's move on to less than two.
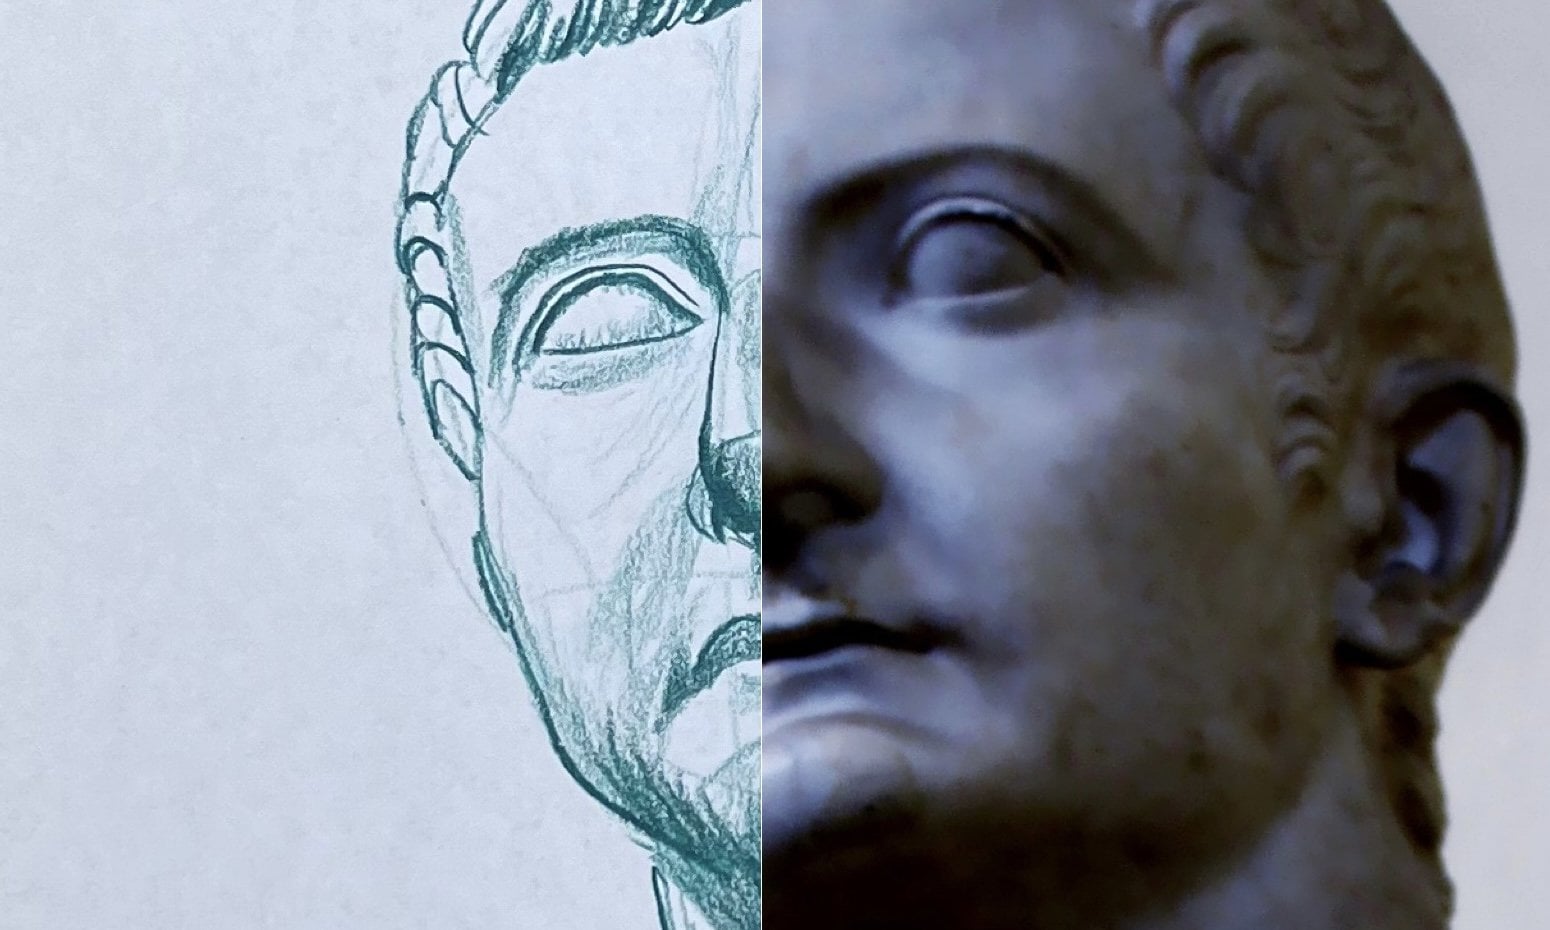
3. Step (2) Drawing out the Right Eye & Nose: Alright, here we go. So now
this is the tricky part. But what we can do is we can use these lines that
we've established with our Loomis head to start to identify where exactly to
place those key features. Right about here is the nose. Remember that center line goes right down the
middle of that nose. Then here we'll
draw out the brow. And notice your features
do not have to line up with the foundational
lines of your luminous head. Whole point of Loomis
head is to give you a rough foundation to be able to place your features and kinda let those artistic
juices start to flow. Use the luminous lines as
an approximate distance. For when you place your
eyes and your nose, then you can put the
bottom of the eye. Right about. Let's
put it right there. Yes. It looks nice. And this is one of the reasons
why I love to sketch like this guys is because
sketching like this. It's just a sketch. It's not a masterpiece. You're not going
to win any awards, but what you are
going to accomplish, you're going to start
to build muscle memory. The more heads that you draw, the more features
that you sketch out. Like this, the better
you will become. But all you have to do is stick to those three sections, right? Those three equal parts
of the luma said, as far as your proportions
are concerned. So we've been able
to punch in the eye. We have a rough estimate
of where the nose is. And then from here, what we can start
to do is we can vary or pressure control. With our pencil. The lighter the
pressure control, the higher the value
because of the less of the pencil is actually
being put onto the paper. And the heavier or
pressure control, the lower the value, the more of that pencil is
being put onto the paper. This is where you can
start to play around with your line weights and
accentuate certain features, such as the nose or the eyes, or the mouth, or
the even the hair. So just doing a
real rough sketch, something just like that. But what I wanted you to see in this step is that you don't need to abide specifically
by the lines, like the brow line that
is there to give you a rough guesstimate of
where those eyes need to go so that your proportions are more
accurate than if you were to just freehand it and
not have those lines to base your features off of. Alright, so let's move
on to lesson three.
4. Step (3) Drawing out the Left Eye & Mouth: Okay, so starting
out less than three, now that we have the nose established, we can
pull down here. And we can start to
build out the upper lip. And remember, we're not
winning any awards. Just focus on your proportions. Notice when you refer
to the reference photo, now that top lip
just barely extends past the left nostril
of the reference. So we can use that
to make sure that we get as accurate of a
proportion as we can. Our mouth, to our nose,
and then of course, the bottom lip using this
particular sketch method, all it is is we're hatching
and crosshatching here. That is all we're doing. This is a far cry from the
three-layered method, but every artist draws
using multiple techniques. Kinda like a chef, right? Chefs don't just cook
one way all the time. They use different techniques
from different shifts, different approaches
and different dishes require different
methods to cook. It's the exact same
thing with drawing. Here, what we're doing is we are practicing the luminous method and we're practicing how to put features in proper
proportion onto our Loomis head so
that we can get as accurate of a quick
sketch render as we can. So now here, notice I pulled out from that line. This
is hatching here. Pulling one way. Attach, attach, attach
and then see what. Because if you look at
the reference photo, notice how there's that
lower value, right? Because that's how the light
is striking or subject. This is really what I
wanted to show you here. Notice that see how
we went from here. And then we went up and
then I dotted the paper. That is the corner of our eye. Okay, so now what
we're gonna do, I think I'm going to establish
the bottom of the I pulled down over something like that. Notice how I was able to use
my temporal plane on my Luma said to figure out exactly where I wanted
to conclude that I, This right here is a
prime example as to why using the luminous
head will really help you nail your features as far as exactly where they go
so that they don't look off. And then just real lightly, you can start to hatch and
crosshatch if you will, and establish that brow. Because eyes sit in the
eye socket right there, somewhat imbedded into
the skull of the subject. So when we're drawing, we
need to make sure that we recognize those different
planes of the face. And then of course, as you hatch more and more in one spot, that value will lower. And then you'll have a
nice contrast between your high values and your low value points
in your drawing. But the biggest thing is to
start light and then you can always go over certain
spot in the drawing. Again to lower a value. That's pretty much that
for less than three. Let's move on to listen for.
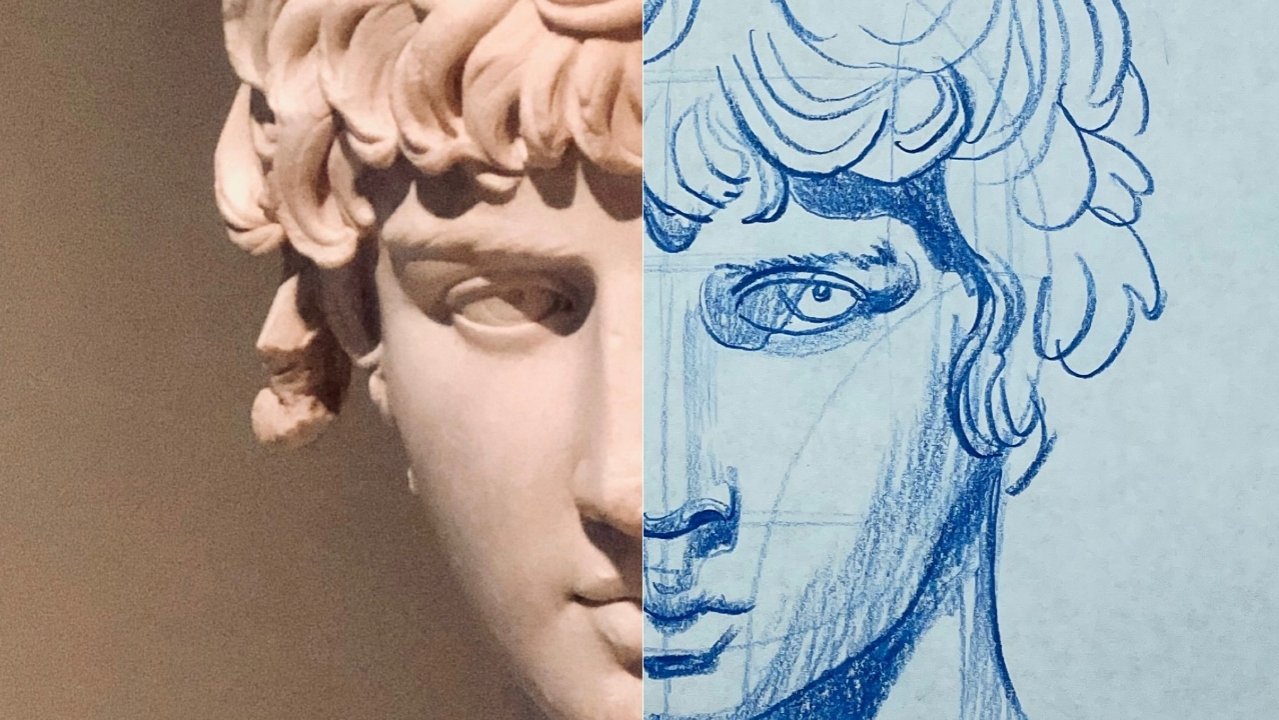
5. Step (4) Drawing out Underlying Form & Hair: Lesson four. In this one, what we're going to do is I'm going to show you
some hatching tricks. I'm going to show you how we can draw out the rest of this face. Here. This is crosshatching first bit with when
it was just one line, one way that's called hatching. When you cross it, it's
called crosshatching. Effectively what it does is it gives us a little
bit of texture, but it also provides form and
it lowers our value for us. But notice that we're pulling
up from that now, just up. And we're following the
plane established by our cheek plane
line that we drew when we first drew
out or Loomis head. A lot of these lines
you can play with the line quality in
the line weight. Line quality is the
relative thinness or thickness of a line. Line weight is how light
or dark a line appears. So there is a correlation between line weight
and land quality. Albeit they are different. But typically, the thicker line, the darker the weight, the thinner the line, the lighter line weight. Here we're just gonna do
a real nice define line. And this is to establish
the hair of this maiden. The bottom over here,
something like that. Notice how quickly they
were able to render guys. Again, this isn't a
Mona Lisa by any means. But what we are doing
is we are building that muscle memory and we are
building our confidence. Don't worry about speed. Focus on technique, to
focus on proportion. And speed will come
in here somewhere. Something like
that. Then her hair begins right about here. So it's going to continue
to draw this out. Then she has a headband
that goes across. But from this point
in the class, I hope that you're
starting to see that it's not necessarily the
hair, that's the problem. It's not even the features
of the reference like say, the headband or the neck
or even the shoulders. Or most young artists
struggle with portraits is proportion of
eyes to nose, nose to mouth. That is where most
students struggle. But now here we
have these waves in there and play around with these different
line weights guys, especially with the hair. Then from here, this is another thing that
I talk about in a lot of my portrait classes is
I talk about the flow. Look at the reference photo
and try to understand how the structure of
your subject's face flows and follow that
flow with your pencil. Seeing. Just like I'm doing. The flow. Or what some artists will
call the underlying form, is something that younger
artists tend to overlook. But if you keep
it in the back of your mind while
you're sketching, that form will show
through so long as you are sketching and pulling your pencil in
the right direction. All right, moving on to final
touches and less than five.
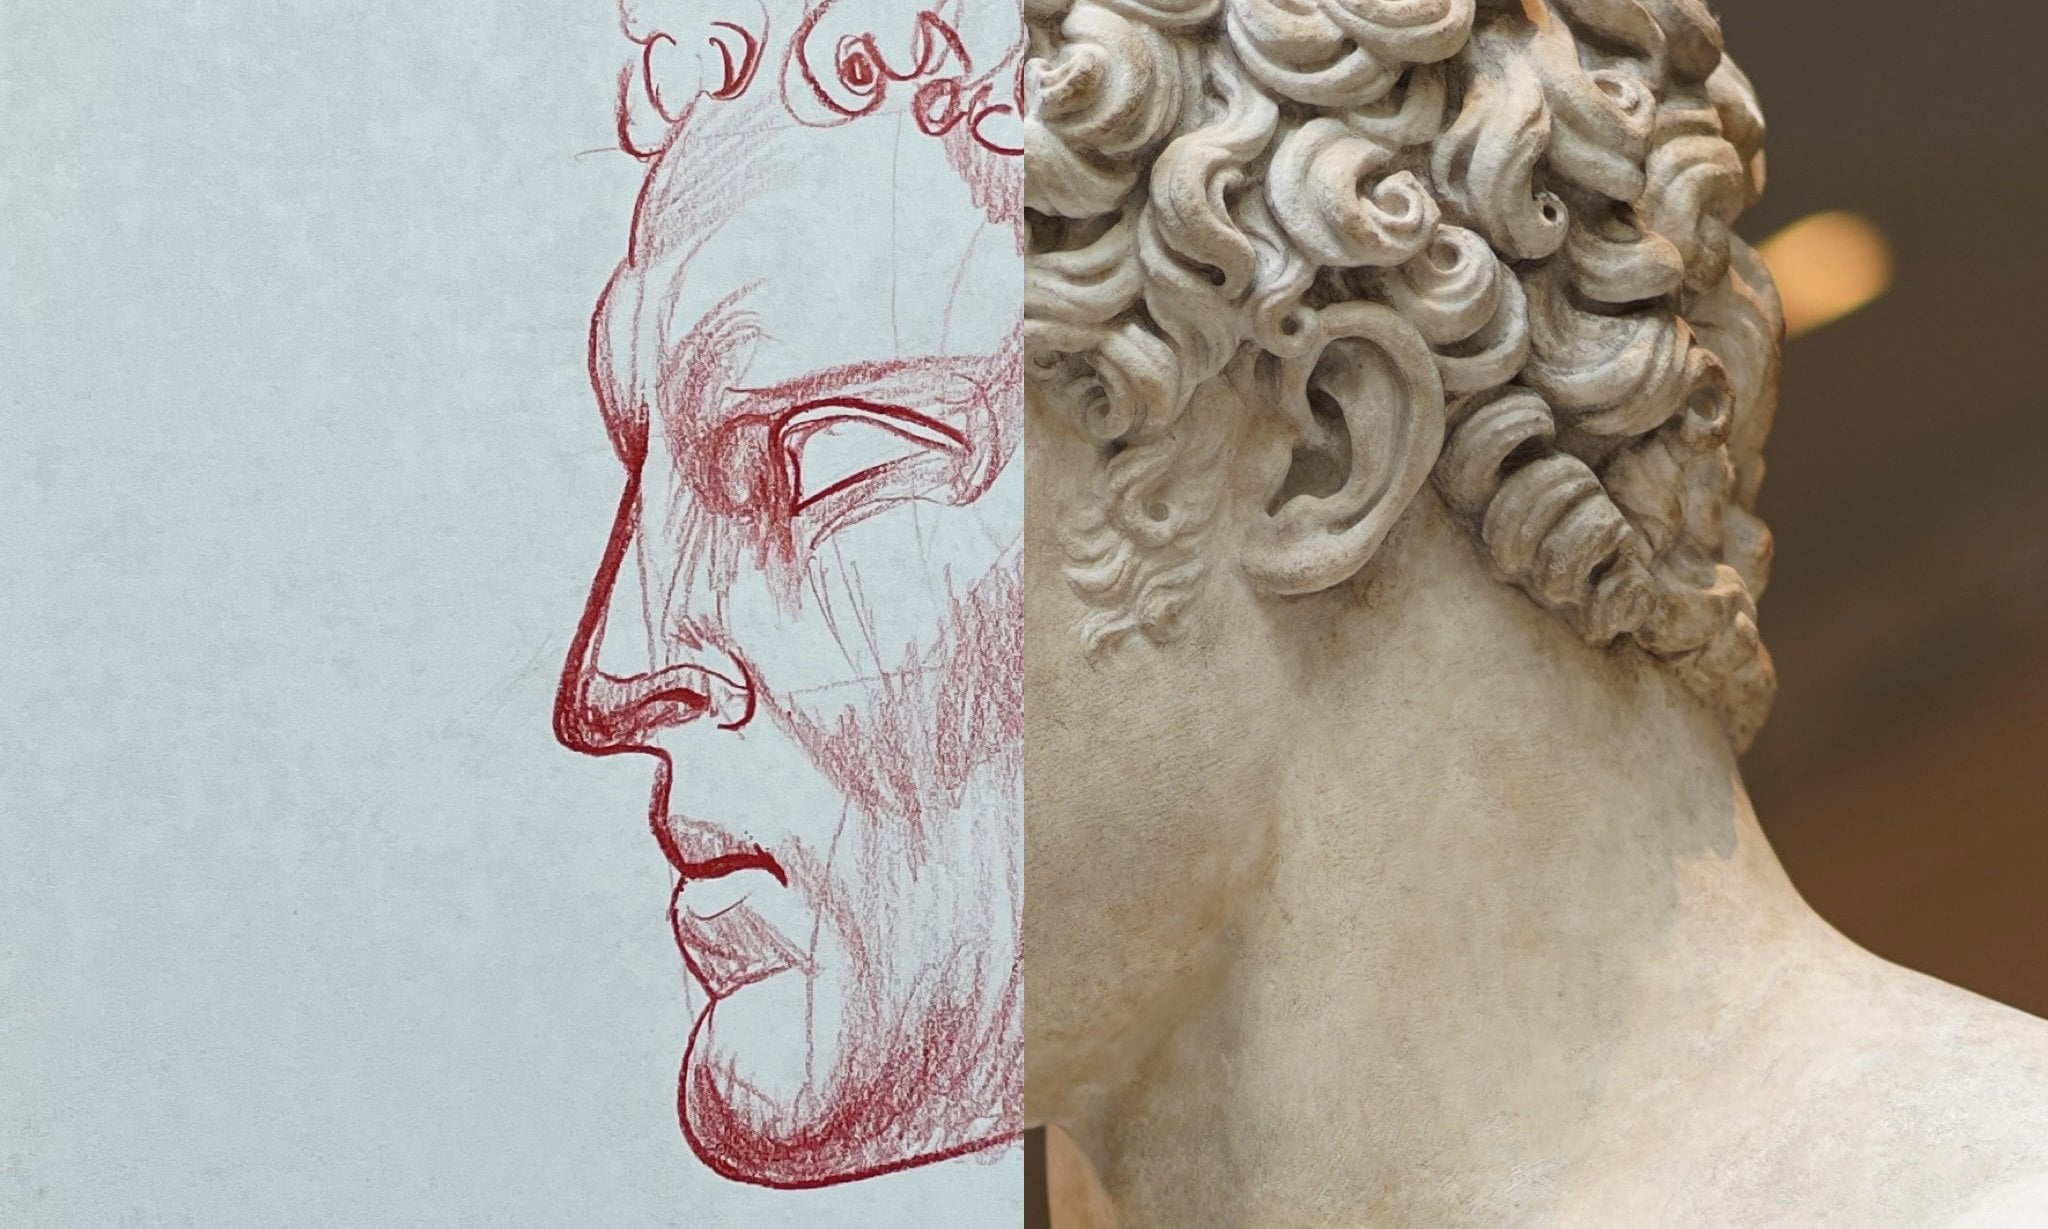
6. Step (5) Finishing Touches | Final Thoughts: Alright, here we go. So now looking at
the reference photo, Let's build out this neck. Let's just sketch
it out real quick. And just pay attention to the way I pull the
pencil across the paper. And pay attention to the
amount of times that I will cross hatch in a specific
area of the drawing. Longer polls tend to
have higher values. Shorter polls tend to
have lower values. But if you want to
lower the value, all you have to do is hatch over the same area again and again, and that value will lower. Here. I'm just playing with
the line weight of the hair. You look at the reference photo, you can see how the
hair has almost like a heavier look, right? Well, that's because the lines
that we're looking at have a thicker quality and
they have a very, very dark wait
about them, right? So that's something that
we want to make sure that we bring out in our
render of the subject. Now notice this, notice that
brown line right there. Notice the bottom of the
nose line right there. Alright. The bottom of the
chin right there. Those are the three
equal sections of the front part of
the luminous head. And this is one of the
reasons why I'm coming out with these videos. I have six more videos that
are gonna be just like this, albeit they're going to
be different references, but they're going to be the
exact same general approach. The whole point is
that I want you to understand
thoroughly how you can use a luminous head to draw
out certain features and have a really nice
rendered sketch, right? The cool thing is,
the more you do this, the more you draw
just like anything, just like working
out if you want to get into shape
or whatever it is, the more you do it, the
better you will become. Muscle memory will
become solidified and you won't have to
try nearly as hard. Just like this. Yeah,
I'm pulling up. This is just a rough
sketch for me. But I hope that you're
getting some value out of this class and I would absolutely love to
see your projects. You have the reference
photo here on the class. All you need is some paper. This is literally
printer paper that I'm sketching this on.
I'm very affordable. And it's just a
basic sketch pencil. You can sketch these out
in any color you wish. You don't have to sketch it
out and green just because I did make sure to leave a review if you
did enjoy this class, stay happy, stay healthier. And remember, never
stopped drawing.
 Messer Creations, Artist | Author | YouTuber