Transcripts
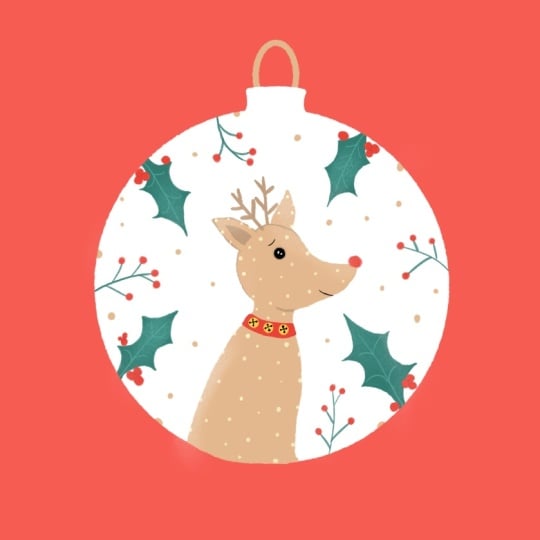
1. Welcome: In this class, we're
going to be creating a Christmas ornament
with Rudolph. There are very few
requirements to join. The first one is you want to
learn how to use Procreate. The second one, you
want to accomplish an art project in
less than 30 minutes. And the third one, and to me, the most important one is that you have to love Christmas, like, to this level. If you're on board with all of that, you're in the right place. I have included brush stamps and the color palette to using
Procreate as a special gift. And because the Christmas
spirit took over me, I included one third gift that I'm going to reveal at
the very end of the class. So if you're ready to join
me and have fun creating this illustration together,
I'll see you in class.
2. Creating your Ornament: Alright, the first thing that
we're going to do after we open Procreate is to
create a new canvas. So your procreate may not
look exactly like this. On the top left, it may say procreate
instead of stack. But if you tap on
this plus sign, you'll be able to
create a new canvas. Mine is going to be
3,000 by 3,000 pixels. I like keeping my
Canvas files big because I know that 3,000 by 3,000 pixels
is high quality, so that's all I care
about. All right. The other thing that I do is I start with a background color because that removes all of the fear of the blank
canvas situation. I don't want to be
thinking about that. I think about a color. I provided a color palette for you that you can find in
the resources section. It's called ornament and we're going to pick this
red to get started. The next thing that I want to do is go to the first layer, and to get started
with our ornament, we're going to pick white. The other thing that I
want to make sure is that my favorite
brush is selected. Mine is under inking. It's called dry ink. That's the brush
that I love using. You are also welcome to use whichever one you feel
comfortable with. Now we're going
to draw a circle. Don't worry, it doesn't
have to be great because if you hold your
Apple pencil like this, it becomes smooth magically. Then if we want to make
it a perfect circle, we have to tap on the screen
at the same time like this. And now I want it to
be about that size. I'm going to let go
of my Apple pencil first and then my finger. Okay, next, I'm going to
grab the white from up here and drop it into the
circle so that I paint it fast. And sometimes if you're
using a texture brush, what can happen is there's
a line left behind. So I just paint over it quickly. Okay. I want to bring
this down a bit. So I'm going to go to
the selection tool, and then I'm going
to bring this down a bit so that I can add the
top part of the ornament. And now with this gold color, I'm going to add the hook. So I want to create a new
layer and bring it down. And now I can create my hook without worrying about
where these lines end so that whatever
I create here is behind the ornaments.
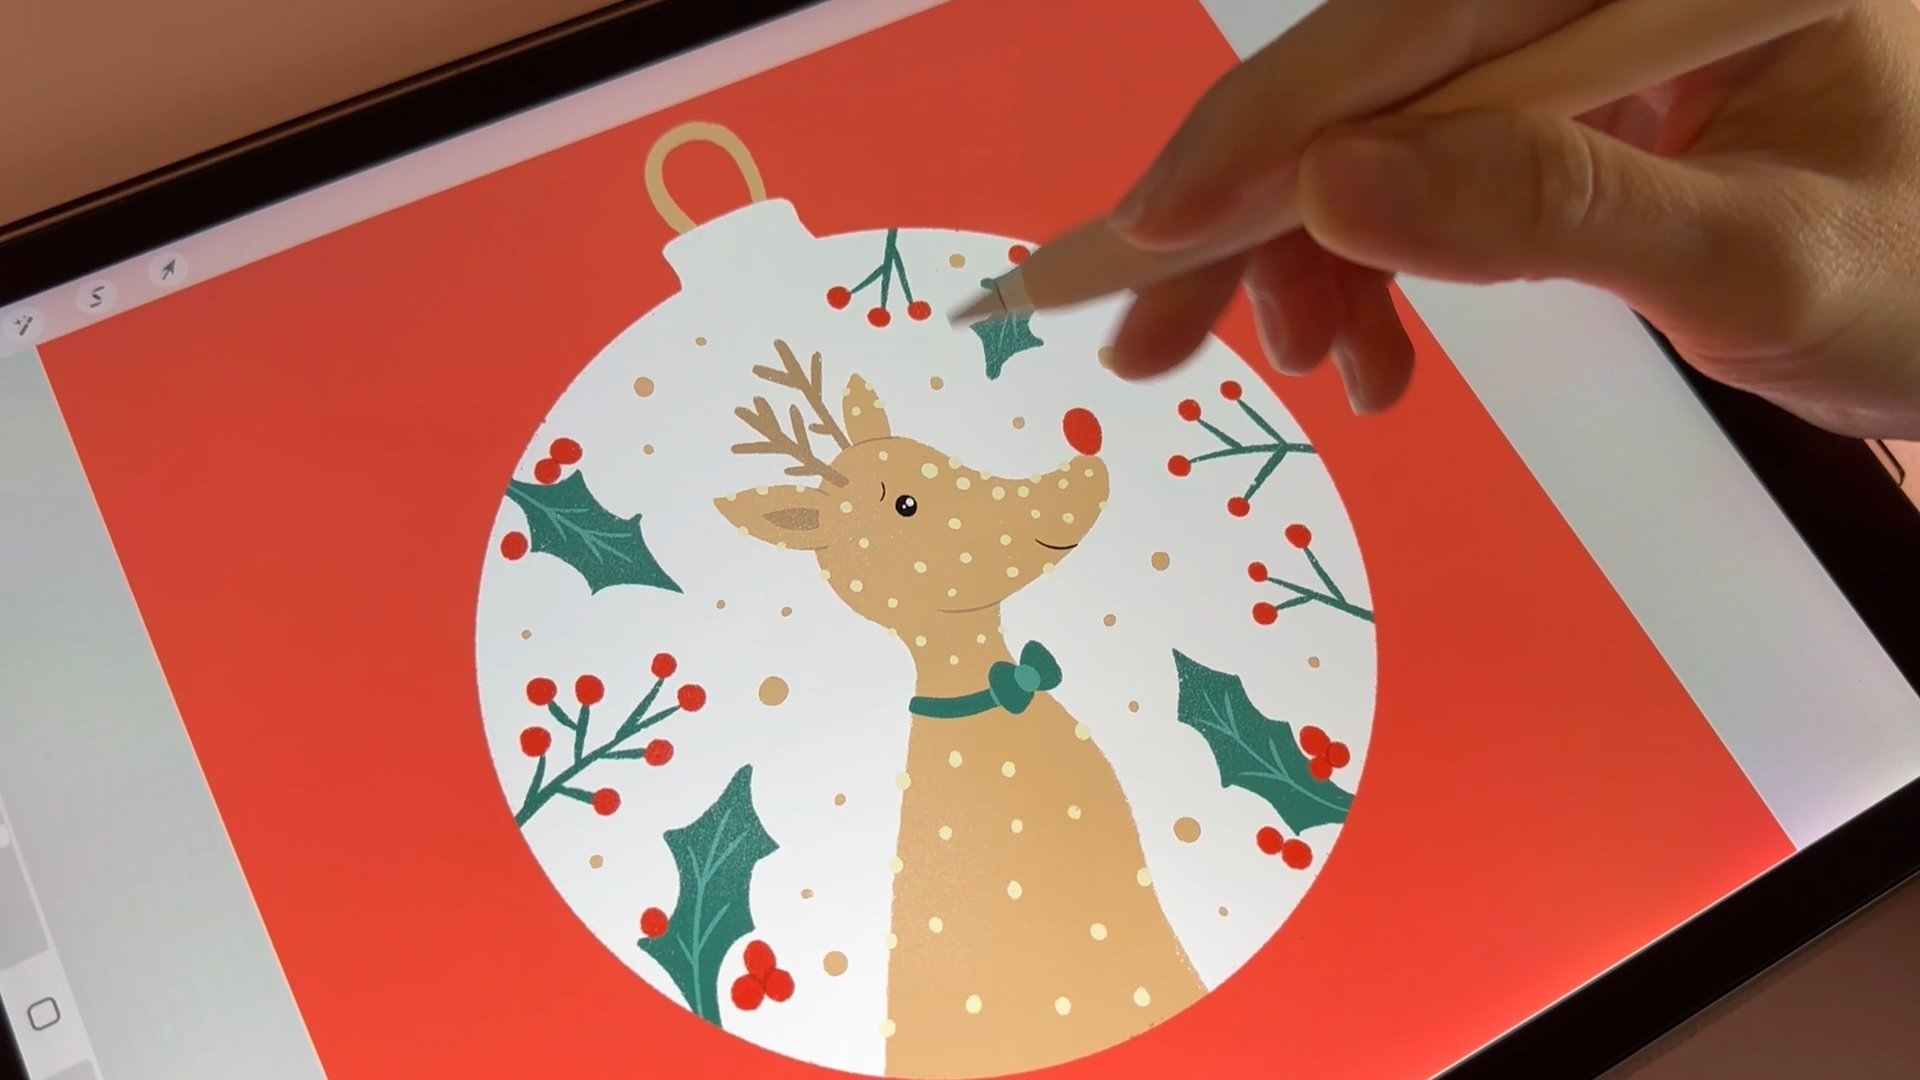
3. Drawing a Deer: Okay. Now, let's make this
a bit more fun, right? The next thing that I
want to do is create a layer on top of the ornament. And this one, I'm
going to tap on it and create a clipping mask. This way, whatever I draw is going to stay
within that shape. So let's see. We're going to create a line that goes
to the center first, and then another one that goes to the side,
a diagonal one. And this is where we
trust the process because it does not look
like a reindeer yet. But it will. Now, let's
add a little circle here. And now we want to add something that makes
it look like a duck. That's the best way that
we can explain this. And now I'm going to
take care of the neck. Basically, what I'm doing
is smoothing out all of these joints of
shapes, if you will. We're going to add a
little bit of a chest. Okay. The next thing
that I want to do is add the years because
this has happened to me before that whenever I add antlers to my
deer or my reindeer, I forget about the years. So if I add them now, I
make sure they're there. I don't run the
risk of forgetting. Okay, the years actually make
it look like a deer, right? There's gonna be some tweaking because I'm thinking
I want the nose to, like, be pointing up a bit.
4. The Making of Rudolph: Okay. Now, the next thing that I'm going to
add is the antler. I'm going to choose
this darker gold and create a new layer on top and start thinking of
drawing branches, basically. The reason why I love
using layers is in case I want to change any
of the colors later on. I don't have to worry
about things that are overlapping and I don't
have to draw around stuff. I just pick the layer that has the shape
that I want to change, and I'll tell you
in a little bit what we can do to
change the color fast. Okay, we're going to
make this second one. Again, it's just so
much easier to think of Antlers as branches so that they don't
become intimidating. H all right. If you want, you can erase this little bit
here because we wanted to make it look like the antler is coming from
the other side of the head. Another thing that I like doing is I'm going to go
to the layer with the deer and I'm going to sipe my fingers like this to
turn it into Alpha lock. If you tap on it, you should be able to see this
check mark by it and the checkered
background will also make it obvious that that
is what's happening. Alpha lock is basically the
same as a clipping mask, but it happens in
the same layer. It helps you draw within the shape that you have in
that layer and nowhere else. I like using this for
these little details that sort of work to add
depth to my illustration. I don't like using outlines. As a stylistic choice,
I avoid outlines. So these little lines
that I add here and there sort of give my illustrations a
bit more definition, if you will, and it doesn't
end up looking so flat. These lines help me separate the ears from the head
and sometimes the neck. The next thing is,
of course, the eye. And for extra cuteness, I always add a little sparkle. Next thing is a smile. Let's make him happy about this. He's proud about being
in this ornament. And a little eyebrow
to make him enduring. Okay. What is the final detail? Okay, of course, the final detail is going to be the nose. So we're going to
pick red and make a big red nose for
Rudolph. Cool. We have a Rudolph. Another thing that I
would like to add to him is something
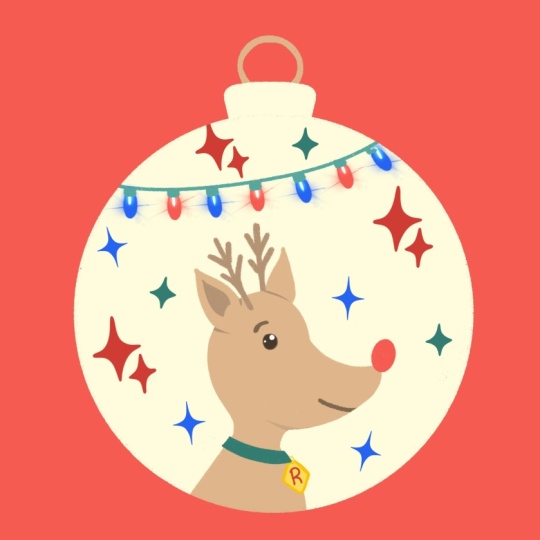
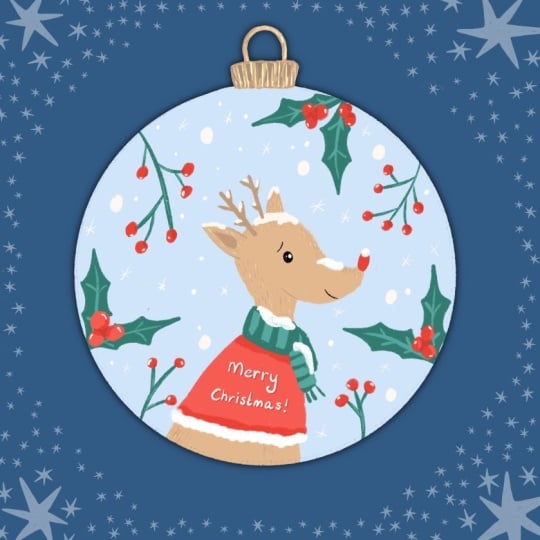
around the neck. This is where I invite you
to use your creativity. I'm going to add a bow, but you can add anything to it. It can be a medal, it can be your pet's name. It can be a scarf. It can even be a
little Christmas tree. I love encouraging my
students to take the lead at one point and make
this illustration theirs. And I think that it's fun. It's fun to think of
little details to add, even if you didn't want to
make Rudolph and maybe you want to make another
one of the reindeer, or you want to draw
your pet instead. I mean, you can draw a dog
out of this very easily. I would love for
you to surprise me. I would love to see in
the project gallery, what you end up creating and how you end up adding a
creative twist to it. The last detail that I want
to add to Rudolph is lights. I want to make him glow. So I'm gonna pick the yellow and start adding
little dots here and there.
5. Adding final details: Now I would like to show
you how to change colors. If you go to the
ornament layer and you swipe right
with two fingers, you're going to activate
the alpha lock mode. This will allow you, again, to very easily change
something within that layer. In this case, we're going
to try another color. For example, if you wanted
to make the ornament green, you would pick the
green and then click on the layer and click
on fill layer. And so you can play
around whatever you prefer as the color
for this ornament, you can have fun with it. Just make sure that the
background of that layer is checkered so that you know you have the
alpha lock activated. I'm going to stick to white, and I'm going to go to
the very top layer, create a new one. And we're going to
add some holly leaves and branches to this ornament to make it even more festive. So in order to stay within
the lines of the ornament, remember that we need this
to be a clipping mask. So I'm going to bring
the layer down. And if I put it between the
reindeer and the ornament, it's going to automatically
become a clipping mask. So now those extra
lines are gone. Holy leaves are very easy to make. But if you're not a fan, you
can always make branches. Okay, these ones are
going to be branches, kind of like the antlers. I see a couple of gaps, so I'm just going to
add some branches. Okay, and let's add
some details to it. So I'm going to swipe
right on this layer and turn it into alpha
ok. And I'm going to pick this lighter green to add some lines to
the holly leaves. These are very simple details, but they add a lot to the
illustration as a whole. Okay, maybe the next step
would be to add some berries. The nose reminded me of it. So if you hold down on any
given color in your canvas, you're going to be able to
pick it up and now use it. It's going to show up
in this color circle. For example, if you don't have a color palette and you were using random colors and you couldn't remember
what they wear, you can pick those colors
doing that holding your finger onto the screen and seeing it come up
in a color circle. Adding dots and berries is
one of my favorite parts. I could add them everywhere. And you may have noticed by now, but if you make a mistake or you make something that you
don't like at any point, the way to undo that is to tap with two
fingers on the screen. And now, I'm going to go to these bunches and I'm
going to add some again, I'm going to turn
this into alpha ok. And with the darker red, I'm going to add
just a couple of lines to separate these
berries from each other. Again, very simple,
very subtle detail, but it adds a lot to the
depth of your illustration. And you see when I zoom in, you can see the
texture of the brush, and that's why I love using it because it reminds me
of creating something with an actual brush as
if I were working analog. Okay, another thing that
I would love to do, as I was saying, I
love adding dots. So I'm going to pick this gold, go to the top layer, and start filling up
this negative space. You can also add, if
you're not a fan of dots, you can also add
little sparkles. You can add any details
that you can think of. Okay, there we have
our ornaments. Now, this is a super
optional final step, but I love adding texture, so I can't help myself. If you go to sketching
in your brush library, I have my favorite
texture brush. It's called Bonobo chalk. If you don't have
it, that's okay. You can use any texture brush that kind of looks
like spray paint. And with white, I love adding strokes here and
there so that it kind of looks like there's a bit of snow on the ornaments
or a glitter. And if you go to this
N in your layer, you can play with the
opacity. I don't know. I always love adding
these details to make it more
tactile visually. And there you have it.
Your Rudolph ornament. Finally, so that we can all
see your beautiful creation. If you go up here
to the top left to the wrench and then hit Share, you can export it
as a JPEG or a PNG and then post it to
the project gallery so that we can all see
where you created, especially I'm dying to see the little creative twist that you added to
your illustration. Thank you so much for watching.
6. Gift + See you soon!: Now you have your own
Rudolph ornament, or if you want to surprise me, I can't wait to see what
creative twist you added to it. I hope you'll share it in the project gallery so that we can all see
your beautiful art. If you want to keep
creating together, you can become my
challenge buddy by joining my community space. And right now I'm hosting
a Christmas drawing camp. So I left a link in the
description on how to join. And for the students that
completed this class, as I promised in
the very beginning, I have included a
special discount. We're going to have prompts, workshops, goodies,
and all the fun. Thank you so much for
joining my class, and I can't wait to see what you created. I'll see you next time.
 Flori Fama, Illustrator & Surface Pattern Designer