Transcripts
1. Class Trailer: Hey, I'm a social, and I teach you how to create motion graphics standards. We will create this basic soup Skype animation and turn it into motion. Graphic templates, Motion. Graphic templates are great. You can create once, and you could use it as many times as you want. This is the great introduction, recourse for everyone who want to create motion graphic template. It is suitable for beginners because I will step by step on how to create and adjust controls in the template. First, Real create very basic animation in After we will create some custom controls and test our complaint in Premiere Pro to troubleshoot all potential issues through the whole process. I share with you my keeps n tricks, which I learned along the way for the class project. Let's make this information together. So if you're ready to start, I would see you in class
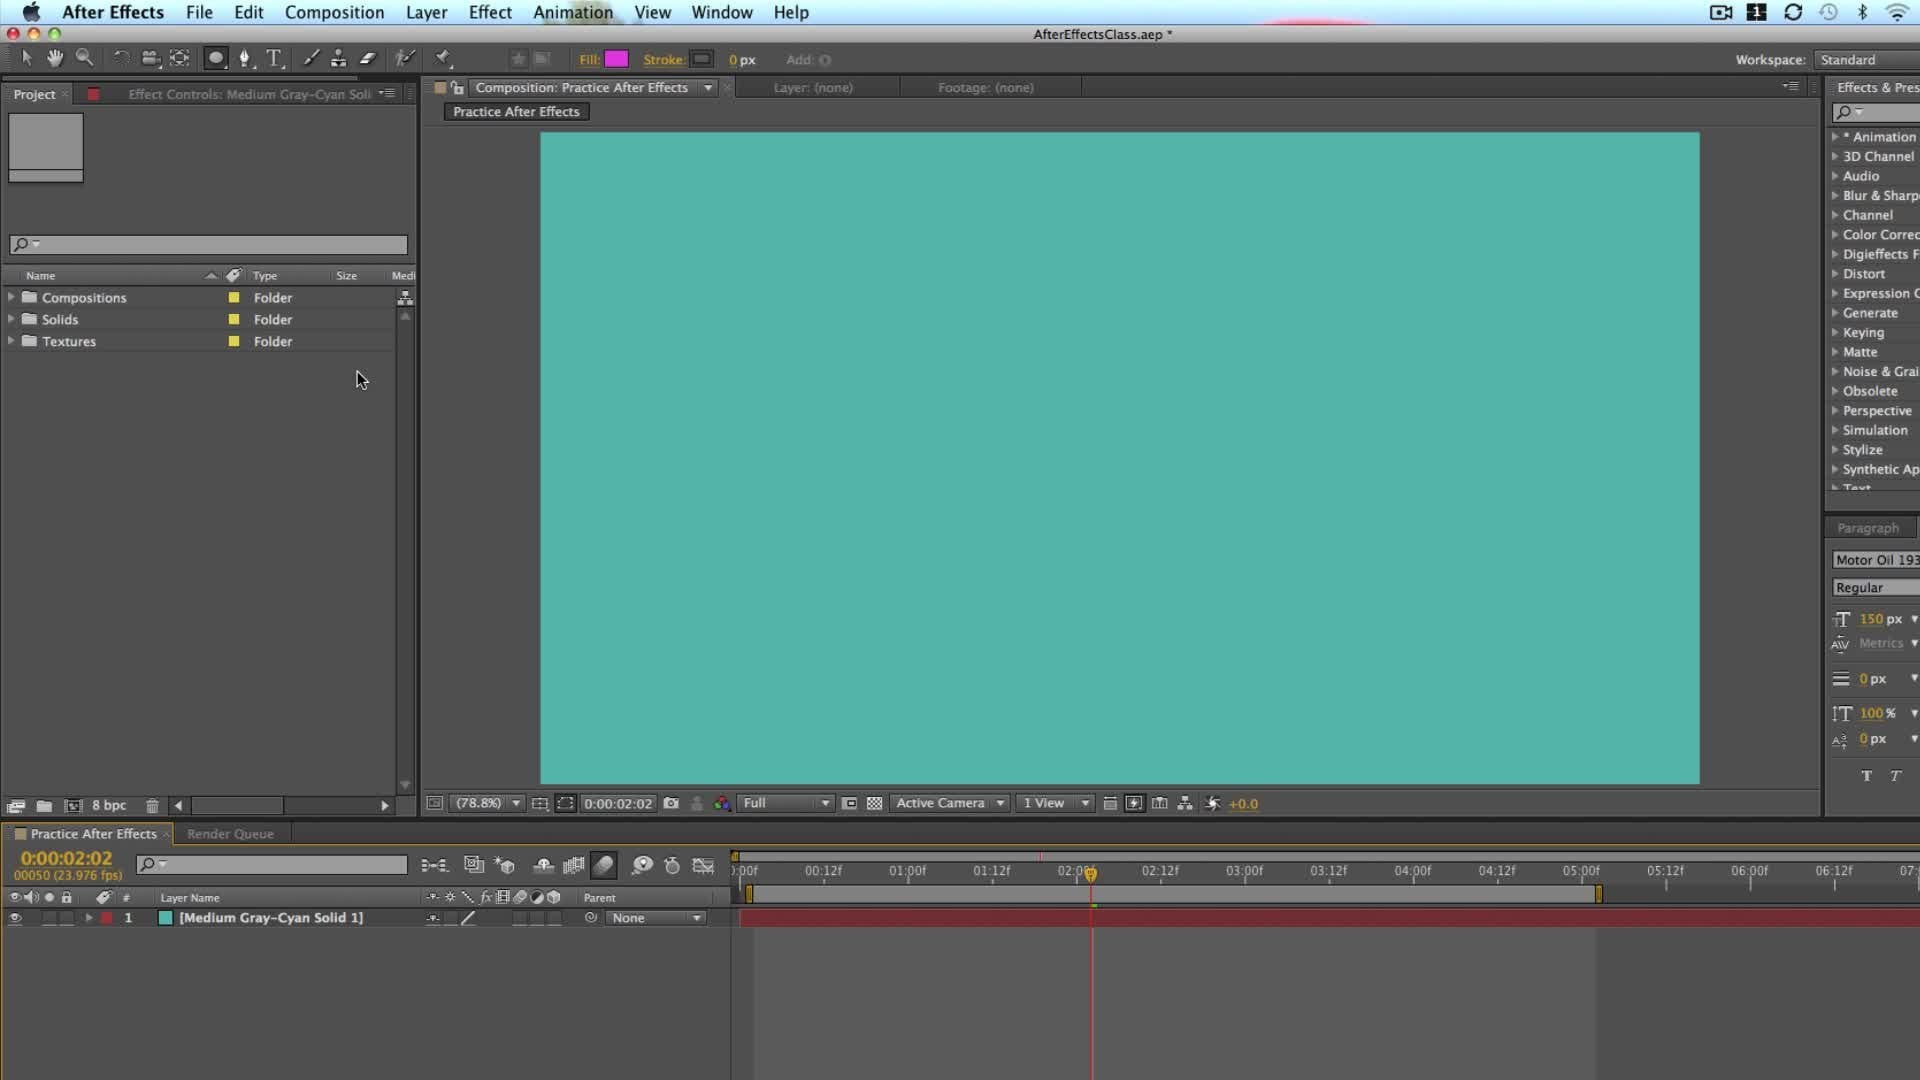
2. Create Animation in After Effects: this video will create basic animation in after effects, using only few shapes and one text layer to make it easy and simple to understand. First, create new composition. Click on the new composition button. The short cut is control or command end. Let's name it. Subscribe. In this case, we will use standard resolution 1920 by 10 80 29.97 frames per second, said the duration on five seconds long and heat. Okay, My common mistake. The beginning Waas not to save my work, so let's save it first. Had to file Save us. Choose the location. Name your file and click safe. Cool. We are ready to start now. Select direct angle tool and draw a rectangle like this. Open rectangle properties. Find size options and unlinked. Both properties change values toe 400 by 120 pixels. Next, open field property and change the color light gray will be just fine. In our case, renamed the layer to bottom. Now select pain behind tool. The short cut is why select the layer? Make sure that the snapping options is turned on dragged the anchor point to the bottom part of the shape. This is very important step because the shape will reveal from the bottom up. Find the alliance tip on the right part of the screen. If you don't see this step head toe window and check a line, align the shape horizontally and vertically to fit it in the middle of the composition. Next click s to reveal scale property. Make sure that you are at the beginning of the timeline. Click on the stopwatch to create new key frame a link both properties and change. Second value to zero. Go to the one second mark and change it back toe 100. Next, hit to the four seconds mark and click this diamond icon to repeat last key frame. Go to the end of the timeline and change the same value back to zero. Select all key frames, right Click and choose Key Frame Assistant and Easy's. The shortcut is F nine. Now let's open graph editor. If you don't see this graph right, click and change it toe value graph. Select stop key frame and drag it a little left. End up just to make a little overshoot effect. If you accidentally change other value. Just put it back to the original position. I think this little overshoot animation will be just fine. In our case, Select bottom shape and duplicated. The shortcut is control or command D renamed the shape to the top and change the color to read, select top shape and hit you on the keyboard to reveal all key frames. Put first key frame about five frames ahead and last key frame about five friends back to create a little bit of delay in the top shape animation. Let's see how it looks so far. Perfect. Now let's create some text animation. Select textile. The shortcut is control or command. T scale up the composition a little bit and write down. Subscribe. Put it in the middle of the shape. Select men behind, too, and put anchor point to the center. Off the text. Align need horizontally and vertically toe. Make sure that the text feet to the center off the composition. Check paragraph. Ter toe. Make sure that you have center text alignment in the character tape. You can play with font and size. I think I will stick with the medium front way next, Go to the effect and precept the and look for the typewriter preset. Drag this preset on the text. Select text and hit you to reveal key frames. Put first key frame at about 10 frames. This key frame will start the text animation put last key frame at about one second and 10 frames. To finish the animation, feel free to play with these key frames to reach different animation timing. Lastly, we will create a text myth, select top shape and duplicated. Put it above the text layer, renamed the Layer Toe Top. Met and change the track met off this text layer toe Alfa Mitt. If you don't see this option, click on the toggle switch mode button at the bottom part of the screen. The short cut is F four. Our final animation looks like this. I think it looks great. In the next video, we will create custom controls for the template.
3. Create Custom controls in After Effects: this video, we will create some basic controls for our played. But first, let's make a plane. We will create three groups of controls. First group will be global controls, which will hold only position and scale. Next group will be shaped controls, which would contain the color, roundness and capacity of the shape, and the last group will be text controls, which will contain dick source and text color for global controls. Reuse their native properties. That means that we don't have to create custom controls, but we will use their properties as a control for the shape group. We will have to create custom controls in the text group. We will use one native control for source text and one custom control for text color. Let's jump into after effects and see how to make that. First, we must put all layers into separate composition because we said that we will use native controls for position in scale. Let's do that first, select all layers and choose layer and pre composed the short, cutest controller command shift see named the composition template. Next, we need to make one layer, which will hold all expression controls to do that select layer new and null object. Rename it to controls. Next, right click on the control layer. Select open an open effects control to display properties on the panel. Next kick on this little lock icon to lock the view. This means that whatever we click, the panel will always stay open. Now go to the effect and preset step. If you don't see the step, click on the window and check the effect and preset option type. The word control and all available controls will appear as you can see There, for example, point controls Check both controls. Drop down Control Center one. But in our case, we will only use color. A slider controls. Select slider control and drag it into control panel. Let's first name the group toe. Make it like replant for group names. I always use caps lock. It's only my personal preference. Rename toe shapes controls. Next, select the color control and drag it into the panel. Rename it bottom color and change the color to light gray. Next duplicated and changed name, toe top color and change color to red. Select new slider control and drag it into the panel. Rename it roundness and change value to 10. Duplicate this expression control and rename it toe capacity and change value to 100. Now we will create text group, Select this shape group name and duplicated, drag it under all controls and rename Ito text controls. Next, select this bottom color control, for example, and duplicated once again drag it under all controls. Change name and choose white color. Now we will connect properties with created controls. Double flee, contemplate composition, toe open it, select bottom layer, open properties and find feel property art or option. Click on the stopwatch toe. Open the expression field. Select this peak whip icon and drag it to bottom color control. Let's test if this is working, change color to dark gray, for example. As you can see, the color has changed. Let's change it back to light gray. If we want to change color now, directly in the layers properties, the color wants change. That is because this expression control is now controlling the data stored in this property . Do the same for the top layer. Open properties find feel property and connected to expression control. Next, let's connect around this property. His expression control you can connect properties off multiple layers with only one expression control as long that they have the same value. Find around this property out option. Click and connected with roundness control. Repeat the same step with other shape. Find around this property alter option. Click and connected with around this control. If you are using same shape as a metal layer, I recommend you that you do this for these. Layer a swell. So find around this property one more time, either option. Click and connected with around this control. If we test this out, we can see that this expression control is now controlling the roundness off all shapes. Let's close or layers properties selectable by clicking on control or command a and click on this little triangle toe. Close properties. Select shapes and text layer but not the Met layer. Click the letter T toe, open capacity properties asked or option. Click on the stopwatch and connected with capacity expression control. Repeat this step for other layers as well. Out or option, click on stopwatch. Connect with capacity, expression control and again for the bottom layer. A swell out or option click on the stopwatch and connected with capacity expression control . Now let's connect the color off the text with expression control. As you can see here in properties, we can't find any color property. We will have to create one. To do that, go to the effect find to generate and then feel close. This panel property, which automatically pops up, find effect property, open it out of options. Legal stopwatch In connect property with expression control, we managed to connect our properties with expression controls like airplane. In the next video, we will put this controls into essential graphics panel toe make it edit herbal for end users.
4. Put Custom controls in Essential Graphics Panel in After Effects: First, we will have toe open essential graphics panel, go to the window and click on essential graphics to open it. Click on Essential Graphics Panel name and dragged to the left part of the screen. When you see this green line, release the mouse button. Now we have much bigger panel toe work with in the master property. Select Subscribe composition because this composition is our main one, which holds other compositions and layers. Name it subscribed them played under this name. You will find the template in Premiere Pro later on. As we already said in previous Widow recreated three groups of controls, We will also use the same structure here in essential graphics panel. Select this at formatting Drop down. Many here in the bottom part of the panel and choose at Group New Group will appear. Name it Global controls. Click on the template composition and Press P to reveal the position. Property. Drag this property to essential graphics panel. When the group named Turns Blue release mouse button and the property will go inside the group. Rename it to global position. Click again on the template composition, but it s to reveal the scale property Breck Scale property into essential graphics. Panelists well, and rename me to global size. Click again on the Earth formatting button and choose at group name it Shape controls. If you want to drink controls from the FX panel, the controls won't appear. You must drag directly from the control layer. All custom controls are under effects. Property group Open button color control and drag it into essential graphics panel on the shape controls renamed the Control Toe Bottom color. Next, open top color control and also drag it into the panel. Renaming toe top color opened roundness control and direct slider into the panel. Rename controller toe around this. As you can see at this layer, we also have a date range option. If you click on this option, you can see that you can adjust the current value and the slider range. This means that you can adjust minimum and maximum value for users. In our case, let's change maximum value to 50 and click OK. As you can see now, the user can only put maximum roundness value off 50 and minimum value off. Zero. Let's put it back toe. Five. Like it. Waas next open capacity control and drag slider into the panel. Renaming toe capacity. Open 80 trench option Once again, as you can see in this case that the value range is set from 0 to 100 by default. Because the value of capacity is always from 0 to 100 we don't have to change anything. Click cancel to close the window. Click again on this air formatting button and juice. Add group. Now rename it to text controls, open template composition and find text. Layer open takes layer and find source text property. Drag it into the panel and change name toe. Just text open ended properties in this panel. You can see that we have three options with first check box. You can enable phone selection with second check box. You can enable phone size option. With third checkbooks, you can enable phone styles. I usually check only 1st 2 options because I use funds, which already have different styles by default. Next, go back to the subscribe composition, find text color control, open it and drag it to the panel. Rename it toe text color. Now we need to export the template and try it in Premiere Pro click on this export motion graphic template button and choose local templates. Folder. If you are the creative cloud user, you can export template directly in Premiere Pro. You also have few warning options. First option means that will get the warning. If you are using the front, which are not available on a double front sight. Second option means that you will get the warning if aftereffects need to be installed in orderto open motion graphics template, the third option means that you will get the warning if template is using takes controls, which cannot be edited with premiere pro type TTL. I usually check all options because they only display warnings. They do not modify the contact off the template. Select Okay, toe export the template. If you want to save template on your computer, select local drive option. Click, browse and select the destination folder on your computer, renamed Template. If you want and heat safe, then click OK to export the template
5. Test the Template in Premiere Pro: this video, we will test our template. If all controls are working properly, let's jump into Premiere Pro. First, we must open a sentia graphics panel in Premiere Pro Goto Window and select essential graphics In this panel. You can find all style templates. If your template it's not showing here. You can also manually import it. Click on this little plus button in the bottom part of the panel, find your complaint on the computer and open it. We confined our template here, but the preview image is not showing. That is because we forgot to create it. We will fix this mistake, but first, let's test our complaint dragnet template into the timeline. Klay Contemplate toe open controls. You can also access to controls by clicking on this edit button. Let's first, as global controls dreck, X slider to the left and why slider to the left as well. Also, try the size lighter and scale the template. You can drag X or why slider. It seems that the global controls are working just fine. Next test shape controls, said the current time indicator to the point in time where you can see both colors change button color to dark gray, the color has changed. Let's bring it back to light grey like it Waas. Now try the top color control and change color toe darker red. This color has changed as well. Try around this control seems like the slider is working okay, and the last opacity control, which also seems like it's working like it should. Now we will try. The text controls first changed the name and phone style. Next, adjust the size to fit it in the shape. When we size that takes down, the phone is not staying in the centre off the shape. This is because we forgot to fix anchor Point off the text. We will do that in a minute, But first, try the text color. Change the color to black, for example. The color slider is working just fine. Now let's go back to after they fixed and fixed to issues we noticed. First is a preview image of the template, and the 2nd 1 is an anchor point off the text layer. In after effects, we can create image simply by clicking on the set poster friend button. Make sure that you are on the frame in the timeline, which you want to show as a preview image. For fixing the anchor point, we will have to use source directed time expression. Our text has the X and Y well. Use X for the widows and why for the hay. If we want to set the anchor point the center, we will have to use half of the withered and half of the head. We also have to define top and left value because this anchor point property has X and why will use, we will said. The X value is left plus half off the will it and why will you stop, plus help off the head? Because this is the beginner's course. I won't go much into the theory off the expressions. Keep that image in mind when writing the expression, find text layer and open properties out or option. Click on the Anchor Point property and write down the A R for valuable and s for source is equal toe and with this big whip, select the text layer and then writes dot sort of selected time function, which you can also pick from the door of down money and say my colon in the end well, valuables must have cynical. And at the end, go to the next line and right bar H for hate is equal toe s for source Don't hate and semi colon now, right bar W for well, it is equal toe s dot video and semicolon. Next right bar T for top is equal toe s dot top semicolon and the last var l for left is equal toe s dot left and semicolon. Now let's define X and Y values X is equal to left plus half off the weeded And why is equal toe top plus half off the haith at the end Right down square brackets and x com away . You can also find this expression in the project resources if you want to use it, let's exported template once again and tested in the premier pro select Export Motion graphics button. Choose local template for her and click OK ain't okay again to replace the template in Premiere Pro, we can see that the new version off the template is already available and the preview image is showing like it should select previous template in the timeline and deleted. Click this browse button selected template and drag it into the timeline. Click on the template in the timeline to reveal available controls changed it fixed in the justice ice. Now we can see that all controls are working like it shoot, and that template is ready to use.
6. Final Thoughts: Thank you so much for taking this case. Don't forget to post your project. If you have any questions, ask me in the community, which thanks again for watching and I'll see you in the next one.
 Saso Goricar, Let's create something together.