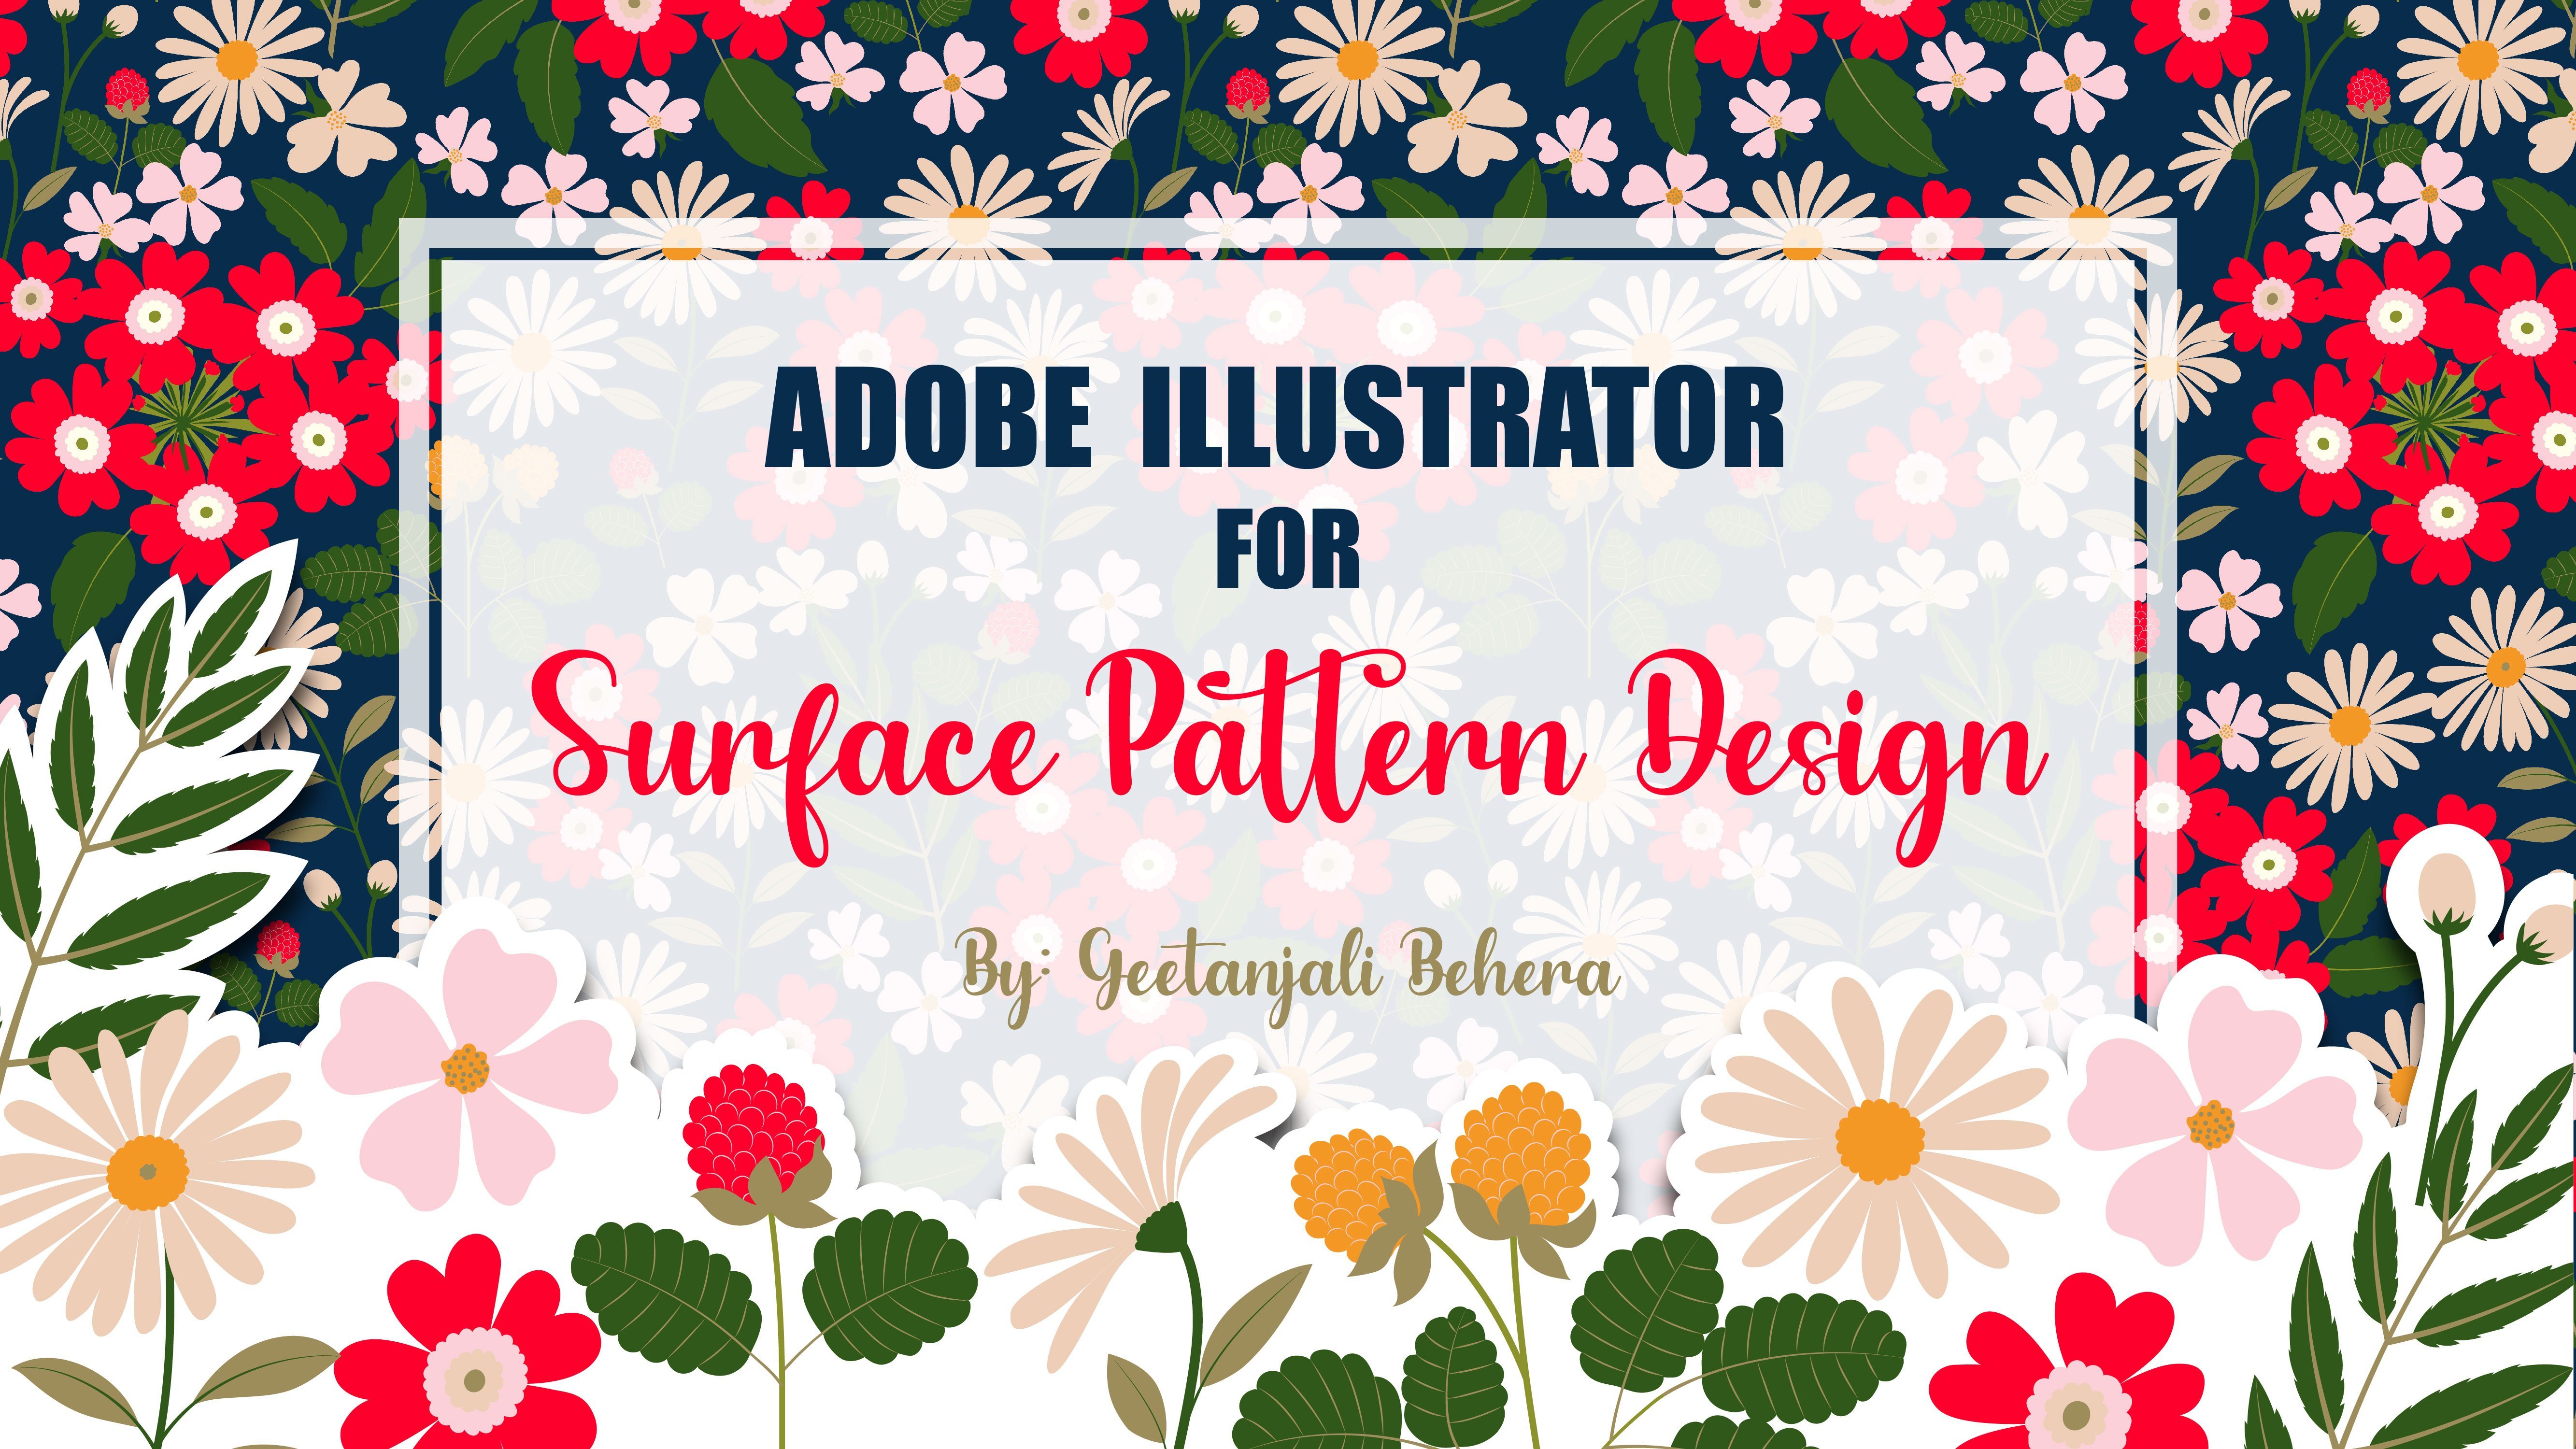
How to Create a Versatile Herringbone Pattern with Twill Weave Texture in Adobe Illustrator
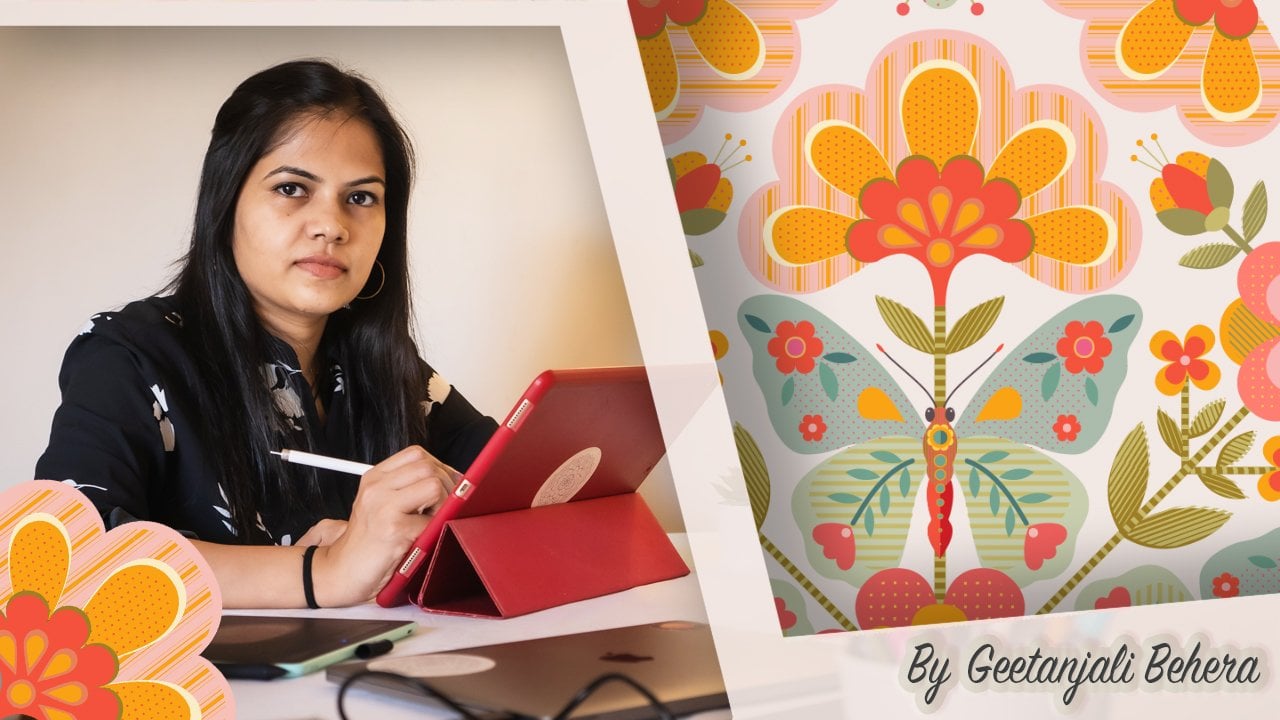
 Geetanjali Behera, Surface Pattern Designer | Illustrator
Watch this class and thousands more
Watch this class and thousands more
Lessons in This Class
-
-
1.
Introduction & Class Project
1:52
-
2.
Creating a Herringbone Weave Pattern in Illustrator
12:51
-
-
- --
- Beginner level
- Intermediate level
- Advanced level
- All levels
Community Generated
The level is determined by a majority opinion of students who have reviewed this class. The teacher's recommendation is shown until at least 5 student responses are collected.
53
Students
5
Projects
About This Class
About the Class:
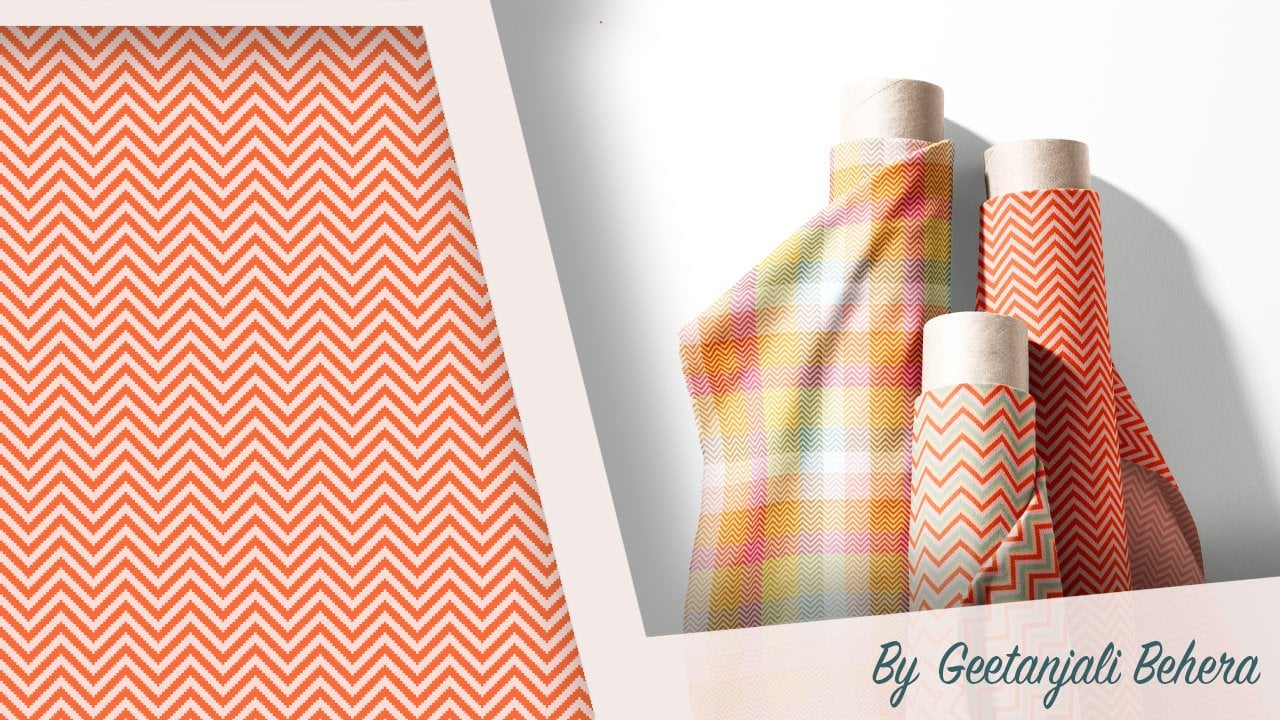
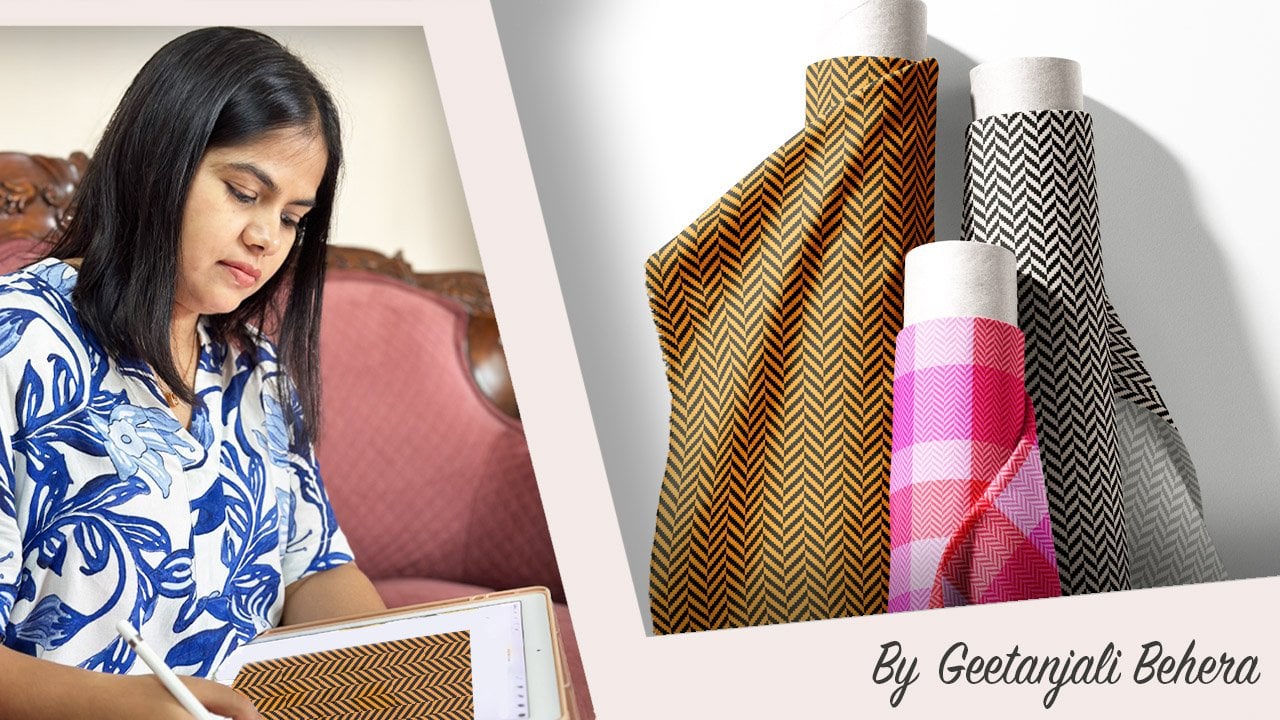
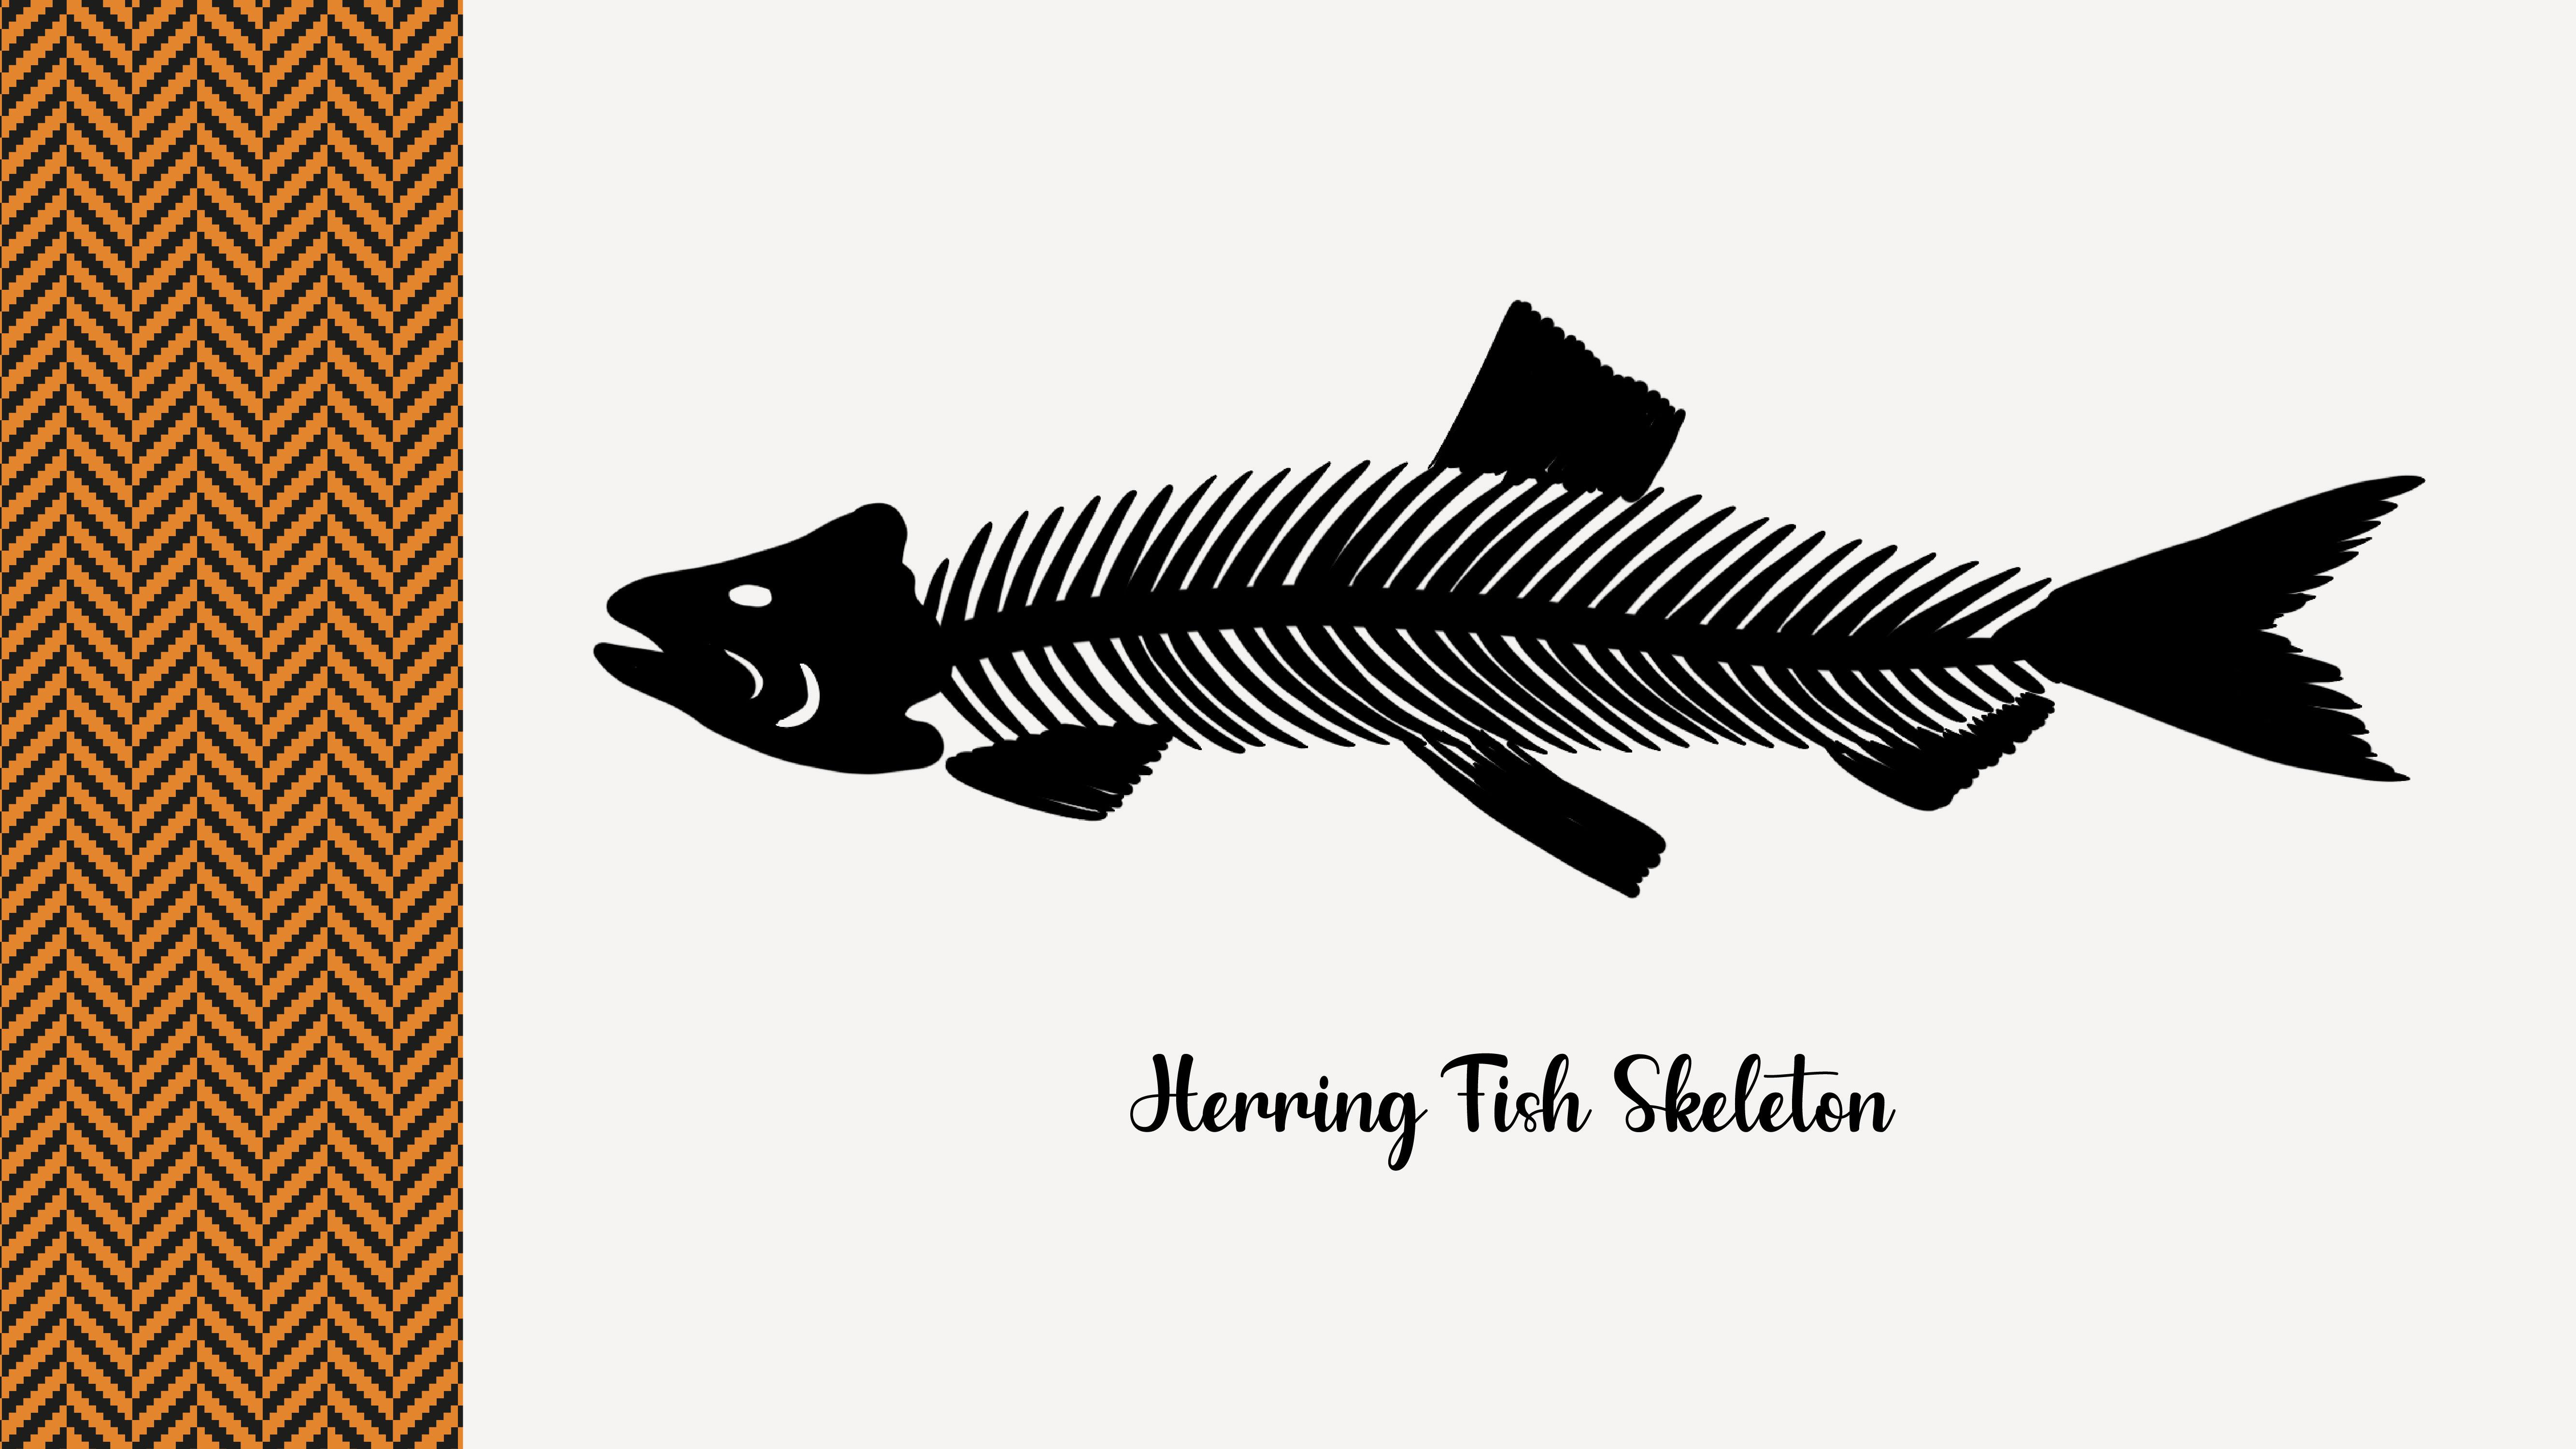
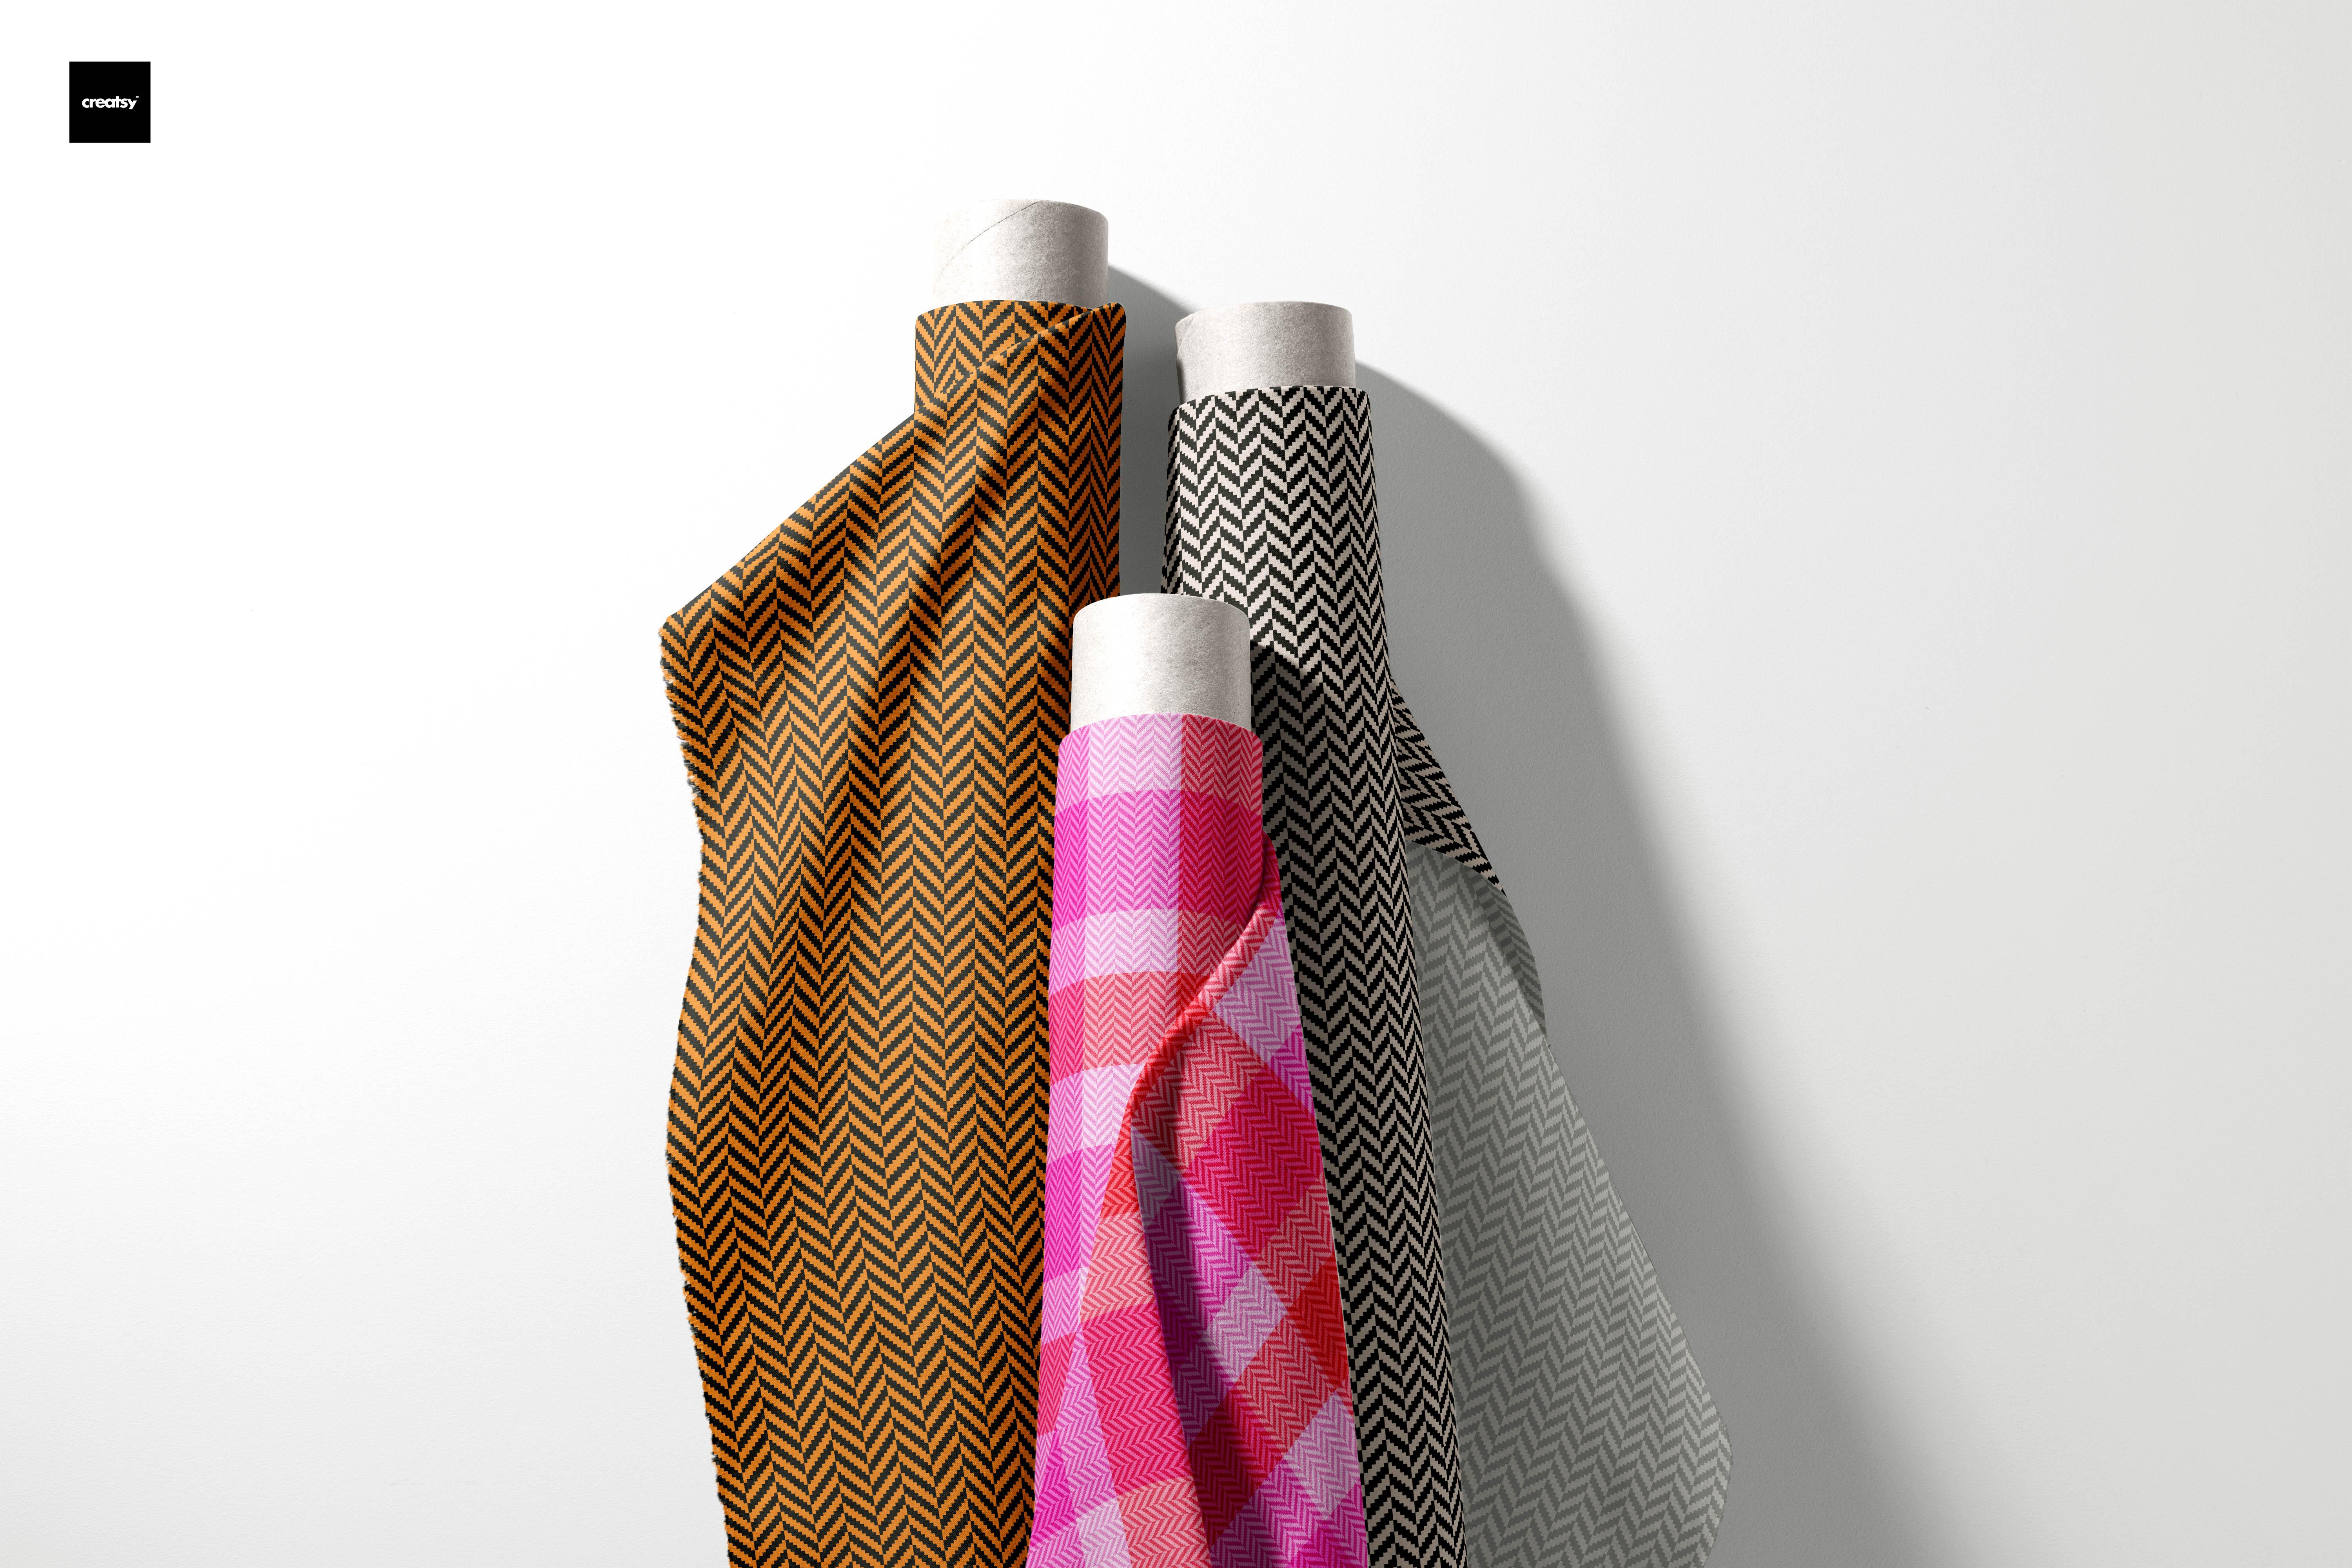
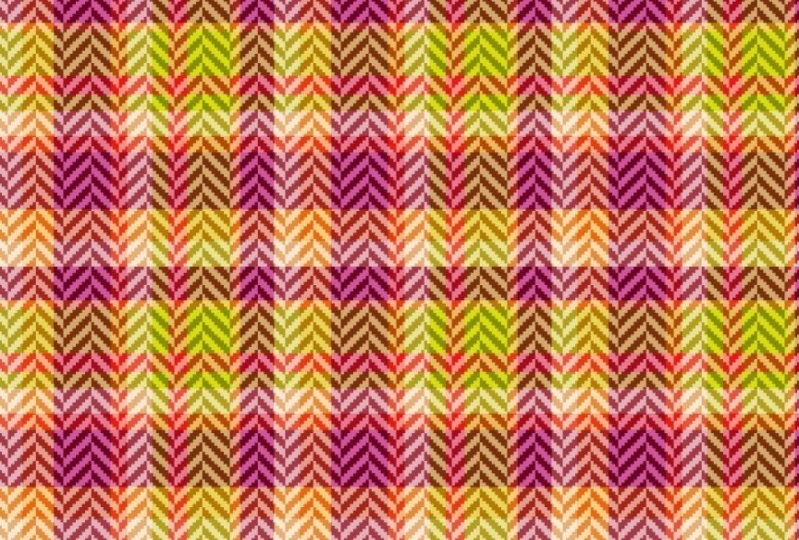
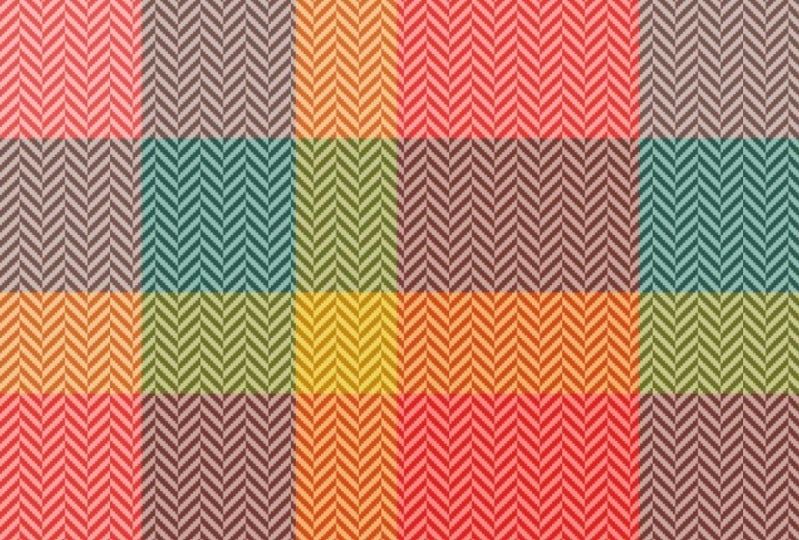
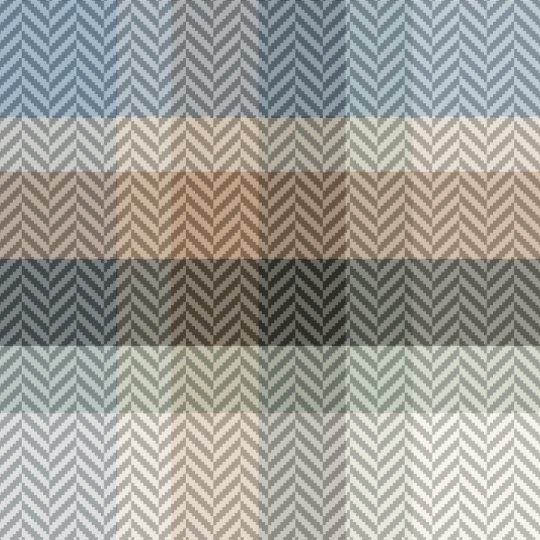
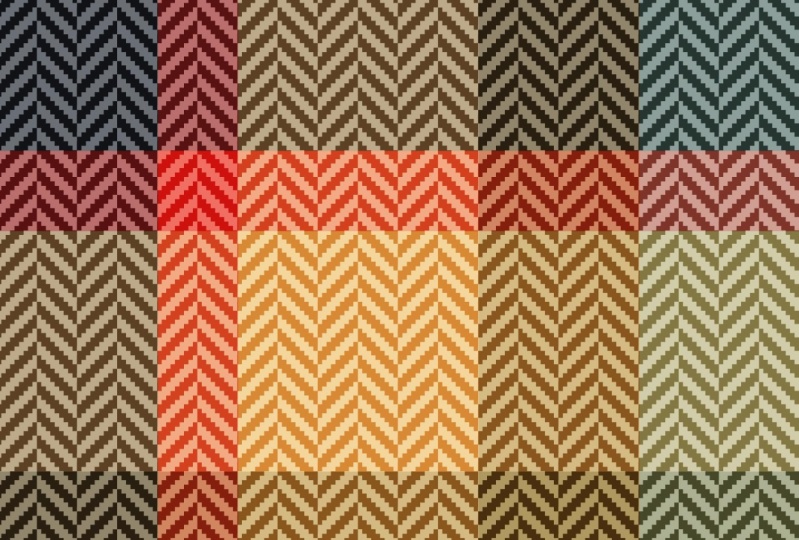
Herringbone, also called a broken twill weave, describes a distinctive V-shaped weaving pattern usually found in twill fabric. It is distinguished from a plain chevron by the break at the reversal, which makes it resemble a broken zigzag.
The pattern is called herringbone because it resembles the skeleton of a herring fish.
Herringbone-patterned fabric is usually made of wool and is one of the most popular cloths used for suits and outerwear.
Hi everyone!
I’m Geetanjali, an artist, illustrator, and surface pattern designer based in Goa.
Today, I’m excited to guide you through creating a versatile herringbone weave pattern using Adobe Illustrator.
Whether you’re a beginner or have some experience, this class is designed to help you easily follow along as I break down each step.
While this pattern is often seen on different surfaces, there’s a unique distinction between the woven textures found in fabrics and the solid, structured tile patterns used in flooring.
To give you a deeper understanding, I’ve divided the class into two parts, with each focusing on creating one of these styles.
What you will need:
- Computer or Laptop
- Adobe Illustrator Subscription ( Download the Free trail Here)
Let's get started!!
Meet Your Teacher

I am Geetanjali, aka Gee! I am an Illustrator, Surface pattern designer and Thangka painter living in Goa, India.
As an artist, I'm known for Complex compositions , Colourful and Intricate patterns.
I began my career as a freelance fashion illustrator creating technical drawings and fashion illustrations for apparel, handbags and accessories.
While working with clients around the world, I also got the opportunity to try new projects including illustrations for adult coloring books, surface pattern designs, graphic prints and more. In the year 2020, I got my first ever Coloring book, Mindful and Meditative Coloring published.
My journey as a surface pattern designer started in 2016 when I joined Spoonflower, I had done a few pattern design projects ... See full profile
Hands-on Class Project
Class Project:
The project for this class is very simple and will take just few minutes.
- Create a herringbone pattern with a twill weave effect using Adobe Illustrator.
- Experiment with a few color variations.
- Export your final designs as JPEGs.
- Share your patterns in the Student Project Gallery.
I can’t wait to see the amazing designs you come up with. Let’s dive in and start creating!
Class Ratings
Why Join Skillshare?
Take award-winning Skillshare Original Classes
Each class has short lessons, hands-on projects
Your membership supports Skillshare teachers
Learn From Anywhere
Take classes on the go with the Skillshare app. Stream or download to watch on the plane, the subway, or wherever you learn best.