Transcripts
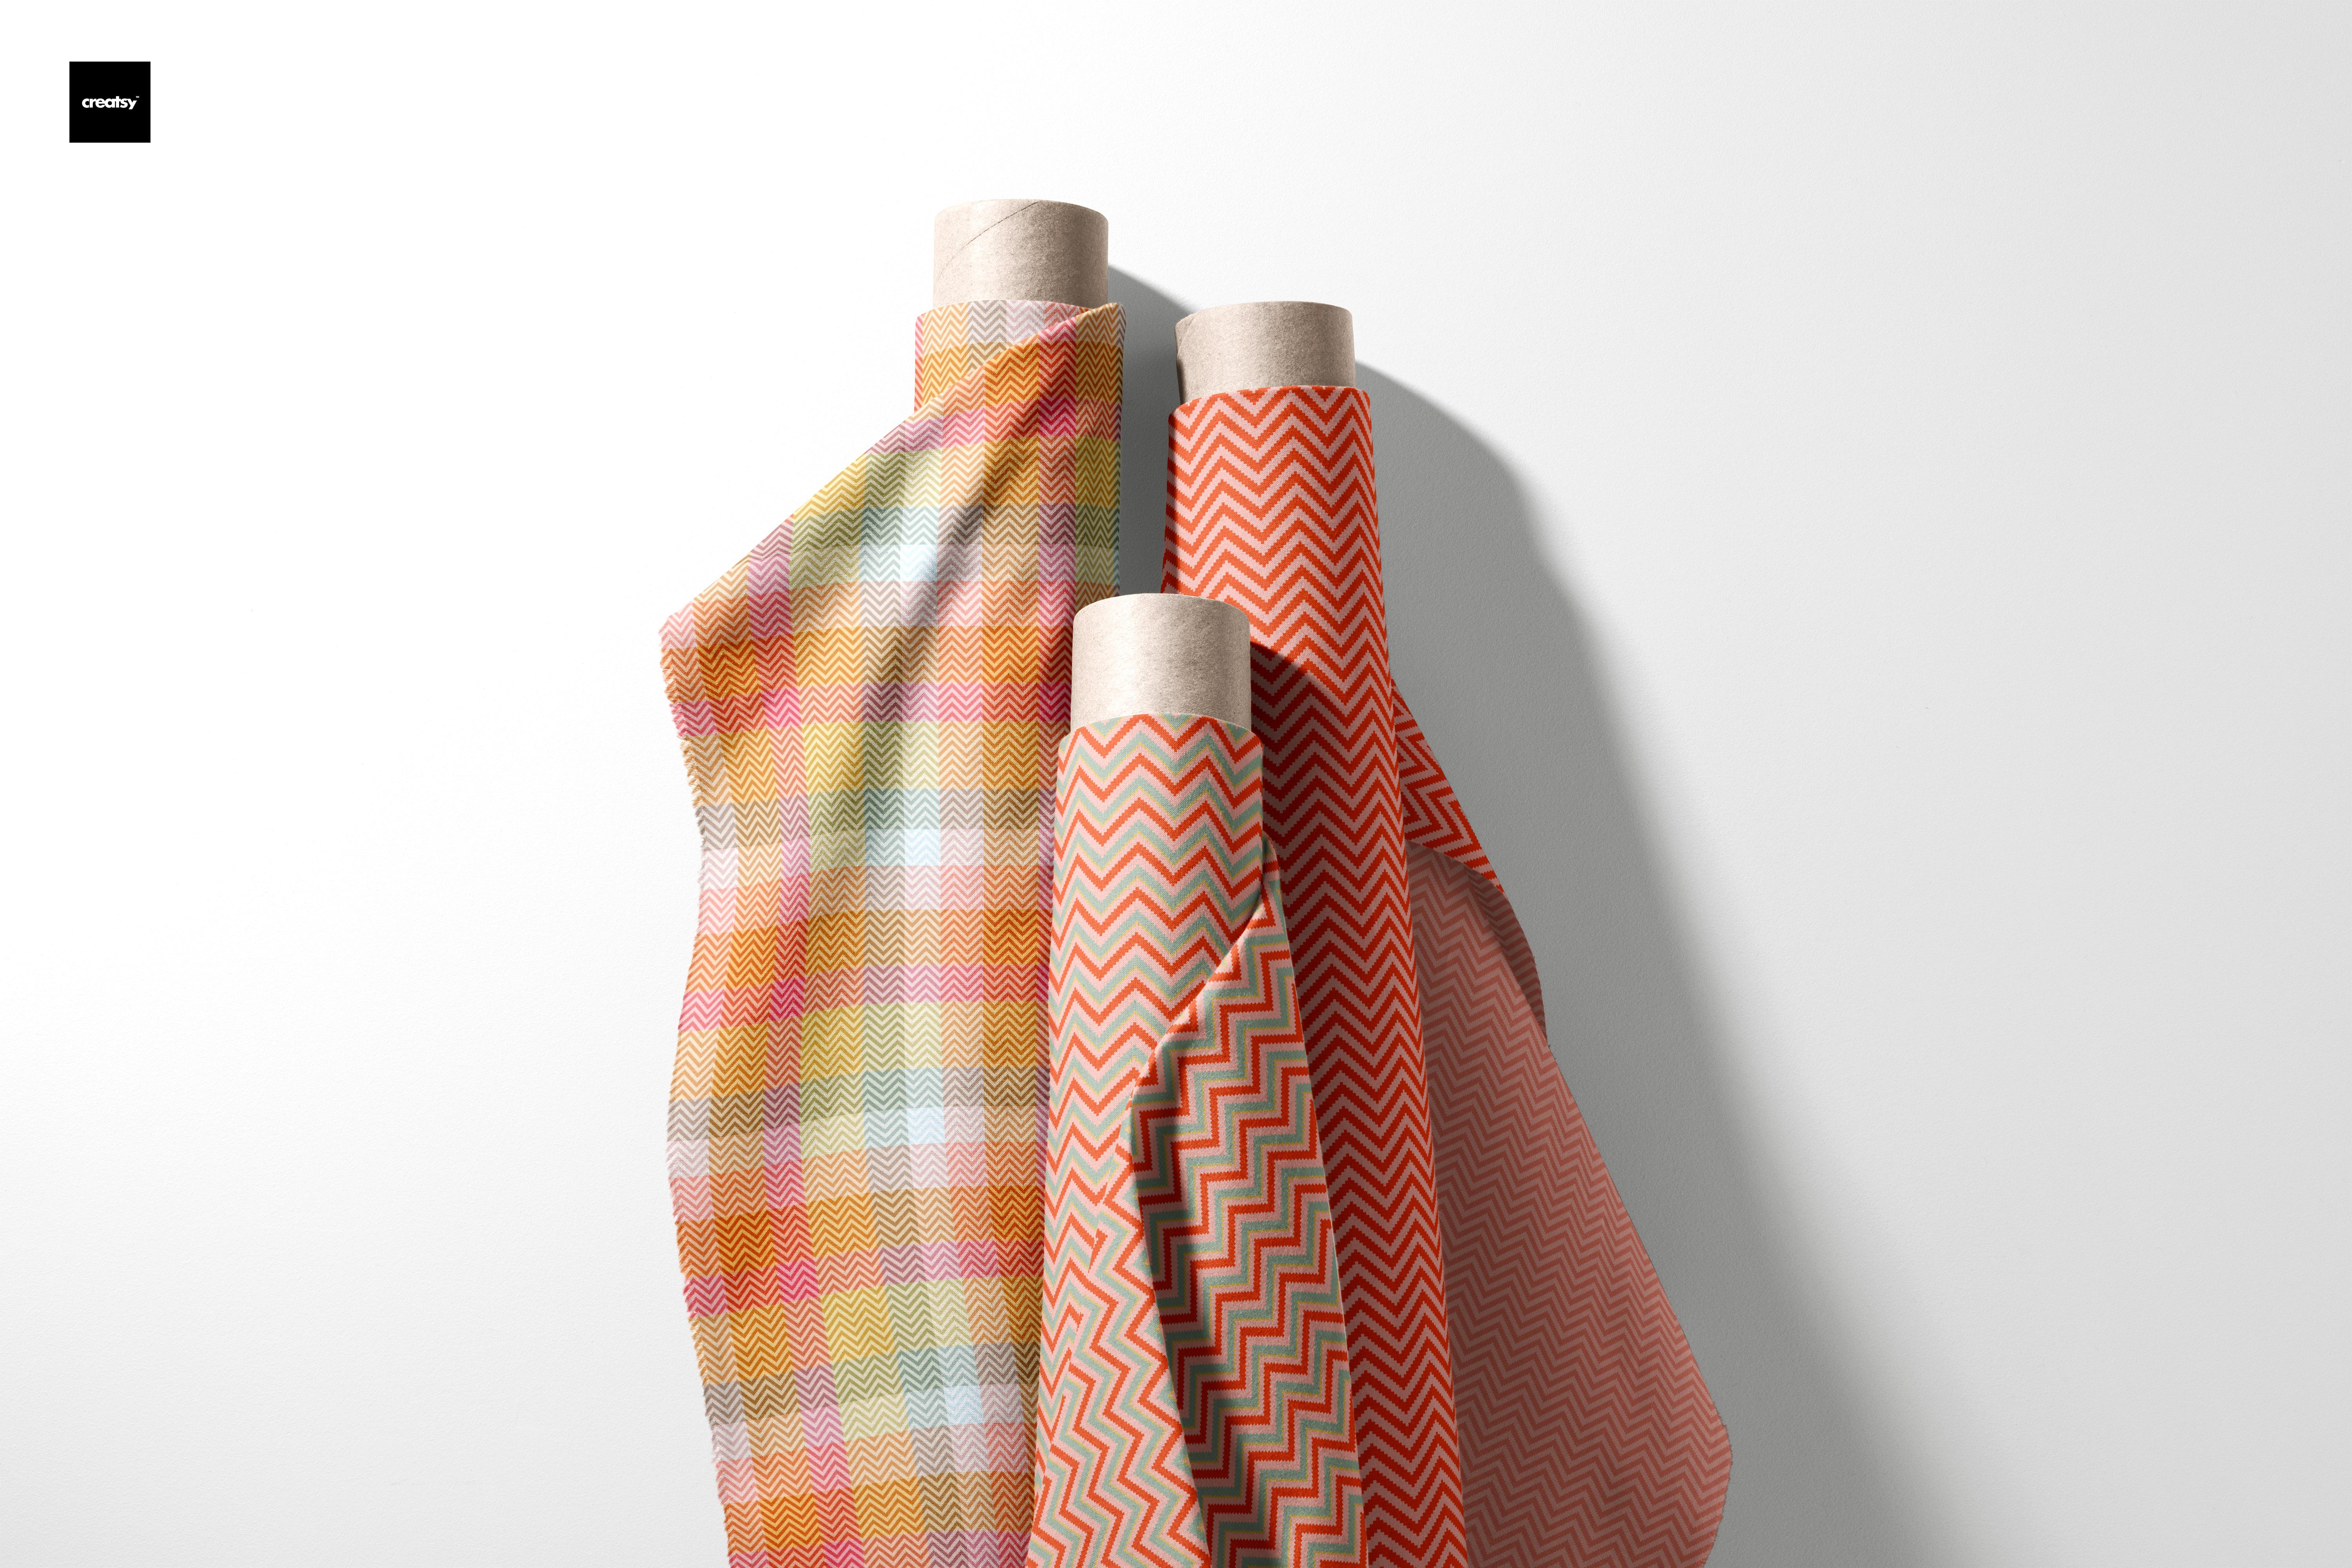
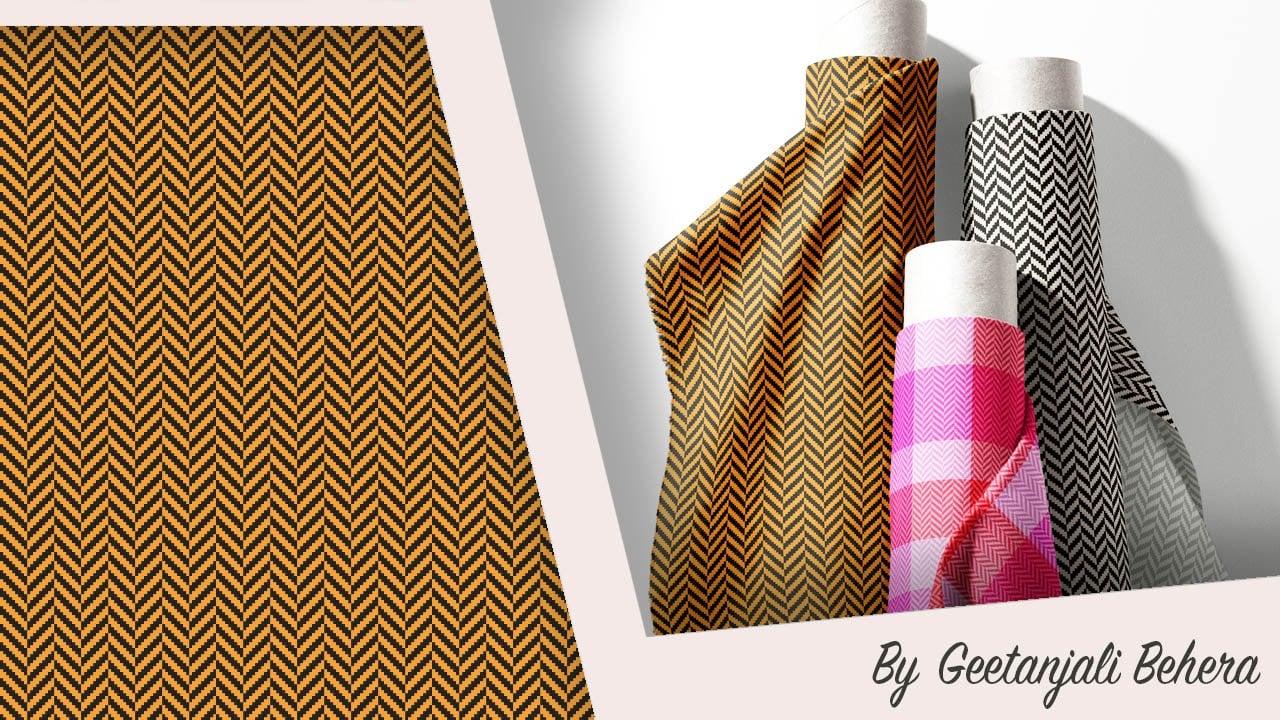
1. Introduction & Class Project: Chevron weave patterns are timeless designs that are
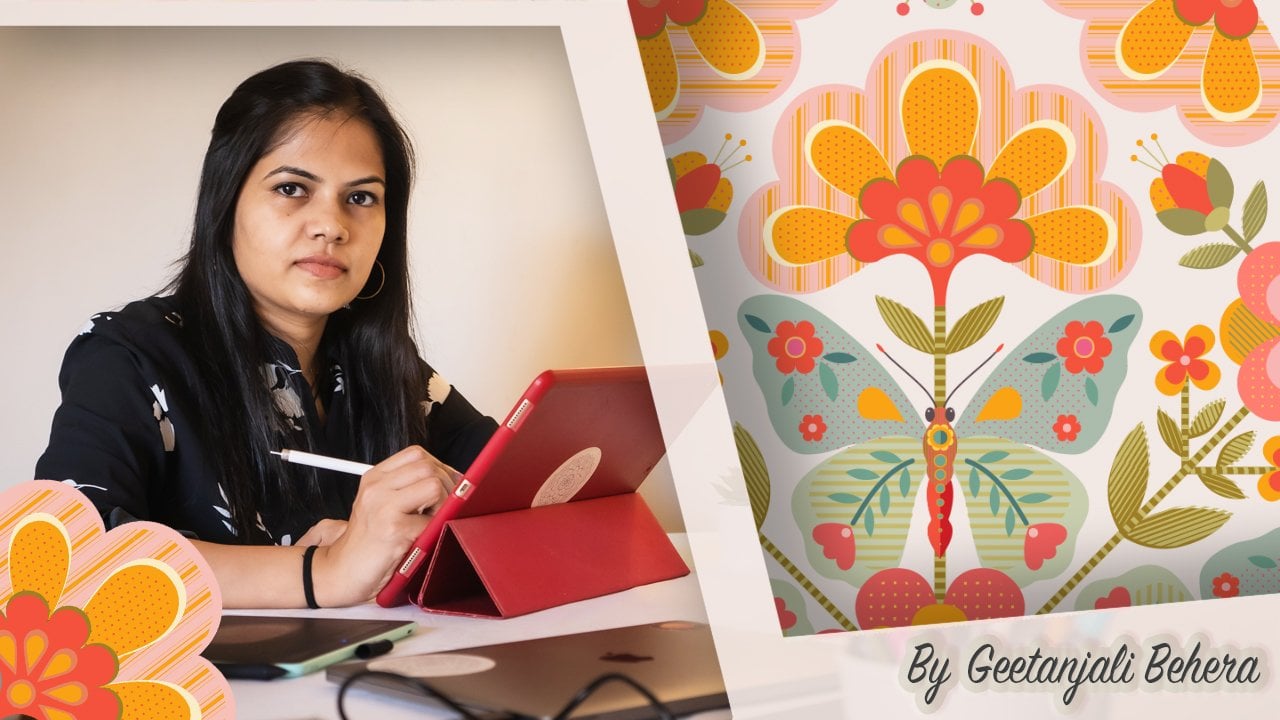
incredibly versatile, often found in textiles, home decor, and fashion. Hi, everyone. I'm Giangl
an artist, illustrator, surface pattern designer,
and Tanka painter, based in the beautiful
coastal state of Goa, India. I'm thrilled to welcome you to this class where we
will explore the art of creating a Chevron pattern with a twilwaf texture using
Adobe Illustrator. This class is suitable for both beginner and
intermediate levels. I will break down
every step to help you confidently create
your own unique patterns. We will start with the
fundamentals constructing a basic Pull we and
a Chevron wave. From there, I will
show you how to build the basic Chevron pattern and create some
exciting variations to make your design
truly stand out. By the end of this class, you will have the
skills to design versatile patterns that you can apply to a
variety of projects. For the class project,
you will create a Chevron pattern with a Twelvve effect using
Adobe Illustrator. Experiment with a few color
and design variations. Export your final
designs as JPEG files. Share your patterns in the
student project gallery. I can't wait to see the amazing
designs you come up with. Let's dive in and
start creating.
2. How to Create a Chevron Weave Pattern in Illustrator: Let's begin by opening
Adobe Illustrator. For this project,
I'm working with a 12 by 12 inch chart board
and RGB color profile. As we have discussed
in my earlier classes, the basic 12 weave
is characterized by its diagonal lines created through an offset
in the wop threads. In this wave, the weft thread, that is the horizontal thread passes over one or
more warp threads, that is the vertical threads, and then under one or more. Each row shifts slightly forming the recognizable
diagonal pattern. Whereas in Chevron pattern
weave, after a few rows, the pattern is reversed evenly, resulting in a striking
arrow like shape. This reversal creates a
dynamic zigzag pattern. The most common 12 weave
is a two by two twel, but three by three and
four by four twels are also widely used. For this demonstration, I'm using a four by four tell where the weft thread passes over four warp threads and
then under four warp threads. However, the basic
rule applies to any twel simply
replace the number four with two or three depending on the twel structure you have chosen to work with. The first step is
to create the grid. For a four by four t, we need a grid with
at least eight rows and eight columns. This ensures we capture one complete repeat structure
for the Chevron pattern. If you're creating a
three by three twin, start with a six by six grid. For a two by 212, create a four by
four grid and so on. To make the grid, select the rectangular grid tool from the dropdown menu
under the line tool. Click once on the dboard
to open the tool options. Specify the height and
width of the square and set the number of dividers for both horizontal and
vertical lines. Make sure the skew
is set to 0% and select the box that says use
outside rectangle as frame. In this example, I'm setting the square size to 8 " for
both width and height. To create an eight
by eight grid, I will include seven dividers, which will result in eight
squares per row and column, each measuring 1 ". Once the grid is ready, you can adjust the stroke width and color through
the Control panel. You can also apply
a fill color to the entire grid to
serve as a base layer. Later, we will add
a second color to specific squares to
develop the pattern. The next step is to
create the repeat tile. Start by identifying the
center line of the grid. On one side of the center line, begin filling the squares in a column using the second color. I'm using the Shape Builder
tool for this step. Choose the second color
from the Swatches panel. Now for a four by 412, begin by filling four
squares in the first column, starting from the bottom. In the second column, offset the fill by one square
and fill four squares. Continue this process for
the third and fourth column, keeping the same offset pattern. Next, move to the opposite
side of the center line and begin filling squares
upward to form a V shape. For the final column, maintain the diagonal offset and reverse the pattern to
create an arrow like shape. Once completed, remove the
stroke color from the squares, leaving only the fill colors,
and there you have it. You finished repeat tile
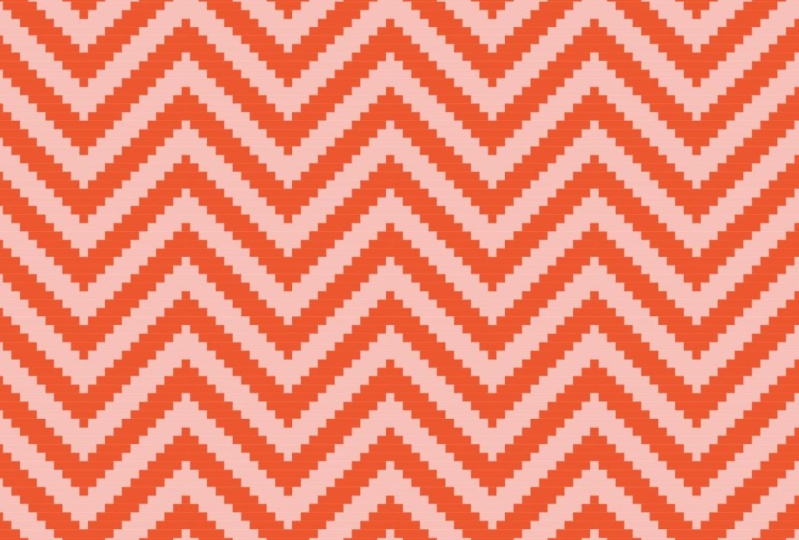
for the Chevron pattern. Step three is to
test the pattern. Begin by creating
a pattern swatch. Select all elements of the tile and drag them
to the swatches panel. Then draw a new rectangle
and fill it with the swatch. Scale the pattern down to
get a clearer preview. As you can see, the
pattern looks great, but the diagonal lines
appear slightly too narrow. Let's explore ways to adjust that for a
more balanced look. To adjust the diagonal width
and increase versatility, begin by selecting
the original tile. For a four by 412, extend the grid by adding
additional columns. You can add four columns
or a multiple of four, such as eight or
12 to each side. For example, your grade could be four plus
eight plus four, resulting in a total
of 16 columns. Or eight plus eight plus eight
for a total of 24 columns. The number of rows
will remain the same. If you are working with a two
by two till, you can add, four or six columns
to each side, keeping the number of
rows fixed at four. Now let's continue by filling the squares with the diagonal offset
pattern on both sides. When the rectangle
extends off the top, simply move it downwards so that each column has four
squares with each color. Once you have completed that, simply track the design into the swatches panel to
save it as a new swatch. Next, duplicate the rectangle and apply the new swatch to it. You will notice as you add
more columns to both sides, the diagonal width
gradually widens. If you would like to create
some color variations, select the swatch and use
the recolor artwork tool. Open the advanced settings
and choose your color group. Then click on Randomly
change Color order icon to explore some
exciting color options. This is your final tile. Feel free to resize it and
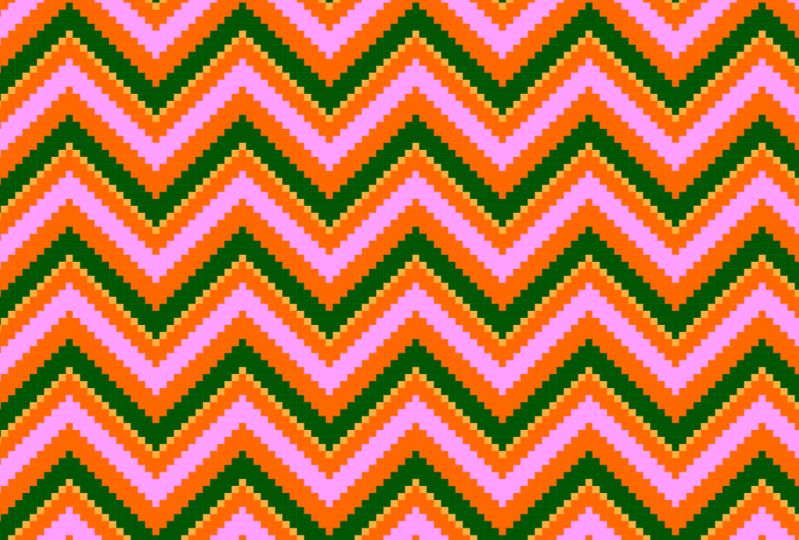
save it as a pattern swatch. Let's create some more
variations of the pattern. One easy variation is by introducing multiple colors
and varying the widths. Start by duplicating
the layer first. Now make a copy of
the pattern grid and place it below to
double the number of rows. If you would like,
you can reapply the stroke color to get a
clearer preview of the grid. Next, select everything and with the Shape
Builder tool active, pick a new color,
start replacing the first set of colors in
the squares with the new one. You can get creative here, introduce another color and replace an entire
row of squares. Just be sure to
maintain the offset and be mindful while changing the colors on top
and bottom edges. Once you're happy
with a new design, drag everything to
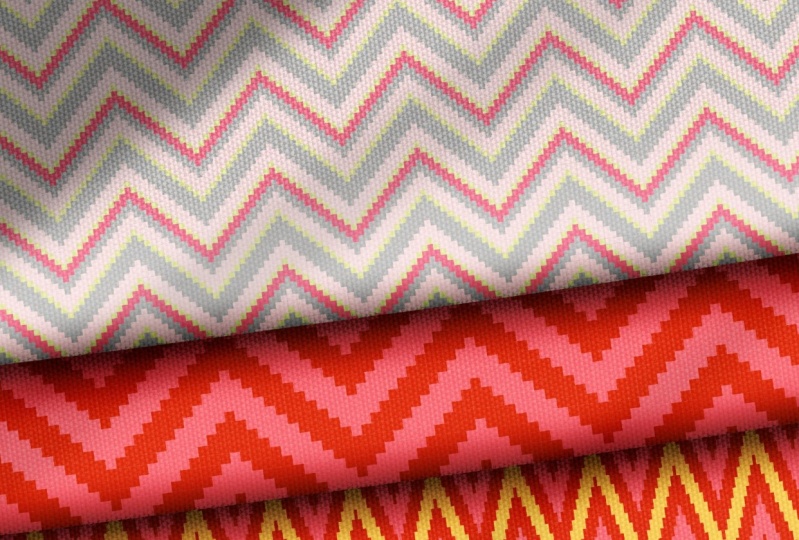
the swatches panel to save it as a news watch. Let's explore another
great variation by using colorful
stripes and checks. Using the original file, first, we will convert our
artbot into a square. I will create a 12
by 12 inch square. Now resize your patterns
watch to 12 " in width and change the
colors to black and white. Once done, drag it into the
swatches panel to save. Next, draw another square
with the same dimensions. Align it to the center of the artboard and fill it
with your new swatch. Scale it down to
about ten to 20%, so it mimics the scale of a fabric texture and ensures it seamlessly
repeats on the edges. Now create a new layer and draw a few rectangles with
different colors that are 12 " tall. Group them together and adjust
the width also to 12 ". Align it to the center
of the artboard. Next, make a copy of the group, paste it in place, and
rotate it by 90 degree. Now reduce the opacity to 50%, and this will result in a
colorful checkered pattern. Finally, select your
Chevron weave texture layer and place it on top. Click on the opacity
settings and change its blending
mode to soft light. You get this checkered
pattern with a beautiful Chevron
weave texture. Thank you so much
for joining me. I hope you enjoyed this class
and learned something new. I'm really excited to see the beautiful
patterns you create. If you have any questions, feel free to drop them
in the discussions page. I would be happy to help you. Please consider leaving a review and sharing it
with your friends. If you like this class, check out my other short
classes on creating plaids, houndstooth, and herringbone
using Adobe Illustrator. And don't forget to
follow me here on skill share to stay updated
on my upcoming classes. Until then, happy Creating.
 Geetanjali Behera, Surface Pattern Designer | Illustrator