Transcripts
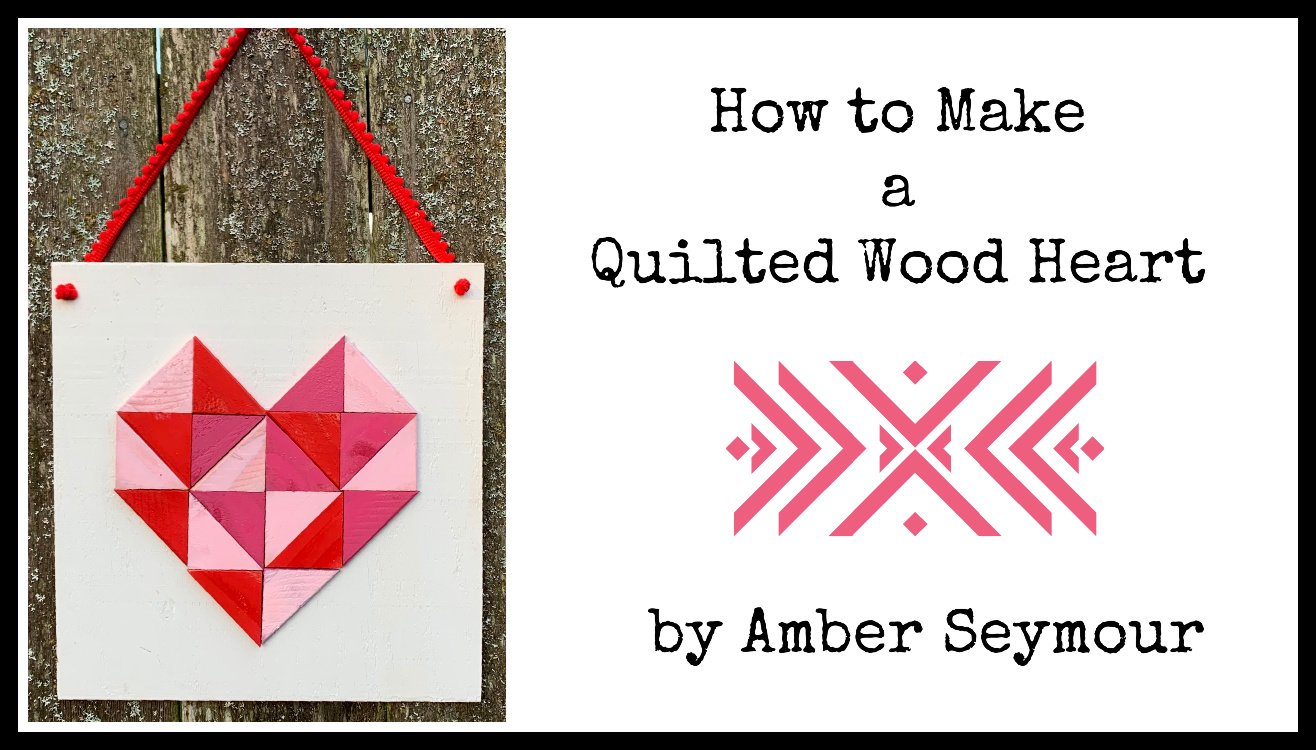
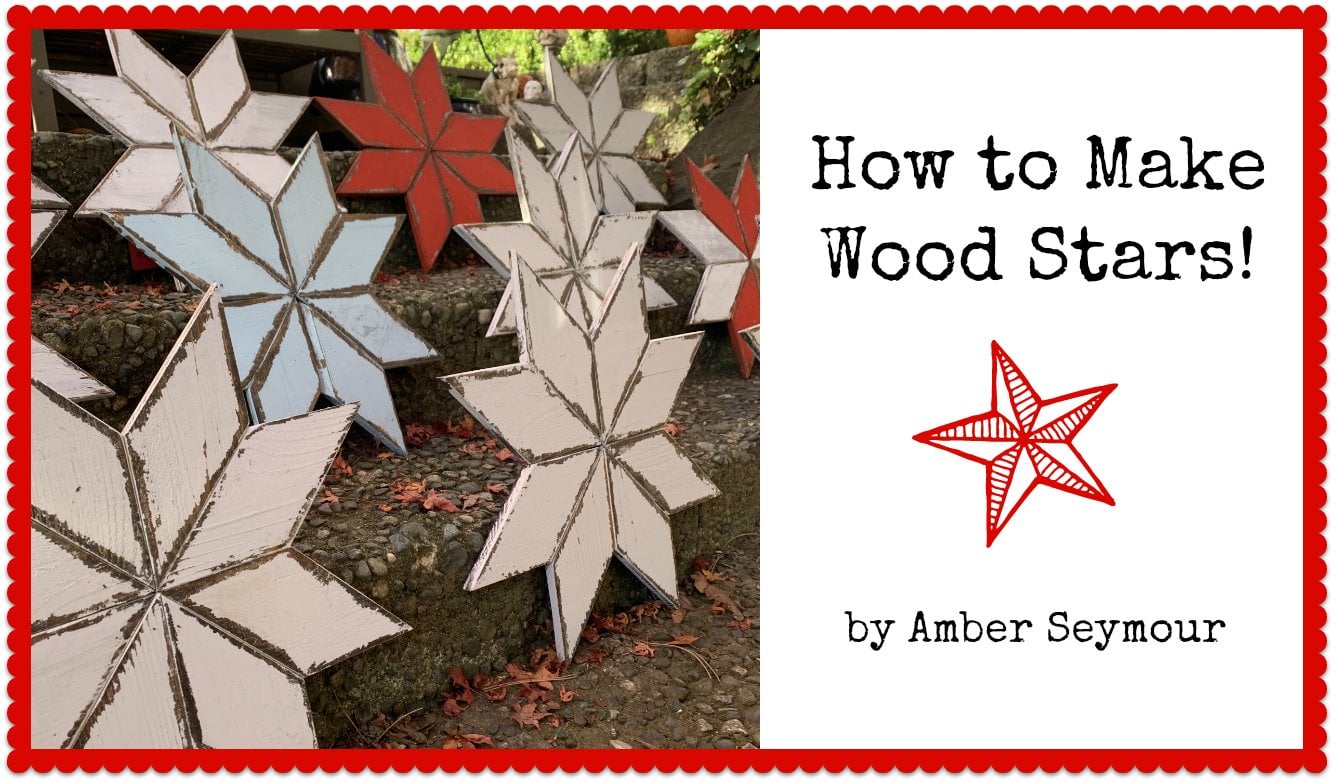
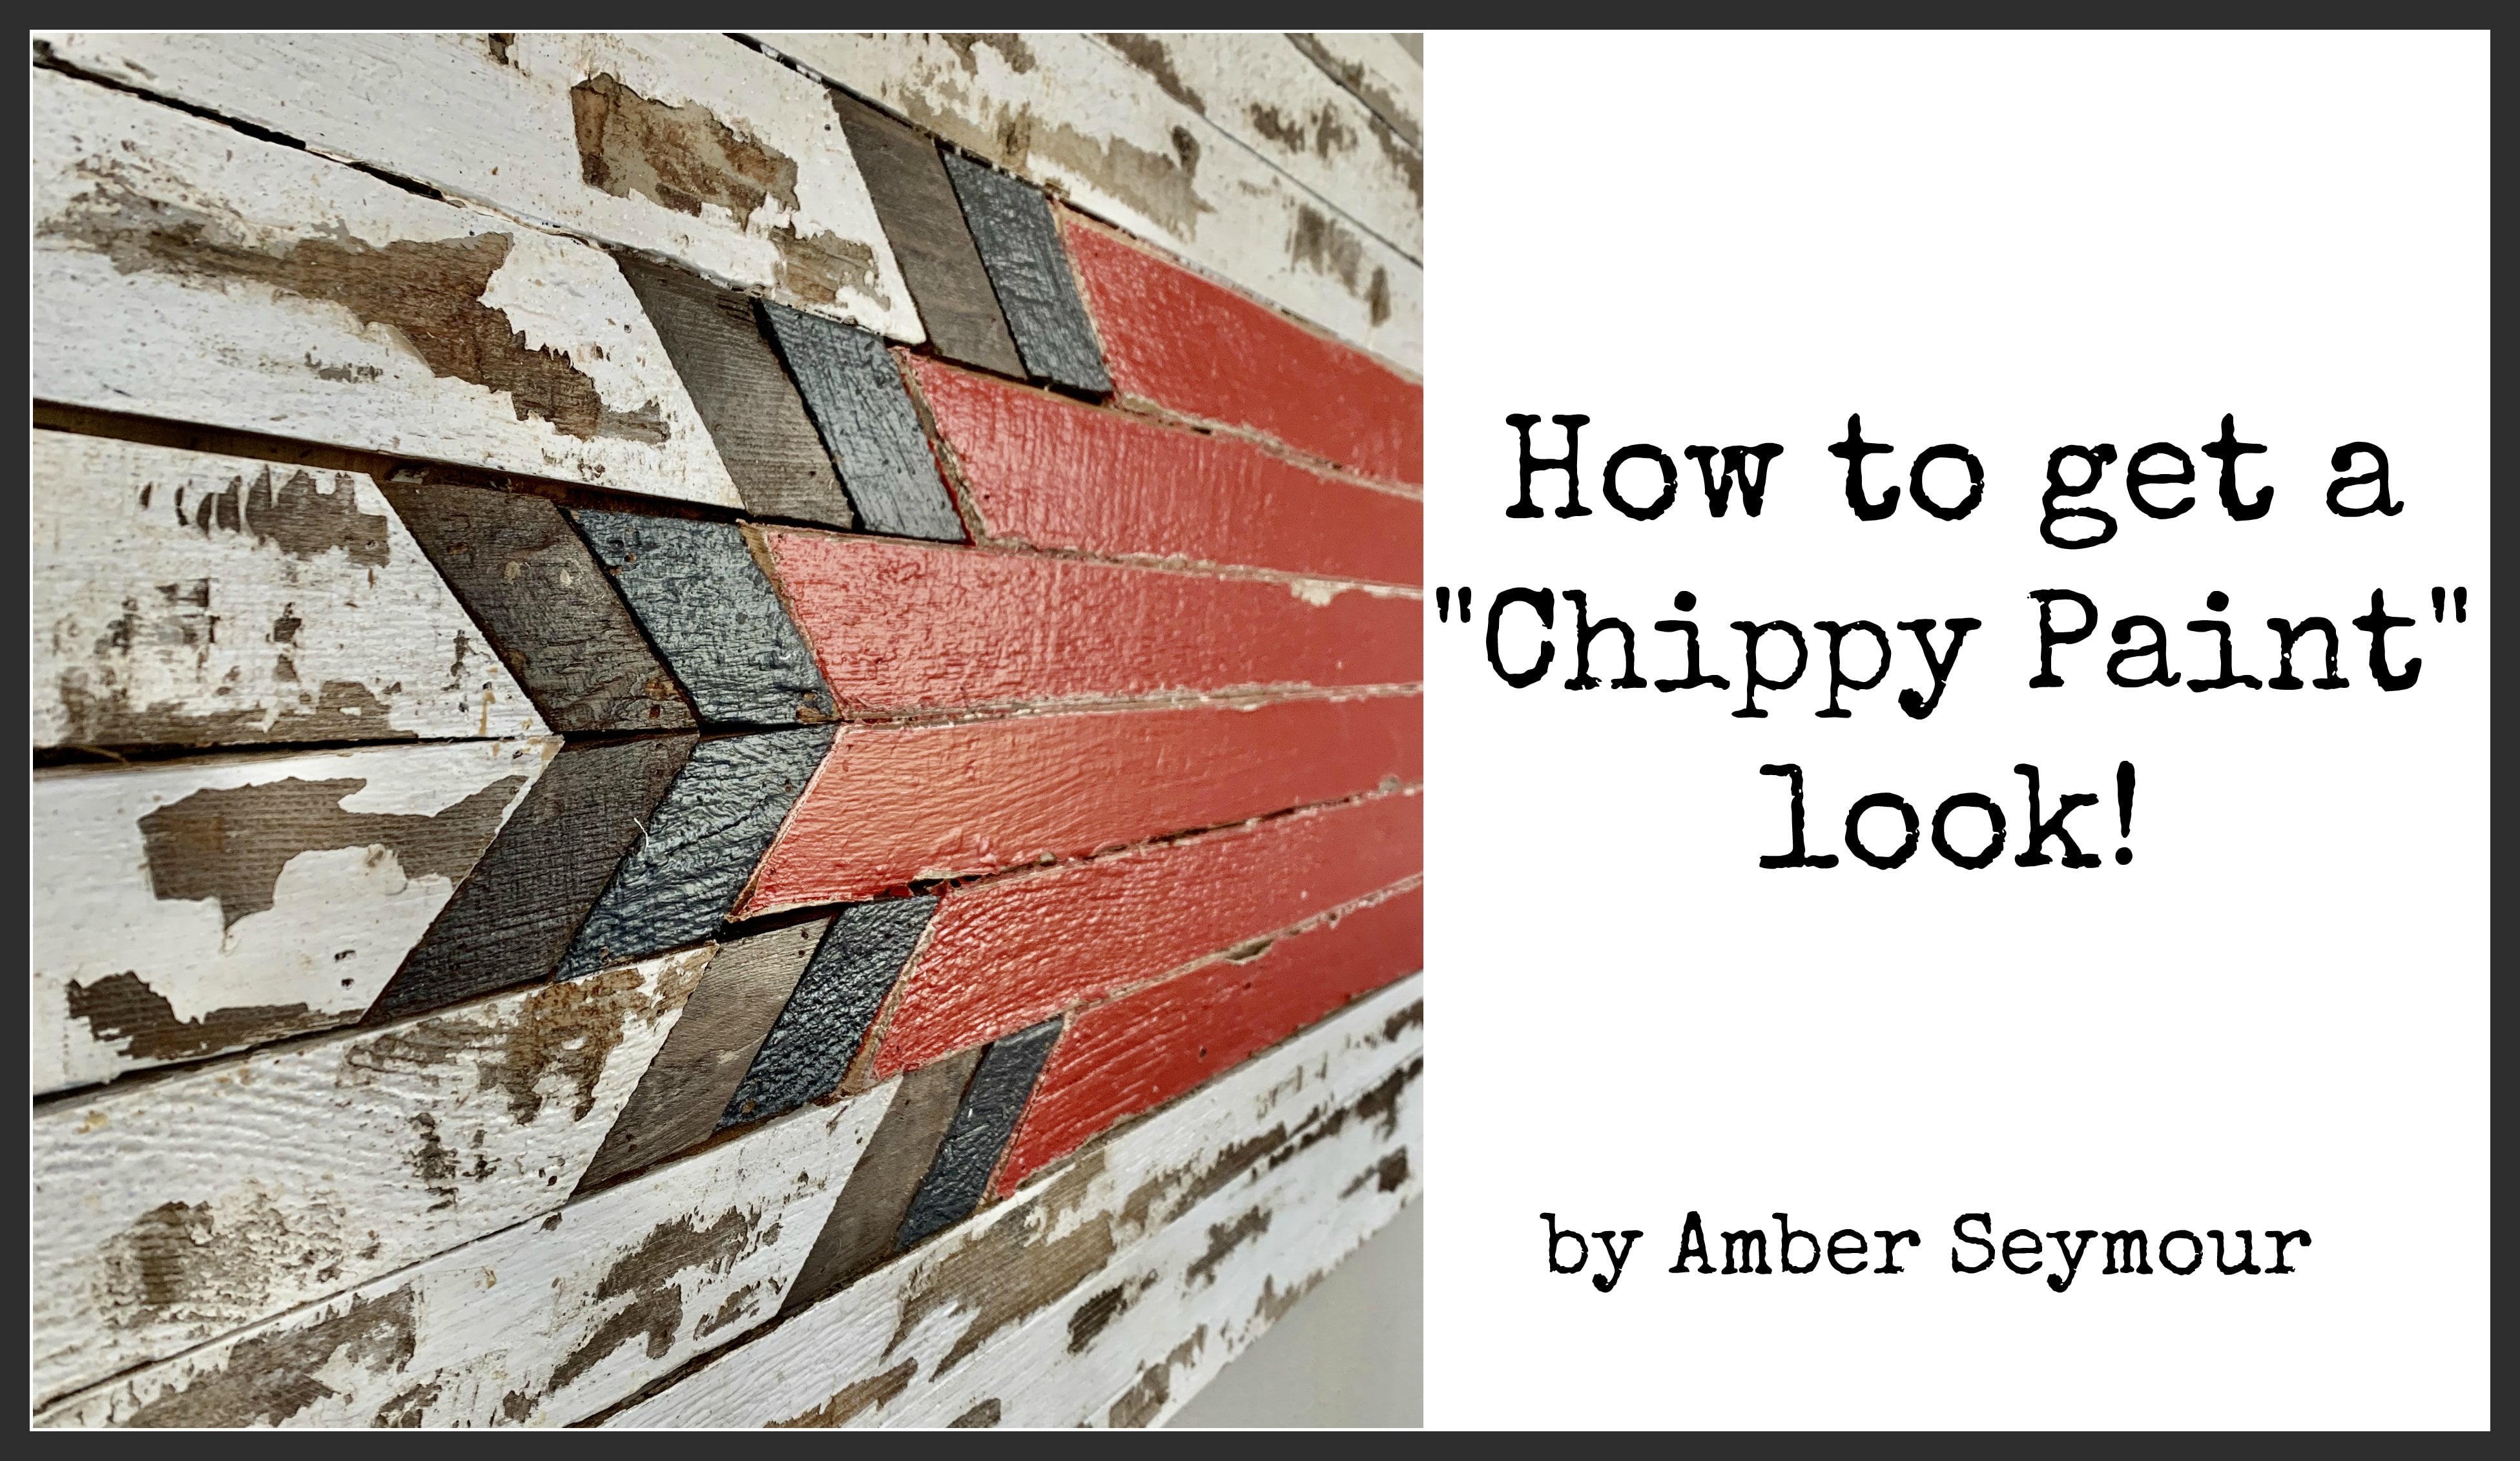
1. Introduction and Project Overview: Hi, everyone. Before you started, I want to do a quick overview, an introduction. My name is Amber, and I live in Kirkland, Washington, with my lovely family. This is my husband here, and I'm actually a mortgage banker by trade. But I do have a creative side and a little business called Urban Timber Revival. Basically, you will find me taking old fences of dumpster dived at construction sites. I'm not above taking things out of a ditch on the side of the road, and I try to make pretty things out of them. So the next few slides were going to show you some pieces that I've recently completed that you can build up to. These are a little more complicated than what we'll be doing today, but it's a good example of where you can go from this class. So here you're seeing some custom projects. A few these wound up in stores, and this little pet project here the couch school is really fun. But today we're going to concentrate on the next few flights slides you see, so some easier projects just to get started, and you can build them towards the holidays. Seasonal pieces and right here. Some cute little burn quilts. And that's where we're going to start. So I hope you enjoy the project.
2. Lets Build a Wood Barn Quilt!: so I'm going to show you some of the materials I use. And keep in mind that I'm not super picky about my materials. I use a lot of scrap and just whatever I have on hand. So you do need some colors so you can use spray paint. If you have little bottles of craft paint, it doesn't really matter. You do need some wood glue. There's no getting around that. And then, of course, you need some pieces of wood. So this is called laugh early. The here it both ways. But a lot of times you can get a big bundle of this at your hardware store pretty inexpensively. Or if you have access Teoh like a table saw to rip it down, you can take a two by four and just rip it down to tiny little pieces. So I'm gonna use a couple pieces of that. And then this is just one by two framing, and I happen to have some that was already stained from a previous project. I'm gonna put this away and just use that and then I have a square to keep things even. I have a piece of scrap wood I could tell you is that for another project, But again, it doesn't matter. We're not being picked here. And you do you need something to cut the wood. So this is a little tiny miter saw. There's all sorts of sizes. You could also cut them with a little miter box. But you do need something to solve with. All right, let's get started. And before we get started, I thought I should talk about safety equipment a little bit. If you're going to be out here and doing this quite often, I would invest in a mask. There's all sorts of sizes and kinds are all on Amazon, your local hardware store, Samir protection and very important some eye protection. So we're gonna get started with the first cut here. So when you get used to doing these, you can really use any angle you want. You can choose multiple angles and get super fancy that for today we're just going to stick with a plain Jane 45 degree angle, and we're going to keep it consistent for all pieces on this project. Okay, so you can see I have my sauce. At 45 I made my first cut, and it doesn't matter what size you choose, but for this project, we're gonna stay consistent. And he's a vaccine sites for every piece. So some people would build what's called a jig over here, too. Make sure your sciences air consistent, but for today, I'm just gonna show you a little cheater way to do that. So it took my little template, and I made all my lines on both pieces of wood. And I'm just gonna go cut all of these out, and I'm gonna cut directly on the line. It's not super important for this project that everything's exact same size. Uh, but we want to get as close as we can, so let's go. Okay. So, as you can see, I have just put my little pieces of wood on another piece of scrap with because I don't want to get my work. Finch too dirty. But I'm just gonna spray these down, make sure I get the edges, and then I will probably flip these over when they're dry. So I get the other side to total. Just make it easier when we make her design later. So I'm gonna do all this piece of wood and I'll be right back. So here we are, back again. It probably took about an hour to do both sides to make sure they're good and dry. And I ended up throwing in a great too. So we kind of have a sea glass theme going on here. I think it will be fun. And while those were drying, I also painted three pieces of scrap wood again Sides doesn't matter. Just do the size you want. If in fact, I think I'm gonna build a huge, huge one after this, we'll see. So next I'm going to teach you how to center your design on your would. Okay, so the next stuff you want to do is find the center of your boards. So this isn't really rocket science. You just use your T square mark this way, Mark. This way. So now I have three boards with a plus sign in the middle, so this will just kind of be my guide when I start working and I'm gonna continue to use my T square because it's a great way to get your piece is straight. So no, I have all these fun little pieces I cut out and I'm just going to start building And you can kind of see now how I said for this project we're going to keep all the size is consistent just what you're learning So you can just do a simple, like little barn square star on. I'm not gluing at this point cause I'm just seeing what I like Since you can see this will come together and make a super sweet little star So I'm gonna play around with the colors and see what I like and then we'll start gluing down. Okay, here we go. So I think I discovered a pattern that I like. You saw that last little video, so I am just going to start kind of gluing these down. And if you get a little glue that comes over, it's OK. We can wipe it off later. Don't get too stressed out about that. You can see I have a little excess and may have gotten a little overzealous with his glue. So I'm just gonna kind of maybe do have a little bit off. You don't want too much. Little won't hurt, but you don't want too much I'm a messy crafter. That's okay. Okay, so I have half my star built. So, um, you want to be careful that this doesn't start to float, So I might want to stop here and let this dry and then build out the other side. Or if you have a pin Naylor, you can nail it down. So I'm gonna show you that option too. So that pin Naylor is not necessary. I built plenty of these without it, but there may be a little floating the wood if I start building the other side. So I'm doing this to be fast for you guys. So you can see this is nice and firm now. Or had I waited for my glue to dry, it would have been nice and firm. It takes about now, are probably. And now I am building the other side. See here I think I'm gonna come in with this cult next. And these get super addictive because you can choose so many colors. Just really kind of do ever strikes your fancy. Okay, so I could nail this side down, but I don't need to just go like that. We would do its work So here's another one. Do you 1/3 1? So here we are. We have three pieces, and as you can see, Yeah, there's an up scrap. I that we could have gotten one, maybe two more out of here. But I'm just out of scrap backer right now, So some of these are nailed down to the pin Naylor and some are purely glue. So what we're gonna do is let these dry for about an hour to let the glue set. So those pieces I didn't nail down are secure and we start free. Me? We'll get to that next. Okay, so this is how I like to frame. You're not gonna see me measure very much here. I'm not a formal woodworkers. I'm just kind of a do it yourselfer crafter. So I take a little piece of scrap, but it up against the edge on and move this here so it's flush. So and then I'm gonna mark over here, and then go do my cut on this line. So for this piece, we can't move the camera around a lot already. Cut my two pieces of wood, so I'm gonna go ahead and do this on, and some people do just glue things on. Um, I am going to use my pin Naylor against. Actually, this is a brand new groups. Clumsy me, and I have a little bit of what? Seeping out the backside. Just wipe that off real quick, all right? Pauses for just a moment. So I paused the camera because I didn't want to waste your time. I went ahead and did all three about the first set of frame on there. So when I do that second part of the cream, I just do the same thing. I take my scrap wood, but it up no cute do my little mark here, and I'm gonna cut. But I'm not gonna take camera with me for safety. I'm just doing a straight. Okay? Sometimes you're going to get these little guys on here. I just do a quick little sand off diesel zip. Sanders are amazing. I love him. Just turning around to the best site will touch it up later. Having deal. Okay, So this one, actually, this one, I actually, I was having trouble seeing because the stains so dark I didn't get it quite flushed. I'm gonna do one more little cut. This is what happens when you're not a measurer like me. Okay, so we're pretty flesh there. So gonna stand this jam, We'll touch up the stain at the end, So I'm not too concerned. I just want to get all the rest stuff off. Okay, so that's good. Look pretty good for the top. Same thing for the bottom. So sometimes you can prevent this. Um, all this kind of garbage with a really good blade, I need to go with my blade. Okay. Okay, good. So I'm gonna get my wood glue right on top. And again, I'm just feeling I'm feeling with my fingers. I'm not measuring. We're gonna hold it over here. Pick my best side. That's my best side. Okay, here we go. All right. So I need to blow the dust off, sis, But isn't she cute? I love it. Okay. We'll get these other send next. Okay? These look great. You can see they look a little scrappy because, you know, we've got these edges we have to finish and what not? And that's totally fine. So I recommend letting this glue set these frames set for at least an hour on and then we're gonna come back and sand them and do the finishing touch of All right. So I put these frames right overnight, and what I did is I just took my little sander. We have orbital sander, anything, just come through and stand off anything that looks a little rough. And I've already done that for the sake of time. So I know I have my steamed I like toward glows cause I'm a little sloppy And we're just gonna touch up all these corner now. Probably come through at the end and maybe distress a little bit. We'll see. I'm just gonna go ahead and all this when I like to come over the front, Just give a fresh little rub down to the front just to make it uniform. Okay? I'm just gonna be that tough all of these. Sometimes if you get a little aggressive on the CND, which I sometimes do, you might have to come back and maybe do one more coat of stain on the corners. But we'll just see how these enough Come in and fill all these guns. I didn't on that last thing. I need to go back. But I do like to do a bead on the back to just because you'd be surprised at shows how many people pick up your piece, and the first thing they do is turn it around and look at the back. Okay. All right. One more here. So, as I mentioned before, I have some scraps left. So I think after I finished this, maybe I'll just do one more project. Start finished, and he's off the scripts. I can promise you, once you've made one of these, you're gonna have a 1,000,000 ideas. Probably make what a few of them. All right, That's the last one. We're gonna let these dry. Oh, one little tip. I want to add Why your pieces air drying. I always elevate them on a little piece of wood or something just to get them off my workbench so that the bottom drives to you don't want to pick these up and be surprised by his sticky bottom. So if something I've learned over time works well for me. So while we're waiting for our friends to dry, I thought it would be fun to take scraps from a project. I did last week as well as this week's project and combined them into one larger piece. It's a great way to make sure nothing goes to waste, enjoy.
3. Wrap Up & Reveal: Okay, everyone, here's our finished product. I hope you enjoyed the class. And if you've never done some basic woodworking or gotten out in the garage of some tools, I hope this inspires you. It's a super easy beginning project, and I can't wait to see what you guys do.
 Amber Seymour, Urban Timber Revival