Transcripts
1. About the Class: I'm doing this for you. I designer based in Kenya today I'm gonna be taking you through how to any made a sketch by using the principle Slash is best suited for designers who sketched drop there you wise and want to take them up to the next level. Bad things in motion and interaction. No fry experiences. Black principle to take this class. The only thing you're gonna need to do is head over to this principle format website down to see in the classroom.
2. Getting Ready for Class: Materials: in order to follow along easily, I recommend downloading the attached file judge allocated in the your project section of this class. Install the two forms types and open the sketch file to be what I'm seeing on the screen. This is optional, of course. Your more than free to use your own sketch for so full disclosure the original sketch valleys from Mr Stefan and was made available to us in trouble. I liked it because I found it basic enough to demonstrate the fundamentals of animation using the principle up. So seeing the next class, we explain how to prepare sketch files for export to principle.
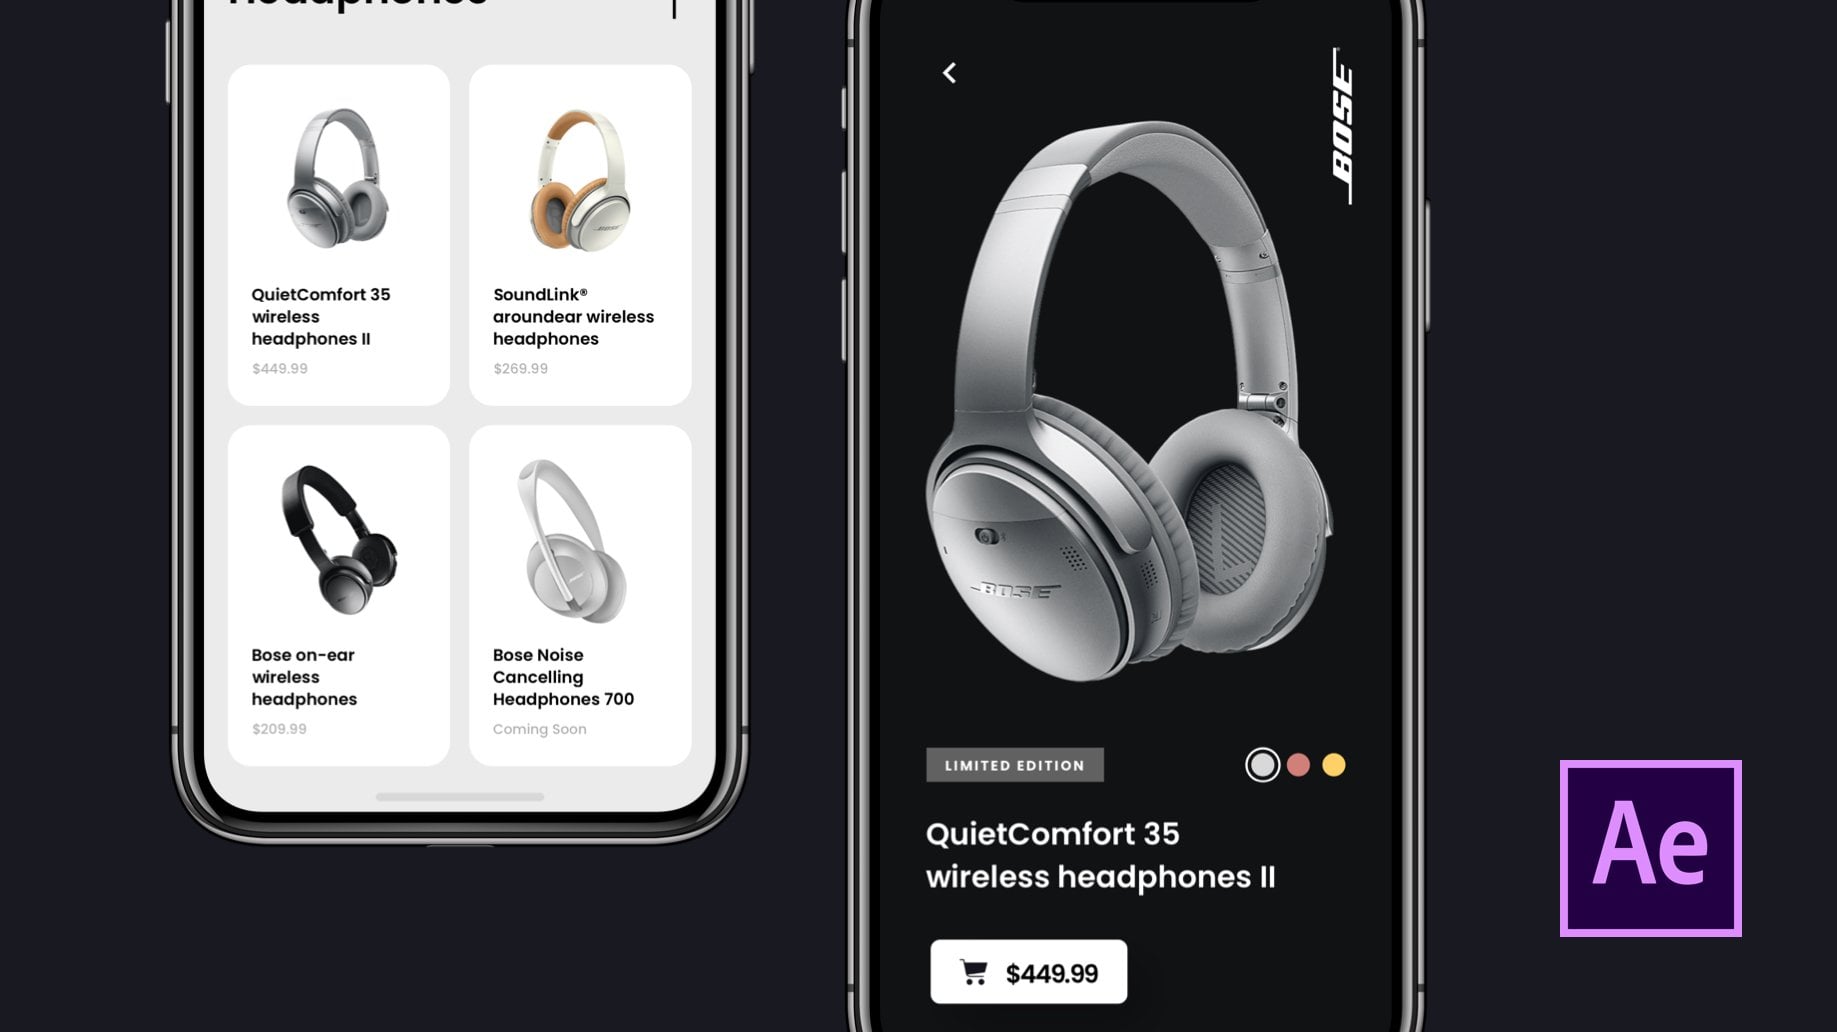
3. Prepare Assets for Import to Principle: So before we import our sketch falls into principal there a couple of things we want to nail down in our sketch section. And the first thing is the naming off the output. You gonna give you up blood stains That makes sense of cold mine here. Seen center. So if you have a you I flew in on boarding fluid like to enemy might wanna have all the screens that deal with that in one upward screens a deal with sign up in another boot and so on and so forth. Another thing is the grouping of our boats that you want to import. Have that in one page. Now repeat that again. Ensure that you have all the airports that you want to import. Two principal on one page. This is really important and will save you a ton of time pulling your hair. Ensure that all of them I in one page. If you have, say, a page, another extra page here, have a page to, and you have another output here. It won't be imported if page on it selected the apples in page one of the ones that will be imported into principle. Another thing would want to kneel down. Is this ensure that you have the scenes that are going to be animated in separate groupings within the output? So have you regional state in its own grouping your transition state in its own group and your final state in its own group. This will make it easier when you import your files into principle. Please, please, please organize your assets like this to save yourself time in future. Another thing is this You might want to consider designing all the states of your animation . Now, in as much as we can only have the original state and kind of visualize how the end will look. It will always give us an edge if we have our transition states and our final states with So one thing you need to understand is the transition and the final state will definitely give you an edge. They're not required. Can as well have your regional state and import that. Then go do the rest in principle. But after, if I you draw them aloud, they suffers a nice point of reference. The final thing that we're gonna walk from is this you're gonna need to name your assets in a sensible manner in a way that you're gonna be able to refer to them. In principle, I usually recommend doing this. Just name them the same way you'd call them in real life. When I got the assets in the beginning, they looked like this. So group to oval, plus imported Leah. If we import this into principle, there's no way of knowing what. But if we rename them like this action but on the reply But on the share button like butter boda instead of having something random seeing what's the Buddha called here? This cold rectangle seven rectangle seven isn't gonna cottage when we imported to principle . It's going to give us a hard time. So one thing you want to ensure is that your states and any elements within a given sensible names, as you call them in real life. So for those of you don't know that the files earlier and the following along, I'd like you to do something small with regards to name me. You see the folder called Group Just Rename each and every folder there too much. The Transition state group. It's very easy, and if you run into any trouble. You can always comment in the project section below, and I'll be ready to help with those tips. That's meeting the next lesson where we import this catch while into princes.
4. Importing to Principle: Hi, guys. Welcome back to the class. So today we're gonna deal with how to import this particular sketch file into principle. And the first thing we're gonna do is open our principal up. Yep. So the first thing you should see here is let me just minimize that is a not good. You get a blank outboard. You have a previous screen over here. So anything that you do here, you can be able to preview here. The previous screen also comes with a return to the beginning of the animation or going to the first output. So if you have C A not would then press commanded the to duplicate. If you're on this upward and you've linked them up together, you can see that and he takes it back to their first state. The other thing issued note is principal gives you the ability to work with shapes. That's a rectangle. And as you can see, it appears he in a preview. And if you just move it over, something you do note is the current Atwood that selected ISO one, which is currently in the preview box. So, in case you ever have a scenario where you're not seeing something that you just edited over on this side of the screen appearing here. Just know that it's probably you haven't selected that I top would. So you can work with shapes. You can work with text. However, text we do not recommend that you work with text if you wanna an image text. So you even a scenario on anime text Just use something like Adobe after effects. Principal doesn't handle text animations that well from my past experience and also from the experience of the principal community. So use something like after effects for that. I'll just delete that. Also, really that do that. So you only have only one output. So to import a file from sketch, just kick the import and what happens is it already pre select the file that's open? And more specifically, if we go back to ah, sketch mile, it's actually gonna select this file and it's gonna import this page. That's in the previous tutorial. I say that in case if you have any art boats that need importing have them in one page. So what we are going to do is go back in principle. What happens is this? So this two x value is what's quality science do you wanted to render the restaurants? Leah's So one of the things you do need to understand is that when you do import your assets into principle, they are pasteurized, which means anything that was a text in sketch now becomes an image and you don't have any vector images. Actually, that's the thing. You don't have any vector images in principle, other than the ones say, if you select a rectal, that will be a vector image within principle. But if you bring it from elsewhere, that will be rest arised. Now it's telling you the quality at which he wanted one X is for normal viewing, and I prefer toe works so that that particular pixel issue is best suited for direction at this, please. But I actually excited before I like the quality you can use. Three. Execute a beach more detail from sketch, but for me to x just does it fine. So let's click our import. So if I just moved that to the center, so the moment since all of them have been imported into one at board, all of them are going appear on the previous screen. If we only want sell press command as electorally shift as I select and I'll move these do outside the output says you can see that disappeared and then I will clean on the scene set up upward and I will resize this good. So is it going to see here? We have a nice looking Fitch over there. So just to confirm what I said, if you look at this particular asset, as you can see, we can't edit it. It's been dressed, raised its not director. This the same thing the great aunt effect, and you can see where good naming comes in. So we're not really, really confused. So with that, we have our schedule important into principle and you can preview it over here. You learned how to import your sketch file into principal, how to create a not bode how to use the previous cream. And we're going to start working on how to animate this particular battle to resemble something close to our final state. I'll see you in the next last
5. Our First Animation: The Action Button: so hi there. Welcome back to another class on how to animate a sketch. You I using principle. So to recap the last lesson we learned how to import our sketch file into the principal up how to create a not bored how to use elements such as the rectangle and the text. Why should use them? I should not. We learned that by clicking import, it offers us the option to import the open sketch file from the sketch up. We also discussed about the quality that you want to render your restaurants layers. That and today we're gonna look at how to perform the actual animation. So for today, we want to animate this particular a bottom and have it at this ex have it of the final state at this particular bottom, and we're not gonna touch anything else for now, even these icons. So what we are going to do is Foster will start by duplicating this artwork. So select scene set up and hit command D, which would create a new output. And as you can see, it's right here. So just select the plus icon on the second up would in fact, what I'll even do I'll just name this? I'll just say Start state and I'll call this final state. So in the final state, the button shoot, The X icon should actually have rotated by such a number of degrees. So this is the panel, which you can use to change the properties off the elements, which you see on the screen. You can manipulate the X property. Why, If you click on the label off their specific property, you can just drive to ah two position or change that property with greater position. I'll just return everything to how it waas. So the property we want to animate in this instance is the angle. So let's start by just rotating it to, and that's 45 degrees cool. So if we head over here, that's our starting state. In our final state, you'll see that it's reflected. But how do we get it to actually animate this and transition it to that? We need an event that it will respond toe ideally, when you top this, it's supposed to transition that icon to this X icon over here, so we double click the action button and click the lightning button to add an event. So you're gonna select the top and just hold on to your mouse and drag it all the way to the final state that you want. So if we click, you can see that it actually animated. And probably it's not that conspicuous right now, cause the degrees that were irritating is in that much. So what I'll do is I'll select the plus icon and I'll probably rotate it a bit more, um, to something. Let's see, the next time it looks like that someone 33 it's checked out. It's that simple. So if you click on the arrow, you can actually see that you haven't option toe play around with the easing and the timing off this animation. So see, I want a he's out animation auntie to start rapidly. Andi, then and so let's see, as you can see. But I kind of like the default ones. I'll just keep that. But just so you know, you can actually change these particular easings. You can use the graph a search to create such That's a custom cove. So let's go back toe original animation and yeah, um, not a smooth, but you get the idea. So let's go back to a default one. I like how this works, like how this looks and a number of things. So let's say in this animation, this is action. But right And in this other state, let's just call this action but on to and let's call this plus icon two and see what the result will be. As you can see, it no longer animates that we were used to, because what happens is your layers are supposed to be named the same way in both outwards . For the animation to be totally, totally successful for the animation toe actually transition all your layers have to be identical and you can't even see we're being told here. Yes, as you can see saying animate by naming Leon both at boards, action button plus icon and so on and so forth. So what we'll do we need to have in this particular art board? We need to have the action button, since we're starting there that the starting state is action butter and plus icon in the final state, it's going to look for a layer called action button and plus icon toe. Apply the transition effect. So if we click that again will notice that now it animates well. So the other thing we want to do is when you click on the X again, it needs to go back. So this is fairly simple. And what you do is you just click on the will click on the action, but select stop and pointed to the destination that we want. And when we click, we have the effect that can have a final states, and you can toggle between the states of the bottom, which is what we essentially want. Soon our next class, we're gonna look at the use of components so that we don't need to create a new outboard for each and every final transition. And it's a short cutting how to save time when animating. So with that, I'm gonna give you a small challenge. You can add another element to the screen and just try animating in different ways. You can change the position of this bottle, probably move it from, say, have the position starting position there and say the final position should be here. And if I do that, as you can see, it'll just be moved there. So the challenge I give to you is just play around with the different types of easing on that play around with the different types of effects. It's very, very simple and familiarize yourself with them with that, I'll see you guys in the next class.
6. Final animation: The Option Buttons: hi. Via today, we're gonna be looking at how to animate these three buttons. Sorry for that. How to animate thes three buttons and have them come from beneath the plus button and pop out on this side Similar to how we have the marked out in transition. So the way we're going to do that is first, we need each and every one of the icons from an origin. So the idea should be when I click this, they should pop out from underneath this button. So there from state, that's in the original state I'm going to do. We're going to have a change here. So I'm going to do is I'm just going to take this the options revealing and what I am going to do. I'm gonna copy. And I am going to paste that and I'm gonna move that right here. I'm just gonna line that. Okay. Awesome. I'm going to turn that off for now because we don't need to see that in action. And if we noticed, if you remember last time for less 20 meat, well, they actually need to be named the same. So in the final, where is this? Yes, in the final states are bored. We also need the same layers on the other side. So I will to this I will. I'll hide those from view and I will copy and beast. Yep. So right after copy pasting, we can now start animating these states and I can start rearranging these elements beneath this particular button. So now I'll just take that the moment I'll just do it manually. Oh, let me just add them here when you stack them on top of each other and stack them on top and then I will move the action button above so that it's it sits on top of them and I'll also in fact, since we've already done that, I'll delete Copy that. Actually, there is no need for that action, but on anymore now also, delete the action button and yes, there we go. So there is one thing we need to change. However, this is at zero degree angle. Yes. So let's see. Is anything nothing exactly. Just as expected. So when we do animate from when they click this from here to here, so two things will happen. First, we should get the action button transitioning to on X icon. And the second thing is these Icahn should show up amusing the arrow keys to to just move them around. But they should actually show up. And we just aligned that exactly. So they should actually come from beneath the icon as well. So when we click that these will also pop out. So the first thing we need to ensure that our layers actually named the same. And as you can see, the naming is different. So this won't really work. So I'll just take some time and clean that up. Not to animate this all will do is just if we long press on it, the default event that will be selected is a top. So if we drop, what's gonna happen is Well, uh, but there is one thing we need to animate the and that's the X icon. So let's just rush right into the plus icon, the younger Waas 133 and with that boo and as we did there, though on girls we're gonna add a top back. And just like that smooth animation of all the icons right there
7. Reusable Animations using Components and Closing: So there's a feature in principle called components that gives us the ability to create reusable animations. So I mean, such components such as these don't essentially need to have an entire background behind them all the time. You can just have this particular item as its own component, just animating on its own. So to create a component or alleged on this into a component, what we're gonna do, I'm gonna click on that. And if your own principle three. Just click on the create component and that should time your layer into a component. So the reason why it has this address because there's an event that it was already attached to, so it will instead do well, well, don't touch it. We don't need it anymore. And let's go back to the instance and what I am going to do. I am going to take this and to edit you select the components, which has the gear icon and click edit component, and I am going to creates a new art would where I will paste. Let me just ensure they're lining up. Okay, the are lining up on. I'll increase the size of this upward. Let me scent of this and center this also. Okay, So the same thing. And if I selected there because you can see. But it seems to be moving forward. So that means that there is a part of it that's not aligned. Yeah, this is the thing about animation. You have to ensure the chili is moving as little as possible to create the static. I feel that we desire gain just a bit more and were there. Okay, so just for renaming, I'll call this options. Yes. So if you go back to the instance, we can now see that we do not need to have any relation to this only. Do click this. And just like that, we don't need to have any two states, especially for small components such as that that you need to animate across different screens. And, as usual, rename your components. Yes, So that's it. And you can delete that up, would. It's no longer being used, and that's it. So you've learned how to make the animations without the components. Evil toe learned how the components can come in to allow you to build reusable animations and speed up your work. Flu So I definitely encourage you to check out the next course that I'll be having, which will dive in deeper into principle into things like parallax effects scrolling how to use different events to create well known animations that are found on dribble. And I definitely encourage you to stay alone. Other than that, I do encourage you to share your project, share what you come up with, and I'll be sure to comment on it. With that, I do have a nice day and thanks for listening.
 Dennis Muthuri, UI Designer, UX Lover and Saxophonist