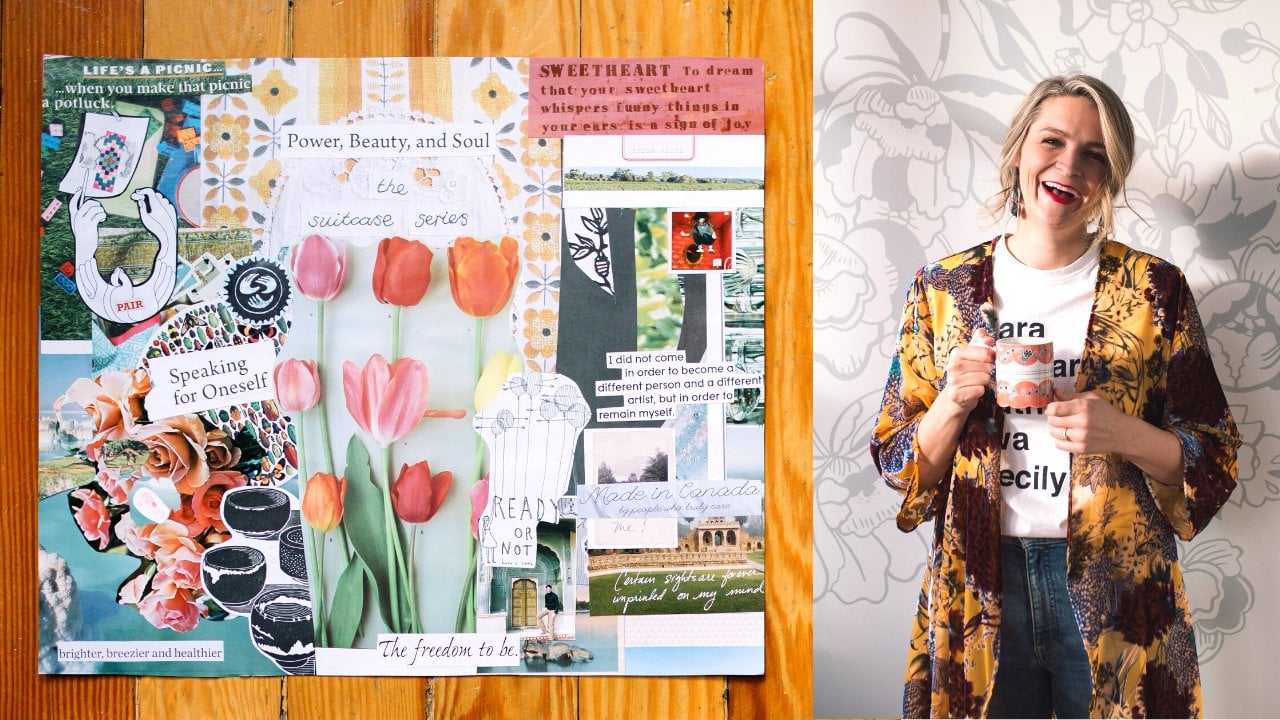
Transcripts
1. Welcome! : Need an ice breaker for
your next dinner party. Well, my favorite
conversation starter at any party is to talk about
the art on the walls. I love learning the story behind the artwork
in people's homes. Art tells our stories, I shares about
places we have been, people we have met and
our own personal style. I want to help you share
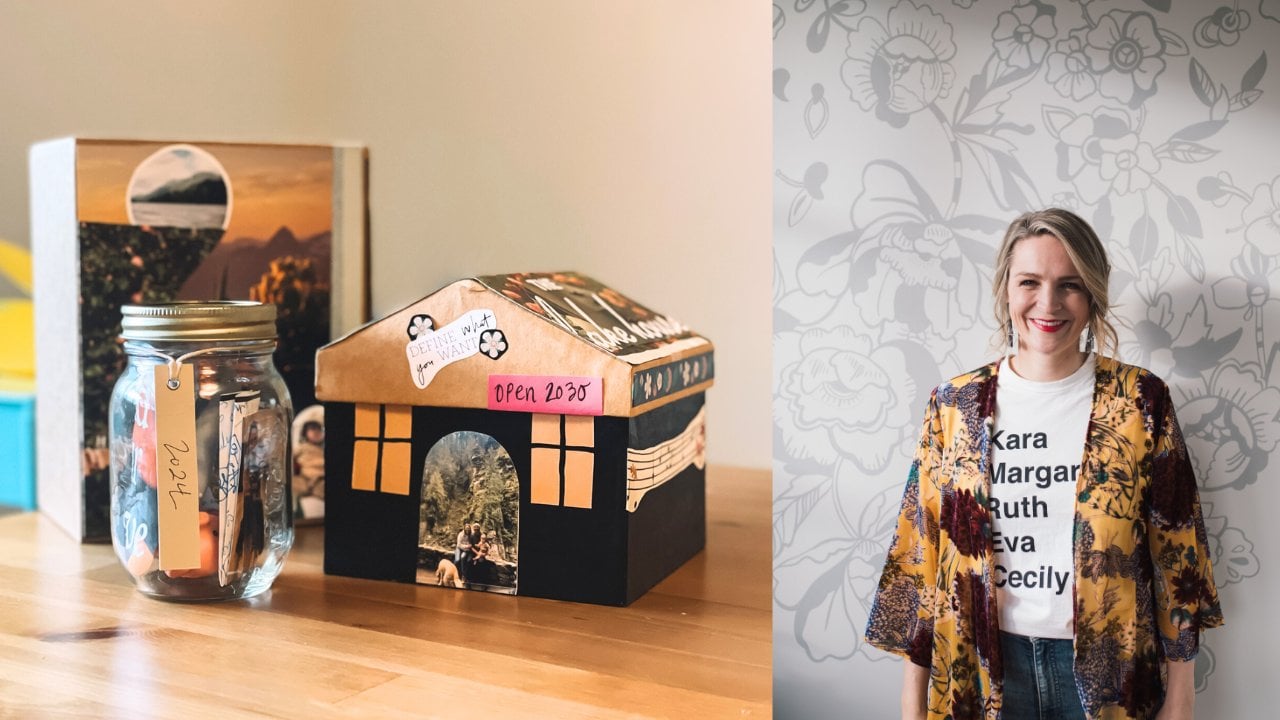
your art story in your home. I'm Jamie Smith, and
welcome to my class. Home is where your art is, how to hang art and
create a gallery wall. I'm an artist myself, but I have also worked with corporate and private clients to buy art for their
businesses and homes. I have helped friends
and family buy art and create gallery walls of art
in their homes as well. I believe art is important. It supports artists. It makes their work happen, and it gives us joy and
pride in our homes. I also know from experience that art doesn't have to be
thousands of dollars. I want to show you how to build an art collection on any budget. Seriously, it's possible. My mission is to get
more art on walls. In this class, that is exactly
what we're going to do. Together, we're going to
learn about a variety of different ways to hang beautiful
gallery wall formations. We will pick a layout that you want to create in your own home. We will take stock of
the art we already have. I will show you my tricks on how to buy art on any budget. We will learn about different
ways to frame artwork, and by the end of the class, you will be ready to hang your own gallery wall
that tells your story. This class is for
anyone that believes art is important and wants
to get some on their walls. You may have hung in your home, and this class will give
you more tricks and tips to framing and
hanging art in the future. You may not have any
art in your collection, and this class will walk
you through the process of buying art right to
hanging it on the wall. I am so excited to share what I have
learned over the years. Together, let's get
more art on walls.
2. Your Class Project: As you can tell, I'm a little obsessed with seeing
art in people's homes. Yes, I am that person
walking my dog, and I'm craning my
neck to see what's hanging in people's
homes on their walls. Creepy, I know, but
I can't help it. So I'm very excited about
this class project because I want you to take a picture
of your gallery wall, more images for me to see. First, I'm going to show you different gallery wall
options to choose from. And then I'm going
to teach you step by step how to hang a
gallery wall of artwork. So your project is to hang the
gallery wall in your home, post a picture of it in the projects and
reserve sections below. I have made a class PDF for you called Home is where
your Art is PDF. And this has our
project plan and all the steps for our
gallery wall hanging method. There is also a PDF called the
Gallery Wall Layout guide, and this has pictures of each gallery wall
layout for you to choose which one would
work best in your home. I've also created
a little bonus for anyone who wants help
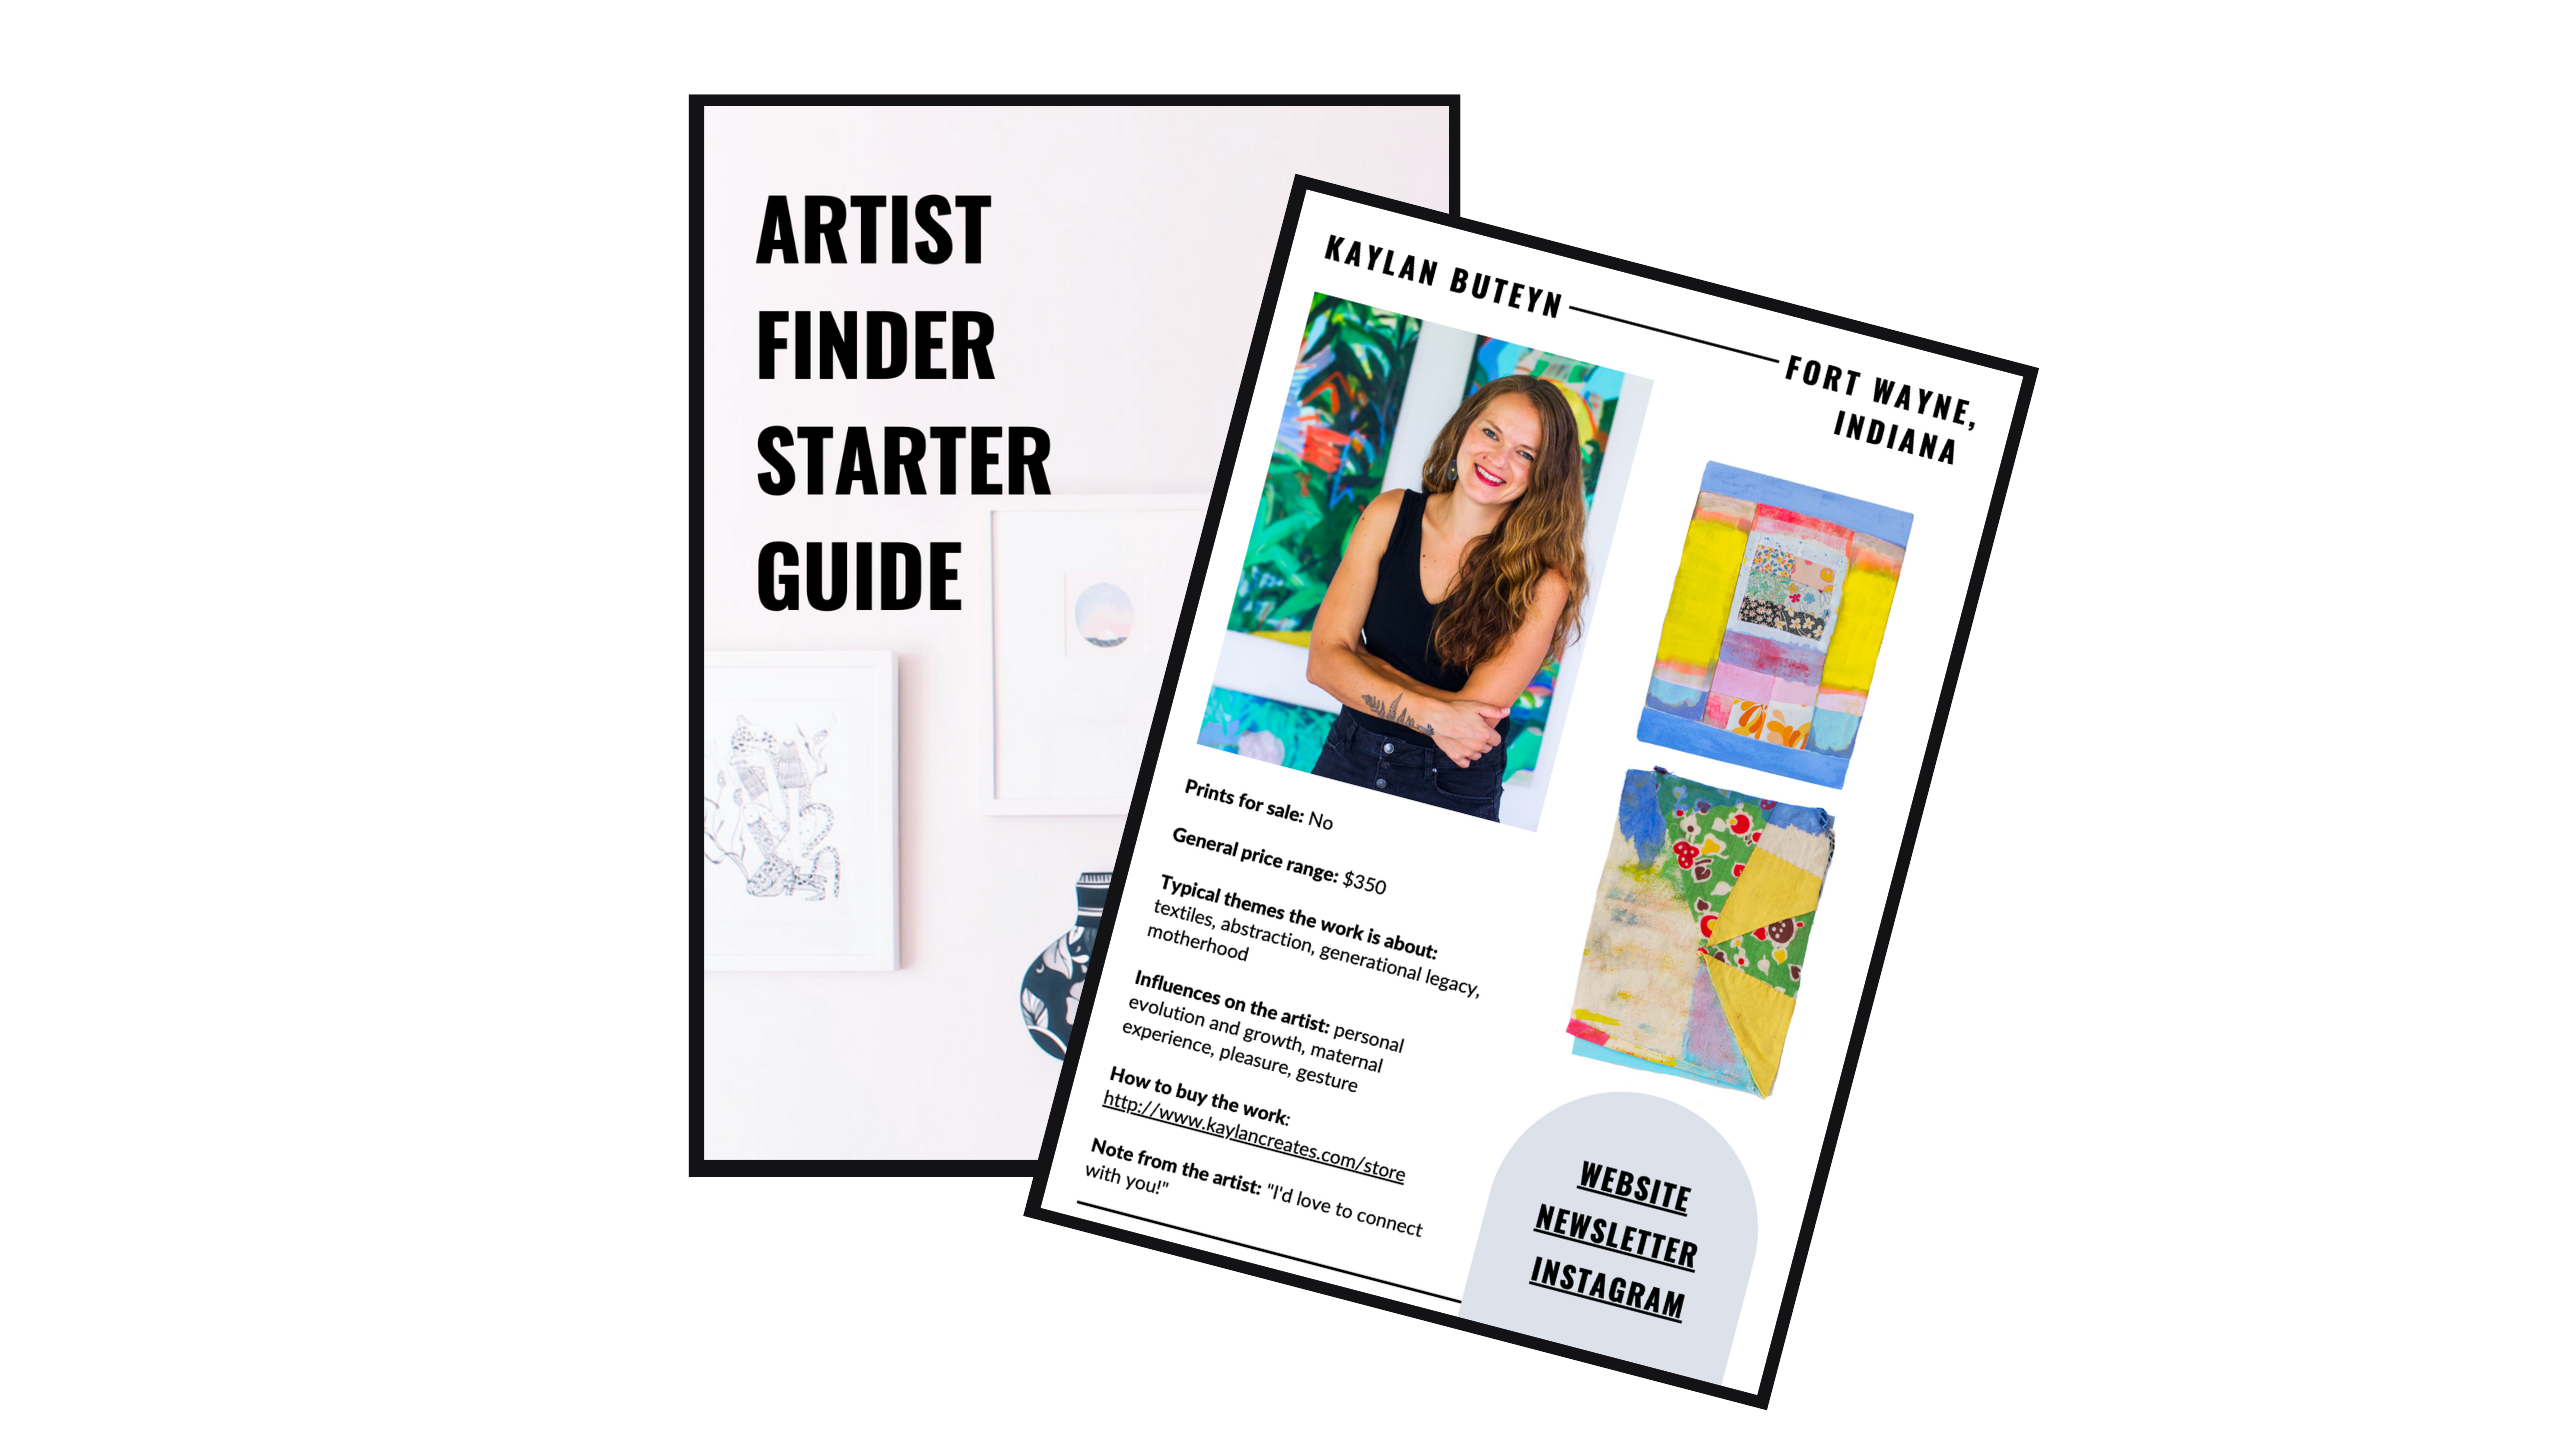
finding amazing artists, called the Artist
Finder starter Guide. All the resources are in the resources and
project section below. I will guide you through every step from
choosing your wall, picking the gallery wall
layout you want to use, buying art, framing art, and then finally tips on
getting that art on your wall. It's a packed class, and it's going to be fun. For this class, you will need the class PDFs and guides
that you can print off or view online and use a pen and paper to
journal along as we go. There are little
exercises along the way. You will also need
a blank wall in your home or a wall of art you
want to redesign together. You will need art
you already have, and I will walk you through
the process of purchasing art on any budget if you have
some you want to add in. You will need hanging tools, so that would be a
hammer, picture hangers, poster paper for planning, measuring tape,
pencil, and a level. I recommend watching
this class in full and doing a bit of the
planning exercises, collecting your materials
you will need like art, frames, and hanging tools, and most likely going back
and watching certain videos again to help you guide
through specific steps. I do cover a lot in this class, but I'm so excited to get you inspired about how beautiful
your walls can look. So let's jump into
our first lesson, seeing different types of gallery wall layouts and choosing one that would
work for our homes. See you there. A
3. Your Gallery Wall Layout: There are so many ways
to hang a gallery wall. Pinterest is full
of these ideas. And to be honest, I can find
this a little overwhelming. So I have narrowed it down. I've created five
gallery wall layouts, and I have used these
time and time again. I want these to inspire you
and just get us started. Of course, there are many
more options you can use. The layouts are included in your gallery wall
Layout guide PDF, and we will also use our worksheet in Home is
where the art is PDF. I'm going to walk you
through each option now, so you're welcome
to journal along. By the end of the lesson, I want you to choose a
layout that would work well in your home and what
you would be excited to hang. As I go through each layout, consider the artwork you already
have in your collection, the size of the wall
you're going to use, and what layout
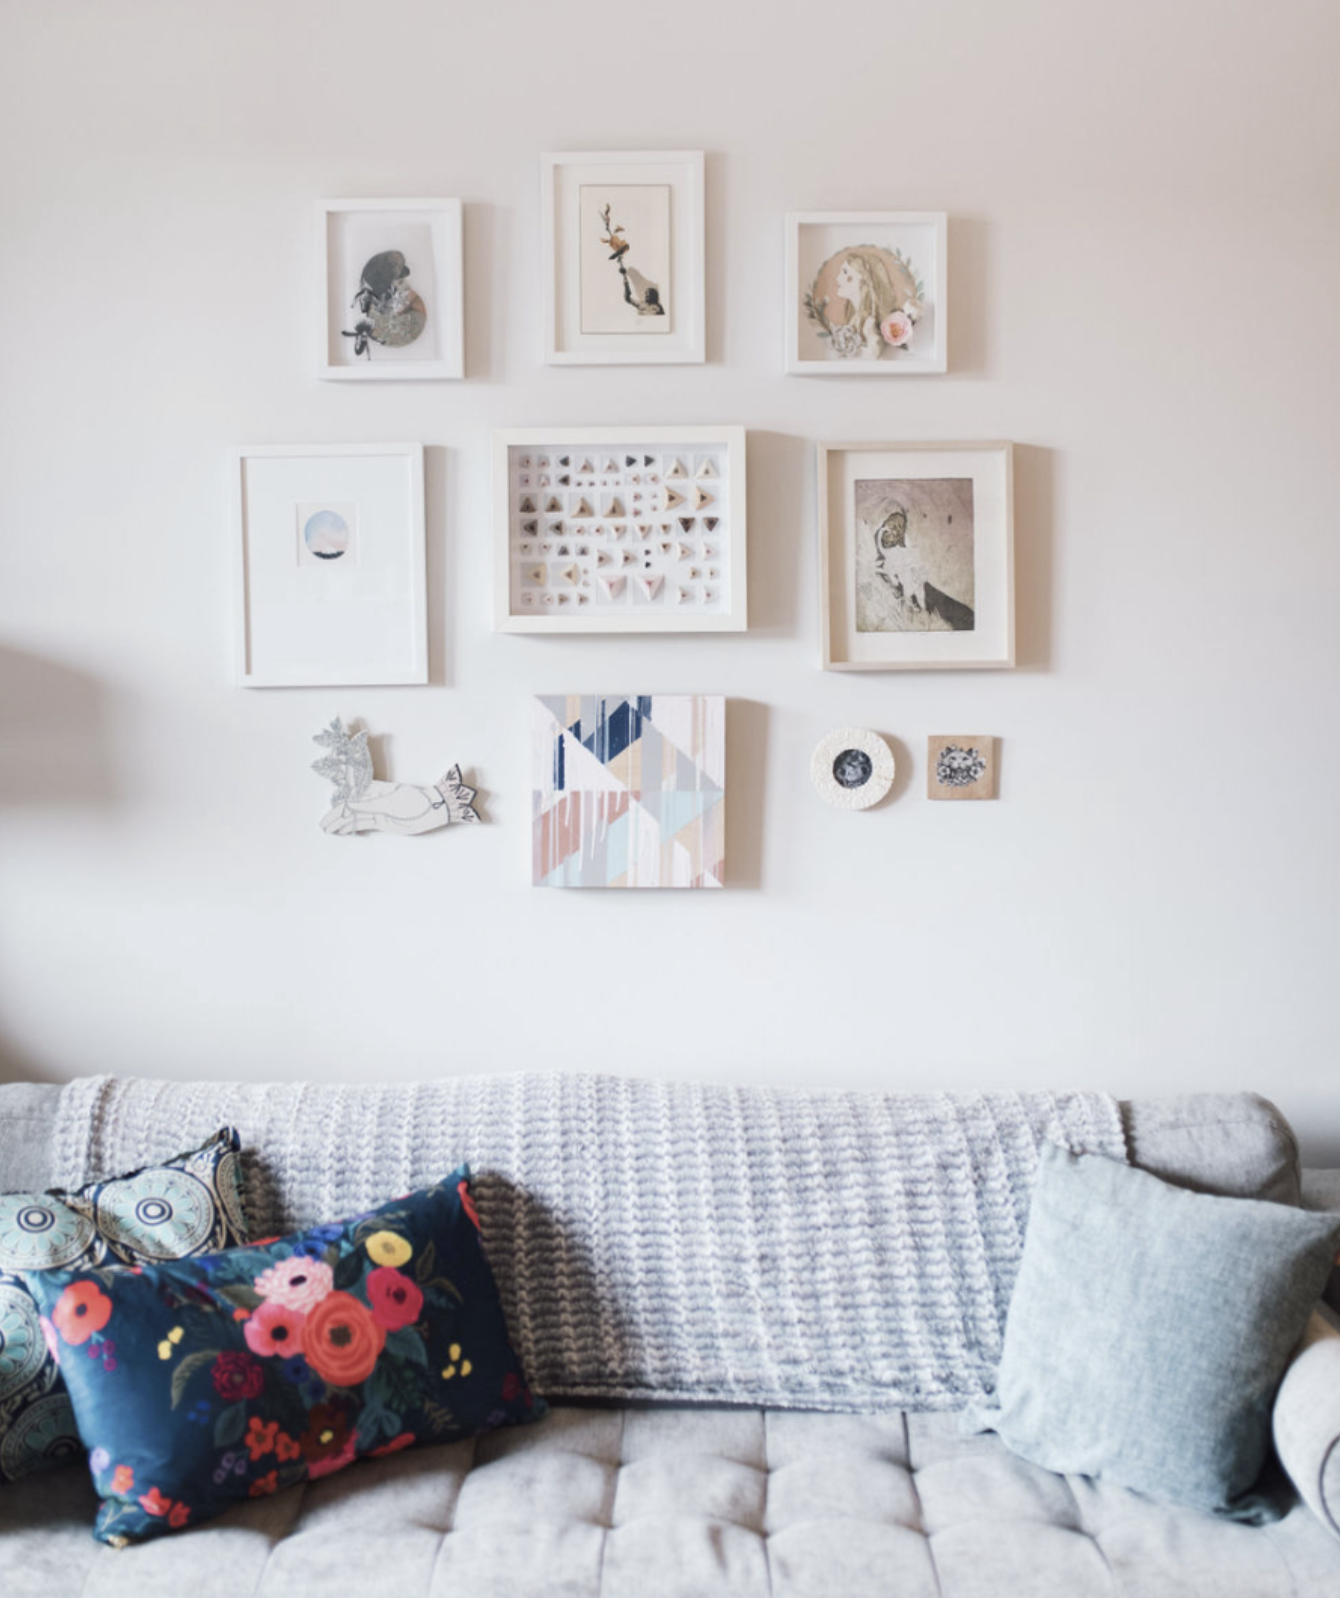
really inspires you. So our first layout is a gallery wall layout
one, big and balanced. The gallery formation
in this one uses a large anchor
piece in the center, and then there are
smaller pieces on each side to balance it out. You'll see there is a wood
cut on the left hand side, and this piece is not a
typical square or rectangle. It's in the shape of a vase. This adds variety and helps
keep things looking balanced. I highly recommend
using similar frames in this formation as the frames create a strong
symmetrical wall, which is really important. Our next gallery wall layout
is follow the leader. This formation is great if
you have a longer wall, and you have a lot
of pieces to hang. We want to measure
an art corridor with a top line
and a bottom line. When hanging up the artwork, make sure the pieces stay in the corridor and don't
dip above or below. This constraint helps make
multiple pieces of art and many frames looked unified
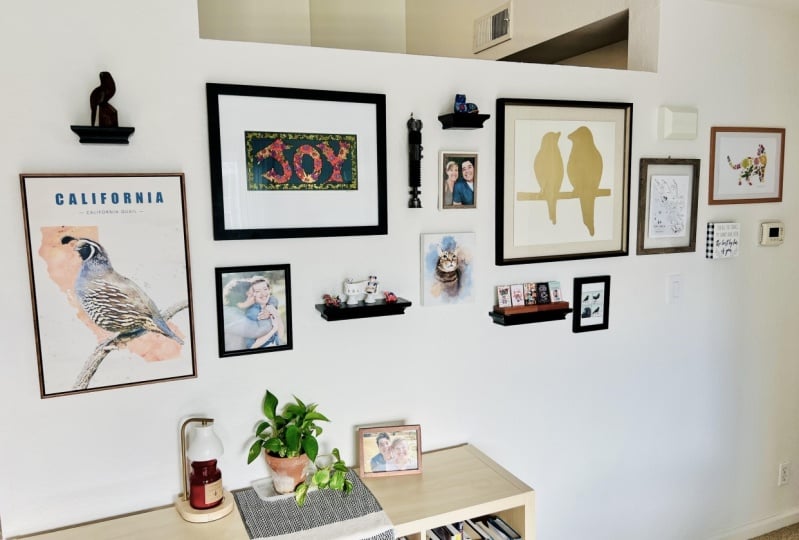
and thoughtful in the layout. Our next gallery wall
layout is Bits and Bobs. This is a great
formation if you have a small area and a lot
of small art pieces. They really take over
the entire space, and it looks really fun. Also, by using a lot of
different shapes and sizes, you can create an exciting wall. I'd recommend heading to a local antique or
thrift store to collect interesting items to add
to this wall of art. Gallery wall Layout
four is feature pieces. If you have in your house
a lot of gallery walls, it's nice to pick a
couple favorite pieces, usually bigger ones, and they
can take up a whole wall. Make sure the pieces
compliment one another and are spaced evenly
in this layout. Gallery wall layout five
is cross and cluster. This is a great way to make an impactful gallery wall
with many small pieces. The layout works if you
have five pieces of art that are similar in size.
They create the cross. We use this for the
main cross formation, and we add smaller
piece in the four areas created to really make the wall feel thoughtful
and laid out. I hope these layouts
have inspired you. For this lesson, we are going to choose the wall we want
to use on our home. And we're going to use
this for the project. We're going to then pick a layout that works
well for this wall. Remember, you are
totally allowed to change your mind as you
learn more in this class, but we need a starting point. In the next lesson,
we're going to take stock of the art we
have and what we need to gather to make our chosen layout come to
life. I'll see you there.
4. Your Art Inventory: We now know what wall
we're going to use. We know our layout we want. Now, what about the art. So we need to do a little
inventory of what we have and what we need to add to the collection to make
our layout come to life. First, we want to
look at what we have and what could
work for our wall. Collect the art and have a look. Does anything need
to be re framed or modernized in some
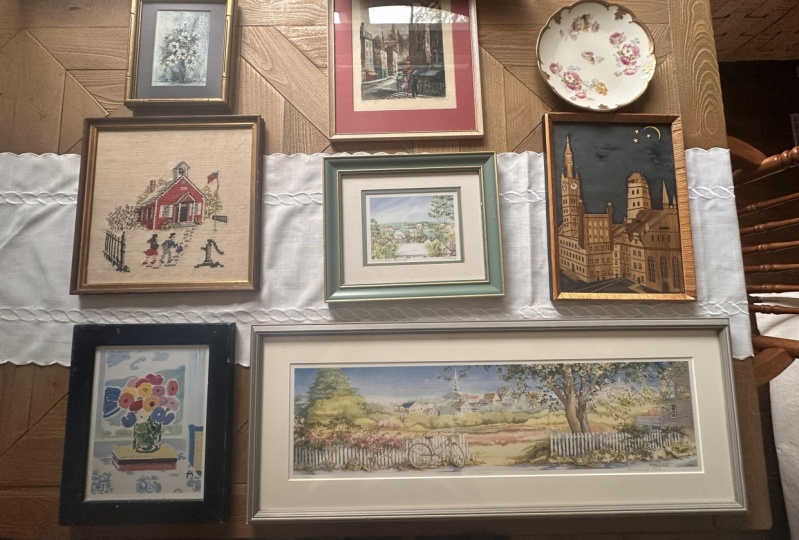
way to make this work? For example, frames can have a big impact on the look
and feel of artwork. Typically, older styles of frames are darker
with browns or black, and they can make the artwork
look quite old and dated. This might not work
for you if you want more of a modern
feel in your home. Vintage, on the other hand, those frames are often darker, and they look perfect to
have an eclectic look, and they really add character. So it totally depends
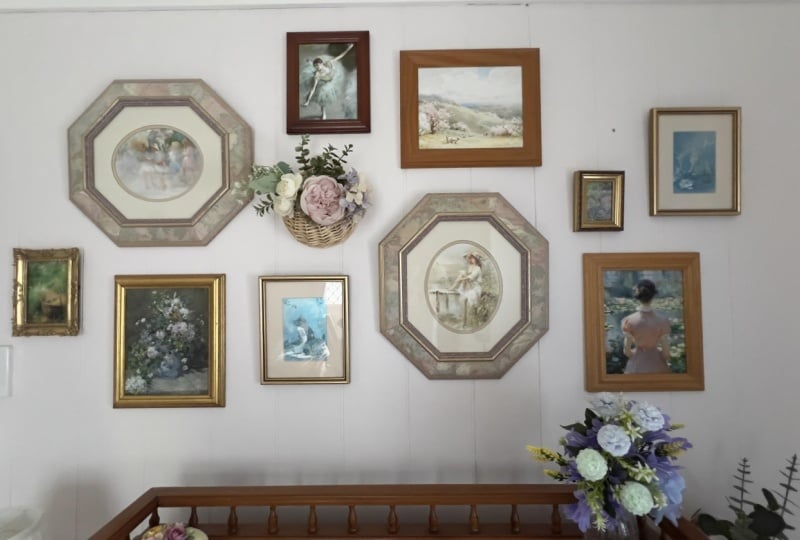
what you're going for. If you have older frames, adding a white frame to really brighten up the
art and freshen it. You don't particularly need to go buy new art all the time. Now we are going to look
at the art we have, and the next thing I want
us to think about is personal artifacts for
your gallery wall. So this is something
I love to do. I have an example for you. I have a dear friend,
and last year, I went to her home to help do this exact process I'm
teaching you right now. We looked at the art she had. We did our art inventory, and we decided what needed to be reframed and what we
needed to have updated. Then we talked about what
was really important to her and her husband
at this stage in life. They have a new son named Ray, and he is really the
center of the family. We wanted their family room to show this new stage
in their lives. Again, we always go back to our cocktail party
conversations. What do we want to talk about? We included a very arty picture black and white of Ray
in the gallery wall, but we also framed a footprint that was taken
at a doctor's checkup. At the time, this picture
was just stuck in a pile of papers with good intentions
of creating Ray's baby book. But instead, we took the footprint and we made
it in to a work of art. It became a focal piece of the living room and a real
conversation starter. We framed it with a large
white matting and framed to give it some substance and to
really give it a spotlight. The bonus of this story is that when my friend's
husband came home, who was away for the weekend, he was so surprised and happy. We had secretly hung up
all the art in their home. But when he saw Ray's footprint, he actually had a bit of a cry. And now that is
the power of art. It can tell your
stories, and really, your home should be full
of your life's artifacts. Now it's time for you to
reflect and see if you have any artifacts that you could frame and add to
your gallery wall. There are questions in the
home is where your art is PDF, and you're also welcome to journal along
with me right now. So we want to think about what is important to me right now. How will my art reflect my
values and experiences? What stories do I want to share at the next
cocktail party? What artifacts do I have that I could frame and hang
in a gallery wall? Now that we know what art we
have in our art inventory? In the next lesson, I want to walk you
through the process of creating your personal art
collection core values. These are going to help as we're adding to our collection? I can't wait and
I'll see you there.
5. Your Art Collection Core Values: In this lesson, we are
going to go through an easy process to add art
to your art collection. The phrase art collection has gotten a bit of a
bad wrap over time. It brings up ideas
of being elite, and only people with
money can afford art. Well, I'm hoping we
can change this. I want us to think
of this phrase as truly an art collection. It is a collection of things, same as you would have as records or books
or beanie babies. Just like with any collection, some collectors are buying
art as a stored value. They research, they make sure their investment will
make the money later on. For me, my collection is about
connecting with artists, sharing my travels, using my money to invest in my values, and telling stories
about my life. There is so much art in the
world, which is amazing, but sometimes it's
hard to know where to even to start when
buying a piece of art. We need to get clear
on what we care about to help us in
knowing where to begin. We're going to come up with the art collection core values. You, of course, can use
the PDF of provided or journal along as we
go through the exercise. I would like you to come up with three core values that you will use to help guide you when purchasing art for
your art collection. I'm going to use my art
collection as an example. So when I look at
my art collection, my art collection
core values are. I deeply care about
collecting artwork created by female
identifying artists. There are so many inequalities
in the art world, and I want my collection
to support women. I also care deeply about
buying art directly from the artists and knowing their stories and the
story behind the artwork. I also care deeply
about each piece or each artifact in my home to hold meaning
and have a story. I think of my collection
as truly a collection, and it is going to
be built over time, not all bought at once. So not every piece of
my collection has to hit all three of my core
values, but they typically do. Recently, I bought a piece
of art from a male artist. Can you imagine? It was lovely. I met and we connected
over our love of florals, and when I went to his studio, I got to hear all about how the work was made
and his process. It was a total fit
for my collection, and I bought it directly
from the artist, and the work has a story. My three art
collection core values are buying art from female
identifying artists. I want to get to
know the artist. I want meaning in all
the work in my home. Some other example of core values you could
think about are, buying from local artists, buying art when
you're traveling, buying art when you see it
in person versus online. Buying art that makes you feel a certain emotion or excitement, buying art that
supports a cause. So I encourage you to come up with three of your
own core values. Those are just examples above. I want these to
really speak to you, and we are going to use
them in the next lesson. Because this process will
become our foundation point. Our values will lead
to what we want to buy and bring into our
collection together. So I will see you
in the next lesson.
6. Your Art Budget: It can be hard to make room
in the budget for buying art. I totally get it. But I will tell you once you start buying art with
your core values, it is such a lovely experience, and something I
promise you you will want to save up for
and do more often. I now put aside money
every month to buy art, and sometimes I buy
something right away, but often I will save up each month for something
I have my eye on. I typically spend $50-200
on a piece of art. A big splurge for
me is around $500. This is why I love using the gallery wall layout
method because I can buy smaller pieces
of art within my budget, but group them together so
they are lovely to look at. Typically, the bigger the
art, the more expensive, and I'm also in an apartment, so I don't have a
ton of wall space. One tip I have for
buying artwork on any budget is to mix up original
artwork and art prints. Original artwork is more
expensive typically, because there's only
one art piece like it. It was made directly by
the hand of the artist. Prints are typically less expensive because there are multiples of the same artwork. Some people really
care about this. I don't as much, I
don't mind that, and I try to mix it up to
work within my budget. There's an example here of
the big and balanced layout. In the middle, you
will see this is a painting where I spent
most of my budget. It was $500, and that
is an original piece. There are also
prints that are all under $50 and smaller
originals that are $80-240. One thing to note is that a print itself might be cheaper, but any work on paper
you need to frame, so you must leave room
in the budget for that. In the next lesson,
I'm going to go over framing and give some tips on
how to do this on a budget. Another way to save money is making your art gallery wall, using personal
artifacts like we have talked about already,
and just framing those. We have already
talked about this in a past lesson, but
it is, of course, cheaper to use personal
momentos and frame, but you can also use things like greeting cards that you have received and loved
or bought yourself. Posters and other
printed matter are a great way to add into your gallery wall and
keep it under budget. Another tip is to use vintage
or thrift store frames to save money and add to an eclectic feel of
your collection. Also, by using not only
typical rectangular frames, this helps create variety
in your gallery wall, as well as bringing
in textiles or woven artwork can add different shapes and textures
into your gallery wall. I actually made these wooden wall hanging sculptures
called woodcuts, inspired from hanging
my own gallery walls and hanging things in
other people's home. I was tired of the typical
rectangle boxy frames, and I wanted something
different to add variety into
the gallery walls. For this lesson, I want you to answer a couple of questions. So you're going to look at your gallery wall layout
that you've picked out. And I want you to answer. How many art pieces do
you need for this layout? What is your budget? And what is one thing
you could do to extend this budget even further after
listening to this lesson? In the next video, I'm going to walk you through
finding artists to buy art from to help build your gallery wall.
I'll see you there.
7. Buying Your Art: Art can be intimidating to buy, and sometimes it's hard
to even know the price. But the art world
has changed a lot. And with platforms like
Instagram, and website, online shops, it's now very easy for artists to market
and sell their own work. In the past, artists did
not typically include pricing on their
websites because they would have gallery
representation. The gallery would handle sales
and often set the prices. Now, artists have their own
website shops typically, and you can buy
directly from them. We most likely
need to add art to our collection for our gallery
wall layout to happen. If you already have
all the art you need and your layout is ready
to go, that's great, but I do recommend listening to this video because you want
to buy art in the future, and this will help you for
your future gallery walls. We have already figured out some very important information. We know our art
collection core values, and this is going to help us as we search for our artwork. We know how many
pieces we need to buy to make our gallery
while layout happen. We also have looked
at our budget, and we have strategies on
how to extend that budget. So I find Instagram to be the best place to
find art right now. Also, you can check out places like Pinterest or Art blogs. There are sites like
Society six, Arts, and Minted, that have
huge collections of art to look at and are great. I'm going to walk you
through the process of how to find
artists on Instagram, and it's a very
easy one to follow. So typically, I have hashtags
that I like to follow, and I love botanicals
and plants and flowers. So I'm going to use this
hashtag, hashtag, botanical art. I'm going to see all the
art that has come up, and I'm going to click
on an artwork I like. Once I get to this profile, there's a little
drop down arrow, and this is going to show me
more accounts like this one. So more art like this
and other artists. Be careful. Once you
start doing this, it can be a real rabbit hole. So when I find an artist I like, so this one looks great, I'm going to go
to their website. On here, I'm going to look at their prices and hopefully
they have an online shop. And this is a great
way that I can buy artwork directly
from the artists. Some artists will only have originals and some
will have prints. Then you can start looking at the prices to see if this
is within your budget. I want to give you an
example of my friend and my studio mat,
Rebecca Chaperon. She is a great
artist, and for me, she is a great fit into
my art collection. She fits my art
collection core values. She's female identifying. I know the stories
behind her work, and because she's a friend, it is extremely meaningful. She is a trifecta
for my core values. So I'm going to find
her on Instagram. I'm going to click to her
website and go to her shop. So she has original paintings. There are some that are
smaller that start from $200 all the way up to
huge ones for $3,000. But she also has prints
ranging from $45 and up. There are even large ones
there that I can buy, and she even has some that are framed and ready to
go when they arrive. So I can literally just
buy a piece of art from her site and have it arrive in two weeks, and
it is ready to go. As you start finding artists
that you want to support, maybe buy from them right then, or you can save
up and buy later, but you want to start following them along with them
as soon as you can. I follow artists on Instagram, and if I'm really curious
about what they're doing, their newsletter is
the place to actually sign up and get the
inside information. So here's an example. My friend April Lacher is an artist, and I'm going to sign
up for her newsletter. In just a few steps,
this is easy to do. I am going to go
onto her profile. I'm going to click her link, and her link in bio is going to take me to a
newsletter sign up. I can get signed
up, and I am there. I will then, in my inbox, receive latest work,
and typically, you'll get access to
sales and special offers. So it's really important
to get signed up if it is an artist that you really want to know
what they're doing. I know this can feel
overwhelming at first, but once you start
down this rabbit hole, it is so fun to find artists that you love
and support them. I want to help you
get started on this. So I've created a
little starter list that includes artists I love, and it also will
share whether they do prints and typically
their price points. If you go to the projects
and resource section below, you will see a link
to sign up and it's the Artist
Finder starter Guide. For this lesson, I
want you to fill in on the PDF or journal along. But our homework
that we want to look into is to find two artists on Instagram that hit at least one of our core values for
our art collection. I want you to sign up to their newsletter
list. Practice this. And I also want you to order any art that you need
for your gallery wall. This is the point in the
process where we need to actually get the art so that
we can start our hanging. I know art might take a week
or two to arrive or longer, and that is totally fine. You can still do the next steps in the lesson and we'll just put placeholders in the areas that you're waiting for art. So no need to worry or pause. In the next lesson, we are
going to talk about framing, which is a really important part of the process.
I'll see you there.
8. Framing Your Art: Let's talk about frames. We now have our art or our
artwork is on the way, and we need to protect it. For a gallery wall, we ideally want to
limit ourselves to two to three frame
colors or varieties. So, for example, you'll see in this big and balanced
gallery wall layout, there are three
things happening. White frames, a canvas
piece, and a woodcut. In this follow the
leader layout, the bold black frame in the
center demands the attention. It is the largest and
has a black frame. The white frames on the
outside flank the piece and are all matching and
give it a balanced look. The pattern deer head
hanging on the wall breaks up from all the
rectangular shapes on the wall. In this feature pieces layout, each framing choice
is different, but they all line up and are unified with the top
level of measuring. And we have a black frame, a white frame, and Canvas. This wouldn't look good if
there was tons more art here, but because there's only three, it is okay, they
balance each other. And we want to make
sure that we are thinking about the
order of things. If you had two white frames
and one black frame, you'd put that black frame in the middle to give
it some balance. One exception to this rule
of two or three types of framing is when you're doing
your bits and bobs layout. This wall is all about different sizes,
shapes, and frames. The way the wall works is
by putting many small, different things together,
and that gives it unity because it's all hung together on a smaller type wall. Framing can be expensive, so I highly recommend you do as much as you can on your own. A big thing you can do to save
time and hassle is to buy art that is already a standard
side size for frames. Most artists do this now, but it is something
to definitely check. Buying frames from Michaels
or an art supply store can save you a lot of money and those need to be
the standard sizes. Often a framer will recommend archival glass to
protect the work, but this is also expensive. If you have an original piece of art that you have spent
a lot of your budget on, I do recommend doing
that because it will protect it from fading
over years and years. But I do hate when art is sitting in
a pile and not framed. So I highly recommend
get it framed. You can always add your
archival glass later. Especially if you're
doing prints, I often do not do
the expensive glass. So just make sure you think about your intentions,
your budget, and really think through with your framer about what's
a good option for you. The important thing is
to get art on the walls. Also remember that this
is an art collection, and it is built over time. It will take time to get these gallery walls looking
how you imagine them. When you're framing
things yourself, I recommend that when you
put the wire on the back, you measure down a
consistent amount. Depending on the size, this is about 5 " or it could be 3 ", and you want the
wire to feel loose, something like this,
and not too tight. We want the wire to have
some slack for hanging so that we can adjust it and
make sure that it's level. When thinking about matting, matting helps protects
the work as well. It gives a little bit more room between the artwork
and the glass. If you don't want to do matting, and that is totally fine, you can use little
spacers that go inside the frame and you don't
have to have the matting. It still protects the artwork and from the glass and keeps
that space in the middle. I personally use a mix of
matting and non matting. I typically do not double mat, and I use only white mats. Often, double matting or using colored mats can make the
work look quite dated. If you have a piece of art
that is framed this way, I highly recommend buying a
white frame or white matting, and the artwork
will look like new. Reframe and remat in white, and this will really help, and you'll be shocked about how modern the piece can look. Another thing with matting, is it gives importance
to small work. This small work can
take up quite a bit of space if you have a large
matt and then frame this. This is very good when you're thinking about
framing artifacts. Like with Ray's footprint in my example in
the other lesson, I gave a lot of matting to give importance to this
small artifact. Shadow boxes frames
are also very good for artifacts and gives
it weight and importance, especially if something
is a little bit more sculptural and has
a three D aspect. Put it in a shadow box, and it can really
give it some m I even just put a nail on the wall sometimes to hang
things that artifacts. For example, this
is a brass eagle on a globe that belonged to
my husband's late father. We now have it hung up
in our gallery wall, and it is a real important
artifact for us. So don't be afraid to
actually just put a nail on a wall and get that
object up on the wall. To summarize this lesson. For your gallery wall, we want only two to
three frame colors or different materials. For example, Canvas, frames, woodcuts, that sort of thing. We want to buy art that is
standard sizing for frames. Buying cheaper
frames and framing it yourself can save you
quite a bit of money. You can always reframe and
remat dated looking art. Typically, white will make
it look much more modern. Use mats to help give importance to small works
or small artifacts. This gives it a lot more size and a lot more mph in
your gallery wall. For this lesson, you can fill in your PDF or journal along, but here is your homework. You need to decide what
needs to be framed. Decide on what sizes of
frames and mats you need. What colors do you
want to buy in these? You need to head out and
collect your supplies. In the next video, we're going
to plan our gallery wall, and then we're going to
be ready to hang it. If you don't have time to go out and collect these types
of materials now, you can always keep going with
the lessons and of course, go back and fill it in as you
get the supplies collected. I don't want you to stop
because this is the fun part. We are going to plan it out, and we're going to hang it up. Let's go.
9. Planning Your Gallery Wall: We made it. We are ready
to plan our gallery wall. So even if you don't have
all of your art yet, you can still do this step, and you can just put
placeholders on your wall. It's also a great way to just remember that you
have art coming, which is exciting.
So this is my wall. It's above my couch,
and I'm going to use the layout cross
and cluster layout. I have all of my art. And of course, if you
don't have your art, you can just cut pieces of paper to the size
the art will be. And in the next lesson, we're going to use
this for planning. So you'll be ahead of the game. What I want to do is I actually
am going to lay all of this artwork on my living room
floor to plan things out. I want to create
my cross structure with the larger artworks I have, and I'm going to fill in smaller artwork into the
spots in the corner. I am going to move these around until the layout looks good. I can always add more art
into this cluster over time, but I want to make
sure that for now, all of the artworks together. So on the floor, you're going to move things around and try different ideas out
because this is what we're going to then plan for
to go onto the wall. So we talked about having two to three frame
colors or styles of art. And you'll see in this cluster that I actually have
a few more than that. But I feel like
it's okay because my color palette works together. As this cluster, the
colors really work well, and I'm okay with using a few more different
types of framing. So I want to make sure that
this is going to be balanced. So when you're looking at
your artwork on your floor, I want you to think about, how is the viewer going to see this artwork? This
is very important. With a cross and cluster format, I want to make sure
that it feels balanced. There's a lot of artwork
to be dealing with. I want my viewer to look inwards to the art in
the cross cluster. So I designed a
few balance checks that I'm going to
walk you through. So the first one, we're
going to actually look at the sizes of the artwork to make sure that this is
balanced and looks right. So the first check we want to do is balance the sizes
of the artwork. So you'll see in the
middle cross section, the artworks are
all a similar size. They look nice and balanced. There is a horizontal
piece in the middle, but it's surrounded
by vertical pieces, which help to balance it out. So that check is good. So when you're looking on
the floor at your artwork, you want to look at making sure that the
formation you have, no matter what
layout you're using, looks good with a size balance. The next check we're
going to do is we're going to do a color
balance check. So this is important
because we want the eye to be pleased by
what it sees on the wall. We want to think
about the tones we have and how colors
work together. So I'm going to show
you here that I have the bottom is an abstract
piece that has a pink tone. Up at the top in the
right hand corner is a paper cutout that has
a lot of pink as well. Those now balance each other. You'll also see that I
have this little iceberg on the left hand side
and tigers on the right. There is a pink tone that
is also in there as well, and those will
balance the cross. So my colors are looking good. And if you feel
that yours aren't, try moving things around
into a different formation, and usually it sorts itself out. Colors don't have to all
be in the same tone. You can have very different
colors happening, but we just want
to play around so that it really works and
is pleasing to the eye. The next check we're
going to do is a subject matter balance check, which I know sounds strange. But what I want
is I want the eye of the viewer to stay in
my cross and cluster. So one trick you'll see that
I did here is at the top, I have two portraits of women, and they are both facing
into the cluster. I could have reversed the order, and they would have
been facing outwards. And that's not what I want. I want to pull the viewer in. So any figures that
you have, push them, make sure that you focus
them in towards your layout. The other thing I have is a
circle framed of the iceberg. In the bottom right, I have a
circled frame little print. Those circles are now
on opposite side, and again, balance out
the cross and cluster. At the top, I have
a figure that has their arm with a bunch of leaves growing out
out of it up top, and that looks great
as a focal point. As a grouping, this cross and
cluster definitely works. So I'm good with that, and I'm going to give myself
a little pat on the back, and I can now go on
to my next step. Great job. So now you have
all of your art on the floor, you're playing around, and you're thinking through
your balance checks. You want to look at the size. You want to look at the color, and you want to look
at the subject matter. Now we have our plan,
and in the next lesson, we're actually
going to get all of these pieces on the
floor up on your wall, and I have some tips and tricks to make this really
easy for you. I can't wait and
I'll see you there.
10. Hanging Your Gallery Wall 1: We have a beautiful gallery wall of artwork on the ground. So we need to get
this up on the wall. I'm going to be honest with you. I'm a bit of a nail in the wall first, Apologize later person. I am not going to talk about finding studs for hanging
your gallery wall. I'm not going to talk
about anything technical. Please ask for help if you need to for doing those types
of things. Please do them. If you need to. I am
going to just show you a technique of getting
these pieces on the wall. When I have something
that is a large piece, I definitely find the studs. I make sure I have very heavy
duty hanging materials. But for smaller pieces, I typically they're lightweight, and I just go for it. Most of the time, I eyeball it, and I have done this so
many times now that I would say 80% of the
time, it's great. And I'm very smug. And then 20% of the time,
it doesn't work out, and it's really annoying
and it's not great, and there's holes in the walls. So if I was not filming on
class on how to do this, I, to be honest, would
guess and just go for it. But I want to show
you a real way of doing this with
100% success rate. This is the proper
way to go about it. What we are going to
do is we are going to take paper or newsprint, and we are going to cut
out the shapes of our art. We are basically making a little floor plan
for ourselves. So on the floor, you
have your artwork, and you're going to actually
trace it onto the paper. And you're going
to cut these out. We're going to have
all the shapes of the artwork that
is on the floor, and we're going to mirror
that onto the wall. This way, we know
exactly how big the art is and exactly what it needs to look
like on the wall. We're going to tape them up. So I'm hanging this art
gallery wall above my couch. So I'm going to
use the height of my couch and go up a
little bit from there. One rule of thumb, if you're hanging work that has
no anchor point like a couch or a piece
of furniture is you want it to be 57 "
from the ground. This is the average eye level. So 57 " is a good
benchmark for you. We also want
typically three to 5 " between the pieces
on your gallery wall, and we need to keep
it consistent. That is the hard part of
hanging a gallery wall. It can look really off if
things aren't spaced properly. We are going to tape our
paper art to the wall first, and we're going to measure
to get it properly spaced. We want the three to 5 " in between so that they
look nice and even. By doing this sort of roadmap
floor plan for ourselves, it really helps
with this process. So each piece you have is most likely going to have a different hanging
device on the back. Unless you framed it yourself
and you know exactly that each wire is hanging
three to 5 " down. You're going to mean
to make sure you flip each piece around and use your measuring tape to find where that nail needs
to be in the wall. You're going to flip it. You're going to
pull the wire up, where the nail would be, and you're going
to then measure on your paper art where
that nail needs to go. You're going to mark this in the middle of the
work with the pencil, again, using your
measuring tape. Now, we're going to use
picture hooks like this, and you want to have the
picture hook at the bottom of that pencil mark because that is exactly where the wire
is going to hang. So you've nailed
up your paper art and you want to take
off the paper now. If you have an art piece that is coming and it's
not quite arrived, you can always leave
up this paper art. It makes a nice placeholder, and you'll know
it'll be replaced. If you haven't ordered your art, it'll motivate you
to get that going. Once you have your paper, we're going to actually put
our art So our art goes up. And once our art is all hung, you want to use a level. If you don't have one,
you can eye ball this, but we want to make
sure it's straight. This is the other thing
about a gallery wall. They are so fun to put up, but we have to make sure
that they are spaced well, and they're straight,
because a lot of people, that is what their eye will go to if it's a little bit off. One trick I have is
I use sticky tack at the bottom corners behind your artwork to keep it
straight all the time. So I kind of stick
it to the wall. And that is it. Oh, my goodness, you
have art on your walls. This is amazing. This was so
much work and you did it. Please take a picture and post it in the project
section below. Let us know what gallery layout you chose for your project. In the next lesson, I'm going to walk you through
how to post this up because it's so
fun to be part of the community and see
everyone's gallery walls. I can't wait. I'll see
you in the next lesson.
11. Upload Your Class Project: What I love so much about
Skillshare is that students are able to share their
finished projects with one another.
It's really unique. And I have taken a number of
skill share classes myself, and I find the classes that
I push myself to actually post my project are where
I truly learn the most. So please take time to
share your project with me. I can't wait to see it. I'm going to give you a little
demo of how to do this. So you want to take a
picture of your work. I always do this just on
my iPhone or my iPad, and you want to then
go into projects. So, on your screen
here, this is a class. This is my vision board class, and there's projects
and resources here, and you're going to
click this green button that says Create Project. So here, you're going to see
a place to upload a photo. So I just have this
in my photo library. It's going to upload,
and this is going to become my cover image
that people will see. I can then put in my title, so my vision board. And audio correct is the best. And then I just wrote a little description of what my focus is for the
year with my vision board. You can write what you
like about your project, what you found difficult. You can always make
your project private, but I do love being able to
share and see other peoples. And then you're just going to press this green
button is publish. So publishing takes
a couple minutes for this photo to show up, but you're going to
see it right under your projects will be there. One thing I love
is if I go back to my profile and I scroll down, you can actually see where
all of your projects live. And I find this really exciting. I'm really proud of
the projects I've done and the classes I've taken. People can like it,
people can comment, and it's a great way to have community within skill share. So I find the creative life can be a little hard sometimes. It can feel a little lonely, but remember that you're part of the
Skillshare community, and it's a creative one,
and it's an important one. So I know that I am
a better artist when I'm working in community
and I'm participating, and it can feel scary, but it's worth doing. It's so easy with online
classes to start them, get distracted, and
just not finish them. So push yourself,
get that project up, up, and I can't wait to
see what you have created.
12. Final Tips: No more empty walls. You are part of the change I
want to see in this world. My wish for you is that you continue to build
your art collection, that you continue to
share your values and your life with the people
that come into your home. You can see more of my
artwork at Jamie Smith's studio.com and on
Instagram and make sure to grab the Artist
finder starter guide in the resource section to find other artists that
you can follow and support on this journey to
building your collection. If you are a female
identifying artist and looking for community, I also run a community called
Thrive together Network, where members meet weekly
and support one another on the ups and downs of a creative
life and being artist. Remember, your art collection
is truly a collection. It is built over time,
so add, enjoy it, move things around, and support
artists in the meantime. Support artists by
following them on Instagram and signing
up to their newsletter, buying directly from them. Remember, you can buy
art on any budget. I highly recommend
putting a little aside each month as
you find art you love. Enjoy filling your home with art that share your art
collection core values. Thank you for helping me on my mission to get
more art on walls. I cannot wait to
see your gallery, and I so appreciate you
being here. Thank you.
13. Bonus Video: Using Command Stripes to Hang Art: So I wanted to give you
a little tutorial on how to hang art and
not damage your walls. Or if you're in a position where you can't
put nails in the wall, you still want to
have art up there. So we're going to
use command strips. These can be found at any hardware store or
even art supply store, and they are these fun
little Velcro pieces. I use them to hang my wood cuts. So whenever I want
to hang something unique on the wall that I don't want to
have a backing on, I will use a command strip, and they're really good for any artifacts as well that
you're going to hang. So I just want to give you a
little demo on how to do it and how to do it in a way
that won't damage your walls. So you have the command strips, and these are actually
sort of a velcro piece. So we need two of
them because they're actually going to
velcro together. So I'm going to turn over
my piece on the back, and I'm going to
push these together. You can hear the
snap. And one side, once I take off the
backing is sticky. And I'm going to stick this
right to my piece of art. If I was doing a framed piece, I'd put one on one
side of the frame, one on the other
side of the frame. Now I'm going to take
off the backing here, and now this is sticky, and that's going
to go on my wall. So I'm going to measure my wall. I know where I'm
going to put it, and that looks great, and I'm going to press it. And here that Velcro
really come together. And that is on the wall. And so this is a light piece
of wood, so I only need one. You can buy command strips that do different sizes and
do different weights. So make sure that you're buying the correct weight for
what you want to hang. And now that's on there. What if I want it off? So you want to get
this top piece off. This can come completely off like mine because
it's a backing like this, or this part might
come with you. We want to make sure
that we don't just rip it off or it
will rip our paint. So this tab, we want
to slowly start to pull it down until it
releases our Velcro piece. We don't want to just rip it off the wall or it could
take the paint off. But now we have a beautiful
wall the way we started. So it is a great
way to hang art, especially if you can't
put holes in the wall. And also if you want to try something and see
what it looks like, they are a great tool to
have in your toolbox. So I hope you will hang more art and different
unique shapes on your wall, and I can't wait to see
it. Thanks so much.
 Jamie Smith, Artist, Teacher & Community Builder