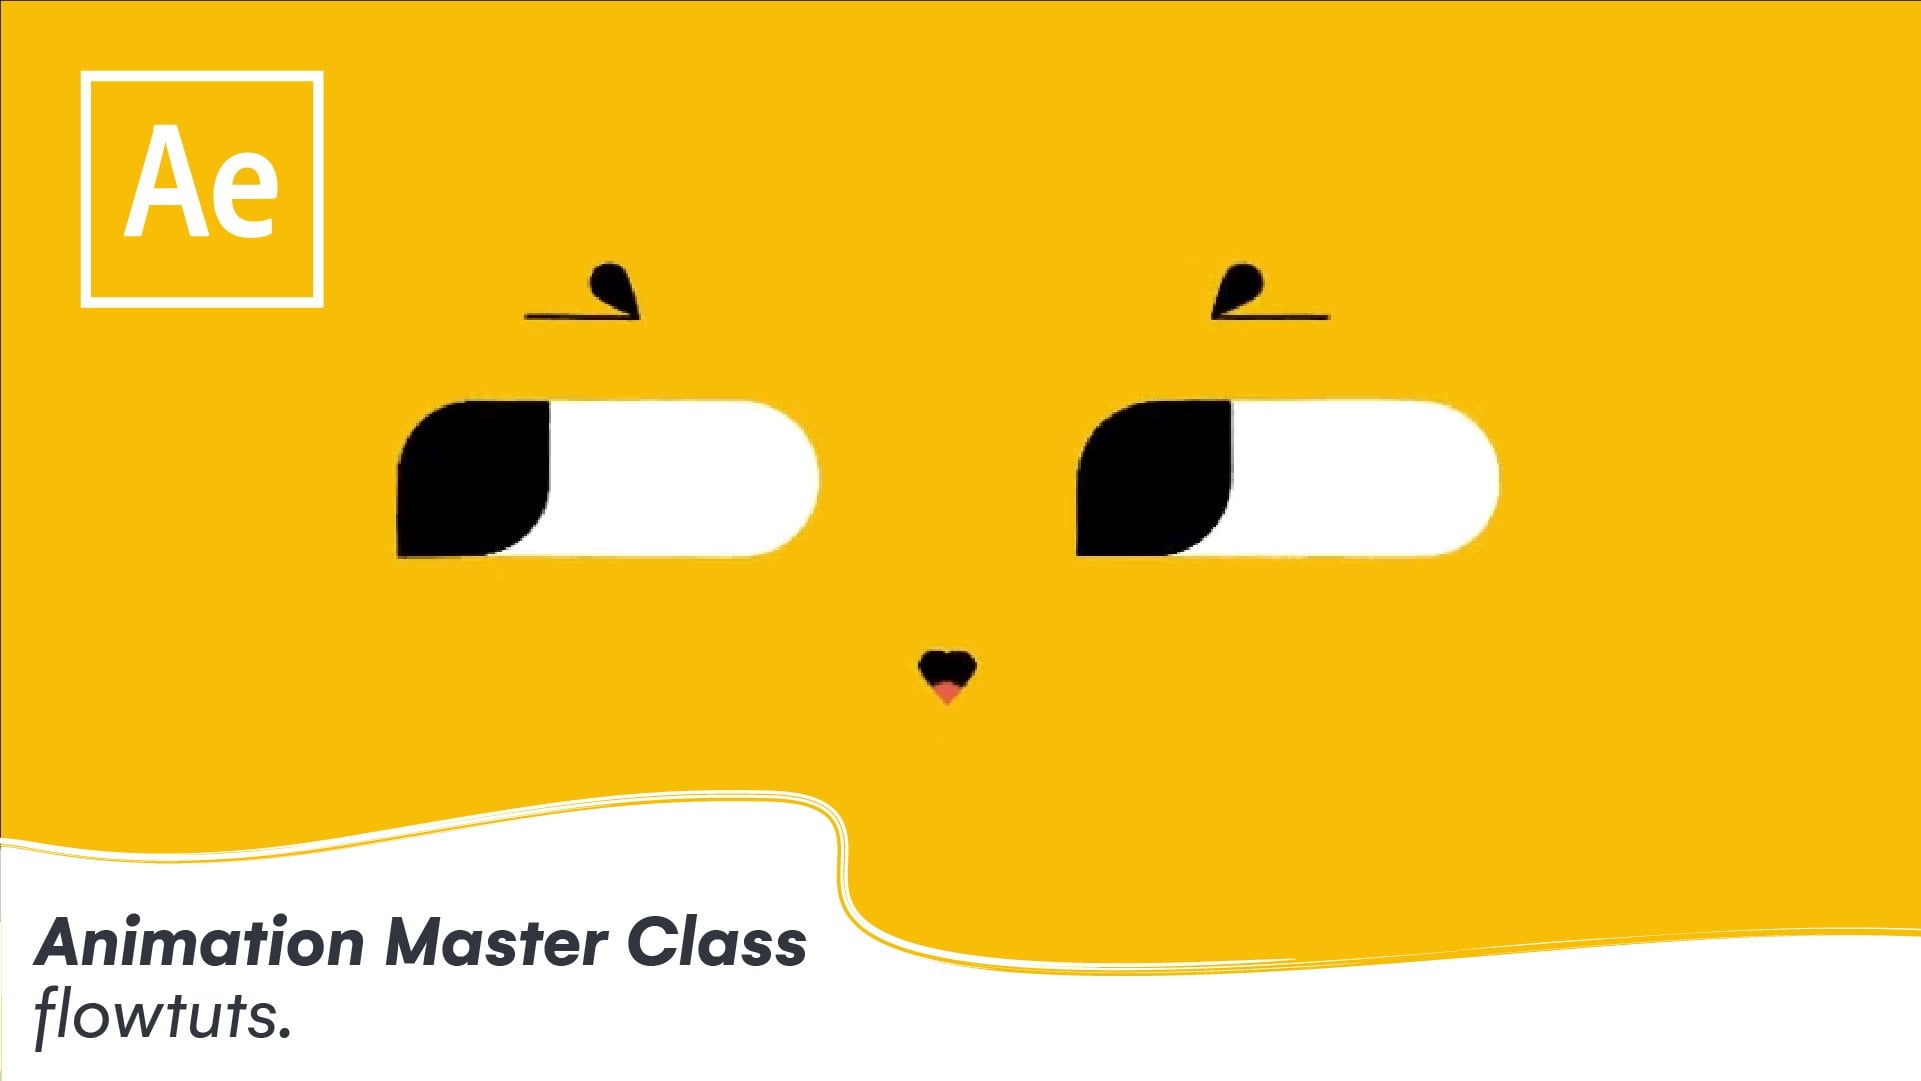
Transcripts
1. INTRO : Hello and welcome to after vaccine for demographic glossy effect glass by floods. In this class we're going to be learned in the workflow between aftereffects and cinema 4D light that comes with it. So for Cinema 4D light, we're going to be learning how to set up your after-effects and cinema 4D light to work in setting out to create an object in cinema 4D. How to set up a camera, how to animate the object and how to color scene or the object. And for After Effects, we're going to be learning how to use the effects on composites, all these effects together to have a certain result. In this case, the holographic glossy effect. And also, we are going to be learning how to stylize your scene at the end, once we finish everything. If this is something you want to learn, feel free to take the class. It's so easy to follow as long as you have the basic language for after-effects and cinema 4D, keep in mind that this type of teaching is different. I go straight to the point, not like maze like others. Do. I keep it short, simple and straight to the point. See you in class.
2. PART 01 ( SET UP FILES & COMPOSITION ) : Welcome to Part 1 of this course. In this course we're going to be setting up a firewall settings and the composition in both of after-effects and cinema 4D before we start anything. So let's go ahead and start with After Effects. Let's first create our composition by right-clicking on the project criteria in your composition. And let's call it main. I'm going to keep the resolution to 1920 to January. And for the frame rates you can do it wherever you want it. Search preferences, I always tend to go with 24 and let's make the duration to five as it is. And then click Okay. Then we're gonna do is gonna go to File and say, and you have to save our file. Let's go to our folder right here on Cinema 4D a, and let's call it binary a0 in a more Porgy. And let's click Save. And now we have to create our Cinema 4D file. And to do that, we're going to use the cinema 4D light that comes with After Effects. You don't have to buy anything and we have to do that. You have to right-click here and new Maxon Cinema 4D file. And this will create the file and give you this window to save your file first before it launches Cinema 4D. So go ahead and do that. Let's name this in a more poor the live project. And then click Save. This will automatically create a fire and then launch Cinema 4D automatically. Once you are in Cinema 4D, go ahead to this power right here at the trend and the Render Settings. Click on it and change the resolution to 1920 by 1080, and change the resolution to 100%. And we're going to change the frame rate to 24, the same as After Effects. Then close this window right here. The next thing you gotta do is go into After Effects and drop this file to your main right here. And this will give you senior right here. What you're going to do is to change the render to from viewport to current. And then we have got to do something called live link, as you can see here. By enabling this going to allow you to work simultaneously, I'm going to be synchronizing with Cinema 4D and After Effects. So everything you do in Cinema 4D, It's going to be viewed in after-effects. And to do that, you gotta go to cinema 4D and go to Edit Preferences, and go to communications. Right here. You're going to be hard to check this box right here. I already have it done because I work with semaphore D before. And once you do that, when you create like an object right here, right here, and you save and go back to After Effects, it's going to be there. That's it for part 1. See you in Part 2.
3. PART 02 ( MODELLING CREATING THE 3D OBJECT ) : Solving part two, we're going to be creating our model. Though in this part, you can create your own model. We will download the model from the internet or just follow the steps I'm gonna do. So in this case I'm going to be creating a spline that looks like a worm was, you can see in the example. So to do that, we're going to create a circle by going to your great circle. Then we're going to create Alex. And we're gonna go to Extrude and add a sweep. Then you're going to draw a circle under the sweep than the legs under a circle. This will give us this shape. Start until this thickness. You're gonna go to circulate here. And we're going to change the size to 0.1 for the x, y, and z. Now it starts to look, to look for what I want. Then we're going to go to Alex right here. And we're going to work on the settings on the object. I have already done a settings that works for this model. So I'm not going to go on the steps that done this. So I'm going to just apply the settings right here. As you can see. When I change the radius to 36 and angle 239, I'm going to change the radius to 120 centimeters. And we're going to keep the end angle. I'm going to change the radius spice to 1%, and the height to 750. 750. I'm going to change the height relative to 60 instead of 50. And we're going to change the intermediate points to adopt. If I'm going to go back to our sweep and we're going to change the scale to maybe white. And then we're going to have this object that you are looking for. And that's it for this part, we already have our object. You can go ahead and create your own. Or as I said, you can download the model from the internet or wherever you're working on is depends on your object. And that's it. See you next part.
4. PART 03 ( ADDING CAMERA ) : So in part two, you're going to be creating the camera and this object is going to be in a 2D scene. We're going to be creating a good The floods camera. To do that, we're going to go to camera it here and there will be options. I'm going to choose the first one right here. And we're gonna go to Object, and we're going to change the projection of u from respective to front. Now you're going to see nothing because we're not inside the camera. It will have to click on this icon right here to go inside the camera. And now you don't see your object for some reason. And you have to go to cards and you're going to change the position of the camera, 0 in X, Y, and Z. And it's going to be giving you this view. And this is not what we're looking for. And you're going to change that by going to add them all. And we're going to drag our sweep under the null. And we're going to have rotation to mines 90. This will fix the view and we're going to drag the null for the right side of materials, so it's in the center. And that's it. You can also change the camera view from brand to like isometrics, or like gentleman, or wherever you want. It depends on the view that you want in your scene. So we're going to stick to font for this case. And I will see you in the next part.
5. PART 04 ( ANIMATION ) : In this part, we have to do the animation itself. Though. For the animation, I want this blind to be animated like women worm in space. So to do that, there is multiple ways to do that. Though. I'm going to go ahead and use a technique of illusion. It makes the object rotate on its center and it looks like it's animating in space. Let's go ahead and do that. Go to your sweep right here. And go to cards. I'm going to change the artery from HBV to XYZ, so it's easy to explain. So the Z space is going to make the animation of the spline rotate on itself. So we cannot go back to the first frame right here. And we're going to add a keyframe. And we're gonna go to the last one. And we can add 360. So it does a full rotation on itself. So when you play the animation right now, now it rotates on itself and it gives you this illusion of an image. So we don't need this is right here. We need it to be like a linear animation. So we're gonna go to Window, and we're going to go to timeline. Select both our keyframes right here. And we can now go and click on linear right here. This will get rid of the ys. And we're going to give an, it's going to give you a continuous loop animation. Then I want to have this spline going in this direction. So I'm going to go to that null. And I'm gonna rotate this to minus or 20, 20 degrees. And again I put it on the center. You can also animate this in another way if you want to, if you're familiar with trim paths in After Effects, you can go ahead to the sweep right here, and you go to object. And you can animate the girth, start growth here. And the end girth. And you can animate it as much as you want or the way you want. It depends on wherever you're looking for in a result. So that's it for this part CIO, Next one.
6. PART 05 ( LIGHTS AS COLORS ) : On this part 5, we're going to be setting up the lights and this scale. And in this case, the light is going to be just reflect in the colors on our object. So we can do this in two ways. We can do the buy materials, but I prefer to do it by lights. So I'm going to show you how to do it with the materials just theoretically criteria. And it's going to be automatically created a material right here, double-click on it. Then we're going to go to color, texture. And we're going to choose gradient right here. Double-click on it, and you can choose the colors right here. Let's make this like reddish thing. Then this, make this blue. And then the medulla, we're going to make it green. And I drive this right here. See you can do it this way. But what I prefer is to use lights so I don't have this cut right here, as you can see. So it's like smooth on the edges. So I'm gonna do that right now. We can create a light right here. Just click on it. I'm going to drag this up. So this going to be reflecting the upper side of this spline. Now we're going to create another one and we're going to put it down here. So this would reflect on the downside. Then we're going to create a new one and this going to be drugged and front. So if we go outside of the criteria so you can see is going to be reflect the front side of the spline. Now we're going to change the colors. The first one going to be, as we said, and the second one going to be blue. And third one's going to be green. As you can see here, it's more smoother and the edges, instead of using the material. So you can use any colors if you want to. So this is just an example because we can control the colors later on of after effects by using a hue saturation. And we can change the cursor wherever we want. So that's it for the cinema, for this side. But we're going to go jump on After Effects and continue using the effects.
7. PART 06 ( CC GLASS ) : Once we're done with Cinema 4D, from modeling to animation to Nigeria, I know we're getting jump in after effects and use the effects and presets. So for this one, I, when I was achieved, trying to achieve this effect, I had to go through multiples of vectors and searching ordered. So this was trial and error. It doesn't, it's not like magic. So some certain settings on this part is just I'm going to apply for what works for me. And you're going to change those settings depends on what you are working for. So let's go ahead and apply the first effect, which is CC Glow. Let's go and apply this drug which are FileWriter. Let's drop down this menu. So this will automatically give you this like reflection right here on a turn it off. And it's also give you the thickness. Now I'm going to change the softness to 37. So this will get rid of a little bit of thickness and I'm going to change the height to say vive, and this will give it back. It means that we lost on the softness. Then I'm going to add in a keyframe at the first or displacement and another keyframe or light height. So for the shading, I'm going to change the ambient for 200 and this will make it a little bit brighter. And then we're going to keep the other settings as they are. So now we're gonna go to the last keyframe right here. And we can, and a 35 or the displacement, so it's going to be a 125. And we're going to change the light by 2100. We're going to say, where is the glass effect on this? Though this effect doesn't work alone. Who you're gonna continue to the next part, and the stacked effects will give you the results. So the glass effect itself doesn't make the job by itself. So see you in the next one.
8. PART 07 ( THE GLOSSY EFFECT ): On this part we are going to be at in the invert effect and defined edges effect. And what these effects will do is gonna give us the glass effect that we were looking for. And this will start to look for the results that we're working on in the process. So let's go ahead and add the invert effect on once you add it, It's going to change the colors to this solemn colors. And it's still are the RGB channels, the red and blue and green. So this option can be also an option for changing colors later on. So if you, if you're not happy with the colors, you can change them from here. So it can go like Sheila asked to change the colors. You can go to View. You can go to any options right here, and you're going to change the colors depends on what you're looking for. This one is looking good. So we're gonna go back to RGB and we keep it that way. And we're gonna go ahead and add the effect bind edges. So once you add the final touches, it, we're going to give you the first result that we have, writer spline. So the trick is when you check the inverse right here, this will get rid of the inner calories right here and give you this glossy effect that we were looking for. So we're already halfway there. Once we have this glass effect, it's almost done. So that's it for this part. See you in the next one.
9. PART 08 ( THE DREAMY EFFECT ) : For this part is all about stylizing. So we're going to add a glow effect and we're going to add a flourish backed. So these effects are just for stylizing. So you can play with these settings as much as you want. So we're gonna go ahead and add the first effect, which is Global. Connect, drag it on our fire it here. So for the glow is going to give us the dream effect. Now we're going to change the glow threshold to 15, and we're going to change the glow radius to 50. And this will already give us a dreamy effect, as you can see if we turn it off when he turned it off. At now we're going to add the effect. Lastly, are we going to drop it down on our pyrite here. And I'm going to change the blur radius to seven. And I'm going to change the interior, the integrations two. This will give us a blurry result, and that's not why we will confirm. It doesn't make any sense. Going to change the bluer dimension to horizontal. Or you can go with vertical, depends on what you want. And that's it. You can also check the Repeat Edge Pixels right here, but that doesn't make any sense in this certain case because we have nothing on the edges. That's it. This will give you, the result, will confirm. Then you can go ahead and add the hue saturation effect. If you're not happy with the colors, you can go ahead and add that effect. And you can change the colors to wherever you want. Fewer knots. Go in with the blue, red, and yellow. You can go ahead and change wherever you want. So that's it for this part. See you in the next one.
10. PART 09 ( STYLIZING ) : So once we are done with everything in Cinema 4D and After Effects, this part is going to be all about taking the scene. The next level. Boy, I wanted to add for this scene, like flowers in the background and something like that. When one I was browsing the Internet, I found this back right here. It's called topographic foil gradient texture. And it has 15 options, so you can choose the one that fits your scene. And it's also five gigs you can see here. So you can scale it up and you don't lose the resolution as much. So I downloaded this ones. There were like $9, I guess. And then I'm going to drag one of these. As you can see here. I'm going to drag the second one because I tried this before and it fits well, I'm going to die one and we're going to put it on the background right here. And I'm going to rotate this one to the right side like here. So it fits the scene. And we're going to scale this a bit. And we're going to also the first layer to it. So it's not much clear because it's just a background needed to be blurred. Because it has like this noisy effect. And I don't want because I can just add it by using a noise. And that I'm not going to add too much. I'm just going to add like to. So I did next is just add some layers to this so it gives the more seen. So I went with the, like. When you're playing a game, there is always a UI and this login screen. So I made this layer look like loading screen. So I added the loading deck. Then I added a chapter like, what is the next thing going to be about? And the loading bar. Then I added like a tip right here. You always find this on video games. So when we play this on the final result, that's what we have. So, yeah, that's it for this course. I hope you find it helpful and you learned something new. And I want you to share your work on the farm section below where you can share what you learn from this and you do it on your own. And I can give you instruction or feedback, or we can share it on Instagram to and send me a message. And I will see you in my next course. Hopefully. All of you all and goodbye.
 FLOWTUTS ⭐, Motion Designer & illustrator