Transcripts
1. Welcome: In this very concise course, I'll explain the most
important shot sizes and their functions. If you're not sure which
shot size to choose to make your actors
performance really shine. This class is for you. Hi, my name is guilty
as water rubbish. When I was making my
first movies, hours, my own cinematographer, editor
and sometimes an actor. This is me in 2004 shooting first independent short
film with my friends. And here it's me
again on the set of my first feature that was
produced by cannot Bruce. Now it's 2022. And this film is premiering at film festivals and I'm already working on
my second feature. In this course,
we're going to go through every major shot size. So you have an understanding of their use and
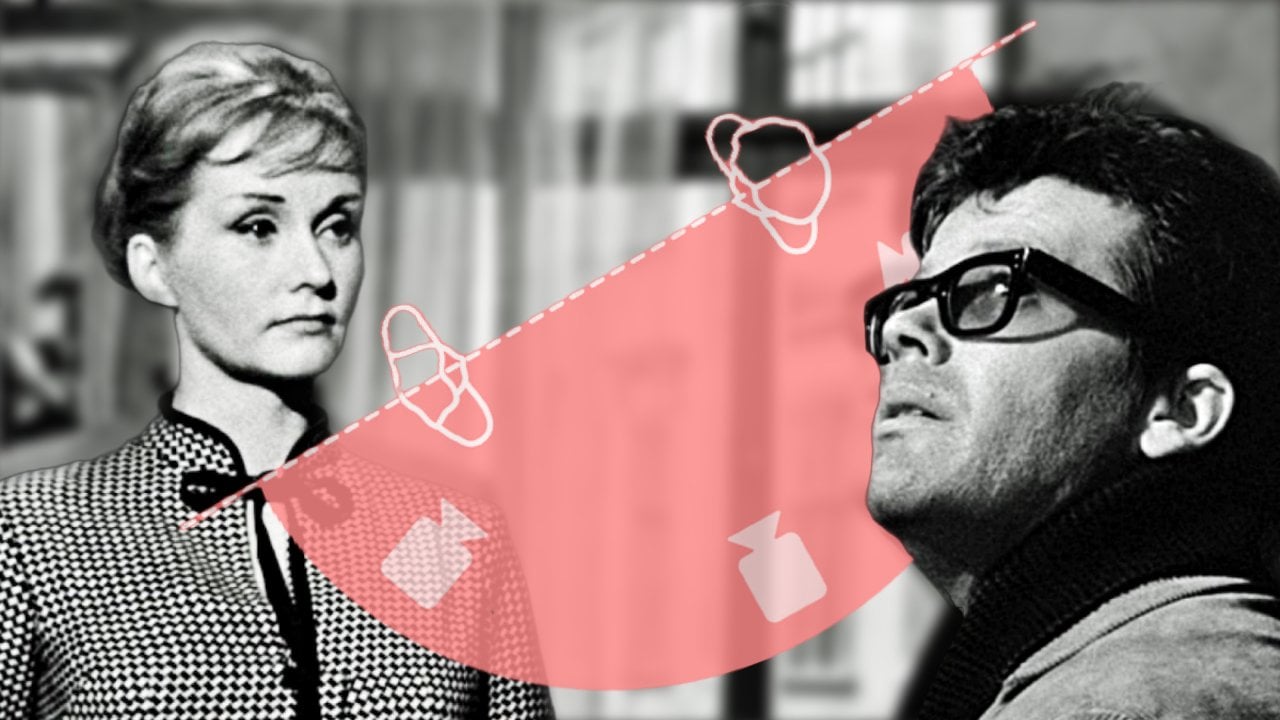
professional vocabulary. As always, there will
be examples from my foams and also movies
made by other directors. Welcome to see them, I explained and hopefully
see you in the class.
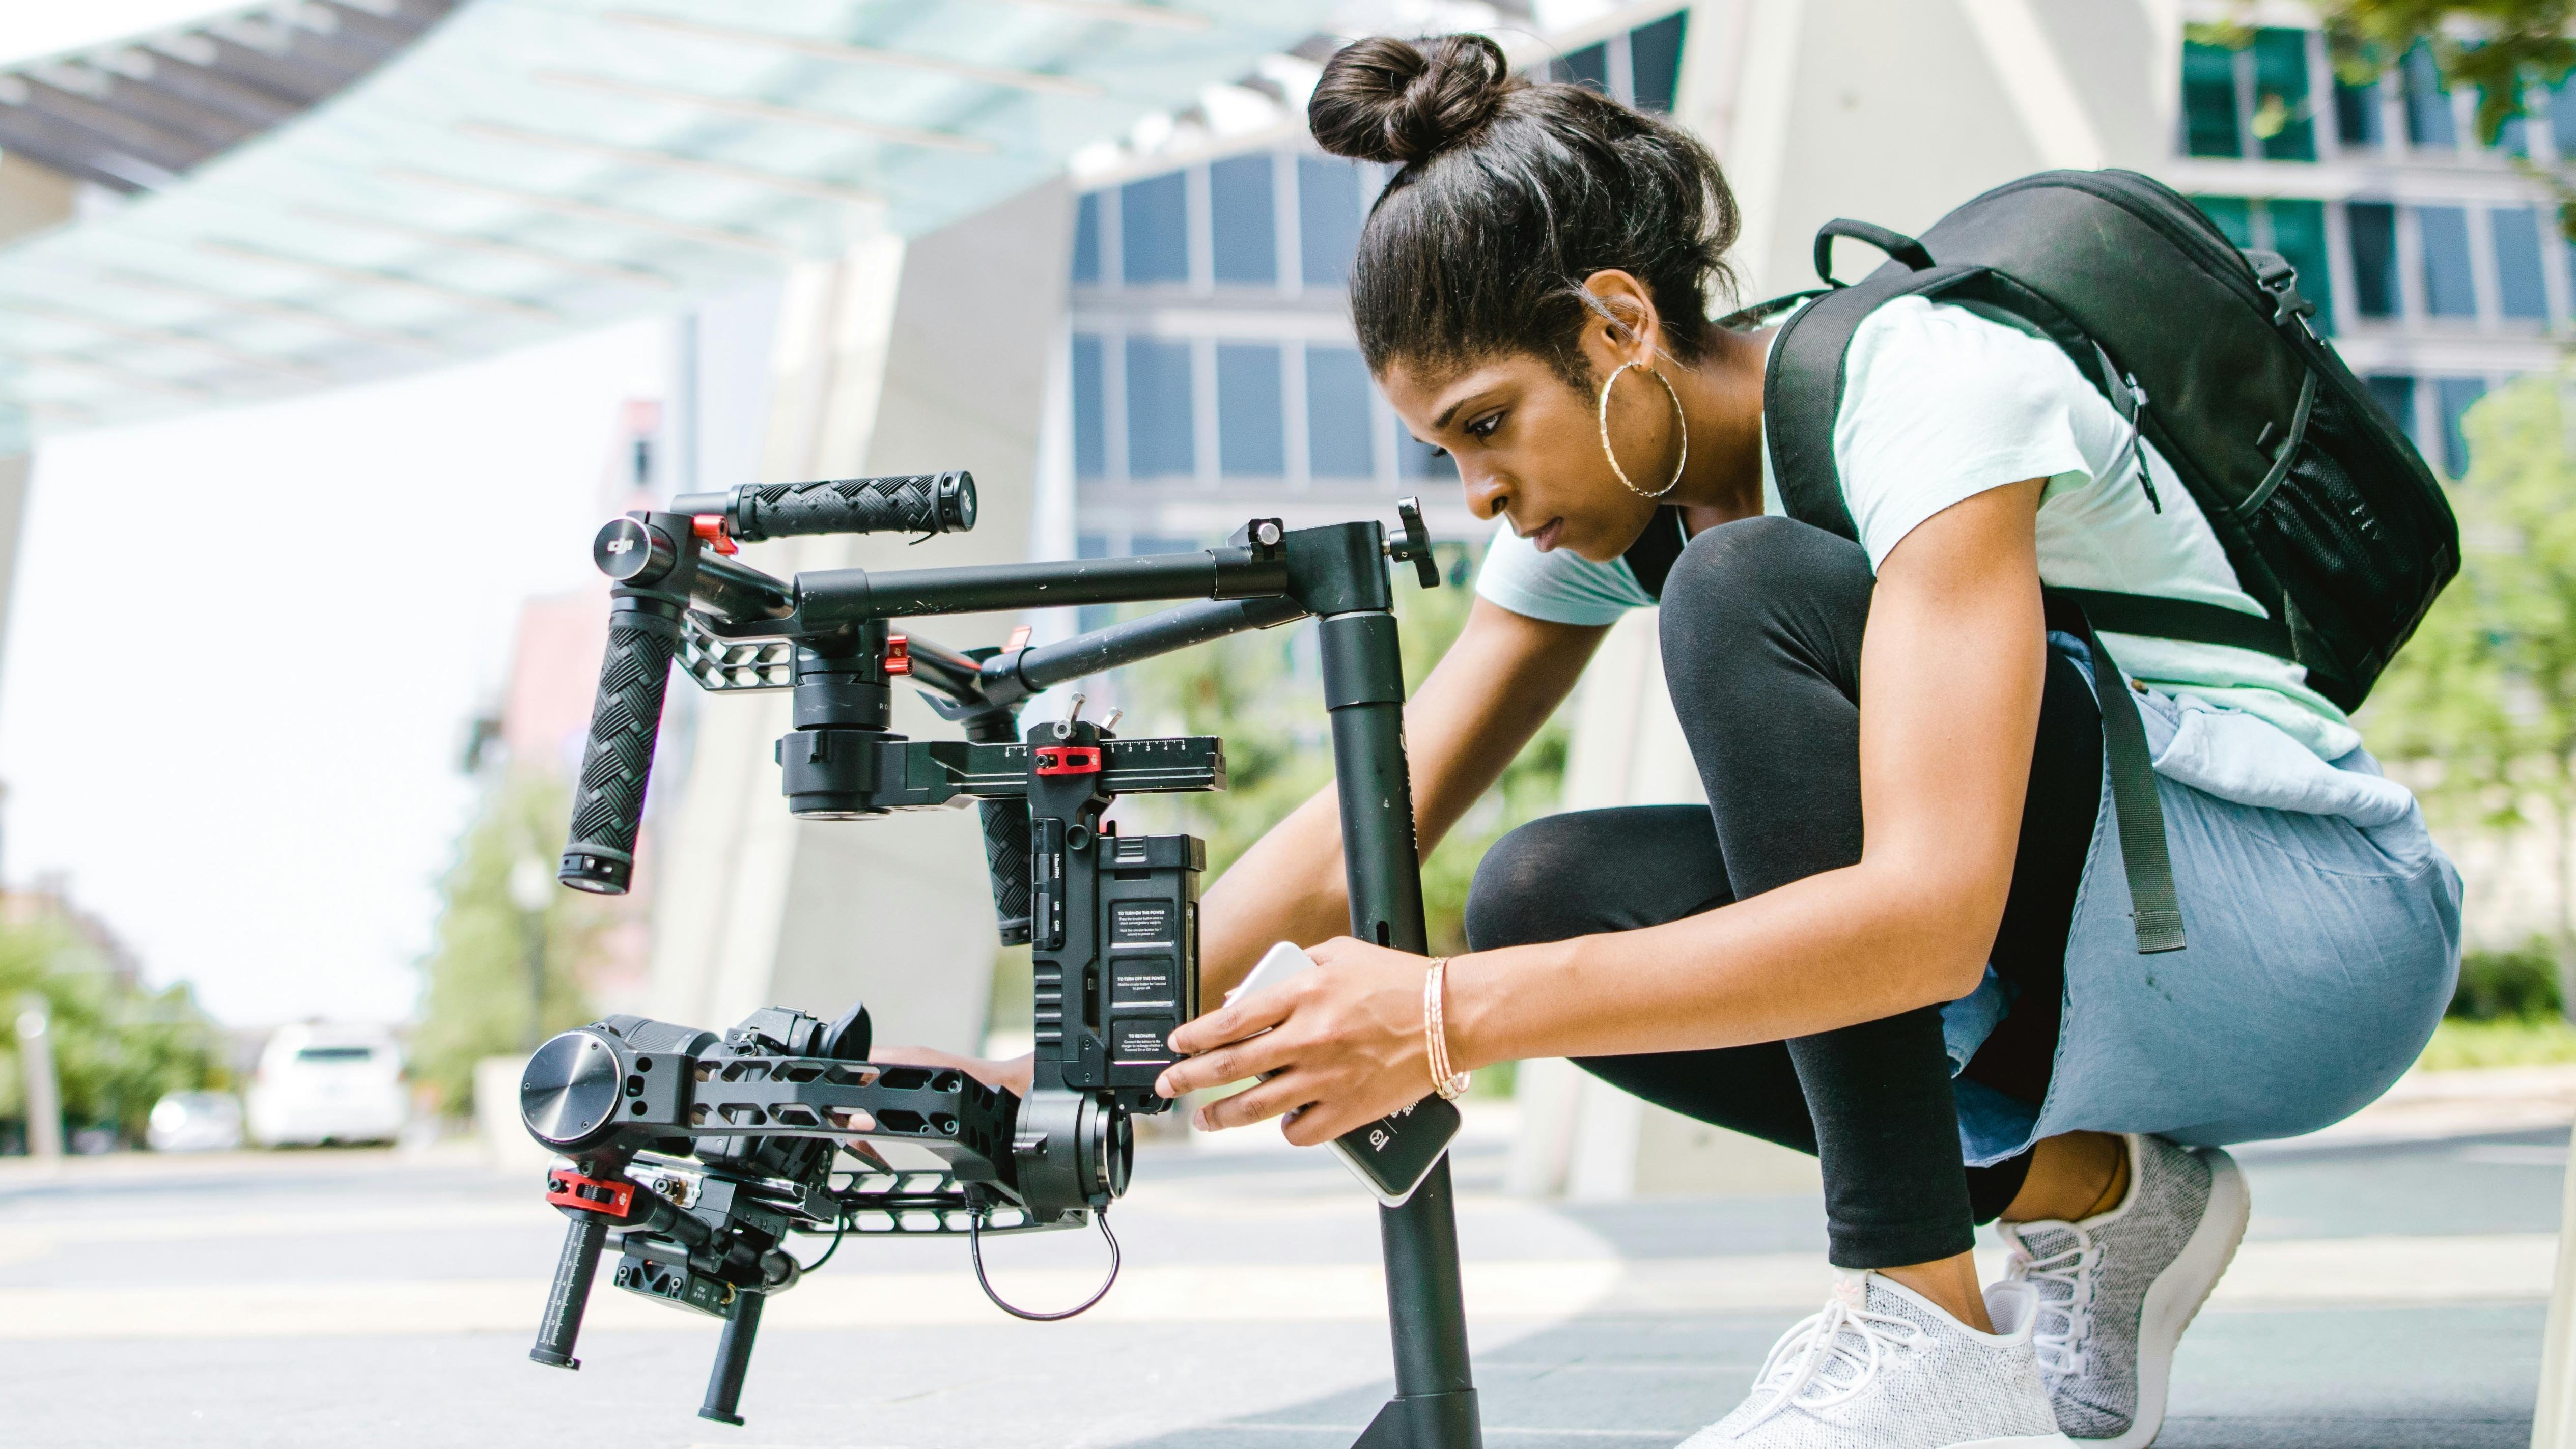
2. Looking Into the Soul - Close-ups: Thanks for taking my class. So as you know, as
a cinematographer, most of your work will be
filled me in human form. The characters of
your films will always be the center
of your attention. It doesn't really
matter if it's going to be fiction or documentary. This course is here to give you the understanding of
how to film characters of your movies while
explaining the functions of the shot sizes are also
define the key vocabulary. By the way, I prepared
a little cheat sheet that you can print out
and use it on the set. It's in the guide book that
is available for this class. You can print it out and have it with you whenever
you are filming. Okay? So the basic concept that we need to explain is
the short sides. The field size or shot
size explains how much of the subject and its
surrounding area is visible within the
camera's field of view. So in plain words, shot sizes are
standardized names for how the camera
sees the character, the subject, or the
character can be captured in its
entirety, like e.g. in a full shot. Are you
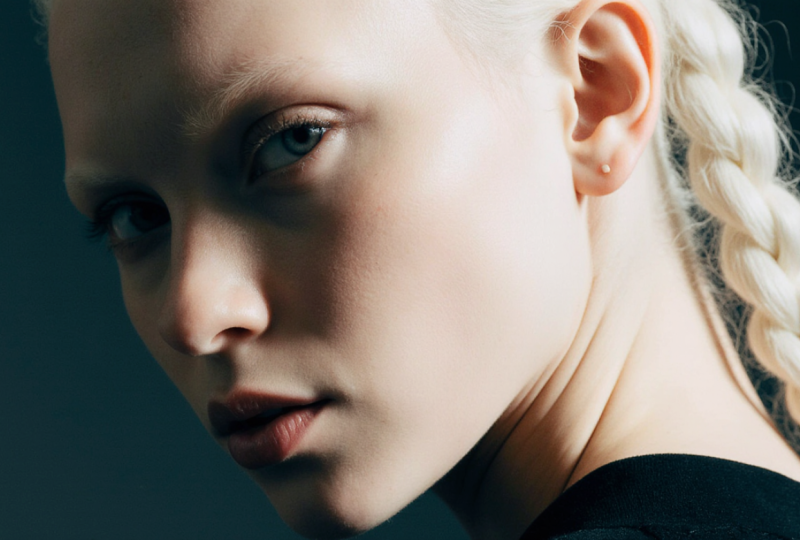
going to focus on his face? Like right now? So let's begin our list of shots with a close-up
and move on outward. The first type of closeout is an extreme close-up is
where your photograph, just a small part of
the actor's face, like his eyes are libs. This type of shot is used to capture most subtle
performances. Sometimes it's called
an Italian shot, presumably because it
was used extensively in Italian Westerns
by surgery alone. Moving on to the second type, which is the tight close up, is also called the choker. At the bottom of the shot. You can see just a little bit under the chin or over the chin. At the top of the shot, you cut the forehead in half. In this shot, the focus is
the mouth and the eyes. Again, this shot is
also very good in conveying subtle emotions,
is actually better. Then extreme close
up because you can see the key elements
of the face together. Here in Poland, we sometimes call it a psychological shock. Moving on. The most
popular type of a closeup, in my opinion, is the
regular close-up. Nothing fancy. You can see the whole head and sometimes a little
bit of the shoulders, but it depends on
the actors anatomy. If he has a very short neck, you will see his shoulders. Or if the camera will
be looking from above, you will also be able
to see his shoulders. This type of a closeup
is also called double t because you can see the
teeth and the throat. The fourth type of a closeup is commonly known as
a medium close-up. It begins above the chest
and ends above the head. You can see the entire
neck and shoulders. Then there is fifth
type of a close-up, which is somewhere in-between medium close-up and a
medium shot is called 3ds. Now, you know,
what are the upper two t's about teeth and growth. Please don't ask me what
is the third T stands for? Let's just say that the chest or the breast is symbolized by f. Obviously this is an
old-school terminology, but I heard it being used, so I'm just letting you
know that it exists anyway. In this shot, the bottom of the frame is the actors chest, and the top of the frame
is above his head. Now, this concludes the
realm of close-ups. It's important to understand
that you're going to use close-ups to reveal
psychology of the character. All of the above-mentioned
shots are very good with subtle emotions and capturing
important dialogue. In the next lecture, we are going to talk about medium and wide
shots. See you there.
3. Establishing Bearings - Medium and Wide Shots: Medium and wide shots are
important when you want to show your audience what is
the context of the situation. There are also useful in showing the spatial
relationships between different characters that
are present in the scene. So let's begin with
a medium shot. The bottom of the frame is
above the character as waste, and we are going to see
some space above his head. Medium shot is very
common in cinema, since it's similar to how
we see people in real life, I personally don't
use it very often while gathering the
experience as a filmmaker, I noticed that in most
of the situation, the cow boy shot is way
better than a medium shot. So let's talk about
cow boy shot, which is in full shots category. It's called a medium full shot. Actually, the bottom of the frame is somewhere
above the knees. And you can see the whole
body to the top of the head, leaving some additional
space above the health. Obviously, the space above the head is important
because this type of a shot is usually utilized when the
character is walking. This way, the camera
men won't be losing the face of the actor when it goes up and down
while walking. I guess it's called cow
boy shot because it was developed during the
golden era of Westerns. They probably didn't want to cut their guns in half with
the bottom of the frame. Anyway, in Europe, this shot
is called American shot. For me personally,
the biggest advantage of this type of a
shot is that you can clearly see the character's
hands at all time is very useful in situations where you want to show the
actors gestures. Now, let's talk
about a full shot. Is a shot in which you can see the actors from his toes
to the top of his head. Anytime you can see the full
human figure of an actor, you are dealing
with a full shot. You can also call it wide shot. There are few subcategories
of full shots. Now, the typical full shot is mostly used to show
actors costume. But let's say that you want to show the actors surroundings, the space that he's in. Then you will use an
extreme wide shot. With this type of shot, your characters can be
very small in the frame. Because the point of
making this type of images is to show the stenography or the location of your filming. You can move away with the
camera from your subject to the point where your
character is still visible. In extreme full shells, the space around the character
will be dominating here. Therefore, another purpose of the extreme whites
felt maybe to show the character is lost in space around him or
that he is lonely. It depends on the context
of the situation. Okay. So far, we've discussed
the categories of shots in regards
to the field size. By this fancy terms, I mean, what does the cameras see in
regards to the characters? There are also other
classifications of shots, like the classification
regarding the camera angle and the
particular function of the shot. I'm going in depth about it in a longer course about filming actors and the art
of a close-up. However, in this short-course, I'm going to mention one very important
function of a wide shot. It's an establishing shot. I want you to be aware of it
because this term is used very often on the film set
in regards to a wide shot. So the establishing shot can
be any type of a full shot, ranging from medium full shot, too extreme wide shot, that shows spatial relationships between the characters in a C is very useful when you want your audience to
establish song bearings. It doesn't matter if
you show your character in a cowboy shot or
an extreme wide shot, as long as the other characters apart from your
protagonist in the frame. This shot is showing the spatial relationships
between them. It's an establishing shot. So this was the basic list of short sizes I made
this course so short. So you can refresh this
knowledge anytime you like, even on your way to a film set. In the next lecture, I'm going to give you an
action level assignment that will make you learn
the shot sizes by heart. See you there.
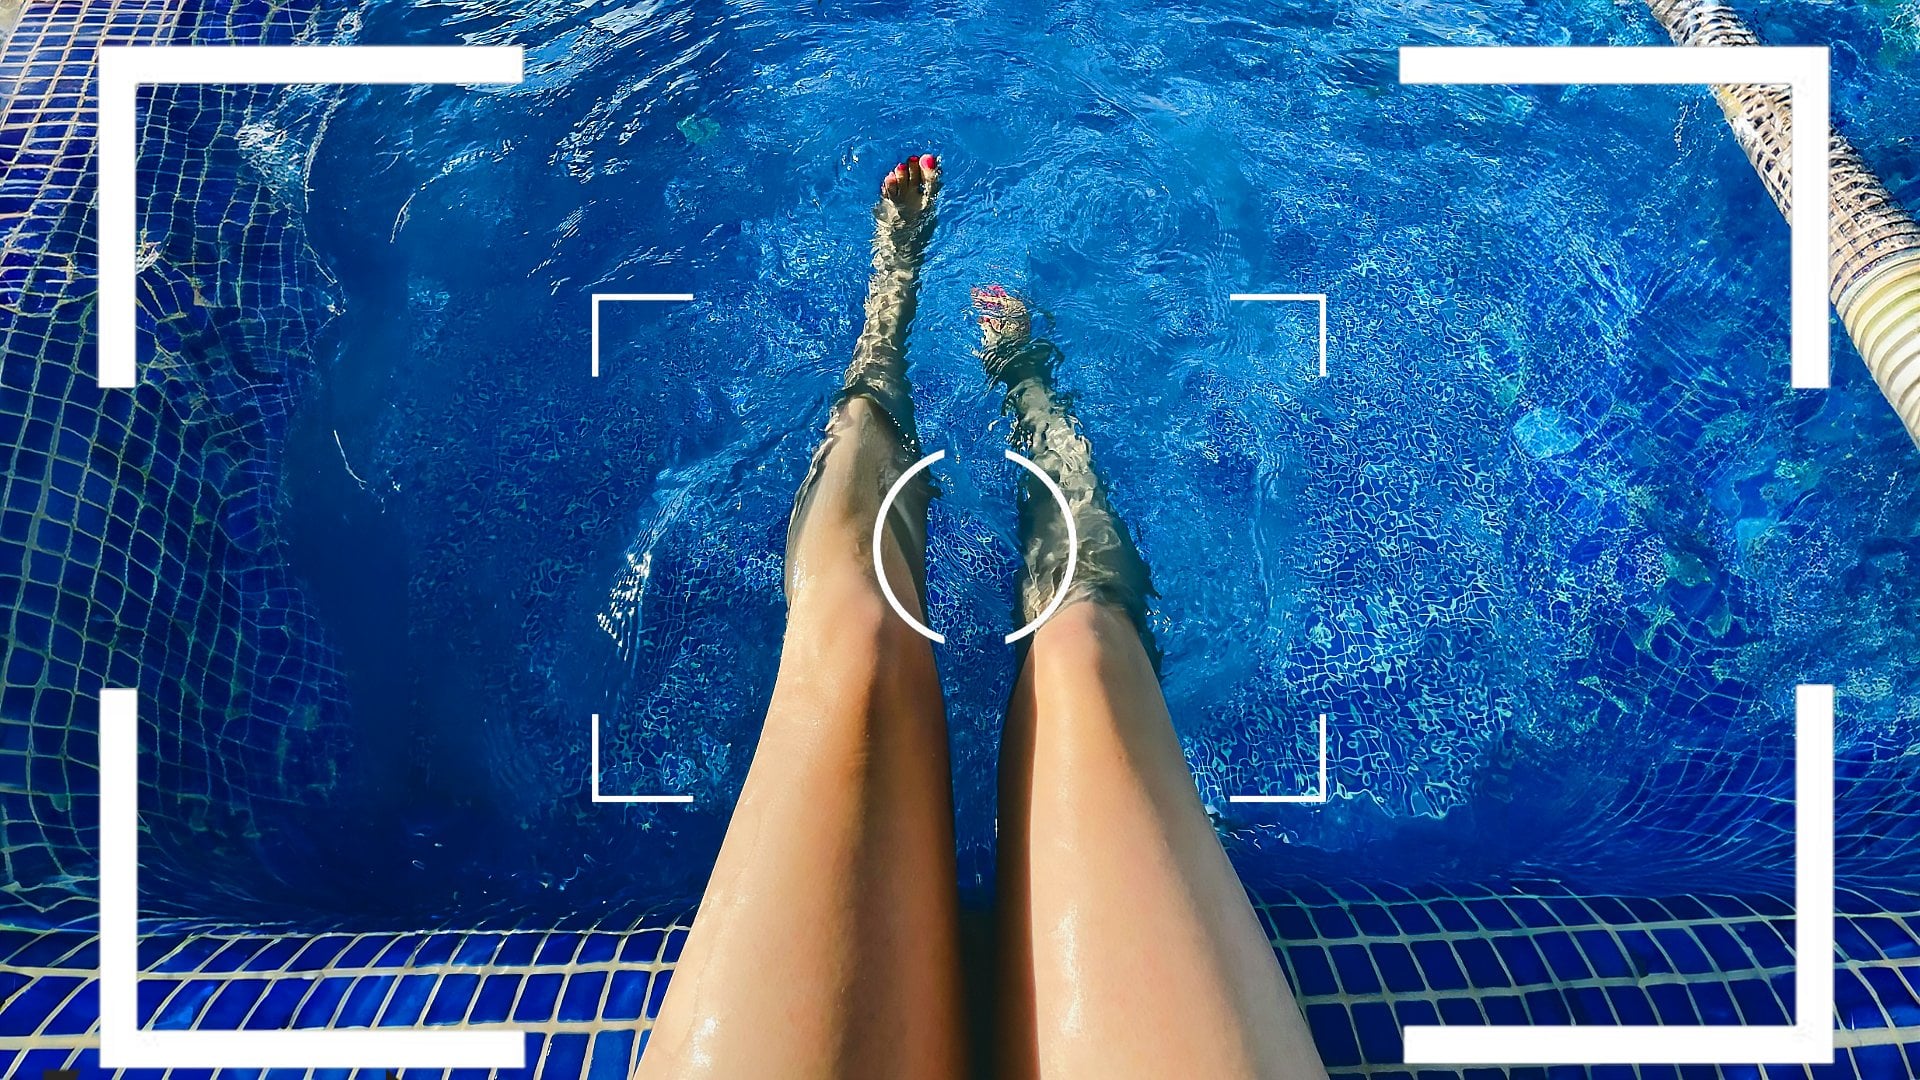
4. Class Project: To remember what
you've just learned, I want you to make
a little exercise. It will take only
a minute and will require using your
smartphone camera. I want you to take a
couple of selfies, one cell fee for every
category of a close-up. My suggestion is to take those selfies holding
your phone horizontally. So it resembles the
cinematic format. You can move your form towards
you to change the frame. Or you can hold it in one place and change the zoom level. It's really up to you. It may sound very basic. But by doing this exercise, you practically
implement the knowledge and remember the crucial types
of close-ups and mediums. Now, with selfies,
you won't be able to shoot anything wider
than a medium close-up. Our arms are only this long, but you can put the
camera on a tripod or on a shelf and
set a self timer. That way you can comfortably
shoot medium and four shots. I hope you will upload your
project to the gallery. So this was the
most basic division of shots by field size,
as I said before, there are also other divisions
like by camera, angles, by function of the shot, or how many subjects are
in the frame and so on. If you want to learn a complete
guide to filming actors, you can check out my other
course on this subject. Now, I designed this course as a part of series that teaches
you practical filmmaking. If you're interested
in learning how this course fits into
the whole curriculum, the best way to check
this out is my website. Seen them, I explained.com. Be sure to review this course. I treat your feedback
very seriously. Your evaluations have really changed the style of my
courses for the batter. Thank you again for your
attention and see you around.
 Piotr Złotorowicz, Screenwriter & Director