Transcripts
1. Hey There: Hey there. Welcome. I'm Nina, even though everyone knows me as [inaudible]. I'm an artist, illustrator, and pattern designer. In this class, I want to show you one of my favorite art exercises that always sparks joy and creativity, even when I'm left with no ideas or motivation. Besides being something that can help you overcome your creative blocks, it is a wonderful technique to explore and include in your everyday art projects. For this class, we'll exercise our creativity. We'll draw with scissors to create unique paper cutouts, we'll explore shapes and colors to find new ideas, and we'll assemble everything into a collage that we'll later digitize and fill with details in Adobe Illustrator and turn it into a complete piece of art. Whether you're interested in paper cutouts and collage, or maybe you're an illustrator or designer looking for a way to create something new and unique, I think this class will be perfect for you. Also, this is a beginner friendly class so all you need to have is a very basic knowledge of Adobe Illustrator and you're ready to go. Stay with me, and let's get started.
2. Project: For this class project, we're going to create a digital collage made out of handmade paper cutouts. There is no determined subject for this project, because through this exercise we will mostly focus on how to freely explore our ideas and change them as we go. All you need is some scissors and colored paper. I'll be using a scanner to capture my cutouts, but if you don't have it, you can use your mobile phone. Finally, to digitize the paper cutouts and create the final artwork, we'll be using Adobe Illustrator. The best way to learn and experiment with this technique is to start a project of your own. When you're ready, in the project and resources section of this class, simply click on your project to share what you've made, and tell us about your process and results. Skillshare is a wonderful place for all of us to encourage each other and connect through art. If you're ready, let's start drawing with scissors.
3. Paper Cut-Outs: All right, I have my scissors here and some different colored paper. Just to let you know, some of these papers are slightly thicker and some of them are just like a normal printing paper. It makes no difference, it's just what I have at home. In this first phase, it's good to free yourself from visualizing what your final artwork will look like, and just get into making many different paper cut-outs and let them lead the way. As a start, you can pick some broad themes or objects that you want to draw with scissors or you can start from more abstract shapes and then see in which direction they take you. I'm cutting some initial cutouts in different colors. I like to start from abstract shapes and move to more define shapes like for example, flowers or birds. Also at this point, I'm thinking about a size and a possible connection of these cutouts even though I'm far from the final idea. As you can see, I'm not using a pen to make any outlines for the shapes that I'm cutting, because they think that this is something that takes away the possibility of the unexpected outcome. Having a blank paper and only scissors is what makes these cutouts so unique. I'll just continue cutting, I'll speed these process a bit. So I finished making paper cutouts, and this is how everything looks. Even now when I randomly place it on the table, it already looks like an artwork and I just love seeing all these colors and shapes together. In case they need some additional cutouts, I'll just cut them later while I assemble the collage. Now let's move to our next step. I'm going to start assembling my collage. Therefore, I want to have something that I can use as my guide for the background. In this case, I'll start from a simple square background that I've made by connecting to A4 printing papers and cutting them in the square shape and I'll just tape it so it doesn't move. I'm now playing around with the shapes to see how they go together and I'm letting myself not to evaluate critically what's happening. I want to see how these shapes are interacting with each other and also I'm looking for some visual spark of inspiration. It is possible to do the same thing in Adobe Illustrator, but I find it much easier to do it by hand because I can freely play around with all the paper cutouts that I've made. What I really love about collage is that it feels like you're solving your own art puzzle where everything is movable and changeable. This is also a very relaxing art exercise and it can come in very handy if you are in a moment where you're left with no ideas or you're feeling creatively blocked. Working with something just by looking at the colors and shapes and assembling them and not worrying about a final result can help you a lot to find more ideas within you and overcome some barriers. You can put on some music or your favorite podcast and at the same time be a creator and observer of what's happening on your paper Canvas. I'll just speed this up a bit until it's finished. My collage is now finished and I will take a photo of it with my mobile phone. When taking this photo, just make sure that your camera is parallel to the collage. This is something that we'll use as a guide in Adobe Illustrator so that we can assemble these shapes digitally in the same way. So now that we have that, let's move to our next step.
4. Scanning: These are all the shapes I use for the final collage, and now I need to scan them. The only important thing that this step is to scan them by color. For example, I can scan the paper cut outs that are yellow and baby pink together and when I place them in the scanner, I will put a black colored paper on top to make them visible. The same way of grouping by color goes for darker paper cutouts, only this time you can put a white paper on top of them. If you don't have a scanner and you're photographing your paper cutouts, do the same thing but in reverse, simply place your paper cutouts on a black or white paper depending on their color, and photograph them as Barlow through the surface as you can and try to photograph them from the same distance. I'm scanning these cutouts in a black and white mode because they will lose the original color anyway, when I digitize them in Adobe Illustrator. My resolution is set to 600 DPI, even though it can be lower, and I'll just save them as JPEG files.
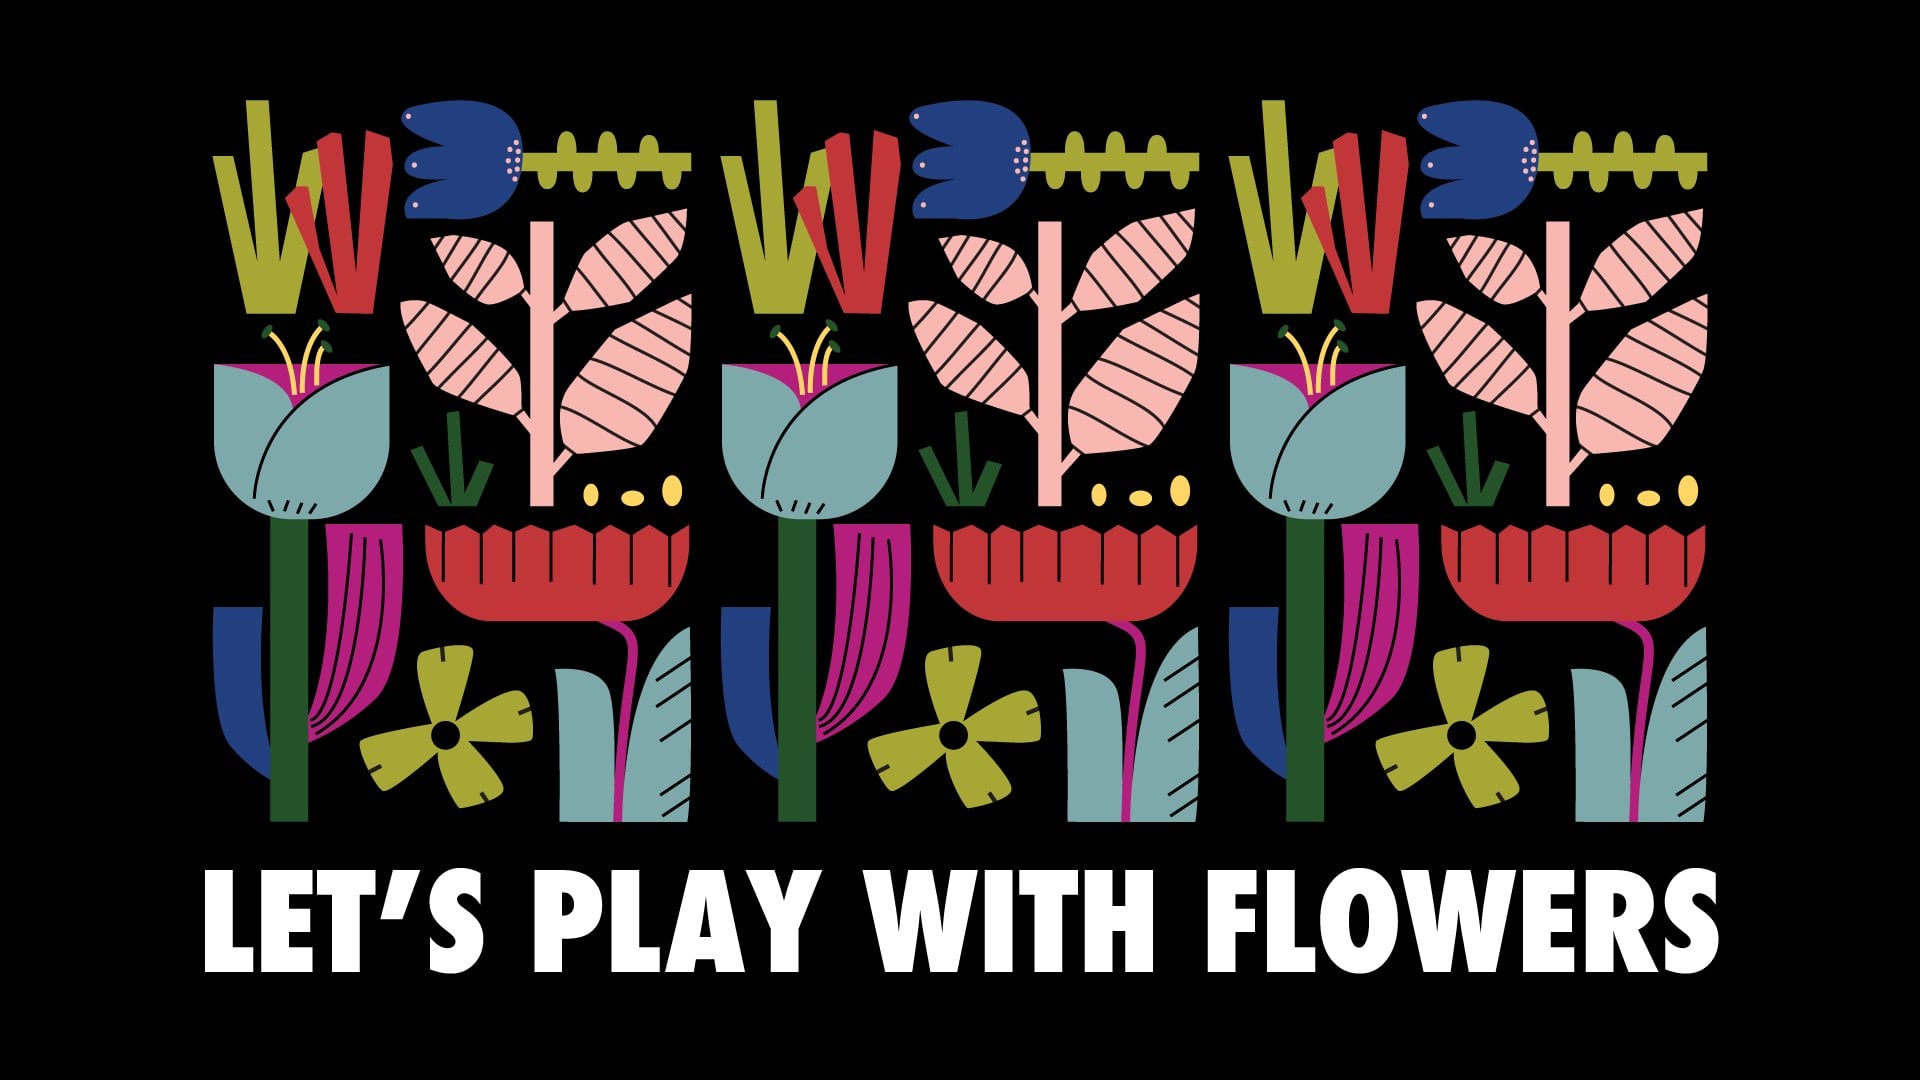
5. Digital Collage: All right. We're in Adobe Illustrator now. I open the artboard into the size of 1,080 by 1,080 pixels, which will be a perfect size when I later want to post this finished collage on my Instagram. I'll now bring all the images that I've scanned. I'll just drag them all from a folder. Now, I need to separate them and start image tracing one-by-one. Image trace will basically convert these images into vector shapes, and that's exactly what I need. Select the image and click on the image trace in upper menu. If you want to change these default results, click on the image trace panel to open all the settings and there you can change the threshold amount. I'm satisfied with the results, so I'll just go to the upper menu again and click ''Expand'' and I will do the same thing for all the images. The next thing we need to do is to ungroup these vector images, select one and use the shortcut Shift Command G. Now we can select only the cutouts, just hold Shift, select them all, and then just drag them out and delete to rest. I will also put them in a similar color as they had on the paper that I was cutting; in this case, it was green. This organization will come in handy when I start assembling the collage. Now, I'll do the same thing for the rest of the images. We now have all the paper cutouts in a digital form and we're ready to start assembling our collage. I'll just bring a photo of the paper collage that I've taken with my mobile phone. So since I need to use this image as my guide, in the layer window, I'll create a new layer that is going to be on top, and I'll place this image in that layer. I will scale it so that the red background fits my artboard. Just hold shift to scale is proportionally. I will also make it transparent. Now that we have that ready, let's log the layer and we can start placing our cutouts. Since these cutouts are a bit smaller than the ones on my main image, I need to scale them. But to avoid scaling one-by-one, I'll just grab one of them and place it on its board to determine how big it needs to be. I'll go to object, ''Transform'', ''Scale'' and I'll play with a percentage to figure it out. So in this case, I found out that I need to scale my cutouts by 127 percent. Now I can simply select all the other shapes, go to object ''Transform'', ''Scale'' and scale them all in the same size and in one click. This will save me a lot of time, especially if I have a bunch of cutouts. Now we can really start assembling, keep in mind that things don't need to be perfectly replicated, and use the main image simply as your guide. You're probably going to have some shapes that need to be flipped like this one. To do that just select it, do the right-click transform, and click ''Reflect''. Depending on what you need, reflect them vertically or horizontally. I'll assemble this collage, speed the process a bit, and then we can move on to our next step, which will be to refine it and make some final changes. All right. I've finished everything, I can now just click here to turn off the visibility of the layer with the image and create a background for the collage. I'll just select the rectangle shape from the toolbar menu and simply click an add size. In this case, it's 1,080 by 1,080 pixels. I'll just put it in the red color, as it says on the original, and I'll align it to the center of the artboard. All the windows that you see that I'm using like for example, this line window. You can open as well by going to the window in the upper menu and selecting the ones you want. To send this rectangle to back selected and use the shortcut Shift Command left brackets. By looking at this collage now, I can see that there are a few things I want to fix and change. For example, these two, in comparison with everything else, looked too complicated and heavy. I'm also looking at some problems with the negative space, that are occurring in between these objects for example. So now at this step, I'll just play with it to get a better and more refined overlook and I'll speed up the process a bit. I'm very happy with how this looks at the moment, so let's start playing with colors. If you want, you can keep the original colors or you can try something new. At this point, I'll duplicate the cardboard so that I can see how everything looks in comparison. In the toolbar menu, click on the artboards tool icon hold out and shift and drag it. In these swatches, you can see that I already have some colored bullets that I saved from my previous projects, and I'm going to use them as my starting point. There are a few ways in which you can pick colors in Adobe Illustrator. One is by double-clicking the swatch and finding the colors there. You can also use this RGB scale. Finally, you can use the color guide and harmony rule to find the best matching colors. I really love using the color guide and harmony rule when working on my projects and exploring some new ideas for colors; I talked about it in more details in my previous class, let's play with flowers. I will now just group the shapes that are in the same color so that I can more easily change them when applying the new colors. It looks completely different than the original, but it is just a little, all these colors are working together. Now let's duplicate this art board as well. Again, in the toolbar menu, click on the artboard tool icon, hold out and shift and drive the artboard. I want to show you one more trick on how to find more color ideas and combinations for your collage. First of all, let's select everything. In the swatch window, click on the icon for the new color group. This will save older colors you used for this collage. Name it and click ''Okay''. Now select your artwork and in the color guide window, click on this color wheel icon. You can see that the color palette that I saved, is now selected. I can now randomly change color order by clicking here. Even though these are the same colors, changing them makes the whole artwork look fresh and new and it gives me more options to choose from with just one click. To save the combination that you've made, just click ''Okay'' You can repeat the same process and create as many combinations as you want. You can also try out some other color pallets on your artwork; not only the one you've just made. Simply select a different color groups that you have in your swatches and change the colors. The only thing to remember is not to go through these random color combinations too fast because there is no shortcuts to go back to the previous one. That's it. My final collage is ready. I like these two additional color combination that I've made, but I'm just completely drawn to this one with a purple background. If you're happy with how your collage looks at this stage, you can leave it as it is and call it a job well done. But if you're like me and you want to take it a bit further, with adding some details, stay with me and let's move to our final step.
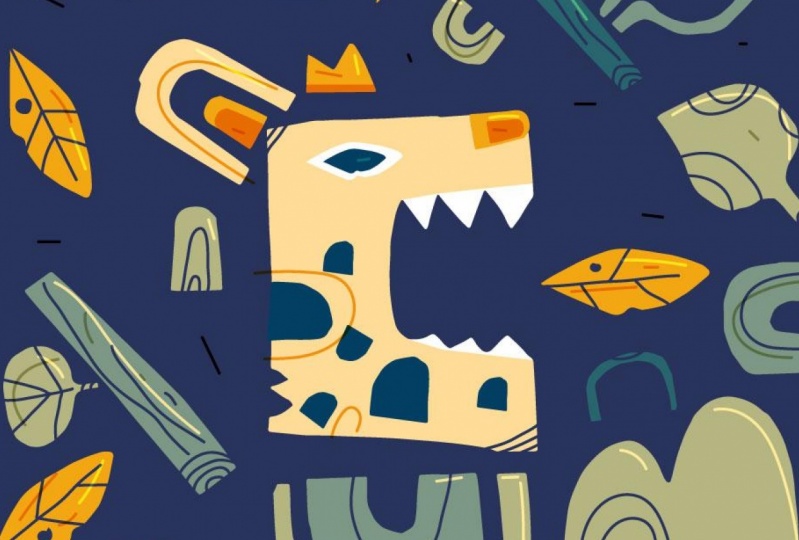
6. Final details: Let's add those final details. I've opened this collage in a new file so that it's easier for you to see what I'm doing, and I grouped it, unlocked it, and now I'm going to draw on top of everything, and later I will use a clipping mask to keep the details inside the boundaries of my favorite cutouts. I'm going to use the geometric shapes, pencil, and line tool to create these details. If there is more than one detail per object, I will group them as I go for a better organization. You can see here, for example, that I'm using custom action for reflecting and copying these shapes with just one click. If you're interested to learn more about that and learn about the basics of the tools that I'm using for making these details, make sure to watch my previous class, let's Play with Flowers. There you'll find step-by-step explanations that will definitely come in handy, especially if you're Adobe Illustrator beginner. The doodling is finished, I've tried not to over stuff the collage with too many details, so I left some objects as they are, so that everything can breathe and have some balance. Now, I can apply the clipping mask for some of these objects so that all the details fit inside the borders of the object. I will unlock my main artwork and regroup it. For example, let's make a clipping mask for this object. I will select the object and copy-paste it in place, Command C, Command F, and while it's selected, I will bring it to front, Shift+Command, right-bracket. I am doing this because the object that we have left in the back is going to be our background, and the one that we copied and sent front is going to be our mask. Now, I need to select the decoration and the object on top of it. I'm holding shift to select them both, and I can do to right-click and select clipping mask. That's it. It might seem like a lot of steps to make, but after your do it five times in a row, you'll start doing it without even thinking about it. I will now repeat the same process for each object with a creation that requires a clipping mask, and make the final adjustments. At this point, I will call it a day and say that this collage is officially done. I love the outcome very much, these details really given that final touch and playfulness that I'm looking for. The only thing left to do now is to save it, for my Instagram posts I used the option Export, and then export for screens.
7. Thank You: Hey again, I just wanted to say thank you very much for spending time with me and watching this class. It's been quite a process. We went from blank paper and scissors to the finished digital collage. I hope you enjoyed it, learned new skills, and got inspired to create an artwork of your own. If you do, and I hope you will, don't be shy and share what you created in your class project. As always, if you have any questions, feel free to ask anything in the community section. To get notified about my next classes you can follow me here on Skillshare and to keep in touch, you can find me on Instagram [inaudible]. I'm sending you lots of love, good vibes, and I'll see you in the next one.
 Di Ujdi, Illustrator & Art Explorer