Transcripts
1. Introduction: Hi. Hello, or welcome
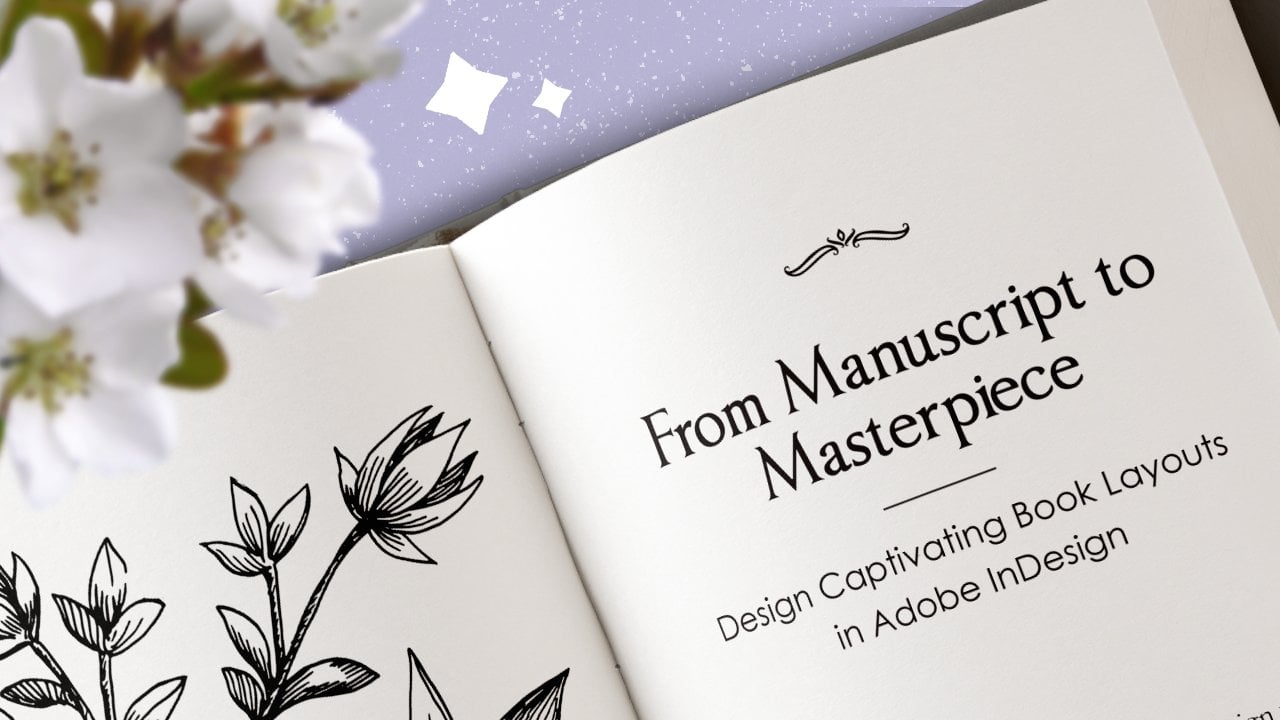
if you're new here. This class is part of my book Design series,
where in this one, we'll learn how to take your manuscript and
convert it into an e book, while using free software. Let's face it. Writing a
manuscript is hard enough. But converting it
into an e book. Well, it's not that
hard actually. And I'm going to be
here every step of the way to help and
guide you through. My name is Tonya,
and I'm currently a UX designer here in Australia. But before that, I spent a few months working
for publishing company. There I learned all the ins and outs of layout
and cover design, as well as e book conversion. And now I'm sharing what
I've learned with you. So whether you're
looking to self publish or share your story with
friends and family, or even just to
learn a new skill, this class is for you. So here's the chance
to go and make yourself a nice little
cold or hot drink, and let's get into it.
2. Project Overview: So this project is going
to be fairly simple. I just like you to take your own manuscript
or you can use the one that I've provided in the project and Resources
tab down below, and just screenshot
one or two pages of any chapter when you've opened it on
the Kindle previewer. So nice and easy, and I hope you enjoy the class.
3. Chapter 1: Import Manuscript: Okay. Let's get started. First of all, we will need
to have Google Chrome installed in order for us
to access Google Docs. Once you've got Google Chrome, you can open that, and then
on the right hand side, here you'll see a
little menu icon, which says Google Apps, you'll click on that,
and if you scroll down, you'll see Google Docs. When you are on Google Docs, we'll create a blank document, and wherever your
manuscript is saved, maybe it's in word or in pages, you'll open that document, press Control A to
copy all of the text, and then you'll go back to Google Docs and
paste it over here. In my case, I'm going to do something a
little bit different because I don't have a program where I've saved my manuscript. So I have it saved
on the normal word. So what we'll do for this? I'll first need to upload
it onto my Google Drive. So we'll go back to these
little app icons over here, and then we'll scroll
down till we see drive, and we'll open Drive, which I have opened
here on a tab. And then to import the document on the
left hand side here, you can click on you and you
can either add of folder, but in my case, I want
to upload a file. So I'll click on Filelod, and I'll select the manuscript. I already have it uploaded, so I'm just going to I'm going to say keep
both files. It's fine. And then once it's uploaded, you can double click
on it and it will take you to Google Docs
automatically.
4. Chapter 2: Adding Page Breaks: Now that we've imported our
manuscript into Google Docs, we can start with
the formatting. Just a thing to keep in mind is that ebooks tend to
be quite simple. They aren't as stylized as printed book should
be, for instance. As there are settings to
change the size of the text, or people sometimes
can change it to a dyslexic font on
some ebook platforms. So it's sometimes better
to keep it more simple. What we'll do first is to make sure that we can
see the paragraph marks. These marks are just
an indication of paragraph breaks and spaces you've used in your manuscript. This makes it easier
to see where we may have accidentally used two spaces or two
power graph breaks while editing the manuscript. So to show this,
we'll go to view, and we'll click on show
non printing characters, or we can use the
shortcut Control Shift P. So now we have a bit more information
about our layout. The next thing to do
will be to create page breaks just before
the chapters of the book. We do this first as it is easier to spot
where the chapters are, especially if you have
differentiated them in some way, either with a bold font
or a bigger text size. So to add page breaks, we'll find a chapter Here's
a chapter over here. And then we'll click on
it, or sorry, Insert. We'll go down to break
and press page break. Or this is quite
an easy shortcut to follow. Control Enter. So this is the tedious part of doing the manuscript is going to find all of the chapters and headings that you
have throughout it, and then creating a page break. Here's another
one, for instance, We'll press Control ops. And it has made a page break. Now, as you are going through your manuscript doing
these page breaks, it's nice to have a look at the special characters
that we've placed, and then you can edit your
manuscript even more. For instance, we can take
out all of these spaces. We can see here's a random
space just before the chapter, and so we'll go through the whole manuscript and
add our page breaks.
5. Chapter 3: Roughly Format Manuscript: In this lesson, we are roughly
going to format the text. So we'll select all of the
text by pressing Control A. And then we're just going to
set it to a web safe font. So in this case, I'm just going to select libri. And here it doesn't really
matter which font you use, as you'll see later
when we open it in a kindle previewer that you can only select from a certain amount of
fonts on the program. So we just need a
nice web safe font, and then we'll change
the point size to 12. Just make sure all of your
text color is black as well. And now we need to change the
paragraph break settings. In this case, you'll see
that it has line brakes, which most novels don't have. They have first line inds. So let's change it to that. To do that, we'll go to format, align an indent
indentation options, and we'll select a special
indent of first line, and we'll change that
to 0.5 and hit apply. Also, make sure that all of your text is justified
to the left. So we'll just justify the text. Then as you can see, we still have line breaks here
for the paragraphs. Let's reduce those
spacings between them. To do that, we'll go to format, line and paragraph spacing, and we'll go to custom spacing, and we'll just remove the
points after and hit apply. And see that has just decreased the spacing that we're
between the paragraphs. Now we just need to not have an indent on the first
paragraph of a chapter. In order to do this,
we'll just click on that first paragraph and we'll apply this
normal textile to it. Then we'll need to
select this paragraph. And we'll need to format that
to what we've just done. So the point size
needs to be 12, and the pah spacing
needs to be adjusted. So we'll go to line a
paragraph spacing custom and just remove that
and press apply. And then just justify
that as well. And then we need to update the style so that
it saves over it. And now we basically
just need to go and find all of
our first paragraphs. We'll click on them,
and then we'll just click on apply normal text, and there you see
it has changed it. So we'll just do this for
all of the paragraphs. Then now, what I
just want to do is, I see that this author has
used a lot of double spacing. This isn't always used
when completing an e book, so I just want to
remove all of those. To do that, we're
going to find and replace and we are going to type in this
little piece of code, which I'll have in the
project description for you to quickly copy. Just make sure use regular expressions are
checked when doing this. Now, as you can see, they
have picked up those points. Then on the replace width, we literally just hit
the space bar once, and we click replace. We'll just give it a moment
because it does take a while, especially if you have
quite a large manuscript. I'm just going to put on
these non printing characters as mine went away somehow. It seems to have
solved the problem. The next thing that I
want to do as well, sometimes authors
would accidentally add another paragraph break. In this case,
something like this. So just to get rid
of all of those, we'll select all of the
text again, press edit, fine and replace,
and then we'll just remove all of this text and
add in this line of code. As you can see,
it's just selected one of these power
graph spacings, which is what we want,
and we don't put anything in the
replace with section. Then we'll just click Replace
all, and there you go. It's removed all of them
throughout the whole document. That's it for this lesson. Let's get on to the next.
6. Chapter 4: Heading or Title Styles: In this lesson, we're going
to be formatting the headings or titles or chapter
numbers or names. Let's start off by locating
our first chapter. We'll do the front and back
matter a little bit later. Here's the first chapter. I've just realized that
this is a prologue, so it doesn't really
start as a chapter. I'm just going to
remove this and rename the second
chapter to Chapter one. As I've scrolled down,
I've just noticed something strange here
with a page break. So I'm just going
to correct this by deleting all of that. And then just adding a page
break to this chapter. There we go, that
looks a bit better. As we go along with
the manuscript, we can find any faults
that we might come across and just net
in and correct those. For this, we need to give our chapter numbers and
names title styles. What I'd like to do is to have my chapter number
separate from the name. I've just pressed enter to
give it a paragraph space. For the Chapter one,
we can just give this a normal style here. I usually give it just
the subtitle style. Then we just need to remember that at the start
of these lessons, we formatted our text so that we have a
first line indent. We just need to
remove that as well. We'll go to format a line and
indent indentation options. And we'll change
the first line in then to zero and select none. Then I'm just going to
resize this a little bit to maybe 14. It doesn't really matter
what text you use. You can either keep it at
Calibri or webaf font. But like I mentioned before, in the Kindle previewer, they only allow you to
choose certain fonts. What I just like to
do is is just change this color so that it's
black instead of gray, and then also just
center align it. Then I'm just going to
update the style so that it's easier for us to change
the other chapter numbers. Then it's on to
the chapter names. We're basically going to
be doing the same thing, except for this one, we'll be changing it to a heading and we'll
say apply heading. Remove that first
line den. Whoops. Then this one, I'm just
going to change to a point size of 20
and center align it. So Amazon Kindles previewer has a bit of a problem when
I update the style. It doesn't seem to keep
these in the center. So unfortunately, I'm going to have to do
all of them manually. But this is how I would
want it to be displayed. So that's how I'm
going to be doing it. But if you want your chapter
names to be left aligned, this won't be an issue. Okay, I also just want
to add a little bit of spacing between the
chapter name and the body. So we'll just go to format line and paragraph
spacing custom, and we'll maybe put 16
here and hit apply. Now we just need to do this with the rest
of the chapters. Then I just need to
call Chapter two, and we'll select the subtitle
that we just created. Then this one, unfortunately, we're just going to need
to do this manually again. Forgot about the heading. Forgot about the heading. This needs to be heading. It's important to add the
heading style as this is going to help us in linking up the table of contents
with our chapter names. Since this is our last epilogue, I just remove the
chapter number. For this one, we can
also just apply heading one and do the same as we've
done for the chapter names. Okay. Now I can just
do the front matter, the rest of the front matter. So we'll keep this
as heading one. Remove the space here. And once again, the and
we'll center align that. The title of the book, we
don't need to touch right now. We can do that a bit later. This will also be doing
in our next lesson, the table of contents. Then for acknowledgments here, we can also add
the heading style. And I'd like the body of
this to be center aligned. So we're just going to
select this normal text as we've done at the start
just to remove that in. And then I'm just going
to align this text. And that's it for now, let's head on to the
table of contents.
7. Chapter 5: Table of Contents: Now it's time for the
table of contents. If the book has chapter names, we'll create a
table of contents. If it only has chapter numbers, then there's no need
for a table of content. So what we'll need
to do is either copy the table of contents from the manuscript into our
new Google Doc file, or if it's already there, that's perfect, or you'll need
to manually write it out. So I'm just going to
update some of mine since the prologue and the
epilogue on chapters. I'm just going to remove
that and then rename these. You know what? I'm just going to remove
the chapter names. I mean, the chapter numbers, since I'm going to be adding a numbered list to
the chapter names. So let's give our table
of contents a heading. We'll use the heading
one that we've created. Just going to
remove this period. Then I'm just going to
center align this as well and change it to 20. Then I'm just going
to give some space between the table of content between the
table of contents, and we'll go to format, line and paragraph spacing, and we'll just use
double for this one. Then I'm going to select all of the chapters and add a
numbered list to them. For the prologue and epilogue, I want these to be capitalized, so I'm going to go to format, text, capitalization,
and select uppercase. I'm just going to see if they
are currently capitalized. I actually need to add an
acknowledgment page here too. Actually I don't know
if that's Paul Crigly. No. There we go. Then I'm just going to format this to capitalize to be case. Windows. Then I'm just going to check to see if
the titles are capitalized. Ie. This one isn't, but I'm sure the epilogue. That looks all good.
That looks all good. Now we basically
need to link all of the table of contents
within our document. Since we've given
all of our headings, a title style, this is
going to be fairly easy. We're just going to
select one of them. We'll go to Insert Link. And then headings and bookmarks, and you'll see all
of them over here. So you'll just click on whichever those link
up to each other. Okay. I've also
just noticed that this heading isn't really
capitalized correctly. So there is a handy website
where you can go to, which is called Title
case converter. So you can literally copy all
of your titles in there and paste them onto that and it will tell you which words
to capitalize. Okay. And just to test these out, you can hold old and
select one of them, and then you can
click on the link, and it will jump to that
section of the page. All right. Now we just need
to tweak the last few pages, and we can also have another run through our whole manuscript, just to make sure we
haven't missed anything. In this case, I want to put the title of the book at the very start of
the manuscript. I'm just going to copy this and delete that page
break over there. Then I'm just going
to paste it before the acknowledgments and add
another page break here by either Control or going to
format to insert page break. Then I'm just going to
remove those on my word. I'm not even sure
what you call them, but I'm going to remove them, and I'm going to center
align all of this text. And let's maybe apply
the heading one to it. We'll see if that works. Okay. And I think that's
about all that I need to do. I've changed up the
chapter names and numbers. We've removed the dent
on the first paragraph. We've formatted all of our text. We formatted the chapter
numbers and titles. Like I said, we can just
go along and see if we see any more double
paragraph spacings or double spaces or anything that you'd like to
change for that matter. In this case, here's a weird
formatting thing here. I'm not sure what that is. So how we'll change this is to just change
it to normal text, and then just adding back
that first line indent, since this isn't the first
paragraph of the chapter. We'll go to format
a line and indent, indentation options, first
line and 0.5 and hit apply. And that should fix it. Just remember, if you have any different styles of
wording like bold or italic, then you're going
to just need to add that back into
the paragraph. It's the same for this one. Let's just apply
that normal text, and then we'll add
that ending back in. And then just for the end. I'm just going to
remove that end end. And I'm going to give
it paragraph break and center align that and remove the period
and extra spacing. Hopefully, that works in
the Kindle previewer, but we will shortly
out. That's about it. You are done with your
conversion to an e book. Now the next step
is to see what's going to look like in
the Kindle previewer.
8. Chapter 6: Saving & Preview: Okay. Now that we're done
with our manuscript, we need to download
Kindle Pre viewer, and I'll leave a
little link down in the project files
below for you to access. You'll just scroll
down until you see download now and then install
it onto your computer. Now we just need to save our manuscript
onto our computer, so we'll go to file
download Microsoft Word, and we'll just save it. Then we'll open up the
pre viewer and select Open Book and select our file. You can choose some
languages here. I'm just going to click
on English and press k. It does take a while for
it to convert your book. Now once it's open
on the previewer, you can now see what it will
look like as an e book. As I'm looking at it now, I definitely think the
subtitle needs to be smaller and it doesn't
need to be bold either. I'm just going to change
that up a little bit later. Then you'll see here at
your table of content, even here if you
click on the title, it will go directly
to that page. I'm not too sure how
this looks like on KDP. I'm almost sure that it doesn't include the
links to look like this, but we'll try changing it up on our document as well to see if it changes on the previewer. But all in all, this
is looking good. We've got our titles
in the middle. O text is nice and aligned. We've got inds. And everything seems
to be working great. At the top left here, you'll see what your e
book will look like on a tablet or on a phone
or on an e reader. Then here by the font, you can see which fonts
are available to choose. Yeah. Like I said, at the start, some e book readers have the ability to select
a dyslexic font, which can be very
useful for some people. That's why we tend to leave the fonts very plain when we started out
in the word document. L et's just change up a few of these things again
in Google Docs, and then we'll come back
and see how it looks like. The first thing that I
wanted to do was just to decrease the subtitle a bit. I'm actually just
going to unbold it and then decrease the
f to let's say about 19. Then I just wanted to see if it works if we can make
these link colors black. And if we can remove
the underline. Okay, let's save that again, and then we'll open it back
up on the Kindle previewer. Okay, so I'm happy with
the subtitle at this size, and it doesn't seem that it changes the
format of the links. But I'm pretty sure when you upload this to Amazon Kindle, it removes this formatting. But if not, I'm sure we can try and find
another way to do this. Okay. And that is
it for this lesson. I hope you guys
had a great time. And it was really great
to teach this class. I can't wait to do a lot more about book design,
especially for covers. I've got quite a lot planned for those in the upcoming weeks. So do stay tuned, and you can follow me on Skillshare for any updates
or news that I have. I'll also be opening
an Instagram page soon with some tips and tricks
that you can have a look at.
9. Acknowledgments: And that's a. Thank you so much for joining
in on this class. Please go and have a look at my other class if
you haven't already. That's all about layout design and getting your
book ready to print. Also, do give me a
follow on skill share if you'd like to stay updated
on future classes, as well as any social links
that I'll be adding soon. Once again, thanks so much, and I can't wait to
see your projects.
 Tonya, Graphic Designer