Transcripts
1. From Intermediate to Advanced Filmmaker: Hi everyone. After getting many requests, I'm so excited to bring you all the follow-up course to my popular cores, ''From Beginner To Intermediate Filmmaker'', and guide you to the advanced level. Unlike going from the beginner to intermediate stage, going from the intermediate to advanced level is a process of refinement, but what you'll need to learn is more nuanced. There are many things to continually develop as a filmmaker, but in this course, I've included seven practical things you can work on to continually fine-tune your film-making and reach the advanced level. While you may think that you'll need an expensive high-end camera to become an advanced filmmaker, most of the lessons in this course can be applied to your DSLR. Let's get started.
2. Complex Camera Movement: Number 1, complex camera movement. If you feel like you can track a subject smoothly with a gimble. Now, it's the time to add more complex camera movement that feels more dynamic and serves your story more powerfully. Consider going beyond the x and y-axis, and instead, adding some z-axis action which famous cinematographer Emmanuel Lubezki swears by. Consider adding a long tracking shot which covers many points in your scene to pull us more into your story, and practice nailing the focus pool along the way. Complex camera movements not only helps you develop your technical skills, but, also, your ability to visualize how the scene will unfold, and how you will guide the viewer's attention into your story. Before you start attempting this complex camera movements, start practicing storyboarding and blocking your shots so you'll have a visual guide.
3. Color Palette: Number two, color palette and set design. While many filmmakers use luts in the color grading stage to build a visual style to their film, advanced filmmakers like Wes Anderson, know how to build this look into their image in the first place. Adobe Color Wheel is an awesome free tool that allows you to build color schemes based on color theory principles. By building the color tones in your image, you'll set yourself up for a better foundation to color grade later in post. I find this is also really helpful, not only for narrative films, but also for documentary films if you want to build up some visual style and add some emotionality to your story.
4. Fine-tuned Color Grading: Number three, fine-tuned color grading. Besides just knowing how to adjust the basic exposure and color of your image, you want to learn how to control the nuances of color grading in post. To do this, you'll want to develop your ability to recognize the difference between the highlights, mid tones, and shadows of your image. The best way to learn is to play with color curves, which you can find in Adobe Premiere Pro. You'll see that the bottom of this curve represents the blacks and shadows. The middle represents the mids and the top curve represents the highlights and whites of your image. By playing with these curves, you can selectively fine tune for color and exposure in one of these specific areas instead of just adding a blinky grade to your whole image.
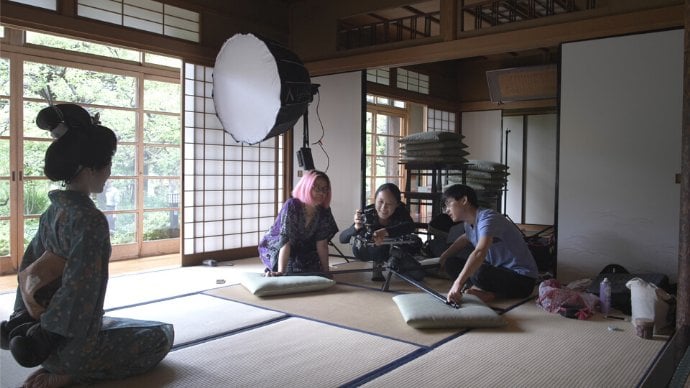
5. Sound Recordist: Number four, learn how to work with a sound recordist. If you want to elevate your film making, you'll need to elevate the sound recorded beyond just plugging in a shotgun mic into your camera. In my experience, hiring a dedicated sound recordist is an indispensable investment, as it allows me to focus on camera and direction. Whilst the sound recorders can follow the sound source up-close with their dedicated mics. The important thing to learn is learning how to work in synchrony with each other so you do not get into each other's way.
6. Digital Cinema Equipment: Number five, learn how a digital cinema camera works and try cinema lenses. While I strongly believe that it's not the camera but the eye behind the camera that makes an image, learning how to use a digital cinema camera can expand your filmmaker in superpowers. They will specially train you to see the nuances of an image. For example, a cinema camera with a large dynamic range can give you less milky shadows, while cinema lenses typically make an image look more three-dimensional. I always emphasize the lens more than the camera body itself. And it's fascinating to see how different lenses have different looks depending on the lens manufacturer. For example, the legendary Cooke cinema lenses are known for the Cooke Look, which gives slight emphasis to the blue tones of an image. To try using a cinema camera and lens, don't worry, you do not need to go out and spend thousands of $, but instead, try contacting a local rental house. Ask them to give you a demo and see if you can rent them for a few days to play with them and see how they work. However, please don't waste your money trying these cameras unless you've mastered the basics of using a DSLR.
7. Recording Details: Number 6, understand the nuances of camera recording. While you may be shooting in 4K with a flat picture profile, there are other little factors that go into crafting a high-quality image. I'll go into two big ones here, bit depth and native ISO. First, let's go into bit depth. Bit depth is a possible number of colors your camera can capture. Common measurements for these bit depths are eight bit, 10 bit, and 12 bit. Most cameras record an eight-bit color, which can capture 256 shades, each of red, blue, and green. Newer cameras, such as the GH5, can record 10-bit color internally meaning it can capture these without an external recorder, which can capture 1,024 shades each of red, blue, and green. While shooting in eight bit is totally fine for most purposes, shooting in 10 bit gives you much higher leeway in color grading without your image falling apart. However, it does need about 20 percent more storage space than it's eight bit counterpart, and can be slower to process in your editing software. When I'm doing professional work, I aim to shoot in 10-bit color. Native ISO is another one of these factors that impact image quality. Every camera comes with a native ISO, meaning that it was built with a specific ISO to preserve the maximum amount of dynamic range. For many cameras, like the Sony FS7, the native ISO is 800, which means you'll need to use ND filters and adjust lighting to get proper exposure to preserve the native ISO. Pair that up with a flat picture profile and you'll have a good foundation to take advantage of the maximum amount of dynamic range your camera can offer.
8. Master Lighting: Number 7, master lighting. While I believe this is a lifelong endeavor, if you have only been shooting with natural light, now is the time to learn how to control artificial light, to expand your creative powers indefinitely. I believe there is no better way to learn lighting than to play with the lights themselves. A great way to do this is to pick a few stills from your favorite films or a few of your favorite paintings, and try to replicate that quality of light. Another way to develop your eye for lighting is to be able to recognize the contrast ratio of an image. The contrast ratio represents the difference in exposure between one part of an image and another, measured with a light meter. They are used to define a consistent visual aesthetic and help achieve consistent lighting in between shots. For example, a common contrast ratio we use is called the key to fill. Using a light meter, you measure the amount of light falling on the subject's key side compared to their fill side. Then divide the two to get the ratio. If we're moving to another shot and want to keep consistent lighting, we'll measure the key to fill ratio of a new shot to make sure that it's the same as the original shot. If not, we'll tweak our lighting until we get the original contrast ratio. Another way to develop an eye for contrast ratio, without using a light meter, is to look at stills with false color. Stills from beautiful films is a fantastic website with a compilation of reference images pulled from films. To determine the contrast ratio of your favorite stills, you'll need to download a False Color Plug-in and upload it into Premiere Pro. I like the false colored plugin from Time in Pixels, which gives you a free trial. Here is a fantastic explanation from Lens ToGo walking you through the process. "First, I want to tell you what false color can't do. It's not going to be able to tell you the color, the direction of the light or if they're hard or soft source. What it can tell you is exposure levels throughout a scene. You can get contrast ratios by picking two points in a scene, whether it's one side of an actor's face to the other, or if it's the actor to the background or one actor to another actor. You can know what the difference in exposure is between them. Taking images that you like and learning the ratios that are being used can help you achieve that same look in your own work. It'll also help you be more consistent and direct your audience's attention to where you want them to look. There are two ways of talking about ratios: In light levels or in stops of light. To figure out the light level ratio, you take the brightest point that you want to compare, and you divide it by the darkest point. For example, if we take the key side of an actor's face and divide it by the fill side. The key side is around 45 IRE, and the fill side is around 15 IRE. You're going to divide those two, 45 divided by 15, and you'll get three. It's a three-to-one ratio, meaning the key light is three times brighter than the fill side. You can take this same thing and go from the actor's key side to the background. In this one, the actor's face is at about 50 IRE, and the background is around 25. Divide those two, and you'll get a two-to-one ratio, which is saying the actor is that many times brighter than the background." With practice, you'll develop this natural ability to recognize contrast ratio. Using this will help you to find its specific visual style and consistency to your image even before you shoot, which will save you a lot of time in post.
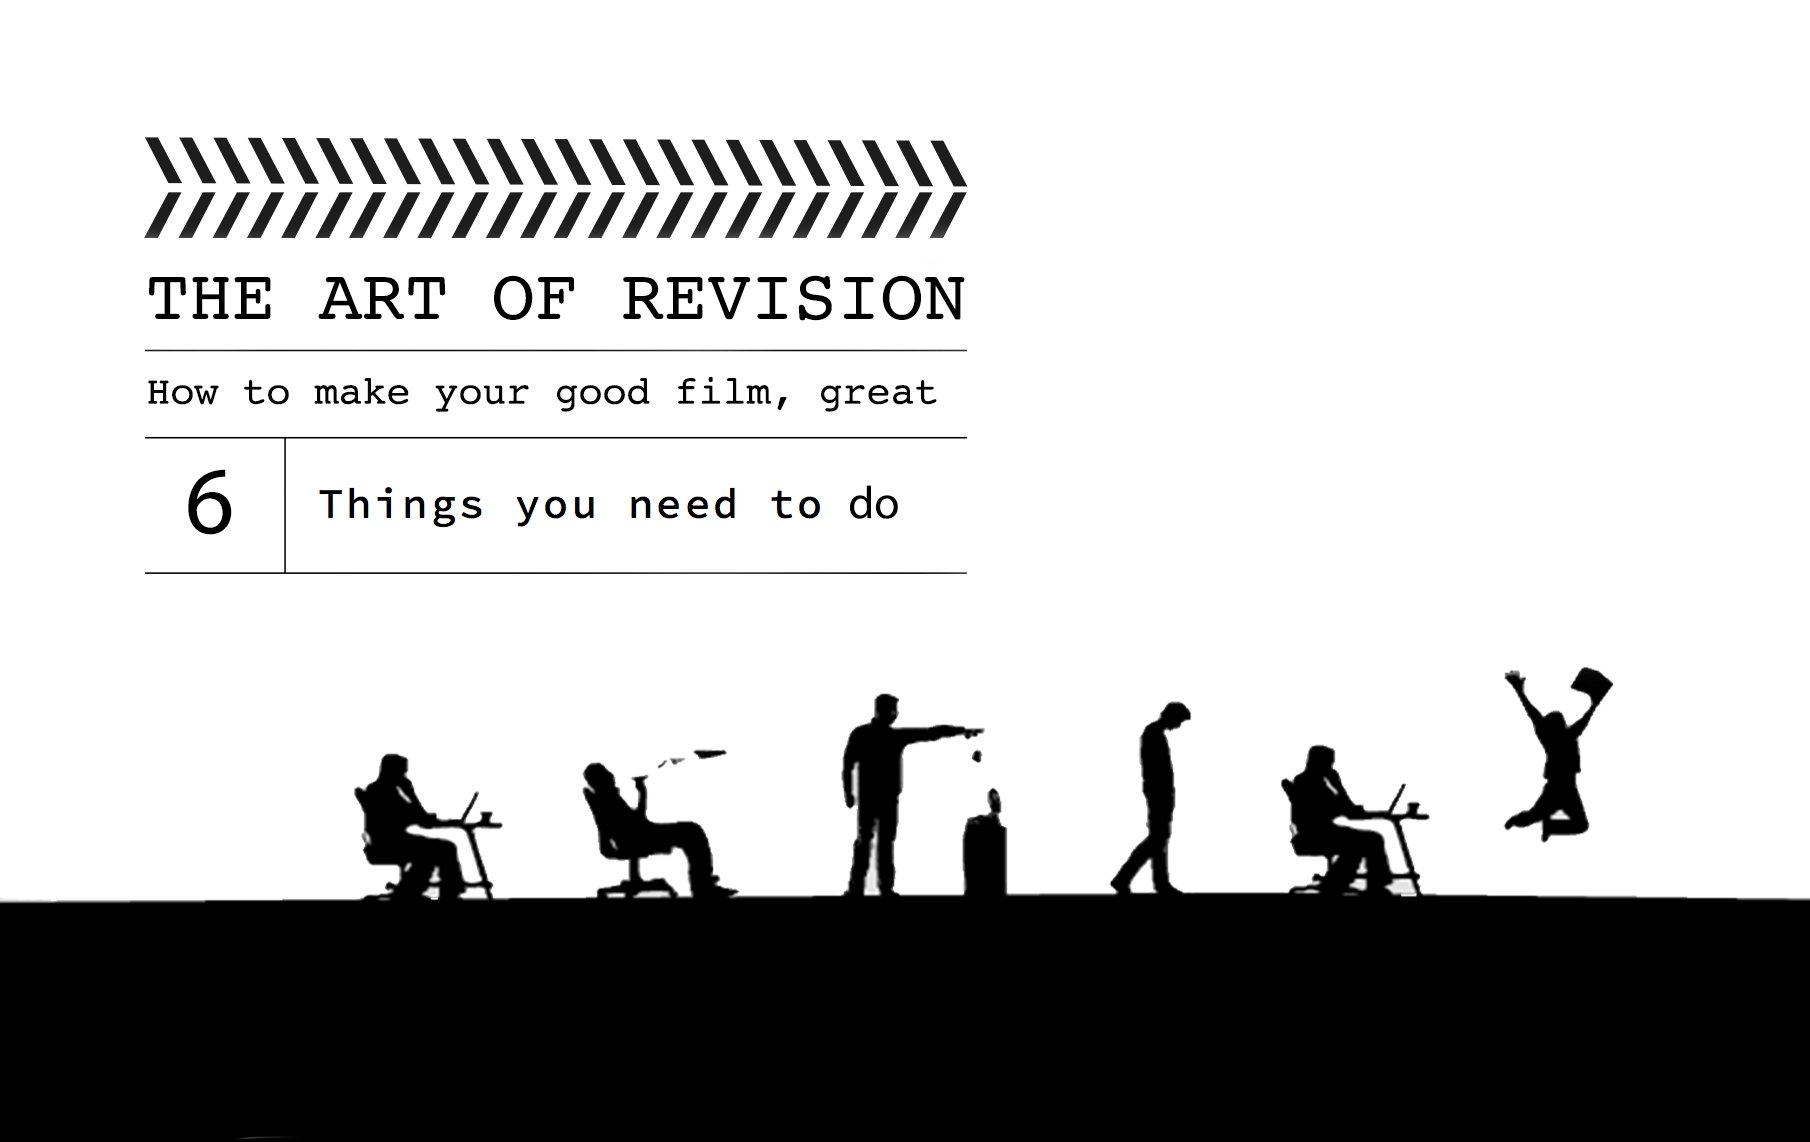
9. Course Conclusion: There you have it. Seven new steps to help you reach the advanced film-making level. I hope that by now, you have at least a few new things to try, to take your film-making to the next level. If you have any remaining questions, feel free to send them my web, as I'm here to support you, and please check out my other courses on my teacher profile page. Like my art of revision course, which provides advanced insights into film editing, that'll strengthen the clarity, momentum, and resonance of your first cup. Thank you so much for taking your time with me, and I wish you all the best for your film-making journey. [ MUSIC ]
10. Exciting Updates: Hi everyone. I have two exciting updates. The first is that I have created a course map that links all of my film-making and editing courses in sequence, so you can confidently advance as a filmmaker. The second update is that I've started a one minute newsletter, which is curated inspiration and high value insights on film-making, creativity, and the art of authentic living. Checkout both of these on my course instructor page.
 Dandan Liu, Filmmaker | Contemplative Creative