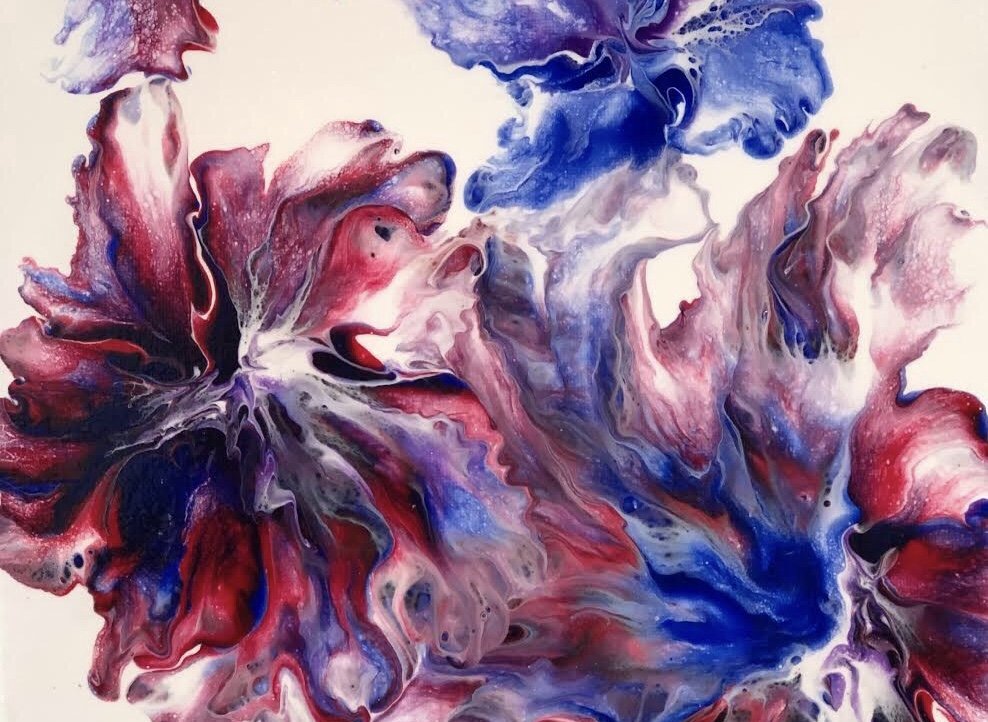
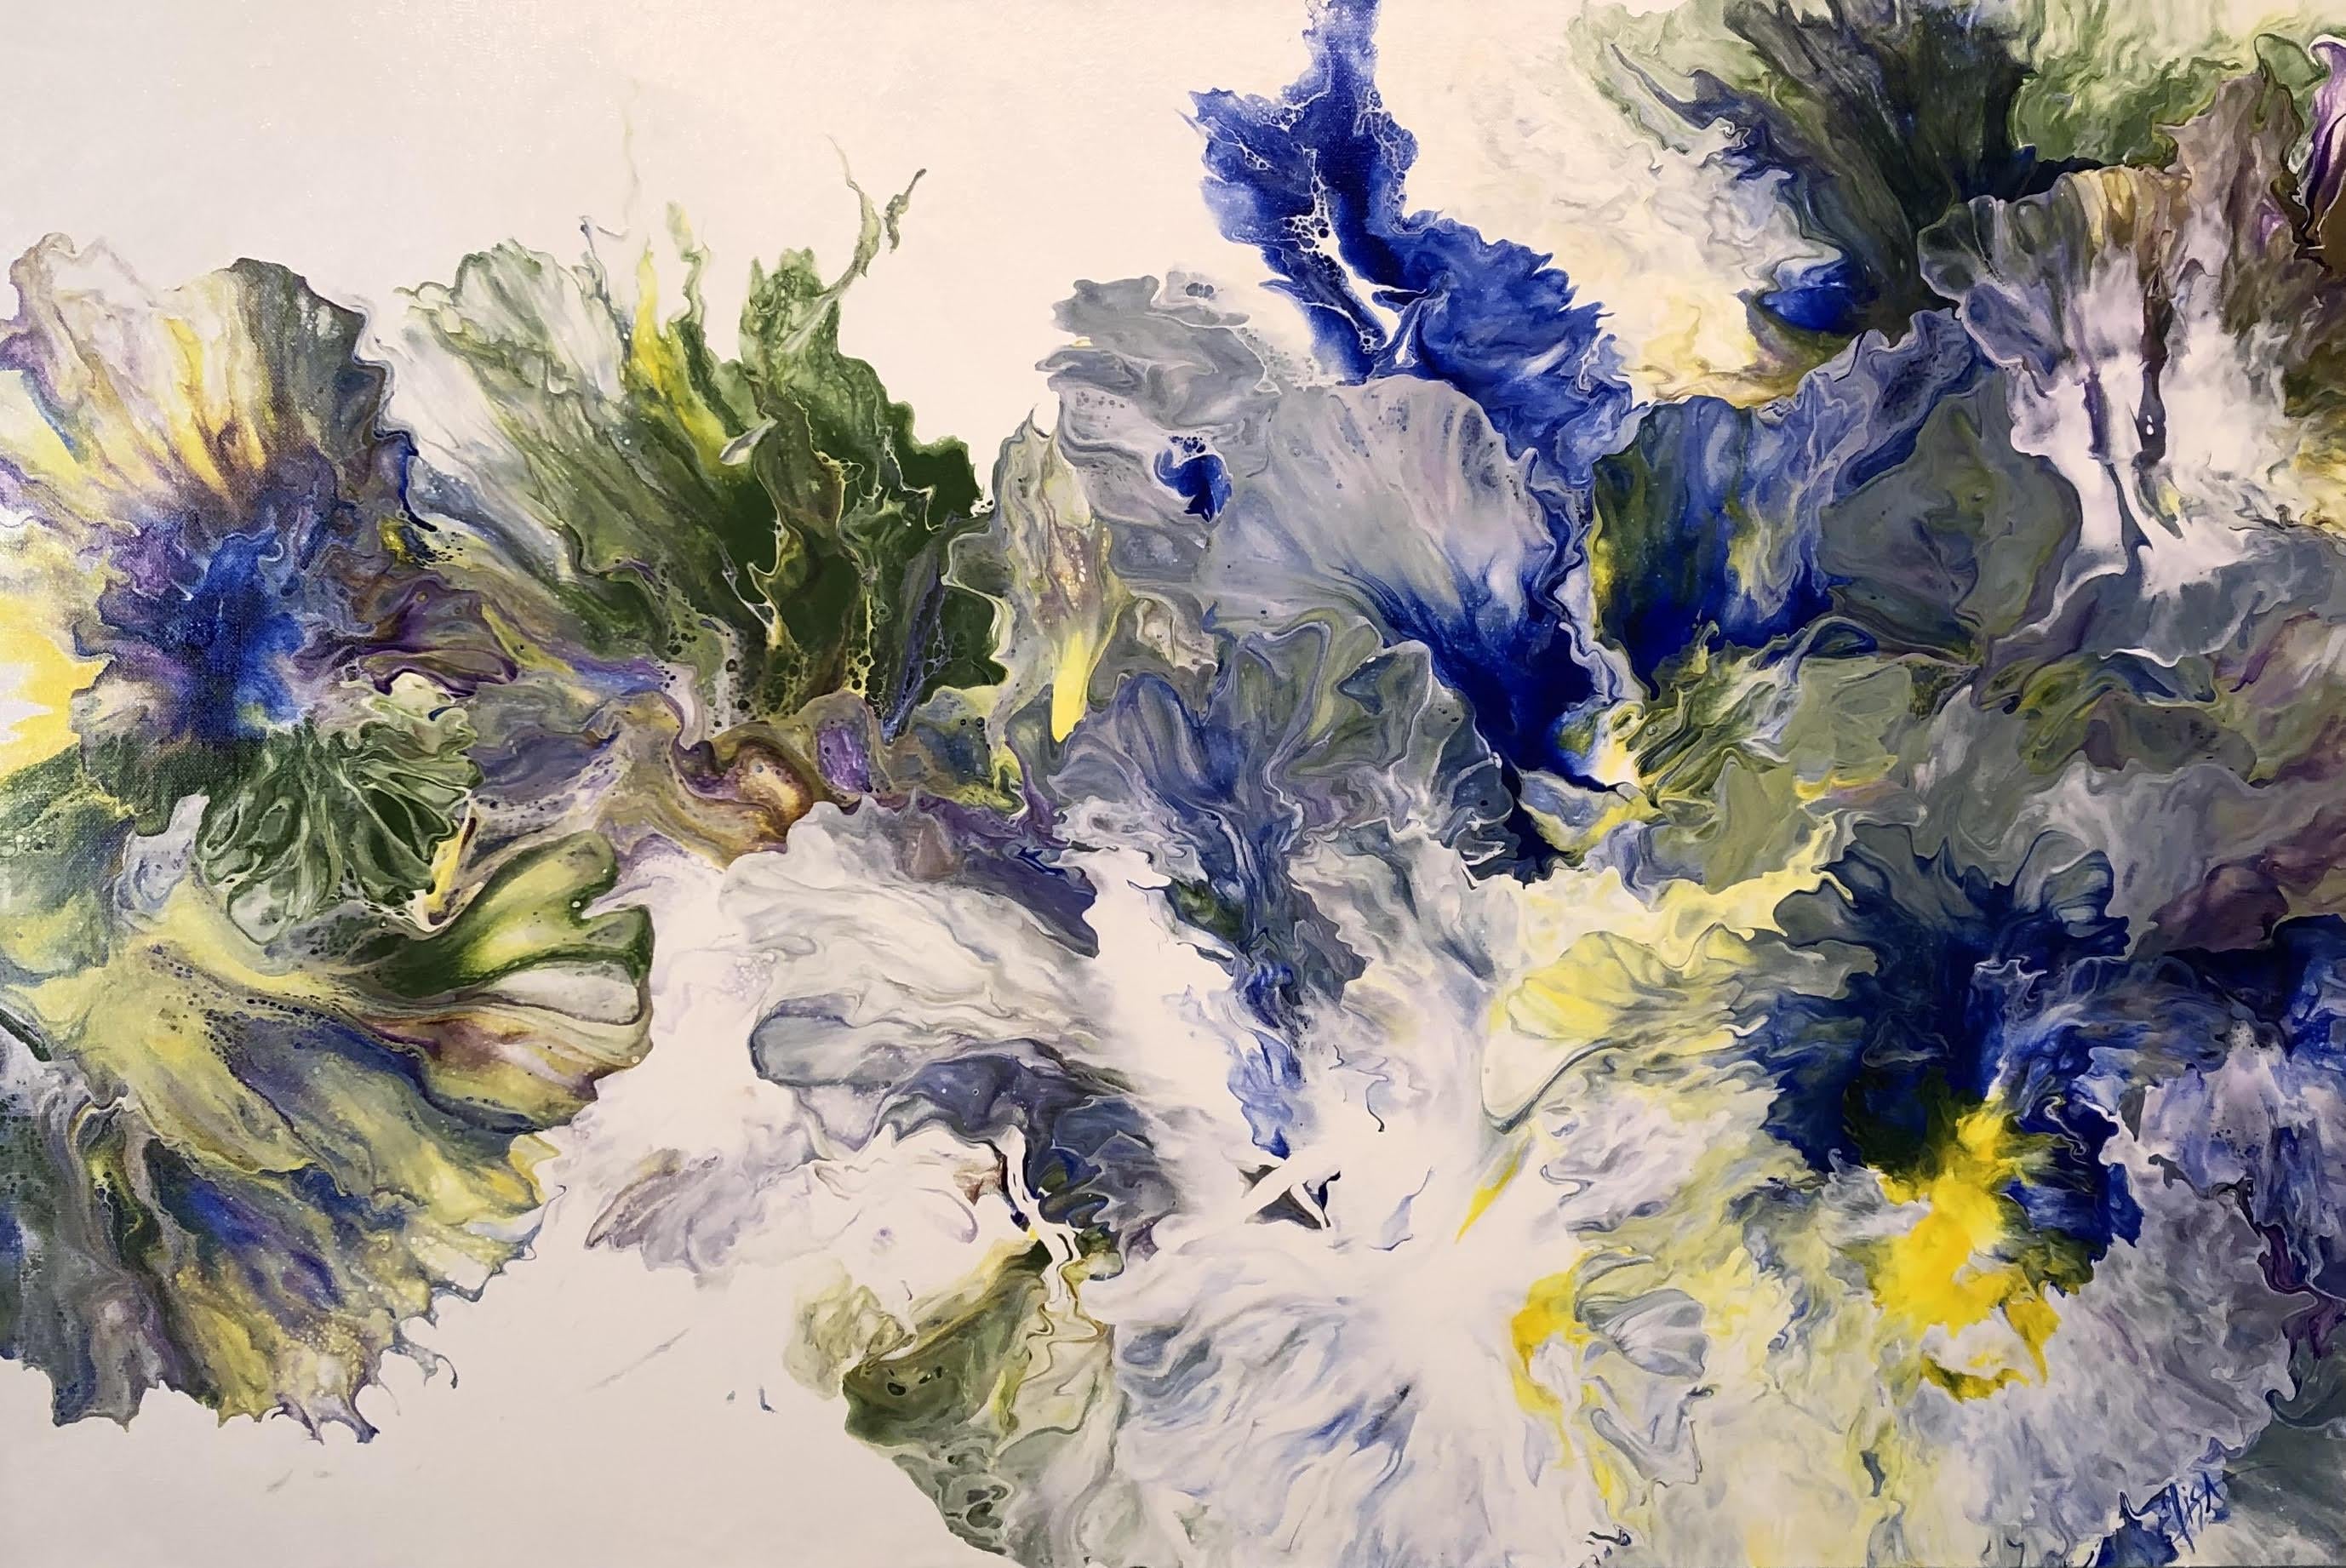
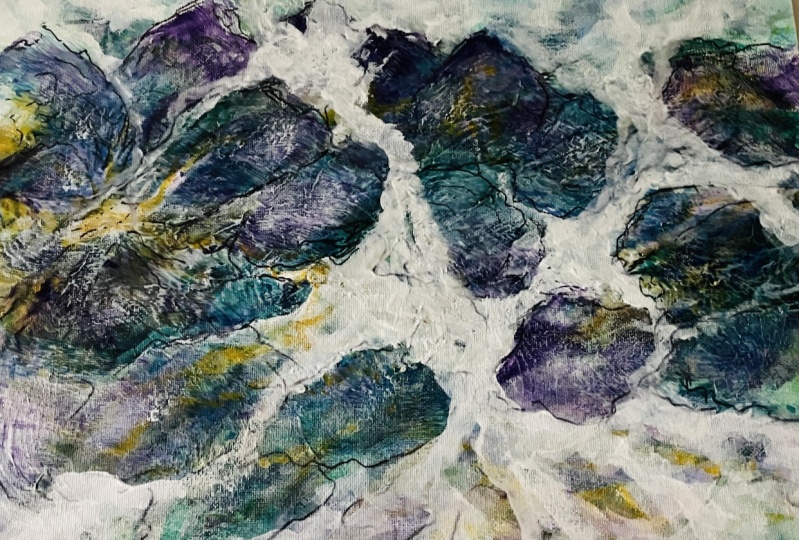
Fluid Acrylic Painting: Dutch Pour Method Irises
 Elisa Gabrielli, "Create easy to do Art & Floral Designs"
Watch this class and thousands more
Watch this class and thousands more
Lessons in This Class
-
-
1.
Acrylic Dutch Pour/Irises Introduction
2:24
-
2.
Step 1 Background
2:57
-
3.
Step 2 Add color
2:23
-
4.
Step 3 Blowdryer
3:54
-
5.
Varnish & conclusion (2)
0:43
-
-
- --
- Beginner level
- Intermediate level
- Advanced level
- All levels
Community Generated
The level is determined by a majority opinion of students who have reviewed this class. The teacher's recommendation is shown until at least 5 student responses are collected.
2,334
Students
1
Projects
About This Class
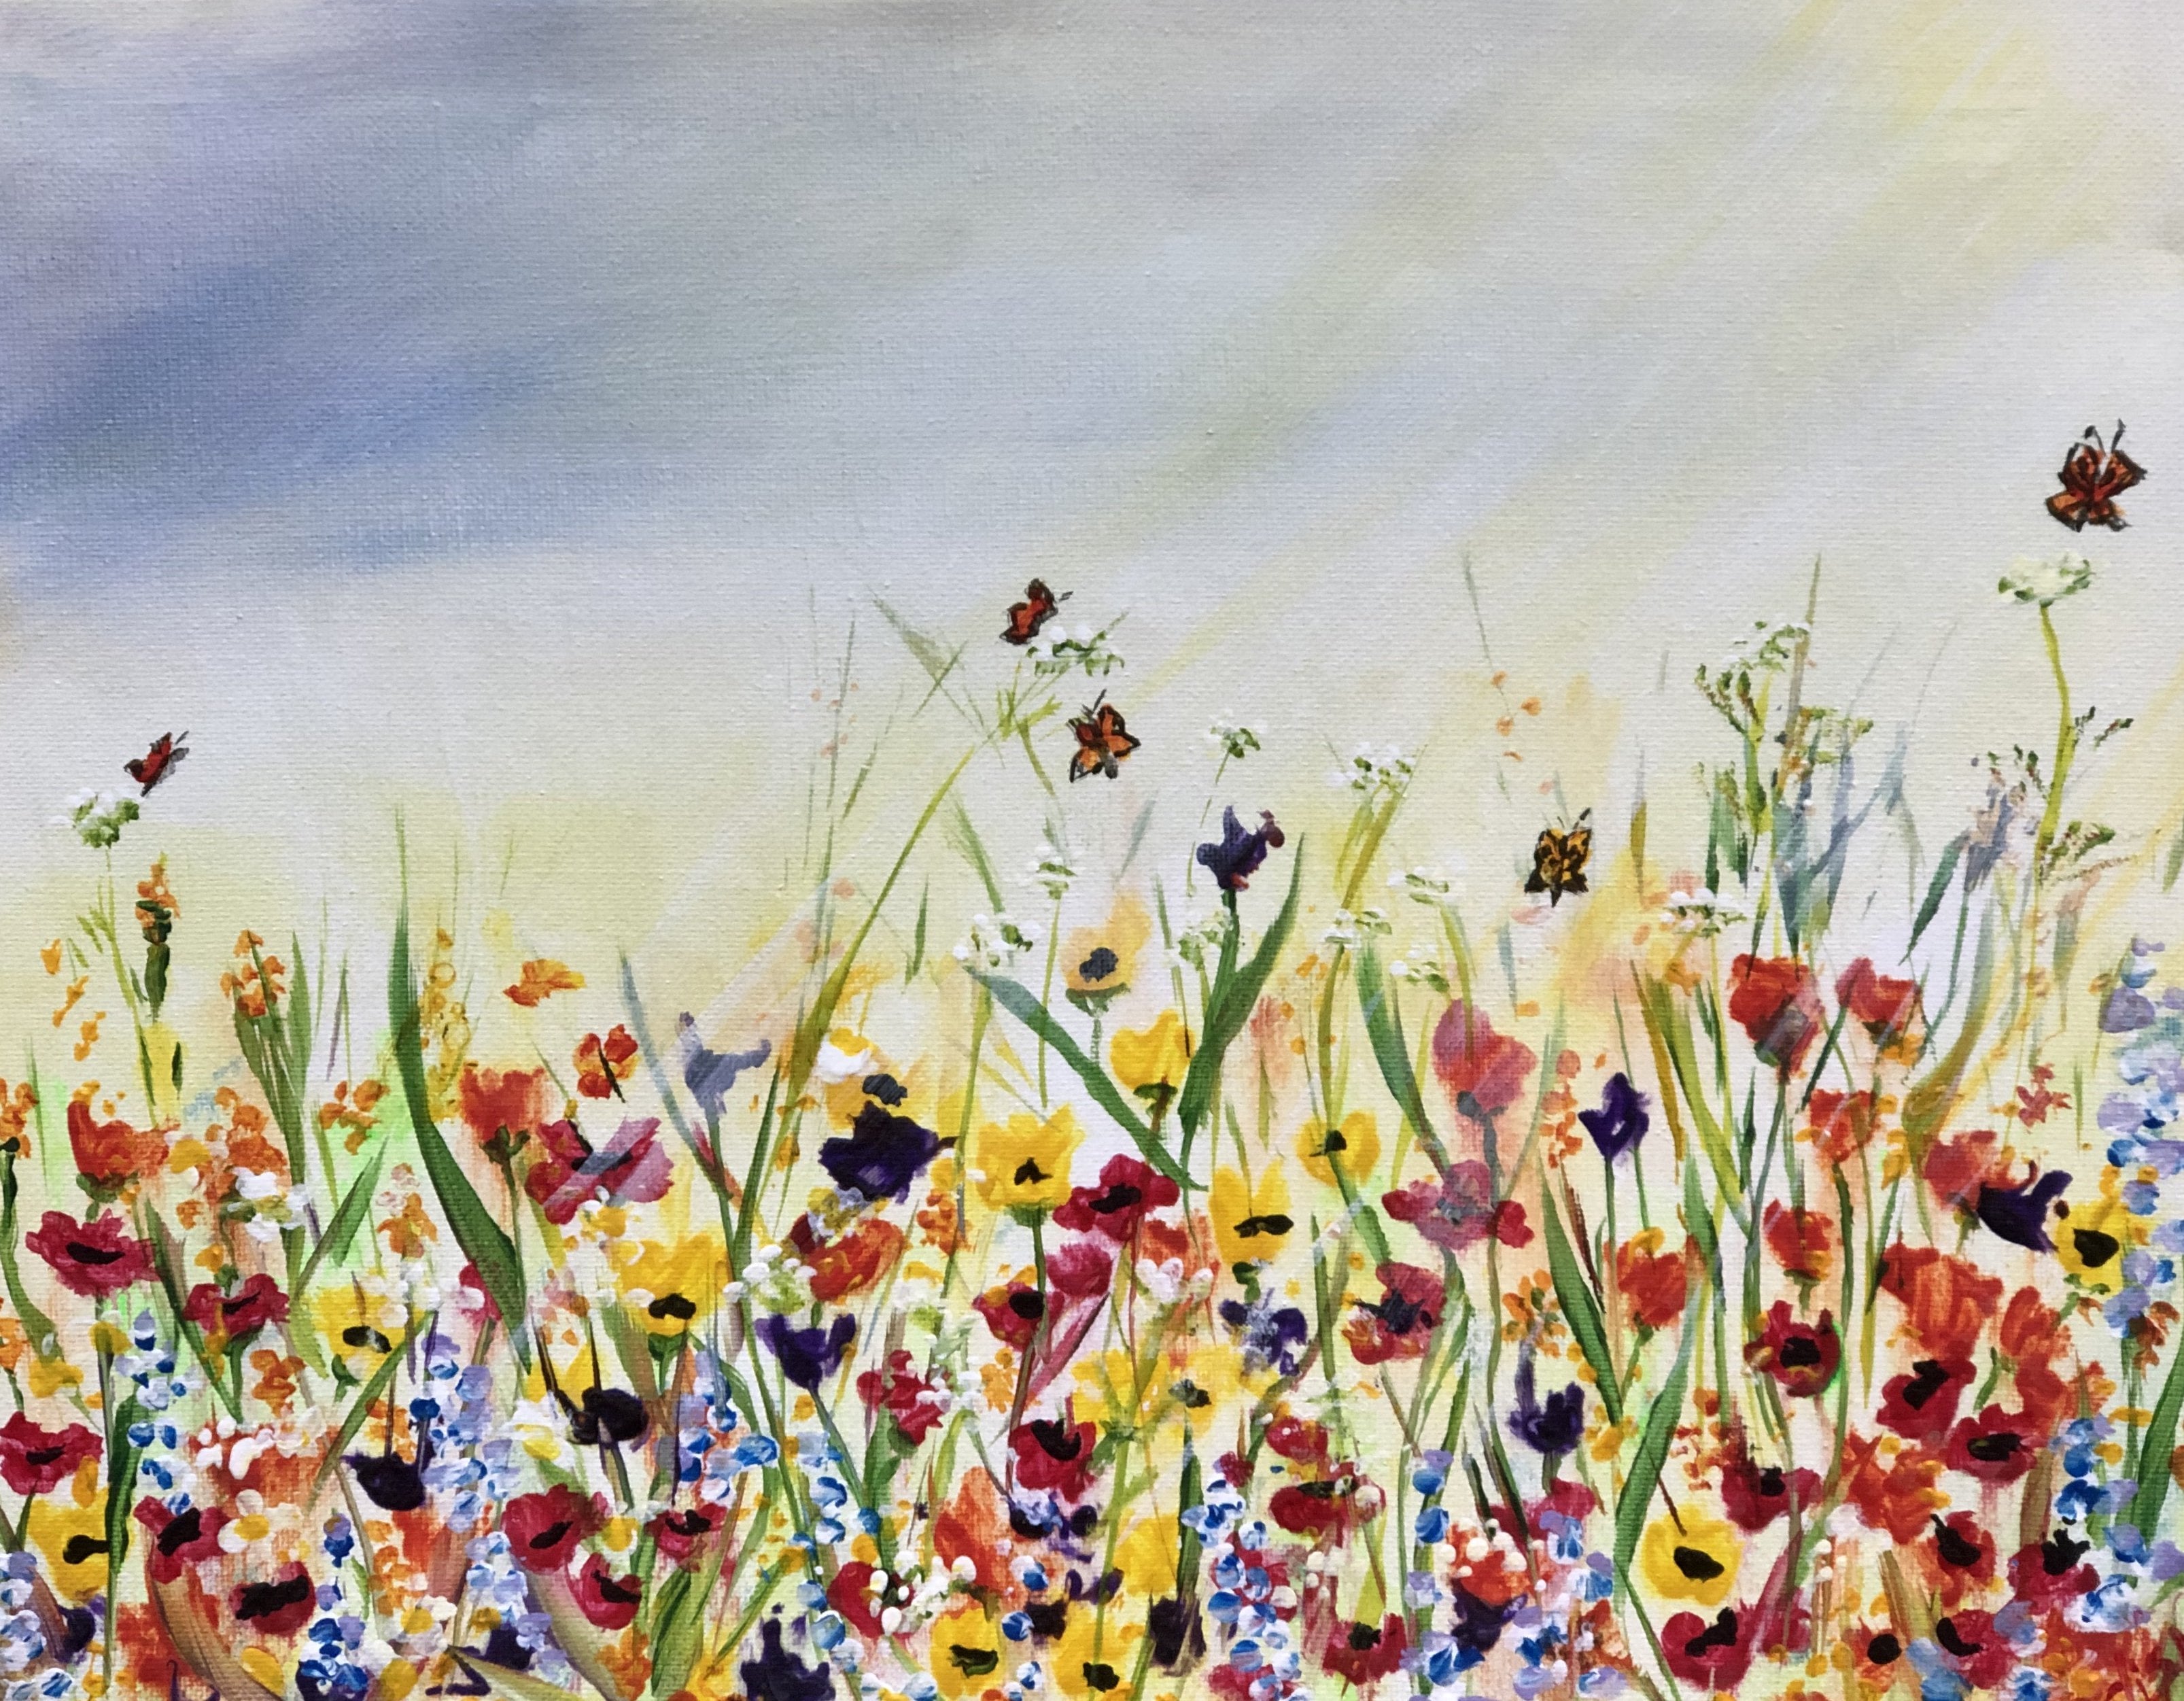
In this class you will learn to do a Dutch Pour Painting and how fun it is! We will be painting in acrylic paints creating free flowing Irises, we will use a blow dryer to move paint around on the canvas to make it look like abstract Irises that will totally amaze you!
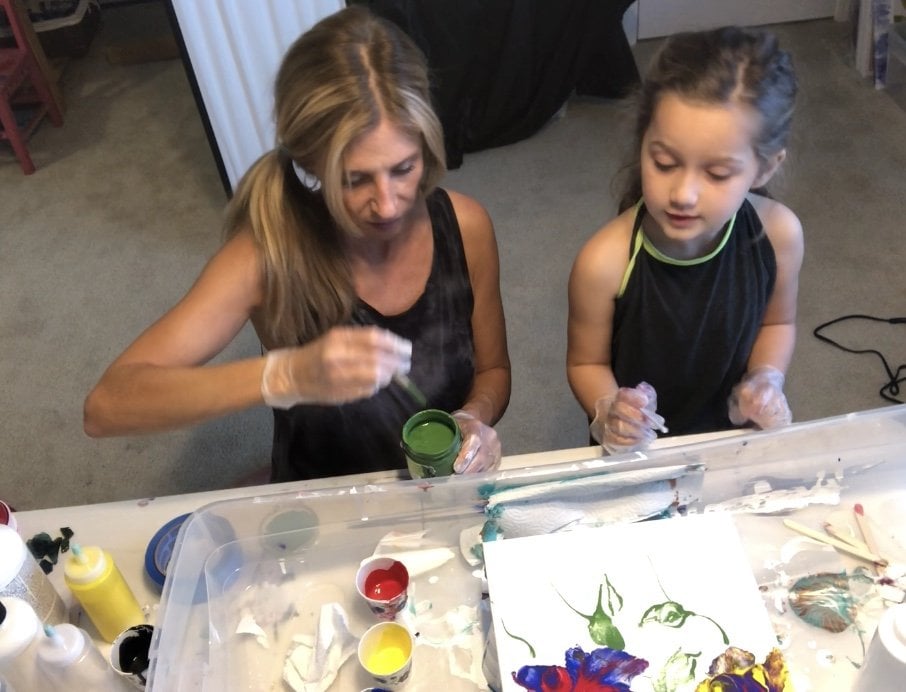
You will learn how to apply your paint mixtures to the canvas along with what supplies are needed and step by step instruction on how to do a dutch pour with acrylic paints.
Meet Your Teacher

I consider myself not just an artist or a florist, but a floral artist--each arrangement/design I create is thoughtfully designed to reflect a story, a mood, or a moment. My artistry is self-taught, ins... See full profile
Hands-on Class Project
In this class you will learn how easy it is to do a Dutch Pour Painting and how fun it is! We will be painting in acrylic paints creating free flowing Irises, we will use a blow dryer to move paint around on the canvas to make it look like abstract Irises that will totally amaze you!
- Prep your work space and materials before you start
- have all paints premixed and ready to use
- have plenty of paper towel make sure to wear vinyl gloves for easy hand clean up
Try and use different color combinations that you like and you can try blowing out different shapes and sizes of flowers using your blow dryer
Please share your unique paintings in the project gallery and and any tips or tricks you may have learned!
SUPPLY LIST WITH LINKS
You can use any acrylic paints you may already have or I like to use Artists loft paints & supplies from Michaels Arts & Crafts or Dickblick paints, some supplies can be purchased at the dollar store like table cloth, paper towels, mixture plastic bottles with lids, styrofoam plates & vinyl gloves some links provided below:
- Colored Acrylic Paint
- White paint
- Floetrol
- 24x36 canvas
- Poly acrylic Varnish
- Blow torch
- butane gas
- Hair dryer
- Paper Towels
- Plastic disposable table cloth or wax paper
- Styrofoam plate
- 16 oz. solo cup for white paint mixture
- blue painters tape for taping back canvas wood bars only
- Plastic drop cloth or table cover
- Apron or old t-shirt (Optional)
I do recommend putting a drop cloth on floor to protect floor from a spill.
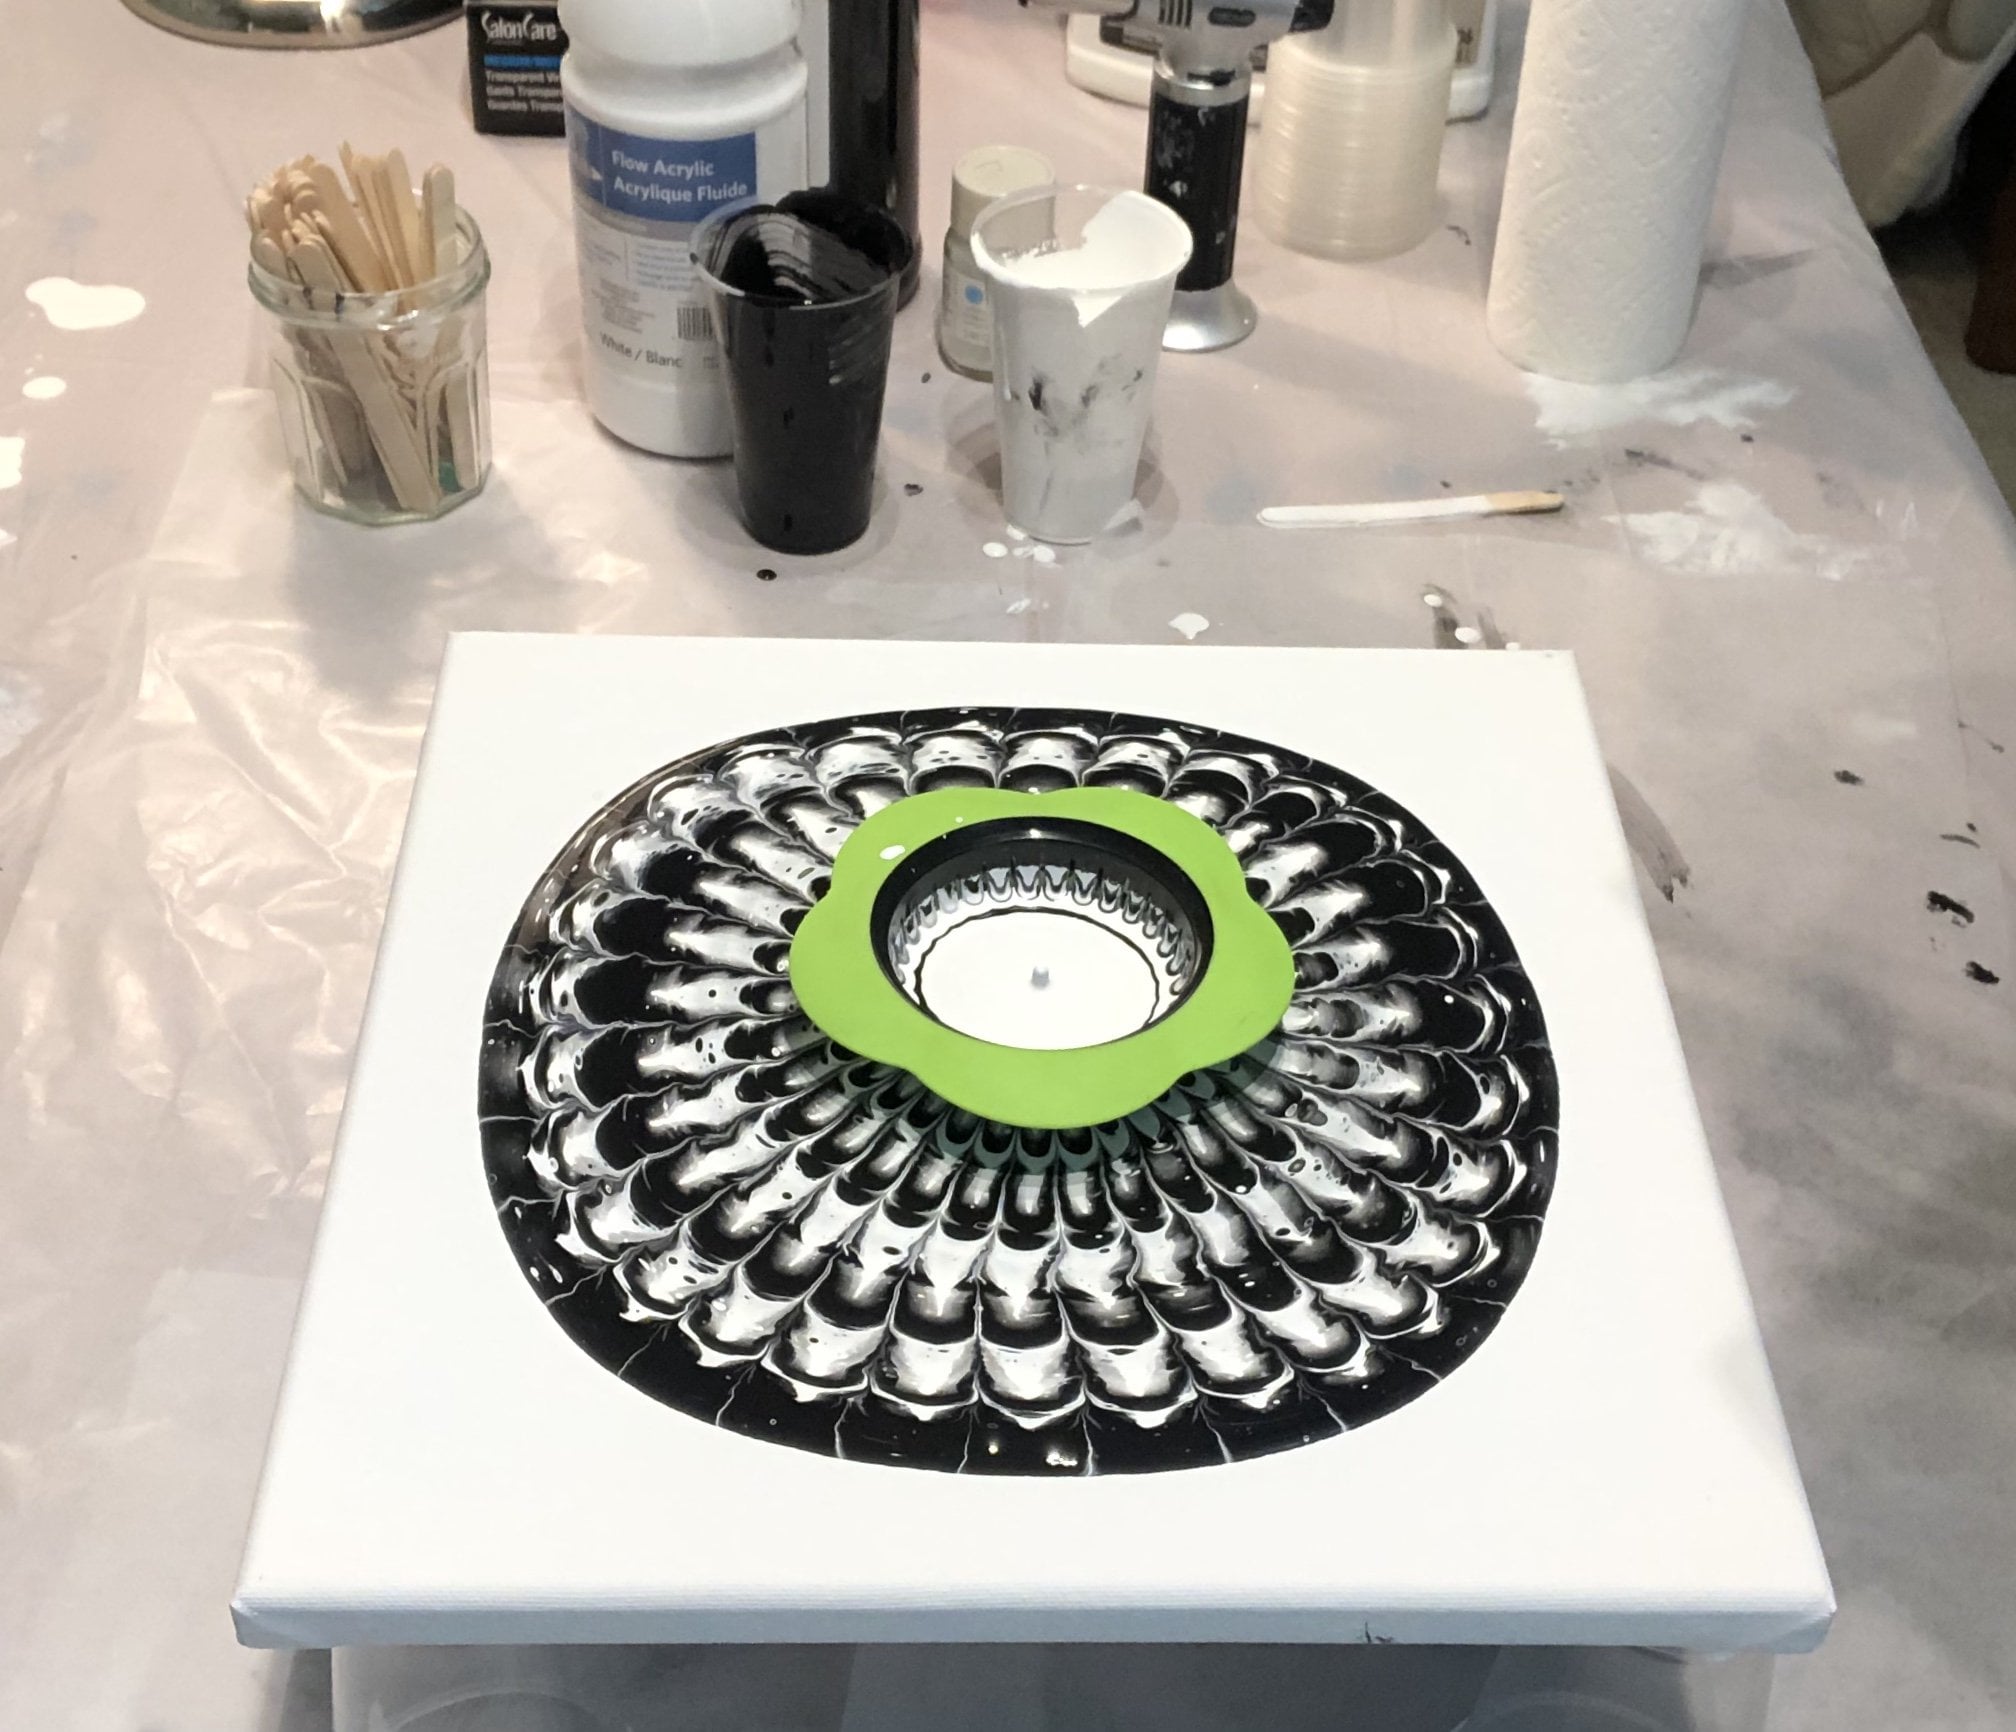
Background Paint mixture: white paint mixture = 1 part white paint: 2 parts Floetrol : 30% water
Directions: 1 cup white paint Artist's loft Flow Acrylic White 2 cups Floetrol to 30% water stirred up very well or shaken in a closed container.
Colored Paint mixture: 80 grams of floetrol: 40 grams of color paint: 30 grams water
Directions: Use a 6oz. plastic sqeeze squirt bottles for each color pour in floetrol, paint then water and cap off and shake well
Lay down plastic table cloth on work surface and place canvas corners on top of 4 solo cups inverted to lift canvas from table so that paint can drip down sides of canvas onto plastic table cloth or wax paper to be trashed when dry and finished usually in 3 days. Varnish let dry 2 days then you are ready to hang it up on the wall and enjoy your masterpiece!
Class Ratings
Why Join Skillshare?
Take award-winning Skillshare Original Classes
Each class has short lessons, hands-on projects
Your membership supports Skillshare teachers
Learn From Anywhere
Take classes on the go with the Skillshare app. Stream or download to watch on the plane, the subway, or wherever you learn best.