Transcripts
1. Introduction: I'm Heidi Cocteau, an artist
writer and an educator. I am so excited to be doing
another fresco glass. This time we're going
to be focusing on a newer tool for fresco
called the Shape Tool. It works seamlessly
with Adobe capture. Capture allows you
to import images to create shapes and
patterns and brushes. In this class, I'm going
to walk you through the process of creating
shapes in capture. And then how to use those
shapes in fresco to create a floral illustration made
entirely out of shapes. For this class, you'll need
an iPad Pro, apple pencil, and you're also going to
need the Adobe fresco and Adobe Capture apps. I'm sharing the shapes
that I used in this class, which can be accessed
in the resource area. If you want to create
your own shapes, you'll need any images
of flowers or leaves, or even your own artwork. So grab your iPad and
let's get started.
2. Create shapes with Adobe Capture: In this class I'm going to
be showing you how to use Adobe frescoes
capture Shape Tool. Now, they give you
some basic shapes. But what I want to show you
how to do is how to create your own shapes
with your artwork, with pictures in capture
that will be imported into Fresco and then
we'll actually be creating a floral
illustration like this. The first thing that
we need to do is to open Adobe Capture. And if you don't have
Adobe Capture yet, you can download that
in the App Store. So just for a quick
overview of capture, we have our libraries and
you can have all assets, materials, audio type, shapes, colors, looks,
patterns and brushes. And I'm under the shapes so you can see all the shapes
that I've created. If we go to patterns, There's a few patterns
here and then brushes, we can also use the shapes and images that we imported to
capture to create brushes. But we're gonna be focusing
today on the shapes. The way this works is
down here in the bottom, you're gonna have a
plus and a camera. Now, for this class, I'm actually going to be
using images that I took of artwork that I did for
another class that I did here on Skillshare
called expressive florals. And I'm importing
those painted images. So there's a lot of texture because it's a
painted piece of art. That's the way these turnout. Here's the actual photo
of a pen that I imported. These are line
drawings that I did. This is actually a tree and that's the photograph of a
tree without its leaves, that's in my backyard. And then here's
some more images of leaves and vines, eucalyptus. These are all pictures that I imported and then turn
them into shapes. Here's a picture of
my little kitten and some more flowers. What I'm going to
show you how to do is we're going to import, and I'm going to use
the example of one of the expressive floral
paintings that I did. And we're going to hit the
plus sign and import image. I'm going to use my camera roll, but you can also pull images off your creative cloud Lightroom
stock or your files. I'm going up to albums because I've got some
shapes saved here. Here's some of the
paintings that I did, and then there's line arts
and then a couple of photos. So let's import this one. Then it pulls it up
and it gives you a basic shape that you
can start to work with. There's a couple of
different menus over here. Over here, you can
actually change it from this black and white into, you can actually turn it
back into the actual image. But I don't want that here. You can actually
invert so that you can have the dark and
the white flip-flop. But again, I want it like this. This tool is a
magic prepare tool, so it's kind of
an auto clean and you can either like
it or don't like it. If you do, you can always
adjust the slider over here. I'm going to turn this off. And then down here you have some options for actually
changing the mode. And you can actually flip
through these and see if they apply and make it look a certain
way that you've liked. Everybody's gonna
have a different shape texture that they like. And I actually liked the
way that it comes across. Sketchy and grainy. Worth picking up all those
textures in the paint. You can play with these. You click on it and
then unclick it. If you continue to go down, it's going to add each one of those options on
top of the other. So you would unclick exposure. Here's highlight and click it. Shadow, brightness, contrast. You can scroll
through all of these. Some of the fun ones can
be line because then it's going to look
more like a line art. This is very busy. And I can drag this slider over to use
less line or more line. If the line is
something that I want. Edge pasteurize,
I'm actually going to leave it alone and I'm just using it on
its basic setting. And then over here, this
slider up and down, it's going to give
me how much of this light and dark that I want. The further down I slide, this is going to give me
more basic line art shape. Now if I want to
stamp it into Fresco, that would give me
a lot to fill in with color and play with, because there's not a
lot of texture showing through just the basic
line art of the shape. The further that I go up, the darker that this comes. So then when I'm
stamping it in Fresco. And let's say I'm
using a purple. A lot of purple
is gonna show up. This flower is going
to show up as very full because I've allowed so much of that dark
to show through. So I actually like a
combination of both. I want to see this
really sketchy edges, but I liked that
there's some areas that are coming in as darker. It's getting there with
a lot of depth to this. I'm actually going to hit
this little circle with a check to the edit screen
gives you a couple of options and you have refined crop and
smooth crop means that you can just pull your edges down so that you're getting
just the shape that you want. I don't have a lot
of room on this one, so I don't have to do
a lot of cropping. Smooth. You can
have it on or off. I usually leave it alone. We're fine is where
we're going to spend a little bit of time. Now this is a clean
image that I imported. If you're importing a photograph and you're trying to
isolate a certain shape, whether it's a flower and
there's a lot of background, leaves or grass or something. You would have a lot
of color in here, and I'll show you one of
those in a little bit. What this refined
lets you do is you can actually erase or add lines. With the erase tool. You can actually slide
your brush size over. And depending on
what you're erasing, will depend on the
size that you want. So you can zoom in a
little bit and start to look at some areas
that if you really want to clean up some
of these edges now, you don't have to,
if you really want a really texturize
looking stamp. I just come in here and I look and see
if there's anything that's just not
needed or excessive. If you make a mistake
and you erase, you just use the two finger
tap and it will undo. I'm just going around and doing a little bit of a cleanup. Now let's say that I've done my eraser.
I'm going to hit Done. I'm still in my refined, but I want to add a few
lines again, I have a brush. You don't have any options
with the brush style. It's just the basic round brush, no tapering, but you
can adjust the size. So let's say, let's say I want to add a
little more lines here. So depending on where
you want to add, you can come in. I'm just trying to find a similar thickness
to these lines. See how I can add additional lines and if I feel
something's getting lost, you just work your way
around the drawing and add anything that
needs to be added. Once you're happy with that. Hit Done. And all that's
left to do is to save it. Then I'm gonna hit
the Save button. And when I do that
is going to come up with the ability
for me to name it. And then from my original
image that I imported, It's actually offering
me a couple of things. It's offering me a
pattern that it picked up from the shape that I
imported, a color theme. I'm getting to an
actual color palette from that image in a gradient. If you want those,
you can save them. If not, just ignore it, you can check the boxes
if you do want it. So I'm just going to call
this expressive florals. I'm going to hit
Save. It's going to save here in my
libraries and my shapes. Now, one of the things that it did is it
picked up this line. When I imported that. If you, if you see
it later and you want to do any edits later on. After you've saved it, you can come in
here and do that. So what I will do is I
will hit the erase tool. I'm going to bring the large one in and I'm just going to run it across this edge
because that's where it was picking up a weird line. Then I'm going to
hit Done, save. And see how that line is gone. Let's try one more. And this time we're going to use an actual image of photograph. Let's use this photo of a California poverty when it
imports it into this screen. You can see that there's a
lot going on in this photo and I don't necessarily want to stamp that includes all of that. Again, playing with your menus, I can invert it. And that'll change.
This is showing more white, the
center of the flower. And the more that I scroll this. Up, it's bringing in
some of the darkest, but if I were to erase that, I don't have a lot
of white and I'm gonna have to leave
a darker edge. Otherwise it's not
going to show. If I invert it, it brings a lot of dark into
the center of that flower. And then I'm going to
actually adjust my slider until I get just a little
bit of white in there, but I want to keep the edge. So I need to clean
up the rest of this. You can attempt some
of these others. I don't like that.
And then here, you can just see if any of these make the lines
the way that you want. That would be an interesting one because it's got the white around it so you could
definitely clean that one up. Let's actually go with this
one and see how it goes. I'm going to play with the
line slider just a little bit to see if I can get a little bit more texture in there. I'm going to accept this
by checking that box. There's two things
you can do here. This is very busy, but I only want this puppy here. One, you could go in and crop it and actually zoom closer
into the poppy itself. Or you can just use the refine and a large
eraser and erase, but erasing that whole page
can get kind of tedious. Using my eraser tool. I am just going to go around the edges and clean up this
background that I don't need. I'm going to make a smaller
brush so that I can get in between these petals. The other thing I don't
like is I don't like this. The rest of this texture around the flowers actually
good with me. I'm actually going to come
in and with my brush, I'm actually going
to fill that in. And if there's anywhere
else that I want to fill in, I can do that. I'm also going to get a
really thin brush and just close in this area
just a little bit. One other thing I want to
erase here, here and here. I'll get rid of this one too. Now that I'm done with that, I'm actually going to
come in and crop this tighter because I really don't need that much
whitespace around it. Now I'm going to hit Save, and then I'm going to title
this as my California poppy. Then again, it's showing
me some patterns. These are coming in
as black and white. So I've got a couple of
different things that I can, patterns and shapes,
alternatives and color patterns. Again, I don't want any of that. I'm just going to name
it and hit Save. Again. Now we've got this
dark line over here. I'm also going to
come in and edit. And then with my eraser tool, I am going to erase this
dark line on the side. Hit Done, and save.
3. How to use Adobe Fresco Shape Tool: Now here we are in Adobe Fresco and we're
actually going to use a square shape for
this particular lesson. But you can use
any size that you want if you really don't
want to use the square, if you're not familiar
with Adobe Fresco, I have a couple of other
Adobe Fresco classes that walk you through
more of the platform. There are some changes to the software that have
come in recently. They launched their app before they had
everything complete. So we keep getting these updates periodically
throughout the years. And they just did one recently, which gave us access
to additional brushes. And if you're not totally comfortable or
familiar with Adobe, I can walk you through
it really quickly and they have pixel brushes. And then the thing about Adobe Fresco is that it actually has pixel
and it has vector. Then they have
these live brushes, which are amazing and I'll
show you in a second. So here's the pixel brushes. And we've got all the basics that are coming
with Adobe Fresco. And then we have
library brushes. We have access to all Photoshop brushes including all
of Kyle Webster's, which is pretty amazing. And that's what you're
gonna see down here. If you want to access any of the additional brushes
that Adobe offers, you can go to
discover new brushes. And any of the ones
that are here, all you have to
do is hit follow, and they will appear
in your brush panel. The other thing that you can
do under brushes is you can actually import from
files yourself. So there's that. Then we've got our water brushes and we have watercolor
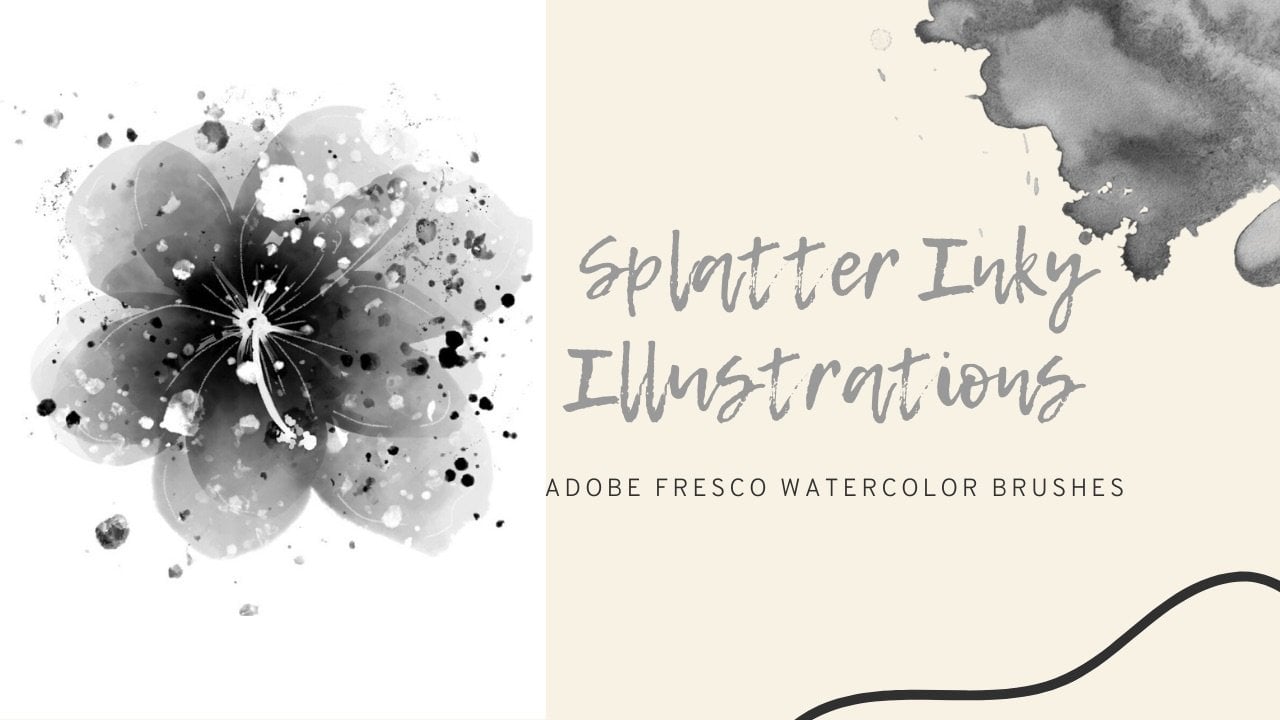
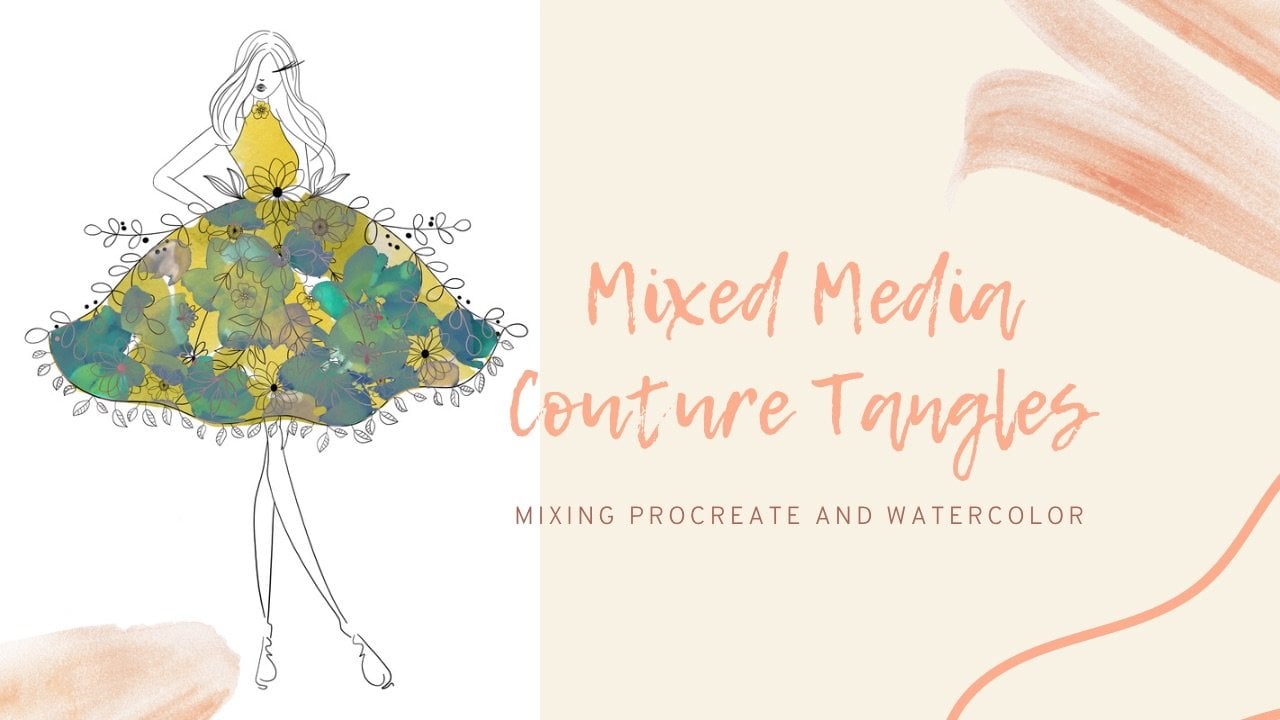
and we have oil. And I have a class
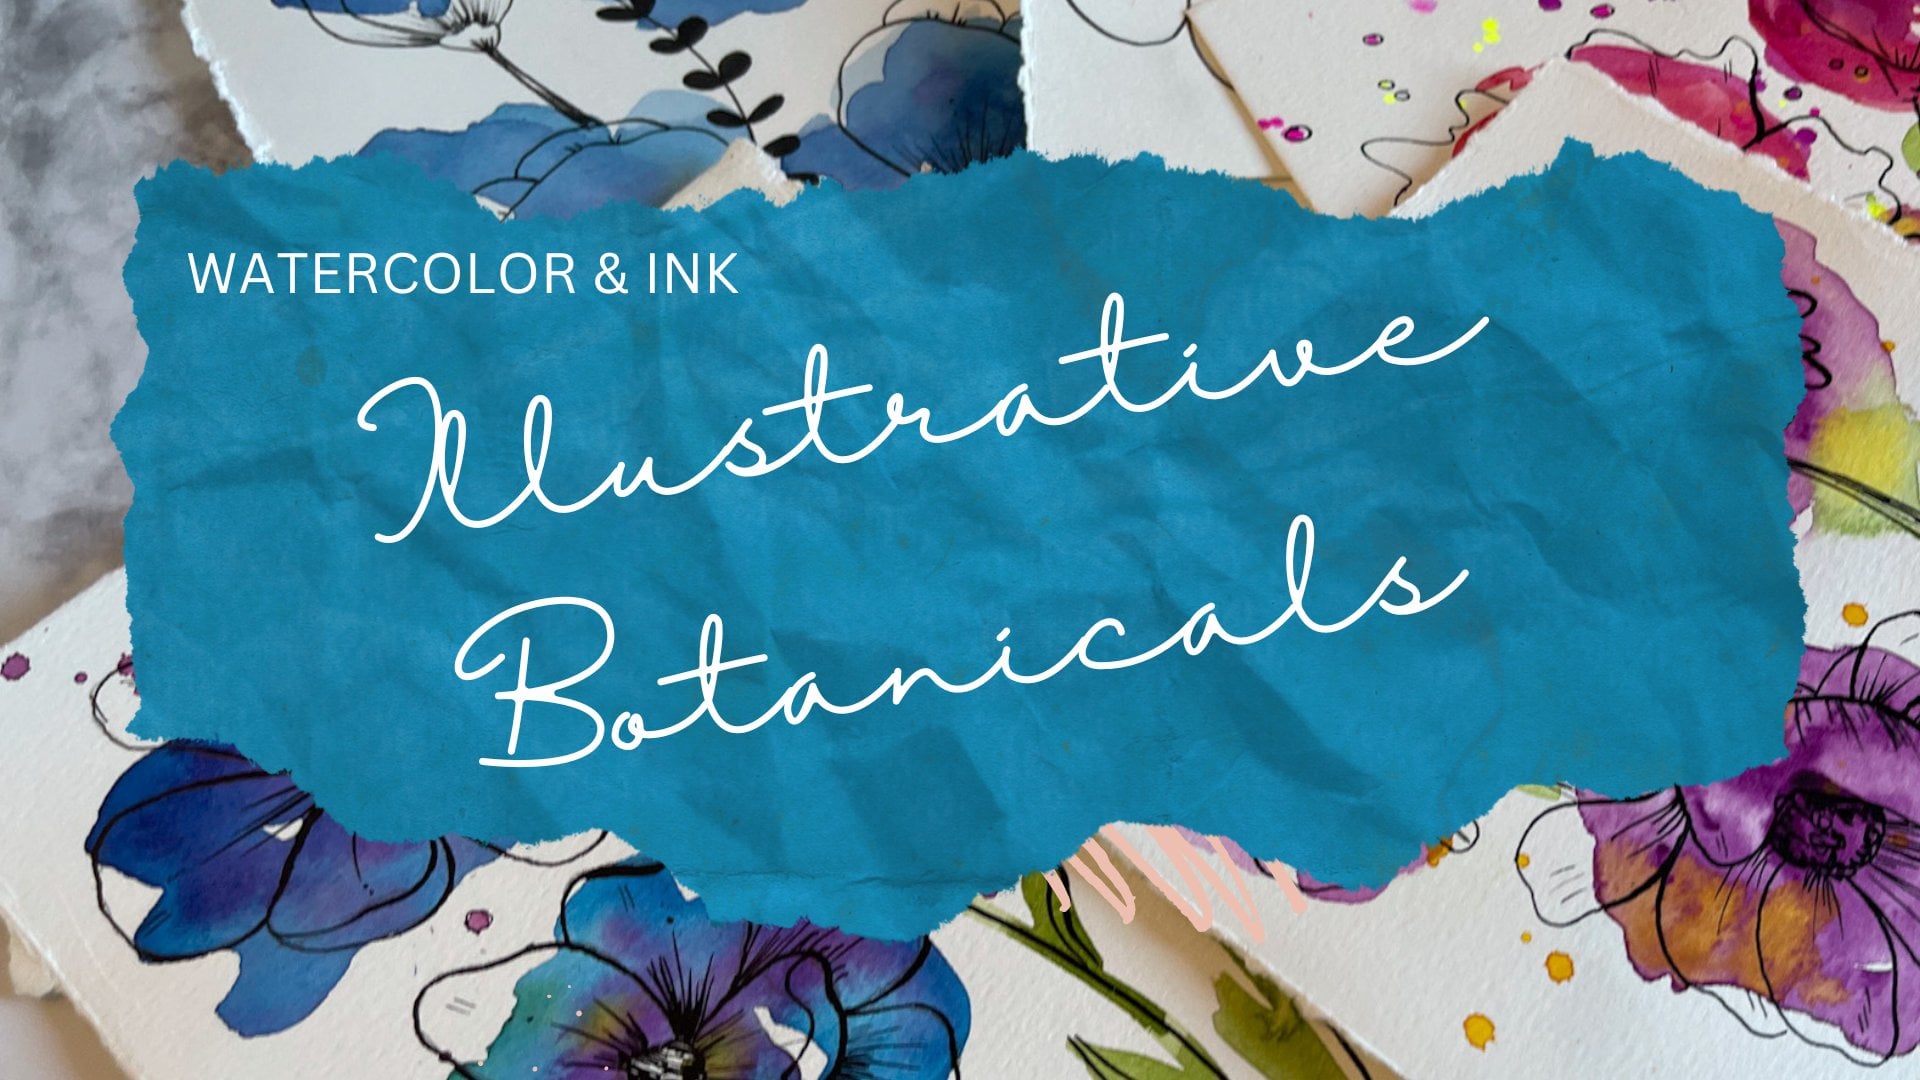
all about using both. One of the classes I'm teaching
how to use watercolor as an inky illustration and we use the oil brushes in my
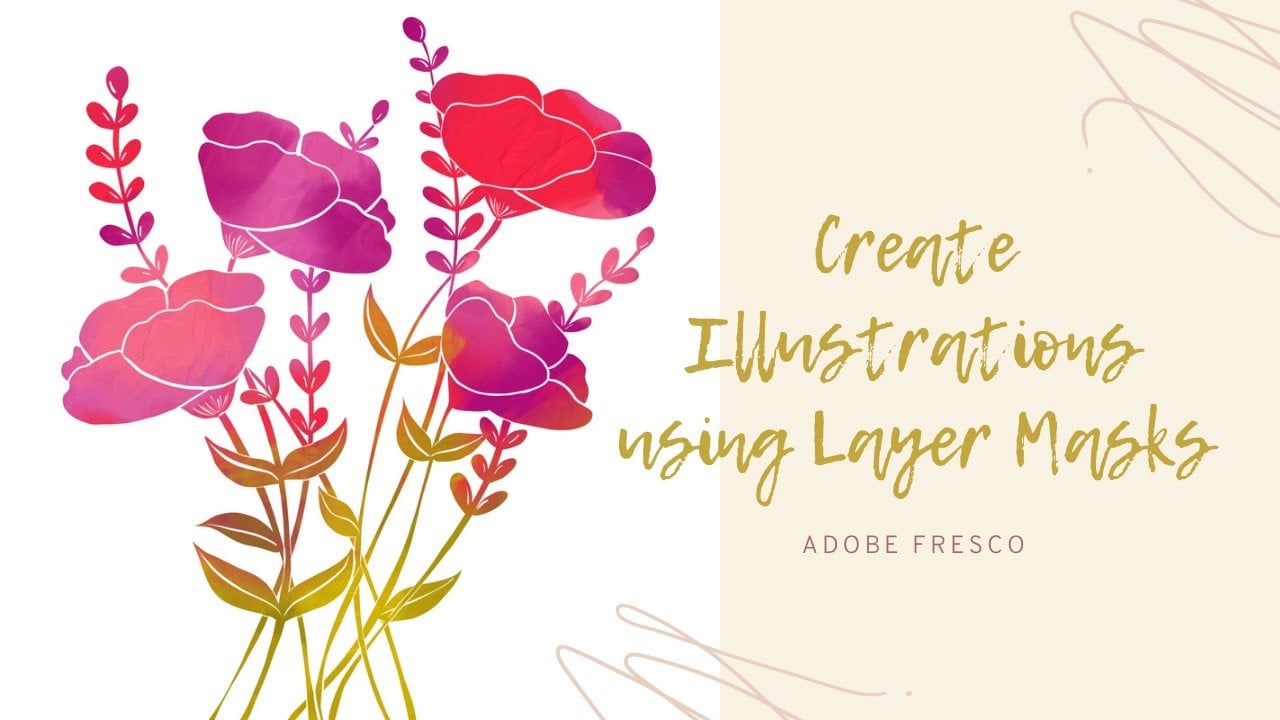
layers mask class. We'll be using layer
masks a couple of times in this illustration. Then the vector brushes
are actually going to give you a vector line. And those are pretty
phenomenal as well. Here's our erase tool, and you can use these brushes. The new thing is
this smudge brushes. And we're able to use any
of the brushes that are in our brush panel to
use as smudges. So that's pretty awesome. Here's some selection tools and these I also use
in my other class. We won't really use these
at all in this class. Paint bucket and then text, the text tool is a
new one as well. And again, we're not going
to use that in this class, but that's also a
really awesome Edition. Here's our color picker and then we're going to bring in
photos, camera files, etc. That's how you
insert your files. The thing that we're
going to be using today is the shapes tool. And this is where we're
going to access the capture shapes that we just made
in the Capture app. First things first, we're
gonna play a little bit with the shapes before we get into
making the illustration. And how we do that is, let's get a color background
on our canvas here. Let's do, you can
just pick any color. This is just gonna be for plane with we're going
to dump that in there. And then when you
try to fill a layer, it's going to ask
you if you want it to be a vector or a pixel, and we're just going
to stick with pixel. So now we've got a color there. Let's over here, there's a little plus box and that's
going to add a layer. The eyeball here, we'll
turn that layer on and off the square with
the error down. That's a clipping mask. Those are really fun to use. And then here's appearances. And this is where you can alter your brightness and your
hues and color balance. And then these three dots, which will give you also
your layer actions. You can also get
that by clicking on the thumbnail of the
layer itself as well. Up here. This top little paper stack that's going to
show your layers. This is the layer properties and this is going to allow you
to adjust your layer modes. Andrew opacity here is with the precision panel is
going to give you where you can snap and add guides. Add the perspective grid, which is a new feature as well. There's some other things
which we won't be using in other classes are out
there to show you that stuff. So let's play with
the shape tool. The first thing to know
about the shape tool is that the Adobe shape tool comes
with shapes automatically. So you can actually grab them by the plus sign and
hitting discover new. And so they've given you
some basic floral shapes, comics and typography. And then they've got
one that was built into the app called Berlin. When you create your
shapes in the Capture app, they go into the
folder, my library. And this is where all of the
shapes that you've made. Will appear. Now if you notice
the two that we just made haven't shown up yet. And that's just because
it takes a little bit of time for capture
to talk to fresco. Just if it hasn't shown up yet, just give it a
minute and at, well, in the meantime, let's just play a little bit
with these shapes so you can see some of the things
that these shapes will do. Let's do. We use this flower
as an example? Once you're in it, in the actual shape
tool and it's applied the faint
overlay on your screen. You can use Move
and Transform to rotate the shape and to drag
it with the bounding box. Up here. This circle at the top is
actually going to allow you to rotate your shape
from side-to-side. Then you can drag here on these bounding box handles
to transform the shape size. You can make it
bigger or smaller. The way that we quote unquote stamp the
shape onto the canvas. There's a couple of
different ways to do it, but one of the ways is
to hit this Fill button. You are given four options
down here on this toolbar. When the Shape tool is open and that's filled
to erase to mask. You can also hit Select. Let's play a little
bit with them. The first one is to fill it. We select the color
that we would want, and then it will
fill that color. Let's select a yellow and then
we're gonna hit the film. And we're gonna say
yes to the pixel. Then if we move our box, the stamp, the yellow flower
has been left behind. You can see that we
can actually turn this layer on and off. It's separate from this box. Now we can come back
in and we can fill again and again and again. You can just keep stamping it. Now, all of these have been
stamped on the same layer. You can always add another
layer and then fill. It'll ask you again
if you want to pixel and you would
just say yes, let's turn these off by
turning the eyeballs down. And then we're still in
our shape tool here. We still have this flower. The next way is
to use the erase. If we make this super big
using the erase tool, you need to make
sure that you are on the layer that you
want to erase from. So if we erase from a layer that doesn't
have any color in it, it's not going to work. We want to be on our
background layer. And if we hit the race, we move this box out of the way. It's actually cut that
shape out of the purple. So just as an example, if we move this extra layer to the background and we fill
that with another color, let's just say we'll
fill it with pink. If you fill that color and
that entire color is showing through because the flower has been cut out of the purple. Let's turn all those off. We can fill this
layer with pink. We need a new layer. This layer with pink. Again pixel. Let's get our shape tool
back out and our flower. The next thing that
we can do is mask. So by clicking on
the mass again, you want to be on
your color layer. So we're still on
the purple or the, we're still on the pink
layer with the background. Now what it's done is
it's actually taken the background away and it's
given us just a pink flower. What's fun is if you come in here with any of your brushes. Let's say we're using
the oil because oil is has amazing textures. Let me show you
this really quick. So once this mask is done, see how this has become black. And there's a little dot over here on the left-hand
side of this thumbnail. When I slide that over, it's gonna show me what was the original thing on that layer and that was
that pink background. And then here it's going to actually give me the
cutout of the shape. And there's a reveal
and Hide button. Now, you can always come
in here with any brush that you pick and cut more way if you don't like something or you can reveal more if you
want more showing now, in my Layer Mask class, I teach all about how to
use layer masks in art. And using them to your
advantage and illustrations. So I'm not gonna go
into much more detail about that here. To turn this off, I can just slide it back over and then turn
the eyeball off. Coming back onto this
new layer background, we're going to create just a really quick painted background with our oil brushes. You'll see they're like
super, super, super textured. Just going to dump
some color out here. I'm not gonna go
into a lot of detail about the oil brushes. I do that in another class. Just putting some basic
color out here so that we can play with this a little bit. I'm trying to purposely
make this like super, super textured because you'll see you can come in with your finger
and smudge it around. Anyway, it's super messy and
there's a reason for that. Let's get our shape tool again. I'm going to make
this super big. I'm gonna do the same thing, but I'm gonna hit Mask
and I'm on that layer. But when I hit Mask is going to remove all of the background, but see how it left All
that really fun color and texture from the background
as part of my flower now. So creating the solid
background or textured painted background and then applying the mask will give you different
effects on your shape. I'm going to slide this
over again and I'm gonna turn this layer off. Let's just apply a basic
background color again. I'm actually going to
go with just a faint purply gray new layer. Let's get our flower again. I'm going to make it real
big so you can see it. The last option here is select. That selection tools
is actually going to create a bunch of
little marching ants. And then I'm going to show
you what we can do with it. So let's hit Select
is going to take a minute to read
that shape depending on how complicated your shape
is so that I can make all of the different marching
ant lines for you. Just be patient with it while it creates those selections. You've got all these
marching ants. Let's add a layer on top. I'm going to zoom in
so you can see this. Just pick any sort of
brush that you want. Let's pick something that's
super weird and textured and kind of go darker purple. And it's going to fill in
inside any of those selections. See how my textured brushes
just filling those in. From here, you can actually
paint in that stamp, but you could do it with a lot of different
textured brushes. You could do it actually
different colors. So if I get the basic edges colored
in with this dark color, I can actually come in with like a yellow and paint
in the center. And I'm just doing this quickly. And then if I wanted a green, I could actually
paint the stem green. Then once you are done playing with however
you want it again, you can keep changing brushes. This is where you'd get really
into the nitty-gritty of these shapes and really make
them unique and special. And you can use any
of the brushes. You can bring in your
smudge brush and actually give the edges and texture. You can use any of your options to actually
fill in the selection. Once you're done painting
the selection of the shape, and you're finished,
just hit de-select. And you're left with all of that really yummy texture from using those paint brushes
inside your selection tool.
4. Create Floral Illustration using only the Shape Tool: So again, I'm using
a square canvas. You can use whichever
size you would like. I have this with a
transparent background. I'm just going to add
base background of white, and then I'm going
to add a new layer. The first thing
we're gonna do is we're actually going to import a color palette
that we're going to use for this illustration. And we do that by coming
over here to the image. And I haven't saved
under photos and in my albums I've got a
color palette saved. So what I do is I
open the color wheel. The colors that we use for this file are going
to appear down here. And so what I do is
I actually will use my grabber at my color picker and grab the colors that I want. And then I'll hit this plus sign and it will add it so that it's an easy way for me to access
the colors that I want. You can do all the colors if you want or just a few of them. I'm actually going to
grab a couple of lights, a couple of pink in a
couple of the greens. I just hold my finger over until that color
picker picks up. The color appears there
by hitting the Plus, it's going to show up there. I want this dusty pink. I want this darker one. I'm going to go
for a really dark. I want this light green. I want a couple of different
greens because the greens, I don't want them to all overlap when I have the leaves and
the greenery that show up. So I'm just going to grab a
couple of these just so that I have them accessible
in case I need them. Then I'm going to
grab a lighter blue. Also those dark one. There. I've got my
basic color palette. I'm thinking about
grabbing this one and maybe this orange just in case there's color palettes
not gonna go anywhere. I'm just going to turn
that layer off so I don't have to see it. And now we can begin starting. You can use any of
the methods that we practiced about how you
want to fill your flower, you can just fill
it with a color. I'm not using the erase tool. You could, if you wanted
to have a background in, cut out all the whites, That's a really pretty
thing if you had one solid background and all
your greenery in flowers, we're just cut out
of that picture. That would be really
pretty because it would be more of
like a silhouette. You can create a background for your layers and
then use the mask. You could do that for each
of the individual layers. Or you could use
your selection tool and actually paint
on your color. What I'm gonna do is I'm
actually going to use the fill. And I'm going to use this
kind of mid valued pink here. And I'm gonna hit the fill. Oh, hold on. I need to
get on my right layer. And then I'm going
to hit the film and hit Yes, So the pixel. So there's my first flower. I'm going to add a new layer. I don't have to jump
out of the shape tool. The Shape tool can kind
of just sit there while I'm adding layers and
doing that sort of thing. It's only if you
jump into one of the other options
that it will go away. I'm going to click on the
Shape Tool and I'm going to pick another flower. I'm thinking maybe this one make it a little bit
smaller than the last one. But I'm gonna have it
cross over just a tad. Okay. Then I'm going to use
this mid orange color. And again on a new layer I'm
gonna hit though and pixel. Let us go back to
the Shape tool. I'm looking for. Maybe one more flower. Let's see how this one does. One of the things
that you can also do. I'll show you in a
second this new layer. I'm actually going to use this little pale and I
lightened it just a little bit. Let's fill that. 11 of the things that you can do is you
can actually come in after you filled your shape and you can actually remove
anything that you don't want. Like let's say I
didn't want that stem. I can just erase it
and get rid of it. Something else you can do is if you click on your
thumbnail for our layer, you can duplicate a layer. So if I duplicate it and
I select my transform. Then I can actually move this somewhere else and I
want a similar shape. And then once it's in transform, I can actually rotate it and
flip it and move it around. I'm going to put that over
here and then hit Done. Each one is still
on its own layer. I can still come back in and adjust anything that
I need to later on. Now I've got four flowers. I'm gonna come down here to my background and I'm going
to put a new layer in-between my flowers and my background because I'm gonna start applying some greenery, some
leaves shapes. Okay? The first one I'm
going to use is this fern. And then let's select
a different green. Let's go with this
darker green and we will fill There's that one. And then I'm gonna
find another greenery. Let's see what this
eucalyptus looks like. Just looking for
some greenery to pop into the background. Eucalyptus is typically
a lighter green. Add a new layer
and then fill it. What I'm actually going
to do is everything's moved a little bit over to the side and I'm
running out of space, so I want to get a little
bit more room over here. One of the things
that you can do is select everything at once. So the way you do that
is you come to one and you click on the thumbnail
and do select multiple. And then you tap on all the
layers that you want to move. Then I'm gonna hit the transform and I can move them altogether. And that way I'm just going
to allow myself to center this a little bit
and then hit Done. And it's going to apply it. And then I can hit
the X at the top. So I'm gonna go back to the
eucalyptus and I'm going to transform that to get it
in the spot that I want. Let's go back to our shape tool. Add another layer. Let's grab this fine. Leave here. Let's grab a green fill that. I don't know that I
like the eucalyptus. I'm gonna turn that
off for the moment. Go back to this and see at this point
once it's already there, remember I can
transform it and I can move it if the
angle of it's wrong. Maybe that's what
was bothering me, just wasn't quite what I wanted. Let's add another one. So the fun thing
is, is that you can actually play with these. And if you like something,
grade, if you don't, you can always keep playing and adding and you'll start to create the shape of the floral bouquet that
you're looking for. Here's some fun little grass. I'm going to fill that layer. Pick a different green, and then a no fill it. Let's turn this one
off for a second. I'm going to start playing
with where things are at. I'm gonna play with this fern. I wonder if it's in
the wrong sport. Move it over here. Then let's turn this grass back on somewhere else and
see how that looks. I'm going to go with
that for a second. One of the thing is I do
have a stamp of just a leaf. I'm going to bring that in, add a new layer. I'm actually add that on top
because I want that to sit. I'm going to put that down here. And let's fill them. The screen. Now
that that's done, I can transform it. I'm going to want to turn this around and
start putting in, think this needs to go. Now I have a flower right here, but that's okay because
I'm actually going to took this kind of below it. Let's leave it there for now. Let's turn off that tool. Now we've got a couple of flowers, we've got
some greenery, we've got some leaves, we've got a few things
we've played with. Now it's time to go in and start tucking and
putting everything in the right place
because everything has a transparent see-through area. Wherever it's white. We're able to see through this perp or this pink flower sits
in front of the screen. But you can see the greenery. There's a couple of
things that you could do. You could go behind
each flower and add another layer and actually
paint in color underneath. I added a layer
underneath this flower. And I could actually
paint in color. And that color is going
to act as a barrier between the flower
and the greenery. And it's going to wash
out if you really wanted your flower to have a background instead
of to be see-through, then that would be something
that you could do by adding in colored layers
in the right area. That's not what I'm gonna do. So I'm going to
delete this layer. What I like to do is
I actually come in with layer masks
and start removing. I don't want to delete anything because if I actually come in and pick this fern and start erasing because
I didn't want it in this area of this flower
if I ever move anything. Let's say I erased this
all from this flower. Then I came back in and I was
on this flower and decided, okay, I'm gonna, I'm
gonna move this, it's in the wrong spot. I've lost everything that
I raised from that fern. The best thing to do is to
not remove things by erasing. The best thing to do is
to actually work cleanly. And the way they do that
is with layer masks. So let's take this flower first. You set the pick an
area to start with. And so we'll pick what
this pink flower, but it's not the pink flower that I'm putting the mask on. It's the firm that
I'm putting the mask on first because I want the firm to disappear
from inside this flower. The way to do that
is you click on the thumbnail and you're going
to create an empty mask. Anything that you paint. And again, this will pick up on whatever brush you're using. If you wanted a texture
brush or you just wanted to put a wash over something
and only real part of it, that's actually how the
brush is going to work. Because I want all
of it to go away. I'm actually going to come
up to my basic brushes. And I'm going to grab
either the hard round or a hard round variable. I'm actually going
to do the variable because there might be an
area that I have to go into a tighter spot
with a larger brush. I'm just going to remove
some of these bigger areas. And then I can make
a smaller brush and go into some areas
that are more fine. Now, because my flower, it has a lot of textured, sketchy edge lines to it. It's up to me how much of
this I want to remove. Just trying to find the
right brush size here. If I don't want it to show through any
of these sketch lines, then I would remove if I
only wanted some of them. See how I'm down here in
the meat of that pedal. But the sketchy
lines I leave out. It's really just a
personal choice. Maybe I do some, maybe I do all of them. Just move around your Canvas, removing whatever
you need to remove. And all essentially you're
doing is painting a color. See your thumbnail
here, that white. I'm painting a
block on top of it. And so then by doing that, it's actually giving me the doing that is actually
removing the background. That fern I'm just
going to move around. Don't let me move
it around my screen and flipping it and
make you too dizzy. The good thing is, is
anything that I take out, let's say I removed all of
this and then later on I realized that there was
a part that was missing. I could come back
in and hit reveal and actually paint
that area back in. I'm at nothing is
ever really gone. That's the beauty of
having the clipping masks. I'm just going to work
my way around and take this burnout, my flower. So I'm taking too much out here. I know all this is going to go because it's behind
everything else. I'm just taken away large spots. Then I'll come in and
do come in and do a little bit smaller area because that actually
sits behind it. But then the other thing
that I can be aware of two is what other flowers
are overlapping in this. Yellow is going to
actually, are this, this soft orange color is actually sitting on
top of that pink flower. That furnace hidden actually underneath This part
of that flower, that leaf that comes off there. And then this is a stem. These need to go. It's really just about going layer by layer and having
things blend in, disappear, or show through. So we're really just
taking the position of each of them in defining
what those look like. This is behind. I'm just going to
work my way around this fern until it gets
into the right spot. This is that little
light colored flower that's sitting in front
that's got to go to. I can always come back and
add and remove anything I need to from that layer
if I need to later on. So let's go to the next one. The next one that we need
to really disappear into the background is
this green grass. So again, I'm going to
click on that thumbnail. I'm going to create
an empty mask. And then I'm just
going to come in and paint out what needs to go away. Now, it doesn't all have to
necessarily fall behind some, maybe it falls behind the pink, but it's in front of the yellow. So you can start to
make these choices about what is going to
show and what isn't. So all of this is going away. Even though that's
showing through. I don't need that on that spot. It kind of looks a
little bit funny there. Let's remove that. I'm just going to rush my way
through this a little bit. I don't know that I'm
going to show any of these stems if I need them later on, I can bring them back in. So let's get rid
of them for now. I think I'm going
to have all of it sit in the very, very back. All of this is going to go. But again, the beauty
of having the layer masks is that I can
change my mind later on. Okay, I'm going to continue to do this
to the other layers. Unless there's something that
I need to share with you. I'm just going to
speed this along and then I'll come back and
show you what to do next. Okay. Now that everything is
put in its correct place, what I can do now
is I can actually start editing each
individual layer so that I can bring in, you could leave it this way
if you really wanted to. But I like to then
come in and add additional color and kind
of edit things around. What you want to do is you want to make sure that
you can edit those. And the way you can
do that is by turning your masks, sliding them over. You're not going
to turn them off. But right now they're all on. We're going to slide
them over to the where the dot is on the
right-hand side. By doing that, we can then edit the actual layer instead
of the mask part of it. The first thing that I want to do is each of my
flowers have greenery. These are all leaves. And I do want to color
those in the way that I do that is I want to be on the appropriately or so here I'm gonna be
on this pink layer. I'm actually going to
lock the transparency. And I'm going to select a brush. I can pick any
brush that I want. You can have a super textured
brush if you wanted. Just pick this, see
how this one does. I'm gonna come in with a green. We've got this really
dark green behind here. It's actually a little
bit too dark because the green is actually stepping forward a
little bit too much. And I actually want to lighten
that just a little bit. Actually going to
try this green lock, the transparency of the fern. I could actually paint
this to change the color. Or you can actually come in with the dropper tool and
change the color. I liked the paintbrush
a little bit better just because
I can control it. Okay, So I like that
color a little bit more. Let's go back to the
flower and let's color in those leaves. On this one, it had a big leaf
over here but it's hidden. But I do have this little bud
and stem that's coming off. So I want to color this green. Then. Let's do the same thing for this orange because
they have those. A flat or a leaf here. And I'm gonna lock
the transparency. I'm just going to color over those lines and change
the color that I want. Here's some green also. There's a bud up here. And there's one over here. Just make my brush a
little bit smaller. I see this little green here. And if you do see that, it's just that though, I didn't get deleted all the way when we did our layer mask. So I can come back
to that layer, trim my layer mask back
on, and hide that. Looking around. Think that's all my green leaves that needs to be changed. The next thing that I
like to do is I like to adjust the center
of my flowers. Lock the transparency. I want like a yellow, I'm gonna actually
just grab yellow. I'm gonna start to fill
in my center here. Do the same thing
on this flower. Now, let's go back to this one. And I'm going to grab a
little bit more orangey. I'm going to change
the center here. Then I'm gonna do
that over here also. You don't have to
use just one color. We're going to actually
going to go back in and edit or change this up a little bit with my orange, I'm just going to come in. I'm actually going
to change my brush. Let's try Kyle's
dry media sketch. Make sure I'm on
the right layer. I'm just going to
add a little bit of color to give this
some dimension here. See when you zoom out, you see as if there is
actual depth to that center. Let's do the same
thing over here. Then we'll finish doing that. A couple of these others. The center isn't as defined in this one as it is
in the other ones. So I'm just making
it up as I go. Just using lots of wiggles to kind of give me a
sense of a center. Now, the next thing
that we can do is we can actually give the same depth to
some of our grains. Here's our fern. And just using my color picker, I'm going to make sure
I grab that color. And I'm actually
going to just come in with a little bit darker. I want it really soft. So I might actually just grab, might not be the
right, but let's see. Maybe a little bit bigger, bring my, make it a little bit bigger and
bring my flow down. Then I can come in
and I can just add. Of little bit of shadow in
a few areas of the fern. And it will actually give
this fern some depth here. Because I'm using
very sketchy shapes. I'm also going to
just be quick with my shadows and my
highlights just because I want it I don't
want it to look too precise. I like where it looks
a little sketchy. Lungs come in here
and take that color. And actually I just want
to really light green. I'm just going to
come over a few of those tips to make it look
like some lights hitting it. Let's do the same thing. On the other layers. I did. I'm not using this
eucalyptus in this greenery. So now that I know
that for sure, I can also delete those. So here's the green. I'm going to grab just
a little bit darker. I'm going to switch back to this brush because
this is grass. So I just kinda want it to look like little bit more fine tuned, little bit more precise line. Just giving little dashes
here and there to act like the grass. That's awesome. Grab a lighter color, move around each of the greenery and do this exact same thing. I'm going to lock the
transparency and I'm gonna give that some
shadows and highlights. So I'll speed this along. To look through everything
and see if there's anything that I need to add or fix. One of the things that I still not super happy
with is the fern, it's Downs all a little bit
more than I would want to. I am going to erase the
out of the sketch line. And that's just because as I
look at the whole piece now, they just feel dominating. I'm just going to go through
and pull those back first. If I do that and then it's
still feels overpowering, then I can always
do other things. Is still showing up a little
bit more than I'd want to. There's a couple of
things that I can do. One of them is by changing the opacity just to see
if I change the color, if it falls further into the background
and if that helps, and it actually really
does, I'll leave that. Then my soft round brush. I'm just going to go through and see if there's
anything that I need to define a little bit. This bud gets somewhat
lost against this red. I'm just going to see if I brighten up and darken
up those edges, if it just helps it stand
out just a little bit. I can do that in a
few other areas also, just to make these edges
a little bit crisper. And that just helps define
the area of those petals so that everything's
not all constantly like kind of
blending altogether. I'll just walk my way around this illustration and just see if there's
anything that I need to kind of give a little
bit more color to, to let it stand out. There you go. We created an
entire floral illustration by just using our shapes that we use from our
images and capture.
 Heidi Cogdill, Writer and Artist