Transcripts
1. Introduction: Hello and welcome. I'm so excited to have you here for this brand new
embroidery adventure, a six flower journey. I'm Shanas and I'm an embroiderer and teacher from the beautiful island
of Sri Lanka. I love traveling and finding
inspiration in nature, stitching beautiful designs
while exploring new places. And now I'm thrilled to
share this passion with you. For me, embroidery is more
than just stitches and thread. It's a way to connect
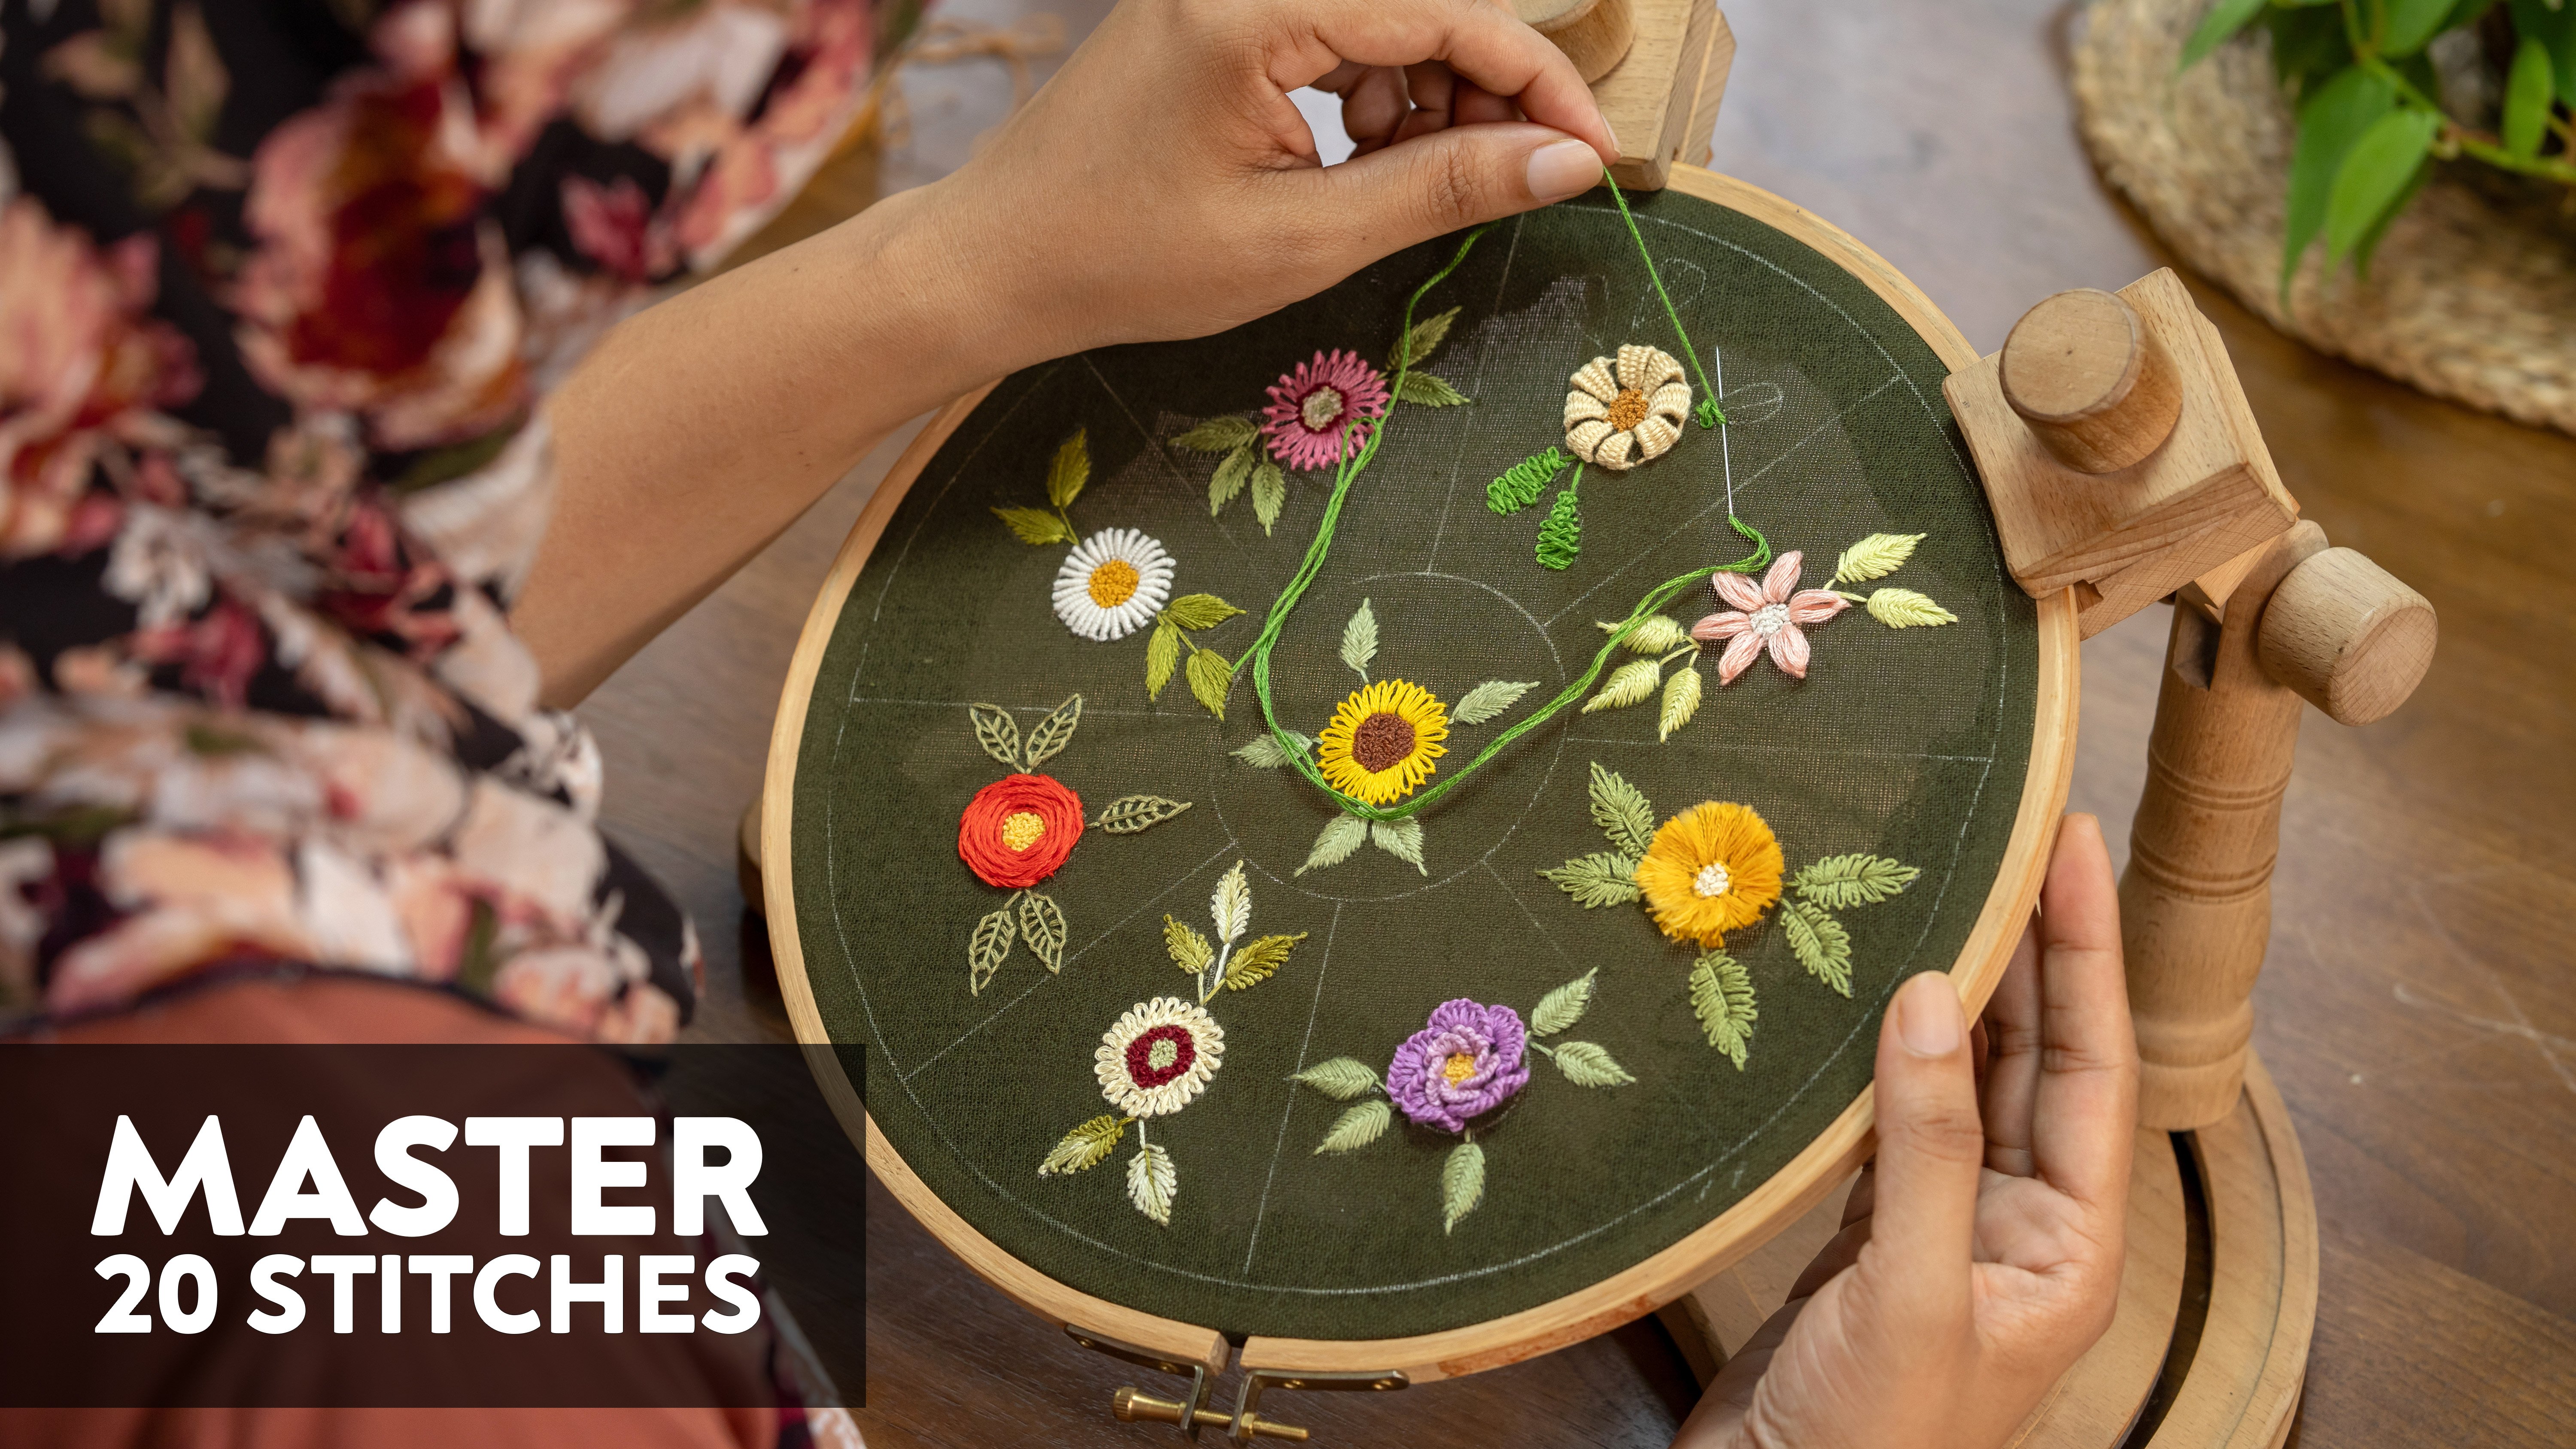
with the world around me. In this course, we'll be creating six stunning
embroidered flowers, each with its own unique
charm and personality. We'll explore a variety of
stitches and techniques from classic favorites to more intricate and
exciting stitches. You'll learn how to create
different textures, add dimension to your work, and bring your floral
creations to life. I'll be right there with
you every step of the way, sharing my knowledge and
passion for embroidery. By the end of this course, you'll have a
gorgeous collection of six embroidered flowers, ready to be framed, gifted, or cherished as a reminder
of your creative journey. Gather your needles, threads, and hoops and let's embark on this exciting floral
adventure together. I can't wait to see what you
create. Happy stitching.
2. Preparing Your Fabric and Hoop: This time, we're diving into the beauty of six
delicate white flowers. It's going to be a relaxing and rewarding project, I promise. First up fabric, I'm a big
fan of natural fibers, so I've chosen all
cotton fabrics here. You'll see I've got a
whole range of colors. For this particular project, I decided on a lovely
dark yellow linen. It's got a beautiful texture
and will really make those white flowers
pop. All right. I've already cut my
fabric into squares, and here I have my 12 inch
oval wooden embroidery hoop. You can use any size you're comfortable with
eight, ten or 12 ". It's really about what
feels right in your hands. Now, let's get this
fabric secured. Place your fabric
over the inner ring, then press the outer
ring down on top. Make sure it's centered and
then tighten that screw, not too tight but firm. But the best part
about embroidery is that it's your creation. Feel free to choose any
color that speaks to you. Maybe a soft blue, a natural cream, or
even a bold red. Now, here's a little tip. Give the fabric a
gentle tug all around. You want it to be nice
and taut like a drum. No wrinkles allowed. A smooth surface will make
your stitching so much easier. Next, we need to get our flower
patterns onto the fabric. I've printed these beautiful
designs on A four sheets, and you can download
and print them too. I'm using these
heat erasable pens, a white one for darker fabrics and a black one
for lighter ones. They're fantastic
because any marks will disappear with a little heat
from an iron or hair dryer. To see the pattern clearly, I'm using my little
LED light box. Just place the printed
pattern on the light box, then put your hooped
fabric on top. The light shines through
making it easy to trace. If you don't have a
light box, no worries. You can use a window
on a sunny day. The sunlight works wonders. Or grab your phone and
use the flashlight. Just place it under the
pattern and fabric. I have traced my first
flower using the LED light, and now for the next one, I'll show you how to
use the phone light. Say, it's just as effective. I'm going to go ahead and
trace all six flowers now. Take your time and don't
worry about being perfect. This is hand embroidery. A little bit of perfectly
imperfect adds to the charm. Okay, all my flowers are traced. Now, let's tidy up those edges. We don't want any fraying
while we're working. I'm going to use a simple
running stitch around the hoop to secure
the excess fabric. You can also cut it close
to the hoop if you prefer, but I like the extra security
of the running stitch. It just keeps everything
nice and neat, see? All secured and it
looks so much better. Now, let's get this hoop
onto my hoop stand. This is a game changer for me. It keeps the hoop steady so I can work with both hands free. You don't need a
stand, of course. You can hold the hoop in your lap or prop it
up against something. But if you're planning on
doing a lot of embroidery, a stand is a
worthwhile investment. All right, let's talk colors. Here's my floss organizer box. It's full of beautiful colors. I'm grabbing my white
green and yellow threads. For our first flower, I'm thinking classic
white for the petals, a soft green for the leaves, and maybe a touch of
yellow for the center. And of course we
need our needles. Here's my pincushion and I'm choosing a thin
embroidery needle. It'll make those delicate
stitches easier. So we've got our fabric, our pattern, our
colors, and our tools. We're all set to
start stitching. In our next lesson,
I'll walk you through the first
flower step by step.
3. Flower One: Daisy: Hello, everyone. Before we
begin, a quick announcement. If you're new to embroidery or consider yourself a beginner, you might want to skip
this lesson and start with the next flower design,
our white roses. The Daisy's needle
weave bar stitch can be a bit challenging, and we want to
make sure you have a comfortable and enjoyable
learning experience. So feel free to jump ahead
and we'll see you there. Embroidery floss usually
has six strands, and for these tiny
leaves, we'll use four. So carefully pull out
two strands one by one. Now we have our
four strands ready. Let's thread our needle
and tire knot at the end. Remember, a good knot is key
to secure your stitches. I like to double mine up
just to be extra safe. For these little leaves, we're using the fly stitch. It's perfect for creating those
V shaped delicate leaves. Start with a simple
straight stitch, going about halfway
up the center of where you want your leaf to
be. That's your mid rib. Now, bring your
needle up through the fabric at the
top of your leaf. Then insert it a
little further along, creating a small loop. Bring your needle up again
at the bottom of the loop, securing it with a small stitch. Keep your stitches small
and even for a neat look, and remember, relax
and enjoy the process. So it's essentially right, left, and then bottom, a simple
sequence to remember. And just keep
repeating those steps, working your way across the leaf until it's
nicely filled. I'm adding a simple
straight stitch to create those delicate
little branches that connect to our leaves. It's all part of the process. I'm going to fill in all
the leaves now one by one. Take your time and don't rush. If your thread gets
short, don't worry. Tie a secure knot on the back of your fabric and start
with a fresh piece. Just a little reminder
that for this course, you'll be choosing and stitching at least three of
these six flowers. Pick the ones that
make you smile and remember to submit
them one at a time. I can't wait to
see your choices. All right. Now for the petals, I'm using all six strands
of white floss for these. This time, I'm using
a tapestry needle. The blunt point is perfect for weaving and won't
snag your fabric. Let's thread our needle and get ready to create some
beautiful petals. Bring your needle
up from the back of the fabric and then insert it back down close
to where it came up, but don't pull it
all the way through. We're going to use the raised
needle weave bar stitch for these petals and
it's going to give our daisy a lovely
three D effect. Leave about an inch of
thread creating a loop. Now, bring your
needle up again just a little bit away from
your first stitch. We're going to weave
through these two threads. You can use a separate
piece of thread or a second needle to hold that loop in place
while you weave. This will keep it
nice and stable. Now carefully weave your
needle back and forth through the two threads working from one side to the other. It might seem tricky at first, but with a little practice, you'll get the hang of it. And if you find it difficult to hold the loop, don't worry. Practice makes perfect. Just take your time and
be patient with yourself. Once you've for went all the way, secure the thread at the back
of the needle weave batich. That's one petal done. Now, let's continue this
stitch around the circle, creating all the
petals for our daisy. Start each new petal right
next to the previous one. I've stitched around 25
petals for this flower. Don't feel like you
have to rush this. Take breaks, stretch your hands, and enjoy the process. It's meant to be relaxing. Remember, this stitch is all
about creating dimension, so don't be afraid
to experiment. If you're finding that a
finished petal is getting in the way or taking up too much room while you're
working on the next one, don't fret, grab a bead pin, those little pins
with the round heads, and gently secure the completed petal out of
the way temporarily. For adding depth and
realism to your daisy, try layering your petals. Don't just stitch them all
side by side in a flat circle. Instead, stitch some
petals slightly behind others and weave them
both ways side to side. This creates the
illusion of layers, making your flower look fuller and more three dimensional. And Think of real flower petals. They overlap and curve, and that's what we're
trying to replicate here. Next, we're moving on to the center of our
daisy, the stamen. For this, I'm using
yellow thread all six strands and we're going to fill the center
with French knots. Bring your needle up
through the fabric, wrap the thread around
the needle two or three times and then insert the needle back down close
to where it came up. Hold the thread taut as you
pull the needle through. There's your first French knot. Keep adding French knots close together until the entire
center circle is filled. Don't worry if
they're not perfect. The variations add to the charm. I filled mine with
lots of French knots, and it's really starting to pop. Now, take some time to
practice these three stitches, the fly stitch, the
raised needle weave bar, and the French nut. Practice them separately
until you feel confident and then come
back to this daisy. And there you have
it a stunning Daisy. Look how those petals
pop off the fabric. It's truly a three D effect. Remember, embroidery is
a journey, not a race. Enjoy every stitch and don't
be afraid to make mistakes. That's how we learn and grow. I'm so proud of what
you've created today. In our next lesson, we'll
move on to the next flower. I can't wait to see
what you create. Keep practicing and
I'll see you in the next lesson.
Happy stitching.
4. Flower Two: White Rose: Hello, everyone,
and welcome back. In this lesson, we're
going to create some beautiful white roses
using the woven wheel stitch. It's a technique that might seem a little
intricate at first, but trust me, it's
easier than it looks, and the results are
absolutely stunning. So let's grab our
threads and get started. Just like with our daisy, we'll start with the leaves. I've chosen a lovely
green thread, and I'm using four
strands for these leaves. For this rose design, we'll use the fishbone stitch, which is perfect for creating
textured, realistic leaves. We begin with a simple straight stitch down
the center of the leaf, just like our midrib from
the previous lesson. Now, come up next to the right
side of that first stitch. Make a slanted stitch that ends just across
the center line. Then come up on the other
side of the first stitch and make another slanted stitch that ends on the opposite
side of the line. Continue stitching
in this fashion, alternating sides
to fill the leaves. Okay. Here's a tip. Try to keep your stitches close together for
a fuller look, and don't worry about being
perfectly symmetrical. Alright, I finished
my first leaf and I'm moving on to
the next one now. We'll follow the same
fishbone stitch technique, alternating sides and keeping those stitches nice and close. Just like before, a straight
stitch down the center and then alternating slanted
stitches to fill it out. Okay. Remember, if your hand gets tired or you need a
break, please take one. It's important to be comfortable
while you're stitching. Relax, enjoy the process, and we'll have all six
leaves done in no time. I've finished all six leaves
now, and they look great. Now for the main
event, the roses. We have two circles
drawn on our fabric, and one of them is divided
into five sections. For a lovely puffy
look to our roses, I'm going to separate
all six strands of my white floss and then thread them all together onto
my tapestry needle. Separating the strands adds
a bit of volume and texture, making the rose
really stand out. Don't be afraid to take
your time with this step. It's worth the effort. First, I've stitched five
straight stitches with floss threads to divide
the circle evenly. This creates the spokes for
our woven wheel stitch. This is the base for
our woven wheel stitch. The tapestry
needle's blunt point is perfect for this
woven technique. Now let's weave, bring your needle up through
the center of the circle. We're going to weave
our thread over and under the straight stitches
that divide the circle, working our way around. Start by going over one spoke, then under the next and
continue in that pattern. Oh. Here's a tip. Try to keep your
tension consistent, not too tight, not too loose. This will help create
a nice even texture. If your thread gets tangled, just pause, untangle
it, and continue. It's all part of the process. M. Keep weaving round and round until you've
filled the circle. You'll see the rose
taking shape as you go. This stitch is quite simple
once you get the hang of it. Just keep following
the over under pattern and you'll be
amazed at the results. To add a bit more definition, I'm adding some straight
stitches around the edges of the circle
filling in any gaps. This really makes the rose
look fuller and more defined. You can use this technique
to make your rose more or less full depending
on the look you want. Okay, we've completed our
first woven wheel rose, and it looks beautiful. Now let's move on
to our second rose. Continue with the same woven
wheel stitch technique. You can absolutely change the
floss colors if you'd like. Feel free to experiment and choose colors
that speak to you. It's your creation and you
should make it your own. For example, a light pink or a soft yellow
could look stunning. I'm going to stick with
white for this one, but the choice is
entirely yours. Finally, for a touch of detail, I'm adding some French knots
in the center of the roses. I've chosen a brown
floss with two strands. This adds a lovely contrast and makes the roses look
even more realistic. Just a few French knots in
the center will do the trick. They add a bit of
depth and texture, and there you have it, our
beautiful white roses. They look so puffy and delicate. Remember, practice
makes perfect. Don't be discouraged if your
first attempt isn't perfect. Keep practicing, and you'll soon be creating stunning roses. And remember, you can
also experiment with different colours for
the center French knots. In our next lesson, we'll
move on to our third flower. I can't wait to see
what you create. Keep practicing, and I'll
see you in the next lesson. Happy stitching.
5. Flower Three: Sunflower: Ready for a change of pace, our third flower is here, and it's a delightful one. This design offers a
bit of a breather with some simple yet stunning
stitches that will make you fall in love with
embroidery all over again. Carefully pull out two strands
and you are good to go. Let's thread our needle
and get ready to stitch. Bring your needle up through the fabric at the outer circle. Then insert your needle a short distance away
on the inner circle, creating a vertical stitch. Before you pull the needle
all the way through, make sure the thread is
under the needle's point. Now pull the needle through and there you have
your first stitch. Now, the blanket stitch is a lovely stitch that creates
a beautiful finished edge. Continue stitching in this way, working your way
around the circle. Keep your stitches evenly spaced for a neat and tidy look. Now, for the fun part, the detached buttonhole stitch. For this stitch, I've threaded my tapestry needle with
all six strands of floss. Remember that blunt tapestry
needle is perfect for preventing snags and
making weaving easier. Bring your needle up just
inside the blanket stitch line. This time, make sure
the thread is over the needle's point before
you pull it through. This creates that
lovely knotted loop that characterizes the
detached buttonhole stitch. I'm actually stitching two
detached buttonhole stitches into each blanket stitch loop. You can experiment with this. Try one detached
buttonhole stitch per blanket stitch
or even three. See what looks best to you. First stitch is going to add dimension and
texture to our petals. We're going to work around the blanket stitches
we just created. And remember, don't pull
your stitches too tight. We want a nice, relaxed
feel to our petals. This creates that
lovely knotted loop that characterizes the
detached buttonhole stitch. Just keep working
your way around the circle and you'll see
those petals come to life. I'm stitching one round of detached buttonhole
stitches around the circle, but you can absolutely do more. Two or three rounds will create even more pronounced
and puffy petals. And remember, feel free to change the color of your
floss for this stitch. Maybe a sunny yellow
or a vibrant orange. The choice is yours. Keep your stitches
loose and relaxed. We don't want them
to be too tight or they'll lose that
beautiful flowing effect. Now for the center of our
sunflower, the inner circle, we're going to fill this with satin stitch using three
strands of beige floss. Satin stitch is a classic
embroidery stitch that creates a smooth,
filled in look. Continue stitching in this way, keeping your stitches close together and parallel
to each other. This will create a
solid block of color. Once you've filled the circle with beige, we'll add another layer of satin stitch this time
with black thread. Stitch in the
opposite direction, creating a crisscross pattern. This adds a bit of depth
and texture to the center. Now, let's add some branches to our sunflower using green
floss and straight stitches. Just a few simple
stitches extending from the base of the
flower will do the trick. Remember, you can always
experiment with different colors and stitch variations to create your own
unique sunflower. And finally, I thought the center needed a
little something extra. It looked a bit plain with
just the black satin stitch. So I'm adding some
straight stitches in both directions with
light yellow thread. This creates a lovely
checkered effect and adds a touch of texture. Uh Don't forget your assignment for this course is to stitch at least three of these
six flower designs. You can choose whichever
ones you like best. Start with the easiest
flower design if you'd like, and work your way up to
the more challenging ones. Please submit each flower one
by one as you finish them. I'm so excited to
see your creations. Remember to experiment, have
fun, and make it your own. I'll see you in the
next lesson where we'll tackle another beautiful
flower. Happy stitching.
6. Flower Four - Coneflower: Welcome back stitchers. Get ready to explore a new dimension of embroidery
with our fourth flower, the captivating Core flower. For our cornflower, we'll
be using dark green, brown and white floss threads. I have already threaded
my needle with all six strands of the dark green and we'll
begin with the stem. Remember the outline stitch. Bring your needle up
through the fabric, then insert it back down a short distance away,
creating a stitch. Now, bring your needle up again halfway along that stitch, ensuring the thread
stays below the needle. This creates that
characteristic outline look. Continue stitching in this way, following the stem design. Now let's move on to the
pollens with our brown thread. I'm using three strands for this and we'll be using the
lazy daisy stitch. Bring your needle up through the fabric at the base
of the cone shape. Then insert the needle back down right next to where it
came up, creating a loop. Before you pull the needle
all the way through, bring it up again a
short distance away, securing the loop
with a small stitch. This creates one
petal of our pollen. We'll continue filling
the cone shape from bottom to top with
lazy daisy stitches. Keep your stitches close together for a full
and textured look. The petals will be using white floss and the
woven picot stitch. This stitch creates beautiful three D petals that
really stand out. I'm using sewing pins to
create my foundation stitches. I'll place a pin along
the marked line for each petal and then use my tapestry needle to lay
down the foundation threads. The pins will help keep the threads in place
while we weave. First, I'll create
a foundation of straight stitches radiating
out from the center. These will be the
base for our weaving. Weave your needle over and under the foundation threads,
working your way up. Each petal is about 1.5 " long. Once you've woven to the end, your petal will naturally
curve into a three D shape. You can gently shape it with
your fingers if needed. Now carefully remove the pin. See how the petal stands out. It's almost like magic. I'll continue stitching the rest of the petals in the same way, placing them just after
the previous one. We'll create a total of seven petals all radiating
out from the center. Remember, take your time with this stitch. It might seem a bit
fiddly at first, but with practice, you'll
get the hang of it. Remember, your assignment
for this course is to stitch at least three of
these six flower designs. You can choose whichever
ones inspire you most. If you're finding this
cornflower a bit challenging, feel free to start with an easier design and come
back to this one later. Submit each flower one by
one as you complete them. I'm eager to see your progress. And there you have it. Our stunning cone flower complete with its
unique three D petals. I hope you enjoyed learning these new stitches
and techniques. Remember to practice
and have fun with it. I'll see you in the next
lesson where we'll explore another beautiful
flower, happy stitching. And
7. Flower Five - Jasmin: Welcome back embroiderers. Get ready to immerse
yourselves in the delicate beauty
of Jasmine flowers. So let's gather our threads and embark on this
fragrant journey. We'll begin with the leaves using this refreshing
light green floss. I'm separating it into three strands and
threading my needle. For these leaves, we'll use
the pistil knot stitch, which creates a lovely
textured effect. Starting from the
center of the leaf, bring your needle up
through the fabric. Now hold the needle close to the fabric and wrap the
floss around at once. While holding those
wraps in place, reinsert the needle near
the top of the leaf. Keep stitching those pistol
knots to fill the whole leaf. The closer your stitches, the fuller and more lush
your leaf will look. And if you run out of thread, just tie a knot on the back, grab a new piece
and keep stitching. I finished my first leaf, and now I'll just
keep going with the same method to
stitch the rest. We've got five leaves in total, so take your time and
enjoy the process. We've got three circles between the leaves where our
flowers will bloom. I'm going to divide one of the circles into five sections. This makes it easier to place our bullion knots
for the petals. Now for this stitch, we need
a longer embroidery needle. I'm using white floss with four strands and
you'll need to wrap the floss around the needle 35 40 times for
each boolean knot. It sounds like a lot, but
trust me, it's worth it. Now, hold the needle
horizontally and wrap the floss around
it 35 to 40 times, keeping the wraps nice and snug. Carefully pull the needle
through the wraps, keeping the thread taut. Bullion knots can be a bit tricky at first,
but don't worry. Just keep practicing and
you'll be a pro in no time. Remember to keep
your wraps close together and your tension even. Remember, take breaks if
you need to and don't rush. Embroidery is all about
having fun and relaxing. Now that we've finished one
flower with five petals, let's add some French
knots to the center. I'm using this pretty
dark pink floss. Just a few French knots
in the center will add some detail and make it
look even more realistic. Our first Jasmine
flower is done. Now, just keep doing the same thing for
the next two flowers. If you find your thread
running short, don't fret. Simply secure your stitching
with a knot on the back of the fabric and then thread your needle with a
fresh piece of floss. And don't forget
your assignment for this course is to stitch at least three of these
six flower designs. You get to choose your faves. If you're finding bullion
knots a bit tough, it's totally okay to start with an easier design and come
back to this one later. Submit each flower one by
one as you finish them. I can't wait to see
what you create. And there you have it. Our gorgeous Jasmine
flowers with their delicate petals
and amazing fragrance. I hope you enjoyed learning
these new stitches. Remember to practice
and have fun with it. I'll see you in the
next lesson for our final flower,
happy stitching.
8. Flower Six - Dahlia: We've made it to our final
flower, the dazzling Dahlia. First things first, the stems. I'm using this
lovely green floss, and I'll remove two strands,
leaving us with four. We'll use stitch for the stems, which creates a nice solid line. Remember, stitch.
Bring your needle up through the fabric, take a stitch backward, then bring your needle up
a stitch length ahead. It's like taking one step
back and two steps forward. Keep stitching like this, following the stem design. Um, Now for the leaves, we've got two
larger leaves here, so we'll use the
same green floss. This time we're going with
the raised fishbone stitch. Remember how we did the fishbone stitch for
the rose leaves? We'll start the same way with a straight stitch down
the center of the leaf. For this time,
instead of bringing the needle up right next
to the central stitch, we'll bring it up a
little further away, creating a small space. Then we'll make our
slanted stitches alternating sides
just like before. This small change
creates a raised effect, making the leaves
pop off the fabric. Keep stitching like this,
filling the whole leaf. It's so satisfying to see
those raised stitches emerge. It's similar to the
fishbone stitch we used before,
but with a twist. This stitch adds a cool
three defect to the leaves. Okay, I finished the first
leaf and it looks fantastic. Now let's complete the
second leaf in the same way. Remember, start with that
central straight stitch and then create those
raised fishbone stitch working your way up. And to connect the
leaves to the stems, I'll add a few straight
stitches with the green floss. This will give our dahia
a nice natural flow. All right. Time for
the flower itself. We've got a circle here, and I'm drawing a smaller
circle in the center. We'll start by stitching knotted lazy daisy stitches
between the two circles. Remember the lazy daisy stitch. It's like making little loops. But this time we'll add a knot
at the base of each loop. Bring your needle
up, make a loop, then wrap the thread around the needle a few times
before pulling it through. This creates a knot
that secures the loop. I've wrapped the thread three times before pulling
the needle through. You can experiment with different numbers of wraps to
see what looks best to you. One Keep stitching these
knotted lazy daisy stitches all around the circle, filling the space between
the inner and outer circles. Now I'm adding some regular lazy daisy stitches
with orange floss. I'm using three
strands for this. Finally, I'm adding
some straight stitches inside all these stitches. This adds a bit more
detail and texture. Make this Dahlia your own, and if you're
feeling adventurous, try adding beads or
sequins for extra sparkle. Remember, don't be afraid
to experiment with different colors and
stitch variations. And for the center, I'll stitch three French
knots with white thread. This is our final flower, so a big congratulations
for making it this far. Don't forget to submit your three favorite flowers
from this course one by one. I'm so excited to see
what you've created. And with that, our embroidery
journey comes to an end. I hope you had a blast
learning new stitches, exploring different
textures, and creating these six
stunning flowers. Remember, the most important
thing is to keep practicing, keep experimenting,
and most importantly, keep having fun with
your stitching. You've got this happy
stitching, everyone.
 Shanas, Embroidery for Everyone