Fix Dark iPhone Photos: Brighten Your Images in Minutes (No Apps Needed) | Rose Nene | Skillshare

Playback Speed


1.0x


  • 0.5x
  • 0.75x
  • 1x (Normal)
  • 1.25x
  • 1.5x
  • 1.75x
  • 2x

Fix Dark iPhone Photos: Brighten Your Images in Minutes (No Apps Needed)

teacher avatar Rose Nene, Photographer & Videographer

Watch this class and thousands more

Get unlimited access to every class
Taught by industry leaders & working professionals
Topics include illustration, design, photography, and more

Watch this class and thousands more

Get unlimited access to every class
Taught by industry leaders & working professionals
Topics include illustration, design, photography, and more

Lessons in This Class

    • 1.

      Fix Dark iPhone Photos Using Simple Brightness

      1:03

    • 2.

      Project Intro: Take One Dark Photo and Brighten It

      1:04

    • 3.

      Core Concept: Why Photos Look Dark (and the Simple Fix)

      0:45

    • 4.

      Demo 1: Open Your Photo and Find the Brightness Tool

      1:06

    • 5.

      Demo 2: Adjust Brightness Until It Looks Natural

      1:05

    • 6.

      Project Walkthrough: Share Your Before and After

      0:42

    • 7.

      FAQs: Quick Brightness Fixes

      0:52

    • 8.

      Final Thoughts

      1:31

  • --
  • Beginner level
  • Intermediate level
  • Advanced level
  • All levels

Community Generated

The level is determined by a majority opinion of students who have reviewed this class. The teacher's recommendation is shown until at least 5 student responses are collected.

13

Students

2

Projects

About This Class

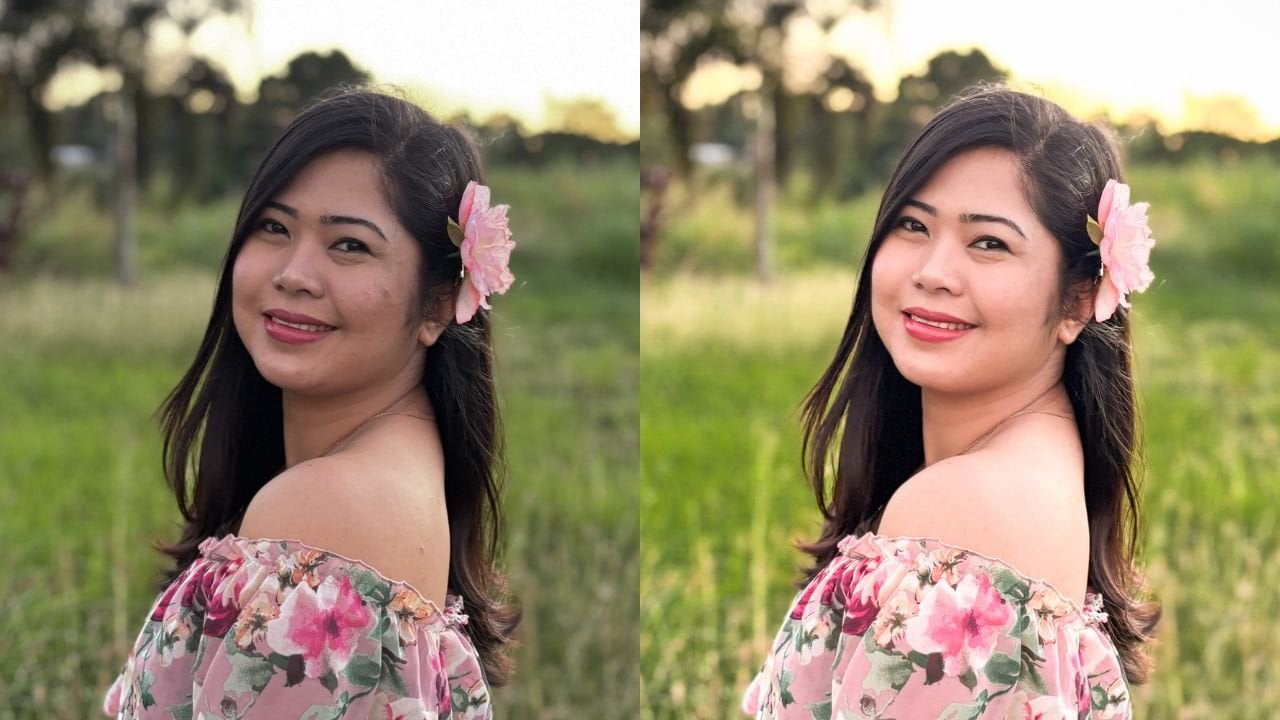
Ever taken a photo that looked perfect in real life… but turned out dark and underwhelming?

In this short and focused class, you’ll learn how to fix that using just one simple adjustment inside your iPhone’s Photos app.

This class is designed for beginners who feel overwhelmed by editing tools and don’t know where to start. Instead of teaching everything at once, we’ll focus on one powerful habit: adjusting brightness (exposure) with intention.

More than just fixing one photo, this is about practice ~ learning how to move a slider, observe your image, and slowly build your eye for what looks clear, natural, and well-balanced. Even with one setting, you’ll start to develop confidence and visual awareness that carries into all your future photos.

By the end of this class, you’ll be able to take any slightly dark image and brighten it in a simple, natural way using only your iPhone.
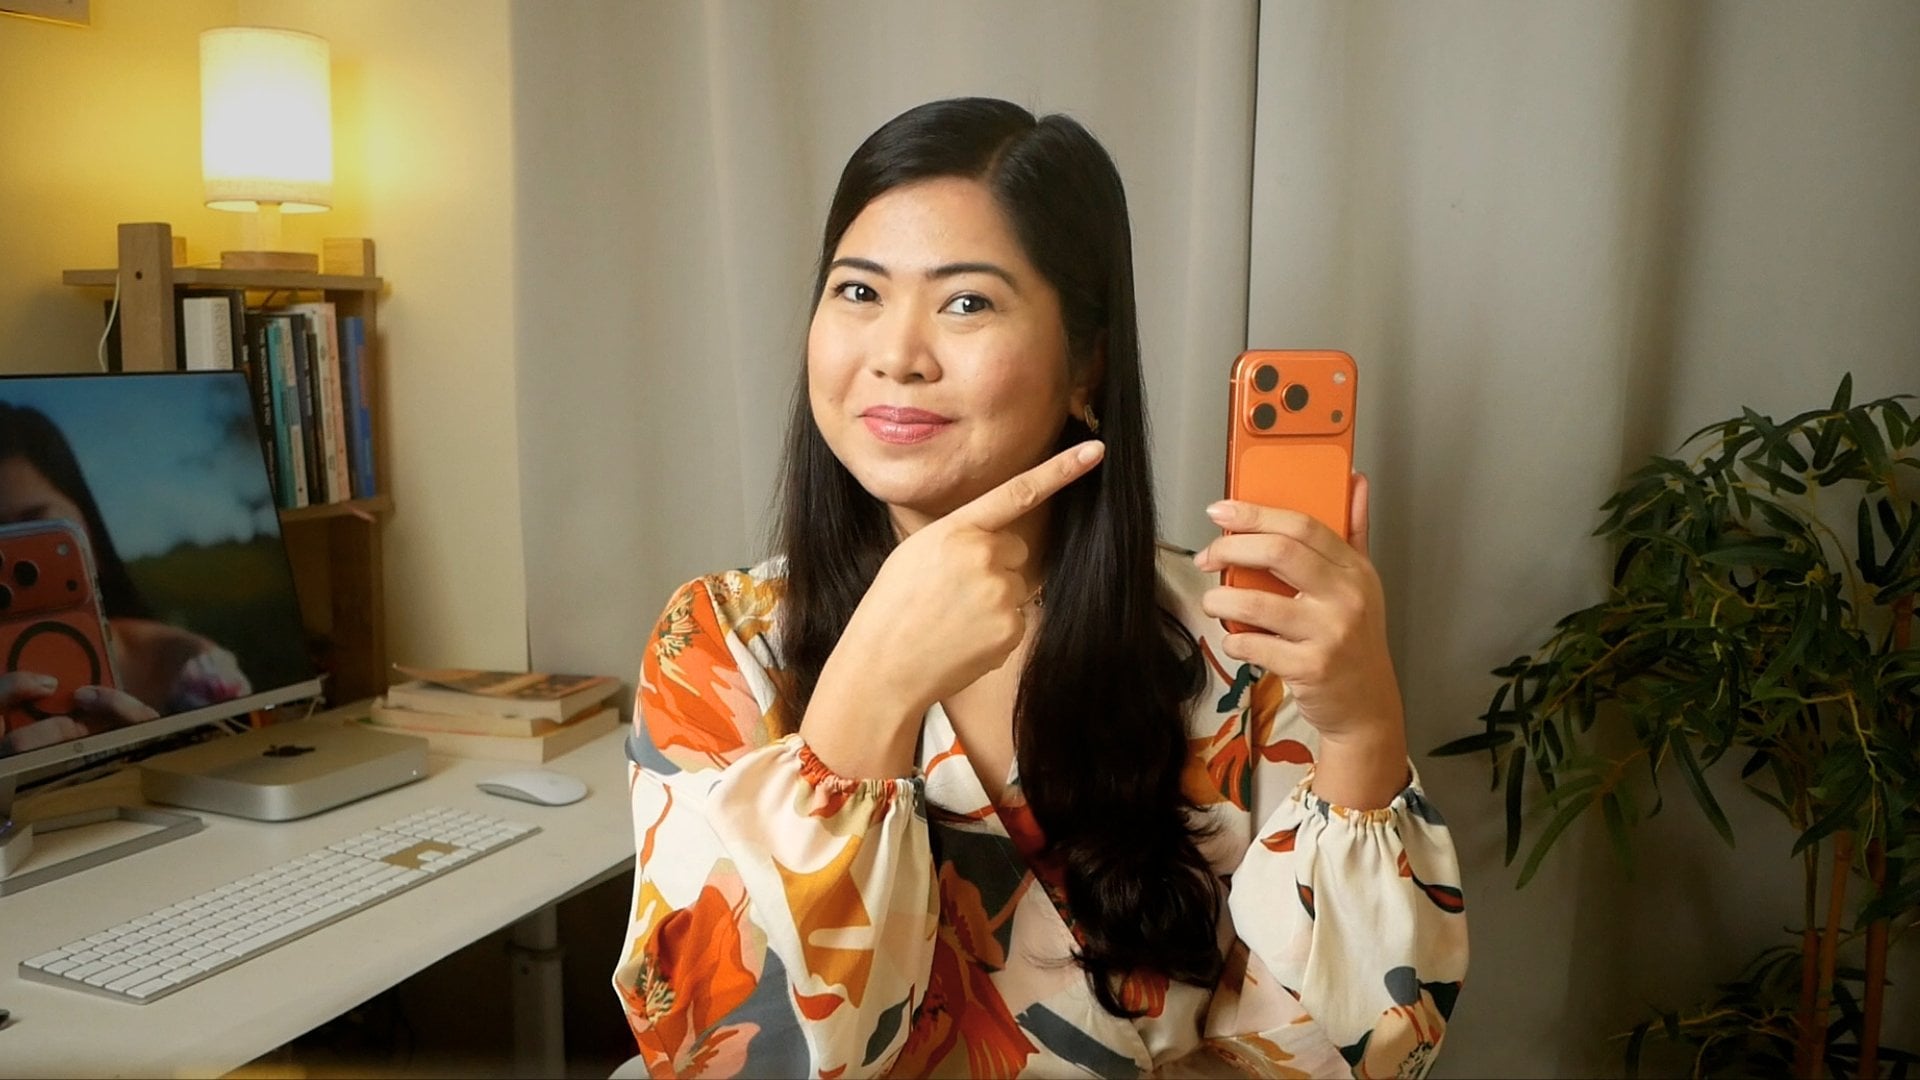
Meet Your Teacher

Teacher Profile Image

Rose Nene

Photographer & Videographer

Top Teacher

Hi! I'm Rose :)

My work focuses on helping creators move away from pressure and toward clarity whether that's through iPhone photography, visual storytelling, or building meaningful online classes.

In my one-on-one sessions, I offer gentle guidance, practical systems, and honest encouragement. Together, we'll simplify what feels overwhelming, refine what already works, and help you create with more confidence and ease.

If you're looking for support that feels calm, human, and genuinely helpful :) I'd love to work with you.

See full profile

Level: Beginner

Class Ratings

Expectations Met?
    Exceeded!
  • 0%
  • Yes
  • 0%
  • Somewhat
  • 0%
  • Not really
  • 0%

Why Join Skillshare?

Take award-winning Skillshare Original Classes

Each class has short lessons, hands-on projects

Your membership supports Skillshare teachers

Learn From Anywhere

Take classes on the go with the Skillshare app. Stream or download to watch on the plane, the subway, or wherever you learn best.

Transcripts

1. Fix Dark iPhone Photos Using Simple Brightness: Take a photo, and somehow it looks darker than what you saw in real life. The moment felt calm, beautiful, maybe even a little magical. But the photo looks dull and underwhelming. If that keeps happening to you, this short class will help you fix it using one simple brightness adjustment inside the Photos app on your iPhone. So no extra apps or complicated editing. Hi, I'm Rose. I help creators move away from pressure and toward clarity through simple iPhone photography and everyday visuals. I used to take photos of things at home like my amateur paintings, food, and family moments. And they often look darker than real life. For a while, I thought I needed better lighting or a fancier setup. But sometimes all you need is one small adjustment. In this class, we'll take one dark photo and brighten it in a natural, simple way. All you need is your iPhone and one photo. Let's fix it together. 2. Project Intro: Take One Dark Photo and Brighten It: If you're wondering, is my photo good enough to fix, it is no judgment here. For this project, you'll take one dark photo, brighten it using your iPhone, and share your before and after. That's it. Quick and doable. You can finish this in just a few minutes. And instead of retaking photos, you'll learn how to improve what you already have, which is honestly a life upgrade. Don't worry. We'll keep it simple. Just a dark photo, brighten it and adjust it gently. I'll be using a small painting on a table, but you can use anything, food, your pet, or a random moment you liked. Right now, open your Photos app and choose one image that feels a bit dark. You can follow along and pause anytime. Later, you'll share your before and after. And don't worry, you'll see a difference right away. That little Oh, okay, wait, moment that's coming. Let's get into it. 3. Core Concept: Why Photos Look Dark (and the Simple Fix): Sometimes your eyes see enough light, but your photo still looks darker. That's okay. Your iPhone often captures the details. They just don't show up clearly yet. So instead of retaking the photo, we adjust it. Think of it like opening a curtain slightly. You're not changing everything. You're just letting more light in. You do this, your subject becomes easier to see, and the photo feels clearer right away. So here's all you need to remember. Choose a dark photo, increase brightness slowly, stop when it looks natural. That's it. One simple adjustment. Now let's go into your photo and do it together. 4. Demo 1: Open Your Photo and Find the Brightness Tool: If the icons here feel a bit confusing, you're not alone. Apple didn't exactly make this obvious. So let's go step by step. Open your Photos app if you haven't already and choose one photo that looks a bit dark. In my case, I'll be using a photo of a small painting placed on a table that looks a bit shadowy. Next is to tap the photo so it fills your screen. Now look for the three lines icon at the bottom. It looks like sliders. Tap on that. Now, this opens your editing panel. At the bottom, make sure you're on a chest. Now, here's the part that usually trips people up. The first icon is not brightness, so tap the second icon, the one with a plus and minus, that's your brightness or exposure control. Easy way to remember. Plus, add slide minus removes light. So once you tap it, you'll see a slider appear, and that's it. This is where you control how light or dark your photo looks. In the next step, we'll start adjusting it and bring your photos back to life. 5. Demo 2: Adjust Brightness Until It Looks Natural: Now let's bring your photo to life. You already have your brightness or your exposure slider open, so gently drag the slider to the right. As you move it, watch your photo. You'll start to see the colors and details become clear. Now pause for a second. Does your photo feel easier to see? If yes, you're on the right track. If it suddenly looks too bright, like it's starting to lose detail, just move the slider slightly back to the left. Here's your top tip. Stop when it looks clear, not glowing. Now, make one more small adjustment. Notice how even tiny changes affect the photo. This is where your eye starts to guide you. Take a quick look at the whole image. Does it feel natural, comfortable to look at? If yes, that's your final result. Now, tap done, and that's it. You didn't need extra tools or complicated edits. Just one small adjustment to bring your photo back to life. 6. Project Walkthrough: Share Your Before and After: You did it. You took a dark photo and made it clear and visible. Now let's turn that into your project. All you need to share is one before and one after photo. So before your slightly dark image and after the brighter, more fabulous version, that's it. Take a quick screenshot showing both and share it with us. Now, the best time to do this is right now while you can still see the difference. Keep it simple and definitely no need to overthink it. Once you're ready, upload your project in the Projects and Resources tab. I'd really love to see what you created. 7. FAQs: Quick Brightness Fixes: Before we wrap up, here are a few quick answers in case you're still thinking, wait. What if my photo still looks dark? Just move the brightness lighter a little more to the right. Sometimes your photo just needs a bit more light to fully show the details. Next, what if my photo looks too bright? If it starts looking washed out, slide it slightly back to the left. Again, clear, not glowing. What if I don't know when to stop? I can totally relate. Now, if your photo is easy to see and feels natural, you're done. That's your signal. And here's a quick tip or another top tip. If you're unsure, pause for a second and look again. Fresh eyes help. And remember, small changes are enough to get started. 8. Final Thoughts: You just did something simple but powerful. You took a dark photo and made it clear and visible using only your iPhone without extra apps or complicated tools. Just one small adjustment done well. A small light adjustment can completely change your photo. You're no longer stuck with dark photos. You're someone who knows how to px them, and that confidence builds over time, one small edit at a time. So here's a quick way to remember everything. The acronym sun S for see the dark Photo, for use the brightness lighter and N to nudge it gently. That's it. Now, before you go, don't forget to share your before and after in the project section. Simple is perfect. I'd really love to see yours. Now, if this class help you, you can leave a quick review. It helps other students find this, and it means a lot to me. So you can also follow me here on Skillshare so you don't miss the next class. And if you're thinking, Okay, wait, I want to learn more than just brightness, I've got you. I have a full class called iPhone Photo Editing, the Art of making your photos stand out. That's where we go deeper. There's more tools, more control, and the full editing process using your iPhone and light room. So if you're ready to level up, you can go check that out next. I hope to see you there. Bye for now.