Transcripts
1. Introduction: There's no denying we live
in a fast-paced world pursuing instant
gratification and perfection. Digital technologies have
become an essential part of this pursuit from social
media to online shopping, our lives have been digitized in every way imaginable,
including photography. Which begs the question, why do some of us still
enjoy Film photography? It's not quick, it's
certainly not flawless, but we still love it. Welcome to my course. My
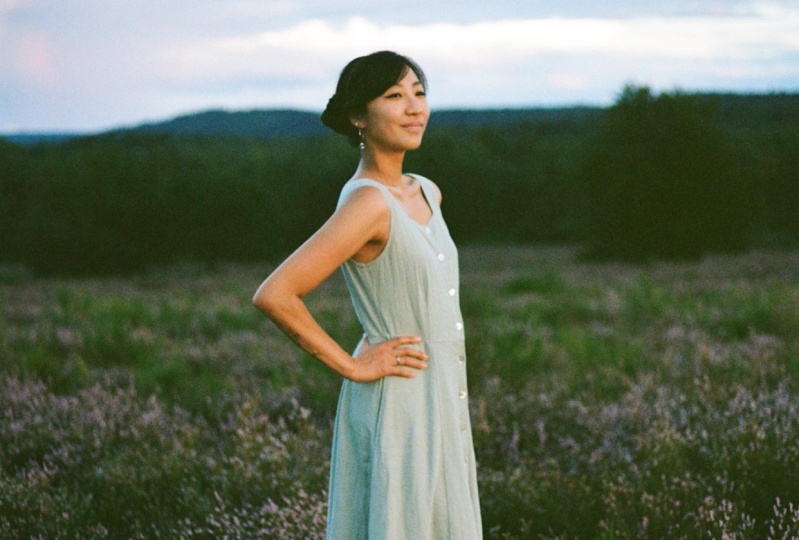
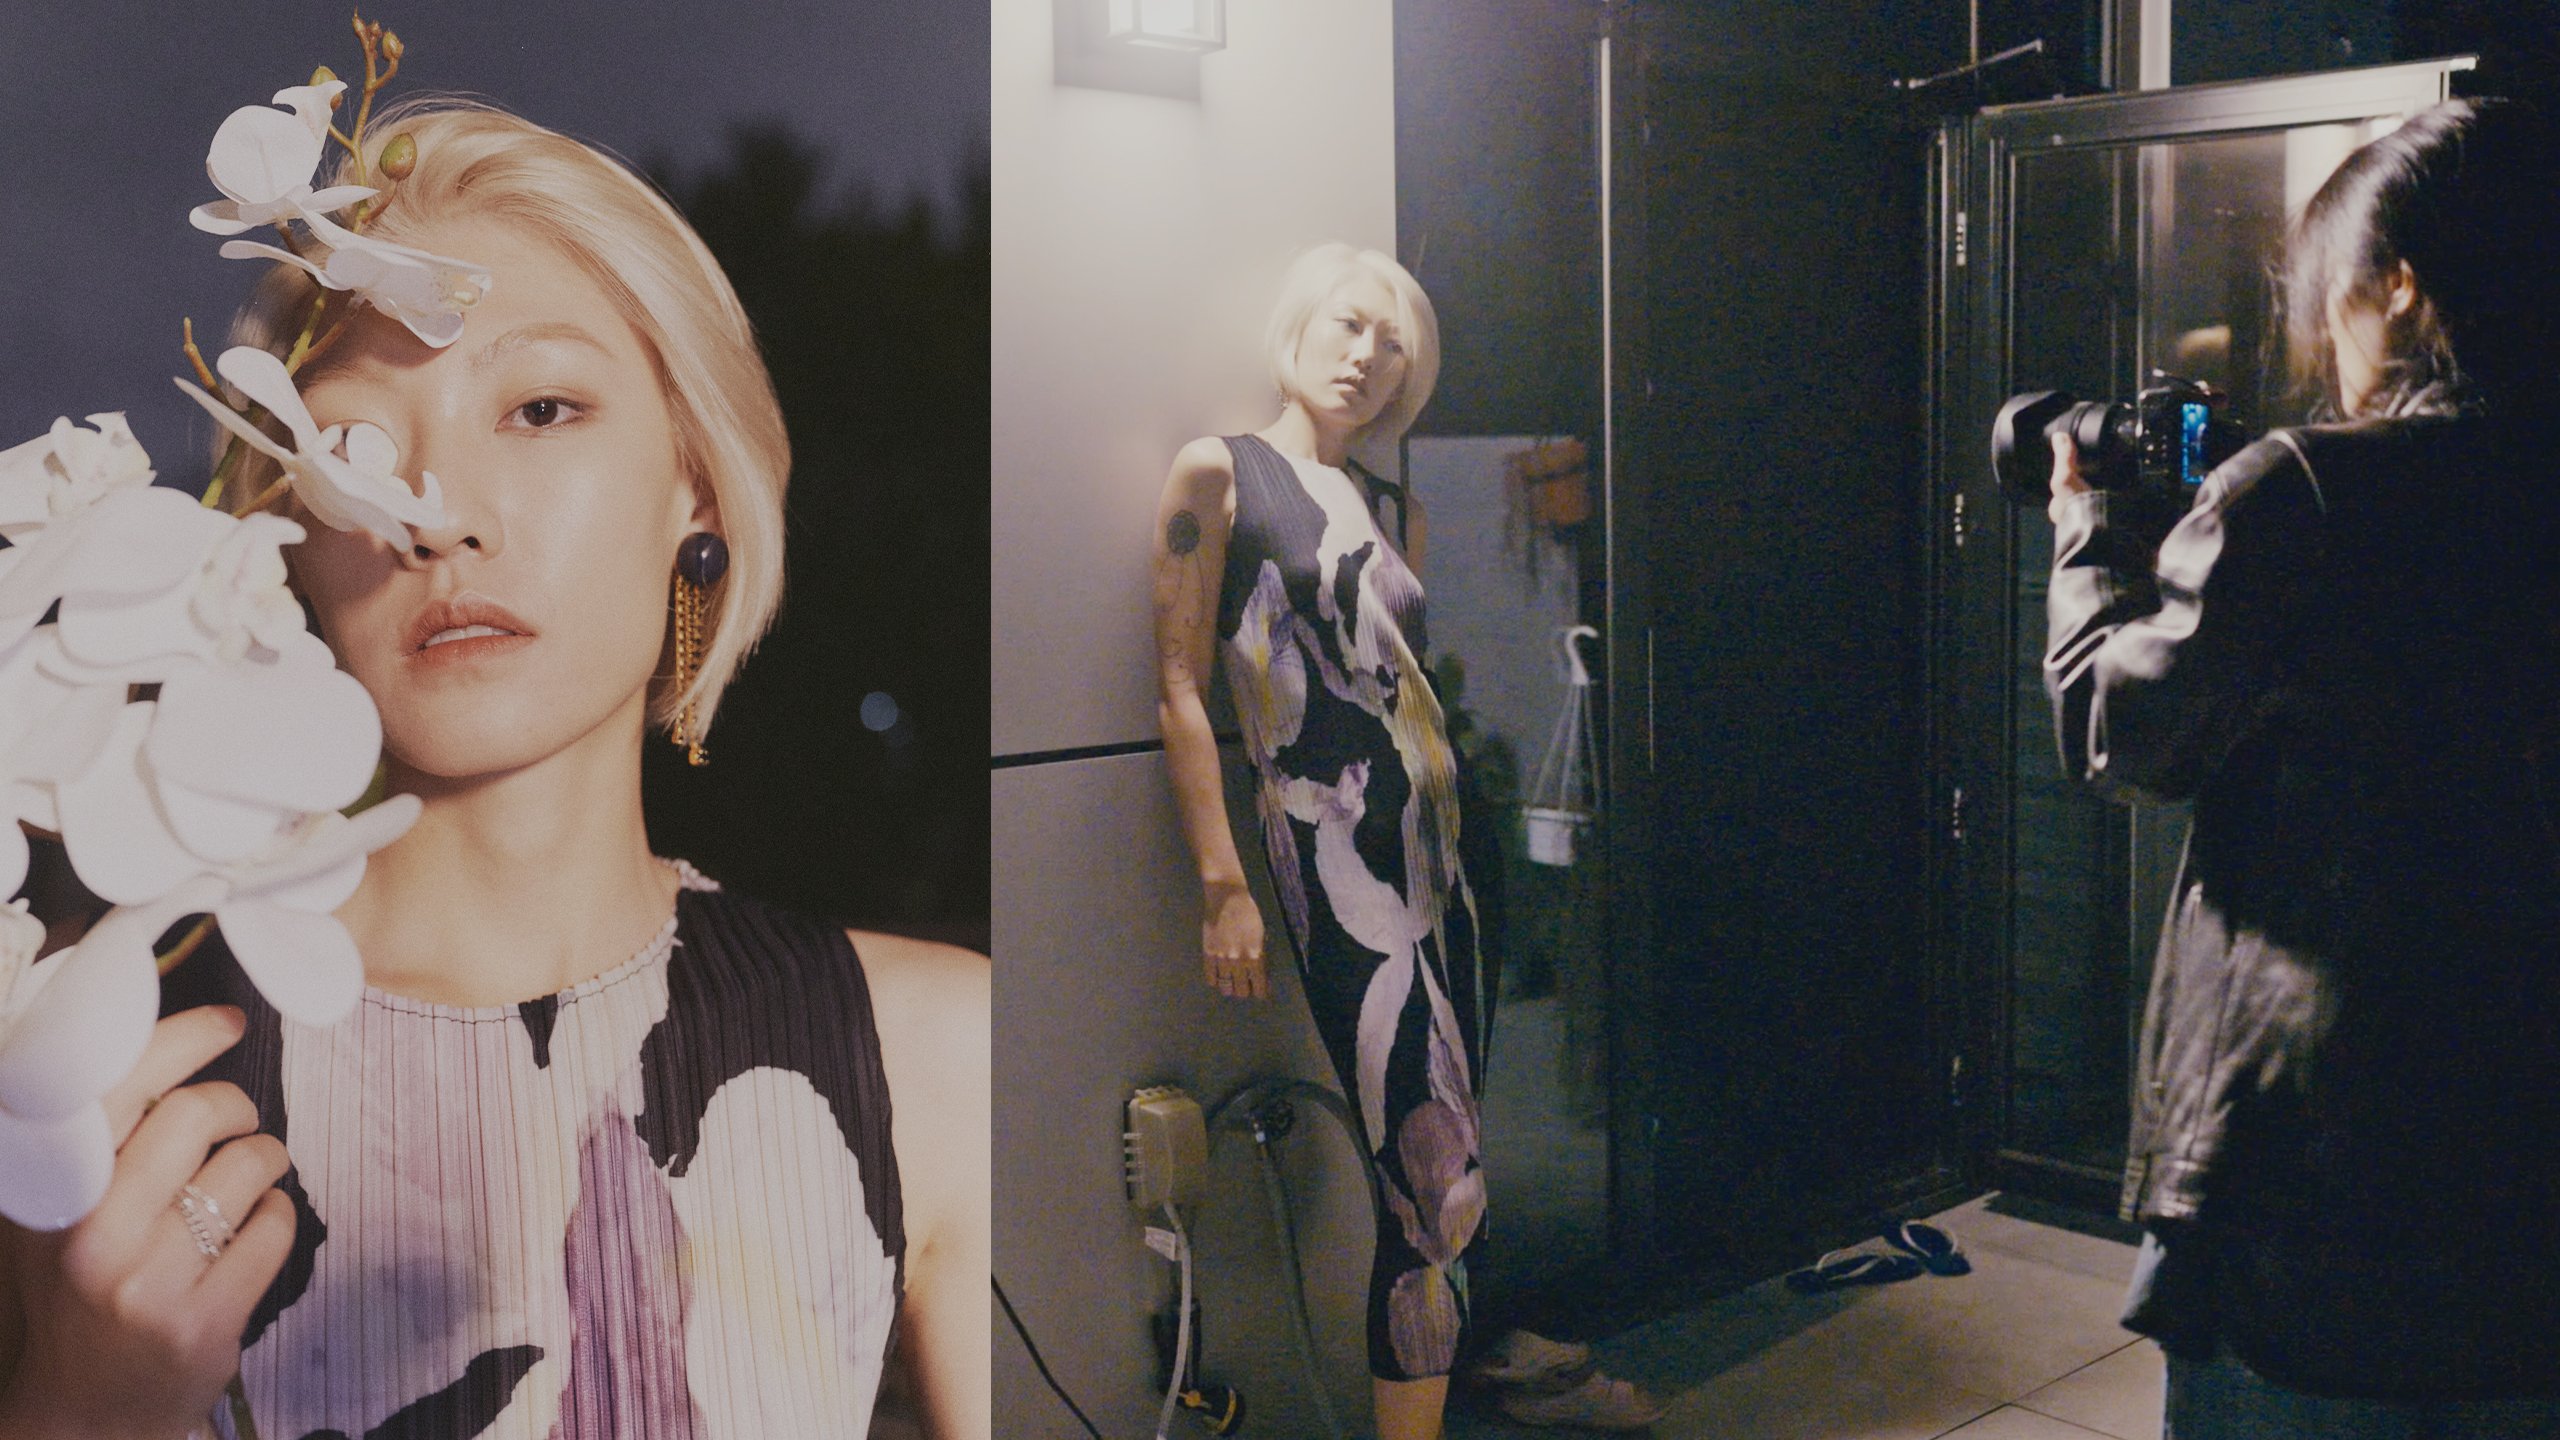
name is Sathya peacock, and I'm a documentary and portrait photographer
based in London, England. I've been taking photos
for over six years now, and I've dabbled in many
different genres in that time. A few years ago, I
received an old Fujica, which is a Fujifilm
camera as a gift when I started shooting film and
I've never looked back. Now to answer this question of why film is making a comeback, I think it was a combination of tactile experience that
you only get with film, the physicality of a
negative that was there with you in that moment that you
decided to capture forever. And the limitation in
frames forces you to be more present and take in your
surroundings more fully. It saves you a ton of time later on too in
post-production, instead of looking at hundreds
and hundreds of images, at the end of your day, if you've shot digital
with a film camera, you have maybe 36
shots in total. Or if you're shooting
medium format, it could be 16 or ten even. And I'd be wrong to not mention the aesthetic of film photos. Even a photo that was
taken last week makes us feel nostalgic and
they're quite emotive. As a result of these reasons, I believe Film photography not only gives us a unique
visual language, but also helps us enjoy the
process of photography more, it feels more fulfilling
while bringing you back to the basics of simply
capturing light on your film. In this course, we'll look at the basics involved
in film photography, some key skills and also a
couple of advanced methods towards the end. If you're new to Film
photography or Photography in general, or you've been a
digital shooter for a while and want to get
into film photography: This course is designed to
give you all the tools you need to start making the
emergency want on film.
2. Class Structure: So we'll start by discussing film chemistry briefly
so we know what actually happens when light hits your film and how we're able
to see the final image. We will then explore
three key variables that affect your image and their
relationship with each other. This should give you
a good foundation to feel confident in your ability to change out
these variables as you please to get the
image you want. After this, we're ready
to talk about metering, which is how to identify
what settings you need to use in your camera to take
a properly exposed image, and then some tips on
focusing manually, because most of
these film cameras come with manual focus lenses and understanding the markings
that come in those lenses. And by this point, we're
good to try our hands on some advanced methods that you can use to manipulate
your final results. I strongly believe in
learning by doing so on almost all of these lessons, you can follow along parallelly
and learn along with me. And at the end of each
section there'll be a mini exercise
that you can work on before moving on
to the next section. This way, you can be confident in your understanding before tackling further
skills and techniques.
3. Equipment & Buying Advice: Now, in terms of equipment, if you already own a fully manual film camera
and a lens, this is great. But if you don't, my
recommendation would be to buy a cheap manual film camera that doesn't necessarily
compromise on quality. I'd say go on eBay, get yourself a 35-millimeter or a 50 millimeter focal length, M42 mount lens. It's just a type of mount. And if you can find Pentax Takumar lenses with M42 mount, these are excellent value for money and a camera that
takes these lenses, an example would be Fujica ST605 or ST605N. And I highly
recommend it because it's fairly cheap on eBay and well-made and they
take these variety of M42 lenses and Pentax Takumar lenses are
great value for money. Maybe you already own
a digital camera, in which case you can still
follow along for most of the course and do a lot
of the exercises with it. A tripod would be
a good addition for advanced techniques, but you could also use
a table or a backpack or anything that could
steadily support your camera. In terms of light meter, you don't need to go out and
buy an external light meter. There are several apps that you can download
on your phone, and these should do
the job fairly well.
4. Film Chemistry: Every film is made up of
several layers of chemicals. The important layer, where our
images get captured is called the Emulsion. On
a black and white film, This is a single layer of silver halide crystals
suspended in gelatin. And when you expose
your film to light, these silver halide
crystals undergo a chemical reaction and they
turn into silver crystals. And depending on what was
reflected off of your subject, like the intensity of
light varies and they hit different parts of
the film on your frame. And this forms what we
call a latent image, which then needs
to be developed in a dark room to make it
into a permanent image and wash off any unused
silver halide crystals. Where there's more light, more silver is retained, and so these areas look darker
or denser on your film, as you can see here, and when there's less
light or no light, silver is completely washed off your film and these areas
look lighter or thinner. So when people talk about
a negative being denser, they mean that quite
a bit of light was given to that image
on your firm. And when they refer to a
negative as being thin, it means the negative did
not receive enough light. So to recap, your image on
the film is actually made up of a collection
of silver grains that received varying
degrees of light. More light or overexposure
leads to denser negatives and less light or underexposure
leads to thinner negative.
5. ISO, Aperture & Shutter Speed: This is a key lesson
where we will talk about the three important
variables you can control to get your images
looking the way you want, namely your ISO, your aperture,
and your shutter speed. And understanding these
three will help you understand their relationship
with each other as well. Usually described
by the terms : reciprocity or
exposure triangle. We know that silver
halide crystals are suspended in gelatin in your emulsion. The size of these crystals,
among other things, determine the sensitivity
of your film to light. Larger crystals make your
film more light-sensitive. These film stocks are identified
with higher ISO numbers. Larger crystals when
exposed and developed, therefore leave behind larger
silver grains on your film. Images on a higher
ISO film look more grainy than images from
a smaller ISO film. These ISO numbers also mean something, They represent
in relative measurements, How much more or less, let's say your ISO
200 film stock is sensitive to light
compared to a 400 film stock. Usually this is referred
to as a stop of increment, and that means twice as much or half as much
of sensitivity. So for example, an
ISO 400 film is twice as sensitive to light
as an ISO 200 film, or in other words,
needs only half as much light as
an ISO 200 film. So when you hear people say, given extra stop of light, it means give twice as
much light to the film. Now, aperture. Every lens has an
aperture and most of the film camera lenses allow the user to control this manually with the help
of an aperture ring. Aperture is basically
the opening and your lens that lets in light. Lenses come with a ring that is designed to control the
size of the aperture. The numbers on your lens
on the aperture ring, similar to the ISO numbers, also represent in relative
terms how much more light an F4 aperture lets in compared
to an F2.8 aperture. Here's a little demonstration
to understand what happens when the aperture
ring is turned. As the numbers increase,
as you can see, the opening in your
lens decreases, which means less light is
being let in and vice versa. Most lens markings are
in one stop increments. So when you move the
aperture from 2.8 to 4, you're letting in
half as much light in other way round
when you're moving it from F4 to F2.8, you're letting in
twice as much light. For a quick summary, aperture ring markings are
in one-stop increments. Higher the number, lesser
the light being let in. Lower the number, the more
the light being let in. The aperture also
controls one more thing. It's called the depth of field, which is basically how
much of your frame is in focus in the 3D space. We'll come back to this concept
in more detail later on. But just remember
that a low f-number means a shallower
depth of field where you get nice subject separation and a really blurry background. And a higher f-number means
a thicker depth of field, meaning more things will be
in focus. Now, shutter speed. So when you press the shutter
button to take a photo, the shutter in your camera opens and closes for a
certain amount of time. Literally, that's all it does. These numbers
represent the speed in which the shutter
opens and closes. So if we take two photos, both of them with identical
aperture and ISO. One photo with a shutter speed
of 250th of a second, one with 500th of a second, we know that the
shutter was open twice as long with 250th of a second, therefore letting in
twice as much light or one extra stop of light and the image will look brighter because of everything
else being the same. A brief recap here, ISO represents the sensitivity
of your film to light. Higher the number, the more sensitive your film is to light, and less light needed. F stop represents
in stop increments, how much light you're
letting in and how much of your image
you'd like to be in focus. Higher the number, less
light being let in, and more in focus
and vice versa. Shutter speed also represents
how much light is let in, and it controls how
long your shutter in your camera stays open to
let the light hit your film. I'll leave a PDF sheet
to download that gives all the different ISO, aperture and shutter speeds
with their stop increments. So you can go through them and familiarise yourself
with that information.
6. Reciprocity & Exposure Triangle: With film, your ISO is
usually fixed for the roll, which means you have aperture and shutter speed to play with, depending on how you
want your image to look. Close the aperture because you
want more things in focus. Because remember, higher F-stop means a thicker depth of field. It's letting less light in
and you're going to have to compensate by letting the
shutter stay open for longer. Or let's say you want to use
a really fast shutter speed. Maybe you're trying
to shoot a subject moving really quickly and you want to freeze the motion and you use a faster
shutter speed for that. Now when you use a
faster shutter speed, the time for which your light is allowed to hit
your film is small. And to compensate for this, you can open up the
aperture on your lens more so that more
intense light comes in, in that short
amount of time that your shutter is going to be opened with faster
shutter speeds. This relationship
between aperture and shutter speed is
called reciprocity. Now, when shooting digital, you can change your ISO
from frame to frame. And so one more variable is
thrown in the mix, which now makes it a
triangular relationship, hence the name
exposure triangle. So you can fix the
shutter speed, change the aperture & ISO, or fix one of the other two and change the remaining
two combinations. This just gives you a bit more flexibility frame to frame. So the reason it's called
an exposure triangle, it's because the triangular
relationship between these three variables controls the exposure of your image.
7. Choosing the right film stock: Now that we know ISO represents
the sensitivity of film. What film should we choose
for our shooting conditions? Most of it is subjective and depends on the
weather, available light, the subject
you're shooting, whether it's fast moving
or stationary, range of available shutter
speeds in your camera, how much light your
lens could let in. And if you have access
to a tripod and so on, you can also throw
in the fact that high sensitive film stocks
will show more grain. And you have to choose
whether you would like to have that much
grain in your images. Also different colour
stocks have different looks. So once you've shot a
variety of film stocks and understood different
characteristics of different film, you'd be in a much
better position to make your choice when it comes
to what you're shooting. But to pick one
purely based on ISO: as a rule of thumb,
if you're shooting handheld during the day and you have bright blue conditions on the sky for the
whole day time, you can easily get away
with an ISO 200 film. If it's a cloudy day, then you may need
an ISO 400 film. If you're going to
be shooting later in the evening around sunset or blue hour handheld, you'd benefit from a cold start
with at least an ISO 800. Let's quickly also go over different types of
film that's available. Black and white, color negative, which is most people's
experience with color film, which when developed
looks like this. And then color
positive or slight film, which is not commonly
used these days, but it looks like an actual
photo when developed. And this is the film used
mostly back in the day. Some of you might have
heard of Kodachrome, which is not in production anymore, but pretty much everyone used
it for color photographs, including amateurs
and people would use a slide projector back in those days to project
their photos, travel photos, wedding
photos and and stuff onto there walls to show
their friends and family. I live another PDF sheet
that you can download with available film stocks that I recommend in each of
these categories. So you can start with those
and then move on to others. So to sum up, choosing the right film stock
involves taking into consideration a
variety of factors such as grain, sensitivity, aesthetics, and
weather conditions. I recommend trying a variety
of film stocks at first. So you get an idea
of what film you can choose considering
all these factors. This concludes the first
section of this course. Now let's look at
a mini exercise.
8. Mini Exercise: If you're shooting
with a film camera, pick the lowest available
aperture on your lens. For example, F2.8, and reduce the light
in one stop increments until the last available
aperture in your lens. Write these down, compare
with the cheat sheet provided to see if your one-stop
increments are correct. Now, pick the fastest available shutter
speed on your camera. For example, 500th of a second. Some of you might have
1000th of a second. Increase the light in
one-stop increments until the slowest
available shutter speed, It's usually 1 s. Write these down as
well and compare, If your one-stop increments are correct with
the cheat sheet. Now if you're shooting
with a digital camera or your phone maybe, put the camera in
aperture priority mode: Point at a stationary
subject and take a photo, note down your aperture and
shutter speed readings. Now keeping the camera
pointed at the same subject, change your aperture in one stop increments either
increase or decrease. And notice what happens
to the shutter speed as lens aperture changes
in one stop increments. Now put the camera in
shutter priority mode, Point at a stationary
subject and take a photo, note down your aperture
and shutter speed. Now keeping the camera
pointed at the same subject, change the shutter speed in one-stop increments
again on either side. And notice what happens
to the aperture. So just briefly,
aperture priority means your camera prioritises the
aperture that you choose. So you get to choose
the aperture and the camera selects the
correct shutter speed. For shutter priority, you get to choose
the shutter speed, whereas the camera
chooses the aperture, depending on the shutter
speed that you choose.
9. Metering: By now, you know that ISO, aperture and shutter speed are three key variables
that we can use to control how much light film gets to capture in the scene in
front of the camera. Metering is simply the
process of finding out what those three
variables should be. Like I said, when
you shoot film, ISO is taken care
of by the film. So really it's the aperture and shutter speed we're
concerned about here, usually your camera is
equipped with a light meter. They come in various styles. Or you already have an
external light meter, or you may have
downloaded an app to your phone to use
as a light meter. Well, actually here's
a light meter app that I recommend if you don't
have one already, when it comes to the type of light meter or metering itself, there are two distinct types of metering, reflective
and incident. But before we get into them, Let's look at a fun way
of metering that does not require any light
meter whatsoever.
10. Sunny 16: This is sort of a rule
of thumb, let's say, and probably the easiest
method in my opinion to meter depending on how
comfortable you are in identifying the weather: 16 in sunny 16 refers to the
f-stop number on your lens, that's our beginning aperture. And whatever the ISO
of your film is, the reverse of that will be your reference shutter speed or the one closest to it that's
available in your camera. Now, we have our beginning aperture of F16 and our reference
shutter speed inverse of your ISO. We start with the brightest of conditions which is
sunny, no clouds, blue skies, reflective
surfaces everywhere think snow, if that's
the condition outside then we start with F16 and
the reference shutter speed. And then we reduce the
f-stop by one-stop for every weather condition
that gets worse from then on. So as you can see, the, weather gets worse, meaning the light available
becomes less and less, We open up the aperture more and more to let in enough light. As simple as that. Now to
make your life easier, I'm gonna give you a few tips. Tip number one, you don't
need to stick to the exact F-stop and shutter
speed combination that we saw in that list. We already know that
our ISO is constant. And through the
exposure triangle or reciprocity relationship
that we discussed earlier, there is an inverse relationship between the remaining
two variables, the aperture, the shutter speed. So say it's an F16 condition
and the ISO is 100, so initial speed is 125th of a second. But if you wanted to
shoot it at F11, meaning give one extra stop of light because you like the
depth of field that F11, let's say, all you
need to do is make sure your shutter speed
goes one-stop faster. So instead of 125th, double it - 250th, which compensates for
the f-stop moment. Tip number two for
backlit subjects, meaning a bright object
is behind your subject, which means they're
not lit by the light, Give one or two extra
stops of light. Meaning if you're supposed
to be shooting in F11, maybe shoot at F8 or F5.6
with the same shutter speed. Tip number three, if you are shooting color negative film or
black and white film, And using the sunny 16 rule, you can overexposed
the film by one-stop. I'm not saying you always
should overexpose your film. I'm just saying
in this instance, if you're shooting these
two types of stocks, you can overexpose the
film by a stop because these film stocks have
higher latitude and have much better
highlight recovery. And by doing that,
you're going to bring in more information
in the shadows, which you can bring down
later in post as well, if you don't need
it. It's better to capture more information and turn them down later on instead of
having no information, meaning it's just washed off of your film, there's nothing
for you to pull back essentially. Last tip for Sunny 16 Film companies
release what they call a film spec sheet
along with every film. And in that, they have the recommended sunny 16 values
in their exposure table. The drawbacks of this type of metering are that this
is based on daylight. So as soon as the sun goes down, sunny 16 goes out the
window and with a light meter, you can be sure
about your exposure. Whereas with Sunny 16, it could be hit or
miss sometimes.
11. Incident & Reflected Light: We know that our camera is
simply capturing the light reflected off the
subject or scene. So there's a source, and then there's your
subject and your camera. Light hits the subject, Light reflects off
of the subject, Camera captures the
reflected light. There are two places where
you can measure the light, light that's hitting your
subject or your scene, also known as incident light. You can measure the light
here with an external meter. And the light that's
reflected off of the subject, also known as reflected light. You can measure this in your
camera or an external meter. Just remember that in most cases we measure the reflected light.
12. Reflective Metering: Reflective metering is the most commonly used
metering in all DSLR's, film cameras with light meters, mirrorless and even the cameras
on our phones, they all measure light
reflected off the scene. One key thing to note is
that reflective meters, have a reference
point of middle gray. What that means is that
the meter is working out, what aperture and shutter
speed combination you need to get the spot looking
like middle gray. This concept of middle
gray is from way back when photography was
purely black and white. And the idea was that finding a middle gray in your scene, and recording it meant your brightest whites
and your darkest blacks. And all the other tones in-between will be
recorded properly. To give you a quick DIY example of what I mean by
the middle gray. I have a white card here
and a gray card here, which is technically
a middle gray card. And let me use my mirrorless
digital camera here and I'm taking the reading
off of the white card. You can see that the
white card is not looking quite white if I
use those readings. Now, I'm taking the
reading of the gray card, which is middle gray card, as I said, you can see
that the white card now in this photo
comes out white. Here's a side-by-side
comparison of these two images. The first one where the
light is measured off the white card and
the second one is measured off
of the gray card. This illustrates how
reflective meters are trying to
average the light to show any spot that you're metering to come
out as middle gray. This doesn't mean you can't get good readings from
your reflective meter. It just helps to know
what it's doing. There has been a number
of developments in reflective metering
since the early days. And a lot of camera manufacturers
give you the option to choose one of the few
types of metering below: So there's a spot meter
which we kind of touched on, lets you measure the
reading of a specific spot. There is a center weighted
or average metering, which means the center
of the image is given the priority in the reading. So that if there's an
incredibly bright spot or really dark spot in other
areas of the image, they don't affect your
subject in the center. Most old film cameras usually
only have one option, which is usually the
center weighted metering. Then there's also slightly more advanced matrix
or evaluative metering, which is probably the
most advanced form of metering available
in your camera, where the scene is split
into five different areas. And modern cameras can try to guess what you're
trying to shoot and what is in focus and give more priority
to those areas. And use them to calculate
the final reading if your film camera has matrix
or evaluative metering, I'd recommend to shoot with that because most of
the time you'll get a proper exposure on all different conditions.
Compared to incident metering, Reflective metering
can be used for both nearby and
far-off subjects, and it's easily available
even as an app on your phone. So it's a lot more accessible. So to sum up, reflective metering is a
more commonly used type of metering where it measures the light that is reflected
off of your subject. These meters are trying
to resolve a spot or a scene for it to come
out middle gray. So you'd need to be mindful
of this when your scene has bright white or pitch
dark or black areas, especially if using a spot meter. If your camera offers matrix
or evaluative metering, it's best to use this option
for most of your situations.
13. Incident Metering: Incident meters look
something like this. They usually have a
diffuser dome that averages all the light
falling on your subject. And the meter measures
simply the light that is available for
your subject or scene. Usually, you would have set the ISO on your meter and
you'll have a button to press that'll record the
light and show you the relevant aperture and
shutter speeds to use. Most meters will also
have the ability for you to change the aperture
for the same reading. The meter will show you the
corresponding shutter speed. I'm sure you remember the exposure triangle
relationships. That's what's being used
here. In studio settings, it's beneficial to use an incident meter because
it's easier to use, in there. Your subject is right in
front of you and you have a controlled lighting environment that you can use
for your subject. Incident meters can
also be helpful in taking environmental
portraits during the day. And if you're happy with
the available light. And because we're
measuring light, hitting the subject
and not trying to resolve the reflected
light to 18% (middle) gray, we get better color accuracy
with the incident metering. So to sum up, incident meters allow you to measure
available light. And it's better to use in fixed lighting
situations indoors. And if you are happy with the
available light outdoors, it's also easier to get
accurate colors as we're not trying to resolve
a spot to 18% (middle) gray, but simply measuring the
available light for your subject.
14. Zone System: We're not done with the
reflective metering yet. Zone System is a even
more advanced form of reflective metering. Most of you will
probably never use this, but in case you become
interested in it later on, here's what you need to know. As previously discussed,
spot reflective mirrors are calibrated to resolve any spot
to look like middle gray. This is because the
meter doesn't do the looking or the
thinking for you, You're doing both. And identifying which spot looks to be middle gray so that both white areas and
darker areas and your frame appear correctly
in your final print. Zone system is simply an
expansion of this idea. And as Ansel Adams, one of the greatest
landscape photographers to ever practice photography says, Zone System is a technique
developed to accurately evaluate the exposure values of a scene so that we're
able to capture and print textural rangers
important to us in an image. This is developed with black and white
photography in mind, So bear with me here. In printing terms for a
black and white image, there are 11 zones in total, and the middle gray becomes
your middle zone or Zone 5. Different zones have
different tonal values. And you can see
from Zone 2 to Zone 8 is where we have majority of the
information in an image. This is a Pentax digital
spot meter that I use which basically measures
the exposure value of a scene that is in the scale in this ring. There's a front ring that lets you choose
the ISO of your film. And as you move the Exposure
value onto the zones, the f-stop and corresponding shutter speed values here will align and you can
use any of these F-stop and shutter
speed combinations. So while using this Pentax
digital smart meter, to meter with zone system, I do one of two things. Either I find the middle gray in my scene and place it in Zone 5 and check if
the darker areas in the image where I'd
like to retain detail in, this is at least in Zone 3, and the corresponding
brighter area is in Zone 7 or 8. Or I frame my shot and then
decide what darker part of the image I'd like to retain detail in and put
that in Zone 3. Check the brightest part
of the image and makes sure that it falls
within the range so that I'm not
overexposing to the point where I cannot bring back any
detail in the highlights. And usually that's
the reading I'll use. I'm shooting an
ISO 160 film here. And I'm trying to
find the darkest area where I want some detail. And it seems to be this spot measuring an exposure
value (EV) of 11 two-thirds of a stop. If I put that in Zone 3, the brightest point
in the scene which measure that exposure
value of 16, falls in Zone 8 , which means good details
in the highlights as well. And I can use any of
these combinations. And so I'm going to use F11 and 125th of a second. I do not recommend investing in this light meter and using
zone system unless you want to spend a ton of
money on the meter and a ton of money on the film
to get used to it as well. They were cheap
back in the days, but in the last couple
of years they've gone up in price quite a bit. But the benefit
would zone system is that it does give you sort of ultimate control in how you capture
details in your image.
15. Mini Exercise: Take 12 photos using sunny
16 rule, simple as that. Now pick 4 scenes or
subjects and try metering each scene or subject with all the different types of metering available to you. If you only have center
weighted, then just use that. If you have only spot, then just use that, if
you have access to spot, center weighted
and matrix metering, try to shoot all four scenes in all these three available
metering options and identify the differences between the type of
metering if you can. For 12 more shots, try to identify middle
gray area in your scene. For example, sidewalks,
metal light poles, and meter for just that
spot where possible, not down the readings
and take your photo.
16. Manual Focusing & Depth of field: Right. If you're shooting
with a film SLR camera, chances are most of them are
manual focusing cameras, which means two elements
need to work in tandem. You have to focus
on your subject manually using the focusing
ring on your lens, and you're doing this
while looking through the viewfinder and making sure that your
subject is in focus. There is a third element, which is not required
to focus properly, but is a decision that
you need to make. These manual lenses usually
come with two rings. One to control the aperture
as we already saw, and one to control focus. In our earlier lesson, we
talked about how aperture, in addition to controlling
the intensity of light that hits your film also controls
the depth of field? What is a depth of field? It's basically how
much of your image in the three D space is
going to be in focus. When you see images like this, only a very small part of this
entire range is in focus. So your depth of
field is pretty thin, foreground and background
are completely out of focus, and a lot of light
is being let in. But what happens when you
close down the aperture more? It increases the depth of field. And as you can
see, a lot more of the three D space is in focus, meaning the depth of
field is quite thick. But don't worry.
The more you shoot, the more this becomes
second nature, you'll know what F
stop you'd like to use or need to use depending
on the situation. For now, it's just helpful
to understand that the aperture controls not just how much
light is being led in, but also how much of the three D space is
going to be in focus. So in summary to manually focus, you need the help
of a view finder on your camera and a manual
focusing ring on your lens. The third thing that's
good to understand and consider is how much of
your image is in focus, AKA depth of field. And this is controlled
by the aperture.
17. Viewfinders: Viewfinders are focuss aids, every camera has one. This is where you'd
look to frame your photo and also check
if your image is in focus. Over the decades of
film camera production, a number of variations of viewfinder screens were created, some better than others. One of the more common types
that you'll find in film SLRs is what's called
a split image. And it's literally where your image in the middle
of the screen will look split in the viewfinder screen and by rotating the focusing
ring on your lens, you'll bring the subject back
to being not split. Essentially the split image
becomes normal image. There's also a micro prisms, which are tiny prisms in the middle of the
viewfinder screen. And your subject in the center we'll look a bit fuzzy and
not in-focus until again, you use the focussing ring to find the right spot
where the image in the middle is not fuzzy anymore. There are also combinations of split image and micro
prisms that made their way into viewfindes where
the absolute center will be split image and then surrounding that will
be micro prisms. These increased the chances of getting better focusing results. Let me show you these
different examples in different viewfinder
screens of split image, micro prism and a
combination of those two. And also a slight
variation to that is what's called a
range finder patch, which usually offers a
rectangular patch in the middle that shows your image to be double when
it's not in focus. And by rotating
the focusing ring, the two images merge into being one in that center
patch of a rectangle, and then your image is in focus.
18. Lens Markings: Aperture markings. This is on your aperture ring, which is used to
control your aperture. And there's always a middle
or reference marking in red, which when lined up
with a certain f-stop, you can tell that's the
aperture you will be using. Now you can see there's
all this other numbers and feet and meter. And next to the aperture ring, tiny vertical lines
and what looks like aperture values repeated
on either side. These are your lenses,
distance markings, and depth of field scale. Okay. How do we read this? For example, I'm using
this Pentax lens here, and I found my subject
to be in focus. And if I'm using F16, this scale is basically
telling me that my nearest focusing
distance with using an aperture of F16
is what it looks like, 5.5 ft and my farthest is 15 ft. So my depth of field is between 5.5ft
and 15 ft, and that'll be the
acceptable area of focus. Remember, we talked
about how much of the 3D space is going
to be in focus. So for this value
it is going to be from 5.5ft
to about 15 ft. And as you reduce the
aperture, these lens markings are already telling us that our depth of
field is getting smaller. And so only a smaller
size of the scene or the 3D space will be
in focus. When the depth of field or
focal plane is thin, it is easier to make
mistakes and your focus, especially when you don't have any accessories to
check critical focus. So it's something to keep in mind while focusing manually. And if you absolutely need to nail the focus on
a particular shot, you might be better off by
stopping down your lens, meaning using a higher aperture so that your depth
of field is thicker, allowing for more areas to be in the acceptable area of focus. Another slightly
advanced technique is using your lenses
hyper focal distance. There are cameras that does not have viewfinder focusing aids. So you're completely relying
on the lens markings. In this case, your lenses hyper
focal distance will help. What is a hyper focal
distance? On your lens If you're using a
focal distance, it means you've focused
at a spot where you have used your depth of field
all the way to infinity, but not beyond that. What this means is
that take the infinity marking and put it against the aperture you'd
like to shoot with. Let's say in my case it's F16. I know now that the
acceptable areas of focus is roughly 8 ft to infinity and whatever is just over 15 ft will
be perfectly in focus. In summary, aperture
markings help you to decide how much light you need through the lens and how much
of the scene you need in focus. Distance
markings and depth of field scale
together helps you to identify the acceptable
area of focus and at what distance your
lens is focused perfectly. Hyper focal distance comes
in handy if you're working with a camera that does
not have a viewfinder. The important thing
to understand here is that none of this takes into account what amount
of sharpness or out-of-focus background that you prefer, which is subjective. So play around and figure
those things out for yourself.
19. Manual Focussing Tips: I thought I'd give a few
tips on focusing manually. Higher aperture allows
for more depth of field, so better chance of
getting things in focus. When shooting with
really low aperture, check the lens markings to
see if the acceptable area of focus is good for your needs.
While shooting handheld, try to maintain
three-point contact so that when you press
the shutter, the camera shake is minimized. Try and use tripods
where appropriate. Usually anything slower
than 60th of a second, will benefit from using a tripod If you have not bought a camera yet, then try to get one
with split image with a microprism viewfinder so that you're better equipped
for manual focusing. Focusing aids like
viewfinder magnifiers could help with critical
focusing because they usually magnify the
center of the image anywhere from two
times to five times. So you can clearly check if the center of the
image is in focus or not. Lastly, keep practicing, keep shooting more and I'm sure
you'll get better at it.
20. Long Exposures: I'm sure most of you have seen
long exposure images like star trails or things looking like they're
going really fast. People moving like
ghosts or images taken at night that
look incredibly sharp. They're all long exposures. There is no one set
definition for it. The way I see it, anything that requires
a tripod and I mean, requires so maybe
30th or 15th or anything
slower, use a tripod. So as long as the
camera needs to be stationary for
an amount of time, longer than you could
shoot handheld, I'd say that's a long exposure. It's also better to use a
shutter release cable as any small shake that
comes from pressing the button could affect the
sharpness of your image. If your camera has a self timer option,
you could use that too, because then you're
not really touching the camera when the
shutter opens and closes, why would anyone want
to do long exposures? It shows the passage
of time beautifully. In my opinion, it allows
you to use lower ISO film, which means less grain. And so stationary objects
come out really sharp. It's also a fun and
creative technique to use to create something unique. The key difference while metering for a long
exposure image on film is to consider the
films reciprocity failure. If you remember, reciprocity, when you give more
light through aperture, you have to reduce the
amount of light by reducing the time in which the shutter
stays open and vice versa. Because film has real
chemicals and starts a chemical reaction immediately when you expose it to light, more silver halide
crystals get used, the longer we have
the shutter open. Which also means
the sensitivity of these crystals is reducing
where there's not enough silver halide
crystals to undergo the reaction and things
start to get really slow, which means we have to give
light for a longer period of time than what our
light meter suggests. And usually anything over
1 second of exposure for color negative or black and white film requires this compensation. So you might need to expose for 3 seconds if the meter tells you 1 second, like I said, it varies
for each film stock. Back in the days, people did their own tests and came up with the corresponding shutter speeds for longer exposure times. These days, you can
download an app on iPhone or Android and they're usually pretty good at
estimating this for you. Film spec sheets
for the most part do not cover this information except a handful like Ilford
black and white stocks. But even, even there
it's only up to a minute or so where this is covered.
For anything longer, you're better off, using the benefits of long exposure,
like we already saw, low ISO film at night can be used, really sharp
images using a tripod, you can get creative with it. When it comes to
the disadvantages, it's cumbersome as it requires a tripod or
something sturdy. The reciprocity
is an extra step, you need to follow the to correct for the failure
when it comes to that. And also metering at
night is not easy unless you have an in-built
camera meter that can take care
of it for you. In summary, long
exposures give you an added creative element by letting the shutter stay open for longer periods of time. It's important to keep in
mind that film suffers from reciprocity failure and the need to compensate for it.
21. Dynamic Range: What is a dynamic range? Every frame follows
this principle. It will have a point or
an area where which is the brightest part
in that frame or scene. And a point or an area that
is the darkest in that frame. The differences in
exposure values (EV) between these two points is your dynamic range for
that particular frame. This is usually measured
in stops of light as well. So in high-contrast situations, maybe it's sunset or sunrise. Or in the city with lots of buildings reflecting
light everywhere. When also carrying
heavy shadows, the dynamic range
might be quite high, meaning the brightest
part in your image and the darkest part might be
away by quite a few stops. Whereas on a cloudy day
with not a lot of shadows, but pretty even light, the the dynamic range
might be fairly low. And just like any
scene you come across, your film stocks have
their own dynamic range. So c olor negative, and
black and white usually have higher dynamic range. Usually it's 11 stops and over. Slide film
stocks, on the other hand, only have about five to seven
stops of dynamic range, so quite a bit less. Another thing to note is the latitude of
your film stock. This means how much you can
overexpose or underexpose your film without losing details
on highlights or shadows. For color negative and
black and white stocks like we saw earlier, It's one to two stops. And for slide film,
it's maybe half a stop. Color negative
handles overexposure better than underexposure. And slide film handles underexposure better
than overexposure.
22. Exposure Bracketing: Bracketing is when you take more exposures above and below, you're correct exposure value. If you meter a scene
and you get a reading of F8 and to 250th of a second. After taking a photo
for that reading, you might take another one at F8 and 500th of a second, and then F8 at 125th of a second to cover one-stop
on either direction, people usually use
this if they're unsure of their exposure. They might also use it when the scene they're
photographing is of higher dynamic
range than what the film stock or their digital
sensor can handle. And they want to capture the details in
highlights and shadows. Or if it's Slide film which in itself has low dynamic
range and latitudes. So this might be
a necessary tool, If you love shooting
slideshow. For bracketing, it's probably better to expose the bracket exposures at
least one-stop away from the correct exposure in
either direction for color negative stocks
because the latitude is higher and if it's Slide film one-stop over or under, the correct exposure
could be too much. So try a third of a stop or even half a
stop on either direction. Another thing is that
you don't always need to do on either directions. You might find out that your
highlights are perfectly fine in your normal exposure, but you're afraid some
shadow detail might be lost. Then you can just bracket on the shadow side and
give the bracketed exposure more time so that
there's more shadow detail. So benefits when it comes
to bracketing clearly, it's quite useful when working
on important images where the dynamic range required
is higher than what your film could provide
in a single shot. Also, when you're not
sure about the exposure. But if you're confident
in you're metering, you'd only be using this when you're sure that you need more exposure because of the
dynamic range limitations. Bracketing could quickly turn into a crutch and you'll end up spending more time in post
when you don't really have to. It's certainly not economical when it comes to
shooting with film. As film is not
getting any cheaper. So that's certainly something to keep in mind when
bracketing your shots.
23. Mini Exercise: Find out the hyper focal
distance of your lens at F2, F2.8, F4, F5.6, F8, F11, and F16
24. BONUS (Finding Projects): You're good with
the fundamentals. You're aware of
metering techniques and how to meter using
different meters. You even have a couple of advanced techniques in your bag. What next? Naturally
some kind of a project. I just want to be clear, This is not for the class. This is so that you
can continue to capture images that
bring you joy. And let's you tell a story. If that's what you're
interested in. Good ideas are hard to come by, but do you know what
else is hard to come by? Honesty. I don't mean
being honest to others. Being honest and
truthful to yourself. It's easy to get sucked into social media trends and what gets you more likes
and followers. But if that's your only space, chances are you'll
always be playing catch up and creating
for somebody else. Here's what helped
me in separating external influence
from internal truth. Find what inspires you and ask questions that truly
engage your inner person. For me, I get tons of inspiration from
documentaries and books. And I'm inspired by people that create things for themselves. People that tell a story that
means something to them. Representing under-represented
people motivates me. So this is my zone, let's say whenever I'm thinking about any
of these things, an idea might pop into my head. I usually write them
down in my notes app and I would notice that
over the next few days or weeks I'd be coming back to one idea or two of those
ideas more so than the rest. And that's how I
know that this is something I need
to explore a bit more of and take photos of. If you're
thinking that's all good, but it's still feels abstract How do I actually get
going on something? I think a key for
any practice is to have boots on the ground, which means being out and
taking images on what makes you truly happy and
fulfilled on any given day. And it helps to not have
an audience in mind. Don't worry about
what does well on Instagram or what
this photographer says you should photograph. This includes me as well. And this is why I'm keeping
it kind of vague in terms of the actual subject and focusing
more on the practices. Because our interests
are so varied, you might love to
take macro photos of flowers or you might find yourself
gravitating towards the streets to capture moments there. They're so different
and only you can know what interests you and not
having an audience in mind. Meaning creating for yourself, will propel you more
in the direction of finding a project idea
that's worth sticking to. Otherwise, we would
all be chasing trends and moving from
one trend to another without ever really working on something meaningful for us. So yeah, finding what
inspires you and asking some engaging,
inward-looking questions. Boots on the ground. Start creating now and try
not to have an audience in mind except yourself.
25. Thank you!: I want to thank you for taking the time to be here
in this course. I sincerely hope
that it was useful. Film photography has helped
me rediscover my love for photography and I'm happy to
be sharing that with you. My parting thought would be to remember that
the more you shoot, the better you'll get,
as simple as that. I intend to create more courses in the film photography space. So please keep an eye out for them in the future and please feel free to leave
any questions you have in the discussions area, and I'd be more than
happy to answer them. The class project is
a fun way to start implementing what you've
learned in the course. So I'm looking forward
to seeing what you all come up with. But yeah, thank you once
again for your time. Now let's go shoot some film!
 Sathya Peacock, Documentary & Portrait Photographer