Transcripts
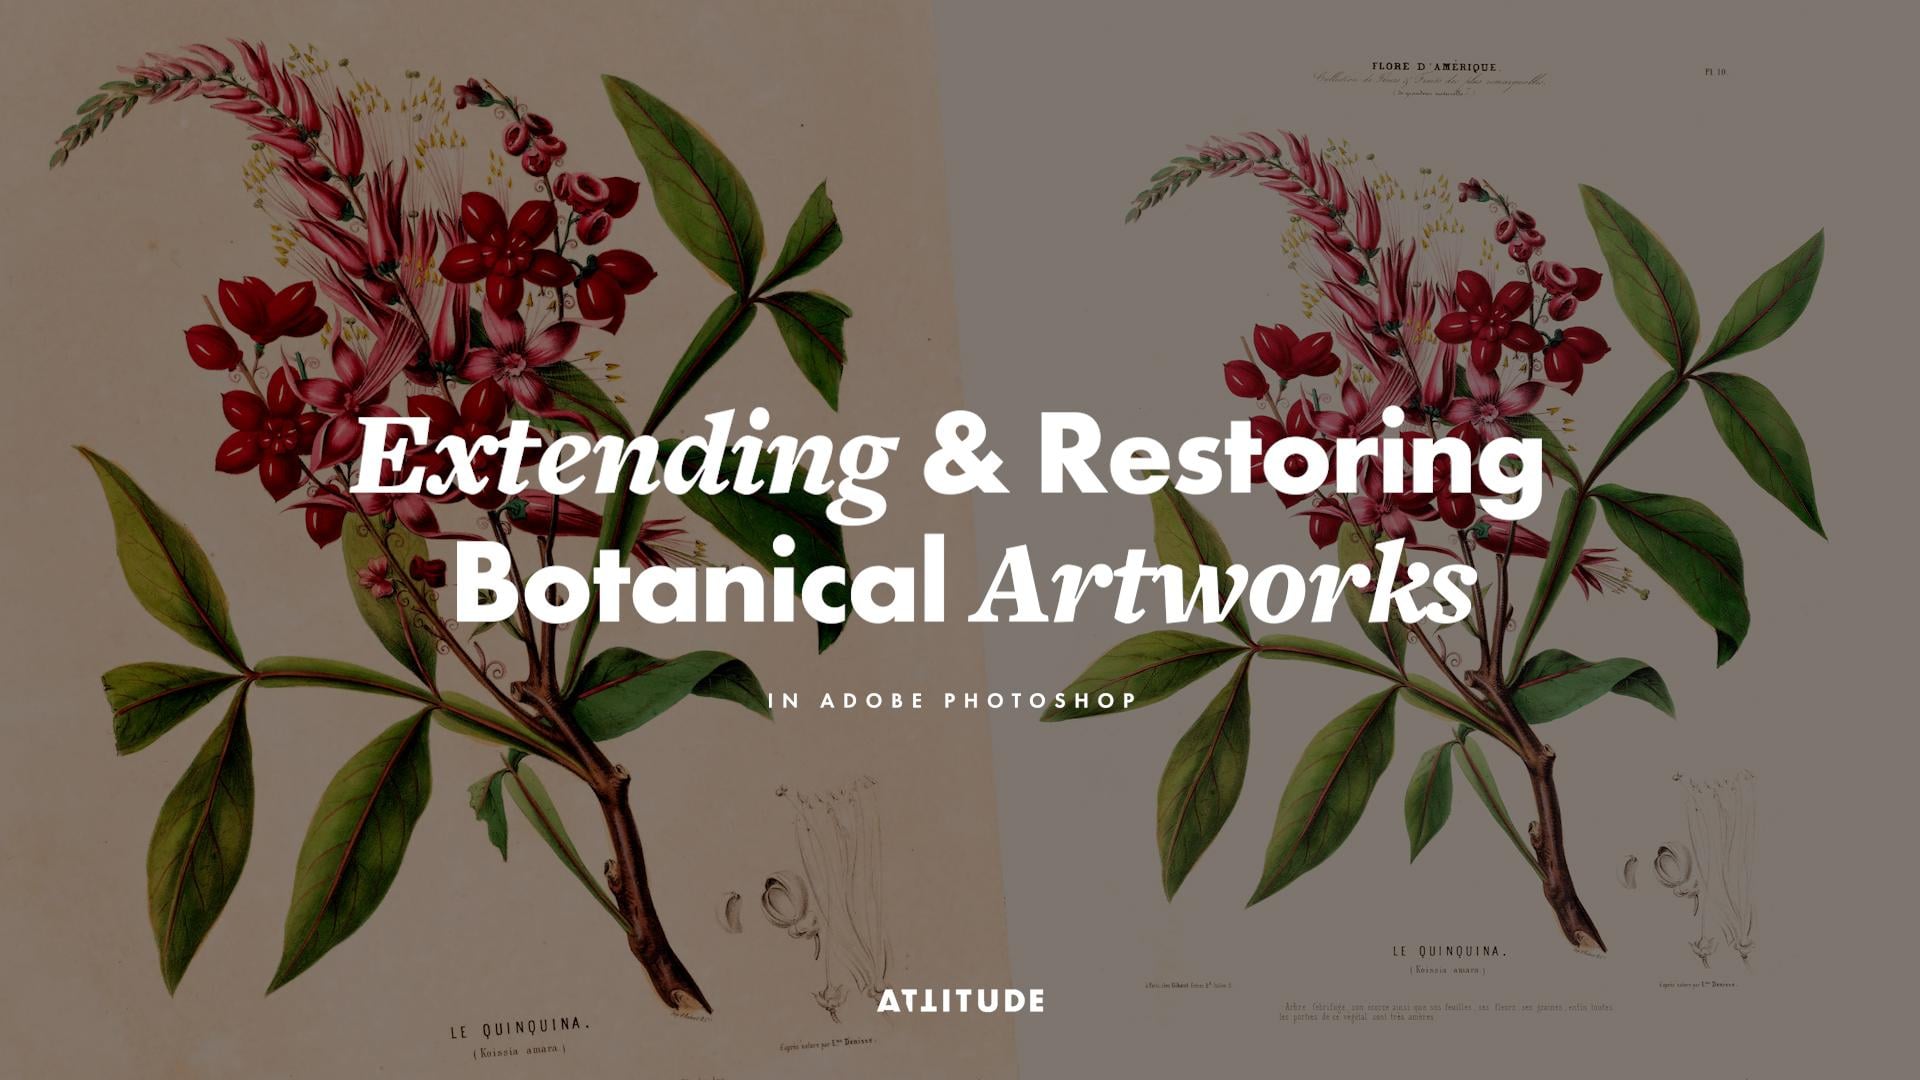
1. Introduction & Class Overview: If you create your own
botanical artwork or work with vintage botanical illustrations
and occasionally find yourself needing to restore missing elements along the edges or within the illustrations to prepare them for
use in designs, collages, surface patterns, or simply as finished artworks, then this class is for you. Hey, guys, I'm Janie
Homart Creative, and as a graphic designer, I love using vintage images in my collages, patterns,
and designs. And I teach a few popular in depth classes on these subjects. And in this short class, I'm excited to share my workflow for quickly
and effortlessly extending botanical illustrations and
generating missing elements using the Generative Fill and expand tools in Adobe Photoshop. Apart from expanding
the image and generating new parts within
the illustration itself, I'll also show you how to seamlessly combine your
original illustration with the generated
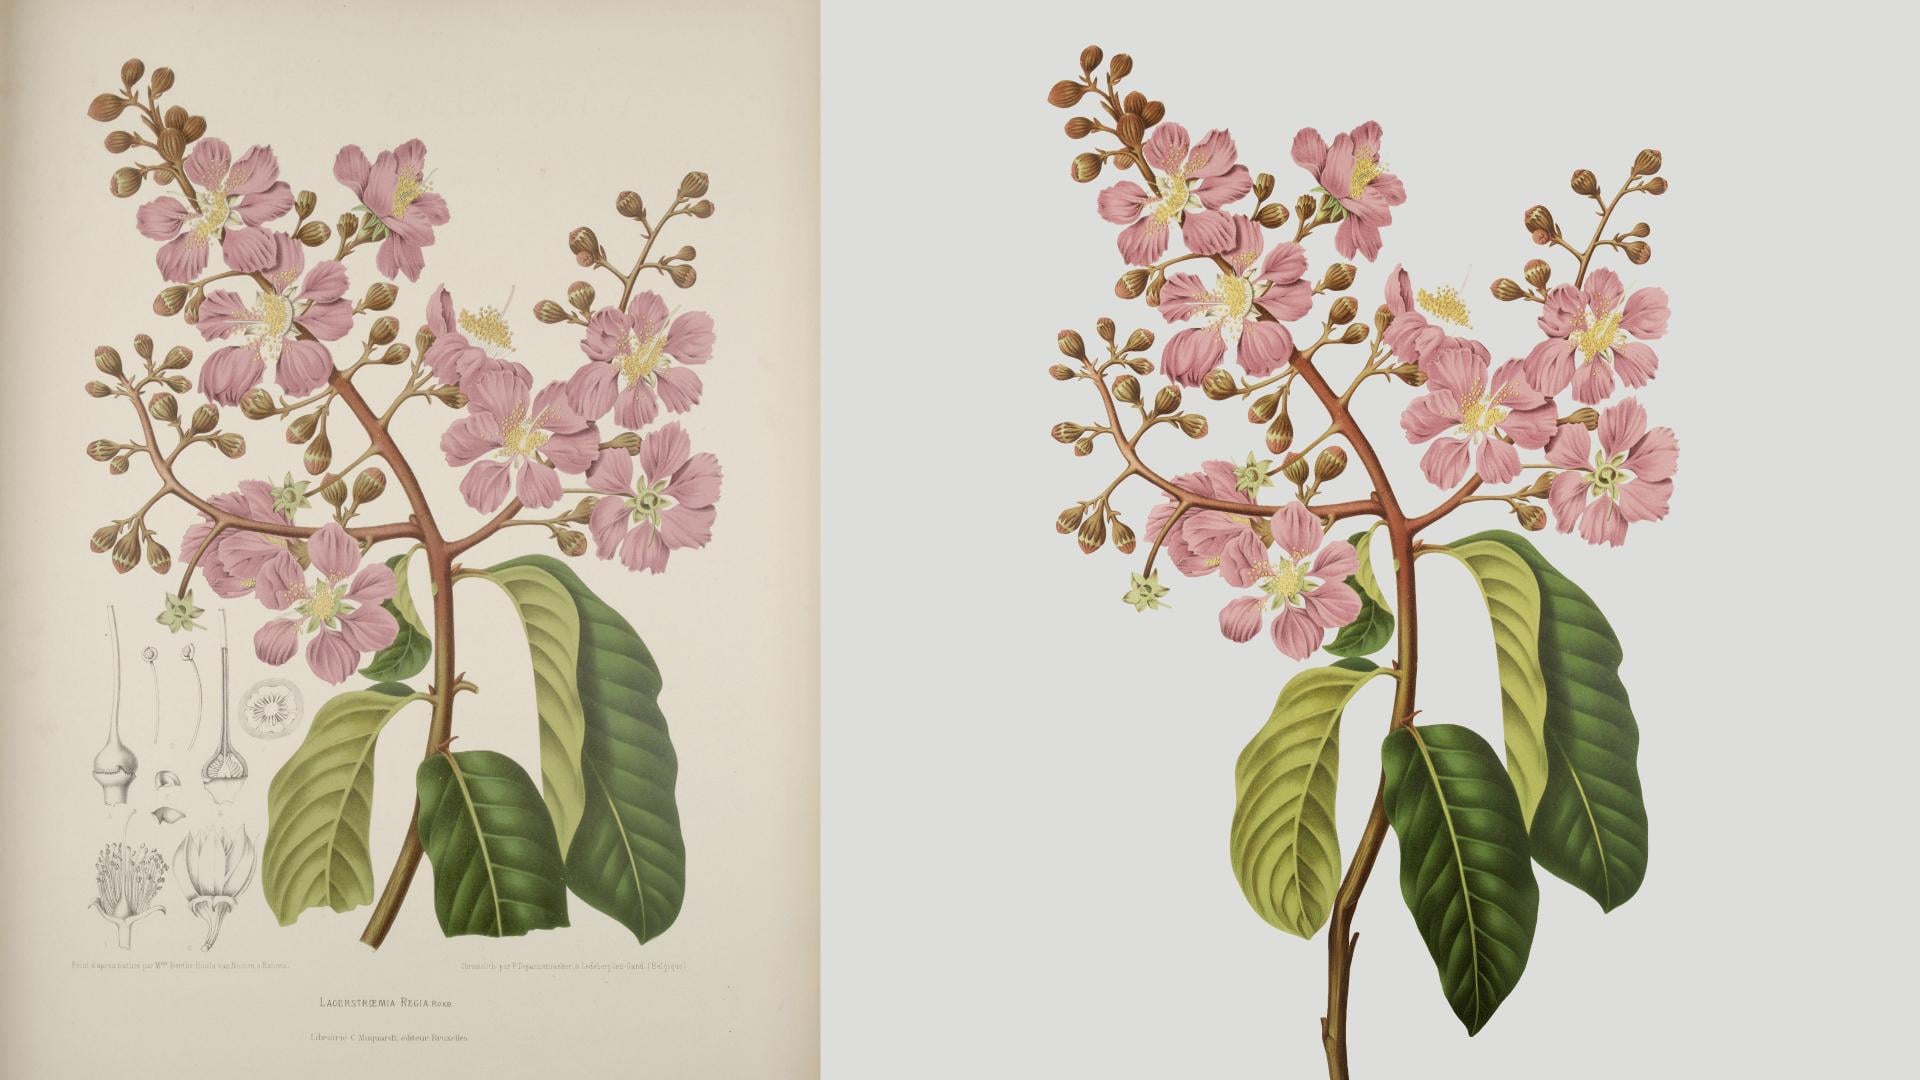
elements and how to replace uneven or stained
paper textures with the clean, solid color background,
both preserving the original artwork and keep
it retouching to a minimum. So grab your own
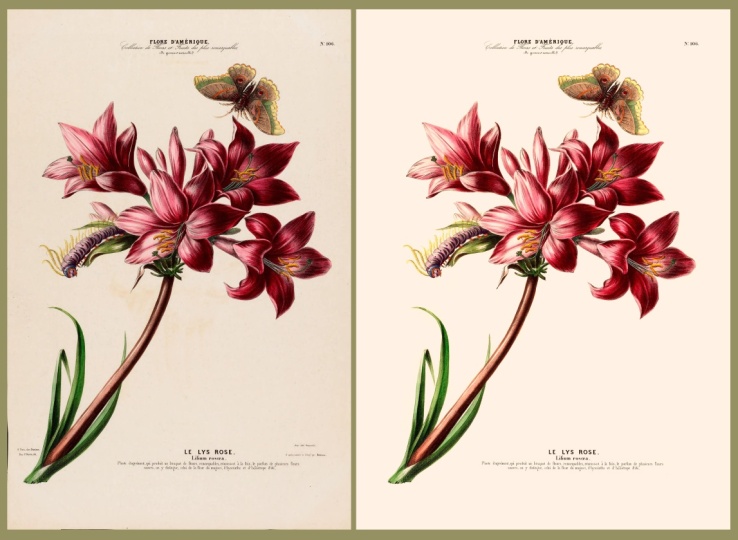
botanical artwork, any vintage botanical print from an online archive or one of the images I have shared
in the class reverses, let's get started with this
image restoration technique that can save you a lot
of time and effort.
2. Preparing the Image for Extension: Before we start
extending the image, we need to quickly prepare
it in order to get the best and more
predictable results when using the
generative features and to preserve the original artwork elements so that they can be seamlessly combined with the generated
extensions later on. With your image open
in Adobe Photoshop, start by selecting
the crop tool and crop your image to remove
any unnecessary details. If the elements you want to extend sit right at the
edges of your image, you can immediately crop
straight through them. But in this print,
there are both illustration elements
which extend further than the ones I need
to regenerate and some additional design elements
that I want to preserve. So in this case, I'm just going to make an initial crop to help the whole print sit NIA on the canvas and remove any
extra paper texture around it. At this stage, make sure that the delete cropped pixels is
checked in the options bar, and when you're happy with
your crop, hit Enter. Then go to the Window menu and open the contextual task bar if it is not already visible. Next, it is time to create
another crop and cut through any elements at the edges to
prepare them for extension. But before doing that, uncheck delete cropped
pixels in order to be able to bring back any elements that will get
cropped out at this stage. Then reduce the size
of the crop box, so it cuts through any
elements you want to extend, making sure it creates a clean
edge through these shapes. When ready, hit Enter
to apply the crop, then select the entire canvas, switch to the move tool, and copy and paste the
selection onto a new layer. You will now have two layers, the bottom one with the
full original image, and the second one, which
is cropped at the edges. This cropped layer
is the one we'll work with to extend the image. Now with our image prepared, we are ready to extend
the canvas and generate the Nissen parts. M
3. Extending the Illustration with Generative Expand: With the image crop, now we
can move on to reconstructing the missing elements around the edges using the
Generative expand. So hide the original
layer for now and select the cropped layer
in the layers panel. With the second crop
layer selected, switch back to the crop tool and extend the canvas
to the size you want. Then go to the
contextual task bar. Click Generative Expand. Choose the Firefly fill and Expand model, and
click Generate. Then sit back and
wait for the results. Once the results appear, go through the variations and choose the one you
like the most. If some variations look good in terms of the
illustration details, but contain some random
generated elements like these extra drawings, just ignore them because they
are very easy to remove. Select the variation
you like best and then click on this button
to enhance details. And here is your generative
expand layer ready. If you would like to keep alternative generations
as a backup, this is a good time to
duplicate the generative layer. I usually create e copy and
rasterize it for editing and keep the original
generative layer hidden until I know that
I don't need it anymore. But that said, if you prefer, you can also simply work with the generative
layer directly. Generative Expand usually
works pretty well, but it can also generate a few extra details that
you'll want to remove. In the next lesson,
I'll show you a quick way of cleaning
up your image.
4. Cleaning Up the Generated Extension: The generated extension is
a great starting point. But for the best result,
you need to remove any unwanted generated elements
and clean up the image. To do this, you
need to work with a layer mask that's already applied to
the generative layer, select the mask thumbnail
in the layers panel. This mask reveals the newly
extended areas on the canvas, as you can see from
the thumbnail. To remove any random element, I like to start with the Lasota and quickly draw a selection
around the illustration. Then I invert the selection and fill it with black to hide these areas
around the outside. The lasso tool is super
quick and easy to use, but you just need to
remember that if you use it to deselect
all once you're done in order to be able to use other tools with
the whole canvas. You can continue using the
Lasso tool for small areas, but I usually switch to
the brush tool and use a hard round brush to paint over any areas
I need to remove. If using the brush tool, make sure black is set as
the foreground color and carefully paint over any weed or unnecessary
generated elements. Whilst working with the mask, remember that you're
only affecting the extended areas and the original image is
revealed for the mask. So go through and remove any messy details
from the extension, then hide the cropped layer and turn the original full
image layer back on. Now you can combine the original illustration with the generated extension
more carefully.
5. Combining the Original & Generated Artwork: One of the biggest advantages of this workflow is that
you don't have to rely entirely on the
generated result and can easily combine your AI
generated extension with the original artwork to avoid any graphic errors and to create Emo considered final image. It helps to toggle the generative
layer on and off a few times to see what
has changed and then return to the layer
mask and start masking out any generated parts that overlap the original
illustration. For example, here, I'll mask this area to reveal the original part of
the illustration. Next, this leaf here was regenerated during
the expansion, so I will quickly bring
back the original version. And here is another
leaf fragment that I'd prefer to restore
from the original image. Now the illustration
looks much better. We have preserved most
of the original artwork, whilst only using AI to
reconstruct the missing edges. So this is how you
can quickly expand your image and generate
details around the edges. But if some elements are
missing within the artwork, you'll need to rebuild them
using the generative fill, and I'll share my special tips and tricks for getting
the best results in the next lesson. Um,
6. Restoring Details with Generative Fill: If you need to restore
a missing element inside the illustration, for example, like this
incomplete leaf here, you can use the
Generative Fill instead. In order to do so, start by drawing a selection
with the Lasso tool, making sure it overlaps with the existing part of the
element you want to extend. Then select the
original image layer. Go to the contextual task bar, click Generative Fill
and type your prompt. Sometimes you can leave
the prompt empty, but adding a simple
word like leaf or even the specific plant name
can help get better results. So with your prompt
ready, click Generate. Wait for the results, and
then look through them. For this first set, I use the Firefly fill
and Expand model, which works reasonably
well stylistically, but in this case, isn't perfect in terms of the
contextual accuracy. So I will switch to the
Firefly image free model and generate a few more
variations for comparison. Some of these new results have better shapes but
slightly weaker details. So I'll go and generate a few more hoping to get
something better. And this one looks fairly good. The details aren't quite as
good as in the first version, but the shape integrates
nicely with the illustration. So I'll go ahead and use it. But of course, you can
carry on generating even more results until you get something which
works really well. So use this technique
and the generative fill to restore any details
within your illustration. And keep in mind that the shape of the original
selection you draw with the lasso tool determines the size and shape of
the generated element. So be sure to nail the selection before you
start generating anything. And when you're done
restoring the illustration, the final step is to clean up the background and
prepare the final image.
7. Cleaning the Background & Finalising the Artwork: Once you're done
generating elements, you can close the
contextual task bar. And now let's bring
everything together into a clean final composition with
a solid color background. If you want to keep
the document and your workflow fully
nondestructive, you can group all of the layers and convert them
into a smart object. Or if you're not planning to revisit any masks
or generations, you can simply merge
the layers instead. I usually prefer working non destructively
with smart objects, but they can drastically
increase the file size. So in this case, I will work
with the merged layers. Once you have a single image
layer or smart object, go to the Add new fill or adjustment layer button and
create a solid color fill. Use any color for now, place the fill layer
below your image, and then double click on the color thumbnail and sample a color from the
original background. And if necessary,
zoom and close to pick a particular
hue, tint or shade. With the background color ready, now let's quickly remove the uneven texture of
the original paper. If you're working with
rasterized layer, convert it to a smart object first so that you can
work non destructive. Then press Command L or Control L in Windows to
open the levels adjustment, select the white eye drop atol and click on the image
to set the white point. You can hold Option or Okey in Windows to preview which
areas have been affected, then continue clicking until the background becomes
mostly even and clean. But don't worry about any
larger and darker stains because it is better to
remove them later separately. Once the background looks clean without losing details
in the illustration, adjust the muttons later if necessary to fine
tune the contrast. And when ready, hit. Then set the blending mode of your image layer to multiply, and you immediately see the
uneven background disappear. Because the background color was sampled from
the original image, the color is multiplied over it, stay very close to the original, and the whole image
looks much cleaner. Now, if you want, you
can slightly tweak the background color and make it lighter or a little
less saturated. And with this done,
now you can clean up any remaining dust or
stains in the image. So add a layer mask to the image layer and paint
over small imperfections with black if you find larger stains that
can simply be masked, you can revisit the
levels adjustment and refine the white
point further. But in this case,
I'll actually keep this most stain because it adds a bit of character
to the image. And instead, I'll
just concentrate on removing the dust
around the illustration. And that's the extended and
cleaned up image ready. So let's re publs class with a few ideas for how you
can use this technique in your own projects. Um,
8. Final Thoughts & Conclusion: As you can see, the
whole process of restoring and rebuilding
the elements is pretty quick and easy and
doesn't require any complex manual retouching
or reconstruction. If you work with vintage
botanical prints that have some
missing elements or your own scanned artwork
or sketchbook pages that have awkward details at the edges or
towards the spine, this is a really
fast way to create missing elements and clean
up your images so that they can be then used as they
are as art prints or taken a little further for use in designs or surface patterns. If you need to isolate your
artwork from the background, be sure to check out my in
depth class about creating botanical designs
to learn how to effectively and cleanly cut
out your illustrations, as well as more image
restoration techniques, including retouching
the elements and adjusting and
retouching the colors, and the complete workflow for creating print ready
botanical designs. If you would like to
explore other ways of working creatively
with vintage imagery, be sure to check out our classes about creating digital collages, minimalist graphic prints
and surface patterns. For your class project,
extend and restore your own scanned artwork or a vintage botanical
print and do not hesitate to use one of the vintage images
I have shared in the class resources to quickly get on with practicing
the techniques. Create a project in the projects and resources
tab for this class and share the original image and your final restored
and extended version. Along with any variants and
work in progress images, you might snap a screenshot
throughout the process. If you have found
this class helpful, please leave a review in the
review tab for this class. It really means a
lot to us and helps our students discover
our classes. If you have any
sort of questions, do not hesitate to leave a comment in the discussion
stub for this class. Then I'll happily answer
and provide feedback. And be sure to follow us
here on Skillshare to be the first to know about our
new classes and updates. So let's sit for
this little class. I hope this workflow
will help you restore vintage botanical
illustrations or your discount artwork
more easily and quickly. Thank you for
watching this class, and I hope to see you
in our other classes.
 Evgeniya & Dominic Righini-Brand, Graphic Design & Photography