Transcripts
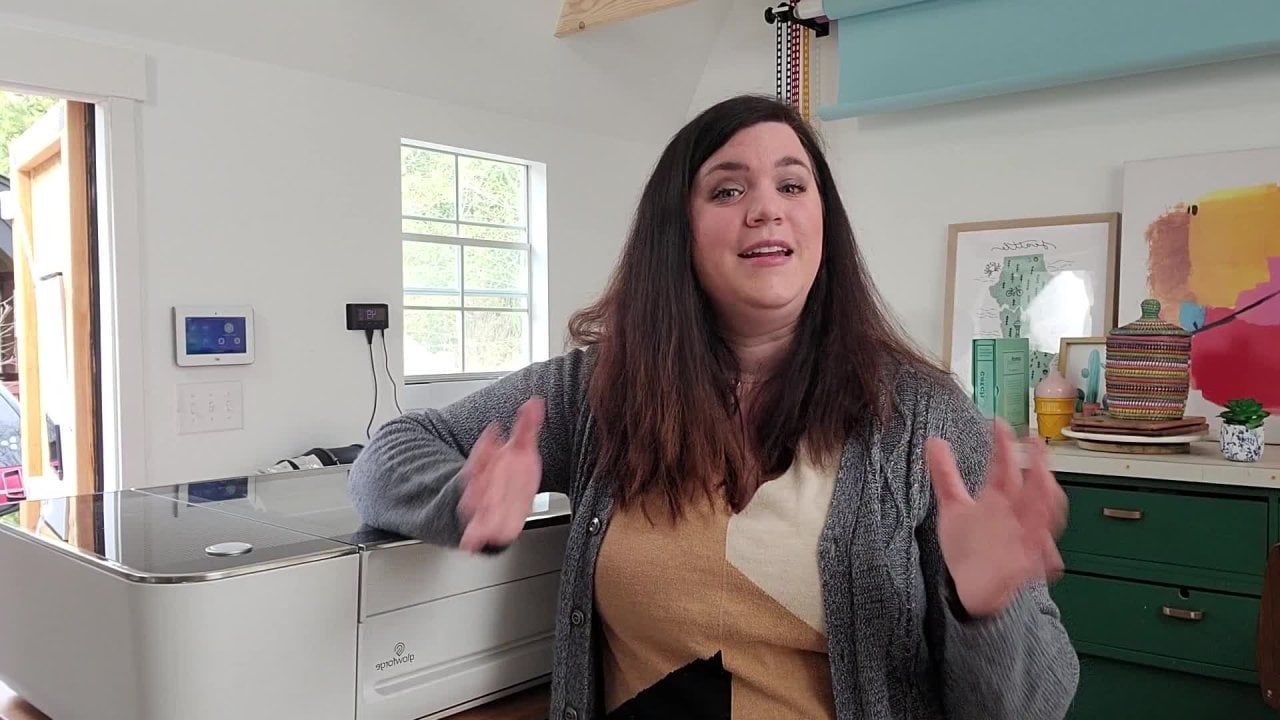
1. Intro: Hey friends, welcome
to the She Shed. I'm Rose Sprinkle
and it's raining, which means it's a perfect
day today for crafting. Today I'm going to
show you how to use a Glowforge laser printer to engrave a favorite recipe
on a cutting board.
2. What is the Glowforge: Before we dive into our project, let me talk a little bit
about the Glowforge and why I think it's an absolute
must-have to start making it. I stole that from Amy
Poehler from Making It show because I love it. It's
one of my favorites. Anyways, I have a referral link down below for an extra $500 off if you're interested in getting a
Glowforge for yourself but let me tell you a little bit
about why this is amazing. The Glowforge is a laser printer and basically what
that means is it can engrave or cut through
organic materials like wood, stone, acrylic, even
cloth or fabric. That makes it great for hobbyists or crafters
like you and me because now we can turn our side hustles into profitable incomes. Glowforge was really smart
and they saw a need in the industry and
flipped it on its head, similar to how Airbnb did it with the
hospitality industry. Now people are making really cool stuff
like, I don't know, cosplay costumes,
or children's toys, or earrings and
jewelry, or furniture. There's tons of things
that you can make.
3. Materials You'll Need: For your materials for this, basically what you'll need
to do is choose a recipe. This is my family recipe
handwritten down. [MUSIC] It's called the
mug spaghetti sauce. It's a restaurant my
family used to own, but this recipe comes all
the way from Sicily, Italy. Super exciting to have
generational things in my family. You can either choose
a recipe and do it by hand with handwritten notes, or you can always put it into your iPad using a
program like Procreate, so you can just upload a vector version
into the computer. You'll also need a
computer obviously. You'll either need a camera or a scanner to be able
to upload your recipe. Then you'll also need a cutting board of
your choice and also preferably some
digital calipers to be able to measure the
width of your board and, of course, the Glowforge.
4. Measuring for the Glowforge: Before we engrave
our cutting board, we need to first
do our measuring and prep the Glowforge. The rule of the Glowforge is your materials need
to be a half inch or less in order to cut on
top of the crumb tray. Now, if your material
is a lot thicker, and it's over a half an inch, then you need to remove the
crumb tray and actually place material on the
bottom of the Glowforge. This is where
digital calipers are super handy because
it's going to give you a really exact measurement. It really does need to be exactly a half inch
or less, otherwise, the Glowforge is not going to recognize it and be able to cut, you'll get an error
in your software. I'm going to go
ahead and measure the cutting board that
we're going to be using, so simply just
take your calipers and you're going to close it in and this gives me a
reading of 0.4960, so that means that I don't need to remove my crumb
tray and I can put it exactly on top just like this and basically
be ready to go. Now, you don't need to get
a cutting board this size, you can go a lot wider, if it's over a half inch, it needs to be an
inch and a half to two inches to be able to
cut without the crumb tray. I'm going to show you
what that looks like, I'm going to take this out and I'm gently going to remove this. There's a lip here which
makes it easy to pull up, and this isn't tied to anything, so you just need to carefully
lift it and pull it out, so I'm going to do
that really quick. Okay, so here's the bottom
of my Glowforge pan. If I had a much
thicker cutting board, I would put it down here, but if it's not meeting that one and
a half to two inches, then all you need to do get a scrap piece
of wood or material that's ideally not flammable and put it under
your cutting board. I have here like a wood stick, I don't know why, like Buffy
the Vampire Slayer style, but you simply just
put that down, cover it up with your
cutting board and now it should be about high enough to be able
to have the laser meet.
5. Using Transfer Tape: Now we have our cutting
board measured, there are a few other
tips that I want to talk about that I'll make it
a little bit easier. The first is to experiment
with transfer tape or without. Whenever you're using a
non-proof material or just like any scrap piece
of wood that you have or bought from a store, you want to experiment
it with transfer tape. This is Blue Man tape. This is one of my
favorite transfer tapes, you can just get
it off of Amazon. We love Amazon. I'll show you two
engraving tests using this tape
and not using it. If you can see these
two side-by-side, this is without transfer
tape and this one is with. This one, as you can see
around these letters, it has a little bit of
scorching from the laser, a little bit of burning. The transfer tape is
going to give you a little bit of a cleaner edge so this one looks so much
nicer than this one. I would highly recommend
experimenting with your materials and
seeing what works best. I've heard tons of
horror stories where people just put their
material in and they don't use transfer tape or experiment first
with their settings and you can ruin
an entire piece of expensive material or
time doing it that way. Always do test cuts first before you're ready to
do your final piece. Let me go ahead
and put this out. I'm going to put the crumb
tray back in because my board cannot be
cut at this length.
6. Scan in Artwork (1 2) Using Glowforge: Now that we're done
measuring our board, I'm going to show you two
ways in which you can upload your recipe into the
Glowforge software to be able to start engraving. The Glowforge already has a camera attached to the
inside of the width, which is super nice
because anytime you place your artwork down
on the crumb tray, you're going to be able
to see where it is so you can easily
place your artwork. You don't really need an external scanner if
you have the Glowforge. You simply just place
your recipe down below, and then you're going to close the lid so it's able to read. Then I'm going to head over to my computer and scan the recipe. Now that we have our recipe
put into the Glowforge, we simply just need to click "Trace" up in the
left-hand corner. What that does it's
going to show us the recipe and we
just need to drag a square around the
actual recipe itself. Now for mine, you can see that there's this little
leaf pulling in, so that might be an issue, so I may need to
rewrite it later. But just so you know
how to do this in the Glowforge we'll go
ahead and do as is. I'm going to get it as
close as I can as possible. Well, let go, and then see how it's scanning
all of this information. I'm just going to click the
white area that I don't want. Then it's going to highlight
everything that I do. Now it's highlighted,
I just say, place artwork, and it's going to render what is my
original mom's writing. Now we have the recipe itself. This is perfect because what is behind is just the image of
the recipe in the Glowforge. If I take that out and then
place my cutting board, then I can just place
this exactly on top of my cutting board. Let me go ahead and
do that really quick. Now you can see that
the picture has updated in the background
from the Glowforge. Now I can see my
actual cutting board and I place it sloppily. I wouldn't do this normally, I place it nicely and I'll show
you that in a little bit. But then you just take this, scale it up and then
you'd be ready to go. That's one way. I'm going to show
you a second way in which you can
upload your recipe.
7. Engraving Settings: I've pulled it into Photoshop, and right away I'm just going to create a copy of my layer because I never want to
alter the native file. I'm going to turn
this layer off, and then simply I'm going to convert this to black and white. Then I'm also going to
give a curves files. That way we can really add
some contrast and make sure our blacks are really apparent. So I'm do that and I'm
going to up my white. Now we can start to see the
grain of the paper fade away. Make sure my layer
is highlighted. I'm going to take my magic
wand and I'm quickly going to select the background and
I'm just going to delete it. Safer way would be if you just mastered out instead so you
don't lose that quality, but we always have
our native file here. This works out well. I'll do apple D to deselect, and now we have an isolated
on a transparent background. I'm going to go
ahead and save this. I'm going to say save a
copy to make it a ping. Then we want to make sure
that we save this as a high res file. We can go to hit
"Save", say large file. I'm going to just
hit Option Command I and make sure the
resolution is at 300. That way it's really
clear and crystal. Perfect when we pull it into the Glowforge so
we're good there. Don't need to worry
so much about size, about this one because
we can scale it later in the Glowforge software and it should fit perfectly on this
board size that I have. We'll just go ahead
and leave that alone. Now we're ready to upload
that into our dashboard. If you go into the
Glowforge software, this is your dashboard up here, and I've already uploaded it, but basically you'll
just say upload and then you can
choose your file. I already have it here,
so I'm just going to go ahead and open this. It's just going to
take a second to show me my inside of the Glowforge. The Glowforge actually has a camera on the
inside of the lid. Once you place your materials, you can place your design and rotate it or move
it as you need to. It's really easy to do. Here we can see, here's
my recipe right here. I'm just going to make sure
that I move it and center it on my cutting board. Then over here we're
going to click on the top left corner and we're
going to do our settings. Because this isn't a
proof gate material that Glowforge cells, we have to put it in
manually our settings. Here for a good setting for
a bamboo cutting board, I'm going to do a 1,000 for my speed and 40 for
my precision power. It might alter based on what model of the
Glowforge you have. I have the Glowforge pro, but you might just need
to do some test runs with either your speed or your power depending on
what model you have. Then for my gray scale, I always say very power and
that should be good to go. Now, we need to auto-focus on the cutting board to make
sure that the Glowforge can measure the width
of the material. The reason why is because it needs to know how high or how low that laser is so it can meet the material
exactly where it is. Simply click on the three
ellipses here to hit more, and then say set focus. Then you're going to have these little crosshairs appear, and you're going to
click on your design. Then it'll auto calibrate. Then simply just go up into your right hand corner
and say the print button. You're going to
hear a Glowforge, make these noises because it's
focusing on the materials. Then we're simply going to press this green glowing
button to make it. We're going to do that
again. Here we go.
8. Closing: [MUSIC] Well, thanks for
joining me guys. I hope you enjoyed learning a little bit about
the Glowforge. Don't forget about
my referral link. Also please upload a picture of your class project of your delicious recipes that I know will steal from myself. If you want to learn
more about how to cut using the Glowforge, then go ahead and take a
look at my other video where I'll be making some
fun Christmas ornaments. Thanks for tuning in
and we'll see you soon.
 Rose Sprinkle, Designer & Childrens Author