Transcripts
1. Hello!: Are you curious about AI art, but don't know where to start? Or perhaps you
have tried some of the generators like mid journey, but never got a
really good result. Or you have doubled. You have some good results, but now you don't know
what to do with the art. If any of these sounds like you, this is your class. Hello, I'm Mandara I'll be your instructor for
this exploration of generative AI art. As an artist and a
tech enthusiast, I've seen firsthand
the powerful impact that AI had in my
creative process. Not only for
creating the pieces, but also for inspiration. Now I'm very excited to share
this expertise with you. In this class, we demystify the process of
creating art with AI algorithm. No jargon, practical
insights and techniques that will enhance your creative process and
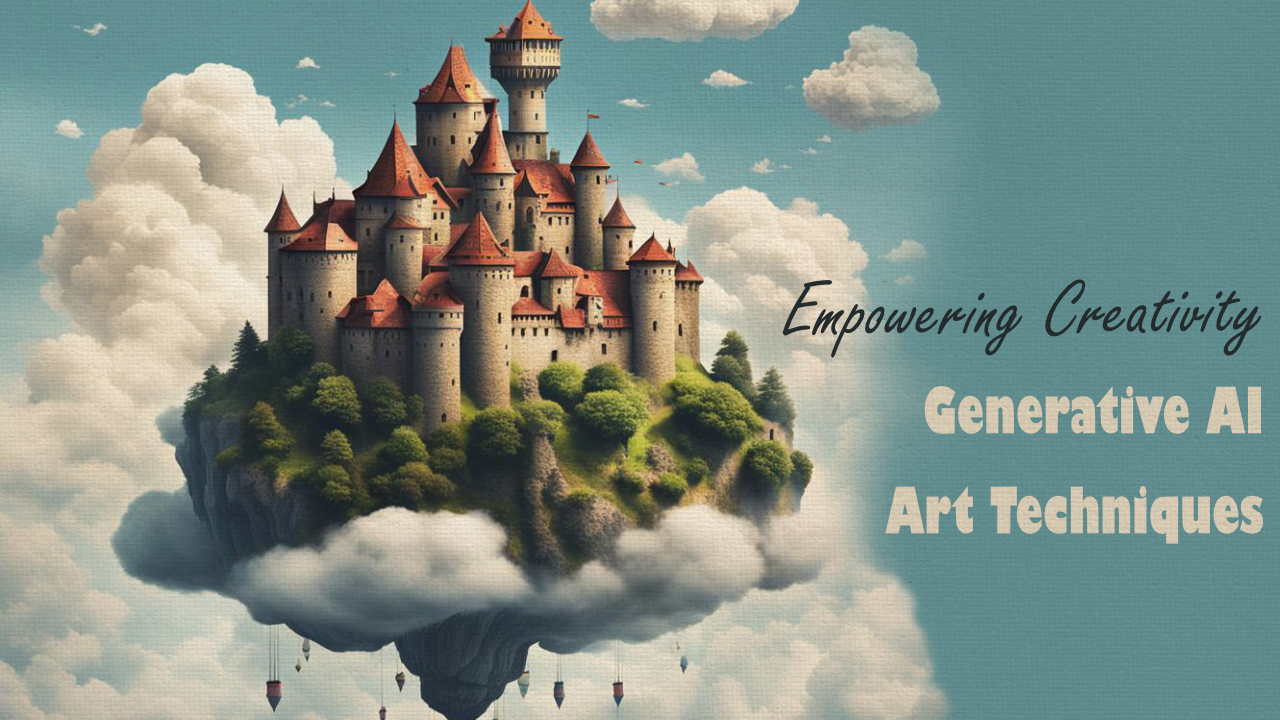
expand your artistic horizons. You will not only learn to do illustrations like
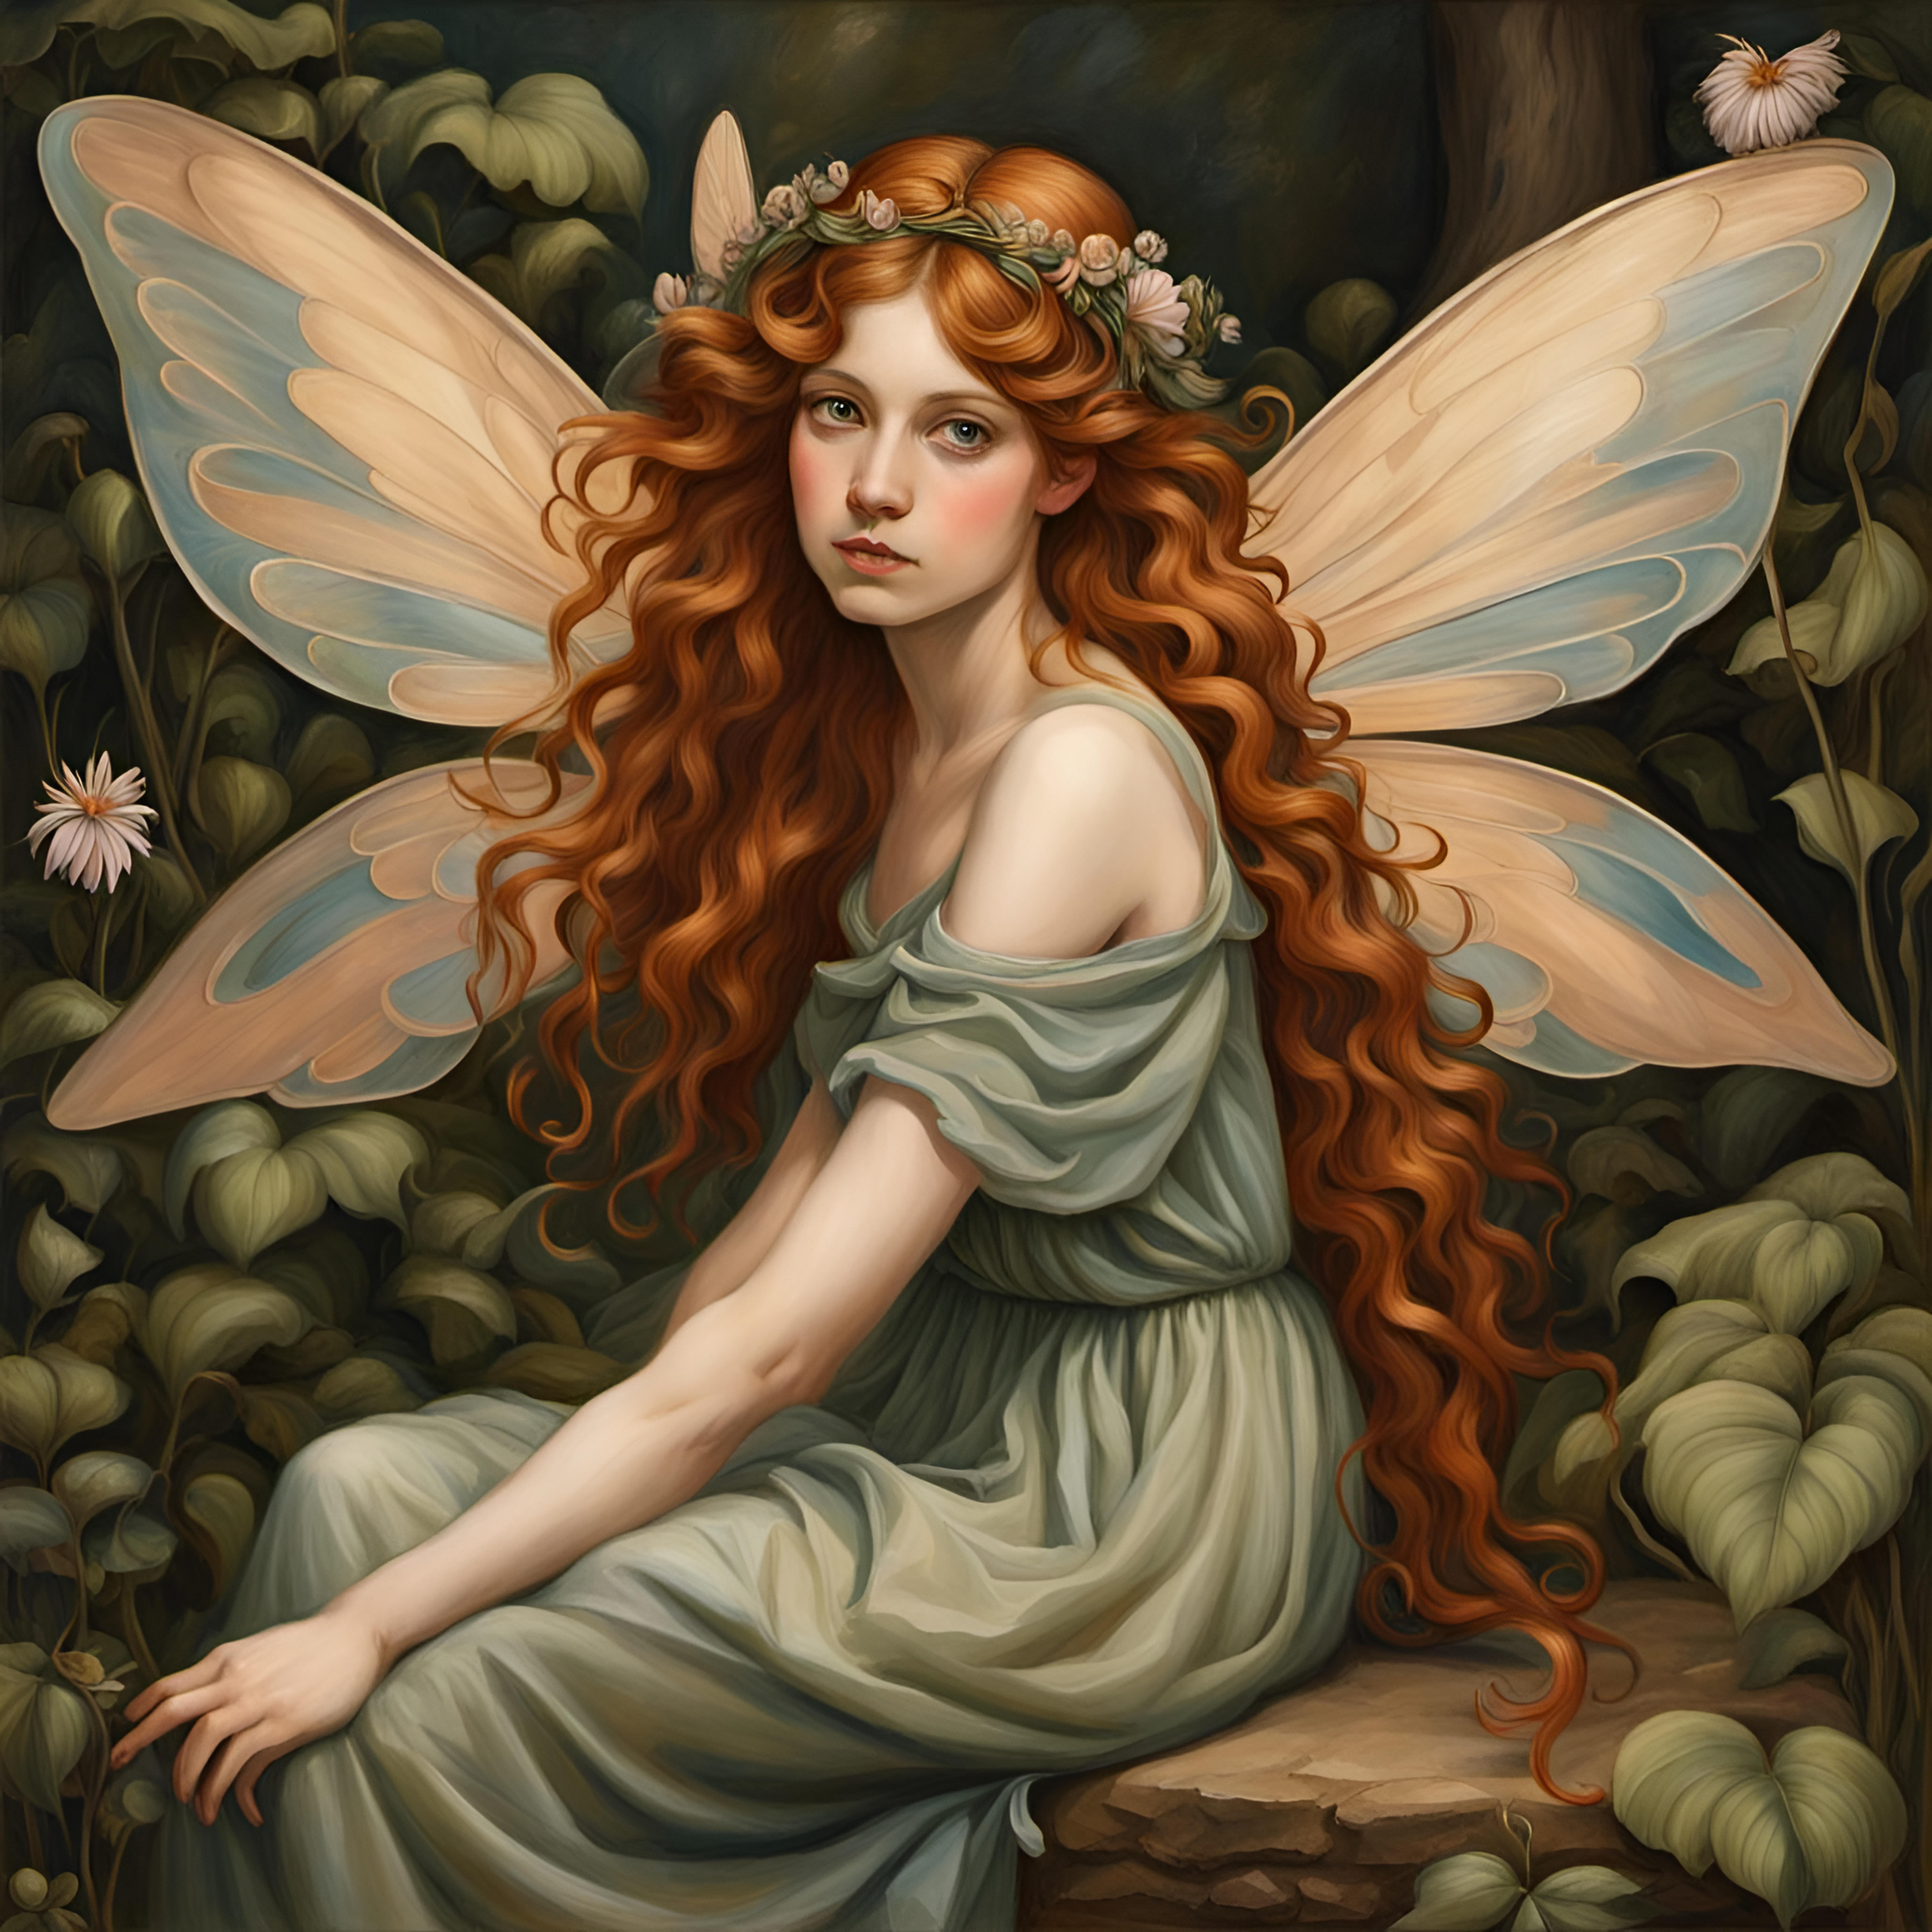
this one, good ones, but also how to do stickers or wallpapers or coring
pages for a book and how to really take advantage to this new technology for your personal life
or your business. You will understand the
rules to do a good prompt, how to fix the most
common AI problems like too many lens, and what tools to use depending on what
you are looking for. We are going to use
what I think are right now the best
generative AR tools, Copilts from Microsoft and NICA. Ready to unlock the potential
of generative AI art, joining in empowering
creativity, generative At techniques,
and less dive
2. Project: Okay. The project
for this class is, of course, to create
your own image with AI. In this class, we
are going to use two generators,
Cafe and copilot. You can use either of
them for the project, although I highly
recommend that you use both and share both with,
of course, the prompt. For inspiration and
to help you a bit, I've created a list
of problems that you can try and it's going
to be linked below. Of course, you can use those. You can use some of the
problems of the class, or even better, you can
create your own problems. That's it. Let's get started.
3. Copilot: Address to go to copilot
thatg is there copy microsoft.com and you can go
with any Internet browser. To just log in there with your e mail and it
can be a Gmail address. It doesn't have to be
a hotmail address. Then you can choose a
conversation style here. They are pretty explanatory, so the conversation can be
both from precise to creative. The only thing you have to do
is just ask what you want. In this case, it is important
to use the word create. Because if you set only fairies
with a play background. What Copiot is going to
do is to show you images on web pages where
fires are on the web. Because we want to create an image or we have to
create several images, it is important
to use that word. And then Copy is going to
ask you something like that, and then you have to wait. What I'm going to
do is I'm going to accelerate all the images, so you don't have
to wait with me, but when you are doing it, it takes several seconds, sometimes even up to a
minute to create the image. So This is not exactly
what I was what I wanted. This is because the precision, B precise is very important
when you are using AI. So what I wanted was several images with
one fairy on them. But I asked for
ferries in plural. And that's what he gave me. He gave me several images
with several ferries on it. So we are going to try again, and in this case, we are going to ask for several images with
one ferry on them. And the plain background, it is important
because he's going to help us to edit later because we want to create
clip parts of these images, so we don't want a
background right now. Another thing that opio does is he suggests these questions that you can see on the bottom. And you can just ignore
them and click on them, and he's going to add flowers to the background
or create another image, or you can say, no
I'm good and he's going to finish this session. These suggestion
questions are usefully good to learn how
to ask for things. As you can see, now, what it has give us several
images with one fairy or several little different images in the same style of
different fairies. This is really good to make
collection of stickers or collection of clip parts that you can use on your crafts, so you can sell them. So this are really, really great use for copilot. Okay. Now we're going to do is how these
digestion questions work, just click on then, it's like you have asked
that question. And you can ask pilot to create the same images
once and again, but they're going to do different styles every time if you don't specify an style. That's okay because you can try until you find
something that you like. As you can see this
style is different. These are really cute. To see them, you just click
there and here you can move to the right or to the left with
these little arrows. And then we are
going to use one of the questions to show
you how this works. You just click on it,
and what is going to do is add both prompts. This is how they're called
those proms together. What Copt understand that you're asking is several
images with one ferry. And butterflies in
the background. A, you see the style
is again different and he added or he
added the butterflies. Now, we are going to try to get op to do a collection
of images of fries. In this case, adding flowers, So we can have even
more assets to use. To create a collection, I just asked for a
collection of fairy icons. In this case, I'm going
to add a whimsical style. You can say something like a Kawa style or
this is important. Here, I'm using a whimsical
fairy tale theme, but you can say animals, you can say dinosaurs,
you can say car, anything you wanted, everything
that I'm explaining, you can adapt to
whatever you need. These latest images are great to do a scrap booking,
to do stickers. You can do patterns with them, but because you are
going to have a lot of images in the same style,
and here they are. You click on them
severed flowers as well. So as you can see,
it's a quick process. In a few minutes, you
can have a lot of images of good quality on
the style that you want, and you can create
collection with them and sell them or use them on your
crafts or on your designs. Because you can add little
things to a flowers or mushrooms or
whatever you fancy, you can have a cohesive
collection very quickly. What about if you are tired of fairies and you want
to change the subject? The only thing you have to say is do the same with blah, blah. I said unicorns here to keep
on theme, but you can say, do the same with mobile
phones and Copy is going to understand that you want
a collection of icons in a whimsical style
of mobile phones. And here we have a
collection in fact, several collection of unicorns. They are very quick. They are very cute. But I think if I want to make a
collection of stickers with it, I need some rainbows as well. So this is going to be
something I could sell later. You can sell this
kind of thing like digital collection
or you can make yourself stickers and sell them on Es and places like that. And you can do patterns to the five fabrics or
wallpaper or give wrapper or clipads for any hobby or that you can have
you want to sell to. I use these kind of images
to create stickers for kids. They're usually a great gift. Here you have a lot of Unicors
with a lot of rainbows. Now that you have
opened this image, we can click on customize, and what that's
going to do is going to open the designer. This is an easy to
use design program, very similar that anything
you can have on your phone. And with this allows
you to do is to quickly remove backgrounds or quickly
select parts of the image. You can copy then
and you can then put them on any design program
that you usually do. This is affinity designed
is the one I use. So you can play with them. You have to know that all
these images are 1080 by 1080, so you can do really
big prints with pile, but this is not the use
that we have for it. But for two stickers, for example, I've talked several times about
them, so let's do one. The only thing you
have to do is just add a white line and there you have a professional
looking sticker that any six year old
girl will going to love. This is our first
step with copilot. As I did several examples so you can have an idea
of how this works. But I'm sure you have a lot
of ideas of what to do. So we are going to do something
a bit more complicated. I'll see you in the
next class. Okay.
4. Backgrounds: This class, we are going
to create illustration. I know I said that all
the images are 1024 by 1024 that for reference is
the size of Instagram post. It's not a lot that
you can do with them. You cannot bring them as
a whole illustration. But there are things
that you can do. One of the things
that you can do is back grounds for
phones, for example. It is a good way to
learn a bit about generative AI with copilot as is very very
quick and it's free. We are going to create
later in this class, bigger and more complex,
really big images. But what we're learning here it will be useful
later. Let's do it. In this case, I said, create a foam background. Probably, you don't have
to say a foam background, but it adds details on adjectives and precision
with AI is very important. Create a foam background on
a fantasy inspire cute to. Remember, gives
are your friends. Beautiful architecture, calm,
full of fos, no people. And let's see what copilot
does with this. Here they are. As you can see, the images are more complex and they
are full of details. That's something that
AI does very well. So we know how to do this. We know that we can ask copilot to add
something to an image. We can have this kind of
conversation with it, and let's see what happens when we ask for a river to the image. Here is the style is different. We have a river in the center
of town, which I like. But you have I probably realize that even if
we said no people copilot added people in several of the two in
fact of the images. That's because AI
is not perfect. Now, other thing that you
can do is change colors. Perhaps you want
more arthy colors. You just simply don't like
the ones that op using. You can directly as make another one with
different colors and you can see there
and it's going to change the style and it is
going to change the colors. This is more bluish colder
than the other ones, and you can see the style is completely different in
some of them as well. But it's not the style
I was looking for. You can always ask opio
for what you want. What I want is more
medieval houses, a bit more classic fantasy. Houses. Again, AI is so quick that trying things
is always a good idea. You can always go back
but if you are an artist, you know how long will it take you to create
one of those images. I know that every one
of my pieces takes around three four
weeks of full work. This makes a difference. You don't have to use these images exactly
if you don't want to, but you can use them
as an inspiration of a composition or just getting ideas of how
you can do something. That's more likely is a bit of a Tudor town. I like the towers. What you can do now is
choose one of them, click and download
that you have it, you can put it
whatever you want, and then you can open them
in your program of choice. The only thing you have to do here is there are two things. You have to know the size
of your foam background, it's going to be 69. I think now all the phones
has 16 now as background. But just I'm going to put there several sizes
so you can check. But you can take the image, make it a bit bigger, as I'm doing here, and of course, it's going to be bigger than the
size of your phone. But then you can choose What
side do you like the most. You can use this side of the
image for the background. You can use that side of the
image for the background, and there are
phones that you can use y the image and
it's going to move. You can do that as well,
but here you have it. In fact, this is the background
I have on my phone now. As you can see, you have a very quick way to create
images that you can use, but also you can practice for more advanced
AI generativelaor. But all these images have a use, and I think the quip.
5. Colour palettes: Okay. You can also ask copilot for do a color pilot
inspired in something. You can say something abstract, like in this case,
fantasy tiles or summer, but you can also be
a specific and ask for flowers or a picture. Let's try it. As you can see, what copiot does is creating an image on the theme and
then gets the colors from it. From this image,
you can easily get the colors with an image editor or you can ask copilot for
the colors in this image. Okay. As always, you
can low it, of course. Let's ask copy for the color
for the specific colors. As you can see what
I did is asked for the number of the colors. What Copious give us is the x h x numbers of the colors he used or
he has in this s. Now, you can also ask for palette that we go well
with another color palette. For that, it is good
to know that there are seven color palette
schemes being the principles
monochromatic analogous and complementary you can
ask copilo for them. And what it does is it
creates color palettes based on the theory of a complimentary or
analogous color palette. Another thing you can do
is to upload an image and ask Copy to create a color
palette from that image. Copil is not going to give you all the colors that are
present in that image, but he's going to give
you the main palette. You can create something inspired in that color
palette. It is very powerful. In this case, I've
uploaded one of my pieces is thinking
and he's going to give me the main colors from
this image. Here they are. Those are the hex colors
of the image I use. Another useful thing
that you can do with Copil and any generative it really is to create is to
help you with branding. So you can ask copilot for
a color panel for anything. For example, a summer
holiday hotel branding. It's going to give
you you can just give what is your company about
or what is your VNA out. It can be your wedding, it can be birthday, it can be your company, it can be just work for school. But you give copilot or any AI the feeling that
you are looking for, and he will give you a
branding color like this one. Remember, if you don't
like the first one, you can ask again, just
ignore the numbers. They are not the real
numbers of those colors. But I think it is a very
powerful tool, and of course. Of course, you can use those images for
your social media.
6. Logos: In this case, what
we are going to do is something a
bit more abstract. A with AI and in this case with op you can be more
abstract and ask for a logo or a design Po inspiration without being precisely
what you want, but giving the information of why who you want it for
if that makes sense. In this example, where
I created what I said the prompt is generate generate a logo for
a female artist, especially in fairy tales art. That could be me, for example. As you see here,
we are not asking for ferry or a medieval
town like previously, we are saying we are an
artist and we need a logo, and this is what we
do, please create it. This is great, not only
for to generate the logo, but to get inspiration. Now, as you can see very
well in this first image, copilot and any generative will will make more
mistakes than a human will. For example, in this case, the brush is upside down. But this can be only an
inspiration and second, these mistakes is
easy to fix on later. Keep trying and don't be discouraged just because
something happens, that is part of the generative AI and
it's always fixable. As you can see here, C that
only create logos is also create more caps of
how to show this logo. This is very normal because how AI works is that
they create images based on previously created
photos or illustrations. It's the case, it's very
normal to have on Internet, for example, logos that
are on a more cap. So I'm going to do again,
what I've done before, and I'm going to add
some extra things. In this case, I'm
going to add stars and medical creatures
because it goes well with my branding and you can add whatever you
want in your image. I'm doing this so you see and you understand
what the process is. You something simple
and you get it more and more precise with
these kind of questions. Now we are going to
open one of these. As we talked before,
copilot makes mistakes. The generative AI has a special difficulty
with lettering. Fairy tales is it's okay,
but especially artist, a specialist is not well spelled because he doesn't
understand the spelling, it's only shapes for them. What we can do is go
to Microsoft designer. We click customizer
always and we select the test to edit it out. So don't say remove
object because then it's going to be this white shape. What we need to do is use
this erase object option. You sell it carefully. Yes click on the letter, once you have the selected, click on Erase object and copilot is going to the
designer and in this case, is going to delete it and
fill it with the background. There is. You can in this case, what I would probably
do is delete all the letters and then
get this letter and as inspiration to add later my
own font and my own text. As you can see all the
images are different. I like this as well. In this case, he created
a black and white image that it also worth because
I didn't say colorful. You can say colorful
and try to avoid this black and white because but because
you weren't precise, you will have these
different options, and it's very normal to see a black and white
logo, isn't it? Now, I want to add and this
is again, the process, you create something,
you see the results and you add or change something. I want a bit of a
more whimsical style because personally, my brand is very
whimsical and you can do this for woodworking workshop, for your coffee shop, for your birthday, for a
special day for Christmas. You can do this for anything. You say, Christmas logo for my family and he's going to
create it. It's very useful. You can use the
logo in web page, Christmas cards, as packets, little stickers for
your gift wrapping, and of course, as your
professional logo as well. Then we have another
four designs that are definitely more munical you can use whatever you like.
7. Midjourney vs Nightcafe: Okay. Let's start talking
a bit about me journey. To get to me journey, which is a very famous
generator of AI art, go to that web page, you're going to find
that animation, and then you have to click
here on the right, J veta. That gets you to me journey. You just upset the invite. This is this coded channel. This is where me
journey resides. As you can see, you
have a lot of channel here just pick one
of the newest one. I'm only going to show you
the free side of me journey. Very quickly, I'm
going to explain why I don't use me
journey that much, and I prefer to use NICA f for all my AI work or
almost all my AI work. The main reason is that
it has no privacy. I know that you can have a
private if you pay for it. You are in private
channels, but still, I find it a jarring
to have to work in the discard channel
to create your art. I don't really like it. I feel bit inclusive. And the other reason is, I think that NCA f has more options and
it's easier to use. So If you want to
learn med journey, let me know and I can do
another class about me journey. Talk to me, and I will do it. But I really think that cafe is a better option
for almost everyone. If you love me journey,
please don't help me. Let's start with cafe. You go to that address
there and you find this is the first thing that you see is an art generator
and it is a free one. It works with credits, but I didn't have I've never have to buy credits
to create my art, and in fact, I've created this whole class without
how to buy credits, just to show you that you can do a lot just with the credits that Cafe
gives you every day. By the way, I don't work for NCA f NCA f hasn't
sponsor anything. This is my honest opinion. Twist start just clicking, looking to create Here you have. This is the start screen. This is where you
create every scene. Right now, it may
looks like it has a bit of a lot of action
and it's very complicated, but don't worry, you
can start right away. Like in compit only thing
you have to do is go to the test prompt and
write your prompt. What I want to do here
is talk about what does, what makes a good prompt. To have a good prompt, you need four steps, five steps. You need to say exactly
what do you want. You have to describe
your content. Do you want a photograph? Do you want a three
render three rendering? You want a sketch, an
illustration, an embroidery. That is how you should
start your problem. Here you said as you can
see a three D rendering. The next one is
what do you want? Is the subject,
it can be an owl. It can be a person,
it can be a tree, a castle or in this case, a pastel color star or a star. Then as relevant details. In this case, passel colors, I could have saying
the number of points. Although number is not
something is very good at, but I could do a stone castle or I can do where I'm going. Then you should
describe the style. Of what you're looking for. I'm looking for
something real or erialistic or
abstract or artful, or use an artist's name. Be careful, and don't use artists that are still
alive and working today. But because that is
a bit, complicated. We're going to talk about
this a bit more later. The last step for a really good prompt is
defined the composition. You can say the m, the camera view, the
experato, less solution. You want a pixelted image, you want a hk image. In this case, what I said was a sallow deep of
focus and the style, it was a whimsical pastel
color, whimsical look. I want to something
simple and I have this style that is
a bit of a cake. I like the style. That's how you start
working with Cafe. That's it. I know
it's very simple. I didn't want to do
anything complicated. We'll do a lot more complicated and beautiful things
on the next class. The only thing I wanted
to show you is how you can immediately start
to work with nicaf
8. Nightcafe: This is the main page of nap. This is what you see when
you enter the first time. NaF is an R generator that uses different models like
Di and stable diffusion. I prefer to make journey for
three reasons, the privacy. You don't have to share your
work if you don't want to and if you are going to
use AR generator for work. This is very important.
You can decide to make your work public or not. In the journey,
everything is public. The second reason is you can
use different algorithms, different what they call models. You can use D, you can use
stable difficient and they have several model and you can try and the results are
going to be different. And to be honest, it's easier to use a lot easier to
use that med journey. To start, the first thing you
have to do is just log in. You can go there
and log in and you can use your Gmail
account. No problem. Then you have here text menu that we are
going to see later, and here you have work
that other artists decided to do public to
start, just click read. We are going to in this page, don't worry if it
looks complicated. It has a lot more options
than NCA but you have this little interrogations
where you can have information and don't worry about this
too much right now, but you can always go and read and have information
and he for everything. The main things I wanted to see now is that you
have a space to put your test pront
and you have these what is called advanced
pront editors, where you can choose
what effects, I think, under calling. You are going to use,
but don't worry too much right now.
You have it there. We're going to use it a later. Right now, just to
see that you have that oceans and you
can change model here. But for a star, we're going
to use the by default ones. That is this stable diffusion dx L one and our
text pront T star, we're going to use a
basic basic text pronts going to be a stone castle. That's the only thing
we're going to say here. We click and create, as always, I'm going to accelerate
the process, and this is the stalks. As you can see, is very basic. Let's see what this
advanced pro editor does. We are going to sell it,
for example, striking. As you can see there,
what it does is it adds word to your prompt. Just with that, look at the difference between
the two castles. You have a lot image. Than without them. And the fun parts that you
can try different one, like for example,
the Oigami one. And you have a castle in
stone color, but in paper. So it is good that you try this because you can learn a lot. You don't have to only use them. You can see what they say to learn and try to
get your creation, your illustrations
to the next level. And as you can see this looks
like impression is castle, I think works very well. And then we are going to see
a bit more advanced options. If you don't see,
just click there. Let's change the
advanced prompt editor, so we will have something
different and you just select what you put
delete and click on the one, and we're going to try
with di this time. Here a number of images. What you are telling the editor, the generator is that you want more than one image each time. As you remember we compiled, you cannot say this. You can say several images, but he's going to decide
which one, how many You have a lot more control, and this is very important. You have a lot more control with CAF with this genitive art
that you have with copilot. The images are bigger
as well, of course. Here we're going to choose
four as number of images. You can go up to 16. Then here in ast aspect ratio, we have by fit one by one, but we are going to do nine by 16 because it's great
to use on social media, and of course, it is good as well to do as a
background for your form. With these changes,
we just click Create. And here you have
the first image is always a combination
of the other images, but you can click
and look at that. I see each image separately, and each of these images
are one creation. As you can see, it has nothing to do with
the previous castles. It is really fun. I
really like this one, and it has the nine
by 16 expiration. Now, once you like one of them, you can click here on
vale and use that image, that one that you like
as a start image. From here, every change you do, every time you click Create until you delete
this start image, the next creation is going to be based on this first image, so this is great. You can you can evolve
literally, evolve your image, fix mistakes in a quick way and tweak your image
because with this, what you have is an
AI that has memory. Guess your star image
and you can evolve it. In this case, instead of
asking copilot, add a bridge. Here what we do is we
change the prompt, so we add a bridge and a moot. Remember as always. AI generation is not perfect. Even if you say I want a mode, it doesn't mean you are
going to have a mode. And here you have, this is a star meg where you're
starting with and it's going to modify it to have a
bridge and hopefully a mode. As you can see,
you have a bridge. You don't exactly have a mode but I have to
say they're great. Make me think of
super Mario Bros and that kind of a static. You can think that the mode
is made of sweet of camel. In this case, you have
a really caramel mode. Here you have another like caramel liquid but
they're not of course, made of water or what
you perhaps think. Another thing that
you can do to try and change is to
change your model. In this case, as I said, we are using the SDX
L one that is free. But You can use Dali
or you can use others. The thing is, some
of them they say P and you can only use pro
if you are a pro user. To be honest, you can do
a lot without paying. I do all of my work in NICA f, and I don't pay for it. And I have very good
results most of the time. So let's try with Juggernaut. Juggernaut is one of
my favorite models. I really like the effects. It has a fantastic
point that I really enjoyed. This is the difference. We have the mode, we
have a great bridge. We have floating candies. I think these are great castles. And grade images generated. Again, imagine how many hours you will have to spend to
create something like that. Now that we know the basics, let's explore a bit. You have that menu there of my creation which
you can see is, of course, your creations. In my models, we are going to talk about this later are models that you can create My collections
collections that you can do with different of your art, and this is a great
part and explore, you can see what other people is doing and they have decided
to make this public. You can choose if made
this or not public, but this is public, and you can see all the data
of how they made this image. You can get a lot
of inspiration. Then you can go to the challenge and cafe Cafe is
not exactly free. It works with credits. But you can have five credits for free daily just
for visiting the page. If you vote on the challenges, you have two extra
credits for free, it's very easy to have
seven credits daily and you can always participate
in this daily challenge. I do. I've earned
credits this way before. It's a great way to learn
how to use this program. And here challenge. Desk click enter
and choose one of your creations and enter
the challenge that way, is free to do people vote
so you know where you are. And here you have the
credits that you have well, a lot of options that
we are going to see F that's the
introduction of Calas
9. What makes a good prompt: Let's talk a bit
more about prompts and what it does what
it makes a good prompt. Here we have the
description of what I want. I want an illustration and
what I want a red fence. Well, this is a red fence. But it's not a good image. It has some errors on the body. Is ternar errors. It's a bit weird and I
think we can do it better. Remember what I told you
about what Max could prompt. We are going to
add a few things. We have what do we want? That is a illustration. I said of what that
in this case is a red finace but we
can add more details. For example, I'm going to add golden wings or golden feathers. I think golden feathers, I like to be more to give it more depth to
the illustration. I want it flying on the sky. L, this is already better. When you give you don't
want a really long prompt, but you need a prompt that has more details than the problems
that we use in copilot. Now we want the style
of the illustration. I'm going to be a bit risky here and I'm going to
use per realistic. So it's not bad, but as you can see
the star has having a bit of a problem on the leg, has it has like a third win, but I'm going to keep going. And I'm going to say,
I'm going to add a bit of a composition
or camera angle. And this case, I'm going
to add bolmetric lighting. Yes, I know it has we are leg. We can fix this later. This problems come
because I've said it realistic and it's
an illustration. There is a bit of
a battle there and this kind of no
coherent description or problems can create problems. But what I wanted
to show you here is a quick way to do
a good problem. What do you want? Of
what do you want it. Add details. Describe
it like the style or the colors and give it a
bit of a photo definition. Well, if you will do this
from a camera perspective, where will the camera
be or lighting, all these details matter. I think it's a very cool finish. Although I promised I'm
going to show you how to fix that combination of leg
wing. Let's keep going.
10. Stock images: One of the advantages
that you have when you learn to use generative AI is that you can create
your own stock images and your own mocaps
as you probably know, those are difficult to find
if you want something very precise and many
times very expensive. Let's see how I do this. I'm going to start
with this text prompt. I'm going to specify that I want a photograph because I
want something realistic. As always, description and
adjectives are your friends. I'm saying that I want a feel of dewy snow drops and
a sunny winter day. Then I'm adding realistic whimsical and these last
two words are important. I'm saying ground level shot. It is good that you learn the cinematic and
photographic technical words that you know what is ground level shot or a bird
size shot or a close up because this gives the AI precise information of
exactly what you do, and the results are going
to be better for that. Let's try and see
what we have we are going to use the advanced
options in this case, and I'm going to change for
an ratio aspect ratio of four fires because I want a
stock photo a long as one. It's not bad, I have to say, It is exactly where I ask for. They are perhaps a bit plasticy. I can do several things here. But what I'm going to try first is to increase
the run time. Once I like an image, especially on a photo. If you like it, just give the machine a longer
run time and here. The difference is astonishing. The light is better, the shot is more beautiful. The only thing you have to do is give the machine
a bit more time. Of course, you know
that you can use the advanced prompt
editor and you can use words that's like DSLR. But sometimes just giving a bit of a longer run time
is going to be enough. Now we are going to try to do stop photos but that
we can use for MCPs. So the prompt that I
use here is, again, I'm saying a photograph of
Boho and Co master bedroom. Here are the description
and the jectives again. I'm adding the words with one blank frame in the
middle of the room. That blank frame is what I'm
going to use later to put my own art so I can use
these photos as a mocap. It's not only that
you can use them, you can sell them online, good photos and usually
very on demand. So let's see what
the generator does. Oh, it's not bad. It has clearly two mistakes. The first one is the
image is not blank. I'm not worried about
that because we have white on the outline, we have in the frame, it's going to be an editor, you just put a image on top, so I'm not worried
about the images. I'm a bit more worried
about the bench on the feet of the bed that
is missing half the bench. Of course you can fix
that with an editor, but we can probably do better. One thing that sometimes
it is a silly thing, but If you are you commit a
grammatical error error when you are doing your prom, that is going to
affect the quality. I swear to you, this is going to affect
the quality of the limit. It's going to fix
that and try again. Of course, you can try again
and again and again there. This is a lot better. Still we don't have
this blank image, but still I'm not
worried about it, and this is a beautiful
photo, very stylish. And you can use this
on any web page. The beauty of this is that you
can do it again and again, or you can change the style. We try again this time, I like this one as well. This time it has
changed, as you can see, the focus where the camera is and I'm trying
to get here it is. If you keep going and perhaps eliminate some
phrases here and there, you can have the blank frame. Remember that what you
put at the beginning of the prompt is going to
be more important than you put on the back
of the prompt. As you can see,
the Bojan is less prominent here than it was on the first one because here
is on the end of the prot, and the other was on the
beginning of the prompt. And once you have something
that you're happy with, you can say, now
do a living room. Now do a kitchen. Now I'm
going to change the style. You can repeat this process once and again and you will have one photo and another another that you can use
or you can sell. Again, looking in
less than 4 minutes, we have six images that are
really, really good to use. The only thing you have
to do to change the style is delete Boho and put, for example, classic a
temporal and here you have. Here, the blank and
the white dominates. Everything is this white
color, and you can say, I prefer something
more colorful, you can try until you have
the img that you want.
11. Unique images: It is very interesting
that you can do a lot of different things when you're using generative AI. Sometimes we only think of
illustrations or photographs. But the quantity of original things that you
can do is really big. We are going to have a bit
of fun and we're going to create a bit of different
things this time. Let's start with a folded
paper illustration of a beautiful sunset over a
mountain range on a lake. This is very simple. I'm not getting a lot of
information there. Folder paper illustration. But let's see what Cafe, I'm using as the Excel one
as default. Here you have. It is beautiful one, but it looks like
an illustration in not really paper craft. Let's see how we
can improve this. We are going to use folded
and punched paper background. Then vibrant colors. Remember that it is very
important to repeat and evolve your images. That's better. That has a bit of a paper
feeling, doesn't it. But I'm wondering if
there is another model that will work better with this. Let's try Dali. I think we
haven't tried Dali before. I would like to show you different models
and Dali of course, the open AI one.
Not very impressed. I have to say that since
I recorded this class, Dali is available and
it is a lot better. In this case, I think that
perhaps something like crystal clear that it is
specialized in photo realism, could be a good option. Remember that you have
community models as well. There are pro for
people who pays, but you can use a few of them, you don't have the model tokens, but you can use some
of them once or twice. To try them. There it is. I think that as you can see, it really looks,
especially the sky, it really looks made on paper. Now we're going to
try something new. In this case, we are
going to try to do a model of a BC
Victorian three D city. Volumetric light is another
photographic concept. It has to do with this
a bit of magical light. You can read about
it. I like the model, but I think it's a bit dull. I would like to have more color. I just added colorful
This is good. The volumetric light
is the one that creates a bit of
a blur sometimes. Let's add ground level. Let's add ground
level because I think I want to feel like
I'm in the city. It's not bad. But I don't think it's getting the ground level that I was looking for. That's because I just
said ground level. I didn't say ground level shot. Remember, you have to be
precise and there it is. You have a colorful, it's
clearly a model and it is ground level or as close as you can get
probably in a model. Now, we're going to
try another thing. In this case, we're going to
try this kind of embroidery. The Sardou I'm sorry, I'm probably killing the
pronunciation of that word, but is this kind of
three the embroidery. That is very beautiful, and you can see that
I just said embrosry of birds with flower
beds, and gold thread. But I want it closer. I just a close up v on the
same prompt. And he is. As you can see what
you can create with AI is not only photos,
not only iustrations. You can create almost
anything you can imagine. The last one, just a fell one. Let's create a low polymeric ommeri
medieval stone castle. Getting back to
the stone castles, because it's ommetrics like the old video games. I
really like this one. As you can see, you can have a lot of fun
with generative AI, and I really recommend
that you try and try new things and have fun.
12. Advance techniques: Colouring page: This case, we are going
to do something different that is create a coloring page. I'm going to stop here so you
can see the prompt with me. The first thing, if you want
to create a coloring page, you have to use that first
quote that I'm using here. Clean page from a coloring
book for adults or for kids. That's your decision
depending on when you do. But that combination of
words for the starting of the prom is what works best
for me after several tries. Then what you want and you have to say as always
of what do you want it? We're going to with
the fantasy theme. We're going to say of
a medieval castle, you can put here
whatever you want. It can be a skull, it
can be a dinos dinosaur, it can be anything. Fantasy inspire, we are starting to talk
about the style here, and then this block of words
after fantasy inspire, you have to use as well. This combination of words
between clean page from a coloring book and
then the rest of the prompt is what
you have to keep. The words are black and
white, high resolution, clear image, white
background, ink outlines. I think all of them makes sense, and the combination of clean
page from a coloring book, of blah, blah, blah. With black and white
high resolution, clear image, white background
in lives, outlines. It works very well. Let's give some time
and there you have it. This is the first
page that we have. I like it. I think I would like something a bit more ertalpire. But as you can see, it's
perfectly usable coloring page. Of course, you can go to editor and make the
whites and the blacks. Sometimes I do it with
affinity designer. Playing with the levels, let me know if your interest in learning how to do this and I can add a small
extra class here. But I think it's outside of theide of this class teaching you how to do
this, but it's very easy. But to be honest, most of the time I use
the pages like this because if you are using
pencils, it's okay. You won't see any
of the shadows, but if you are using a pain
that is a bit transparent, you will have the shadows in your final drying
and it works very well. So Now, let's make sure that you
are in advance mode here. Let's go to Advance prompt
editor because I want to add different style. But I don't want to
use the present here, I want to go to modifiers. You can spend ten, 15 minutes reading through all the modifiers you have here. They are very useful, I'm going to use the
story book illustration because it matches the
style I'm going for. If you're doing coloring book, I always be conscious of what
you use as your modifiers. Here we have what
I was looking for. A really cool fairy
tale inspire drawing. You can use any of those
as your coloring page. Now that we know that
these words work, what I'm going to do is
teach you how to say them. You go to Adams prompt editor, and as you can see here, You have the prompt
on top of everything. You can clear safe and this prompt is going to be
one of your prompt editors, and you're going to
find it in favorites. We reset, we go to advanced prom editor
his on my favorites. If you click on
it, you will have all those walls and you don't
have to do a medial cast. You can do a fire
house, but the, the technical part of the
prompt, you can save. And here you have, you have
another coloring page, even has a castle
on the background, you have a nuclein
page and of course, I kept the fantasy inspire,
but you can delete that, you can delete the part of a
fire house fantasy inspire, remove that change for anything and you will have
how to do a coloring page. When you are working
with copilot, you know that the maximum
size is 1024 by 1024. But NCapht doesn't
have that limitation. When you are doing tries trying to get to the
image an image you like. I recommend that you use the smallest size possible because it's cheaper in credits. You just go there and use as
many images have you need. When you like one,
if you want to print it or you want to use
it in a bigger size, you go there to
enhance your creation. You can choose all those sizes. You have the credit price there. And just click click, you won't see any difference because the image
image is the same. But if you put roll
scrolling front of the image and go to download
here you will have it. You download the image and
you opening in your computer, you will see that
it is a lot bigger, it's 8,000 by th with 8,000
by you can pret anything. You can do a poster, you can do fabric, you can do a lot
of things with it. Of course, you can do a book of coloring pages. I
hope you enjoy this
13. Fixing mistakes: So, in this case, I'm going to show you how to fix some of the classic
mistakes that AI makes. Those are extra limbs, extra holes in this case, extra fingers, badly
or we are anatomy. For that, what we use
is a negative prompt. So let's start what I did here. I just created with a model of d x L one, the default one. I used the pressed vibrant because I wanted
something full of color, and the pro was a simple one, as you can see, it
was an illustration. I didn't want a photo, I wanted an illustration
of a blue unicorn with a bright blue man in the style
of extract expressionism. You have this pretty
cool images of unicorns. But as you can see, several of them have more than one horn, one of them have five legs. The only one is
anatomically correct. It is two blue is the one
that I like the least. What we're going
to do for six d? For that, we are going
to use an advanced prom, that is a negative prom. Here is five legs, quite funny. Here you have that
you have three horns. First, we're going to
choose the one that I like the most and for that, we'll see the images. This is the one
that is too blue. It's not about one, but it's not the colorful one that
I was looking for. Let's work with this one. We click on evolve. With that, as you
know, is going to use this image as
a starter point. We go to the text prong, and we add extra horns -1.5. 1205 is the maximum
that you can do. We are going to the maximum, don't do it more than
that is not going to work. Is that simple? You say what you don't want
and you do a negative prompt. This is the inline way to do it. There are other ways a
bit more complicated. We're going to use
it in the future. But with that, You will have as you can
see, again, images, four images because we
have number of images in four four images of four unicorns and each of
them has only one horn. As you can see, some of
them have some mistakes. This one has an extra leg. But what you can do is do exactly the same
with extra legs, extra fingers out of focus. These kind of mistakes
that you can see, this is the way to fix them.
14. Masks and more: In this class, we
are going to talk about working a prompt mask. For that, we are
going to start with a very simple prompt is the illustration of
a fairy with wings, forest background, golden
hour natural light. What I'm looking for is classical fairy
with a key fairy. This is a beautiful one. I like it, but it's not
what I'm looking for. In this case, we have
to evolve our prompt. I'm going to add a
few things here. I want Scala wings. There are very specific
transparent wings, and let's try with mushroom hat. I want that whimsical ferry. That's closer of what I want. We have the mushroom hat,
which I really love. We have the wings, perhaps a bit small
that I was looking for. Let's work a bit more because
what I'm looking for is a keyed kind ferry.
Let's try that. As you can see what
I'm doing here is a that looks a lot better. That's really close of
what I was looking for. But look, we have one,
two, three, four, five, six fingers,
that's a problem. That's a problem where we
are going to find a lot. I'm going to show
you, I'm not going to totally fix it because it's
going to take a lot of time, but I'm going to
show you the steps that you have to try to fix it. The first one, this is with the dragons extra
fingers in a negative one and ban hands
-1.5, and we create. Yes, we have the correct
number of fingers now, but there are these long bony hands a bit, I don't like them. Those are called three fingers. We are going to do a negative prom for three
hands or three fingers and you can look for mistakes of AI on Internet to know how to
call these kind of things. And look, no more hands, there are three parts, but they are not perfect either. So how can we fix this? The first thing that
I would do is to get that let's start with Happy. Sometimes that will fix things. But we're going to do here is to get these negative problems
and put it higher because remember the things that
are higher are more important when the AI
is deciding what to do. I got this and I put
it in higher than the background because I don't care if the
background that much. Look, those has a lot. So if I want to improve it because there
are still a bit wear. What I'm going to do is
to evolve this image, clicking on that button there. What it does is this uses
this image as a star image. Now we are going to make
modifications and this image. They are going to be few
changes of this image, and we are going to go
there and make a mask. Let me show you.
To make the mask, we go to star image settings. Here, you have the
settings and you have as you can see,
several options. You have this control
net that helps you to make postures or the
shape or something. But this is not
what we want now. What we want is to use the
non option and use a mask. We click on create mask. What a mask is What
would you do with a mask you cover or you select
one part of your image, and AI is going to change
only that part of this image. In this case, NCafth a red mask, other programs use other colors, black, white is usually the
colors that you use of mask, but it's very visible,
Nica uses red. You don't have to be incredibly
precise in this case, and you just select
here the hands. You can select the whole arms, vehicle only to select
the hands here, and then you create a pro
only for those hands. You don't see illustration, you have to click and done, if not ph you have
done anything. Here, you have the black
area. That is the mask. And now instead of using
the prom that jewelry, have the little that save
it just control C to copy it and put nice key hands. Do a prompt only for your hands. That's always try to be precise. There are key hands. But they're not in
a great posture. They're like mix like they
both hands are together. Let's try the gesture and
put in a amaster gesture. Look very soful
What happened here? You are forcing AI to create something that is we are
or it is impossible. I tried to see if there was a problem or
how everything was written. But because the hands were like twisted to be intertwined and I force
it now to be upright. The image, the AI can't create something
that makes sense. You have this awful thing. You can change things, but you have to be coherent
with what you have before. Let's try with intertwined
to check how to write it, intertwined there and
see if we improve. I'm not going to do
the whole process. Look, this is a lot better. You have a nice pair of
hands that are correct. It's not exactly the
gesture I was looking for, but you can keep
going until you have. I don't want to bore you
with another five tries, but you can try as many times as you need until you have exactly
what you want. I like this one. I
think it was very well. It is a bit of a
nervous ski gesture, I think it was very much. We're going to let it here.
15. Bonus: Patterns: An interesting thing
that you can do, but it's not perfect on
generative AI are patterns. To create a pattern, you have to ask You generator, your pro has to say something
like fairy and mushroom, cottage core, seamless pattern. The trick here is to
add seamless pattern. But as you can see now or
as you will be able to see, AI creates a very good pattern, but it's not seamless. What I did here and this
very quick is to put the pattern created this bigger with a repetition
of two by two, and you can see on the seams that the
pattern is not perfect. But in reality, it is very easy with an addition program
to fix this problem. For that, what we are
going to do is just delete the saps that are on
the sam all of them, and then copy some of
them and paste them. So you don't have
the empty seams. Let's accelerate the progress. Although the image or the way to create
patterns is not perfect. It has first, it is a green
inspiration point and second with really
not a lot of job, you can do a very
complex pattern. Here, if you you see what
I was talking about, we have removed everything
that was touching or over the seams you have the green
space there white space, but it is very easy to just
fill this space and I have a whole class about about this in skill share and
you can check it out. But I'm going to do
something quick, you have a bit of
knowledge about how these programs work is very easy just copy and paste
and move around. But once you have this that
it is created with AI, creating a new
pattern is very easy. What I'm going to do is
I'm going to rasterize, so I can very easily
select one of the mushrooms and I'm going to just select
this big mushroom. Don't have to be really
precise, select the mushroom. Then what you can
do is just copy the selection and paste it. What we want to do
is just put it on top is put it you can
of course the size. If you put it like
there is going to use that space that
is empty right now. And you can keep doing this and you can move it over the
corner or on the top, and then you just copy
it on the opposite side. There it looks good. Because it doesn't go over the space, I don't have to do
anything special. But here, Now, what
I'm going to do is if you see it it goes over the top or over the
image on the bottom. I copy it and I just move
it the length of the image, in this case is 21204, and I just move it
up and down the longititude and
width of this image. You keep doing this
until you have, and I'm going to
accelerate again, I just selate copy copy again and move it until you have a full pattern like this. This is just a bonus class, but I wanted to show you
very quickly how you can use generative AI to
less than 10 minutes. It took me 10
minutes to do this. You can have a very complex and perfect printing fabrics or wallpaper or graphic designs. You can do endless things
with this kind of patterns, and it is a good
inspiration also. Okay.
16. Thank you!: Okay. And that's it. I hope you like this class. In this class,
you've learned how to use two different
AA generators, copy from Microsoft and
NICA f. You've also learned when to choose one or the other
depending on your needs. You've learned how
to make stickers, how to go beyond the simple
illustrations, to be honest. You've also learned, and this is the more important thing, most important thing
you've learned. You've learned what
makes a good prompt. You can use this not only
with Naly with copilot, but with any AI generator that exists not or will
exist in the future. Finally, you've learned how
to fix the mistakes that sometimes AI makes like estra
limbs or too many fingers. If you like this class, please leave some feedback. It will help me greatly, and it will help other
people to find this class. If you like how I teach, please consider follow me here and why not watch any
other of my classes. I have two great classes about Mandalas and I have classes
about affinity check me out. That's it. Please remember to leave your project below and I hope to see
you in the next one.
 Aldara B. Dios, Playful & Whimsical