Transcripts
1. Introduction: As on Zimmer. So
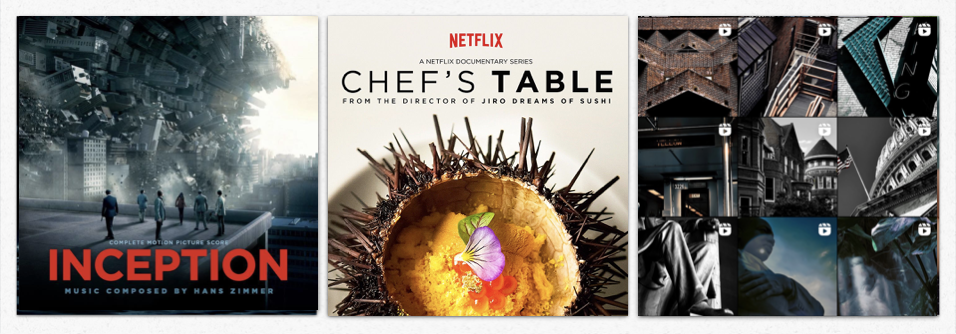
great music composer who wrote the original music for the ranking radiator
inception or even doing saves. Music plays an essential
part in a movie ends. That's also true
for other kinds of videos such as documentary, commercial, or even videos that we find on
TikTok or Instagram. I'm ****** and I'm
delighted to see you in this class edit to the
beat for memorable videos. I'm French, did my
accent give it away? I'm also a designer
and a video maker. As long as I can remember, I've always loved making videos. I first started using my current past camera to do
stop motion using my Legos. And more recently I did
a documentary that I directed around the world
talking about food security. I'm always trying to learn
new tools to help me bring my ideas to life and
bring them to the screen. If over the years the editing software has their cameras or even broadcasting platform
that I use, I've evolved. There is one thing that never
changed the impotence I give to music in my editing
work in this course, I want to share with you
my methodology to find the right music for the video you want to make to disease, we will put it in three steps. First, we will focus on
the path before the shoot. We will see how to prepare and anticipate the condition of the shoot so that you can project yourself in the
making of your videos. Then we will move on to
the part during the show. At this point, you will
already start to see what your final result
might look like. Finally, we will look at
the editing and how to search fine and choose the
ID on music for your video. And I will take this
opportunity to share with you my edit to the beat
editing process. This class is open to
everyone and every level, if you're new to editing or if you have some more
background and experience, I'm sure you can
find something that will help you out in
your editing process. So without further ado, if you to want to choose
the perfect music to make memorable
videos, I see in cats.
2. Project: Best way to learn and
understand is to put into practice what we
would see in this class. And for that, we're
going to do a project. For this project, I would
like you to do a video in which music is really important and share it
with the rest of the gas. It could be a video
credit, an intro, a feeder sequence,
fiction scene, video for TikTok, Instagram. Anything. If you don't have enough
material to make a video, I will share with
you some footage in the resource section. For those of you who wants
to go a bit further, I will share with you
a bonus to unlock. At the end of this
class, I look forward to seeing what you would
produce and share. I will give you feedback
on what you've created. And also, I strongly
encourage you to look at and Command
or those people work. This is important to develop your critical thinking and
also to own your skills. Personally, I've been teaching
for more than five years in an international
design master program. Whether liked the
most about teaching more than sharing my knowledge, are seeing my student
progress is that I evolve in return
thanks to their work. Does that being said, let's
move on to the next part.
3. Before Filming: Your work and in some ways your video start way
before the shooting. They are different elements
that you need to consider and anticipate in order to prepare
you as best as possible, whatever kind of video
you are going to make, an interview, a short
movie are real. You will have to
define plays that music would play in
the final result. Would it be on the
background or will it be? Once you have defined this part, you can look into the
condition of the feed me. What condition
will use shooting? Ask yourself the right question before I answer that you avoid unpleasant surprises when
you shoot indoor or outdoor. If you are shooting in
a studio or indoors, you can more easily
control and manage light and will not be
dependent on the weather. Solo. Whether you are
shooting solo or with a team, your organization
will not be the same. If you are alone, you
may have to plan to be in charge of the
sound and image. How long it should last. A few minutes, an
hour, or several days. It's not the same thing. And the logistic of filming will have to
be done accordingly. The more you are able to
define the different elements. More efficient you
can be when you shoot in the resources
I would share with you a small and non-exhaustive list of the thing you can
consider before shooting, depending on your project, you can also rely on
a script or cerebral to help you visualize
the image that you want. This can also be the opportunity for you to start thinking about the atmosphere and the
emotion you want to convey through your
videos to help you. Don't hesitate to have
some references in mind. If you want to make a video
for Instagram or TikTok, you have an infinite
amount of references. You can choose to simply reproduce them by using
the same music and just adding and editing on
your own images for the rest. Either it's a documentary
of log of fiction. Look around. Today on Internet,
you have access to an amazing
catalog of content. Use it, choose your
favorite documentary, your favorite movie,
and watch them again. But this time, paid very particular attention to the place of the
music in the editing. More prepared video, you can
also choose to use a script, also come up with a storyboard
before the shooting. This will allow you
to make a list of the shot and sequences
you want to shoot. This way, you will have a roadmap refer to
throughout the shoot. It should allow you to know what subject to talk
about in the interview, what kind of shots
to use to illustrate certain sequences and when
to shoot those sequences, preparing your shirt
will allow you to visualize it and also to
project yourself into it.
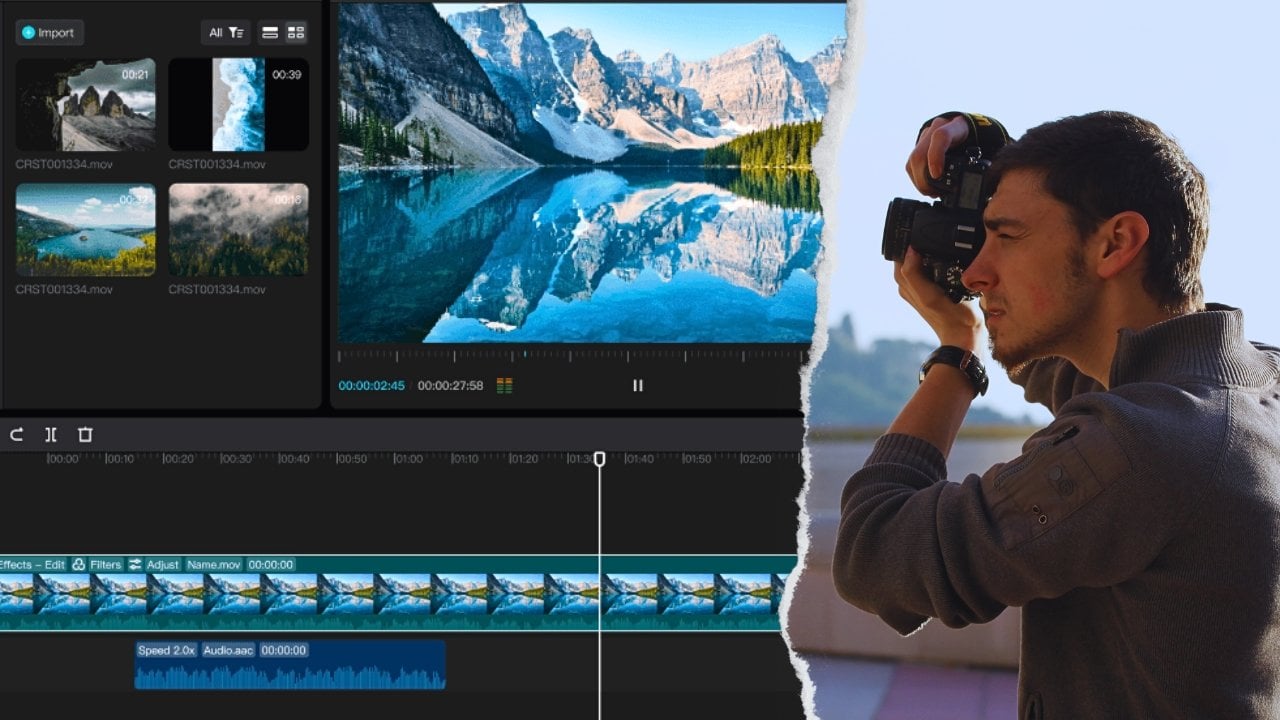
4. While Filming: Once your eyes are location and I got into your preparation, try to think about
the shot that you're going to make and how they will look like together when you will do the editing. If you have been able
to go to the location beforehand to do some
location scouting, you can already define where to shoot some
of the footage, which shots to take to get
all the footage you need. A general shot, medium
shot, close up. We not have the same use
when you are editing. Adding different types
of shots at hand will allow you to pace your
editing with the music. You can also think of certain transition
with camera movements, traveling pen in Austin shot. This will allow
you to have a bank of image from which
you can grow, if possible, try to
make a selection of your shot when
you are filming. This is where defining the length of the
shoot when you are preparing It can be useful if you know that
you will have breaks. Take advantage of that to make an initial selection of your shots if you're
filming is very short, make the solution as
soon as possible at the end of the filming so that it's still
fresh in your mind. Depending on your equipment, you may want to
bookmark some of them. Otherwise, when exporting to your hard drive or
cloud or computer, you can already
organized your shots in different folders
of label and tags. Also take care to delete
shots that are not good, whether they are blurry, but the frame not
stable enough, etc. Doing the selection
work during the filming will make it easier for
you to edit and to direct. It will also help you to
have the atmosphere I was filming and of the
potential video in mind. The music should help you to
set a mood in your videos. I trusted you. It's up to you
to fill the atmosphere on the set gives a person you are interviewing is
calm and serious. You will not convey this on
the screen in the same way as someone with very extroverted
and full of energy, music can underline
the psychology of the people in the picture. The same applies to the atmosphere of the
place or a moment. The discovery of a deserted
neighborhood at night or sunrise on the beach does
not have the same energy. The atmosphere is directly linked with the emotion
you wish to make people feel when they discover
final version of fluidity.
5. Editing: Find the Music: You have your footage, your direction is done. You nosy emotion you want
to convey in your video. Now it's time to go on editing. In my opinion, before
Anything else, you must now choose your music. To choose it. You have to
know where to look for it. Today, you have access
to different type of platform with
royalty free music. However, be careful to check the veracity of platform
and the licenses of the music they offer
to avoid infringing on the rights of authors
are adding new video, demagnetize and delete
it on YouTube, e.g. personally, I have an
account on a platform called storybooks that gives me access to music and video content. But on this course, I'm going to talk about
the YouTube audio library. To access the YouTube
audio library, you need a YouTube account. If you don't have YouTube
accounts, that's fine. Stick with me as all the different platform
for music works the same way, you will still get to understand how to choose your music. Once a new account, click
on the hamburger menu, the three dashes at the top left and click on the
Creator Studio icon. Then in the drop-down menu, scroll down to Audio Library. The interface looked like this. Music title, music genre, mood at this Name, Duration, licensed type, and date added. You also have the
play button and the style option
to book my music. As a general rule to
begin your search, you will start by using
the genre and mood filter. Some platform also allow you
to search by instrument, tempo, music with
or without lyrics, as we saw earlier, you need to think about the mood
you want to set in your videos to start by choosing the mood that best
represents what you want. Once you have chosen
a mood or moods, you can start listening
to the songs. You can look at the music
genre and see which one suits you best by adding
it to the search criteria, the name of the music,
and also app you choose. If you're editing a sunrise and a song is called Rising Sun, it might just work. This is where the
long and tedious work begins for you to
find these rare cham. It's a little bit like finding a needle in a haystack.
I don't know. Is this expression exist
in English, but in French, it means that it's complicated to find what
you're looking for. To avoid listening
to the Wilson, I recommend you to proceed. It's kind of a secret. Free to do it. It's really up to you. I think it's good to avoid
listening to the word song. I recommend you to
proceed as follows. Listen to the first
few seconds of a song, then in the middle,
and finally, the end. Some platform also allow
you to see the sound wave was a song which are used to send directly to certain paths, such as a path that builds
to crescendo, also drop. That is the climax of the song. If you want to have music appears red when
bookmark the tracks, you like to make a
pre-selection and do a listening before choosing the tracks you are
going to download. Another important point is whether or not you
need to attribute yet. In some cases, in exchange
for royalty-free use, you will be asked to mention
and includes the name of the track and z-axis in
the credit of your video.
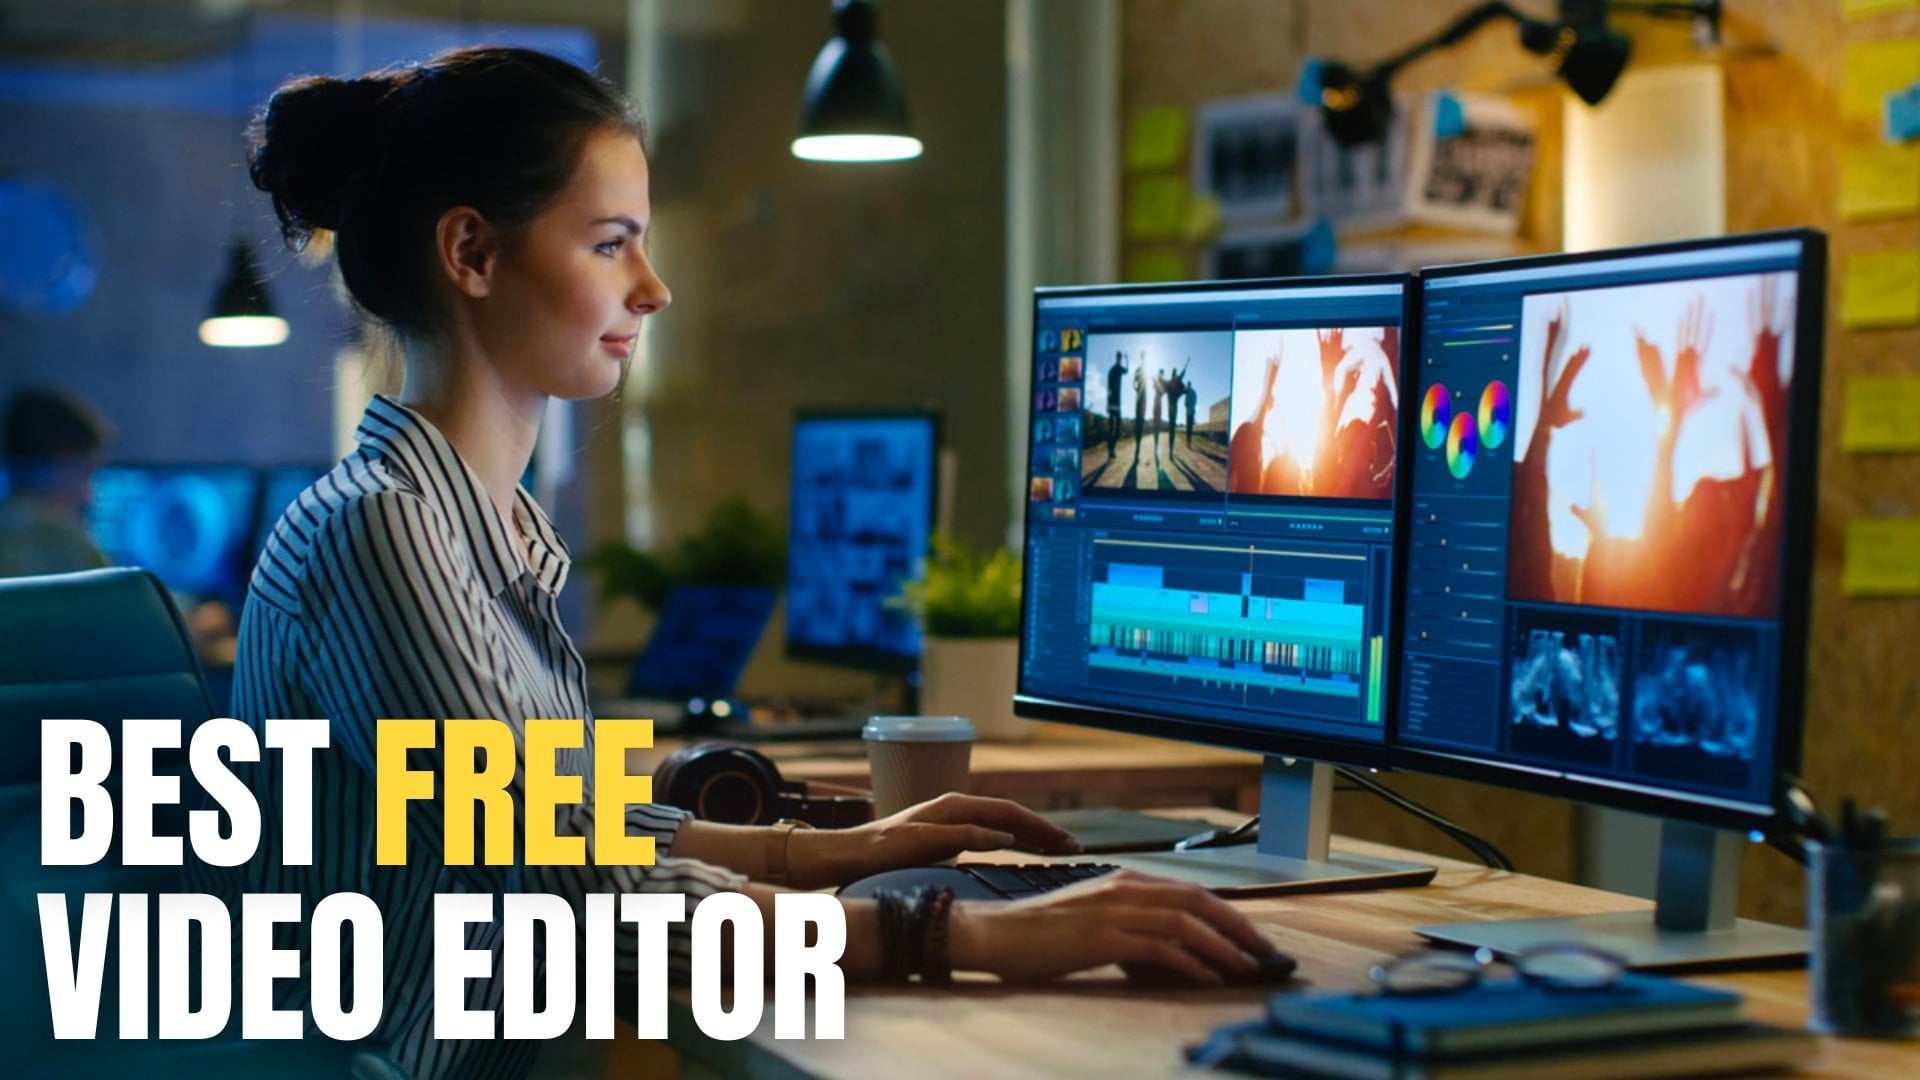
6. Edit to the Beat: You have uploaded all of
your footage and your music. I will now cover as a process to follow for iMovie and call me a call on computer and in
short, MGN on smartphone. Before starting, you have
to define how long is your video going to last to train
the music accordingly. N choose, n is a part of
it that you want to use. Usually when you put the
music on the timeline, you can already see the waveform and identify the
peak of the sound. Usually those peak matched
with the beat of the music. And that is what
we're looking for. According to the
software you are using, you have different
ways of marking the bits to help you
edit to the beat. Let's see the different
options for this example. I'm going to use the
footage that you can find in the
resources section. It's videos I made during one of my trip in the Smoky Mountain
National Park in the US. It was at the beginning
of fall and all the leaf threatening yellow and red. It was amazingly
beautiful and peaceful. And so that's the kind of mood I want to share in the video. So that's why I've
chosen the music, is the ODU library wager with
angels for a bright mode. It is a country and for genre. And usually country and folk is a good genera that you can
use for this kind of mood. Let's start with
desktop software. Imovie, Anthony apple. Imovie, you can spot some peak. And then the bid pretty easily as the sound
wave is coloured, look for the year or right
path to identify the pigs. Then to mark them, plays the play head on
the pigs and press M, a purple marker will appear. Repeat that process
all through the video. Then drag your video clips on your timeline and trim
them using those marks. We can get the clips
using command B. If you need to address the
length of the video clips, drag them until you
reach the malloc. It is magnetize and if
we make it easier for you to adjust and
align it precisely, if needed, you can move the
mask by clicking on it, holding and dragging it. You can also remove
them by clicking on it. And it seems the erase button. Let's see now in from your pro, Premiere Pro works pretty
much the same way as iMovie. You can also put marks
on your timeline to add, to trim and align your clips
with the beat of the music. You can do it in two
different ways. In Tanya. First, directly
underneath the file in the source monitor, we can place them as
pristine as the N key and then flex the music on
the timeline and the mark will appear at the bottom of the waveform to add piu
positions the playhead precisely on the Mac movie too wide pressing Shift to magnetize it and make
it stop on the Mac. You can eat the empty
while holding Shift to reach the next map directly. The other way to
do it is by adding the mark directly
in the timeline as your music to the timeline and the max directly on the
timeline by pressing M, Then you can add
your video clips and treat them accordingly. For either way, you can move the max by clicking, holding, and dragging them
along the timeline, either directly on the source
monitor or on the timeline. Let's now get to
the mobile apps, such as in shot of yen. In such apps usually have a built-in function to
map the bits that are pretty handy in insert when you have selected your music
and it is on the timeline, you can trim it by
double-clicking it. You can adjust the volume
of the track and add a fade in and fade out effect
when the track is selected. Go to the beat option. This will alert to monitor
track easily, press Play, and use the plus green button to add a Mac when needed to MC, if you are well on the
beat, play it again. And the white dot created
as a mark will grow as the play head
goes over it and add to see if it
matches the music. To remove a Mac, place
the playhead over it and press the green button. After you're done
placing your mark, press the Check button and
go back to your timeline. You can see the white dots
appear on the music track. You can easily train
the video clip by dragging them on the Mac
as they are magnetize. The end. It works pretty
much the same way, but she will have even more
option to add few agile max. When you click to add a music, you can choose from
the different library you have and select
the tracks you want. You can trim it,
adjust the volume and add fading in and out ethics. Then click on the bits. First of all, you can
choose to place a track on normal speed of speed to
help you spot to bits. Then add the mark by eating is a red
button with the flag. As you can see, the
mark and numbered. And if you need to
move or remove a Mac, click on it and you will
have four different options. The Play button
allows you to listen only to that mark to
see if it's widespread. The arrows move them
forward or backward, and the trash icon remove them. Once you're done adding
your max value to process and go back
to your timeline. You can trim your videos keeps easily as the mark
I might entice. You can also use the bits
to add some effect like a change in color grading or even to add text
appear on the screen. So you are now able to add marks and edit your
video to the bits.
7. Conclusion: This course is not over
all know, IRR to label. Every good things come to an end of this course is now over. Thank you for taking it. Now that you know more about
how to prepare the filming, anticipates the editing, and choose the perfect
music for your videos. It's up to you to go
out there and to make great videos using
the perfect music. I look forward to seeing
all of your projects and your questions so that I can answer them and
give you feedback. Please feel free
to leave a comment and feedback about
this course so that I can make it evolve
in the best way possible to meet your
expectations and your needs. I see you soon for another class and until then, take care. Hi.
8. Bonus: You're still here, right? So as you can see,
I was just having my after class porridge. Maybe it can make a video about it in class on Skillshare. I don't know, but
that's another point. So I guess if you're still
here is because you are interested in getting
the bonus content I have for you. Okay. So I have a confession to make. I never told you that before, but I'm a big fan of
gamification and escape games. So this is how it's
going to work. It's actually pretty simple. You just go in the
resources section, you will download
the file bonus. And as you can see, it's actually a PDF that is
protected by a password. You guessed it. You would
have to find that password. To find that password, you will have together all
the different Easter eggs scattered in all
the different video of that gas is you're right. Okay. Because I'm pretty good. Professor. I give you a hint to get all the basket together. It's pretty easy. You
just have to put them in the order in which they
appear in the videos. Put them together
and write it down. Lowercase, no
spaces, easy, right? And if you do so, you will have access
to a selection of music and also VN
video templates. Pretty cool, right? Good luck.
 Benjamin Gagneux, Designing designers