Transcripts
1. Introduction: Hello. My name is
Christina Forrest, and I'm an artist and
surface pattern designer from Brisbn, Australia. I'm really excited to share
with you my love of patterns, and today I'm going to show you two super easy techniques to create textures for your
surface pattern designs. Once you've learned how
to create textures, you're going to love
experimenting with different ways that you can use them in your
surface pattern designs. Maybe you might like to put
them in the background to add some depth or into your motives to add more
interest to your patterns. You will need Adobe Illustrator
to complete this class, and also we'll be using our
phones and some art supplies. So let's get started.
2. Class Project : The first technique we'll
go out with our phones. You can go around your
house, maybe the back yard, or maybe you want
to go for a walk and find inspiration in nature. The second technique
we will use is to use our art supplies to
create textures on paper, just making marks and
having lots of fun. From there, I will
show you how to create vectorized textures
within Adobe Illustrator that you can use
in your designs. The class project will be
to create an object with an Illustrator and then add your text to to a
easy equipment mask. Once you've learnt
this technique, you'll be so excited
to see how easy and fun it is to make textures
for your designs. Please share your designs in the class project below.
I can't wait to see.
3. Take Some Photos : Here's some photos I've taken around my house just
using my phone. As you can see, they're
just close up images of different textures that
I've been able to find. You might also like to go out
into nature and explore and just have lots of fun with finding things that you
can experiment with. I'm going to use these
four here, which my fam, and the ceramic plate, the wooden table, and a
close up of my couch.
4. Make Your First Texture: Okay. So now we need to
open the image trace box. And if you haven't got
that open, already, go up to Window and
click on Image Trace, and we'll bring up this box. Now, I'm going to get rid of the images that I'm
not using right now, and I'm just going to click on that couch image and
choose black and white. And in the advanced options, I'm going to click Ignore White. And press trace.
Ignore that little pop up box, just press okay. And there we have a texture, which I think is just
a little bit black, so I'd like to get rid of
a fair bit of that black. So I'm going to take
the threshold down. Bring it down a bit more. Still a little bit too
black in there for me. Okay, I'm just going to
bring it down a bit more. And I like the noise
to be down low. It gives a bit more
detail, which I like. And I'm just going to fiddle around with this until
I'm really happy. I like how that's looking there. So now go up and click
Expand when you're happy, and there you have it, your first vector texture. You can blow that up
as far as it goes, and it won't ever
lose its resolution. So that's the beauty
of using vector files. You can play around
with some color changes and do whatever you
like with it from here. So well done, that's your
first vector texture.
5. Make Textures From Everyday Objects: So let's do it again
and this time, we'll use the bath mat that
I took a photo of earlier. Click on the image and
then choose black and white and ignore white trace and ignore that pop up again. There we are. That's a different
looking texture there. I think again, I'm going to take the threshold right down. Play around with these
paths and corners. Anyway, that's pretty cool.
I'm pretty happy with that. So then I'm just
going to expand it, and there we have
it. Another texture.
6. Handmade textures with music: Another way we can
make textures is by creating our own
handmade textures. I've created some
using a paint brush or a toothbrush and
some acrylic paint. I've also used some paper that I've just scrunched up
and put into the paint, and then spluttering
the paint on the page. Anything you can think of, use your creativity and come up with some fun ways you can make your own textures as well.
7. Edit handmade textures: Once you've created
your textures on p, then you need to take
a photo of them. With your phone,
we're keeping it as simple as possible here. You need to edit
the photo so that there's very high contrast between the paint
and the background. So I recommend taking
the black point, the exposure, the brightness and the contrast up fairly high. As you can see, I've done in
this little tutorial here.
8. Make handmade texture in AI: I've just brought
the photos into Adobe Illustrator
on my computer now, and you can see that
they're not amazing. There's a bit of
yellowish color to the background,
but they're fine. They're going to be
perfect for what we need. We'll start with this
flattered one here. Got lots of detail in
there when we go in close, and I'm just going to go
up to image trace again, just like we did with
the photographs before. And you can see that there's
nothing happening here, so I need to click on the photo. And then we have all the little details that
we can choose from. I'll click on black and white, and I'm just going to press trace and see how that
goes for starters. Ignore that pop
up. That splitter is looking pretty cool already, but we can make it
more interesting. We can take the noise right down and that brings a lot
more detail into it. You can see all those tiny
splatters coming through. Then depending on
the shapes that you want your tiny little splatters, you can make more corners, and that will change the shapes. You can take the piles down. That would make it more
angular or right up, and you'll have a
lot more paths. Once you're happy with
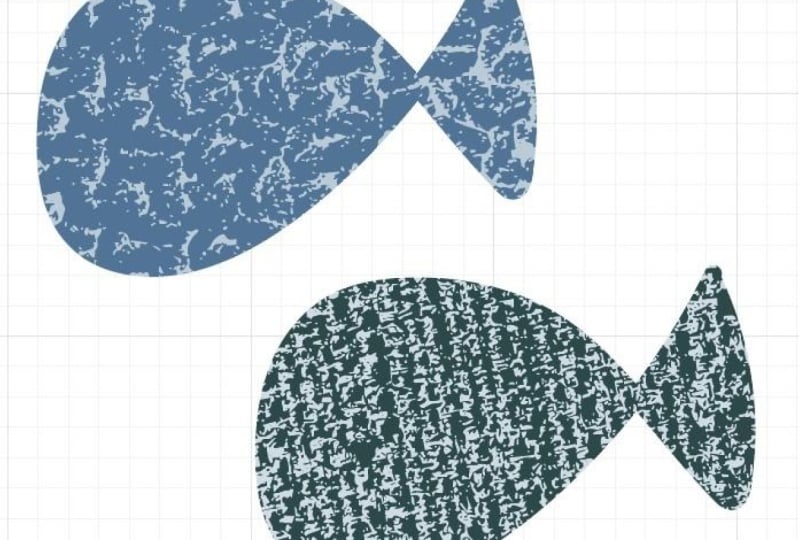
your beautiful texture, then you can go up to expand and that will then create all little
vectors of your texture. Here's the scrunched up
paper artwork I did, and I'm just going to
do the same thing, click on that to bring
up the image trace box, and then we're going
to choose black and white and trace. Press. That gets rid of all
that background. We've got some nice
little speckles there. You can mess around
with these just deciding how intense
you want it. Once you're happy
with your texture, then you can go up to
expand at the top here, and that expends each and every little piece
into a vector. So playing around with those
textures is really fun. You might just want
to use a little part of it or you might
like to use all of it. It's really up to you from here. You can play around
and have lots of fun developing your own textures
for your own artworks.
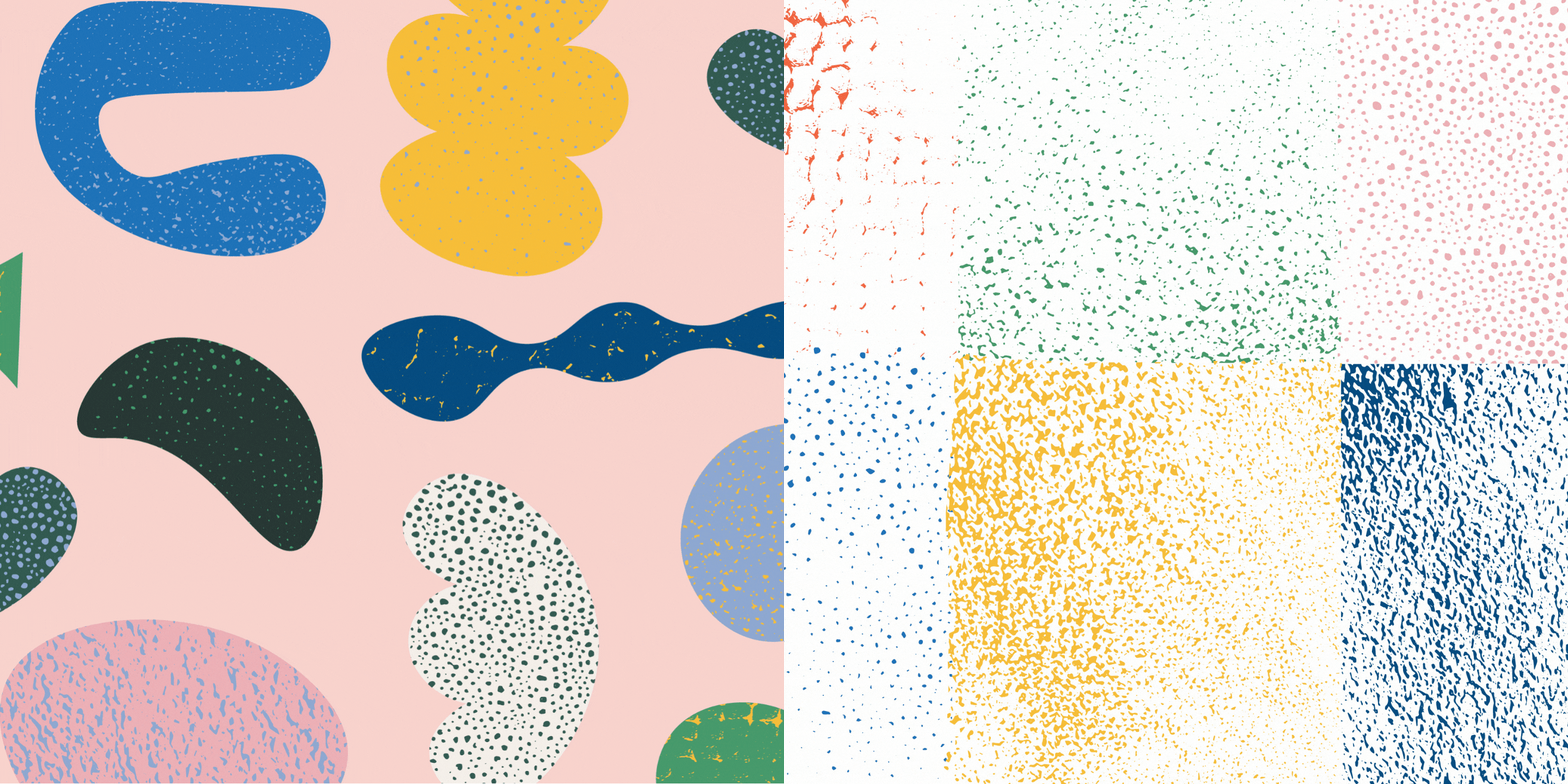
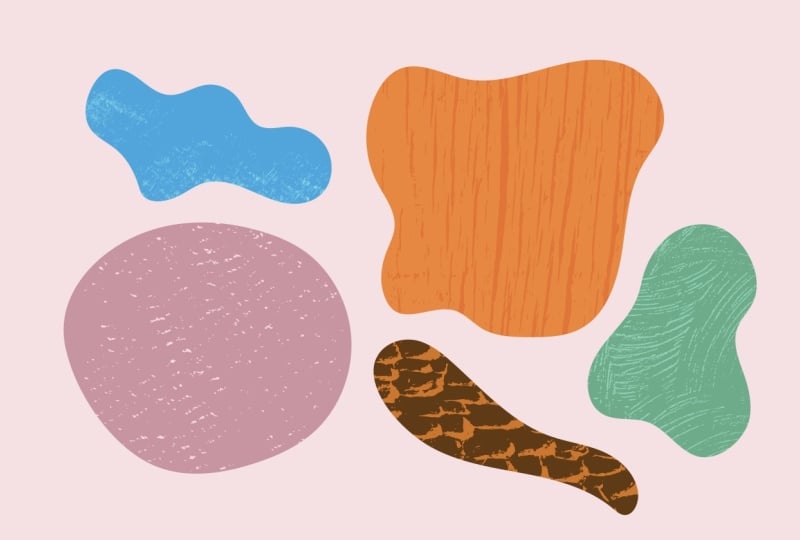
9. Texture Clipping Mask: Here's some textures I've made. You can see they're all looking very pretty in
different colors here. And now I'm going to show you
how I use textures in some of my designing to create
some fun, interesting shapes. So I'm going to use
the curvature tool, which I use shift and the tilder key to get
to the curvature tool, or it's just over
here. Come on there. P, I'm just going to make a
quick little flower here. We'll use this dot
texture for starters. So I'm going to make a square
press to make a rectangle. And I'm just going to
make it larger than the flower so that it fills
up and covers the flower. Now I'm going to get my
selection tool and drag it down. Next step is to select which texture you're going to use. I'm going to use this one. And because I've got a
dark rectangle here, I'm going to change the color of the texture so that
I'll be able to see it. Se red. That will do. Okay, I'm going to
bring that down, and it's behind the square
at the moment you can see. So you need to use shift command and right bracket
to bring it to the front, or you can go up to object and arrange and bring to front. Okay, so now I'm going to bring this here in
line with the square, and I'm just going to use the shift key while I drag out the corner to keep
everything in proportion. Mike that. Now I'm
going to select both of these with
my black arrow tool, and I'm going to press
Command G to group them. You can also go up to
object and press group. But because we've
already done that, it's not able to
be selected right now. So they're grouped. Now we want this
one to be able to come on top of it at the
moment it's going behind. So we need to do that trick
again of bringing it to the front using shift
command right bracket. Or going up to object and
arrange bring to front. Now I can bring that over
in front of the square, and I'm going to
now select all of these and press Command seven. And there we have
a textured tulip. You can see, and we
can change the color. I got a little color
group here, this will do. By going to the
recolor artwork tool, I can make it a different color. O that's cute. So there
we have a texture tulip.
10. Tidying Up: When you hover over your
artwork with it unselected, you'll see that
there are a lot of little anchor points out here. Can you see how it's
picking them up there? So that's going to make your board more busy
and the file bigger. It's good to trim off your clipping mask once
you've finished, and you're happy
with it, but once you've done that,
you can't change it. At the moment I
could go in here, and I could actually
move this around and change it however
I want it to look or I could make it bigger
to make the dots bigger. I like that. So I'm
going to do that. And now I've got all this extra area around here that I
need to get rid of. So select your flower, and, I'll get out of this layer. Select your flower,
come up to Pathfinder. If you don't have that open, go to window and
down to path finder. And come down. We've got a few different
things here that we can use. I'm going to use trim, and that will just clean
that up completely. So now, when I press on this, you can't get into
that group anymore. I can still individually
move these, but can you see how
now it leaves a hole? So it's not what we want to do.
11. Final Thoughts: You've made it to the end.
Congratulations. I hope you've enjoyed learning how I create textures from my surface
pattern designs, and I can't wait to
see what you've made. Please share it in
the class projects.
 Kristina Forrest, Colorful art & surface pattern design