Easy Origami Scorpion Tutorial - Step by Step
 Origami Creation House, Origami made easy
Watch this class and thousands more
Watch this class and thousands more
Lessons in This Class
-
-
1.
Introduction
0:17
-
2.
Stage 1
1:41
-
3.
Stage 2
2:05
-
4.
Stage 3
1:31
-
5.
Stage 4
2:00
-
6.
Stage 5
2:22
-
7.
Final
2:32
-
-
- --
- Beginner level
- Intermediate level
- Advanced level
- All levels
Community Generated
The level is determined by a majority opinion of students who have reviewed this class. The teacher's recommendation is shown until at least 5 student responses are collected.
135
Students
4
Projects
About This Class
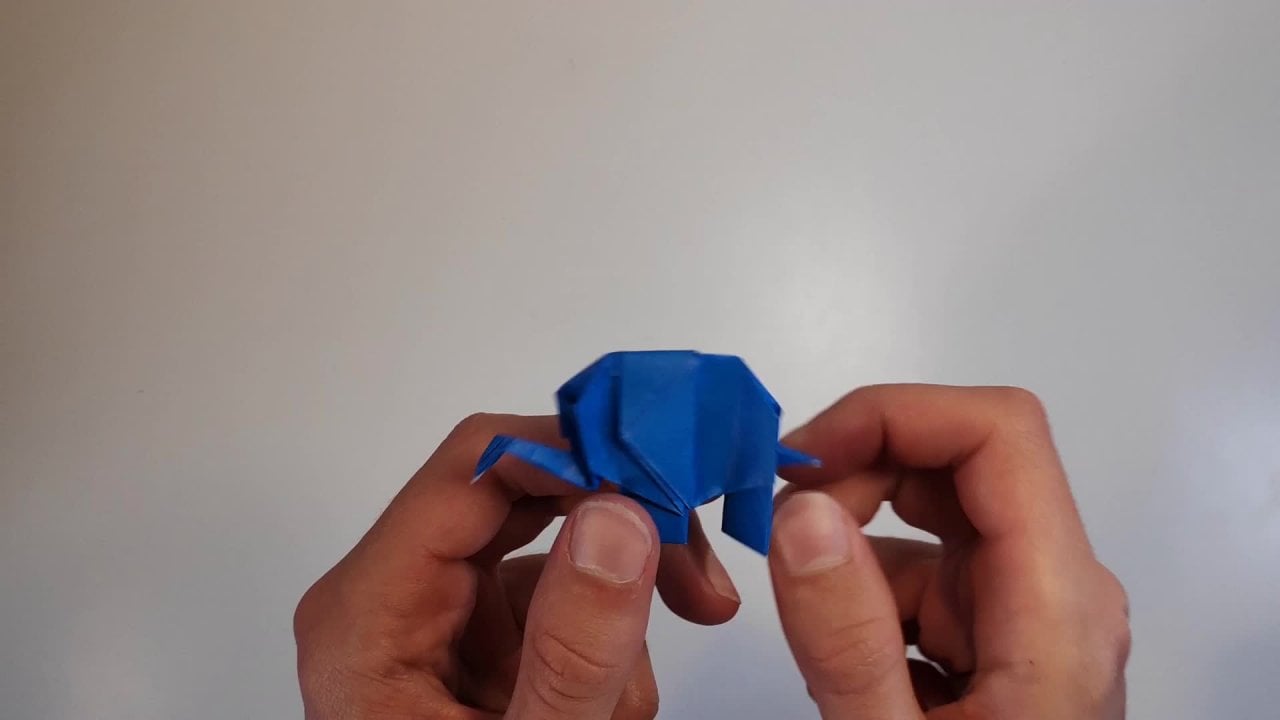
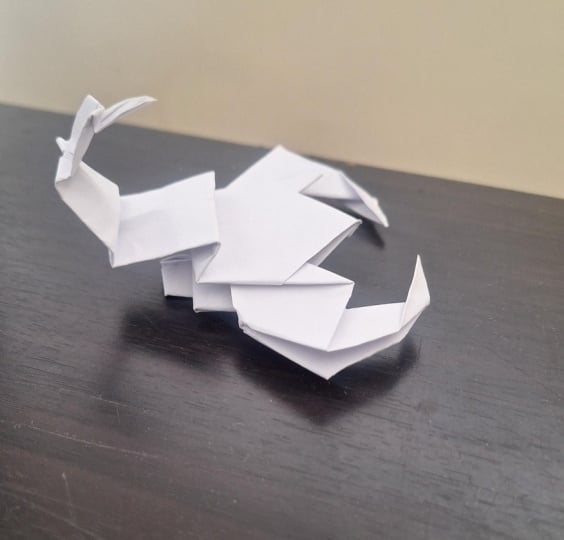
Hi, welcome to our origami class. We'll be taking you through the steps you need to take in order to create your own origami scorpion.
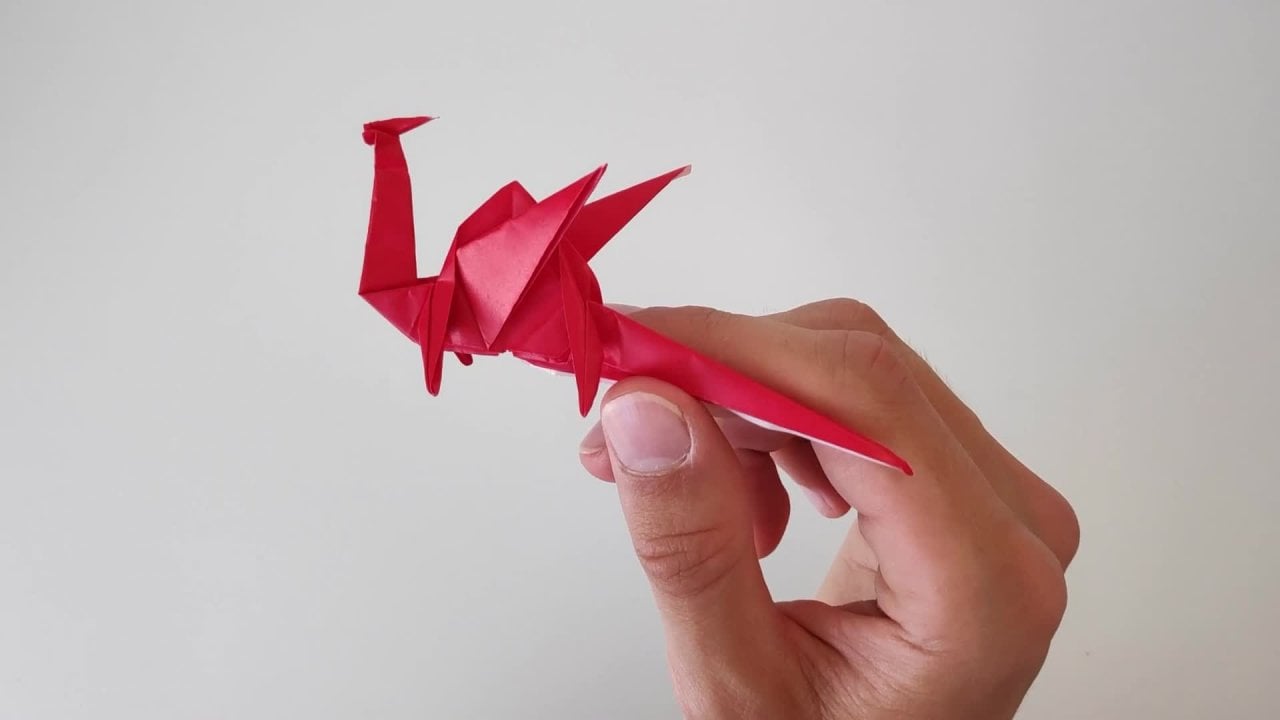
Let's get creative this week and learn how to make an origami scorpion!
We're Origami Creation House, and in this quick class, I will show you how to turn a sheet of paper into a scorpion in a few simple steps without using any other materials! This is a really simple, but versatile technique for making origami scorpions!!
In this class you'll learn:
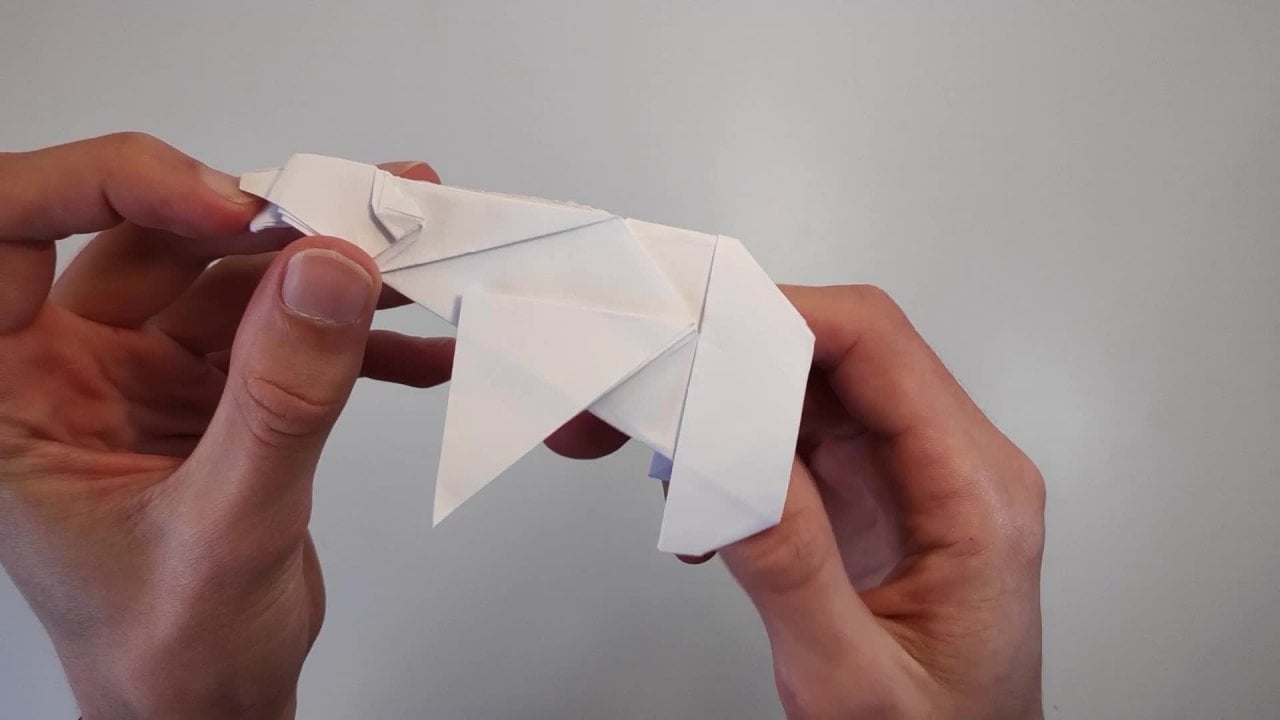
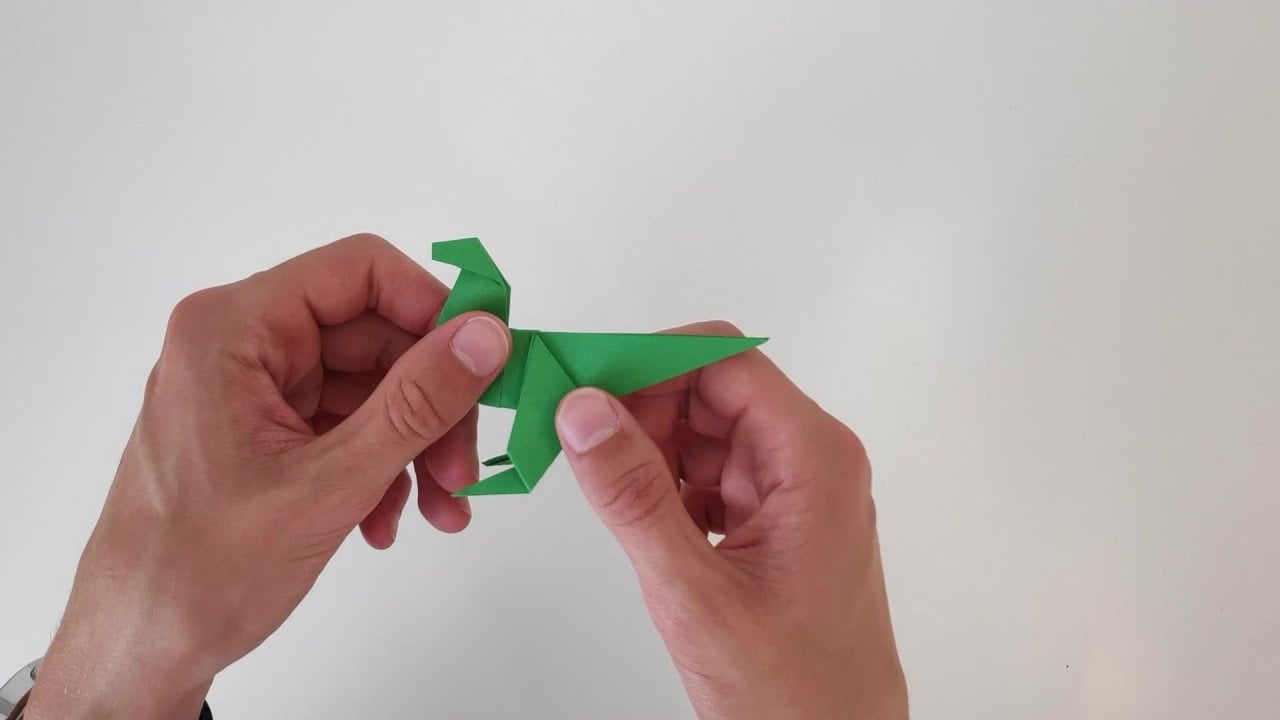
- how to fold paper into an origami scorpion
Materials:
- 90 gsm or origami paper
- Paper size:15x15cm.
I cannot wait to see your origami scorpion! Join in and let’s get folding! Share your models with us!
Meet Your Teacher

NEW CLASS: Easy Penguin, Butterfly & Parrot Origami Step by Step Tutorial
Level up your origami skills & unleash your creativity by taming & mastering a range of origami techniques for creating precise, eye-catching & unique origami designs with our special tips & workflows that allow all of our videos to be easy to follow.
Whether you are into creating origami creation, or arts & crafts as a whole, or something in-between, this class will provide you with a framework that you can use to create great Origami creations.
Join us in this class to create your very first Origami and bring your origami skills to the next level and unlock your creative potential by exploring new creative techniques!
If you enjo... See full profile
Hands-on Class Project
In this project, you'll be making your very own origami scorpion! With our easy to follow instructions, you'll become an origami scorpion making professional in no time :) We hope you enjoy the project. Share your origami elephants with us!


Class Ratings
Why Join Skillshare?
Take award-winning Skillshare Original Classes
Each class has short lessons, hands-on projects
Your membership supports Skillshare teachers
Learn From Anywhere
Take classes on the go with the Skillshare app. Stream or download to watch on the plane, the subway, or wherever you learn best.