Transcripts
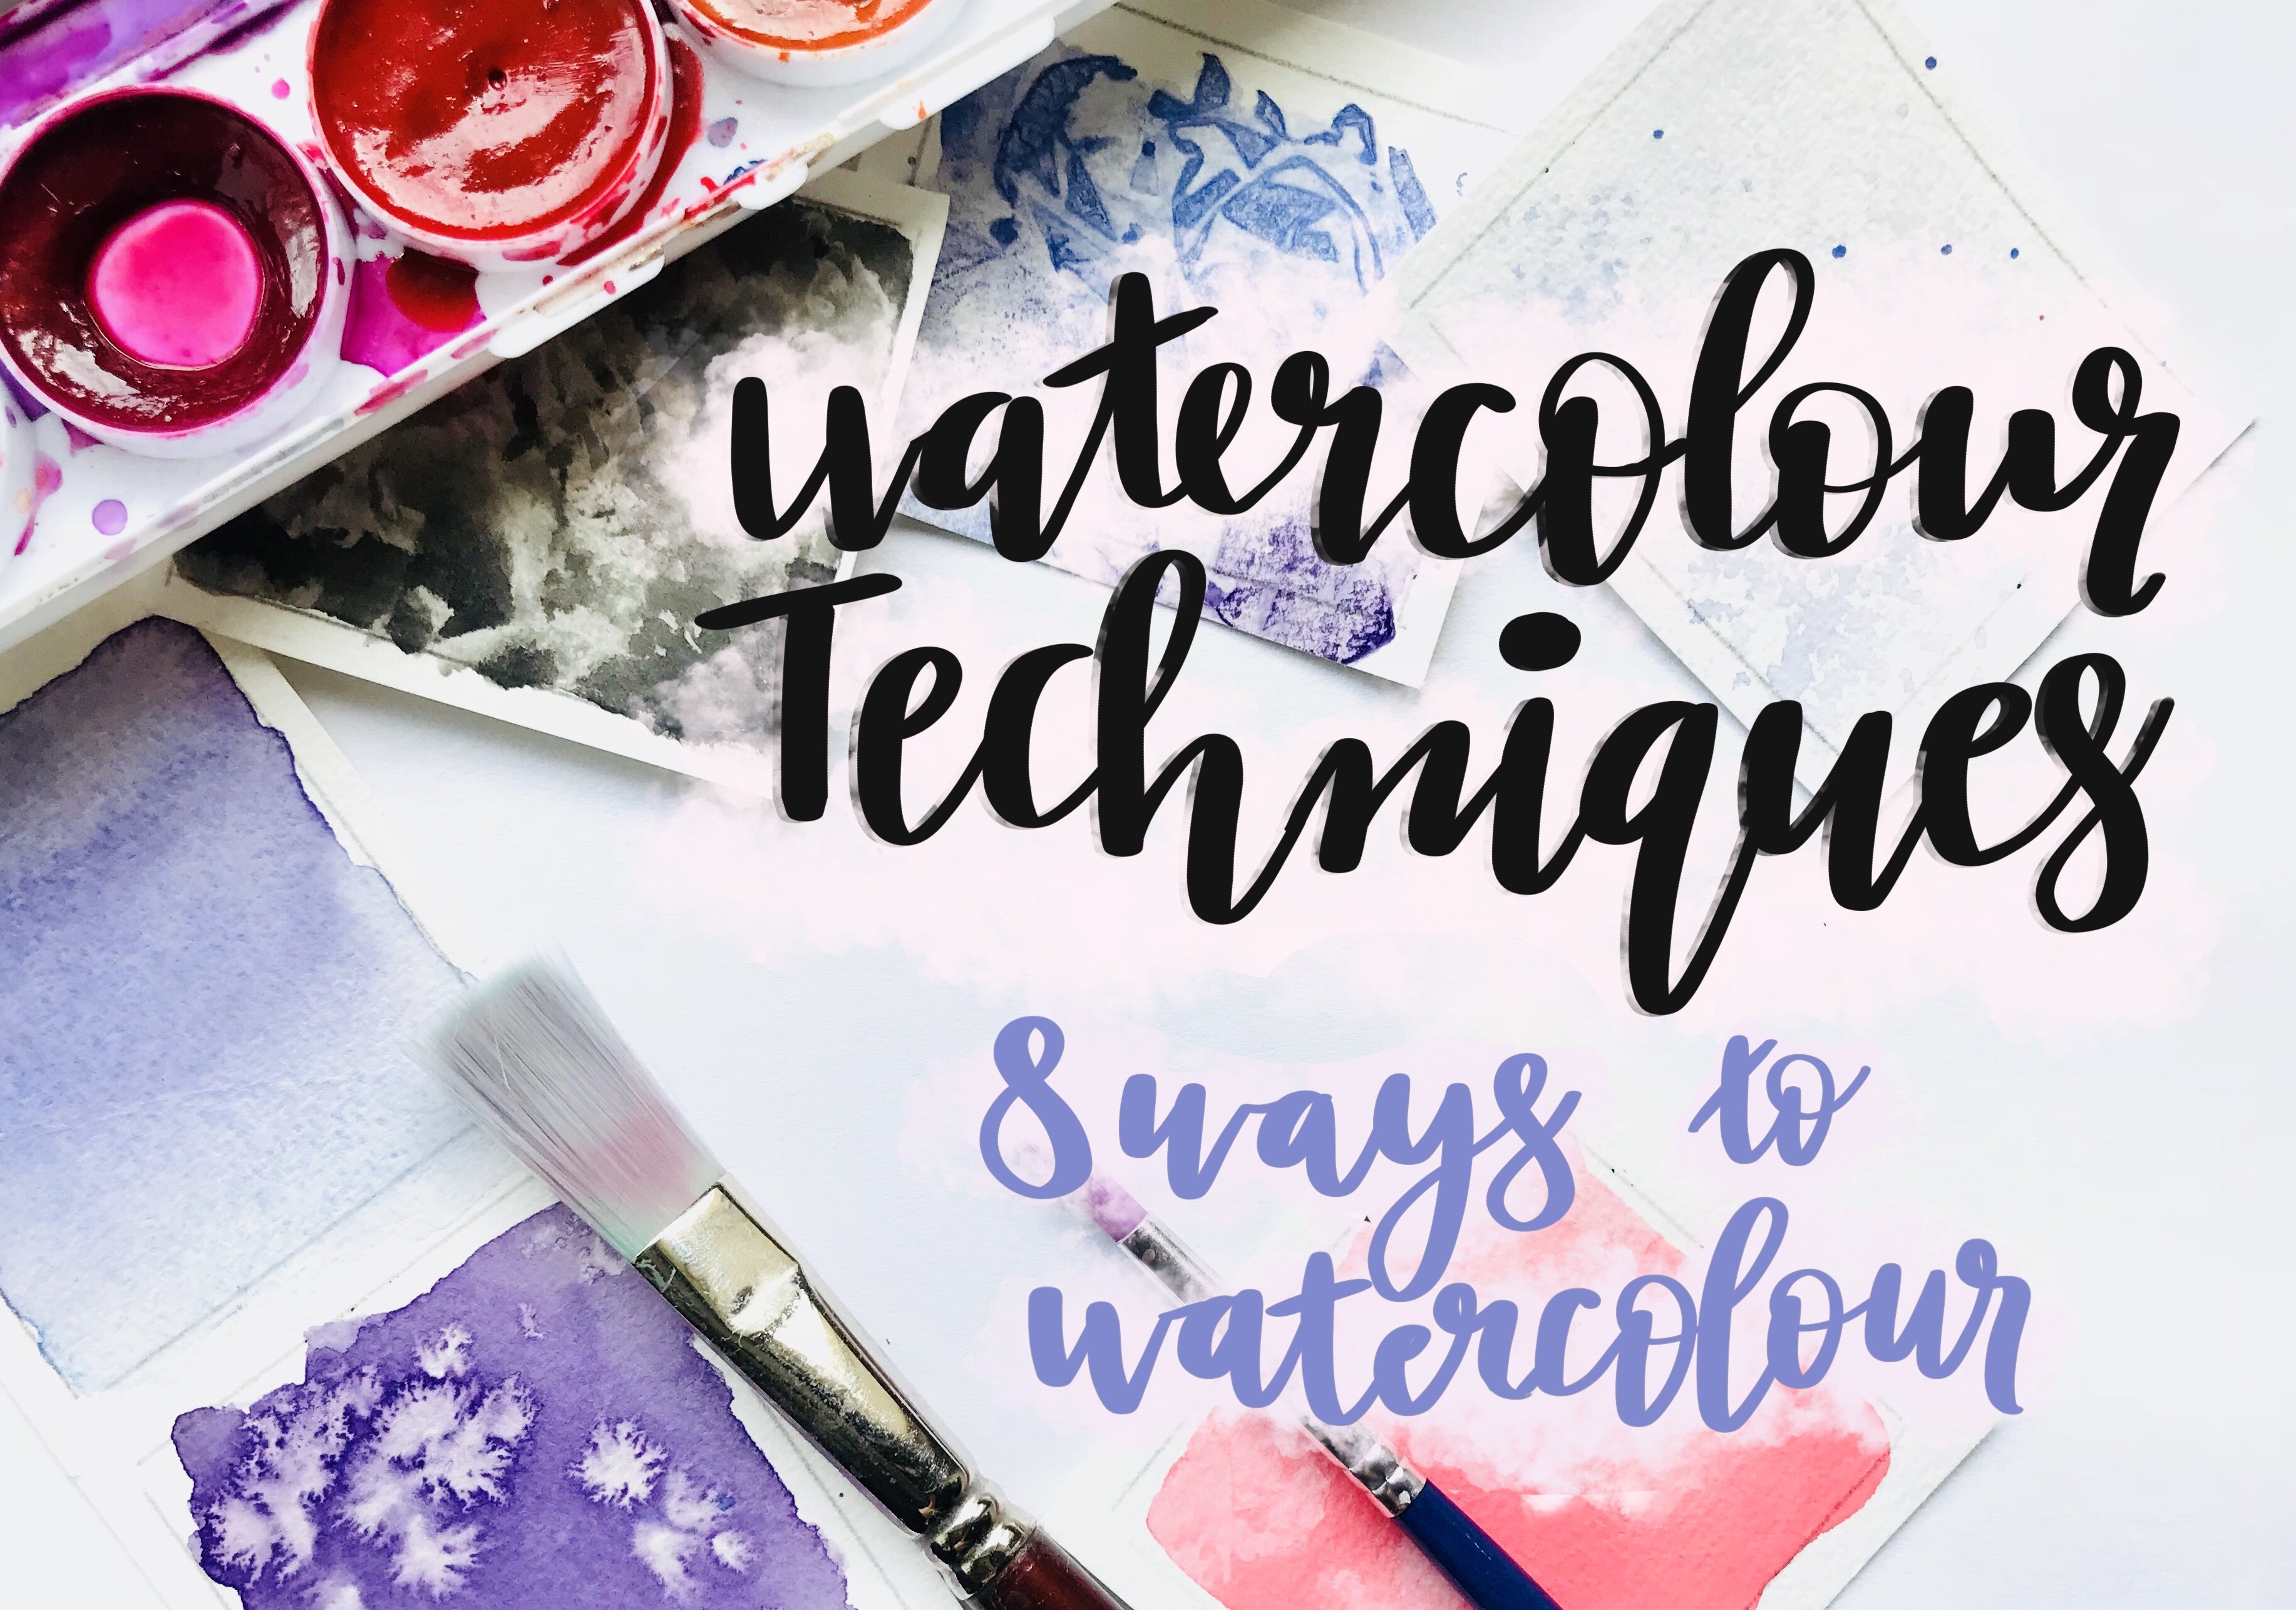
1. Intro: Hi, I'm Yesha and welcome to easy D I Y fabric art. Watercolor name. This glass is perfect for any skill level. Even if you've never used water colors, we'll go over the supplies you need and how to set up your fabric and paint for the best result, let's get started.
2. Supplies: All right, let's go over the spies. You'll need to create your own fabric. Er, first, you'll need a brush fund or a sponge. You'll also want something to protect the surface you'll be painting on a piece of aluminum foil works great for this, and when you're done, you can turn it into one of those trendy aluminum evolves. Next, you'll need something to put your peak on, such as a plate or scalable. You can use separate palates for your Pete or one for all of them. You'll also need a couple of water to clean up your brush and use for If you'd like to do some in car along with your painting, you'll need a fabric thes air really easy to find at your local craft or art store next of his fabric. I recommend using a canvas or canvas like fabric to get the best effect. When you're PT for this class, I'll be using little canvas bags and pillowcases, but feel free to use whatever you like or have handy. If you're going to be using a pillow keys or bay, you're going to need a piece of cardboard to fit in between you can pay each of the sides separately. Last but not least, paint. You can use acrylic or fabric. I recommend only using up to three colors to get a more cohesive look. All right, now that we've gone over, spies were gonna go into setting up in the next video.
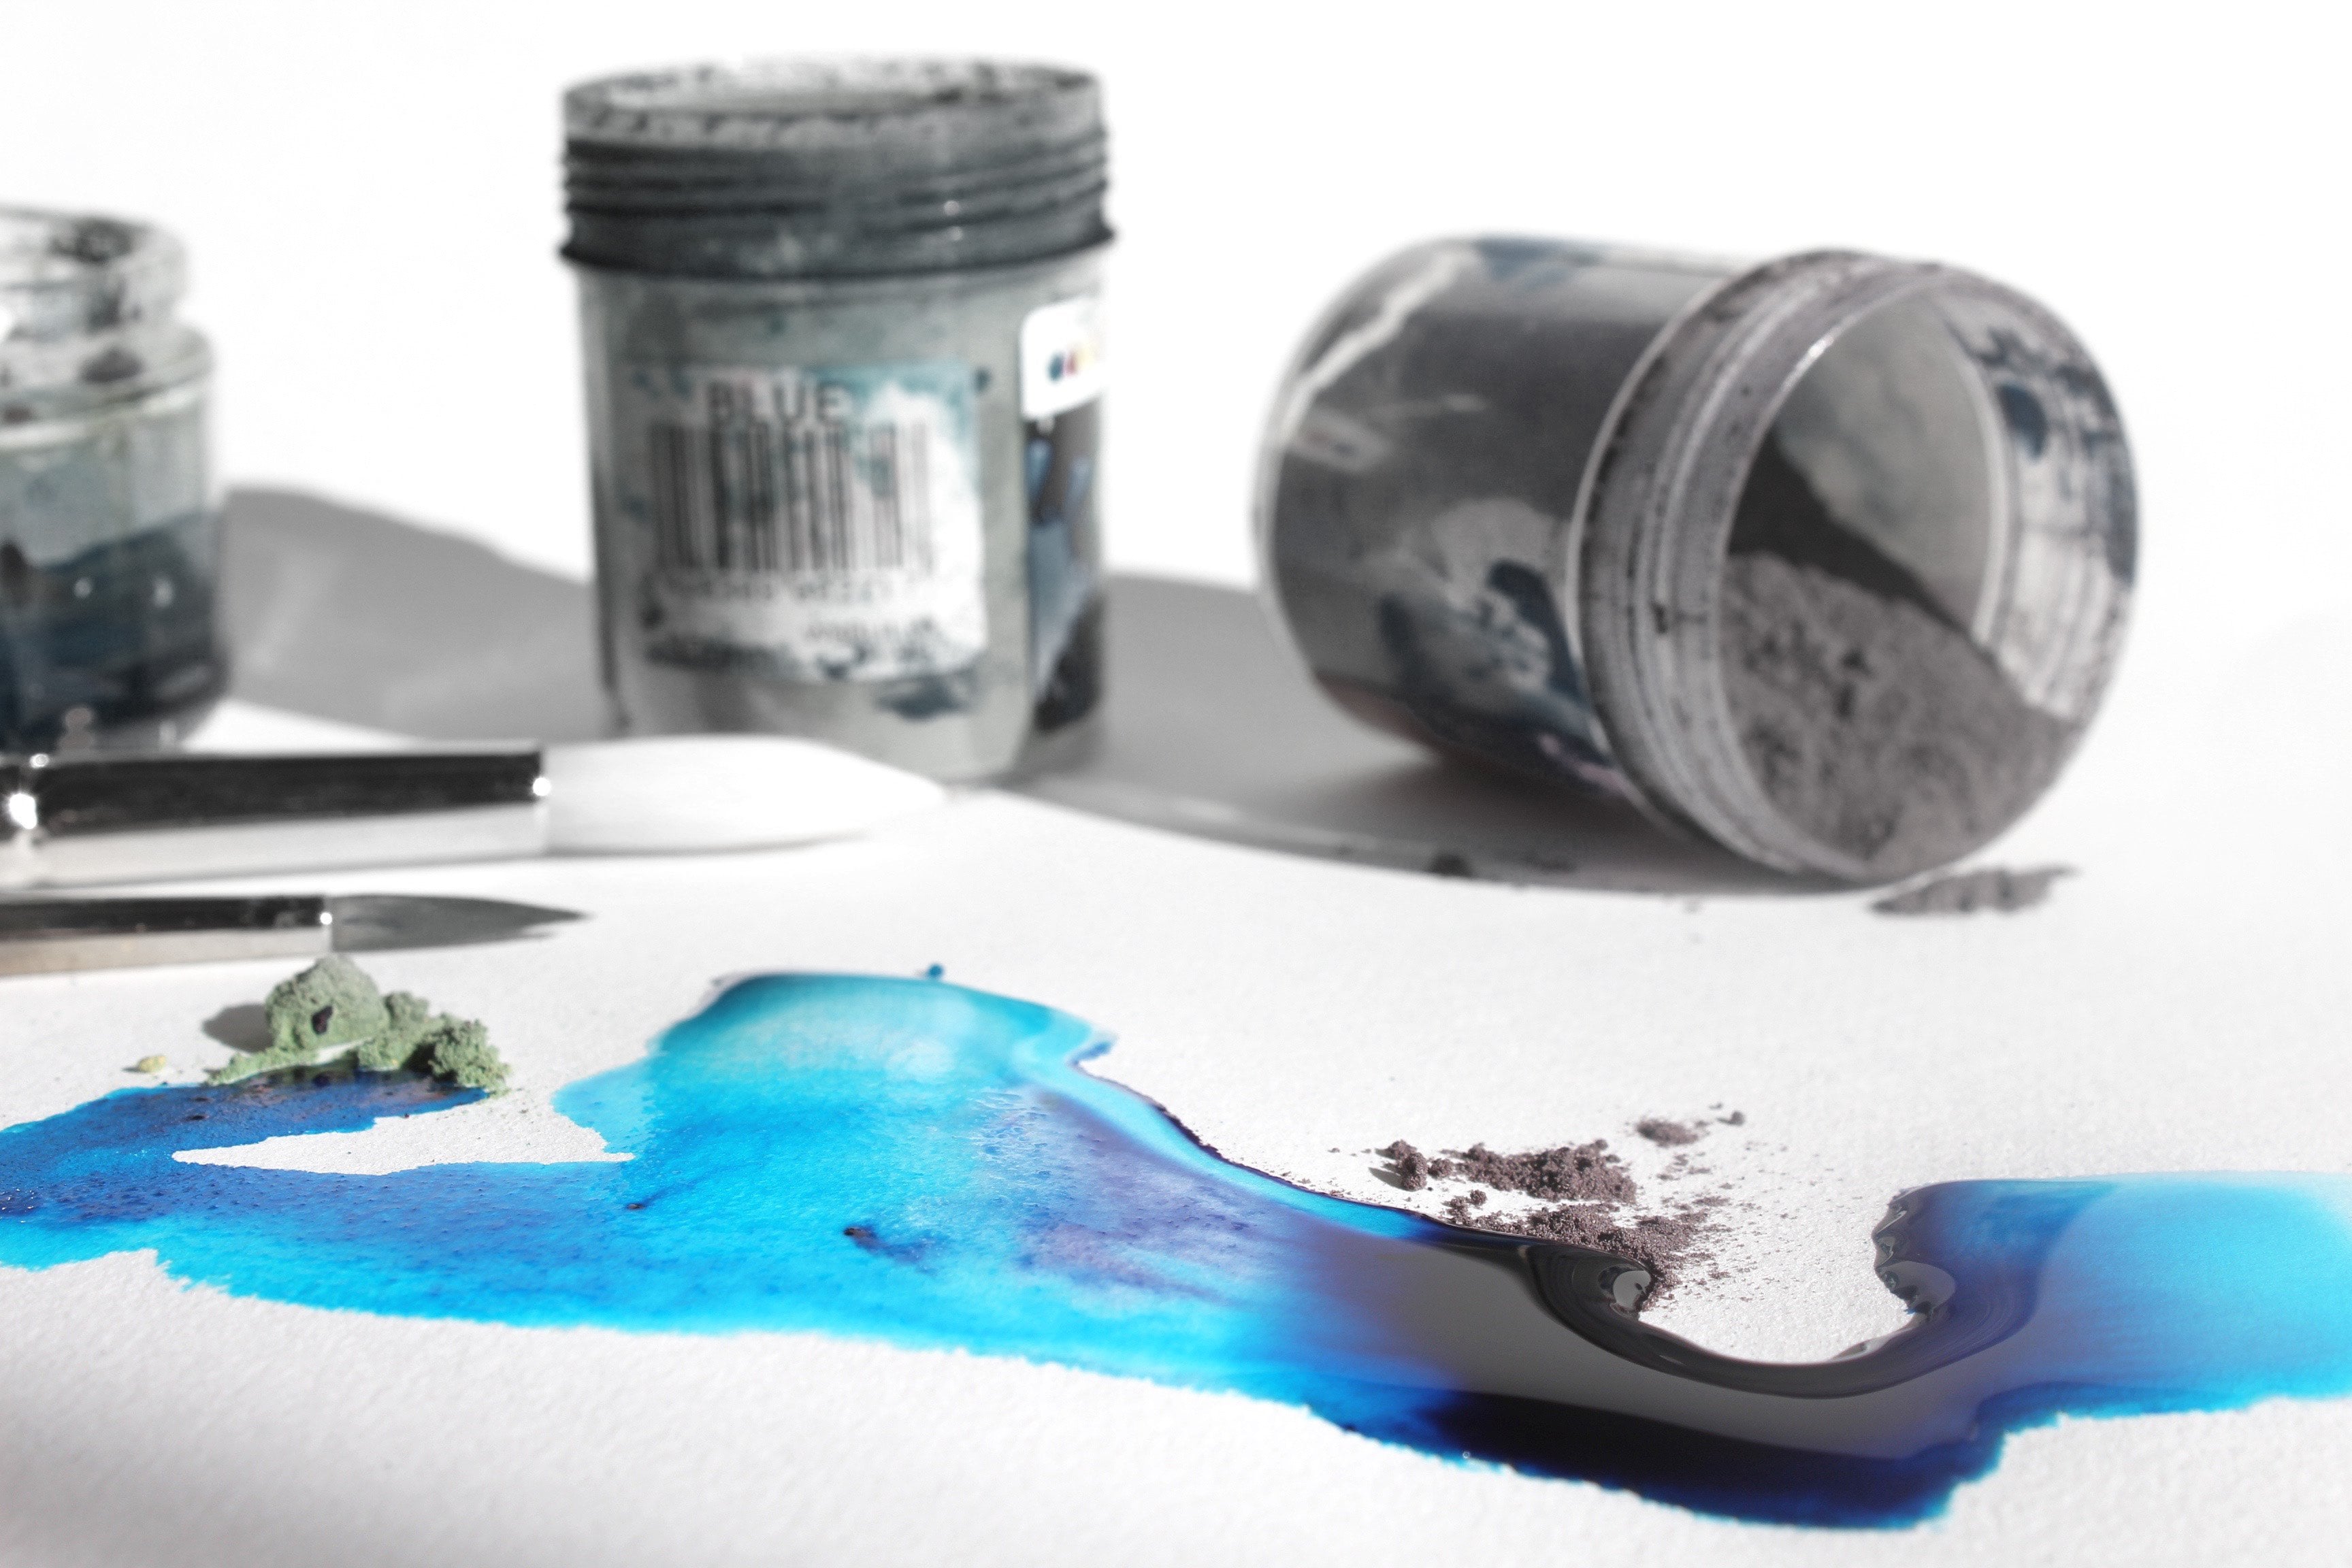
3. Setting-Up: All right, let's start setting up our fabric. We're just going to start painting or fabric with clean water. Doing this will allow the paint to flow much more easily on the fabric and get a really nice watercolor effect for this pillowcase. I only paint 2/3 with water, which made this really nice raw edge. Watercolor effect for the pillowcase I'm making here in the class. I'm going to be painting the entire thing with butter on both sides. All right, now that our fabric is all set up, let's move on to setting of our peak. All right, take your acrylic paint or fabric P and just start putting it on your palate. I recommend sticking with 2 to 3 colors. For this. I'm gonna show you the right consistency. You'll need to allow the paint to flow on the fabric and get a really nice watercolor. Look, you think you separate trays for each color or use one like I'm doing here. I'm going in with my water and my sponge brush, and I'm just gonna add water around the paint to make sure I have roughly the same amount of water to paint ratio. You want your Pete to be liquid enough that you can paint on your fabric without any resistance, but also have a good amount of pigment so that it will show up well on your back. I'm just going in and mixing on my paint colors. Don't worry too much about this stuff. You'll get a feel for how much water and Pete you'll need when you start beating, All right, now that we have our paint and fiber all set up, let's move on to painting.
4. Painting - Pillow Case: all right with my pillow keys and paint all set up and mind piece of cardboard in there. Let's get started painting. I'm simply loading up my sponge, a brush with paint and tilting my canvas back so it will flow down much more easily with painting the entire canvas with water before painting were able to get a really nice flowy look that we would be able to achieve with a dry fabric. Now I'm going to repeat the same process over the whole pillowcase, alternating between pink and yellow. You could do an abstract design like I'm doing here, where I picked three colors and just started painting. Or you could do a design such as hearts, leaves or even lettering when deciding on what to paint on your fabric. A few questions you could ask yourself are. What are my favorite colors? What design or pattern will go out? My deport. We'll give for someone. What are their favorite colors? So they really like flamingos, or do they love anything with papa dots? If you need more inspiration, I have a link to a Pinterest board in the project description filled with tons of inspiring photos for this fellow case, and when repainting both sides pretty much the same way, feel free to only paint one side if you like. A tip to create even more of a watercolor look is toe. Add water over top of your pain to create some blue, which is the effect of the peeps parting out in an organic way. That is one of the looks that watercolor is no before. - Once you're done painting, you can simply leave your fabric to dry. Or you can use a blow dryer to speed up the drive. I recommend leaving the cardboard in between your fabric until they're dry enough that they won't stick together. And once it's dry, my stuffing back in and now I have my very own custom watercolor.
5. Painting - Canvas Pouch : next I'm gonna be painting this poach. I'm gonna be doing pretty much the same process as the Pell case. Just on a smaller scale. I'm starting with prepping by popping my piece of cardboard inside and then painting whole pouch with water. - Next , I'm getting my paint ready by mixing it with water. Just like before and again, I'm repeating the closeness of paintings by tilting my coach and squeezing my sponge brush along the top. So the peak flows across the and I'm just gonna be repeating this process along my fabric, alternating between my three colors. And now that I'm old in painting, I'm just gonna leave it to dry. And here it is, once all dry, You're a few more approaches, for this will not use more watery paint, so it has a much more lighter in Pasto. Next, I'm gonna show you my process of adding an ink designed to my
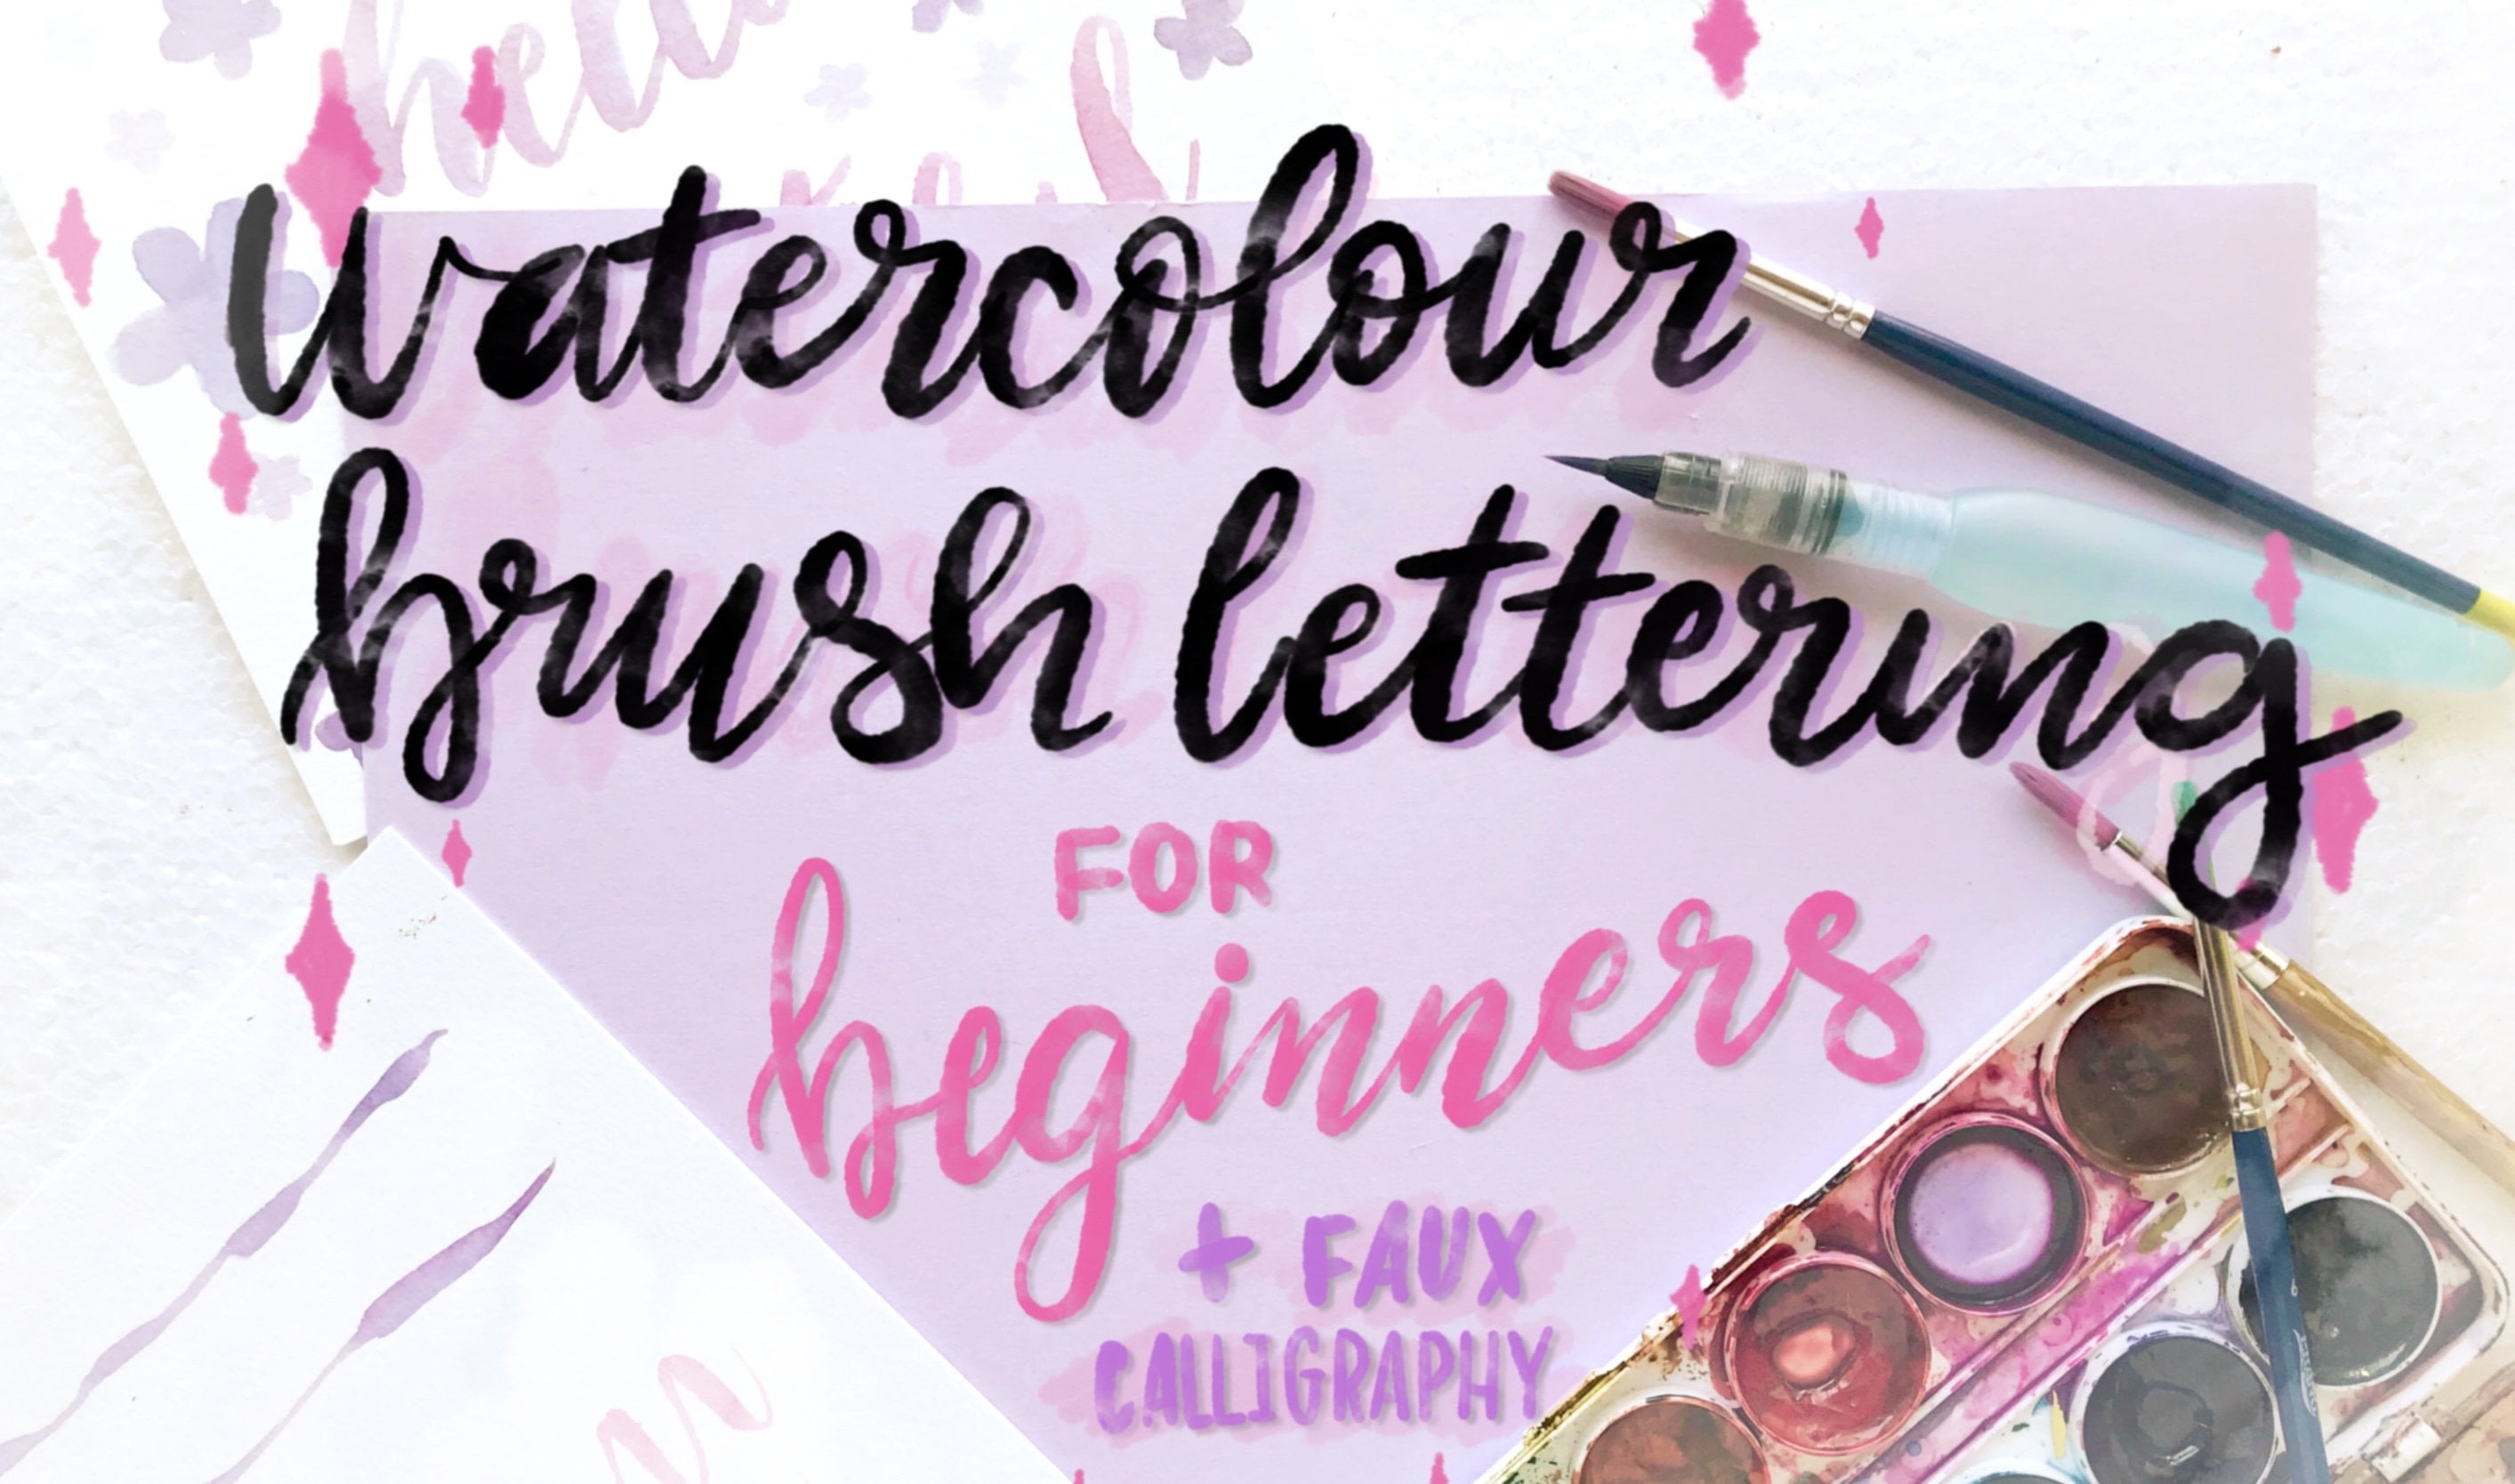
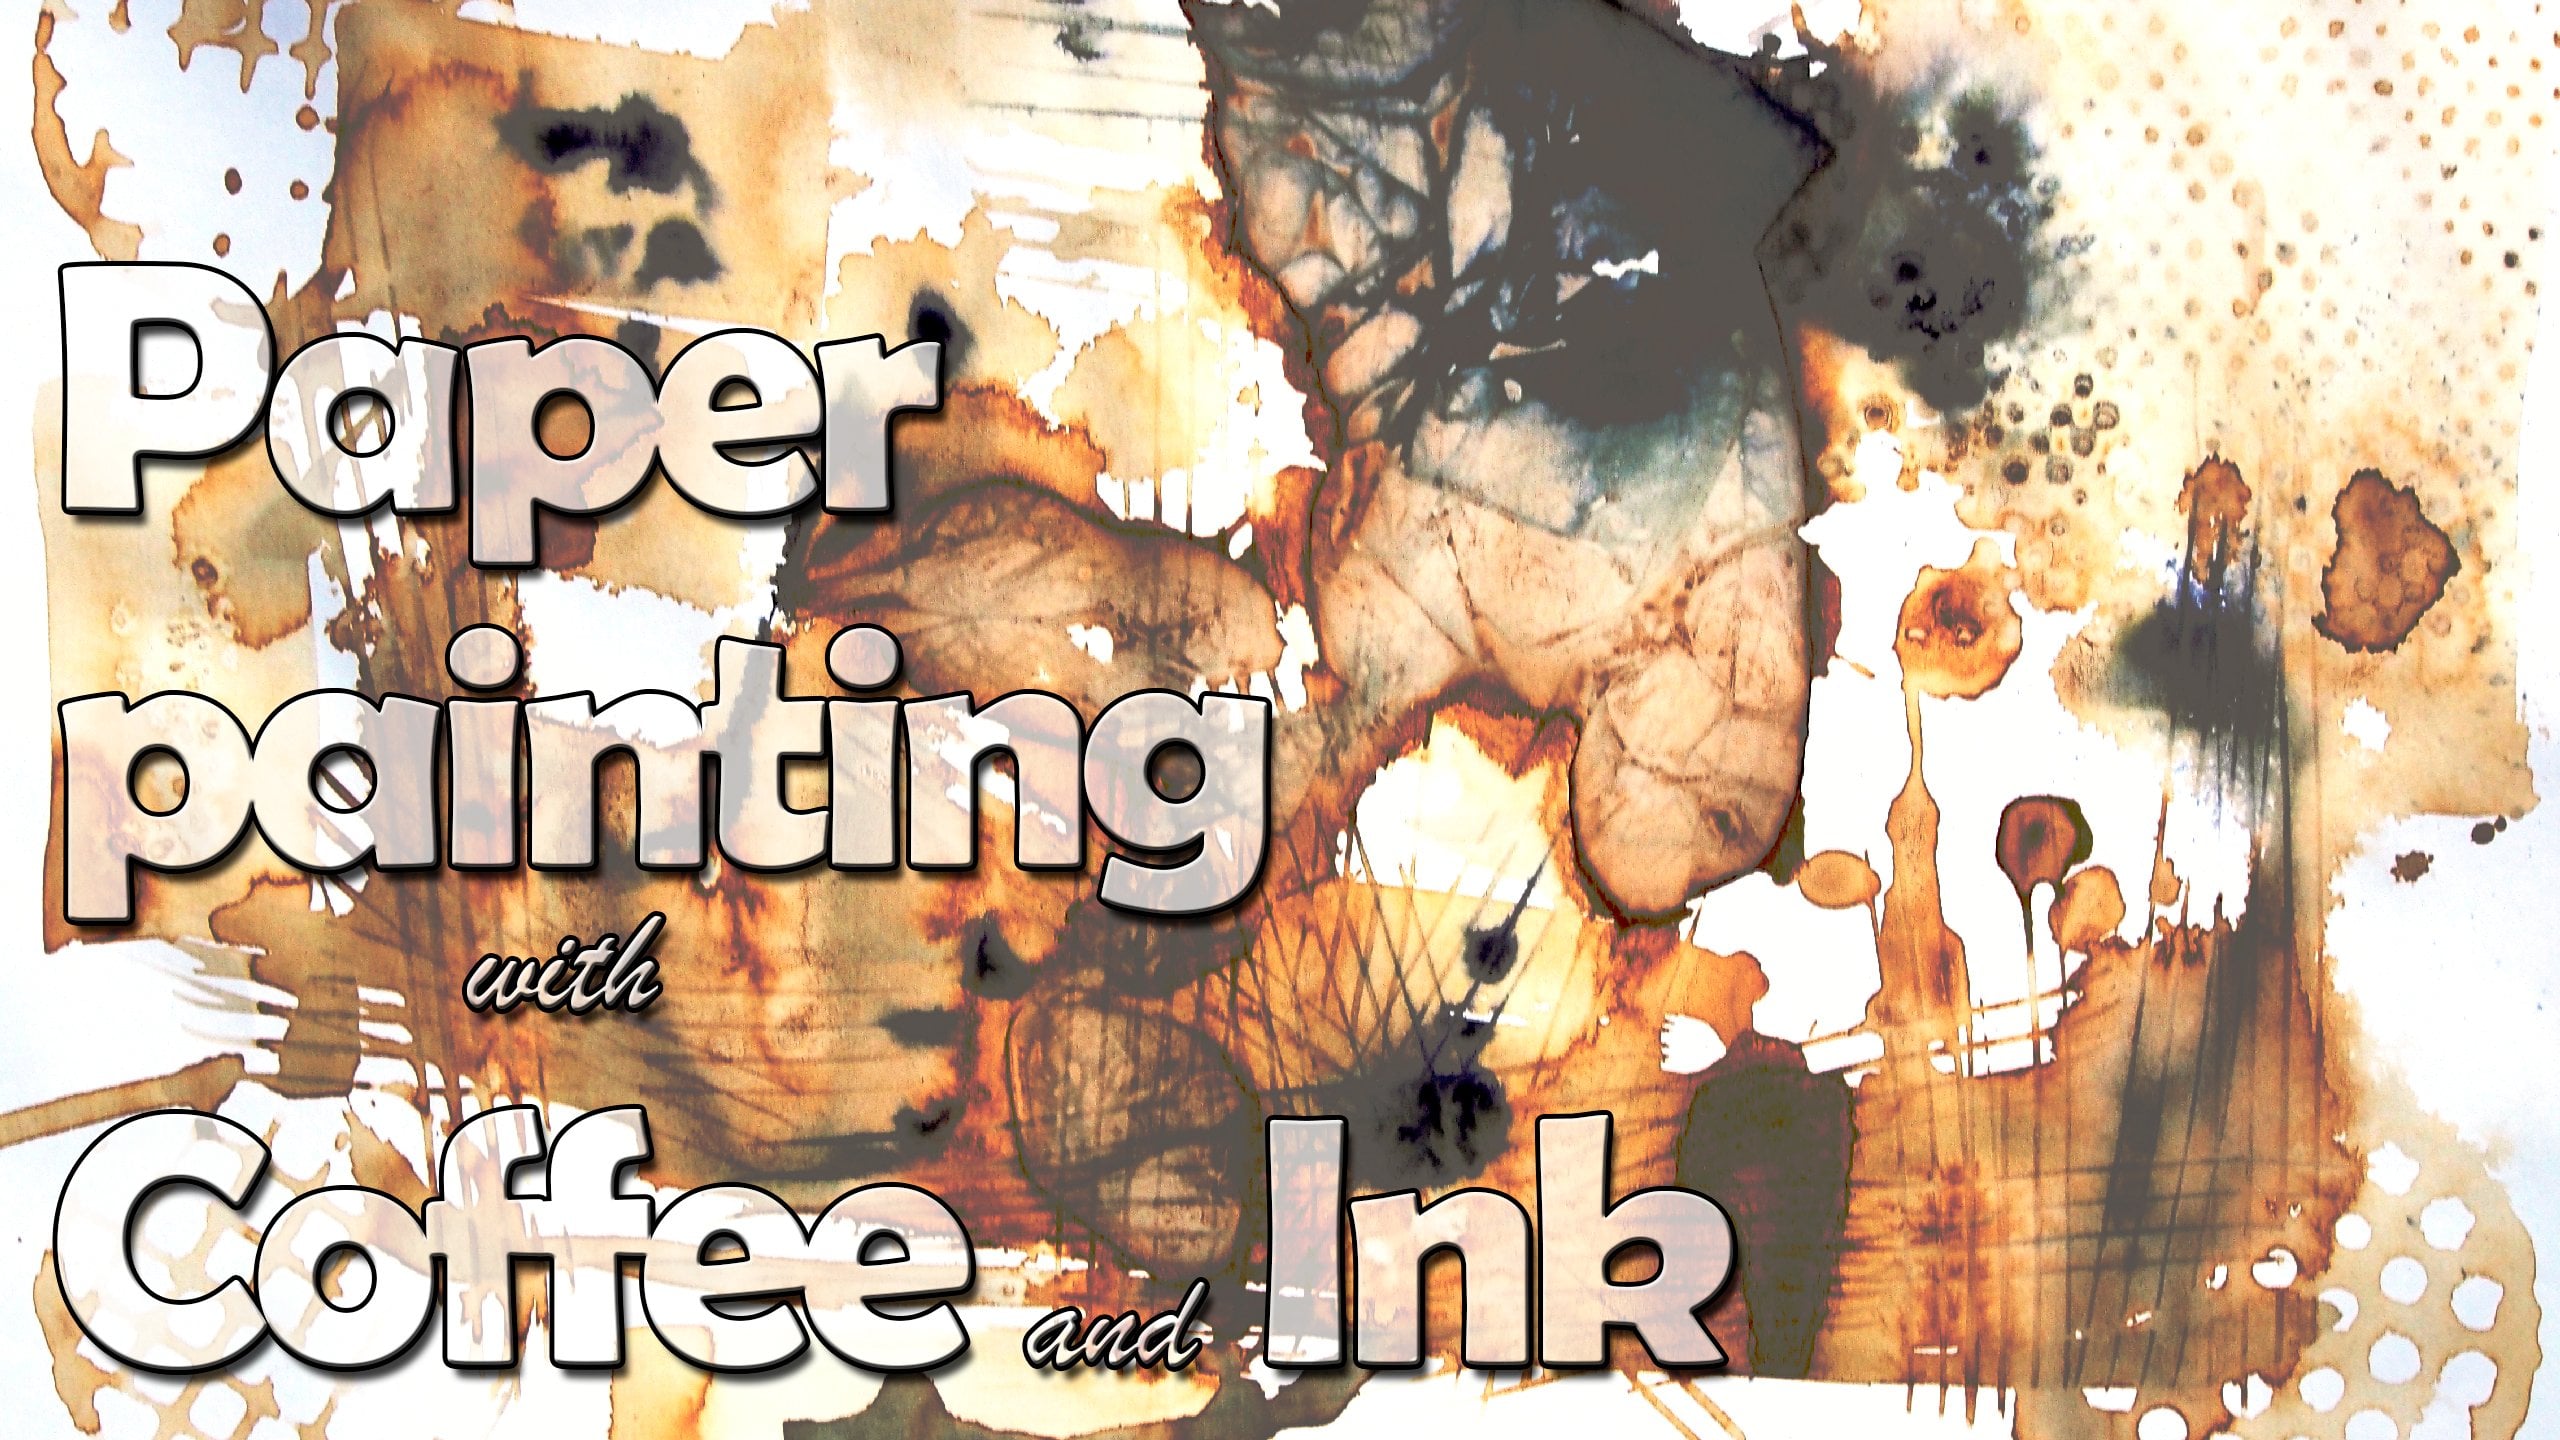
6. Ink Demo: doodle on your are All you'll need is your fabric worker for my design. Ali doodling little arrangement of flowers They're really no limit. Some weight you could do here. Some ideas could be something you like to doodle, such as a sunshine ice cream or anything that makes you smile. And here's a finished doodle. Here's a lettering and Mandela one I did for some more inspiration.
7. Final Thoughts + Project: I hope you enjoy this glass and are inspired to get some paint and fabric to experiment, create and have fun. Be sure to upload a picture of your fabric creation in the Project gallery. I'm excited to see what you create and please feel free to ask any questions you might have . You can find me on Instagram at Creative and don't forget to fall in here and skill share. Thank you so much for watching and happy painting.
 Nyasha Lukacs, Watercolour and Ink Illustrator