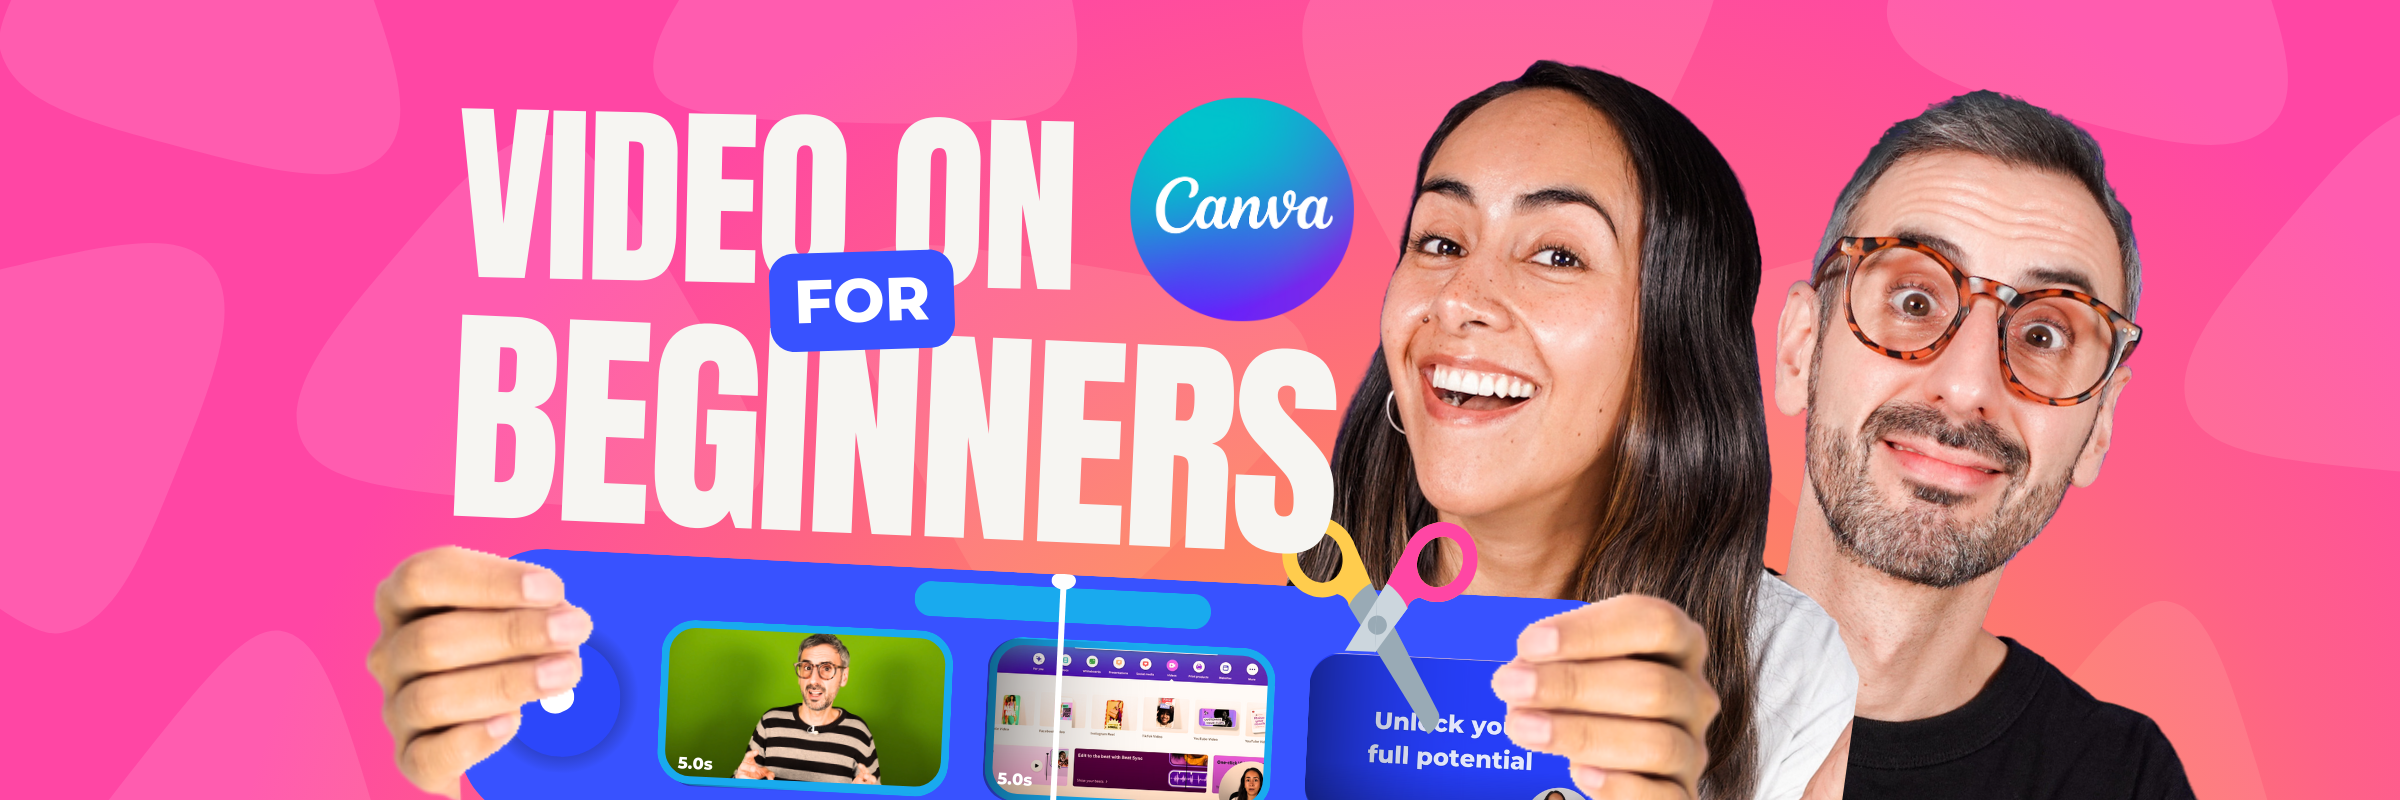
Transcripts
1. Introduction: Fancy. Okay. Why is Jenna's phone
in the fridge? Jenna? Yes. Why did you leave your
phone in the fridge? My phone. In the fridge? Oh, yeah. That must be. Sorry. I
forgot to take it out. Why did you put your
phone in the fridge? Ooh, it's cold. Thanks. I was filming some videos
for my next IG reel, and I think I forgot my
phone in the fridge. Are you editing your
videos in Canada? Yes, and it's super easy. Look, you can add transitions, animations, and I can
add text, as well. And you can even download these videos without a
watermark and completely free. Oh, wow. It does look
like a ton of fun. Can you teach me? Of course.
Let's start the class.
2. Start a New Video Project: Let's start by creating
a new video project. For this, you will need to
create a Canva account. You will be able to
create one for frame, and then we can meet
at the homepage. Log in into your Canva account, and now we are going to
create a new video project. For this, we have
two different ways. We can create a
new video project, so we can create a video
completely from scratch or we can use a template
to start our project. Say that you want to create a
video project from scratch. On the homepage, you will see
a set of different icons. You will need to click
on the video icon, and this is pretty
important because if you create a video project, you will have access then
to the video editor tools. So click here, and
then you'll be able to select the format that you. Case, I'm going to go
for a mobile video. Now, let me come
back to the homepage because if you need to
create a custom size video, you will need to create your
video project from here. You're going to click
Custom Size, and from here, you can add the width the
height and the units. And here you have pixels, inches, millimeters,
and centimeters. Now I'm going to go back again
to the video section and I'm going to complete the action by clicking on mobile video. When I click here, Canva
is going to create our new video project and
will be inside the editor. Now, let me show you
the second way in which you can create
a new video project. The first one was to create a video from scratch,
and the second one, the one that I'm going
to show you now, is to create a new video
project from a template. And to find a template, you can use the search part that you find on
top of the screen. So you're going to type in
here anything that you need. So let me give you a
couple of examples. Let's say that you
need to create a reel. Going to type real, and you want to share
a quote in this reel. G to type real quote and then select Canva
templates and hit Enter. And then you'll be taken to
this template search result. As you can see, you have
only video templates, and all of them have
quotes in them. Now, let me change the search. Let's say that I still
need to create a real, but I don't want
to share a quote. I need to create a
promotional video. So you can either type
real promo or promotion. Let me try with
promo, hit Enter. And as you can see, I find
these templates with sales or, you know, best seller
men Christmas sales, new collection, and so on. Now, if you are a beginner, there is something very
important to pay attention to. In this search result, you will find a mix of free
templates and pro templates, and these are quite
easy to spot. The pro templates will have this tiny crown that says P. If you are a Canva free user, you won't be able to
use these templates, but you will be able to use the free ones that don't
have any label on them. Now, I want to give you
an extra tip that you can use to find
particular some creators, sometimes they share
special keywords, so you can find a
particular collection of templates in Canva. Like, for example, us, we like to share the
special keywords on our social media. Like for example
here on Instagram, we have these particular
reels in which you will find a
particular keyword. So let me show you,
for example, this one, you will find the
keyword in here. And when you go back to Canva, you are going to type that
keyword in this search bar. I have a particular keyword that I want to use
on this tutorial, and it is cut, quote, and there is no
space in between them. We're going to select again
Cava templates and hit Enter. This is a collection of
15 different templates, and all of these templates
are free to use. Another extra tip is that if you see a
template that you like, you can hover on the video
and then click on the star. This is going to save
this particular template under your star folder. Before we go to the editor, so I can show you
how to edit a video. I want to show you another
way in which you can browse the template library. You're going to go to
the templates section, and then from here you
will see this menu. These are the different
template categories, and this is going
to make it easier for you to browse the template. So let's go to video
and in my case, I want to edit a mobile video. So I'm going to click
on mobile videos. And from here, you
can simply scroll down until you see a
video that you like. So I'm going to start this one. I have a Canva account, so I can use this
template later if I want. And then you have more
filter options in here. You can either click on any of these options or you can use
the filters on this section. Now, let me give you
one more tip in here. If there is any
template that you like, you are going to see who
created that template. You can see it
below the template. So you can see here
a profile picture. You can hover and see
the creator information, or you can click on
the profile picture, and you'll be taken to
that creator's profile. From here, you can
follow the creator, simply hover on the
profile picture and click Follow or you
can view the profile. Here you can simply
scroll down or use this search bar to find
anything that you like. Let's say that you need to create a video related to yoga, simply type yoga,
and then you can filter the results with
these two filters. In this case, category and
filter by video mobile video. If you have followed
more than one creator, you can then go to
creators you follow and scroll down to see what they
have published recently. Now, let me go back to
that previous search because we are going
to the editor. Let me click on this thumbnail and let's customize
this template.
3. Feel Confident Navigating the Editor: Now, let me show you some of
the most important sections in here so you feel confident
navigating the editor. First, we have the site menu, then we have the timeline, and then we have
the share button. Lastly, I have an
optional one that I personally like to use a lot
and find it very useful. And are the rulers and guides which you can find under
file and settings. As you can see, from here, you can activate
or show the rulers and guides which I
already have activated, and you can add guides. You can also activate
show margins, but that's up to you. Thing else that I find
essential when you are editing in Canva are
these floating toolbars. Whenever you click on an
element in your design, so let's say this video
in the background, you will see a floating
menu appearing above. This menu will change depending on the element
that you select. So in this case, I
have a video selected, and I have these tools
available in here. But if I were to click
on this textbooks, these tools are going to change. And now we're going to see a toolbar adapted
to that element. In this case, I'll be able
to change the font size, and so on something else that you will
see appearing every time that you select an element is in this tiny menu in here, and then you have another
menu if you click on these three dots or if you right click anywhere
on your design. And lastly, I want to show you something important
in case that you are using more than one page or more than one
scene on your video. This case, in this template, we only have one page available. But if you were to add another page and you want
to add a transition, you need to hover in
between the two pages to be able to access
these two buttons. The one above is
the add to page, and the second one
is add transition. When you click on
this tiny bubble, you will see this
menu appearing above. And then from here,
you'll be able to add animated transitions
in between your pages.
4. Add, Upload and Customize Media: Now, it's time to talk
about the side menu, which I already
mentioned is one of the important ones
in the editor, and it is because in here, you'll find all the media
necessary to edit your video. So let's go and
discover it quickly, and then we'll start using it. In here, we have a set
of different icons, and each of these
icons contains eight different so under
the design tab, you will find templates. Let's say that you
are not quite happy with the template that
you have selected. You can go to Design
templates, and then from here, you can scroll down to find
another template or you can use the search bar to
find something in particular. So let's say that I want to
use this template instead. I simply need to click here, and because this template
has more than one page, it is asking me if I
want to apply all pages, which I'm okay with it. So I'm going to click here. And as you were able
to see my template was replaced by this new
template in here. And as you can
see, this template in particular has music in it. So you will find plenty of
templates like this in Canva. Not all of them will have music, but many of them they
let me go back to the previous template because that's the one that I
actually want to use. And now let me show you how
to add media to your design. So right below design,
you'll have elements. And here, I will say
that you will find anything that you want
to add to your video. You'll have a search bar, and then below, you'll
have different categories. So you'll have the
recently used media. You have shapes,
you have graphics, the AI image generator. You have stickers, which are basically animated
illustrations. You have the photo
library, videos, audio, here, you'll find music, but also sound effects. You have charts,
falls, and quizzes. This is not going to
work for your videos. You have templates,
frames, grades, mockups, and element
collections. The way to add these
elements to your videos is to simply dragon
drop or click on the let's say that I want to replace the video in the background by
one of these images. I simply drag and drop and my video is replaced
by this photo. Let me go back and let's replace this video
for another video. Let's do it with this
one, drag and drop. My video has been replaced. Now, let me go back and let me show you one
of these stickers. I personally find these
stickers pretty fun, and you just need to click
on any of these elements, and then you'll
be able to adjust their size and
position on the video. With stickers, some of them
will have already set colors, but some of them, you will be able to change the
color to them. So in this example, you see
that I have access to colors, and I'm able to change
them from here. It is pretty fun if
you want to have a video that has
your branded colors. Now, let me go back to the Element tab
because I want to show you something that
I find pretty cool, and it is the frames section. From here, you will have
plenty of options that you can use on any of
your Cava documents. You will have
different categories, but you also have a search bar. So how do you use these frames? You are simply
going to bring any of these frames to your design. Then you'll be able to add either an image or a
video to this frame. Let me go back and add
a photo to this frame. You simply dragon
drop and you can do this with images
and also videos. Now that I have this frame
here on this design, let me talk about animations. We already saw stickers. We have these animated
illustrations, but we can also animate
the elements on our video. And all you have
to do is to select or click any of the
elements on your video, and then on this tool bar, you'll see this button that says Click here to open
the Animate menu. You will have access
to page animations. So this is going to animate all the elements on your page. Or if you want to animate just the element that
you have selected, go to element and then select
the animation that you want to add to the now let me show you how to add
text to your video. This is super easy. You have the text option
here on the sidebar, and from here, you have the
button to add a textbox. So click here, and you will
have automatically e textbook on your design that you
can start customizing. And the shortcut to add a textbox to your
design is to hit the key remember that if you want to further
customize your textbook, you have this tool bar above. I know that many of you are
wondering how to add music, audio or sound effects
to your videos. You're going to go to elements, and if you remember, I already showed you
the audio section. You're going to click
CO, and from here, you have a mix of free
and pro audio tracks. Some of them are music and some of them
are sound effects. You can scroll down to discover the different
categories available or you can use the search. You want to hear one
of these tracks, you can simply hover on the
thumbnail and click Play. Okay. And to add the
track to your video, click on the name. You now have the audio
track on your video. Now let me go back to elements
to find sound effects. You're going to search for
anything that you want to add. So in this case, let me search for
click here and there, and you have here all the
different sound effects. You can hear them by
clicking on the play icon. And add them the same way. As you can see, I have now
two tracks for the audio, one for the song, and one
for the sound effect. And when you click on
any of these tracks, you'll have access to
this floating toolbar. And like this, you'll be able to play around with the volume. In this case, I need to lower the soundtrack volume so I
can hear the sound effect. Perfect. I can hear
the click sound now. Let me delete this sound effect because I want to show you something that you are going to find very valuable in Canva, and it is the uploads section. From here, you'll be
able to upload images, videos, and audio
to your design. All you have to do is to click on the Upload
Files button, find the media that you want
to upload and click Open. In this case, I
uploaded a video, so this is going directly
to the Videotab.
5. AI Video Tools: Now, let's talk about some of the AI tools in
the video editor. One of them, you
can find them by clicking on any of the
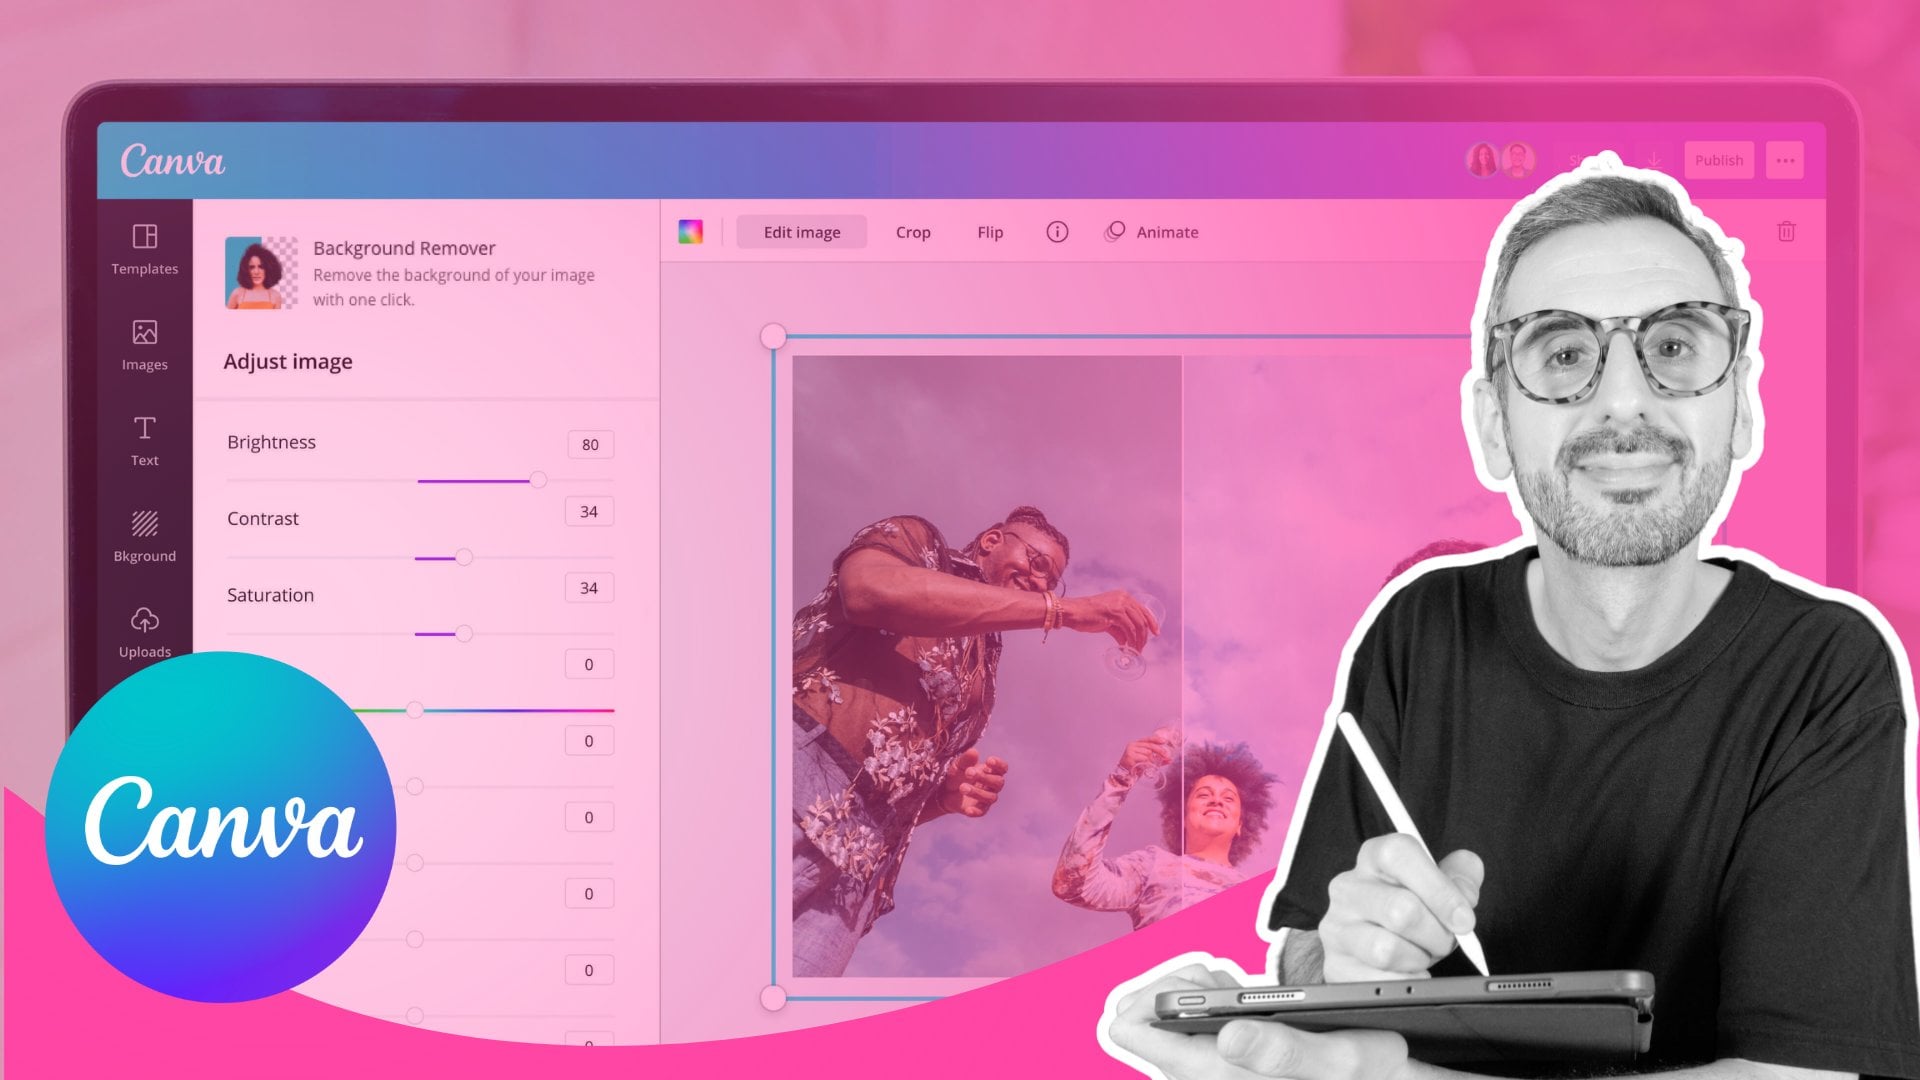
videos on your design, and you will see a button called BG remover or
background remover. This one has a little crown. That means that it is available
only for Canva producers. Now, let me bring a video
with a person in it, so you can see clearly
what this is about. So let me go to videos, and let's try with
this video here. So let me bring it above so you can see clearly
what this is doing. And now let me click on the
and as you were able to see Canva removed the
background automatically. Now, you can do a lot
of fun stuff with it. This one is actually
up to your creativity. You can add yourself in the video and add anything
in the background. Let me show you another AI
tool in Canva that is going to save you a lot of I have a video here in the
uploads section. This one is 49 seconds, and I'm having trouble trying to find a particular section
in this video to use. Let me bring this video to my page and show you quickly
what do we have in here. I'm doing different
actions in the video, and I'm going to ask Cava for
having the video selected, I'm going to click on Edit, and then you will
have this menu. You have access to the background remover
as well from here. But this time, I'm going
to use highlights. This one is also a pro feature. I'm going to click
on this icon in Canva is going to do its magic. Okay, the AI found three different
highlights on my video. We have the first one in which
I'm setting up the camera. Then we have adjusting
the blanket. And finally, we
have this part in which I'm chatting with Ronnie. I'm going to select
the first one only and then add
selection to design. Now you can see
that my video has only 6 seconds instead of the 49 seconds from
the original video. Now, let me show you
one more AI tool before we move to
the next section, and this one will allow you to generate videos with the AI. You're going to go to
elements, and from here, you're going to find
the AI Image generator. You're going to click
on Create your own. I know that it says image, but you are going to find the video generator in so you're going to
click on videos, and then you are going to describe the scene that
you want to create. Now, if you are just trying
the stool out and you are not quite sure on what to write in here or how to
write a prompt, you can click on this button. I have an interesting
prompt now. I'm going to use
this one, so I'm going to click on
Generate video and wait a couple of minutes for
the video to be generated. Video is ready, and I
just need to click on the video to bring
it to my design. And then if I want to bring
it to the background, I'm going to right click
and replace background. I find these feature super useful because
sometimes you have an idea in your
mind and you cannot find the right video
in the Canva library. Well, you can generate
it with this tool.
6. Add Animations: This is one of my
favorite parts when it comes to editing videos, and it is the animation part. You already know where
to find the animations, how to add a transition
to your video, but I want to show you
something different this time. I want to show you how
to customize animations. And also, I'm going to show
you how to make your elements appear and disappear on your
video whenever you want. First one is this one. You're going to select any
element on your design. So let me add just a
simple element here, and now I want to add a custom
animation to this shape. I'm going to click on Animate. And from here, you
know that if I click on any of these animations, it's going to be
applied to my elements. Let's say that I want to add
this one to my little heart. And now from here, you can animate this element
both on Enter and exit or Enter or I want
to have it only on Enter, and as you can see, it has this blur animation at the
beginning of the video, but not at the end. Now, let me go
back to this menu. I'm going to remove
the animation because I want to create a
custom animation. So I'm going to click here. And as you can see, if you drag your element on your video, you are going to create
a custom animation. So I'm going to move my
heart a little bit in here, and then you'll be taken to the other menu in which you can select your
movement style. So you can go for original, the one that you already saw. You can go for smooth or
you can go for steady. I'm going to select original, and then you have some other settings that you
can play around. Going to go with this
animation as it is. Let's say that I
don't want to see the heart at the
beginning of my video. So by having the heart selected, I'm going to drag this track
a little bit to the right. And as you can see,
pay attention to the video at the
beginning of the video, we only see the text. And then when you see
the track appearing is when you see the heart
appearing on the video. Can do the same for any of
the elements on the video. So let's say this textbooks, when you select the textbook, you see it here on the timeline, and you can play
with these tracks, so they appear or
disappear when you want. So if you continue
playing your video, you will see that at the end, the text disappears,
but the hard stays. Let me show you something
else related to video editing before I show you how to
download these videos. Let's say that I want
to replace the video in the background
by one of myself. Let's bring this one here. I'm just dragging and dropping. Remember that because my
original video is 49 seconds, whenever I drag and drop, my timeline is going to change. Now is 49 seconds. Previously, it was 6 seconds. Now, if you want to
trim your video, you can simply work with these arrows here and
trim it like this. Or if you want to cut your video in the middle
or whenever you want, you're going to drag
this black line in the right section where
you want to cut your video, and then you can either
press the keys to cut the video or you can right click and then
select split page. You can then leave
the video as it is. You can add a transition, or you can delete the section
that you no longer need. Let me go back because I
want to show you a trick that I love to use and
it is the following. I like to select the video
that is on my template, go to this button, and then I'm going
to select this, which is the length
of the video. I copy it Control C.
Then when I bring my own video to the
template, I drag and drop. I go again to this section and I delete the length and paste
the one from the template. As you can see, we have now
exactly the perfect length, and I can drag this section, so I can have on the video
exactly what I want to see. This trick is especially
useful if you are using templates containing
more than one page.
7. Download and Share Video: Now, let me show you how to download or how to
share this video. You're going to
go to this button that says share on
top of the screen. And then from here, if
you want to download it, you're going to
click on Download. Select the file type. In your case, if you are
downloading a video, you're going to leave
the suggested option, which is P four. If you have a Cava procot, you can increase the quality of your video and then
simply hit Download. You are using a soundtrack
and you are going to upload this video
to social media, I do recommend you connect
your social accounts to Canva, and then you'll be able
to download your video. Something fun about Canva is that you can also
create gifts with it. And if you have a
Canva PR account, you can download them with
a transparent background. Now, let me go back because
there are some other ways to share this document
or this video. If you are collaborating or editing this video
with somebody else, you can copy the link from here. In this case, it is set
to only you can access, so nobody else will be able to access the document if
you share this link. But you can click on
this drop down menu and select your team, so anybody from the team can access the design
using this link or you can select anyone with the link can access the design. Select any of these
options, copy link, and then you'll be able to share that link with anybody you
want to access the document. Another way is to create
a public view link. You're going to
click here, click create public viewink
copy the link, and then you'll be able to
share this link with anybody. If you want to share any of
your video creations with us, you can use this link and upload it in the project
section of this class. Now, let me go back
because there are so many other ways to share
this document with anybody. So you're going to click
on these three dots and see all the options
available in here. Remember that there are
more options available, so click on CR if
you want to see all of the options
available in this menu.
8. Class Project: Hi friends, and congratulations. This is the last lesson. That means that you have
completed the class. I just want you to
do one more thing. I want you to upload a video to the project section because I
want to see your creations. You are going to create
a public view link. I already showed you how to do this in the previous lesson. And then you are going to copy that link and come back here
to the project section. You're going to find below
this little section, and you're going to
click Submit Project. From here, click O and
paste your link here. Click Add, scroll up, add a project title, and then hit Publish. And that's it. I think we are actually done
with this class. I really want to thank
Ronnie for giving me the space to give
you this knowledge, and thank you for
taking the time. If you want to continue
learning with us, we have more classes available
in Ronnie's profile. Or you can find us
on social media at Team Runde or find me on
Instagram at Diana Munoz. Hope to see you in
another class. Bye.
 Ronny Hermosa, Your Go-To Canva Guru