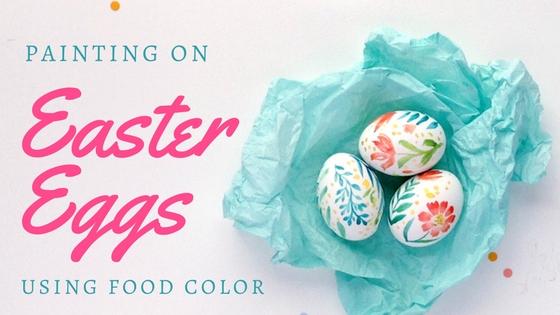
Easter Egg Decorating - Using Food Coloring as Watercolors
 Irina Trzaskos, Watercolor Artist & Illustrator
Watch this class and thousands more
Watch this class and thousands more
Lessons in This Class
-
-
1.
Introduction
0:42
-
2.
Supplies
1:33
-
3.
Preparing the Colors
6:12
-
4.
Painting the Eggs
9:52
-
5.
Painting the Back of the Eggs
5:22
-
6.
Thank you!
0:31
-
-
- --
- Beginner level
- Intermediate level
- Advanced level
- All levels
Community Generated
The level is determined by a majority opinion of students who have reviewed this class. The teacher's recommendation is shown until at least 5 student responses are collected.
84
Students
2
Projects
About This Class
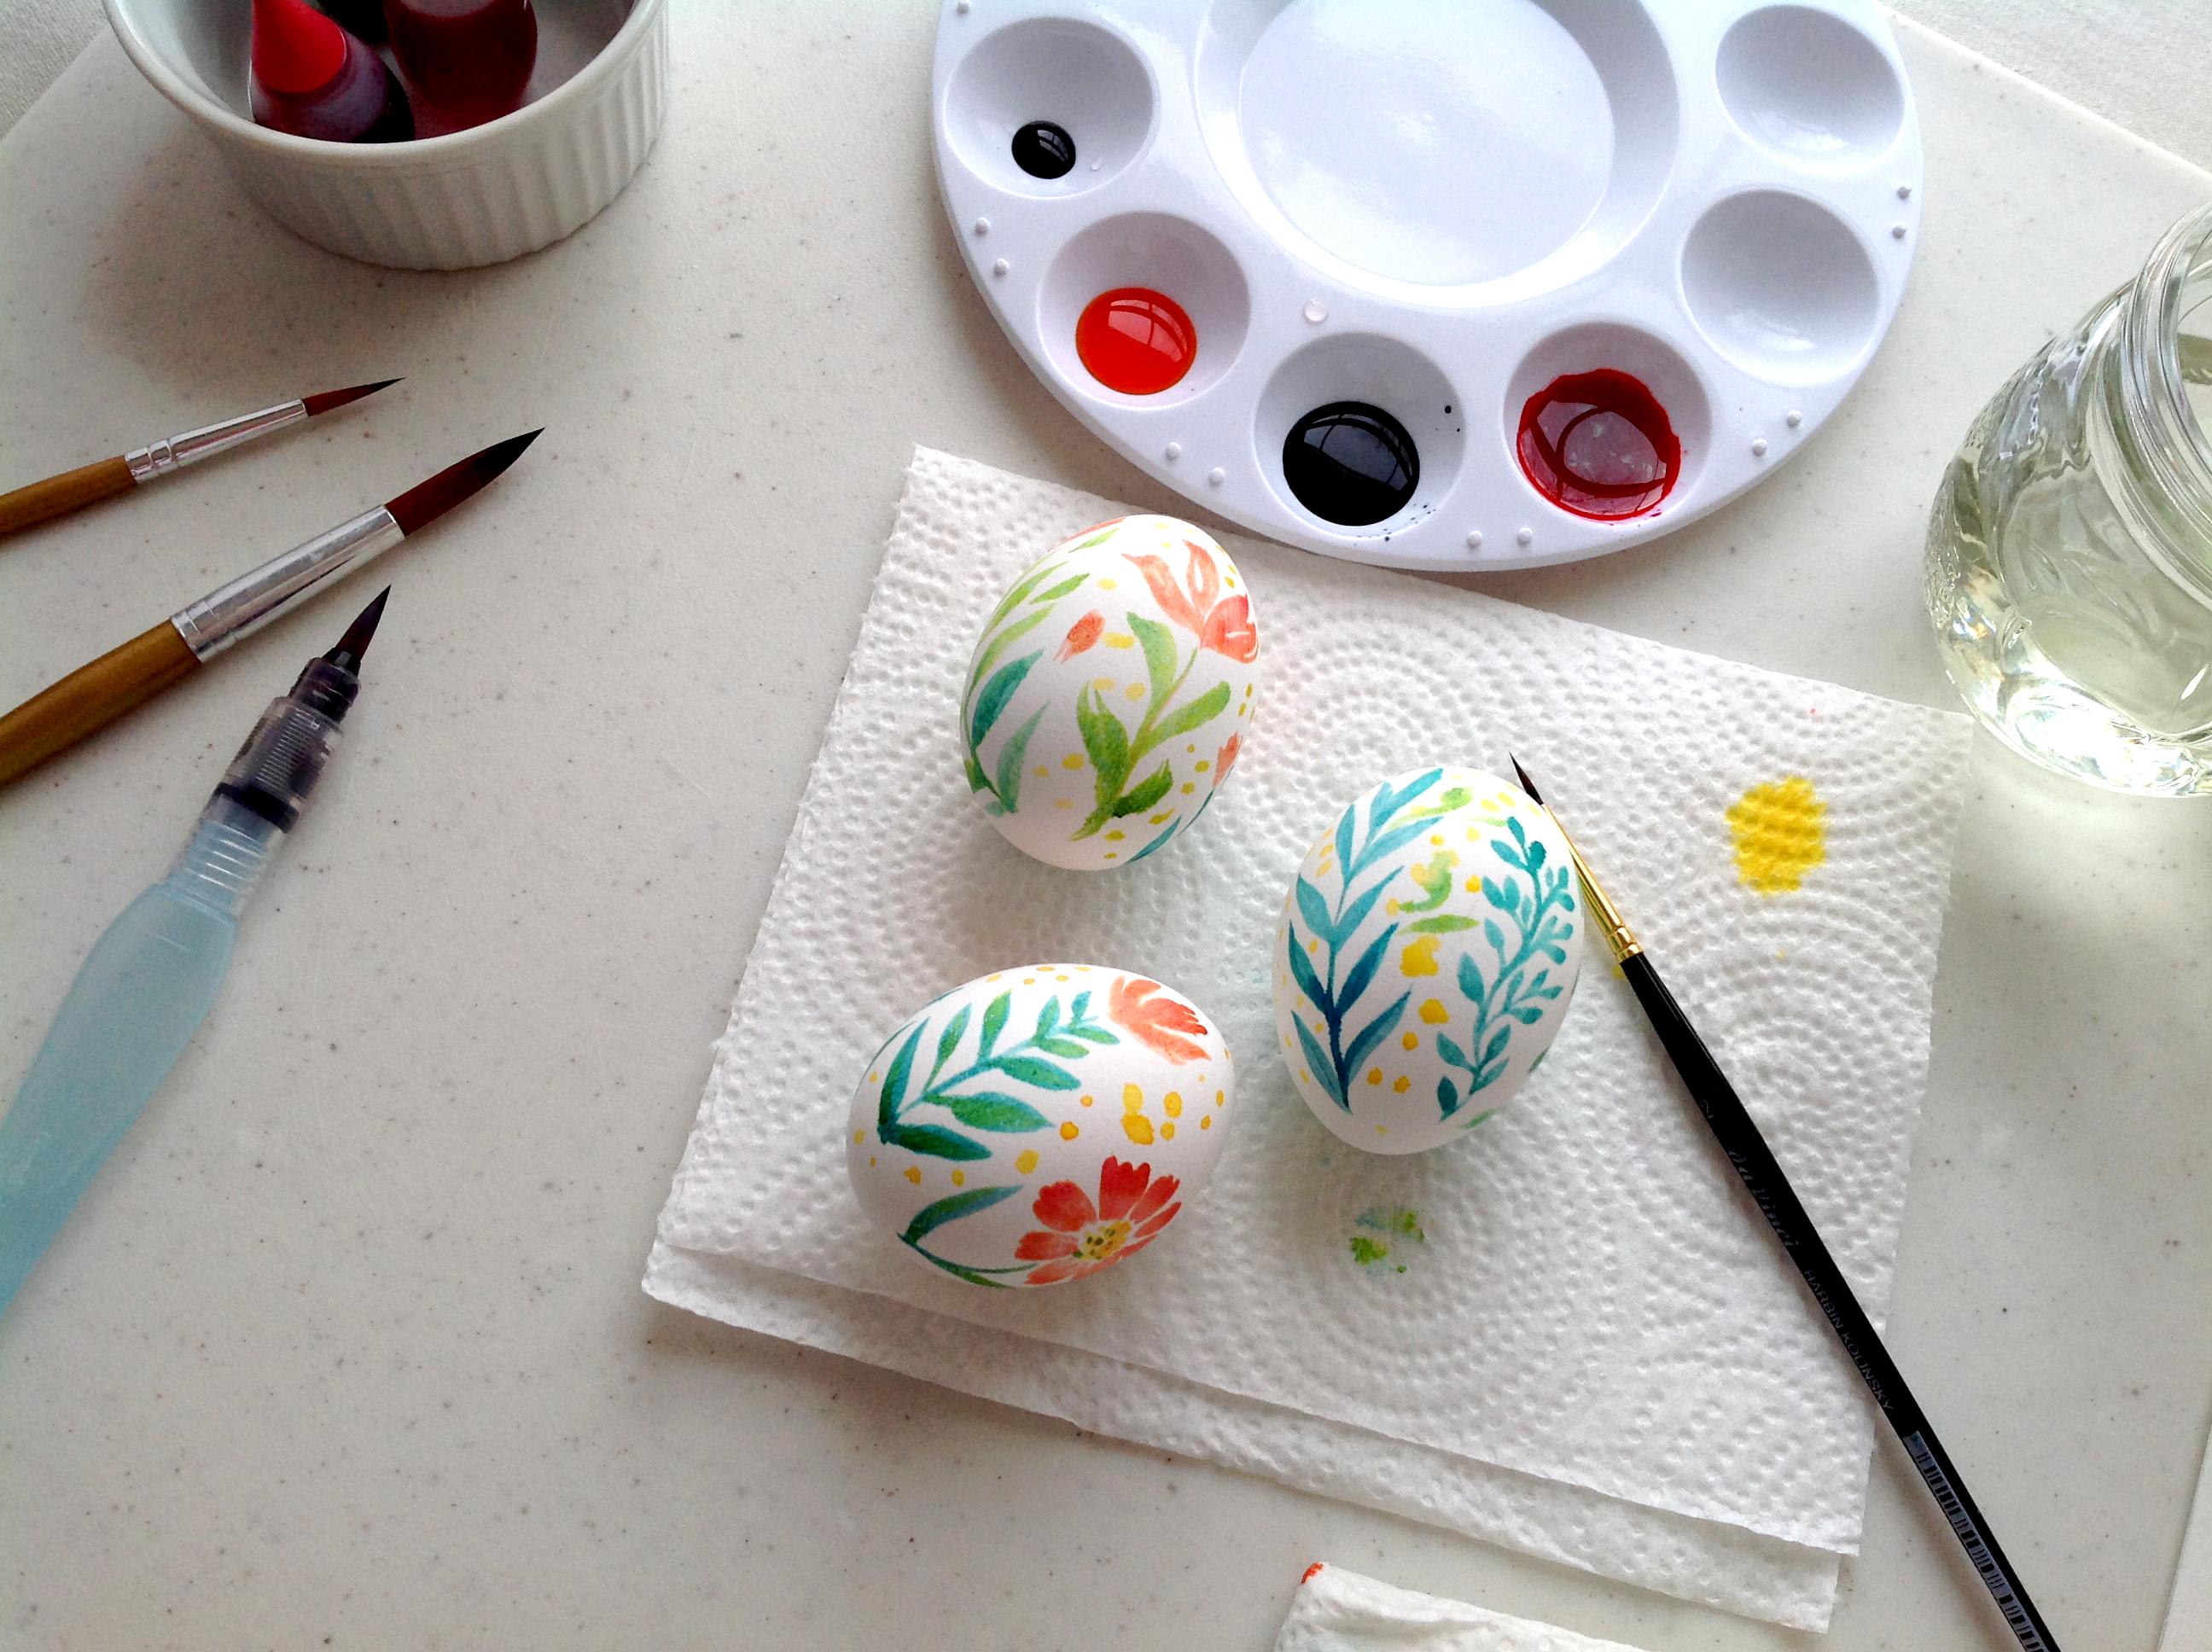
Welcome to the Easter Eggs Decorating Class! First of all thank you so much for choosing my classes, it means a lot to me to see you here, creating alongside with me and sharing your thoughts and creativity with each other. In this class I went into the adventure of using food coloring as watercolor paints to create colorful and whimsical Easter Eggs, In the class I used just regular white chicken eggs, which I hard boiled and chilled beforehand. But you can also use the techniques from this class to paint wooden eggs, just paint the before with white acrylic paint and use watercolor paints instead of food coloring.
I hope you will enjoy painting Easter Eggs with me and will share your beautiful results in the gallery of the class and with your family and friends.
Happy painting,
xo Irina.
Meet Your Teacher

Hello, I'm Irina Trzaskos, a watercolor artist, illustrator, and educator passionate about capturing whimsy, beauty, and storytelling through vibrant, dreamy paintings. Originally from Moldova, a small and beautiful country in Eastern Europe, I now call Coventry, Connecticut home.
I've been painting and drawing since I can remember--so much so that as a child, I often found myself in trouble for sketching on anything I could find, from books and photo albums to furniture! That early passion never faded, and today, I bring my love for artistic storytelling and watercolor magic to students worldwide.
On Skillshare, I am teaching watercolor techniques that help artists of all levels create captivating illustrations, dreamy landscapes, and enchanting compositions infused with ... See full profile
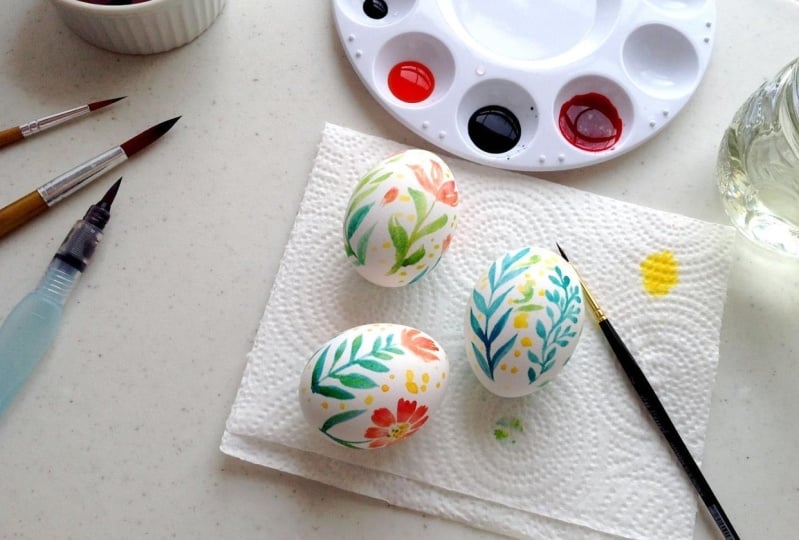
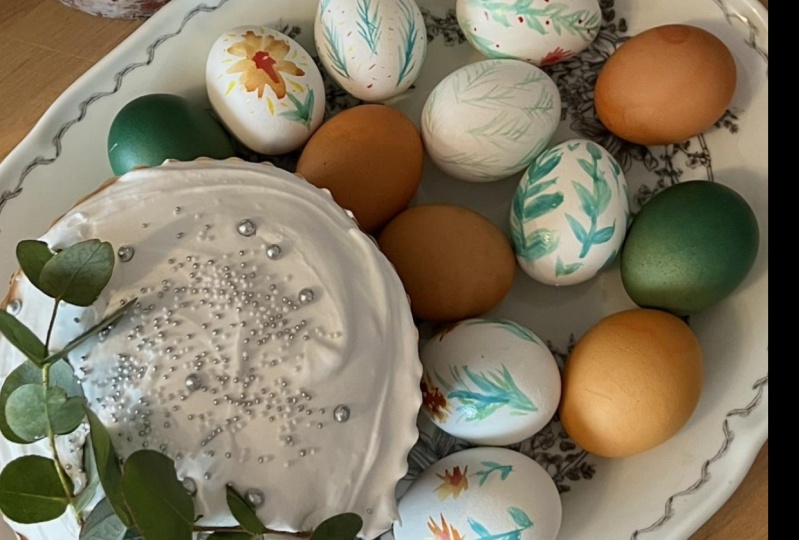
Hands-on Class Project

For the project of the class, paint your own set of Easter Eggs, feel free to use chicken eggs and food coloring or decorative wooden eggs and paints. Share the pictures of your process and results in the gallery of the class. Below I will share with you the list of supplies and reference pictures for inspiration
SUPPLIES:
- Paint Palette
- Vinegar
- Water
- Food Coloring
- Paint Brushes
- Hard Boiled Eggs
- Paper Towels
- Egg Carton or a plate
- Measuring spoon
- 2 Water jars
I wish you a wonderful and sunny Easter,
Happy Easter Eggs decorating!
xo Irina.
Class Ratings
Why Join Skillshare?
Take award-winning Skillshare Original Classes
Each class has short lessons, hands-on projects
Your membership supports Skillshare teachers
Learn From Anywhere
Take classes on the go with the Skillshare app. Stream or download to watch on the plane, the subway, or wherever you learn best.