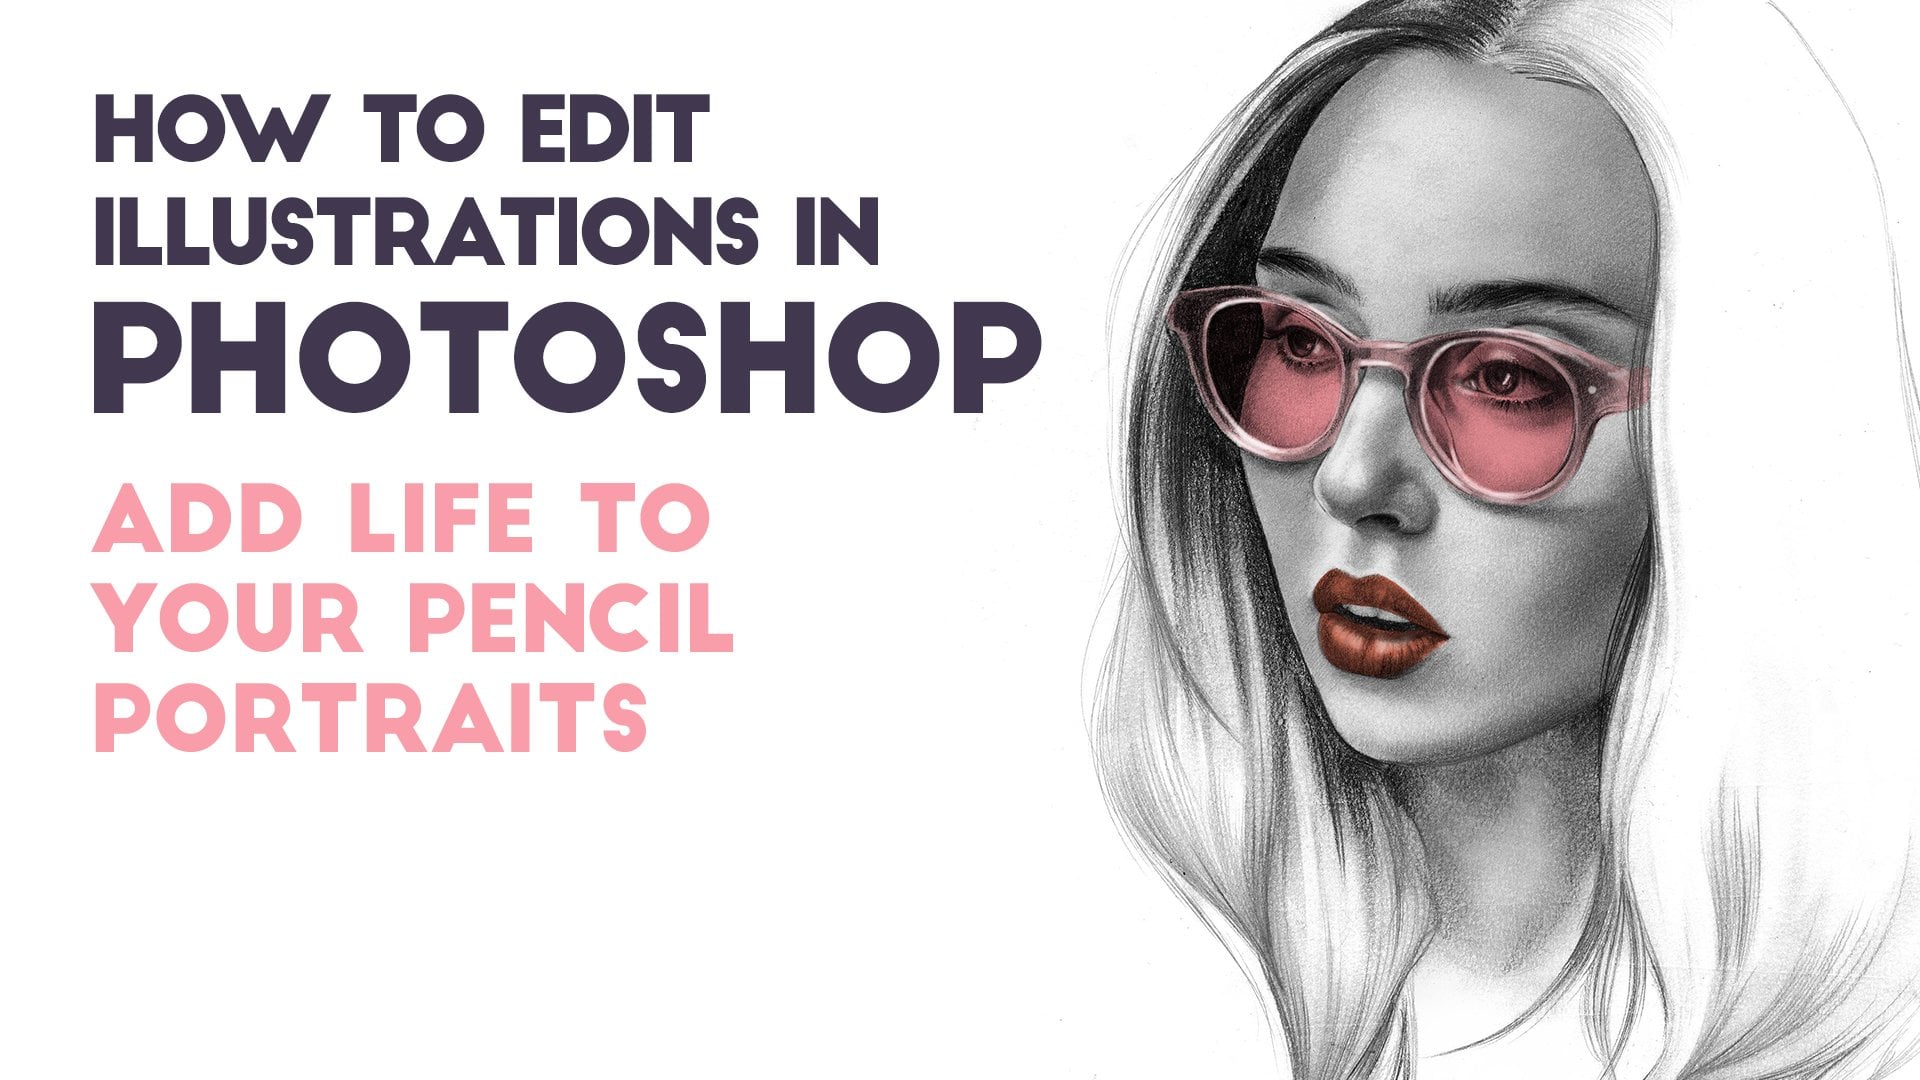
Drawing With The Lasso in Photoshop
 Julio Carvalho, Illustrator & Portrait artist
Watch this class and thousands more
Watch this class and thousands more
Lessons in This Class
-
-
1.
Introduction
0:54
-
2.
The Lasso
6:48
-
3.
Sketching
7:01
-
4.
Values#1
15:13
-
5.
Values#2
10:09
-
6.
Texturizing
2:23
-
7.
Working With Colors #1
12:26
-
8.
Working With Colors #2
6:55
-
9.
Bonus Demonstration
6:15
-
-
- --
- Beginner level
- Intermediate level
- Advanced level
- All levels
Community Generated
The level is determined by a majority opinion of students who have reviewed this class. The teacher's recommendation is shown until at least 5 student responses are collected.
896
Students
12
Projects
About This Class
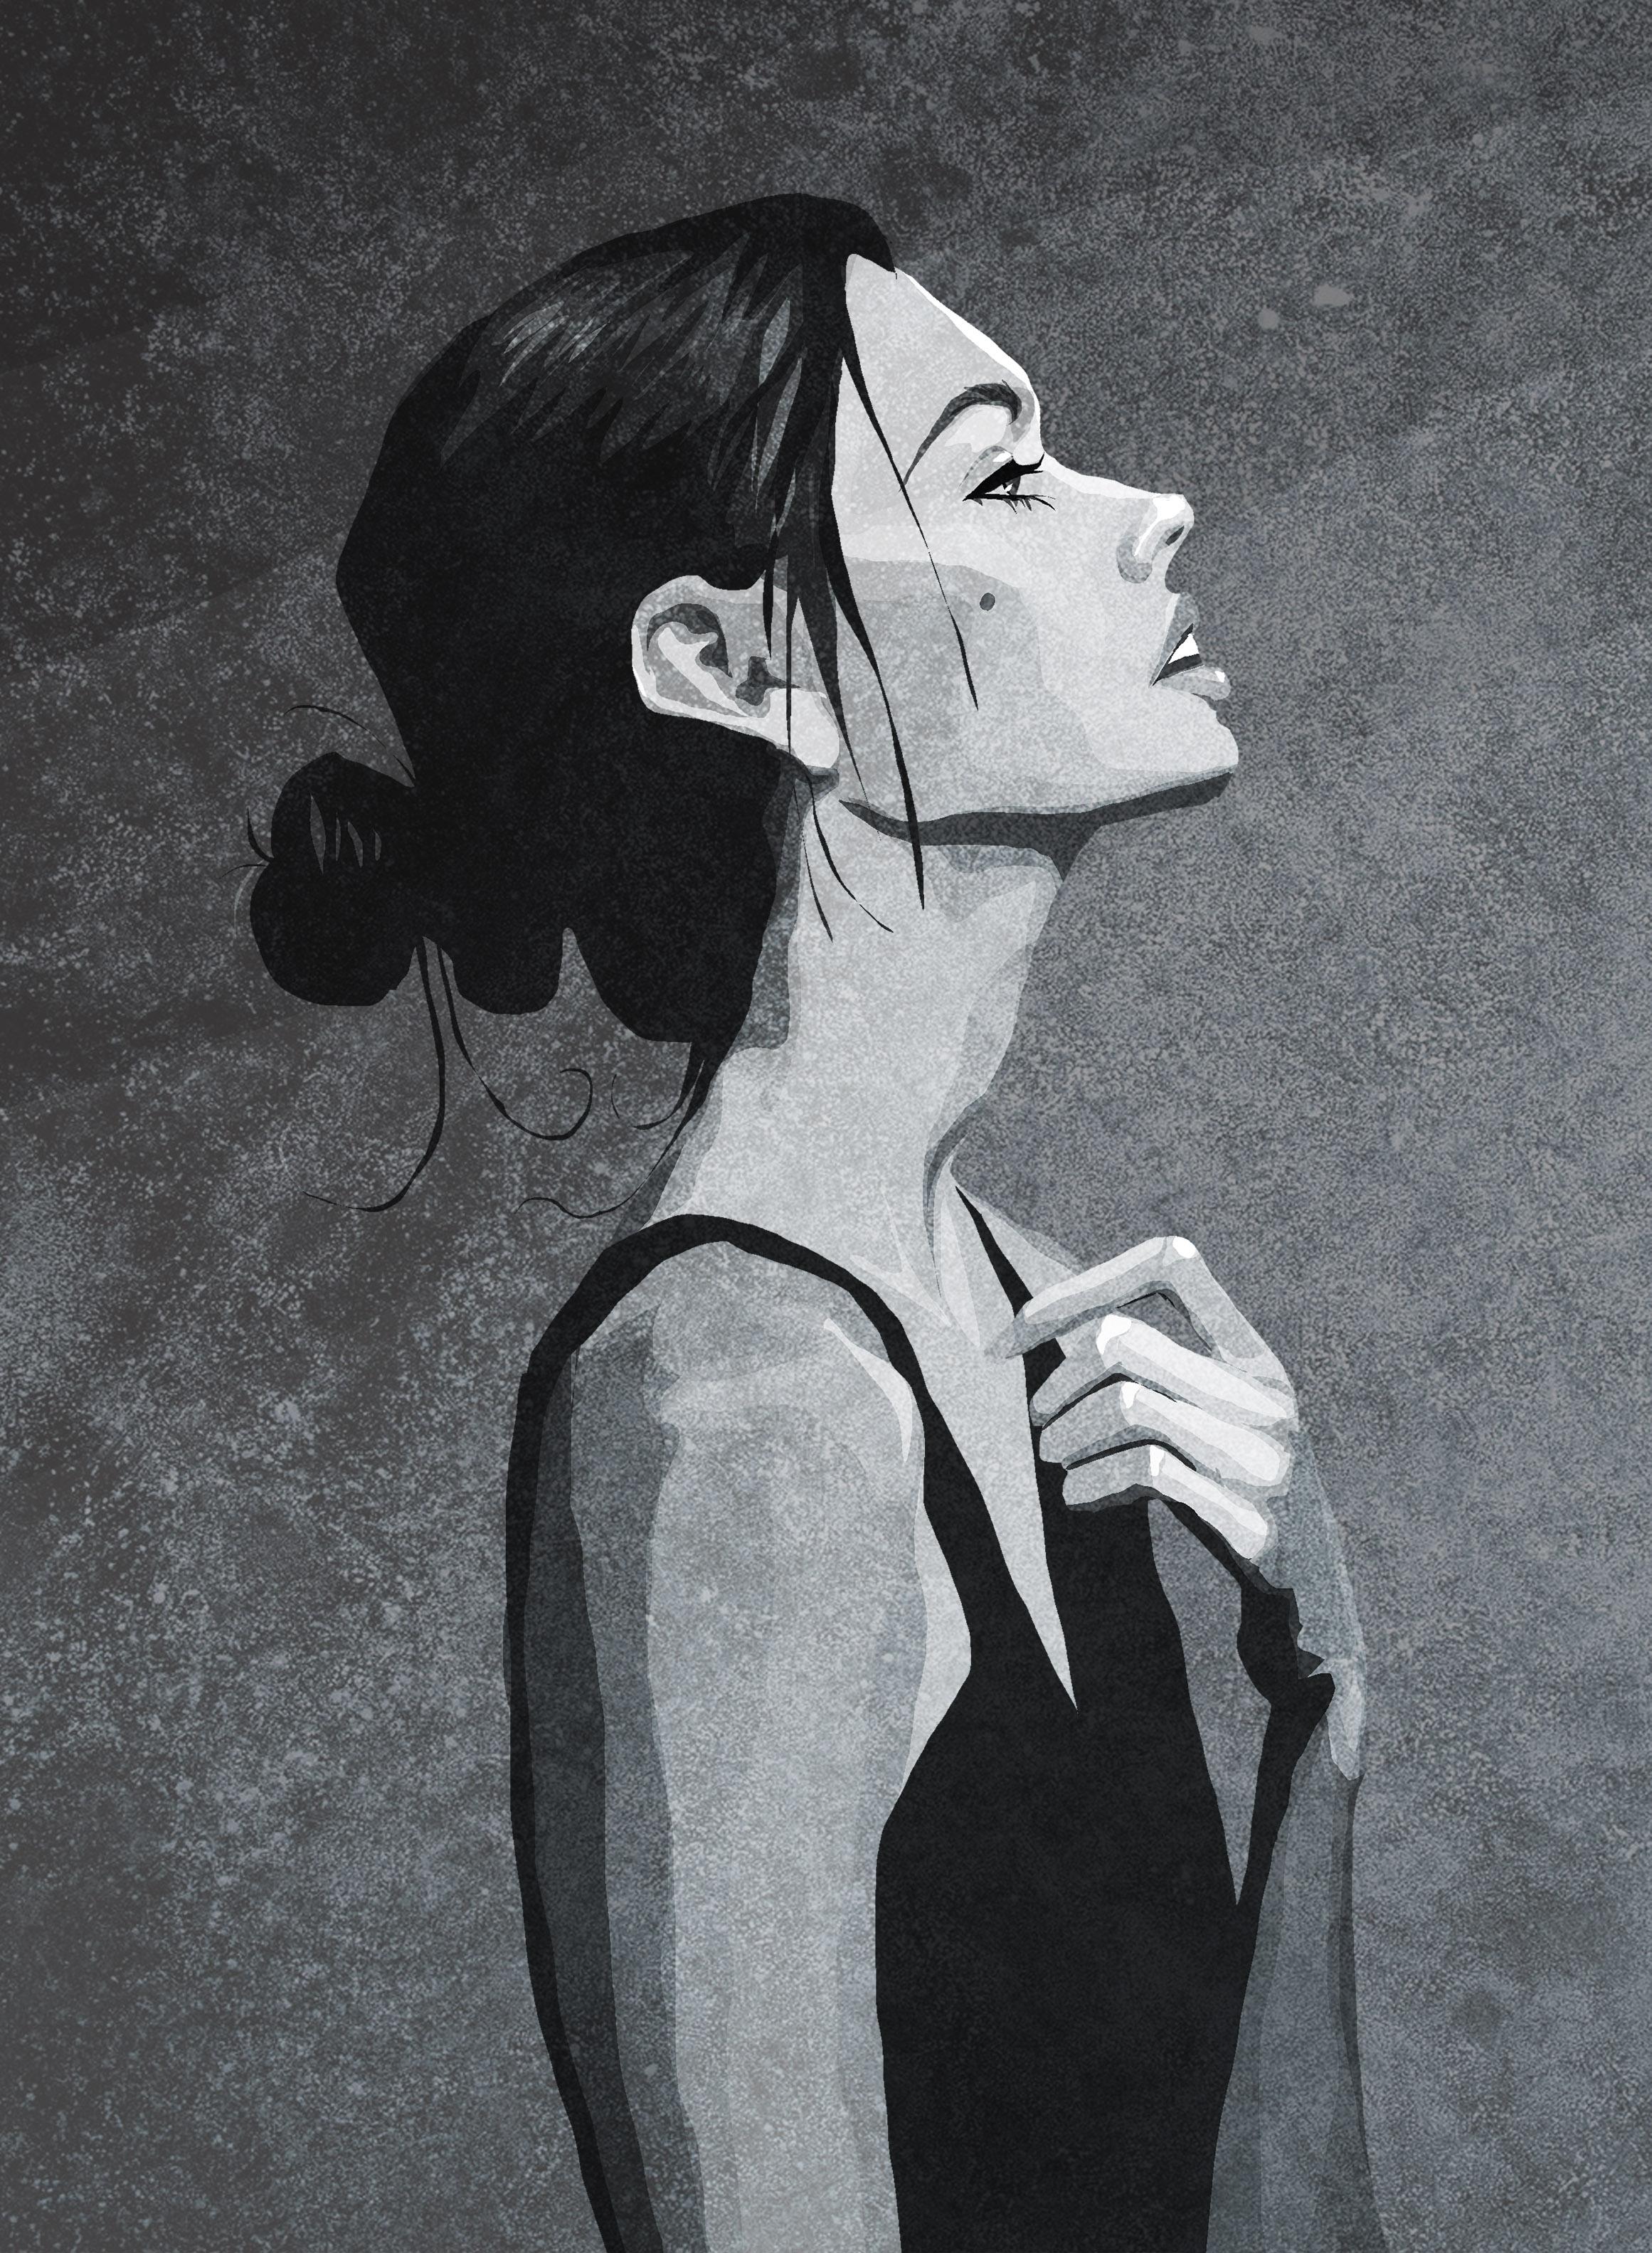

When it comes to digital painting in Photoshop, illustrators, in general, are used to using the brush tool. In this class, we will use only the lasso tool to draw and paint. Although it is not the usual tool to draw or paint in Photoshop, it can be a powerful tool if it is used correctly.
Using some photo references, we'll draw and painting portraits using just the lasso tool for it.
We will also cover some principles of light applied to geometric objects before starting painting the human figures.
At the end of each painting, we will see how to apply textures so as to make the appearance looks more natural.
List of tools to be used in this class:
- A PC or Mac computer;
- A Wacom Tablet (Intuos, Cintiq, etc);
- Adobe Photoshop;
- Internet connection for references;
- Creativity!
Check my newest class! Painting an expressive portrait in Photoshop
See my daily drawings here: @juloartworks
Music: bensound.com
Meet Your Teacher

My name is Julio Carvalho. I’m a Brazilian illustrator, animator and graphic designer. I’ve been professionally illustrating and designing books, magazines, posters, products and logos since the 90s.
In 2004, I started drawing digitally, and Photoshop became my main productivity tool. In 2019, I started trying to draw using the Lasso Tool in Photoshop. Since I loved the results I got using this technique, I decided to create a class Drawing with the lasso in Photoshop, where you can learn how I achieved this modern portrait illustration style.
In my newest class Painting an expressive B&W portrait in Photoshop... See full profile
Hands-on Class Project
Class Assignment
Use everything you’ve learned from this class to create your own portrait. You can download one of the photos that I've shared here or feel free to use your own references.
Don’t forget to share your project here.
Files to be used in this class:
• gene.jpg
• woman.jpg
• woman2.jpg
• old_woman.jpg
• light.jpg


Class Ratings
Why Join Skillshare?
Take award-winning Skillshare Original Classes
Each class has short lessons, hands-on projects
Your membership supports Skillshare teachers
Learn From Anywhere
Take classes on the go with the Skillshare app. Stream or download to watch on the plane, the subway, or wherever you learn best.