Transcripts
1. Intro: My name is Evan sportsman and welcome to my Skillshare class, drawing hands for beginners. Now, initially, I just wanted to do something to
give a thank you to all of my Skillshare
students who helped me to achieve a really cool
milestone in my future career, which was 100 students across
all the macronutrients. But I'm so thankful to everybody for helping me
to achieve that milestone. I wanted to be able to
continue to focus on anatomy like we do in my
other classes though. You want to come
in and say, Well, we don't want them other
clays as you can and tackle something that is really
a hot topic right now. And also something that a lot of artists get intimidated by. A lot of people
weren't from hands. If you look at a lot of
people's drawings and things, they'll draw people with their hands behind
their back or, you know, nobody wants to
draw and write down like, okay, let's do the
hand we could do. Now I'm going to do
this same process. Admit that I always do, which is taking
things that are very complex and breaking
them down into their simplest parts, stuck. Here's what we're gonna do.
2. Class Description: This mini class to have the confidence and skills
needed to start out drawing hands like
a beginner with the skills and the knowledge to get started like pro, okay. I know I know it's intimidating. I know you guys may feel like, oh man, I'm able to do this, but I promise you, I'm gonna get you started
on the right track. Okay. Just work with me here. So how are you going to need? Are a couple of things
for this class. Gives you a piece
of paper, a pencil, and if you don't set
okay with a bypass, let's dive right in to
join hands for beginners. Learn all about the
anatomy, right? Let's go.
3. Proportions: Well, first things first, make sure you have your paper, your pencil, with your
eraser and your ruler. Okay? Now I am measuring out the first step which is
to draw a rectangle. I'm using a ruler
measuring out like 6 " for the height and
3 " for the width. But if you don't have a ruler, Use the length and the
width of your hand. Put your hand on the paper and use that as
your measurement. Okay? Just like we did in
elementary school. Okay. Now, once you have that, this is our base. Okay. Gerard is big as you
want your hand to be. Then you're going to split
your rectangle in half. Okay. Joss offline in the middle. Split it in half.
4. Structure: Now the next thing
we're gonna do, we're gonna focus on our palm. Ok, the palm shape. Now, some people, they
kinda do maybe more of a rectangular shape for some
people do a trapezium shape. I learned it more like
using a trapezium shape, but I'm going to
split screen and show you kind of a little bit
just more free spirited, I guess you could say, way of achieving
the palm structure. Okay, So just kinda
follow along with me and it will make
a little more sense. Okay? I'm just going to start
here on the left side, following my rectangular box, coming up slightly above the split. Coming down on the right side. And right there, the bottom
in closing my structure. Okay. You have all
right, guys keeping up. So now we're going to
think about the thumb. We're gonna go to the left side. The left side, and he's going to add a triangle structure. Let me straighten it
out a little bit. Yeah, don't be afraid
to use it erased, but that's what we have for
use at erase the honey. Yeah. Okay. Now.
5. Drawing the Fingers: Now we're going to set
the base for our fingers. At the base for our fingers. So we're going to come in at the bottom of our
palms structure. And then how about the top? And we're going to trace
a curve line along the top of our rectangle, okay? Along the top, we're
not going to go over this arbitrary triangle
just along the top. Like that. Okay? Now, you see, we got to find those knuckles. Yeah, it's tricky. And remember, I'm,
I'm breaking it down to its basic
lines and shapes. Sunny. So let's focus on
the split screen again. Knuckles. Just a little debts. As I'll let me fix that
with every little bit high, it would go knuckles and
wherever you see a knuckle, place a de novo. And on the thumb right there. Check is the 0. And looking at how it lines
up with the pointer finger. Now, when you talk about the
shape of your actual finger, It's like a cylinder shape. Okay? It's not flat. It's three-dimensional, so we have to give our
fingers dimension. So let's go in and do that. Now. I'll speed this up a little bit. Rounding it out when we
get to the fingertips. And they can go a little bit
above our line at the top, then go a little bit above
the line at the top. Always remember when you're
drawing these fingers. Okay. Keep in mind, keep in mind the links
of everybody's fingers. Keep all that in mind. Make sure you keep those
fingertips behind it. Okay.
6. Adding Flesh Around Fingers: What I am going to do next
is I'm going to start building some flesh
around these knuckles. Okay? That's what I'm
going to start doing. Alright. And started building some flesh around
these knuckles is real important to put some
skin on the bone. I used to always
tell my students in clays when we were
drawing the face, especially, you know, like
these are the bare bones. This is the skeletal part. Now. You got to put some
skin on it, right? I put the flesh on, we got
to make it come to life. And so this is a
very important part, especially when it
comes to the skin between the fingers and how that looks and
how it connects. And stretches that
little webbed part in-between the fingers. That can get tricky for people, especially in-between the
thumb and the pointer. So you may have to go back and refine some stuff,
but that's okay. Because remember,
we're beginners, withdrawn like beginners, but with the skills and the
confidence to start Logger Pro. Okay, so let's just keep going. Keep going. I know one thing I can do. All right, keep
building, keep refining. Then you wanna go ahead and start erasing those guidelines. You, you don't
need them anymore. You don't need them anymore. We gone speed is part of
7. Adding Fingernails & Skin Wrinkles: Okay. Yeah. And we are back. I had to switch pencils and
everything mallet went out. Okay, now we're getting ready
to fill a nice Neil bits. Okay, this is another
super important part. When filling in the nail beds, you want to follow that same pattern of
enter your fingertips. Okay. And where the cuticle
is right here, I want to make sure you have
kinda curd figure as well, curved line at the bottom. You want to make it straight across as what you
don't want to do, okay. It's still inorganic form. You definitely still want
to have it rounded out. And when you talk about like
the wrinkles in our fingers, E right there, See that? You want to make
sure we just put a few little lines
going across and yeah, we're almost at the finish line. I could see it. You
have drawn a hand. Beginner style. You you've done it. Come in and make your
little refinements. One of the little part
I'm going to work on, this builds on we'll even having a very sad grandmother lotteries cuticle. Now. Knuckle on the top. Is it right there? Like they vainly looking part? Yes, we want to
focus on that now, some people is really pronounce. Some not so much. On babies. Looks more like a little
dimple sometimes, but softly, not too hard. Place it in there. Okay. And this is
why I like I say, it's really important to use
a reference to look good. So you can look at
your other hand. Normally helps out a lot or a picture of a hand if you
if you have one on deck, but like I said, I'm gonna
help you guys out with that. I think we're done. Yeah. We are. Go back and check yourself, look and see how you feeling. But the hands are there.
8. Outro: I may mean giant filled name. But how do you feel now? I feel good. Okay. Took matters
into your own hands. Now I'm joking, I'm joking. But Ruth up, I know this
was a mini class is very brief in comparison to my
other classes on Skillshare, but I know it was
jam packed with information on how to
draw hands for beginners. I wanted you guys to walk
away with the confidence, at least to start drawing hands. Even though we're beginners, you're not going to learn how to draw hands and an hour you're not going to learn how to
draw hands in a day or week, takes time and practice. So I've left you with the resources to
help you continue on your path to becoming pros
at drawing hands, right? But we did get some
good information. Clay as it leaves, we
started out knowing how to get the basics down, starting with that middle point, going up when finding our
knuckles with those points. And then the lines, all of that connecting
it together, building the flesh around it with some good things
at the Clay Shaw, I didn't even get to
the shading part. I need you to do two things
for two major things. One, leave me a review. If you, if you really
enjoyed the class, please leave me a review. Please tell a friend, tell a friend, someone, come on, go see we have a sportsman
talking about on Skillshare or Instagram, YouTube website. I'm here for you, okay? Make sure you let me know. But most importantly,
and especially as a former teacher in the classroom over
living years. Okay. Don't come in my glaze
and alternative. No work? Yes. You you got to turn in your
work in the project gallery, post your assignments,
post your projects. I want to see what you've done. Then let me know. Hey, oh, I actually did learn something and let me
posted and don't be shy. This is a beginners class, are many cores that day. So I don't really expect
to see Picasso's, Picasso and Cubism anyway. So your hands are
the lack of black. Either way. We're began. Nonetheless, no judgment
here. Post your work. I'm just happy to see
that you participated. Okay? So post your work. Let me give you some feedback. Give feedback to
your classmates. That's what it's all about. We shall nose here. Okay? I promise you, I'm here to make you feel comfortable
and I'm here to give you support and guidance on becoming
a better artist. That's what it's all about us. Yeah. Okay. And I look forward to
working with you all again. So much fun. Yeah, be cool.
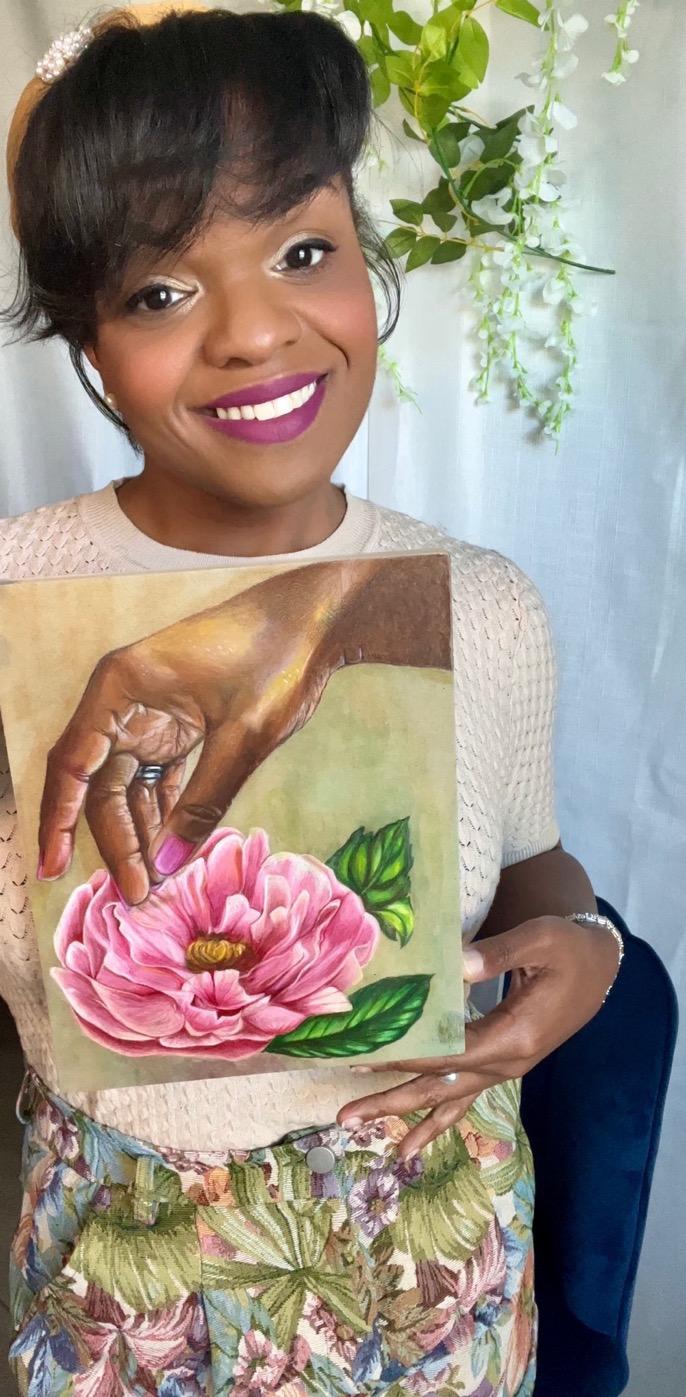
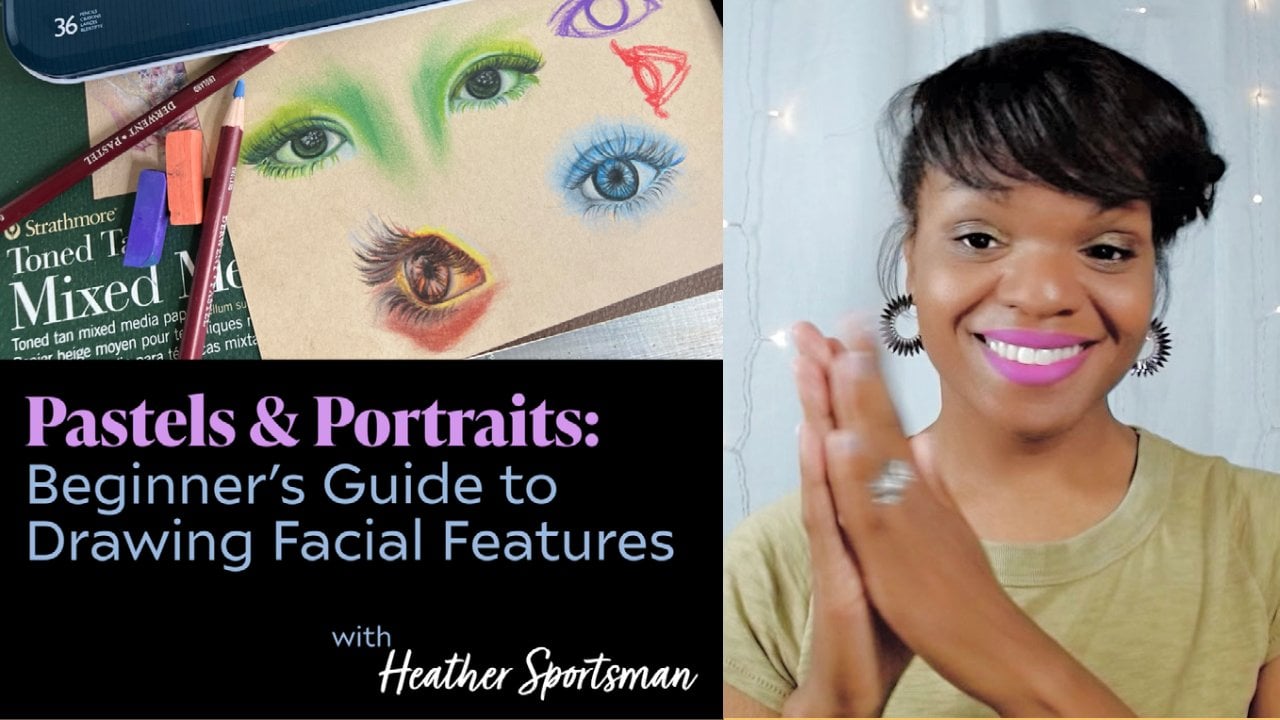
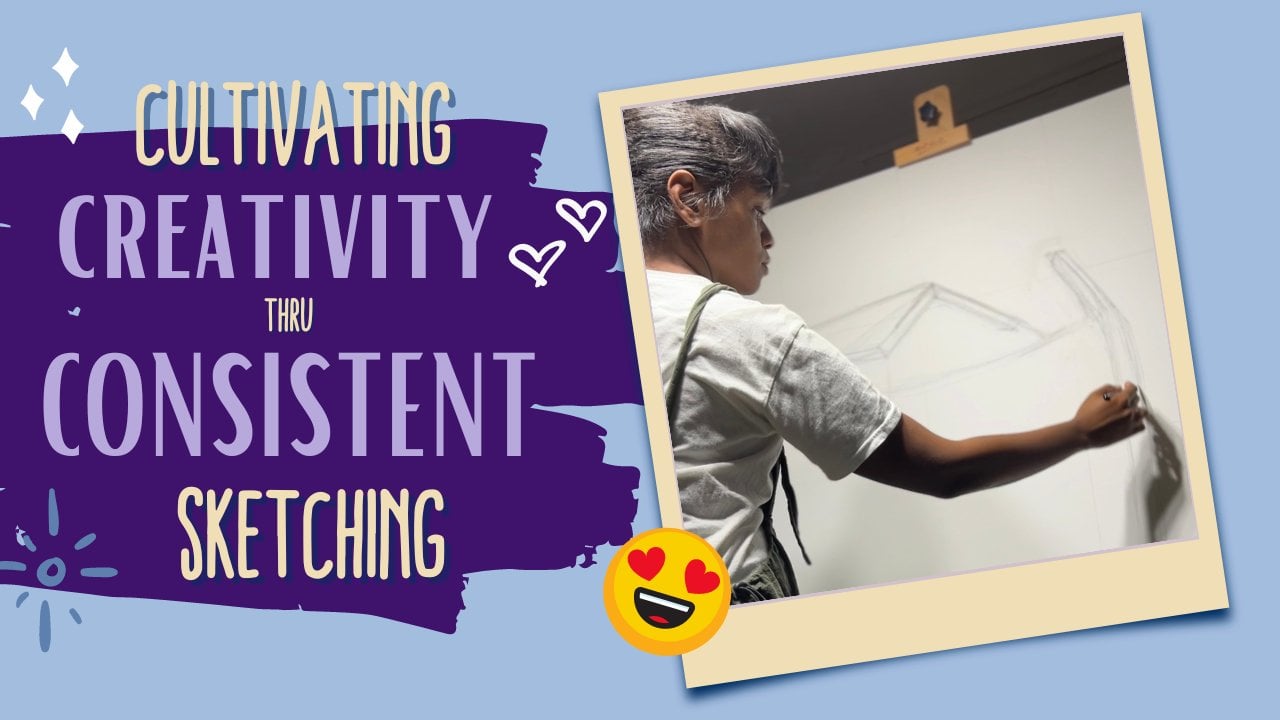
 Heather Sportsman, Full Time Artist & Arts Educator