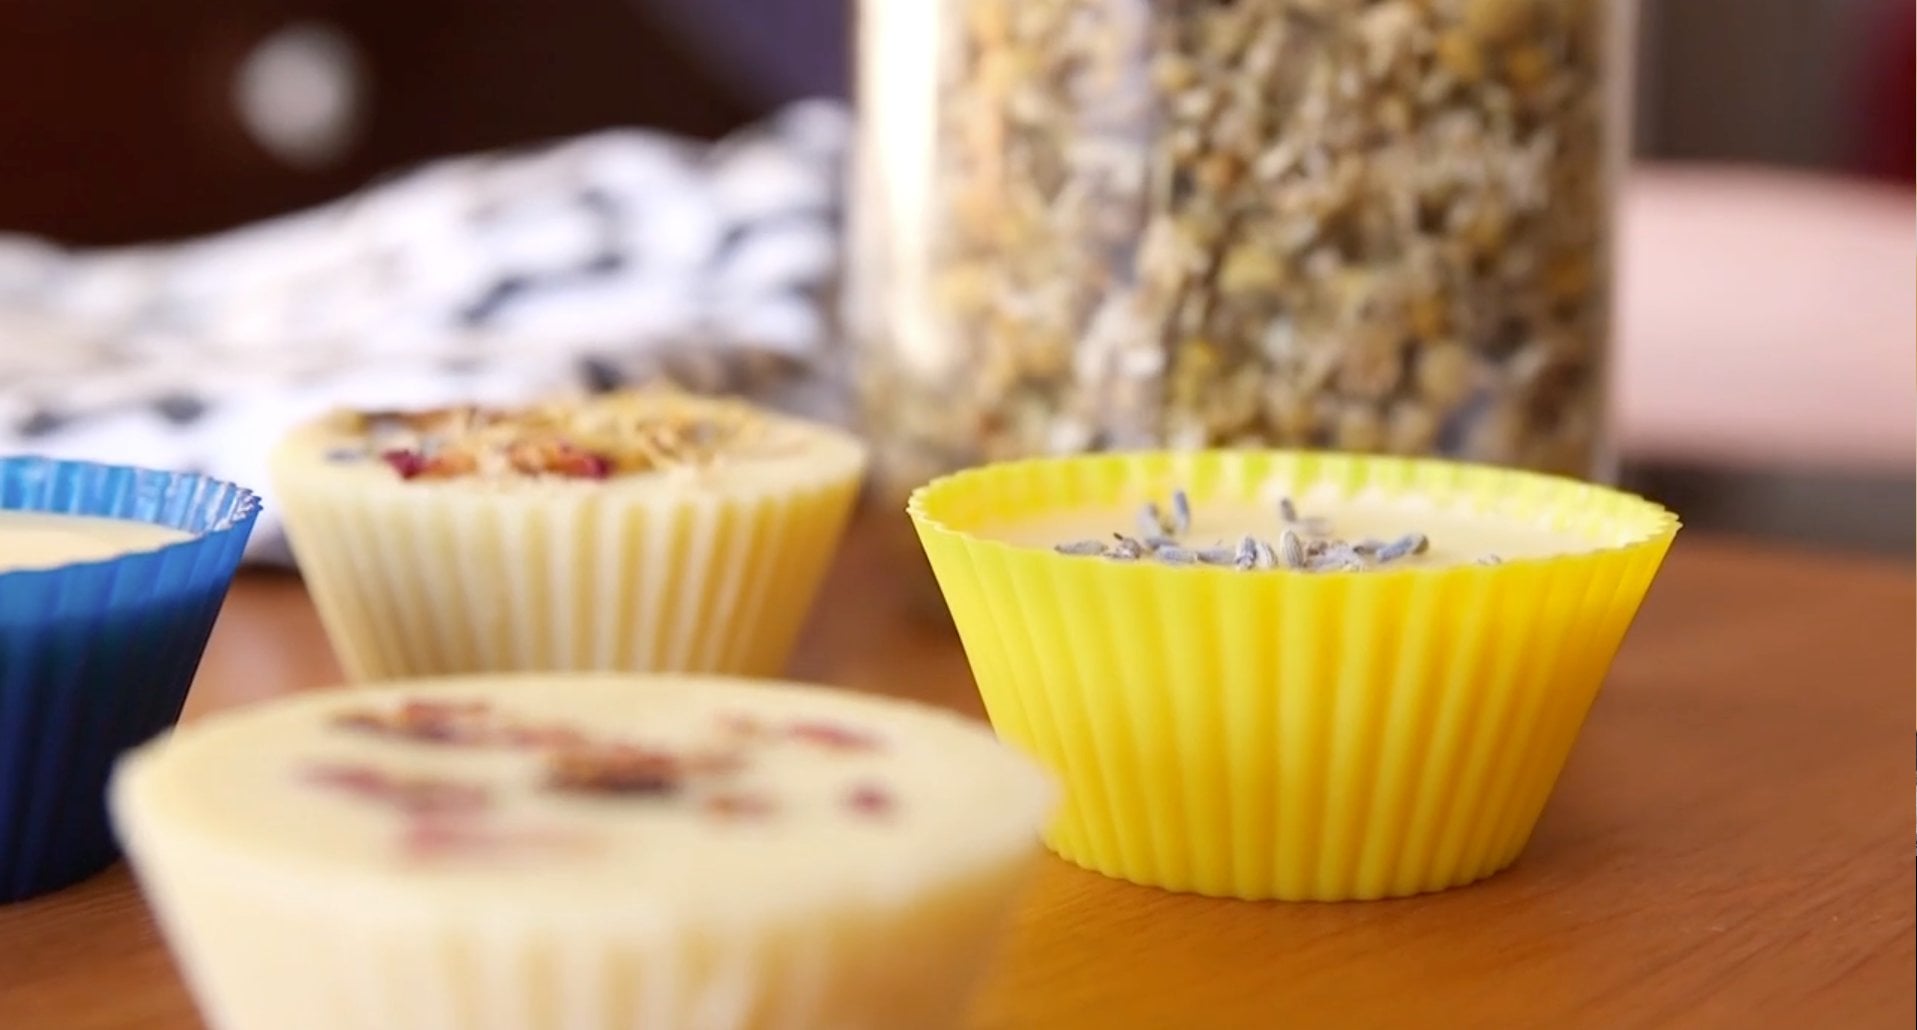
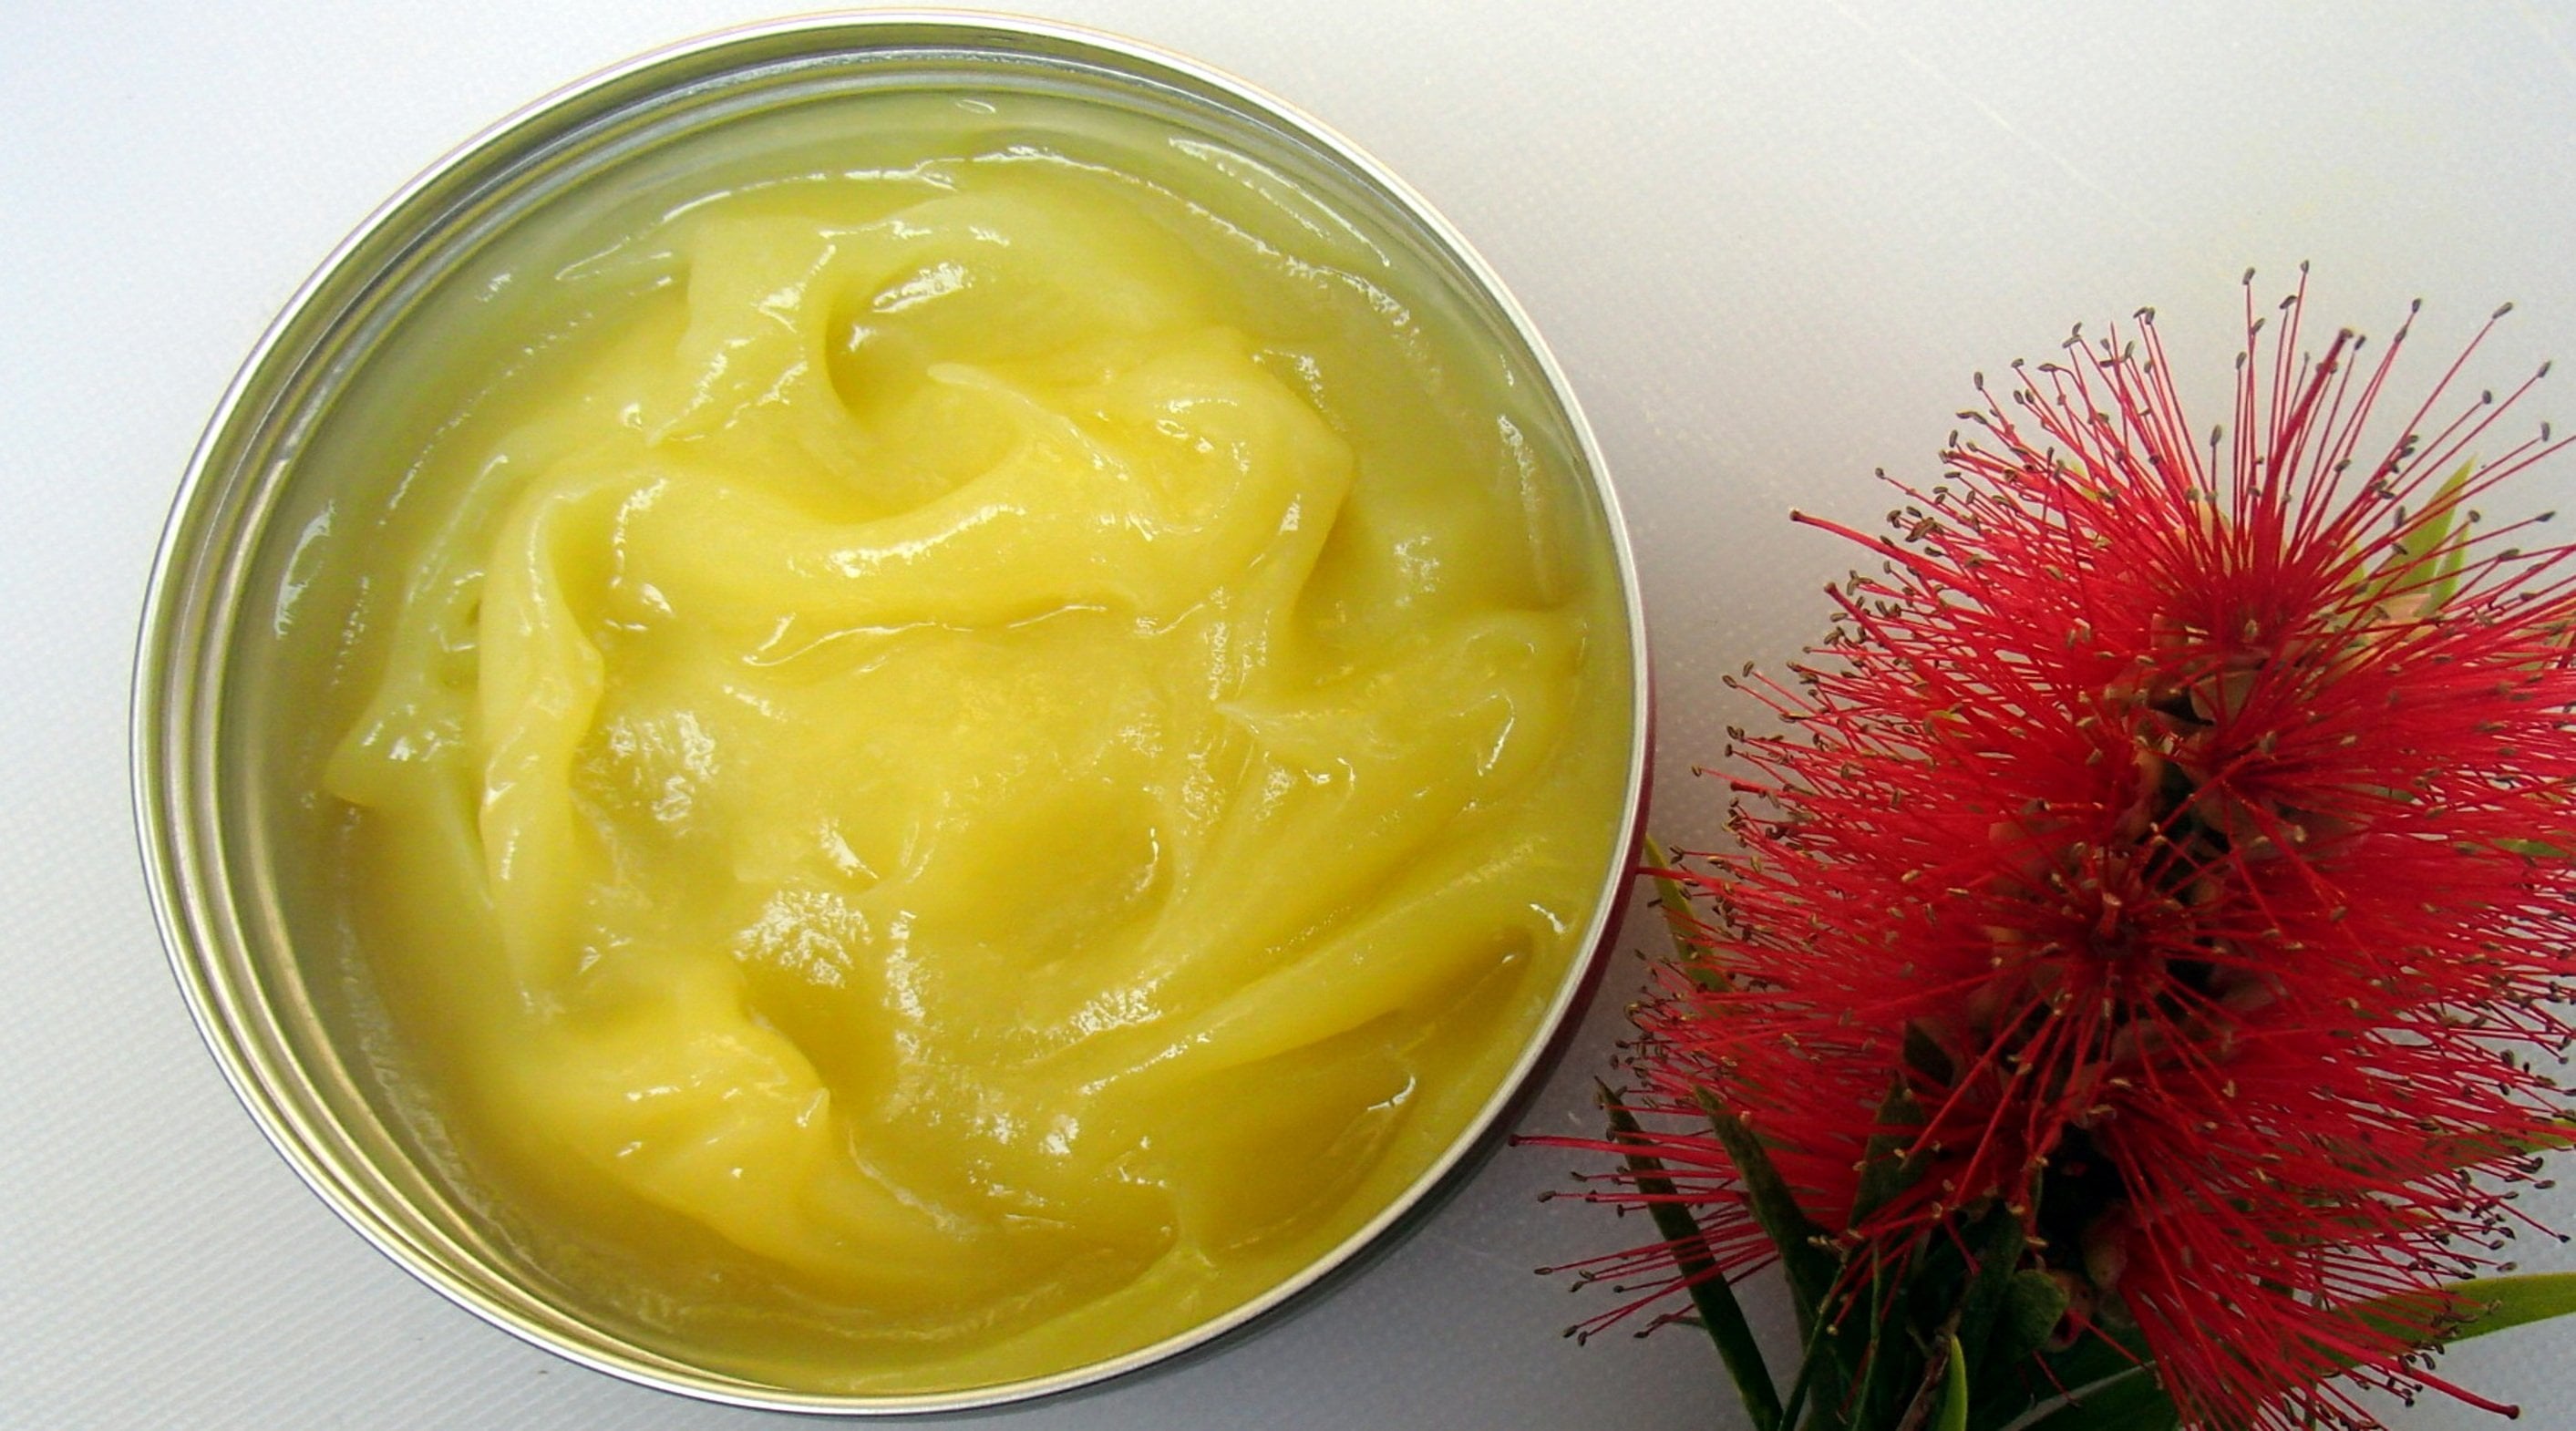
Transcripts
1. Introduction: Welcome to the Class!: Hey there, my name is Mel. And today I wanted to show you how to mingle ocean, but I've been using for the last few years, the product side always envisioned myself using included truly natural things and only contain elements that had a beneficial purpose, avoiding any unnecessary ingredients. I knew that each need for myself care could be commuted with simple recipes and things ever produced as organically as possible. I came across a lotion recipe that I found myself making more than once and even spreading it to my friends and family members. I decided to make this class. I wanted to provide an easier access to this recipe, but also be able to teach others knew things that they might not have tried before. I'd encourage you to try to make something that you know, you can get from the store, but would also be more wholesome, unethical if in beneficial if you were to make it yourself, you can also give yourself the satisfaction was saying, hey, I made that. In this class, I'll show you how to make my beloved lotion SBI, but will also teach you a little bit about the products I'm using and the benefits that they have. There is no prior experience needed to take this class. Thanks, and I hope you enjoy.
2. Class Project: Next I wanted to go over a class project. Your project for this class is to follow my recipe and create your own motion. Customize your lotion as you wish and in which every natural sense herbs you would like to infuse it with. The second step is to introduce yourself to the class. Tell us what inspired you to take this class. Your third step is to share what the class throughout the process of this class, I encourage you to post photos of your progress to the project section. Post your questions, comments, improvements, or whatever you might have to the discussion. So you suggestions others may have for you. Tell us what you're inspired to make next, let me know what you think of the recipe and your experience with it.
3. What You'll Need: Hey guys, I wanted to start off this portion of the class by showing you what you'll need to complete this project. You'll want to work in the kitchen preferably with a table or a counter space. You'll also need a cutting board, a double boiler or a pot and a heat safe ball, a knife which doesn't have to be as large as this 11 tablespoon, 1.5 of a cup and a jar or a container for storage. Next up, I will show you the herbal components that go into this recipe.
4. Nature-Based Ingredients: The arable components or natural ingredients that go into this recipe are bee's wax, which has antibacterial properties. That also works well to thicken any self-care products you may want to make. Olive oil, which contains vitamin E, iron, magnesium, and amino acids. Avocado oil, which contains vitamins B and E. Shea butter, it's anti-inflammatory, antibacterial, antifungal honey, which is a well-known antibacterial and healing agent. Lastly, this is optional, but if you want, you can get fancy and add a few drops of peer skin safer central oils into your lotion to make some aromatic effect. Do be aware that if you do want to use the flowcell and pets, some oils and sands are toxic to most household pets. So do some research into what you want to use beforehand.
5. Ingredient Preparation: Next up is the preparation of the ingredients. First, I prepare 1.5 tablespoons, a piece lags. I shave off small shreds on an angle because I feel it's easier and safer than shopping at. Pellets work here as well. If there are any half tables went out there, leave me a comment and maybe make my life easier. Next up I measure out the shape. Other shea butter can be either yellow or IRA. Either is fine in this recipe. I smoother down in the same sense that you weren't brown sugar just to ensure that the whole spoon is getting filled. Lastly, portion out, half a cup of olive oil. For our ingredient preparation.
6. Combining The Ingredients: When it comes to setting up the double boiler, you wanna put about an inch of water into the bottom of the pot. The other part goes on top and you want to wait until you see a little steam forming before you put your other ingredients in. You could also use a heat safe bowl and sort of a second pot. If you don't have a double boiler, bee's wax goes in first because it takes the longest amount. Shea butter goes in next. Olive oil follows the shea butter. And finally, the avocado oil makes an appearance half a tablespoon of M. Now this is where the magic happens. Our ingredients emulsify together to create one cohesive substance. The key here is to start with the ingredients that are thicker UP higher densities as flow take longer to melt. It's always nice to watch everything to come together. There's a little bit of satisfaction among the stress by may come with following a recipe for the first time. This is the time that you can also, if you want to take it a step further, added fresher dried herbs or flowers or whatever you like and let it infuse into your oil. I would just recommend straining it before you let it solidify. These ingredients to have a tendency in a melt and higher temperatures. So if it's a particularly hot day or if you live somewhere with a warmer climate, I would recommend keeping it in the fridge.
7. Transferring Lotion to a Container: When transferring to a container, I like to use a funnel for some precision. Dry the bottom of the pot to avoid getting moisture in the lotion. I use paper towels on the area that I work in because there's always a chance of mess when pouring materials like this. I'm having flashbacks solution and deodorant covered countertops. Stick that guy in the fridge for about ten minutes or until it solidifies just a little bit. And after this cools, we just have a few more ingredients to mix into it.
8. Adding the Remaining Ingredients: So after about ten minutes in the fridge, This is what your lotion should look like. You wanted to cool a little bit before you add the honey so that it doesn't just sink to the bottom. Next, you want to use a skin safer central oil. And remember to be careful when using essential oils with pets. Do some research into what you want to use beforehand. I like to use three to four drops of lavender oil, but you can use more or less depending on how neutral Earth strong of assigning you'd like it to be. Give that a stir and mix everything together well, you wanna make sure that all the ingredients are fully incorporated or emulsified into your oil.
9. Our Final Product: And here we have our final product. From this point on. I like to stick it in the fridge, is still at it solidify a little more. Thank you so much for coming along on this journey with me. Let me know E think.
10. Tips for Use: In this portion of the class, I wanted to give you a few tips on how to use the solution. Uses a small amount, a little bit does go a long way. Roberta your fingers a little bit before ease it to emulsify the different oils that are in this lotion. Natural products are prone to separating a little bit as remain with different elements that have different textures, different densities, and warming the ocean a little bit in your hands. Just make sure that the ingredients are all mixed together.
11. Final Thoughts: To wrap it up, I wanted to go over what we learned in this class. We went over our class project, what you'll need to complete this recipe, thermal components that go into the login, the preparation of the ingredients, how to cooperate on ingredients together, transferring your lotion into the container of your choice, adding in the remaining ingredients. Thank you again for following the MSU. I joined. I hope you enjoyed this recipe.