Transcripts
1. Introduction: If you're looking
to get a little bit more organized
on your computer and also improve your
Canva design skills, this is a great course for you. Together, we are
going to be creating a custom wallpaper for your desktop computer or
your laptop, if you prefer. We will be focusing on creating a wallpaper that is functional, so it has different
sections where you can drag and drop your icons, which I personally
find very helpful for organizing my whole
entrepreneurial business. My name is Rebecca.
I am an artist, a graphic designer,
and a writer, and also a teacher here. And I'm going to be
walking you through this pretty simple and
straightforward class, but it is a lot of fun to
create these kind of projects. I do a new one every month for my wallpaper on my computer. I like to mix it
up a little bit. All you're going to
need to do this is a free Canva account and ostensibly some sort of computer to be putting
this background on. But this is also
something you could design as a digital
product if you want. This is something
you could sell. So without any further ado, if you would like
to join me, then let's head into the
first lesson together.
2. Set-Up and Examples: All right. The first thing
we're going to do to get started is to open up Canva. I just have a Canva
account here. Now, I do have a pro account, but you don't need one
to make this project. You can use a free
account. That's just fine. We're going to go
into creative design, and to get the size at
the desktop background, I'm just going to type in
desktop to the creative design, and it pulls up
desktop wallpaper. The size that it does
is 1920 by 1080 pixels. If you had an unusual
shaped computer, for example, like a
really long wide monitor, you just want to search
for what the size of that display is and make a
canvas that is that size. Have our desktop blank
here ready to design on, but before we do that,
I'm just going to hop in another file and show you
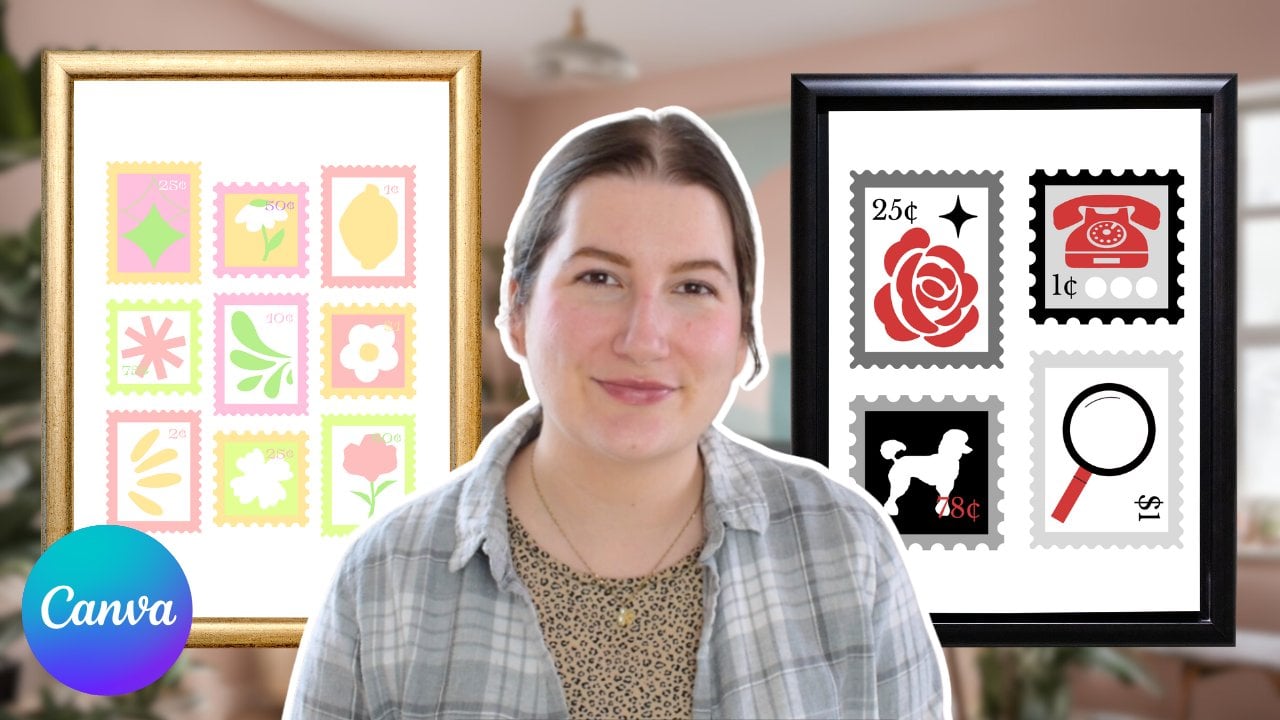
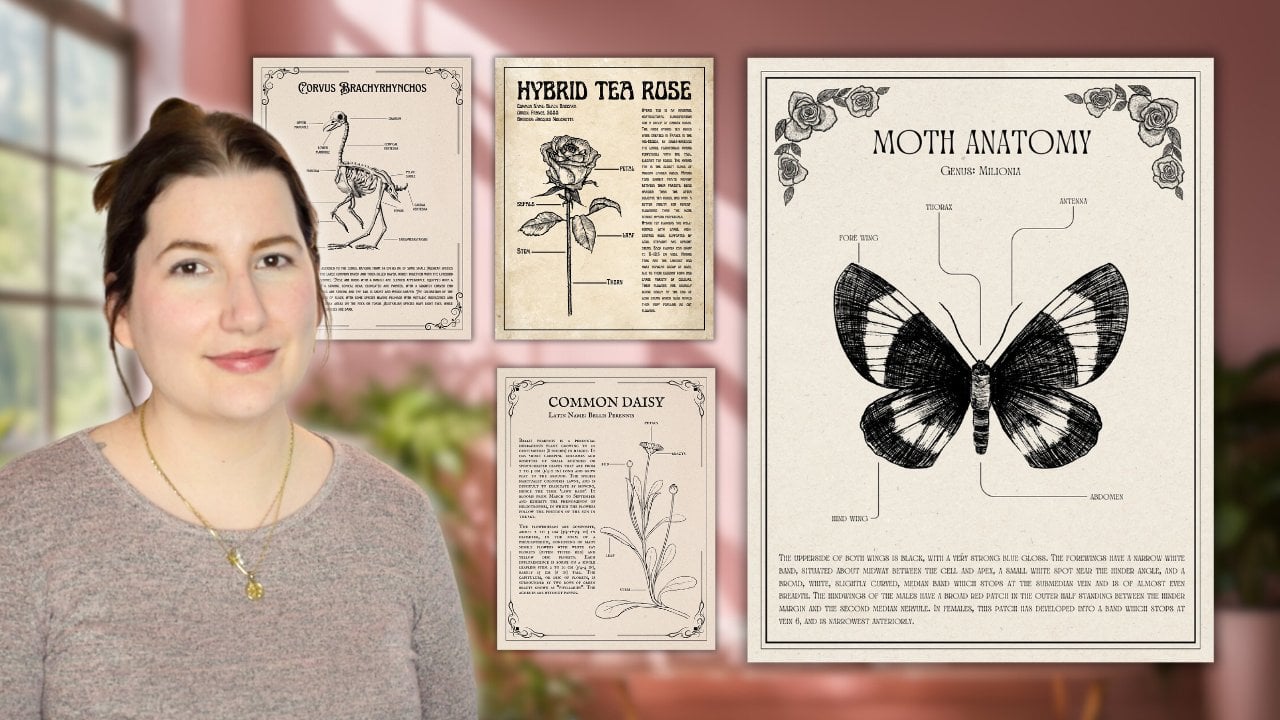
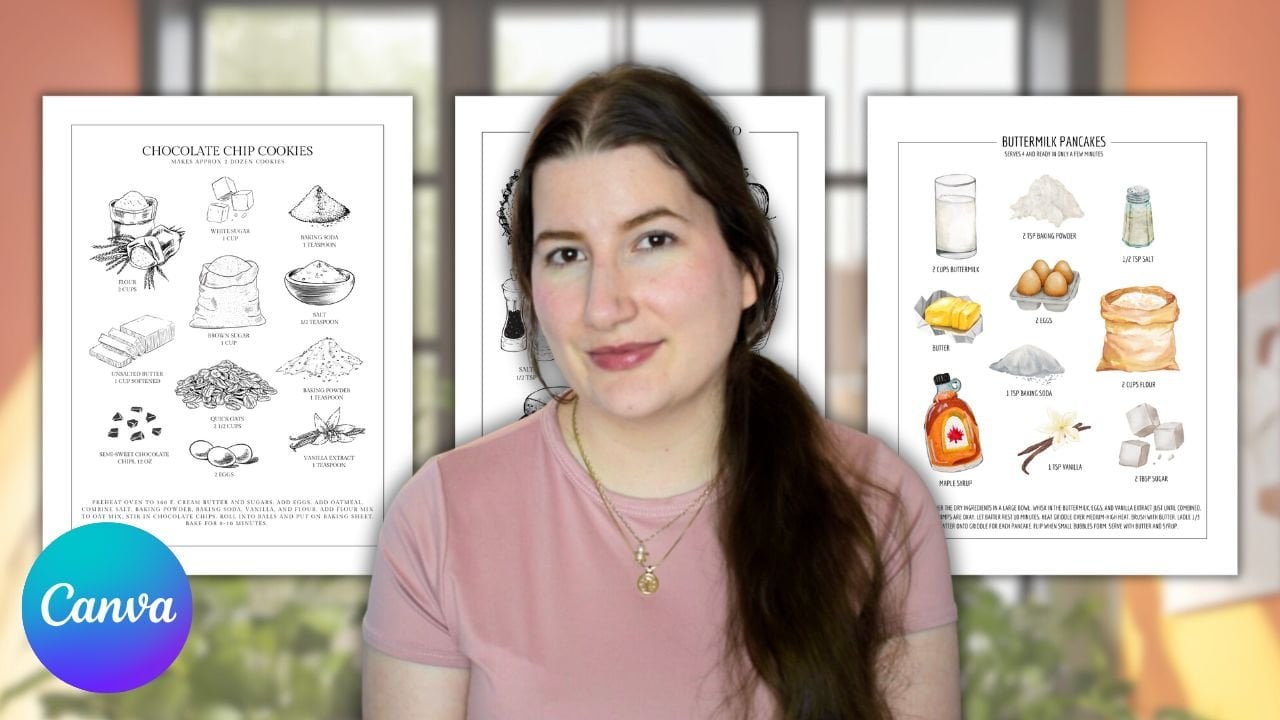
some I've already made. These are a couple different
desktop wallpapers I've used over the
last couple of months. So I just want to show
you some examples and we'll build off
of these ideas. At the time I made this, I
was using three monitors, so I needed three backgrounds,
and for the first one, I chose to put a
calendar in here with just some graphics that
match the color theme. These are from the
Canva Elements Library, and I didn't build this
calendar from scratch. I actually used a template in
the Canada design library, so I'll show you how to do
that and added a header. On the next page, this was
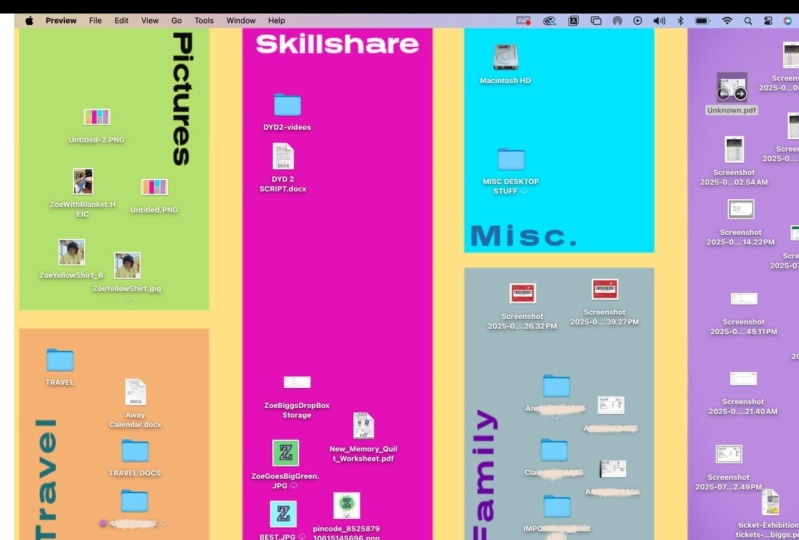
sort of my main display, and this is our main
concept for this project, which is to create
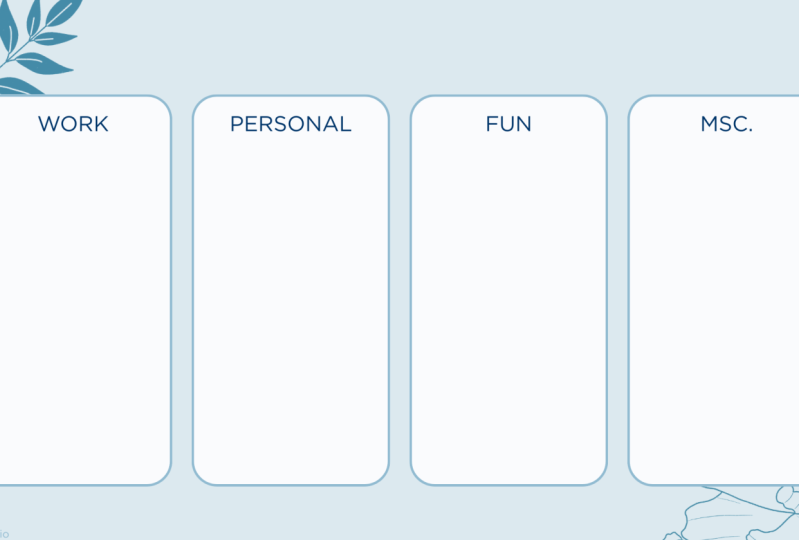
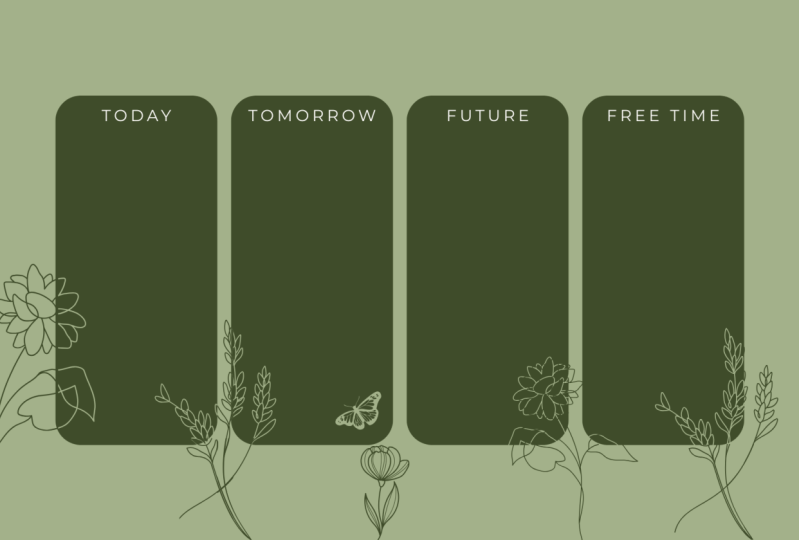
different boxes for your main desktop
where you can drop your files on to organize them. You can name these
whatever you want and suit it to whatever kind of stuff you do
for your computer, whether it's work or fun. And then I added in some
graphics that matched. For my third monitor, I just put this little quote just
to bring in the vibes, I guess, and did
all these flowers along the bottom
to keep on them. A variation on this
once I moved down to using just two monitors
again for a little while. So I just reinterpreted
the same design with some different
colors, different fonts. And then instead of having
a calendar page because I was finding I wasn't remembering to change
it every month, I just did this basic quote with a graphic that
matched the other page. That's what I have going
on my desktop right now. So first, we're
going to focus on doing something a
little bit like this. It's a pretty simple design, so let's hop into our blank.
3. Main Desktop Spread: My preference for designing
these backgrounds is to have a colored background and then have the
boxes be white. But of course, do whatever
matches your aesthetic. So first, I'm going to
pick a background color. I'm going to go with this
soft sort of Big tan color. And next, I'm going
to add some boxes. As a shortcut, I'm just tapping R on the keyboard for rectangle, and it brings up a box. Then you can change
the fill color. I will be making it
white. I'm going to put four of these on here as my
little boxes for organizing. And I think I'm going to add
a border to this little box. So we'll go to border style, and I'm going to
make border weight two just because I don't
want it too thick. I'll leave it as a solid line. Clicking on this circle here will change the border color. I'm going to click on the
same color as the background, but then click it again to edit that color and just make
it a little bit darker. So that's what our box
sort of looks like. I will also round the corners just because I think it's cute. So now we have this rounded box. I'm going to make
it sort of long, and I'll put four of
them on the page. We'll duplicate. I'll select
them all and just center it. So there are my four
organizational boxes. You can make as
many as you like, make them different shapes,
make them different sizes. It would be fun to do circles
or maybe other shapes, but just keep in
mind that your icons generally are square ish, so rectangular shape
is maybe most ideal. But don't let ideal things
compromise your creativity. Next, we will add some
text to label these boxes. Again, just a preference
to have labels. I'm going to tap T for
text on the keyboard. I will change this font color to that tan that we
made, the border color. And just slide it up to the top. Luckily, the grid
lines will make it very easy to snap it to
the middle of the box, and then we can pick a font
that suits your style. I like this Library Baskerville. It's sort of a nice Sara font. I'm always partial to it, so
I'm going to go with that. And then we'll
change this to work. I always like spending some
time playing around with the different features to make
the font look interesting. So in this case, I
will do uppercase and then play with the spacing, and we'll do letter spacing, push them out a little bit,
make that a little bigger. There we go. So now these will
be where my work files go. I'll duplicate this. Then duplicate it a
couple more times, and we'll just
change these labels. I find these are helpful labels, so my work files go here,
personal ones here. Anything that I just
kind of reference over time that I don't want to hide away somewhere can go here, and then anything
that needs to be organized drops into
the two sort bin. Once these basics are done, I like to go into the elements
library and just have a look around for the kind of
graphics might want to use. In this case, I had the idea
for a dragonfly design, so I just search for dragonfly. Anything with a crown
is for Pcount only, so just keep that in mind
if you have a free one. But I see this dragonfly here that's already kind
of the right color. But I like these line art
drawings because you can customize the color of
them if you so choose. So I'm going to
just rotate it and stick it down in the
corner as an accent, and I think I want a
flower up in this corner. I picked this iris design, and I'm just going to
put it behind the boxes just to make it a little bit
more intentional looking. So this is really simple, but
I think it's very pretty. I prefer more of a
minimalist desktop, but again, make it
whatever is your style.
4. Designs for Extra Monitors: Have additional monitors and you're going to want
extra background, so this is a couple
of ideas of what I like to put on
my extra monitors. I will add another
page to this design. It keeps the same
background color, which I prefer for consistency, but you may want
to do a gradient of different colors.
That could be cute too. If you want to add a calendar, one of my examples, then you don't have to build it
from scratch, thankfully. I like to just go into a template and borrow
one from there. So I just type in here. Calendar, maybe also the
year you're looking for. You can find a template that
has the grid already on it. This one here is like
a wallpaper design with all the months on it, which is not what I want,
but I'm just going to add it to the design and steal
the month that I do want. I'm going to add
another page because that one ate up our blank one. I'll fix the background color. Then let's grab a month. Let's say we're
going to use June. I'll drag it down
to the new page. Now, the font here
is very light, so I don't want to
lose track of it. I'm going to change
the font color to that same tan color
we used elsewhere. Now we can just delete
this template page. I'll make it a bit bigger
and put it in the center. Now, while it's all selected, you can also go in
and change the font, which I will do back
to Lebery Baskerville, which I already used. Sometimes when you
change the font, the spacing does
change a little bit. So in this case, I'm
just going to go select these and just make all the
Daisuke a little smaller. And there now they
all lined up better. But you can also adjust
to get everything in place if you so
choose. There we go. So now we have June
without too much effort. And again, I can grab some elements from
the library or copy these ones to make the
theme kind of carry over. Put the dragon fly again. We'll make them small, rotate them, and put them over here. So that's one example
of another page. The other option that I came
up with was doing a quote. So we'll add a blank
one, add a text box. The quote that I used
was consume less, create more, which personally is a good motto for
my art business. Again, we'll just change the styling so it
matches everything else. And I'll put it in the center of the page and add some
decorative elements. I'm going to stick
with the iris flowers. So this one, in particular, you see that it's got
a white background. In order to change
that, I just went in and you can edit both colors,
the black and the white. I'm just going to change that
to the background color, so it looks like
it's transparent, even though it's
technically not. Just changing these to be
that same accent color. And then the way that I
kind of like I like to put them down here so they sort of look like
they're peeking up. I think that's a cute design.
And you can replicate them along the page or
put them in the middle. Maybe move the quote up a
little bit if you do that. And I think that's
really pretty. And if you wanted to add these to the original page as well, I'm just going to show
you how I tucked them into the box. So I'm
pasting that there. I had this design on the original one kind
of small like that. And in this case, I just
used the crop tool right here and lined that up with the bottom of the box
and hit done. There we go. And we can zoom in. That
a little more perfect. So that's how I made
them peeking out of the box if you want to
do that technique, too. So here are three
different wallpapers that you could use
on your computer. I think they look really pretty, and they sort of just suit the vibe of my office right now. In order to install
these on your computer, you just want to
download them as a PNG. And then depending
on if you have a mac or a Windows or other
type of computer, there's different
instructions on how to install a wallpaper. But typically, right
clicking on the desktop, we'll bring up a box that says change wallpaper and
that's where you can upload it. So I'm going to install
this one as our example, and then I'm going
to show you in the next lesson how
to make custom icons so that your little items on your desktop also match
this cute design.
5. Custom Icons and Installation: This lesson, I'm just
going to show you quickly how to make custom desktop icons that you can then apply to your files on your desktop as
they match your background. I've created a very
small Canva Canvas here. This is 100 pixels by 100
pixels, a very small square. You can make your icon
basically anything. I think it's typical
to do a folder, so you can look in
the elements library for that file folder. Then have a look
for either a free or pro shape that
appeals to you. I'm just going to go with this
very basic foldery shape. And I like to make it about the size of the square
and put it in the center. Next, I change my color to something that will match
our design that we did, so I'm just going to go pick
a color that was similar to that. So, this
is one example. Another is that you can do
any kind of shape you want. So maybe you want to
do a flower shape. I've even done like a
hummingbird outline, any kind of shape
you can fill in. So we could do this flower as an icon instead of file folder. Again, just make it the size of the square and fill it
with your desired color. When you're done, you just download these to your computer. This is my whole desktop here. You can see with all my files,
so here's all my secrets. I'm first going to
change the background to our new one we design,
so I'm right clicking. Again, I'm on a Mac computer, so it may be different
on a Windows to change wallpaper, click here. It opened up this window. I'm going to go to add Photo, choose, and then just go
to my Downloads folder. Here's our three wallpapers. I'll pick the main one,
and now it is set up. All I have to do here is
drag and drop my files, put them in the right place. There's a lot of
messy files here for me, and that's okay. That's just how I live my life. We'll just say that
those go there. These are just some widgets
that I pulled because, again, I'm on a Max, you
can move them around. And eventually, I would want
to organize all of those in order to change the
icons of your items. You see here I have
a mess of them, they don't match, but
it is very simple. I'm going to right
click on this folder here and go to Get Info. It pulls up this little box here that just shows you
information about that file. Now, here is the window with my downloaded little
desktop icons. All you do, very simple, you drag and put
it right here in that top corner and it makes that the icon for your design. Now, I'm realizing
as I did this, I forgot to make the
background transparent. And that doesn't
particularly matter when you are doing white
boxes like I did, but just so you know if you wanted to put them
somewhere else, there is a little
white box around them. The feature on Canva to make items have transparent
backgrounds is a pro feature, but there are other websites you can do background removing or image background remover tools online that
you can use instead. So that's it for our little
class in this lesson. I hope that you enjoyed
this as a class project, you can imagine, I would love to see the wallpapers
that you design. So please feel free to upload your design to the class
project so we can take a look. If you have any questions
about this class, please put them in the discussion
and we can chat there. And if you have the time, I
would really appreciate it if you reviewed my class and let
me know what you thought. It helps me make better classes and it helps other students
find courses they like. That's it for now. Thanks very much for
taking this class, and I will see you later. Bye.
 Rebecca Wilson, Artist