Transcripts
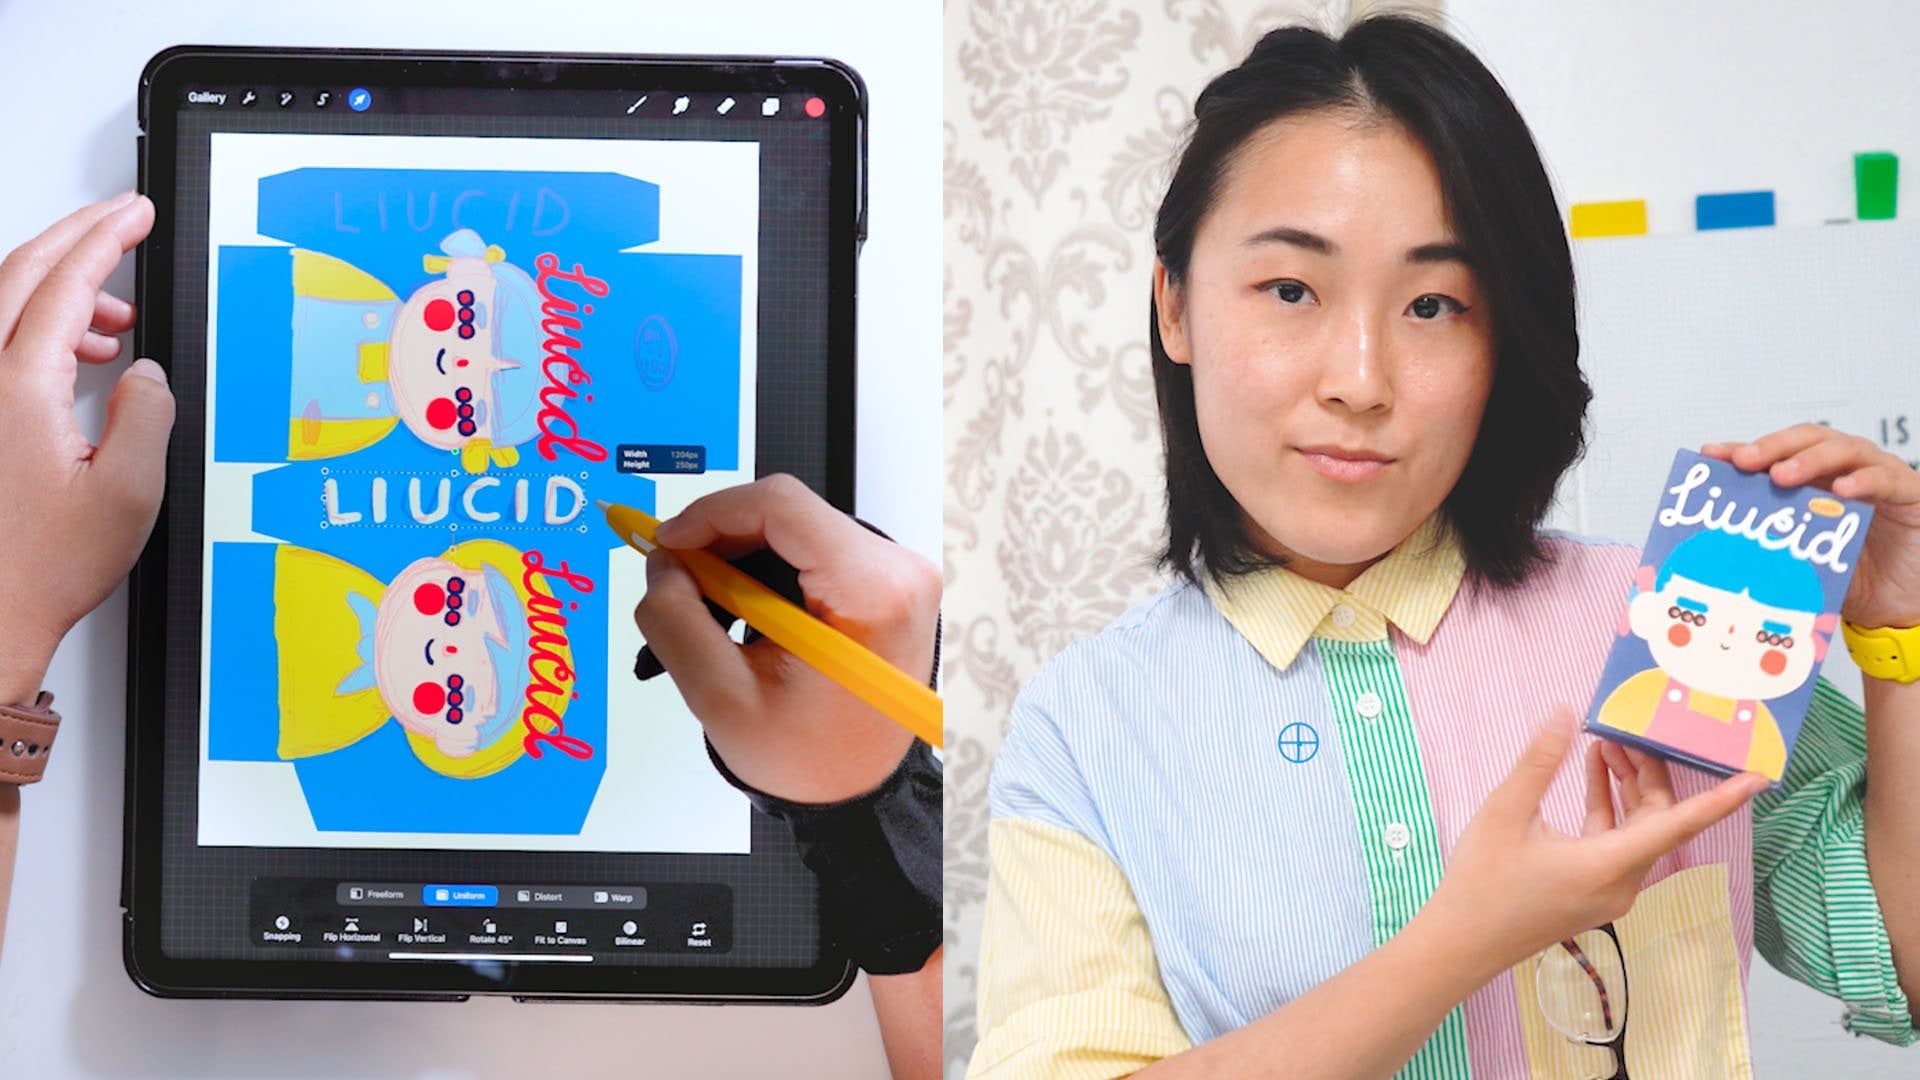
1. Class Intro: Hey, I'm Annie or Lucid, and the meaning behind
Lucid is two folds. So one is clarity
through connections, and the second is keep shining. And in this course, let's shine by learning
how to draw some pets. So if you're a beginner or looking to get
started right away, this is the perfect
course for you and a reminder that you can pause
and rewind at any time, making it the perfect class
to go at your own pace. So I hope you can
join this class, and until then keep shining.
2. Procreate Basics: Okay, so let's do a quick
intro to Procreate, and, of course, we'll
learn more as we go. But for now, let's
cover the basic. So to start, let's
actually learn how to open and what the size of our Procreate
drawing canvas will be. So in order to do that, we'll first go into
the plus sign. And with that opened, next, let's go to
our square size. So with our square
size selected, it'll automatically pop up, and this is the size that we'll be using for our drawings. So you saw that I could move it by pinching in and I zoom in, pinch out, zoom out, and I can even twist it around. So that's pretty neat. So with that open, this is actually our
right handed interface. So if you're left handed, this isn't actually the
interface that you want. Instead, if you're left handed, let's go ahead and click
onto the wrench tool. And let's click on
our preferences. And let's click on
right hand interface. So now this is the
left handed interface. And what has changed is that
this bar right here, well, this bar used to be right
here on the left hand side, but if you're left handed, this bar will be on
your right handed side. So let's go ahead
and let's actually start exploring this interface
slash all of the Controls. But first, I'm going to
go ahead and I'm going to switch back because
I'm right handed. And so the first thing we can do is we can go ahead
and select our color. So with this open, this
is our color palette, and what we can do is we can
move around in the middle. And we can move around
on the outside as well. So if you push it up, this is actually the color that will come out of your
brush right here. So you can see the color change as we move our brush around. So let's say I want maybe a yellow color,
and that's right here. And let's test out the color
that comes out of our brush. So if we click on our brush, we can actually select a ton of different
types of brushes. So maybe I want to use
sketching six B pencil, and I can go ahead and
just go into my canvas. And this color right here is the same color as
this one right here. So that looks really cool. And next, let's go ahead and
explore what these bars do. So if you push this one down, this is the brush size. So if I have it low, I get thin brush if I push it high, you can
see the difference. So push it down, small, push it up, big brush size. So pay attention to the bar on this side
when I'm drawing, so you know how big my brush is. And on the bottom, this is the opacity, which just means how
transparent is it. So, for example,
if you're at 100%, that means it's not very
see through at all. But if you bring it down, then it becomes lighter
and more see through. This just means how dark
is it and how light is it. So if you're bumping
the opacity very high, that means it's darker
and less see through. And if you bump it down, that means it's more see
through and lighter. So this middle button right
here, what's this square? So right here, if you
click on it and hold it, you actually get this
wheel that appears. So what that means is that this is actually a color
dropping tool. So let's say I want
a white color, so I want this
white canvas color. I can just let it go
and you can see that my color has changed to
the same color as this. So now I'm on my brush, and if I color something
in it's that white color. If I want it to be yellow, I can go ahead and click and hold and I can get
that yellow color. If I let go, it's
that yellow color, and you can see the
color right there. So let's say I don't want this. I can quickly undo that by clicking this
but right here. So undo. But let's say I changed my
mind and I want it back again. I can redo, so undo and redo. And another trick,
too, for a shortcut. If I want to undo something, two fingers and tap once. So there's actually
another way to undo, which is the eraser. And the eraser is
right over here. So if I click onto it, this is my eraser. But if I click onto it again, I can select a
variety of eraser. So I can go ahead and scroll, and I can go ahead and choose
whatever eraser I want. And I'll just pick
a random eraser, but you can see, now I'm
just erasing everything. Next, let's go ahead and let's actually go
back to our brush, and let's draw something. So let's say I have a circle. And if I hold it, I get
a nice smooth shape. And for a circle, if you want this to be a perfect circle, you can go ahead and use
your other finger and just click onto it and hold and
you get a perfect circle. If you let go, this is
your perfect circle. And next, what you can do to fill this in
really quick is you can go ahead and click onto your color and drag
it and drop it. And boom, you just filled
in your color really quick. And of course, the next thing that we can do is we
can play with layers. This is our layers. What that does is
it provides you with options to put things
on top of other things. For example, layer one, this circle is on
that and you can also click on this checkmark, which just means that it's
invisible and then visible. The blue highlight means that this is the
layer that you're on. If I want a new layer, now I have layer two and layer two is on
top of layer one. Whatever I draw, I'm going to
switch this color to black. But let's say, I just
want a smiley face. If I go back to my layers, you can see that layer two
is on top of one and if I hold it and I put it
underneath layer one, you can see that layer two
is now underneath layer one. And if I click onto layer one, layer two is still
there, but it's just hidden underneath layer one. So if you want
something to be shown, you just put it over, and that's how we can
play with our layers. All right, so those are the basic knowledge that comes along with
using Procreate. So let's go ahead and let's
learn how to save this out. So we can go into our wrench tool and
with our wrench tool, we can click Share. Next, let's go ahead
and click JPEG. Now we're saving our
file and we can save the image to our iPad or whatever drawing
device that we're using. And now that it says that
it's been saved successfully, that means it'll be
in your photo role. And with all of that, I think it's time to start
with our drawing lessons.
3. Color Palette: A quick note regarding
the color palette. So every drawing comes
with a color palette. And in order to access that, you have to download it and then open it up in
your drawing device, and it should
automatically open it and save it into
our color palette. So if you go into
your color palette, it should be under
the palette section, and if you scroll up, you can set it as
your default palette. So if you set it as
your default palette and you go back to your disc, you should see that the
palette has uploaded to your main palette.
So there you go.
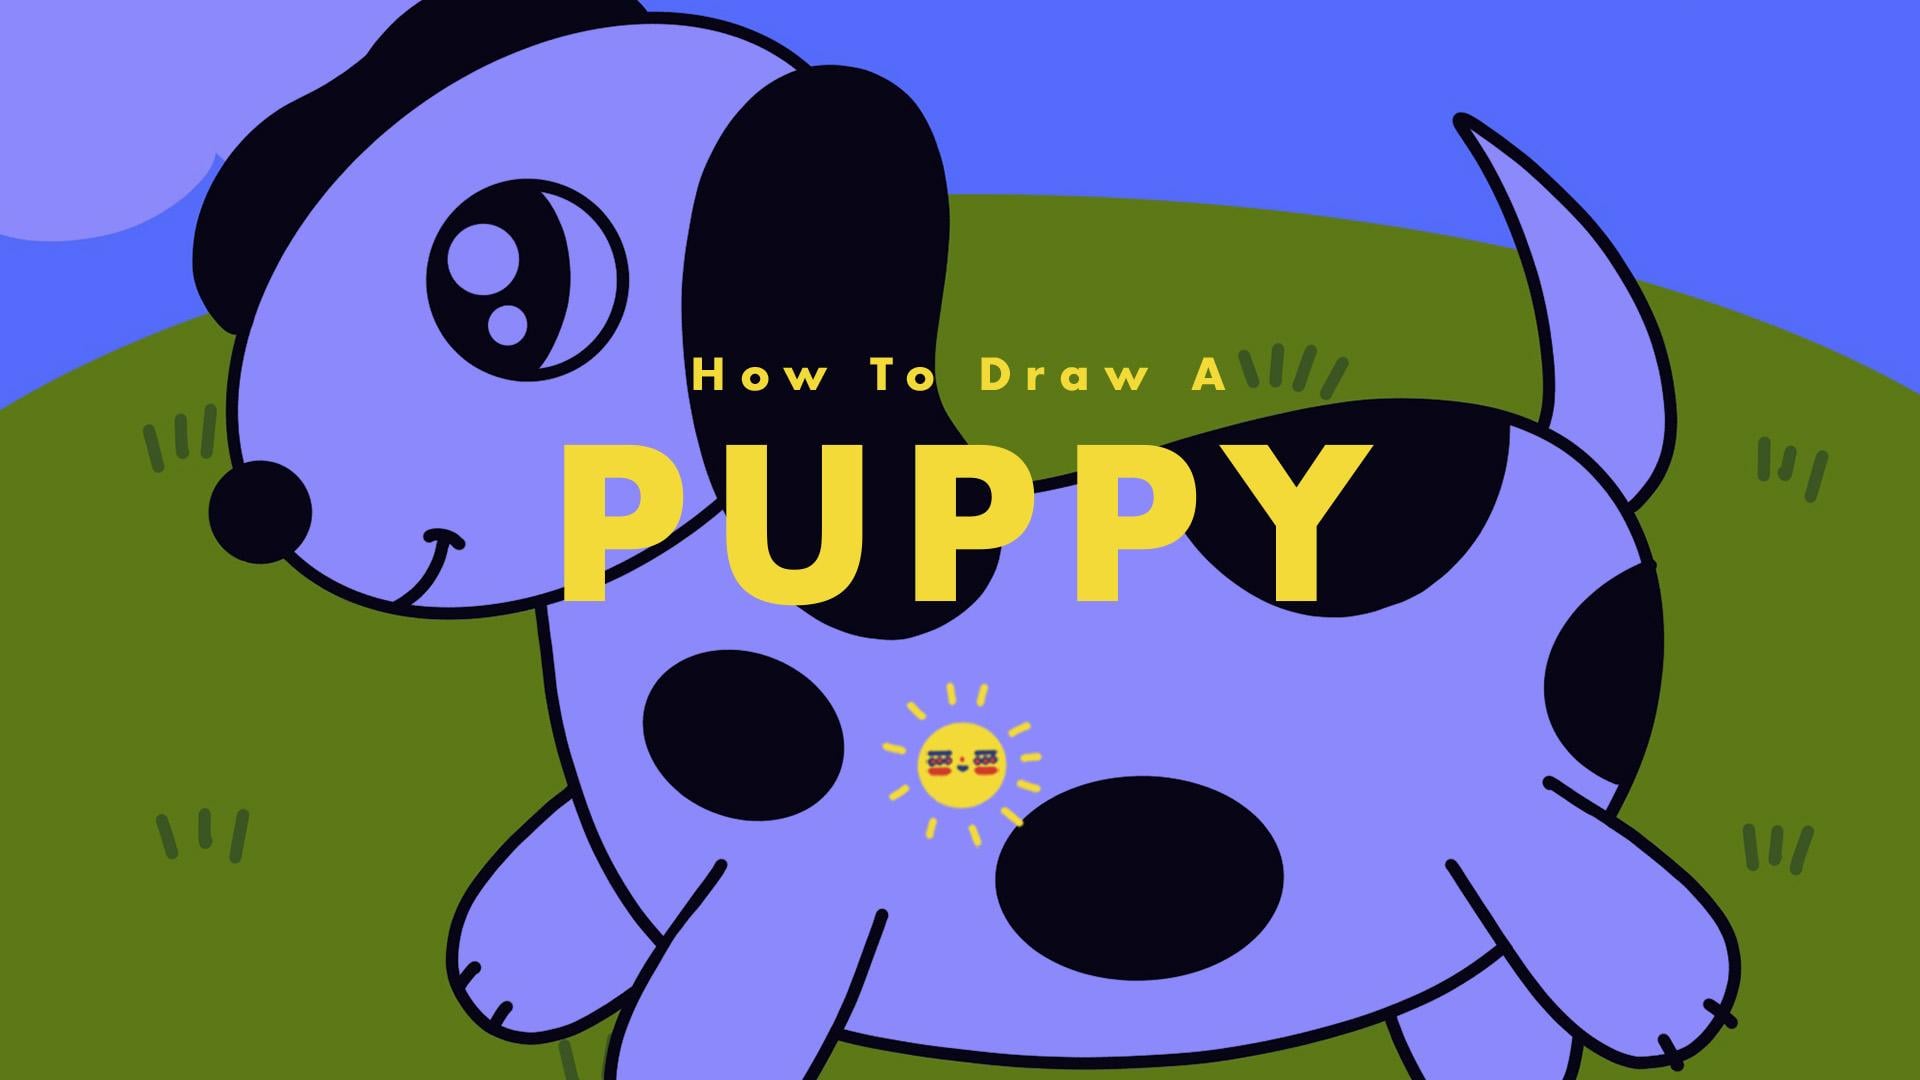
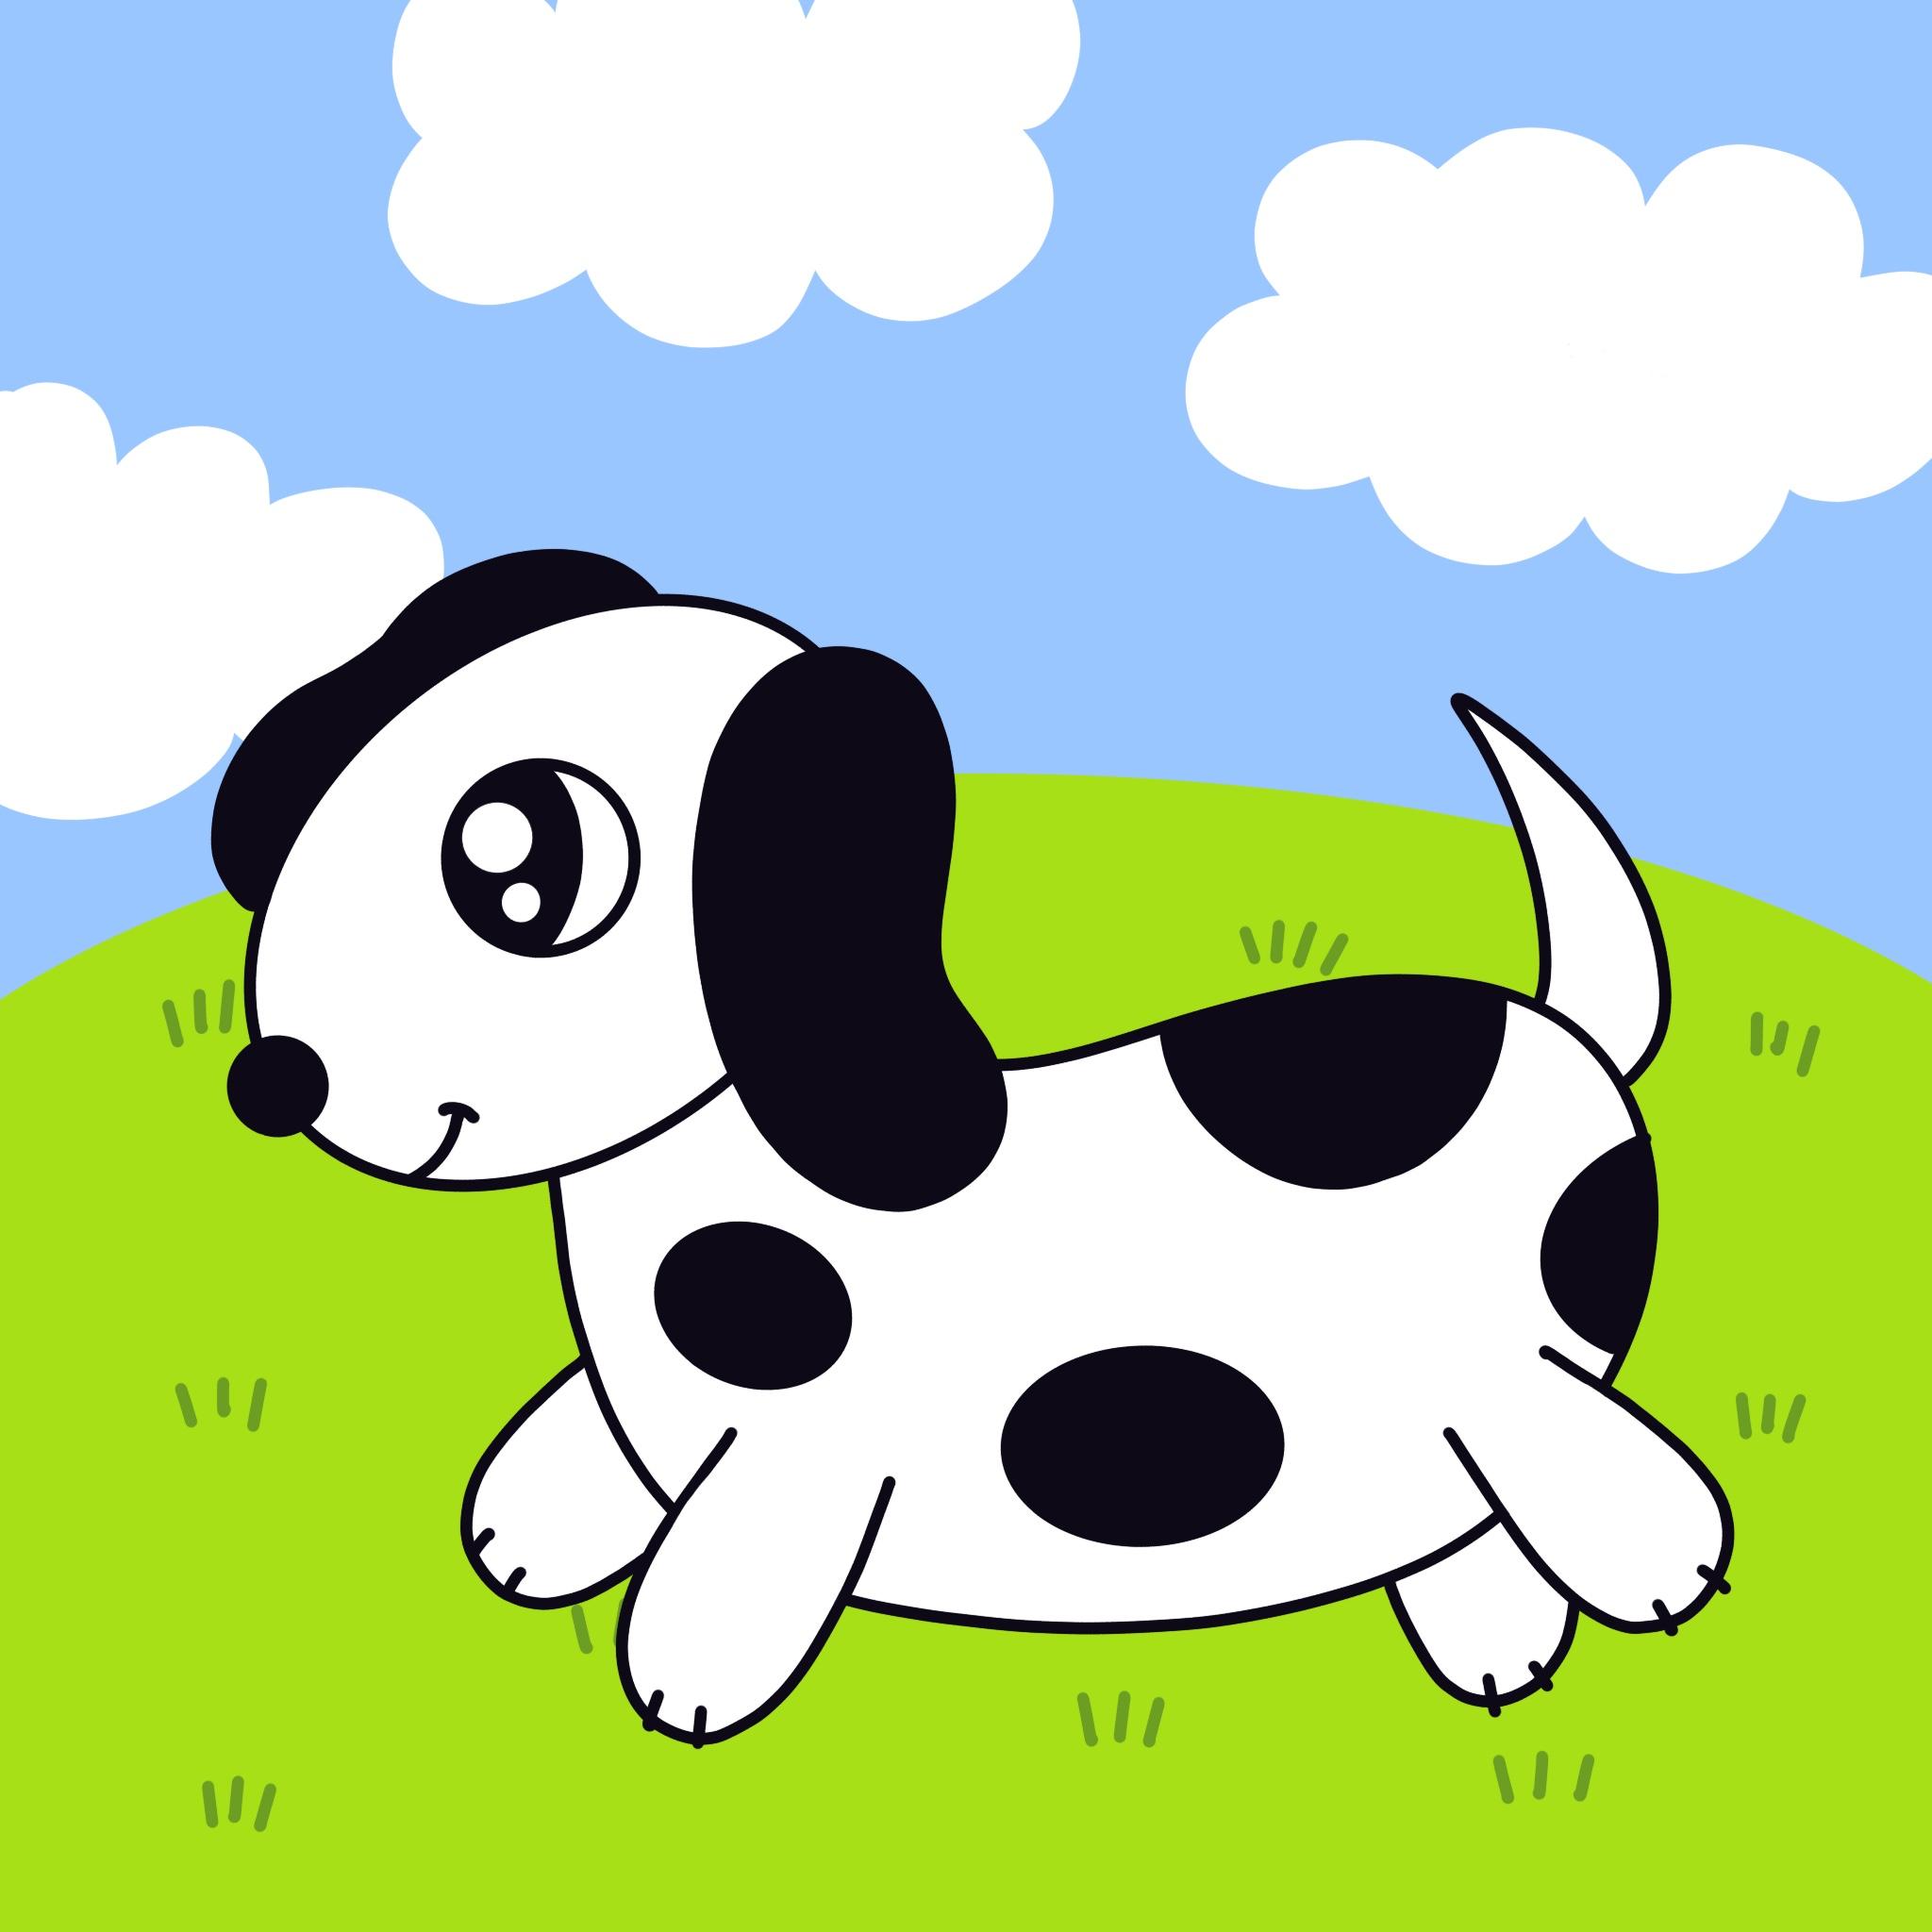
4. Dog: Making the Background: This class, we're going
to be drawing a dog. And in order to first do so, let's go ahead and color
in the background. So the background is going
to be a nice sky blue color. So let's go ahead and click
on our color palette. And from there, let's click
this blue right here. And let's go back
into the circle, click onto that drag and drop. From here, let's go ahead
and click onto the layers. Let's add a new layer. And this new layer is
going to be the grass. So in order to do that, we'll go into our color palette
right here, the circle. And let's go ahead and click
this nice light green. With that clicked onto, let's go into our brush. And let's select our
calligraphy monoline brush, and that'll be
highlighted in blue. Tap onto your drawing, and let's zoom out just
a bit so you can see it. And let's draw in
this nice curve. So hold it a bit, and then once you feel like
it's in a good space, go ahead and just let go. So we'll click back into our color palette and we'll
click and drag and drop. And this is our grass. So we have our sky and
we have our grass. Next, let's go ahead, click onto our layers. Go ahead and click
the plus sign, add in a new layer. So now we're on layer three. Go back into your color palette, and now what we're going to draw is we're going to
draw the clouds. So let's select the
white right here. And then we'll go
back into our brush. Again, it's Clorgraphy
model line. We don't have to press on it, but we're just checking to see if that's the brush
that we're on. Click back into your drawing, and now it's time
for the fun part. Let's go ahead and draw
some nice fluffy clouds. So let's fluff it up, and let's just draw some clouds. So here's one cloud, and the really cool thing
about this cloud is we could, if we want to just color it in, or we can use this
tool to drag and drop. And now we have one
cloud that's filled in. Let's go ahead and
make two more clouds. So again, we'll do
the same thing. And make some nice
fluffy clouds. And we can go ahead and close
it as well, drag and drop. And there we have two clouds. So we want three clouds. So let's draw one more cloud. So let's go ahead
and drop right here. Again, let's make
those fluffy lines, and then we can drag and drop. So now we have our three clouds, and it's looking pretty
nice. We have our clouds. We have our sky, and we have our grass. Now, let's, of course, make sure we have some grass. So let's click onto our layers, add in a new layer. So now we're on layer four, and we can go into
our color palette. And from there, we
can go ahead and choose this nice, dark green. With the green selected, we can go back into our drawing. We can play with the
size of the brush, so we can make it bigger
or we can make it smaller. Let's go ahead and make
it around nine to 10%. And let's just draw
in some grass. So in order to make grass, we're just creating some lines. We can have two lines or
we can have three lines. So it's up to you. We can
even do four if we want. But go ahead and just start
decorating the grass. Nice. We have our
clouds. We have our sky. We have some grass. And now let's make sure we have
our main character, which is our puppy.
5. Dog: Drawing : So to do that, let's
click into our layers. And let's go ahead
and make a new layer. So this is our layer five, and this is going to be
where we draw our puppy. So let's go ahead and click into our color palette and let's select this nice black
color right here. And with that selected, let's tap back into our drawing, and let's make the first shape. So the first shape
of our puppy dog, it's going to be an oval. So let's go ahead and draw
in an oval right here. And remember, if you hold,
you can make it big. You can make it small. But let's go ahead and aim for
a size that's kind of like this And then let go. So with our puppy's head, let's go ahead and start
drawing in the ears. So in order to do that, we'll draw in a bean shape. So maybe something like this. And for the other ear, let's go ahead and make a bump. So we can close it up like so, and we can create another bump. So maybe something like this. And from here, what we
can do is drag and drop, drag and drop, and we can
drag and drop, drag and drop. So this is our dog's
ear and our dog's head. Let's go ahead and
make sure our puppy can see and smell and,
of course, taste. So let's add in nice eyeball. We can do a circle. And if you want, you can
press it and you get a perfect circle
and then let go. So again, we can try
this for our nose, and what we can do is draw
in that circle and hold it, and then hold it with
your index finger. So just hold it, like, so let go. So we have our
perfect circle for the eyes and our perfect
circle for the nose. And again, let's go ahead and
drag and drop for the nose. Nice. And let's just make sure we have an
eyeball for our dog. So let's go ahead and
just curve it. Like so. And we can click drag and
drop, and there we go. So we have our puppy's
eyes, our puppy's nose, our puppy's ears,
and let's make sure we have our puppy's mouth. So in order to do that, let's just draw in a
nice little curve, and we can just add in
a little smile like so. Nice. So we have our
smiling little puppy, and let's go ahead and
start drawing in the body. So let's do the body as a giant bean shape.
So let's start. Like so. So this is
our bean shaped body, and let's go ahead
and add in a tail. So we can make our tail
really big or really small. It's up to you really. And next, let's make
sure our puppy can run around because right
now our puppy has no legs, and let's make sure
we add some of those. So let's just add in one right
here, another right here. Nice. So we have two, but let's make sure
we have two more. So for these two, we're
actually going inside the body, and then we're going to erase this line right here and
this line right here. And then we're actually going
to draw in two more legs. For this time, we're
not going to go inside, so you notice that
I didn't go inside. I just touched the outside. So now that we have
our four legs, let's go ahead and
use our eraser tool. So the eraser tool
is right here, and let's click on
it one more time, and let's make sure we have
it on calligraphy monoline. With that selected, tap
back into your drawing, maybe zoom in a bit
and what we're going to do is we're going to start erasing this line right here. So be careful on the edge. So as you can see, I deleted this line right here and let's delete this
line right here. So again, we can zoom in
and we can just erase. Remember, careful at
the edge looking nice. And let's zoom back
out. And there we go. We have our four legs. So click onto your brush. And let's go ahead and just
add in some of those nails. So one, two, and 12, and one, two, and 12. So this is what our puppy
is starting to look like. So our puppy looks really cute, but let's go ahead and
add in some spots. So for this part, you can put the spots
wherever you want. Maybe you want
oval shaped spots. And remember, you can hold it and you get nice perfect ovals, and then you can drag and drop. And maybe you want some
spots up here as well. And again, drag and drop. And let's do a spot right
here and drag and drop. Maybe we want a spot
right here as well. So it's up to you where
you place your spots. And from here, what we can do is we can actually start
coloring in the body.
6. Dog: Coloring : So in order to do that, we can either go into
our color palette, select this nice white. So we've selected
our white color, and at this point, what we can do is we
can go into our layers, and we can actually
click on Layer four, create a new layer. And this is our layer six, which is underneath
our puppy layer, we can go into our brush, and we can select
our six B pencil, go back into our drawing, and we can actually color it in. So this is one way
to go about coloring your puppy and you can just keep going and make sure you
color inside the line. Or if you want a faster way, you can go ahead, click onto your layer. You can hide this layer for now, or you can delete it by swiping
left and clicking delete. And then you can go back
into your layer five. So your layer five
is your puppy layer. Click back into it, and you can use the white drag and drop, drag and drop, drag and
drop, drag and drop. And, of course, drag and drop. And do the same thing for thye. So that's the fast method. So you have a choice
of either going slow and coloring it in with your
new layer and 60 pencil, or you can just drag and drop. And so that's what I
did in this drawing. I just dragged and dropped
some of the colors in there. And next, let's go ahead and add in our final details by
going into our layer. Making a new layer on
top of our puppy layer. Click on our brush again, make sure now that we have it on our calligraphy model line with that selected tap
into your drawing, and let's go ahead and make
some highlights for the eye. So this will be a nice circle, and I'm going to drag and drop and then I'm going to make a smaller
circle underneath. A and we're going to zoom
out there you have it. This is our puppy. And, of course,
towards the end of it, if we see anything that
we think can be fixed, we can do that right now. So for myself, I might
fix the ears right here, and I can do that by going into my layer and make sure
you're on the right layer. So that was this
layer right here. So that was layer five, and I'm going to go
into my color palette, select my black again. Going into my brush to
make sure it's a monoline, tapping in and
maybe even zooming in so I can get the
details, right. Maybe I want it a
little bit bigger. And then I'll zoom out.
So I've just made sure that this ear is almost the
same size as the other ear. And with that, this
is our puppy drawing.
7. Bunny: Making the Background: Alright, so in order to begin, let's start by
selecting our color. Let's choose our
blue right here, and let's just drag
and drop this color. Nice. So we filled up the layer with a nice sky blue color. And next we can go ahead
and add in a new layer. And with our layer two, what we're going to do is
let's draw in some clouds. And let's use this
color right here. And with our brush, we can select our
calligraphy monoline brush. So we clicked on that, and
it's highlighted in blue. We'll go back into our drawing, and we can play with the brush
size right here, push up. And we can just draw in
some nice fluffy clouds. And we can, of course, drag and drop and make
sure you close that line. So just close your cloud
so you can drag and drop. Nice. We have two clouds
and that should be enough. Next, let's go into our layers, open that up and
add in a new layer. Right now, we're going
to be drawing our grass. So in order to do that, let's hop back into
our color palette. Let's select this nice green
right here in the middle. With that selected, tap
back into your drawing, lower the brush
size just a bit to maybe 20 or so percent
and just draw in a curve. And you can hold
that and you can move it up and you
can move it down, but let's try to move it right in the middle and then let go. So now we have the grass, but let's fill in
all this color by going into our color palette and selecting this nice light green. Select that. Click
onto the green, drag and drop, and boom, you have your grass. So with your grass, what we're going to be doing is we're actually
going to be adding a new layer and we're
going to be adding trees. So let's go back into a color palette and let's
select this middle green. Click on that, and what we'll do is let's draw in
a shape like this. So these are our trees, and we can have
two on each side. So make one smaller, and let's make one bigger. And then you can drag
and drop, drag and drop. Drag and drop. Drag and drop. Nice. We have some
cool looking trees, and what we can do is
click onto a layer. And with layer four,
this is our trees. We should hold it, drag it down. And now our grass layer, which is in blue is
above the tree layer. So that means we can see the grass layer covering
up some of the tree, which is a really nice look. All right, so we have our
basic background done.
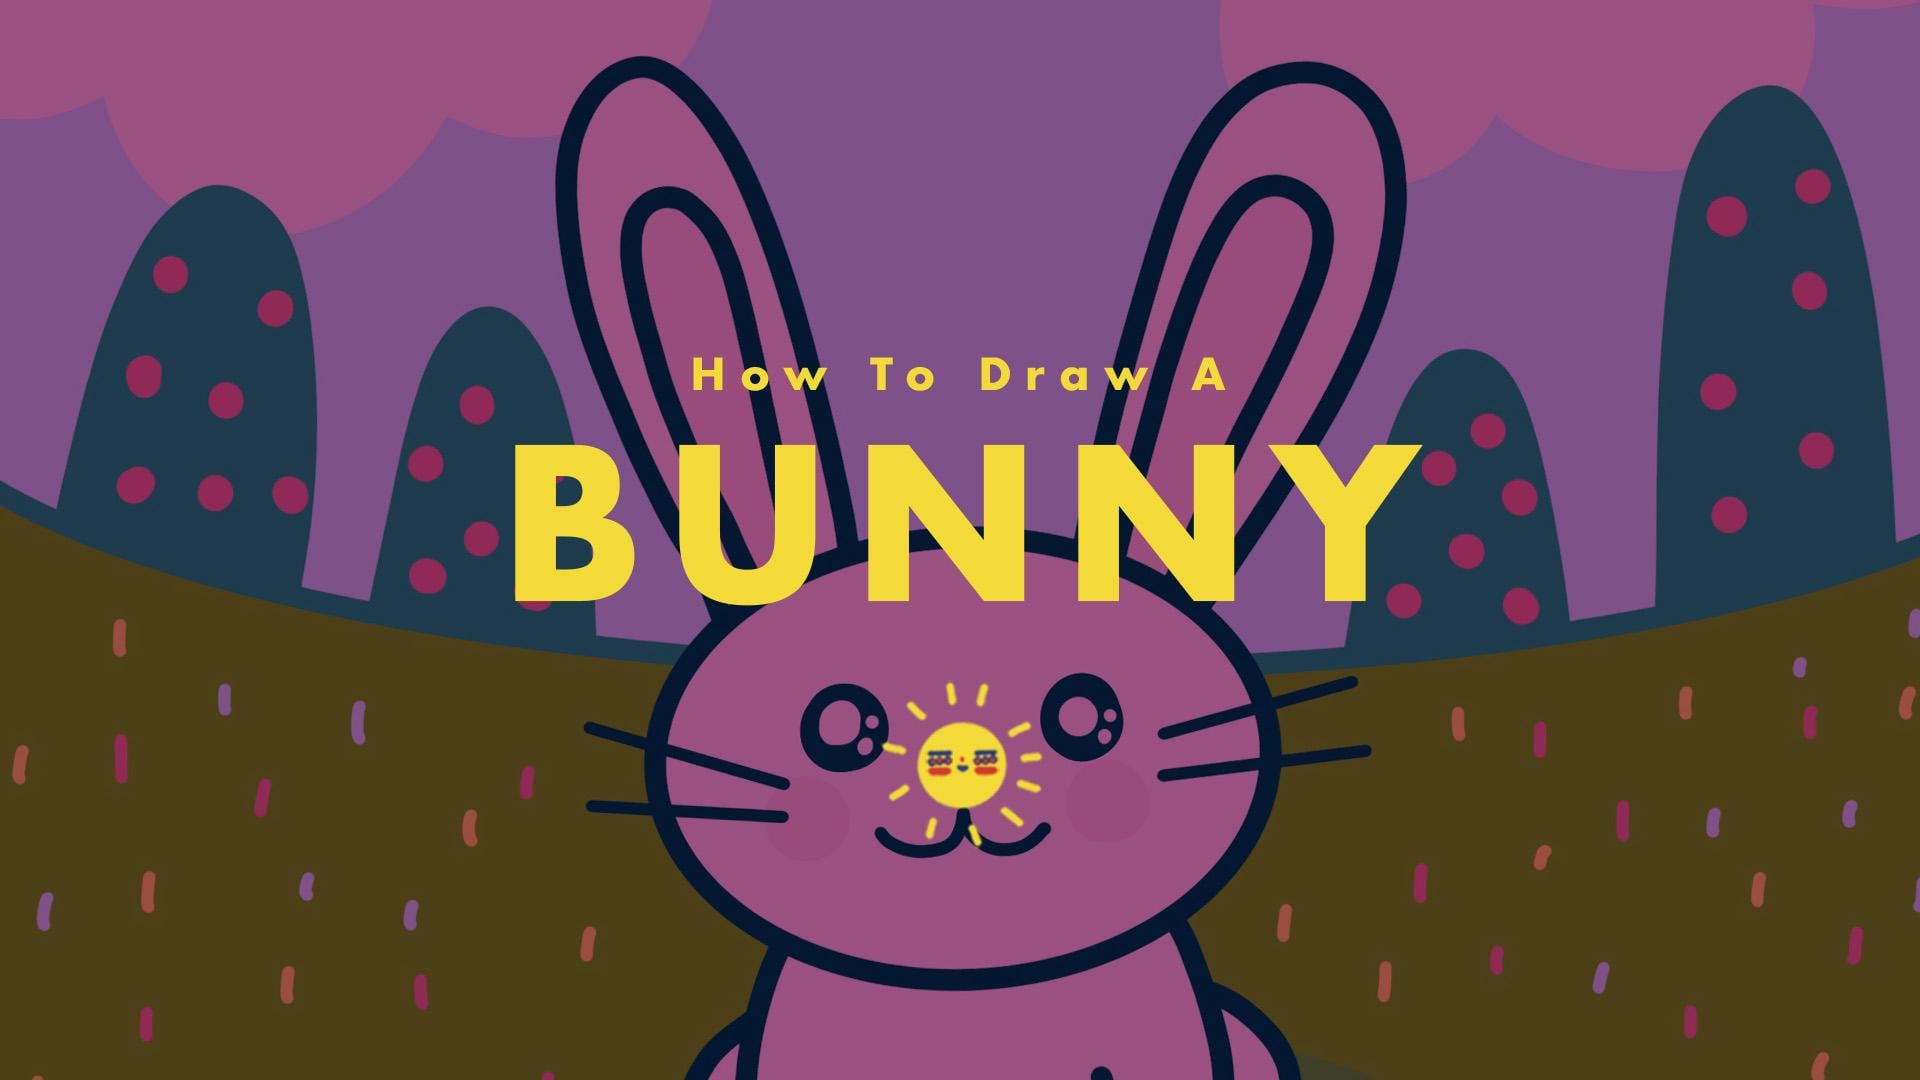
8. Bunny: Drawing : Next, let's go ahead
and draw in our bunny. So in order to do that, let's go into our layers. Let's make a new layer, and this is going to
be our bunny layer. So we'll have to go
into our color palette and let's select that nice
blue color right here. So with that selected, let's
go back into a drawing. And let's actually start by
drawing the bunny's head. So let's make sure our bunny's
head is somewhere around here because we
want to make sure there's enough room
for the ears, as well. So let's just draw in an oval and just hold it
so you get a nice oval, and of course, you
can make it smaller, or you can make it bigger. But in our drawing, let's just put it in the middle. So we have a medium
size bunny head. And next, let's go ahead and
add in some nice big ears. And again, some nice big ears. And of course, we can add
in the inner ear as well. And same for this side. Nice. We have the bunny's head, and that's looking really nice. So let's add in
the bunny's body. So with our bunny's body, let's go ahead and just draw in one side
and another side. Nice. And let's
draw in some arms. So that's looking good so far. And let's draw in body. And then let's make sure it
has the hind legs, as well. So let's just do
something like this. So now we have a
cute little bunny that's just sitting there.
9. Bunny: Coloring : And next, let's go ahead and let's just go
into a color palette. And let's select this
color right here, and we can drag and drop. Drag and drop, drag and
drop, drag and drop. And same for the ears. And for the inner ears, let's actually drag and
drop this color right here. So with that clicked onto, we can just drag and
drop, drag and drop. Nice. That's looking
really awesome so far. And let's make sure we
have eyes and nose and, of course, a mouth. So let's go into a color
palette, select that blue. And let's actually
make the eyes bigger. So let's have it at maybe 60 to 70% and we can
just draw in a circle. Draw in another circle. And for the nose, we're actually going to switch and use this pink right here. So click onto that and click
onto your drawing and lower the brush size because we're going to have a
tiny little nose. All right, that's
looking really good. And let's just color pick this
and let's make the mouth. All right, we have our mouth, and let's actually use
this color right here. And I'm clicking the
square right there, and you can see when
I click onto that, I get a color wheel, and then I can add
it onto the eyes. I can zoom in a bit. This effect right here, and we can even do another one. If you zoom out, that's what
it's looking like so far, and we can even go
into a color palette and select that pink color, and we can bump it up a bit
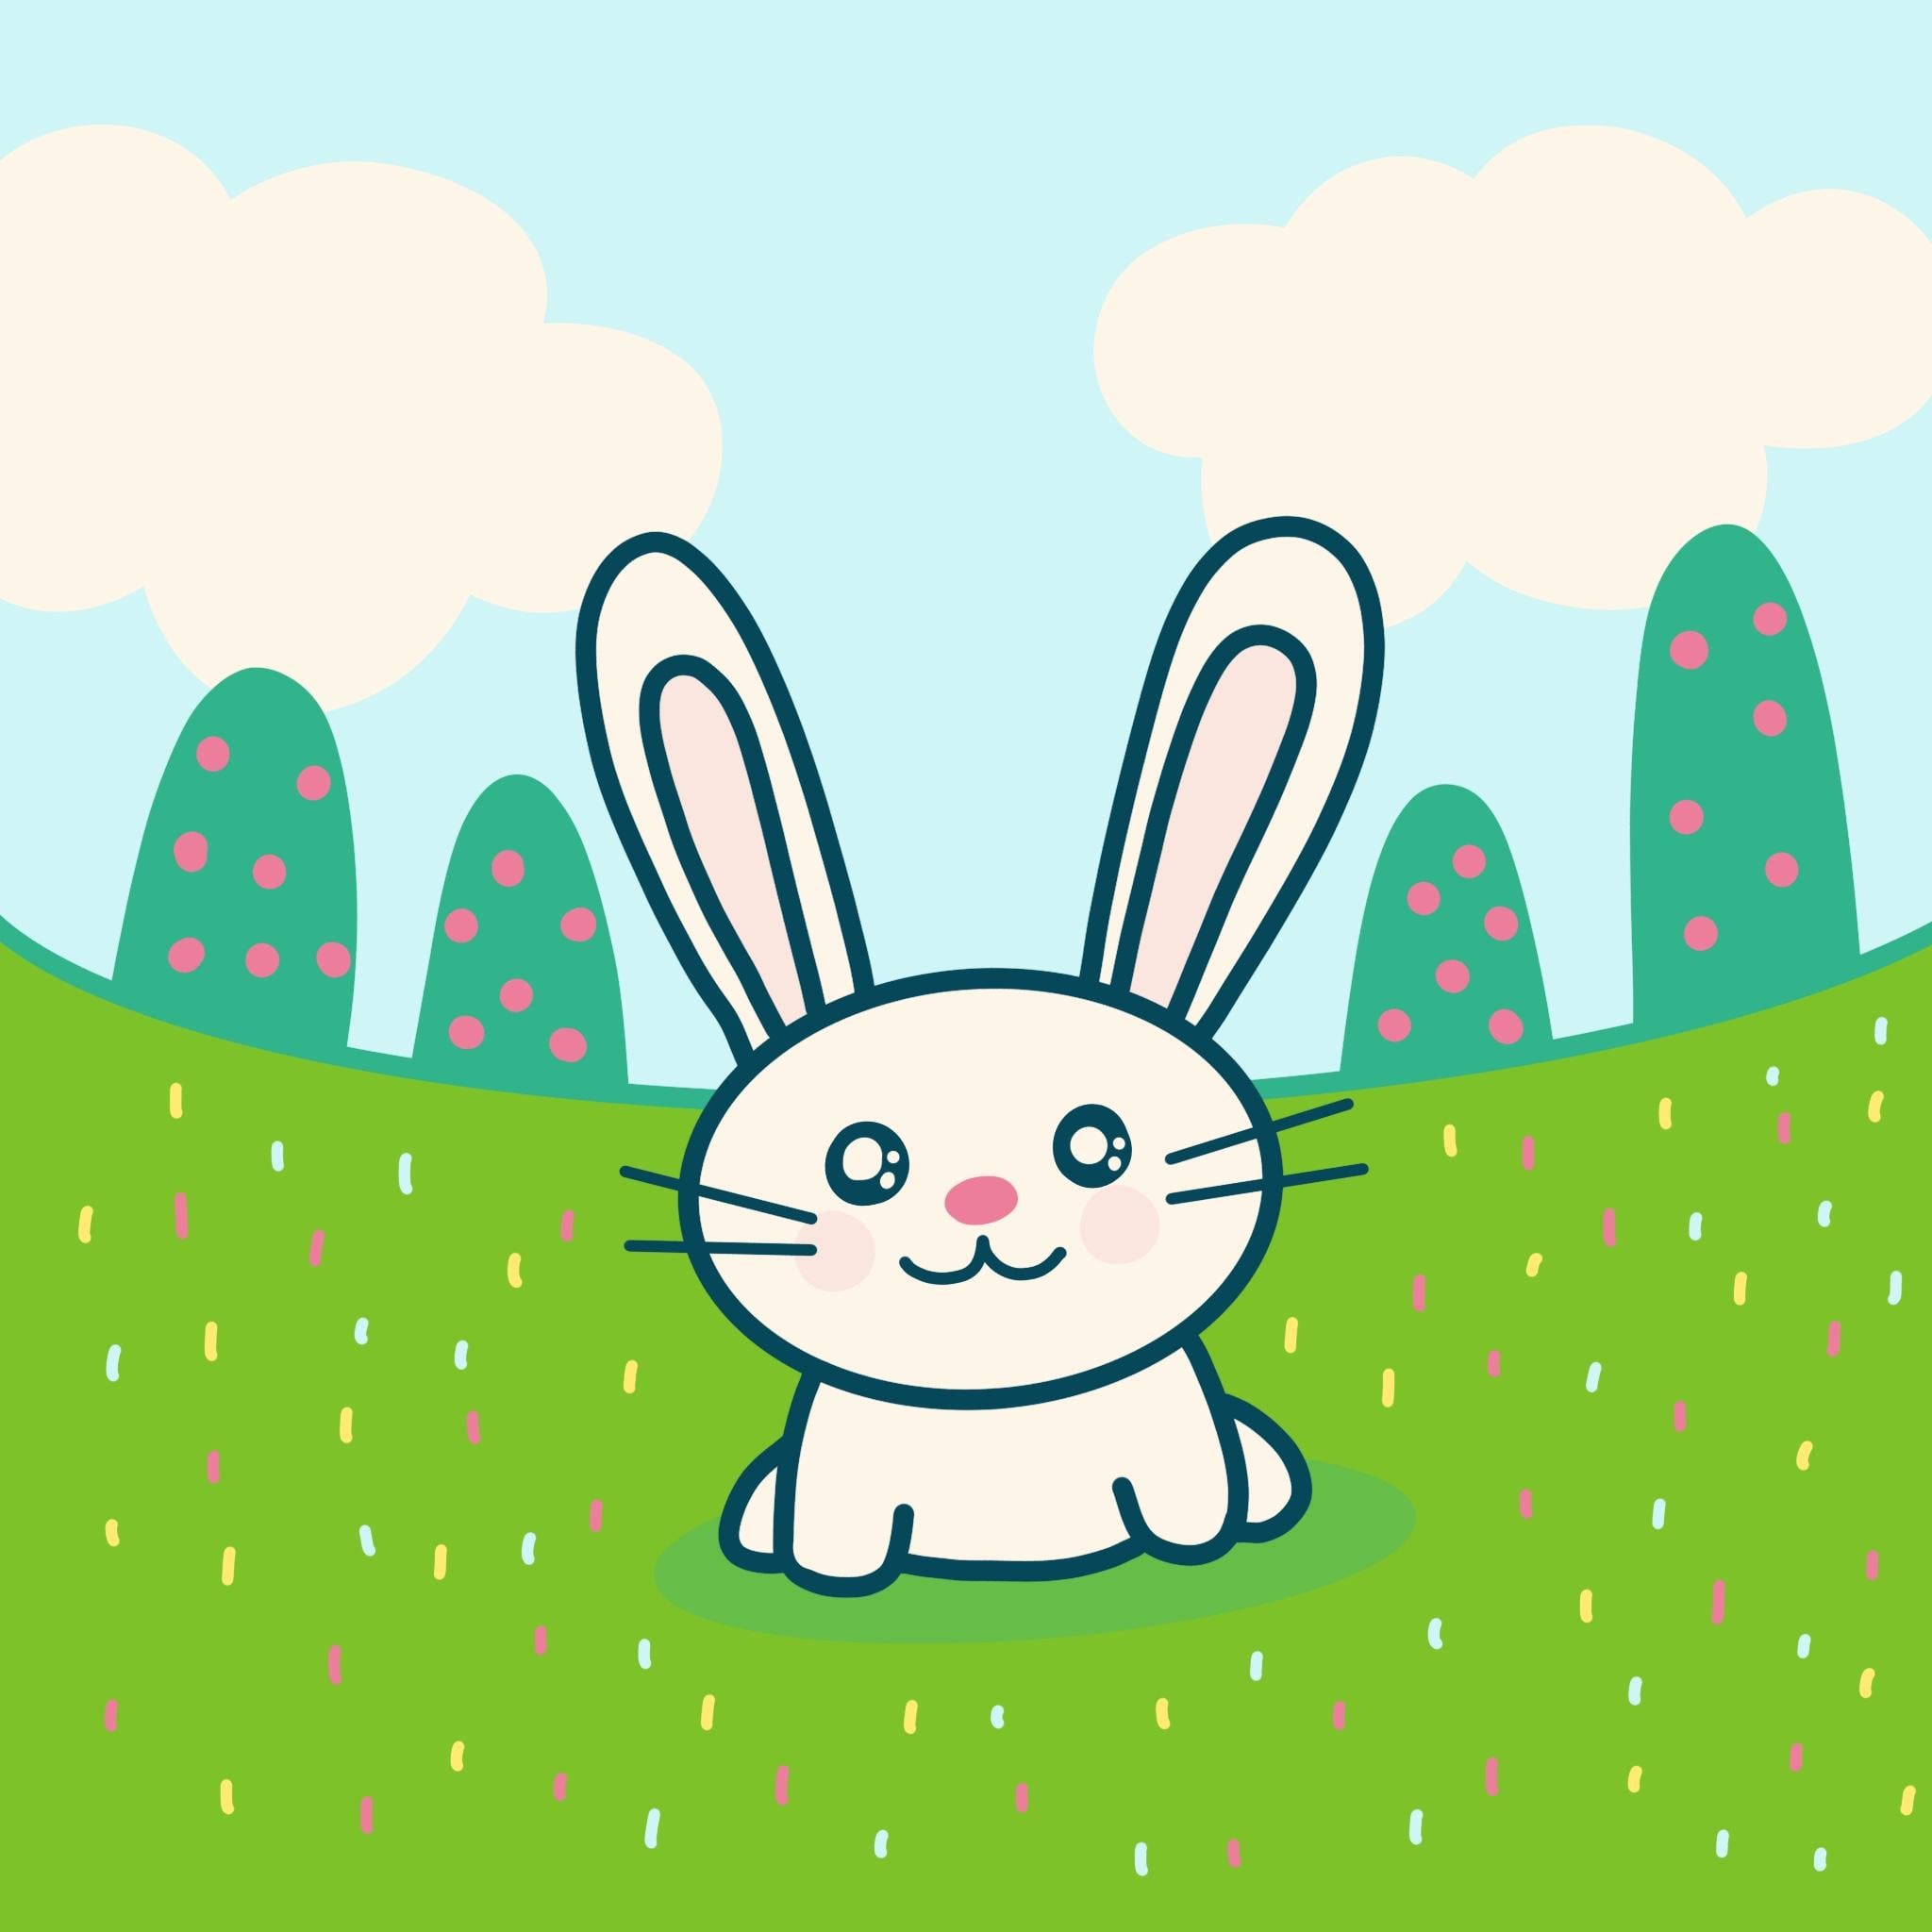
and add in some cheeks. Awesome. So that's what our bunny
is starting to look like, and it's very cute. And we can even go
ahead and color pick this turn down
the brush size. And if you hold it, you
get a nice straight line, and then you can just release. All right. All right, so we have our basic bunny, and let's go ahead, click onto your layers. Add a new layer. And
with our new layer, let's make sure it's
underneath the bunny, but on top of the grass. And let's go into
our color palette. Make sure it's this dark green. And click onto your drawing, and what we'll do
is make an oval underneath the bunny
and hold that. So you can see we have
a nice oval eclipse. And what we'll do
is drag and drop. And this is our shadow, and we'll click on N, and then we'll turn
down the opacity. So you can see that there's a shadow underneath the bunny. And of course, let's go into our layers and add
our finishing touch. And in order to do that, click on to layer six. Add a new layer. So this
layer sits on the top. Go into your color palette. Let's select that nice pink. Go back into your drawing, and let's just make some
nice little sprinkles. So we're just adding some
nice color onto the grass, and we can go back into
our color palette, select yellow, and let's
do the same thing. Next, let's go into a color palette and let's
actually use some of that blue. And we'll do the same
exact thing as well. So let's just sprinkle the grass with these nice, lovely colors. And if we want, we can go
into our color palette, select the pink, go
back into a drawing, make our brush size
a little bit bigger, and we can just make little nice poker
dot patterns on our tree. And with that, we just
drew a very cute bunny.
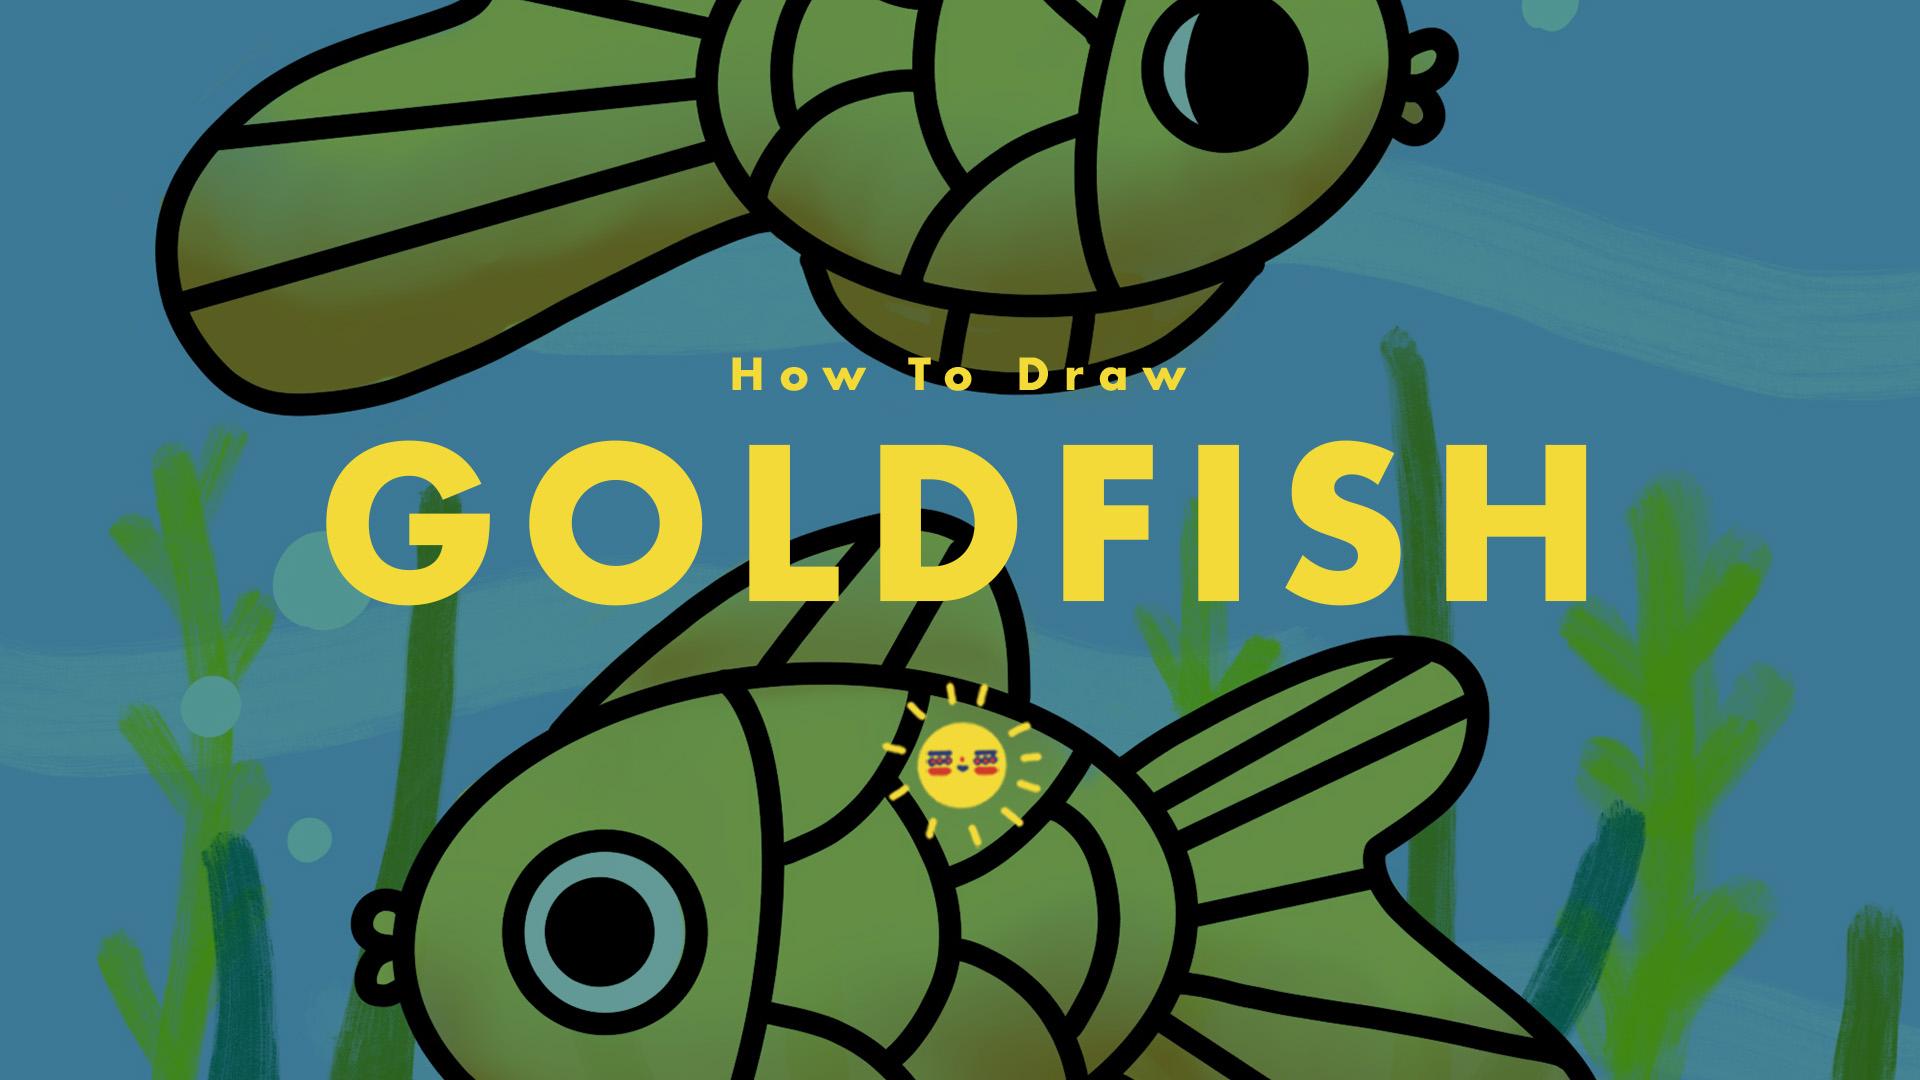
10. Goldfish: Making the Background: Alright, so in this class, we're going to be
drawing some goldfish. And in order to begin, let's put in our water. So to put in our water, we're going to go
into our color, select this nice
darker shade of blue. Go back up into your top right hand and
you have the circle, so just drag and drop, and boom, look at
all of the water. This is the water that your
goldfish will be living in. Next, let's go ahead and add
in some nice cool waves. In order to do that,
we'll go into our layer. Click on the plus
sign right here. And with our layer two, it's highlighted in blue, and we're going to be
using our lighter blue. So let's click on to
this lighter blue. And then let's go
back into our brush. And let's select our
painting wet acrylic brush. So with our wet acrylic brush
selected, let's go ahead, tap back into your drawing, and we can play with a
big wave or a small wave. I have it at about 15%, and I'm just going to
make some nice waves. So you can see, I just have
a couple of waves going on. Some are a little bit
lighter than the other. And now we have our
water with our waves. So that's pretty awesome. And next, let's go into our layers and add
in a new layer. So for this layer, layer three, this is where we're going to be drawing some of our plants. So let's open up our color palette with our
color palette opened up, we have three shades of green. Let's first use
our lighter shade. Click on to that, tap
back into your drawing, and we could lower our brush
size, which is right here. Now I have it at 6%, and I'm just going to draw in
some of these nice plants. And I can even push up my opacity since it's
not all the way up. So that just means it'll
be less see through. And you can give it a little
bit of space in between, and you can make some
smaller and some taller. So it's up to you how
you want your plants. And next, let's go
back into our color. Let's select the middle
shade of the green. And let's go ahead and keep
drawing these nice plants. So you can design your
own plants if you'd like. Again, make sure some are
tall, some are small. And then next, let's go
back into our color, select that darker
shade of green. And for this one, you can just go over some
of your plants as well. So you could just see that I drew over
some of the plants. That's okay. So I think
this looks pretty nice. And once we have our water, we have our waves, we have our plants. Let's go ahead and
draw in our goldfish.
11. Goldfish: Drawing: So with our goldfish, we'll make a new layer. So with the plus line, we've made our layer four, and layer four is highlighted. So we'll go into our color
palette, select the black. With our black selected, you'll go back into your brush. Select the calligraphy monoline and tap back into your drawn. Next, let's go ahead
and draw in an oval. So here's one oval. And if you hold it, you can
make it smaller by going in or hold it and go out and
you can make a big goldfish. But what we're going to do is
we're going to make sure we have room for the
tail and the fins. So let's make sure it fits, and maybe we'll have
small little goldfish. So that's one goldfish, and we're actually
going to make another. So let's have two ovals. And we can make one
bigger or smaller, so it depends on how
you like your goldfish. For myself, I think I'll have it around this size and let go. So we have our two ovals, and this is where our
goldfish will be. From here, let's go ahead
and draw in the eyes. For the eyes, we can do circles, and we can hold it and
use your index finger, click onto it and you can see it's become a perfect circle. Let go and same for the side. So let's draw in that
circle, hold it, and then tap it and
hold it and let go. And for this one, I think my eye will be
something like this, and I'll just drag and
drop to just fill that in. And for this eye, I'm just
going to create a circle. So I'm just going to draw and
just tap it, drag and drop. Next, I'm going to
be drawing the lips. So for the lips, we
can just one, two. Again, we can do one, two. So think of these
like half circles. Next, we can draw our fins. So a fin might be
something like this. So we have one fin here
and for the bottom fin, think of it as kind of
like a half an oval, and we can do the same
thing on this one. So half an oval, and then this
one we'll just go like so. And now let's draw in the tail. So for the tail, we
can do something like this where we bump
in, and then we bump out. And for this one, we can do something very
similar as well, where we bump in and bump out. Next, let's go ahead and
add in some of the scales. So in order to do that,
I'll just divide it. And remember, you can
hold it and then let go. And then for this one,
let's just do this first, one, two, and then you'll
close it with a three. And then, same thing. One, two, and then you'll just close it. So let's try that
again for this fish. So let's just do this, draw a line that curves, and then we'll do
the sides first. So 12, and then the
middle with the three. And then again, let's
try that again. One, two, and then
middle, close it up. Awesome. So we have our fish, and let's actually
add in more lines. So let's add some lines
for the fins like so. And right here, let's
just add the lines there. Let's do that on
this one, as well. And we can add more
lines if we'd like. So it's just up to you how
you want your fish to look. And let's, of course,
not forget the tail. So for the tail, you
can just do like so. So for the tail, you can hold it and you can create
these nice straight lines. And remember, you can
just drag it around. Don't let go yet unless
you want it to be there. So I want it here, and
I'm just going to let go. So again, hold it for just a bit so that you can see that it's become
a straight line. So again, let's try
that here. Hold it. Boom, straight line.
Hold it a bit, and it's become a straight line. Hold it just a bit. And you can see that it's become a straight line if
you look up here. It says, Edit Shape. And once we create a line, just hold it a bit and
you can see that it has now said line created. So that's when you
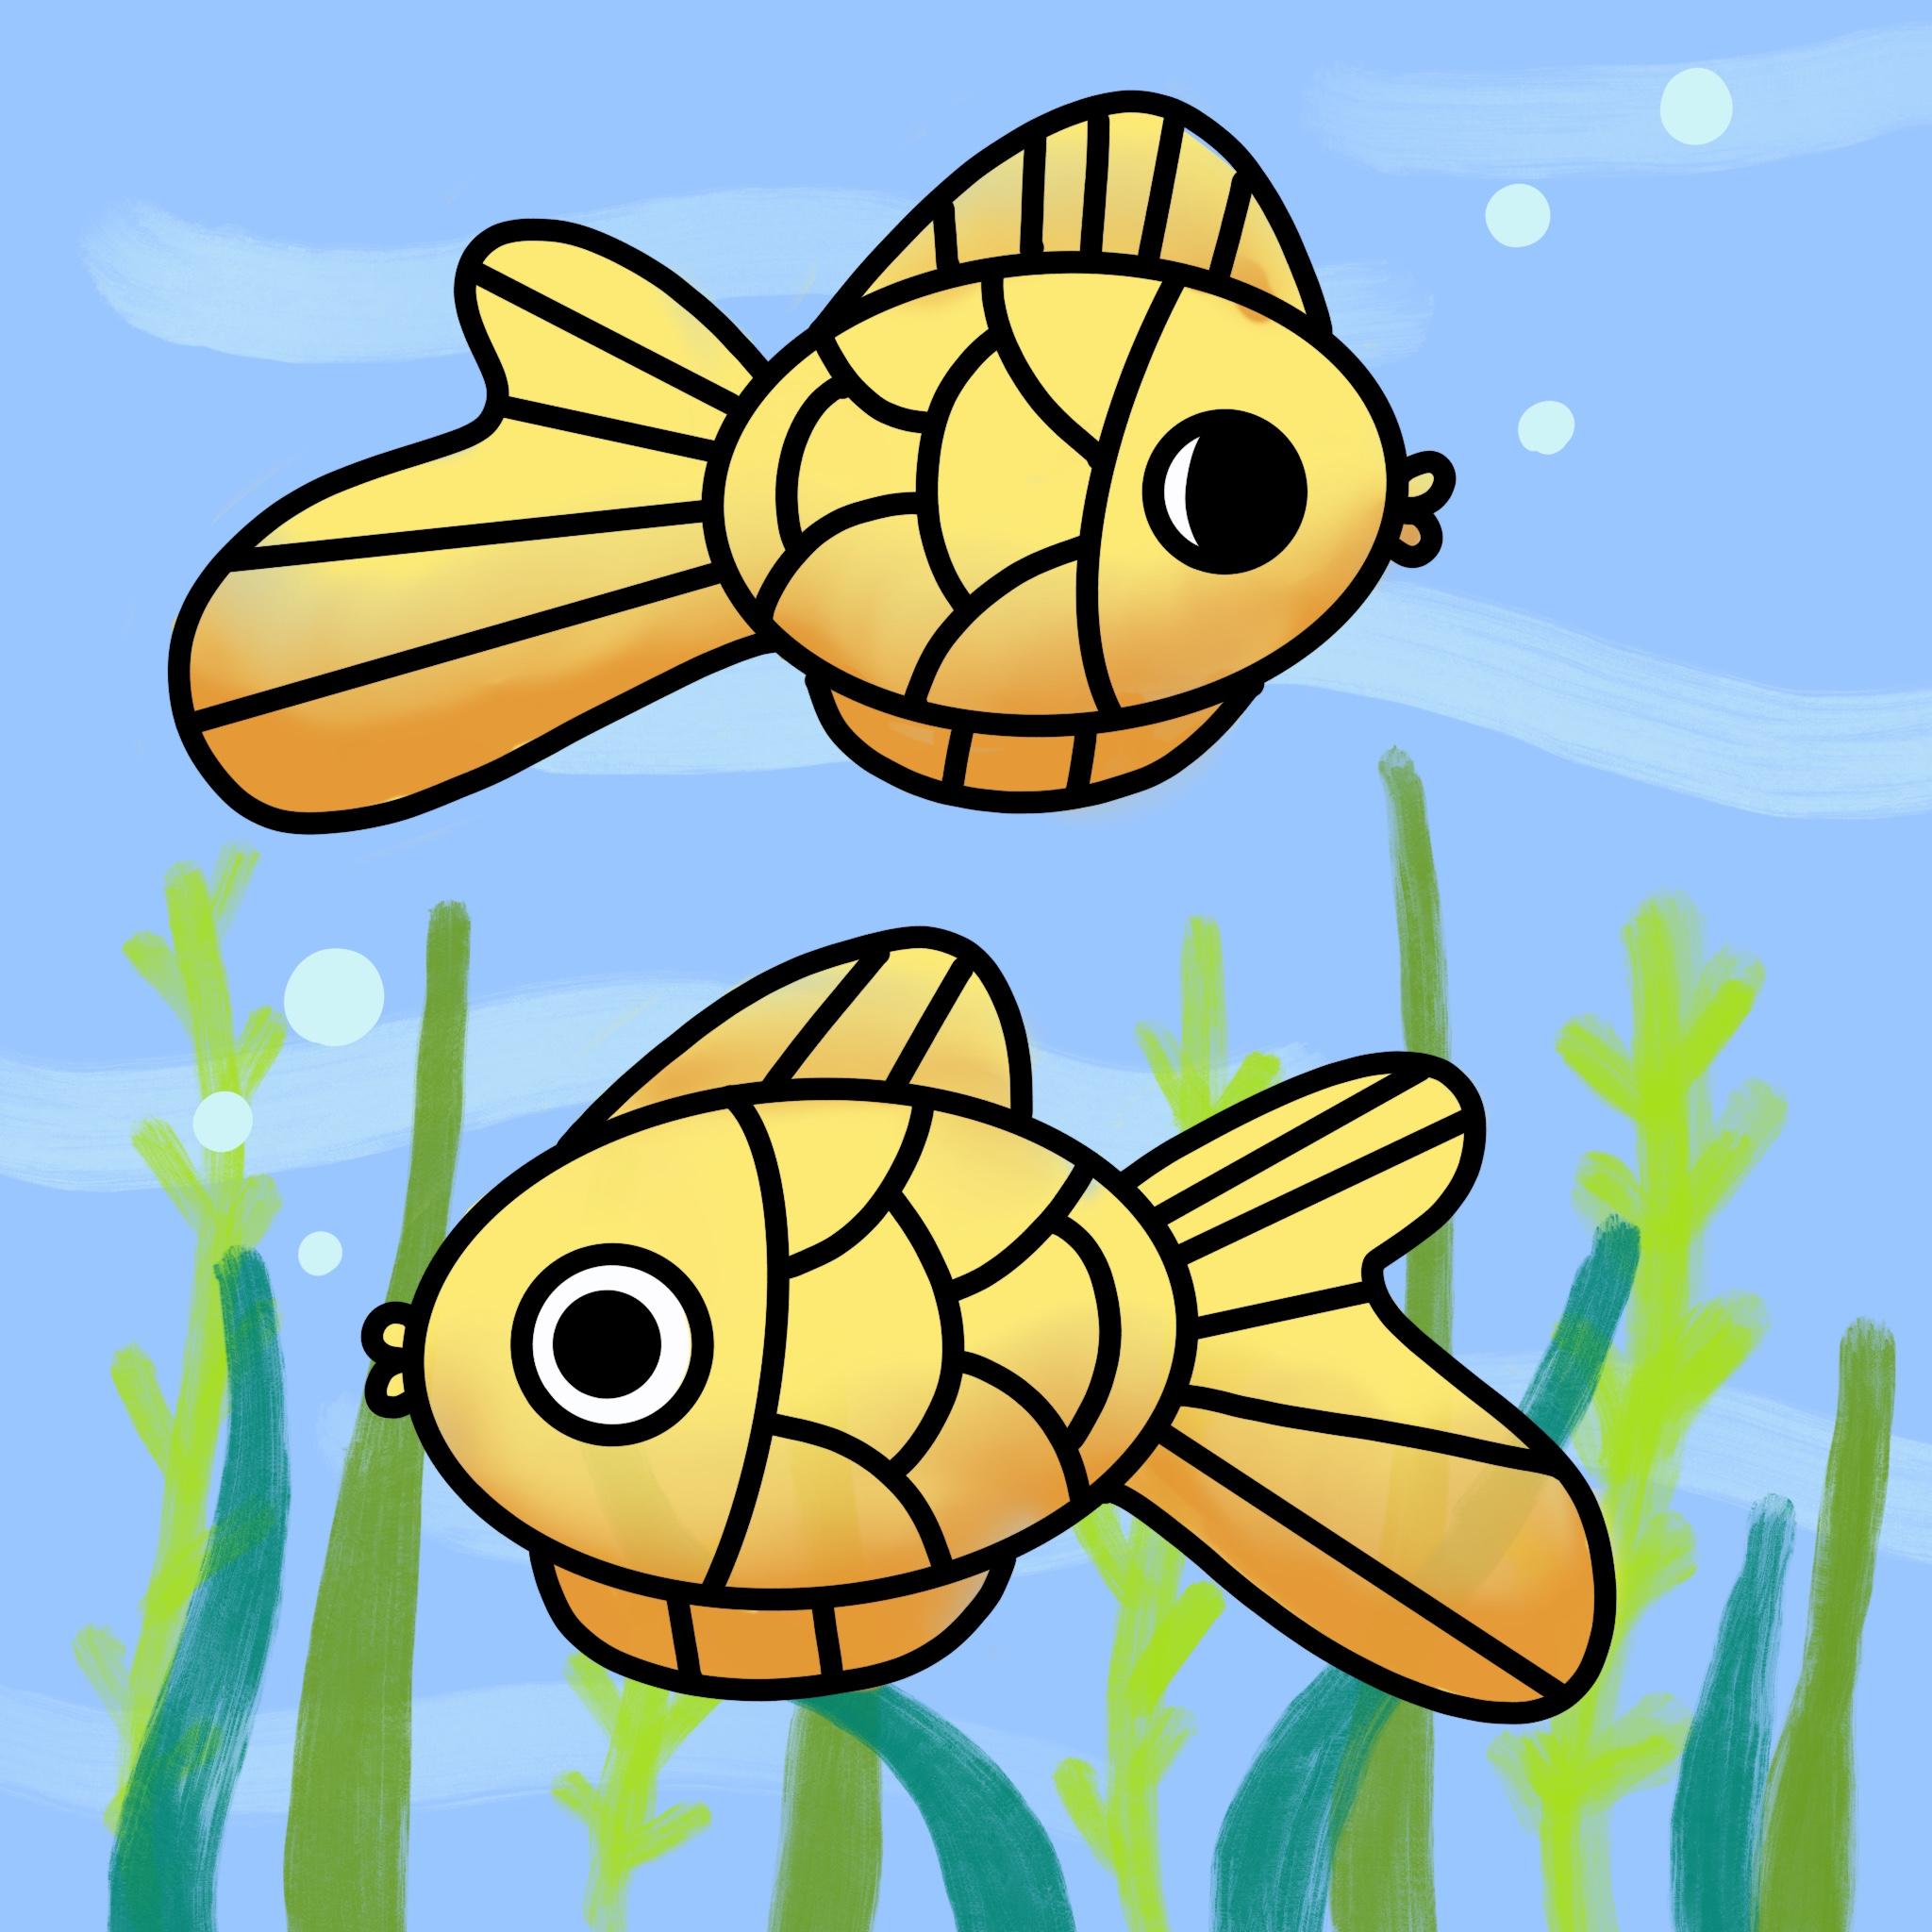
let go. So there we have our two goldfish. Awesome. But let's also make sure our goldfish
is colored in.
12. Goldfish: Coloring : So in order to color
in our goldfish, let's go back into our layer. And let's actually
click on layer three. And with our layer three, highlighted, let's
click on the plus sign. So we've created a new layer underneath the fish line layers. So for layer five, this layer underneath
our goldfish layer, we're actually going to
start coloring it in. And in order for
us to color it in, we'll go into our color, and we have these two
nice shade of colors. So we have our yellow, and we have our orange. Let's go ahead, click
on to our yellow, go to our brush, and let's actually select
our airbrushing. And let's select a
medium blend brush. So with that selected, make sure your brush
size is at 6% or so, and you can just begin to color. And make sure you lower
your brush size maybe to two or 3% once you get into the fins or smaller
areas like the lip. So you can use your big
brush for the tail. And it's okay if you get the
colors outside of the lines. So right now you
can see the colors are a little bit outside
of the goldfish lines, but we're going to be erasing and cleaning
up a little bit later. So that'll be okay. So to start, you can do
something like this. Nice. So we have our yellow. Let's go ahead, go into our
brush and add our orange. With our orange,
let's just go ahead and color in the bottom part. And it doesn't have
to be perfect. So just use the orange for
the bottom shade of it. You can add some on the
top of the fin as well. And notice it's really
messy, and that's okay. It's okay to be messy
because what we'll do next is we'll use
this smudge tool. So this smudge tool just means that I'll move the color around. So click onto this, click
on to it one more time. Let's open that up.
Make sure we're on air brushing and medium blend. So with that selected, tap back into your drawing, and let's begin to blend it in. Do you see how now my orange and my
yellow mixes together? So keep doing that, especially on the parts where the orange and
the yellow meets. So you can see the edge
and you just blend it in. So only do it for the
top part and make sure your brush size
here is pretty small. So maybe it's a 6% or 7%
and just blend it a bit. And you can see blue
has gotten into it. No worries. You can go
back into your brush, and with the orange selected, you can just color it back in. And let's also do
the eyes, as well. So with the eyes,
let's use our white, and let's tap back in, and let's just cover it up. So this is our white,
the eyeball white. So it's looking really awesome. But remember how I put all the color of yellow
outside of the lines. Let's go ahead,
select our eraser. Click on it again, make sure it's on
calligraphy monoline. And here's the part where we
have to clean it up a bit. So look at how big
your brush size is, and let's just make it
at maybe 30% or so. And let's just go ahead and
start cleaning up the lines. If you'd like, you can zoom in and you can just clean it up. So you can zoom
out by doing this. So zoom in. Zoom out. And we can just clean it a bit. So I'm just going to clean
my goldfish up a bit, and you can see
that it starts to look a lot nicer with all
the lines cleaned up. Again, we'll do the same
thing for the top part. So just clean it up a bit. And clean it up. Make sure we don't have
the yellow outside of the black line to the
best of our abilities. So maybe something like this. And this is what our goldfish
is starting to look like. It's looking really cute. And let's add in
our final touch. So for our final touch, let's go into our layers. And we're going to
click on layer four. Which is our goldfish layer. So just click onto your top
layer and add in a new layer. So this layer will sit above
all of the other layers. And on layer six
for the top layer, what we'll do is we're going to be drawing in some bubbles. So let's go ahead,
go into our color. Let's select the light blue. Let's click back in, and we can use our
medium blend brush or we can use a
calligraphy Mnoine brush. Click back in, and let's
just draw in some bubbles. And we can play with the
brush size here as well. And I'm just going to draw in a couple of bubbles.
So maybe three. And with that, this
is our goldfish.
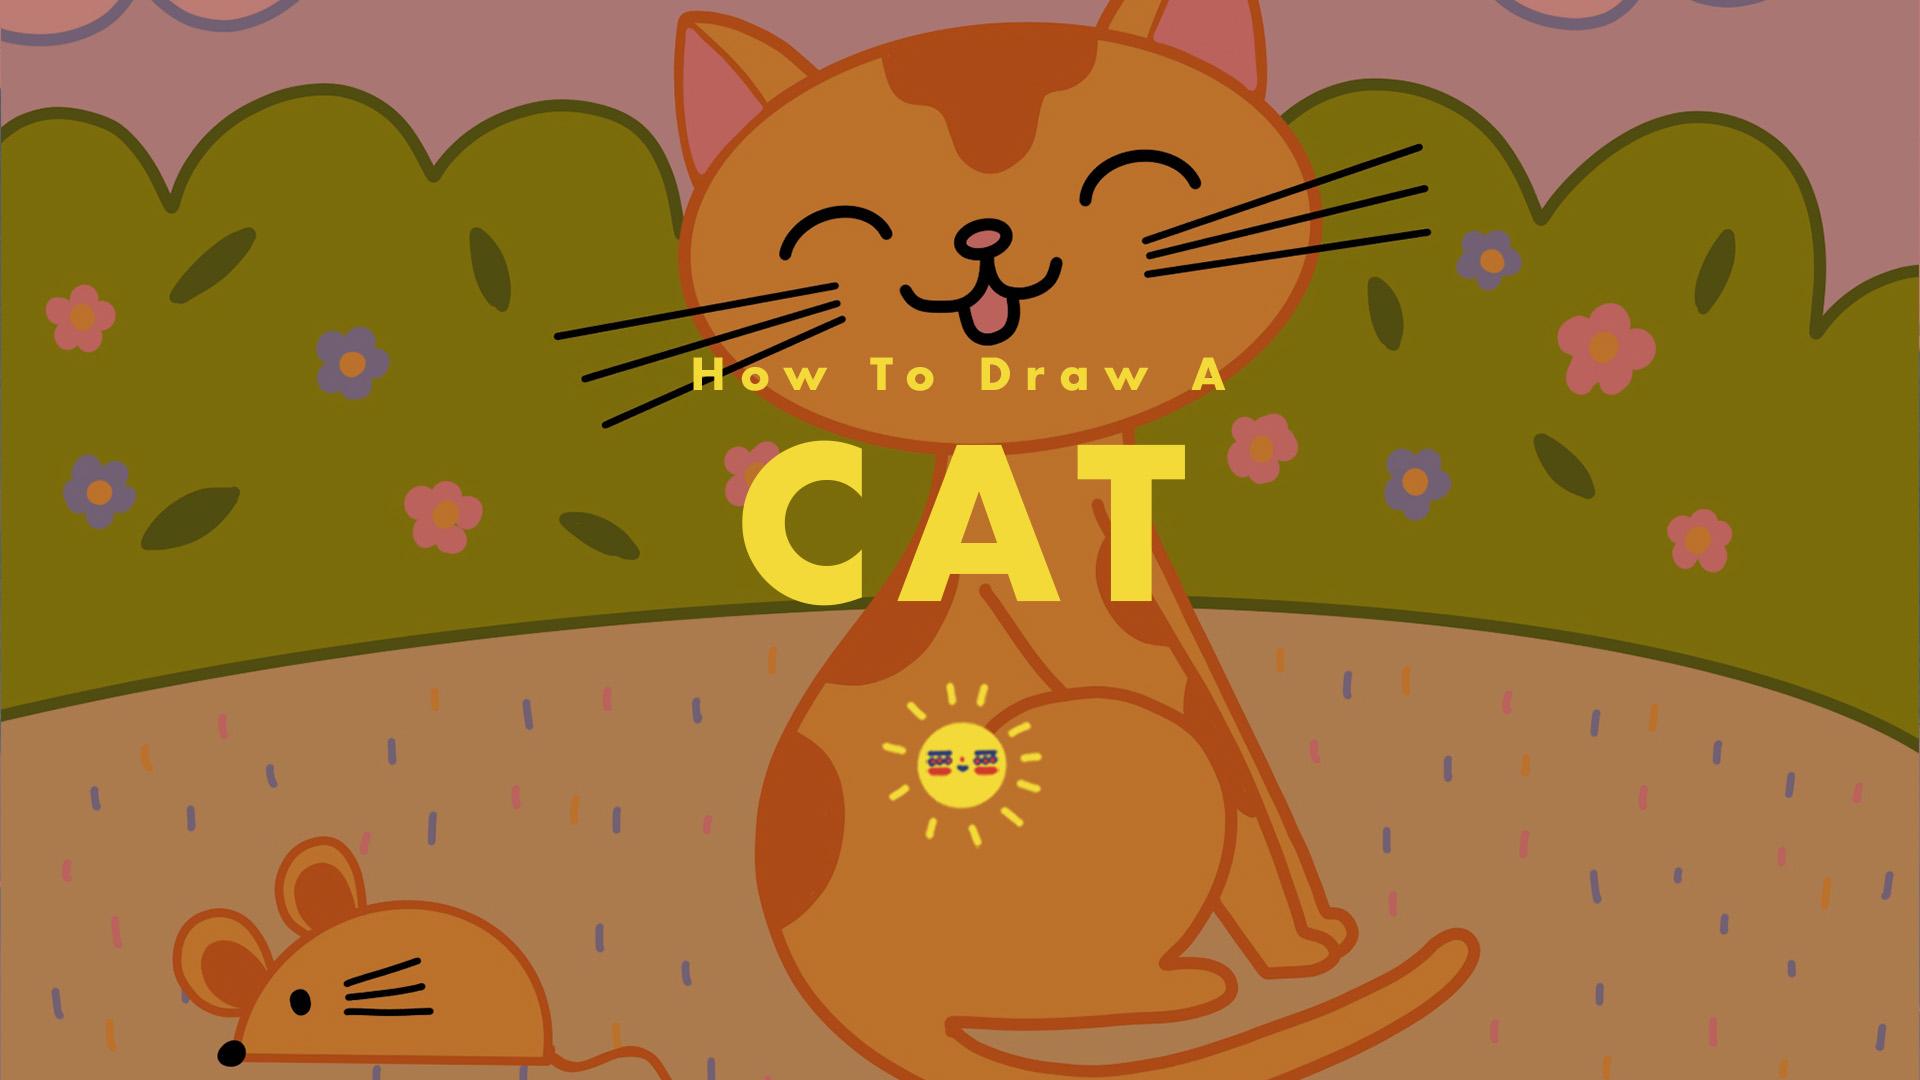
13. Cat: Drawing: Alright, so we're going to be drawing a cat and in
order to do that, let's first go into
our color palette. Let's select our orange, and let's go into our brush, and let's make sure we have our calligraphy
monoline selected. With that selected, let's start by drawing the cat's head, and we can do that
with an oval shape. So draw your nice little
oval and hold on it for a bit longer and you'll
get this eclipse shape, and you can make it bigger
or you can make it smaller, and let's have it
be size like this. And with that, next, let's add in our ears. And in order to do that, we'll
just draw some triangles. So here's one, and
here's another. Awesome. So we have
the head of the cat. Next, let's add in the body. So in order to create
the body shape, let's first draw a line like so, and let's make this longer because we're going
to add our tail in. So this is the tail. And next, let's add
in the leg so we can just then connect
it to the tail. Then we can add
another arm as well. With that, we have the
basic shape of our cat.
14. Cat: Making the Background: Next, let's go in
and add a new layer. Let's actually drag
this layer all the way down underneath layer one, which is our cat sketch. We'll go over to our color palette and
let's select our green. Let's select this
nice dark green. Let's go back into our
picture and let's just draw a line that bends. And we'll also draw the bush. And it's okay if you
get it into the cat. Next, let's actually color drop. So let's go into
our color palette, select this light green
and just drag and drop. And we'll do the
same on the top, except this time, we'll
use a darker green. So this green, let's
take that drag and drop. Awesome. And the next thing we can do is we can
go into our layers, add a new layer, put layer
three underneath layer two. And for this layer, go into our color palette. Let's select our light blue, and let's just drag and drop. So we filled up the sky, the bush, and the grass. Next, let's add in
some more details. So let's go into our layers, add a new layer, and we're going to be
drawing some clouds. So go into your color palette. And let's go ahead and select
this darker shade of blue. And we're going to
draw some clouds. Let's make it nice and fluffy. So we have one, and
let's draw another one. And with that, make sure you close the cloud because we're going to go
into a color palette.
15. Cat: Coloring : Going to use the white, and we're going to drag and drop and drag and drop.
So there we have it. We have some nice
clouds as well. And let's go ahead and
start working on our cat. In order to do that,
we'll go into our layers. We'll select our layer one, which is our cat layer, and let's actually go
into our color palette. And let's select
this nice yellow. With that selected, we'll
go to here the circle, and let's drag and drop, drag and drop, and then we can zoom in a bit for this
one, drag and drop. And let's not forget the ears, so drag and drop, drag and drop. So we have basic colors down, but it's not enough details. So let's go ahead and
finish up our cat. And in order to do so, let's click onto our layers. Let's add in a new layer. And with our new layer, what we're going to be doing
is we'll draw in the face. So let's go into
our color palette. Let's select black
back into our picture. We can zoom in a bit, and we can draw in
some eyes for a cat. Can draw in a cute little nose. And if you hold it,
you get a nice oval. And then, of course, the tongue. And where going to
draw in the whiskers. So let's do three on each side. We have one, two, three, and one, two, three. So with that, let's go into
our color palette again, and let's select this pink, and we'll just drag and drop. So drag and drop, drag and drop. So you have the nice little
nose and the tongue. And if we want, we can
go back into our layers, select our layer one, which is our cat layer. And we can actually use
the orange color again. And what we'll do is we'll
actually create some patterns. So let's just create
some patterns, and we can also divide
some of the ear. So let's just do that
same for the other side. And let's add in some of those nice patterns
for the body as well. So we can do that by just
creating nice shape. And we can add that
on the arms as well. And what we can do at this point is we can
just color this in. So let's bring up
the brush size a little bit more and
just color this in. For this part, don't drag and drop because
that won't work. So we'll just have to
color it in like so. And for this, let's
just color in as well. And we'll do the
same for this one. And let's do it right
up here as well. And we can make our
brush bigger so we can cover more of the pattern. There we go. Next, let's go ahead and use our color palette
and select the pink, and let's color in the ears. So I'm going to lower my
brush size and zoom in a bit more and start coloring within. So for this part, just be very careful and just do your best trying to
cover this part in. Once you make a shape like so, you can just drag and drop. So same thing for this one. Let's just do this. And then we'll drag and drop. Let's zoom out and see
what our cat looks like. This is what our picture
looks like so far and it's looking really good except we don't have much details yet. So let's go ahead and add in some patterns for the grass and let's add in some
flowers as well. So in order to do that, let's go into our layers,
create a new layer. We can actually bring
this layer underneath the cat and on top of the grass. So on this layer, we're going to be creating
some grassy patterns, and let's go ahead and actually, we'll go into a color palette. Click on to that, and
let's select our blue. And let's go ahead and
start making some dots. So we'll just be filling up the grassy area with
some nice blue grass. And this might be strange
because we're all thinking, why is the blue grass. But it actually
makes the picture look really nice because you have the blue in the sky and you have
some blue in the grass. So we're just adding in more
colors to make it more fun. And next we can go ahead and click into
our color palette, and let's use that pink. So we can also do
the same thing and just make some dots
all around the grass. So you can see there's this really nice pattern
going on with the grass, and we can also add
in some yellow. So I'm going to do that
and add in the cat's yellow and just dot around. So we have this fun grass color of blue, pink, and yellow. Alright, awesome. Next, let's go ahead and
add in some flowers. In order to do that,
we'll go into our layers, add in a new layer, and let's begin
drawing our flowers. And what we can do is we
can actually use a pink, and with our pink, let's go ahead and bump up the
brush a little bit. I'm at 26%, and
I'm just going to draw in one circle and
then another circle, and I'll zoom in a bit. Three, four and five. And you can leave
the middle one as is because what we'll do is we can switch on over to the yellow, and we can just add
in a yellow middle. So we have this nice flower,
and if you zoom out, you can see we have one flower, and let's actually fill up
this space with more flowers. And we can use different
colors as well. We can use our blue color, and we can make some
blue flowers as well. And remember, it's
one, two, three, four, five, and then you can
go into your yellow. And do that. And, of course, you can always use this. And this is your
color picker tool, and you'll get the circle, and you can just use it and
let go, and you have pink. So we have our pink flower. And then color pick the yellow, and that's how we can access
colors really quick as well. And with our flowers, we can even go ahead and
add in some little leaves. So we can do that by clicking
into our color palette, choose the dark
green, go back in, lower your brush size a bit, and maybe even zoom in, and you can create this
shape right there. And if you zoom out,
you can see you have little leaves and you can just
put it around in the bush. So let's do something like this. And I'm going to use that
color picking tool and pick my blue push up my brush size, have five circles
next to each other, go back and pick my yellow, and we'll do the same thing. And I'm going to use
my color drop tool, and you can see if
I move it around, that's the color that I
get, so I want my yellow. If I want pink, I'll do that. So again, color pick the
yellow. Color pick the blue. Color pick the yellow.
Color pick the blue. Color pick the yellow. Color pick the pink.
Color pick the yellow. Alright, let's zoom out a bit
and see what it looks like.
16. Cat: Adding a Mouse: Alright, this is looking
really awesome so far, but I feel like it's missing a little bit of
something right here. So for right here, let's go
ahead and add in a mouse toy. And in order to do that, let's
select our top most layer, and you can see it
blue highlighted. But let's add in a new layer, so it goes on top of that. And for this, we're
going to go back into our color palette and
let's select our orange. With that selected, let's
draw in a half circle. And let's add in a tail as well. And don't forget
the little ears. So we can do one, and then
we can do another one, two. And of course, we can
draw in an inner ear. And with that, let's go
ahead and zoom in a bit. We'll color drop this orange
right here. Zoom out. Go into our color palette
and select the yellow, and we can drag and drop. And then we can zoom in, drag
and drop, drag and drop. And next, what we can
do is we can actually go into our color palette
and use our black. And with our black, we're just
going to draw in the eyes, the nose, and the whiskers. And if you zoom out
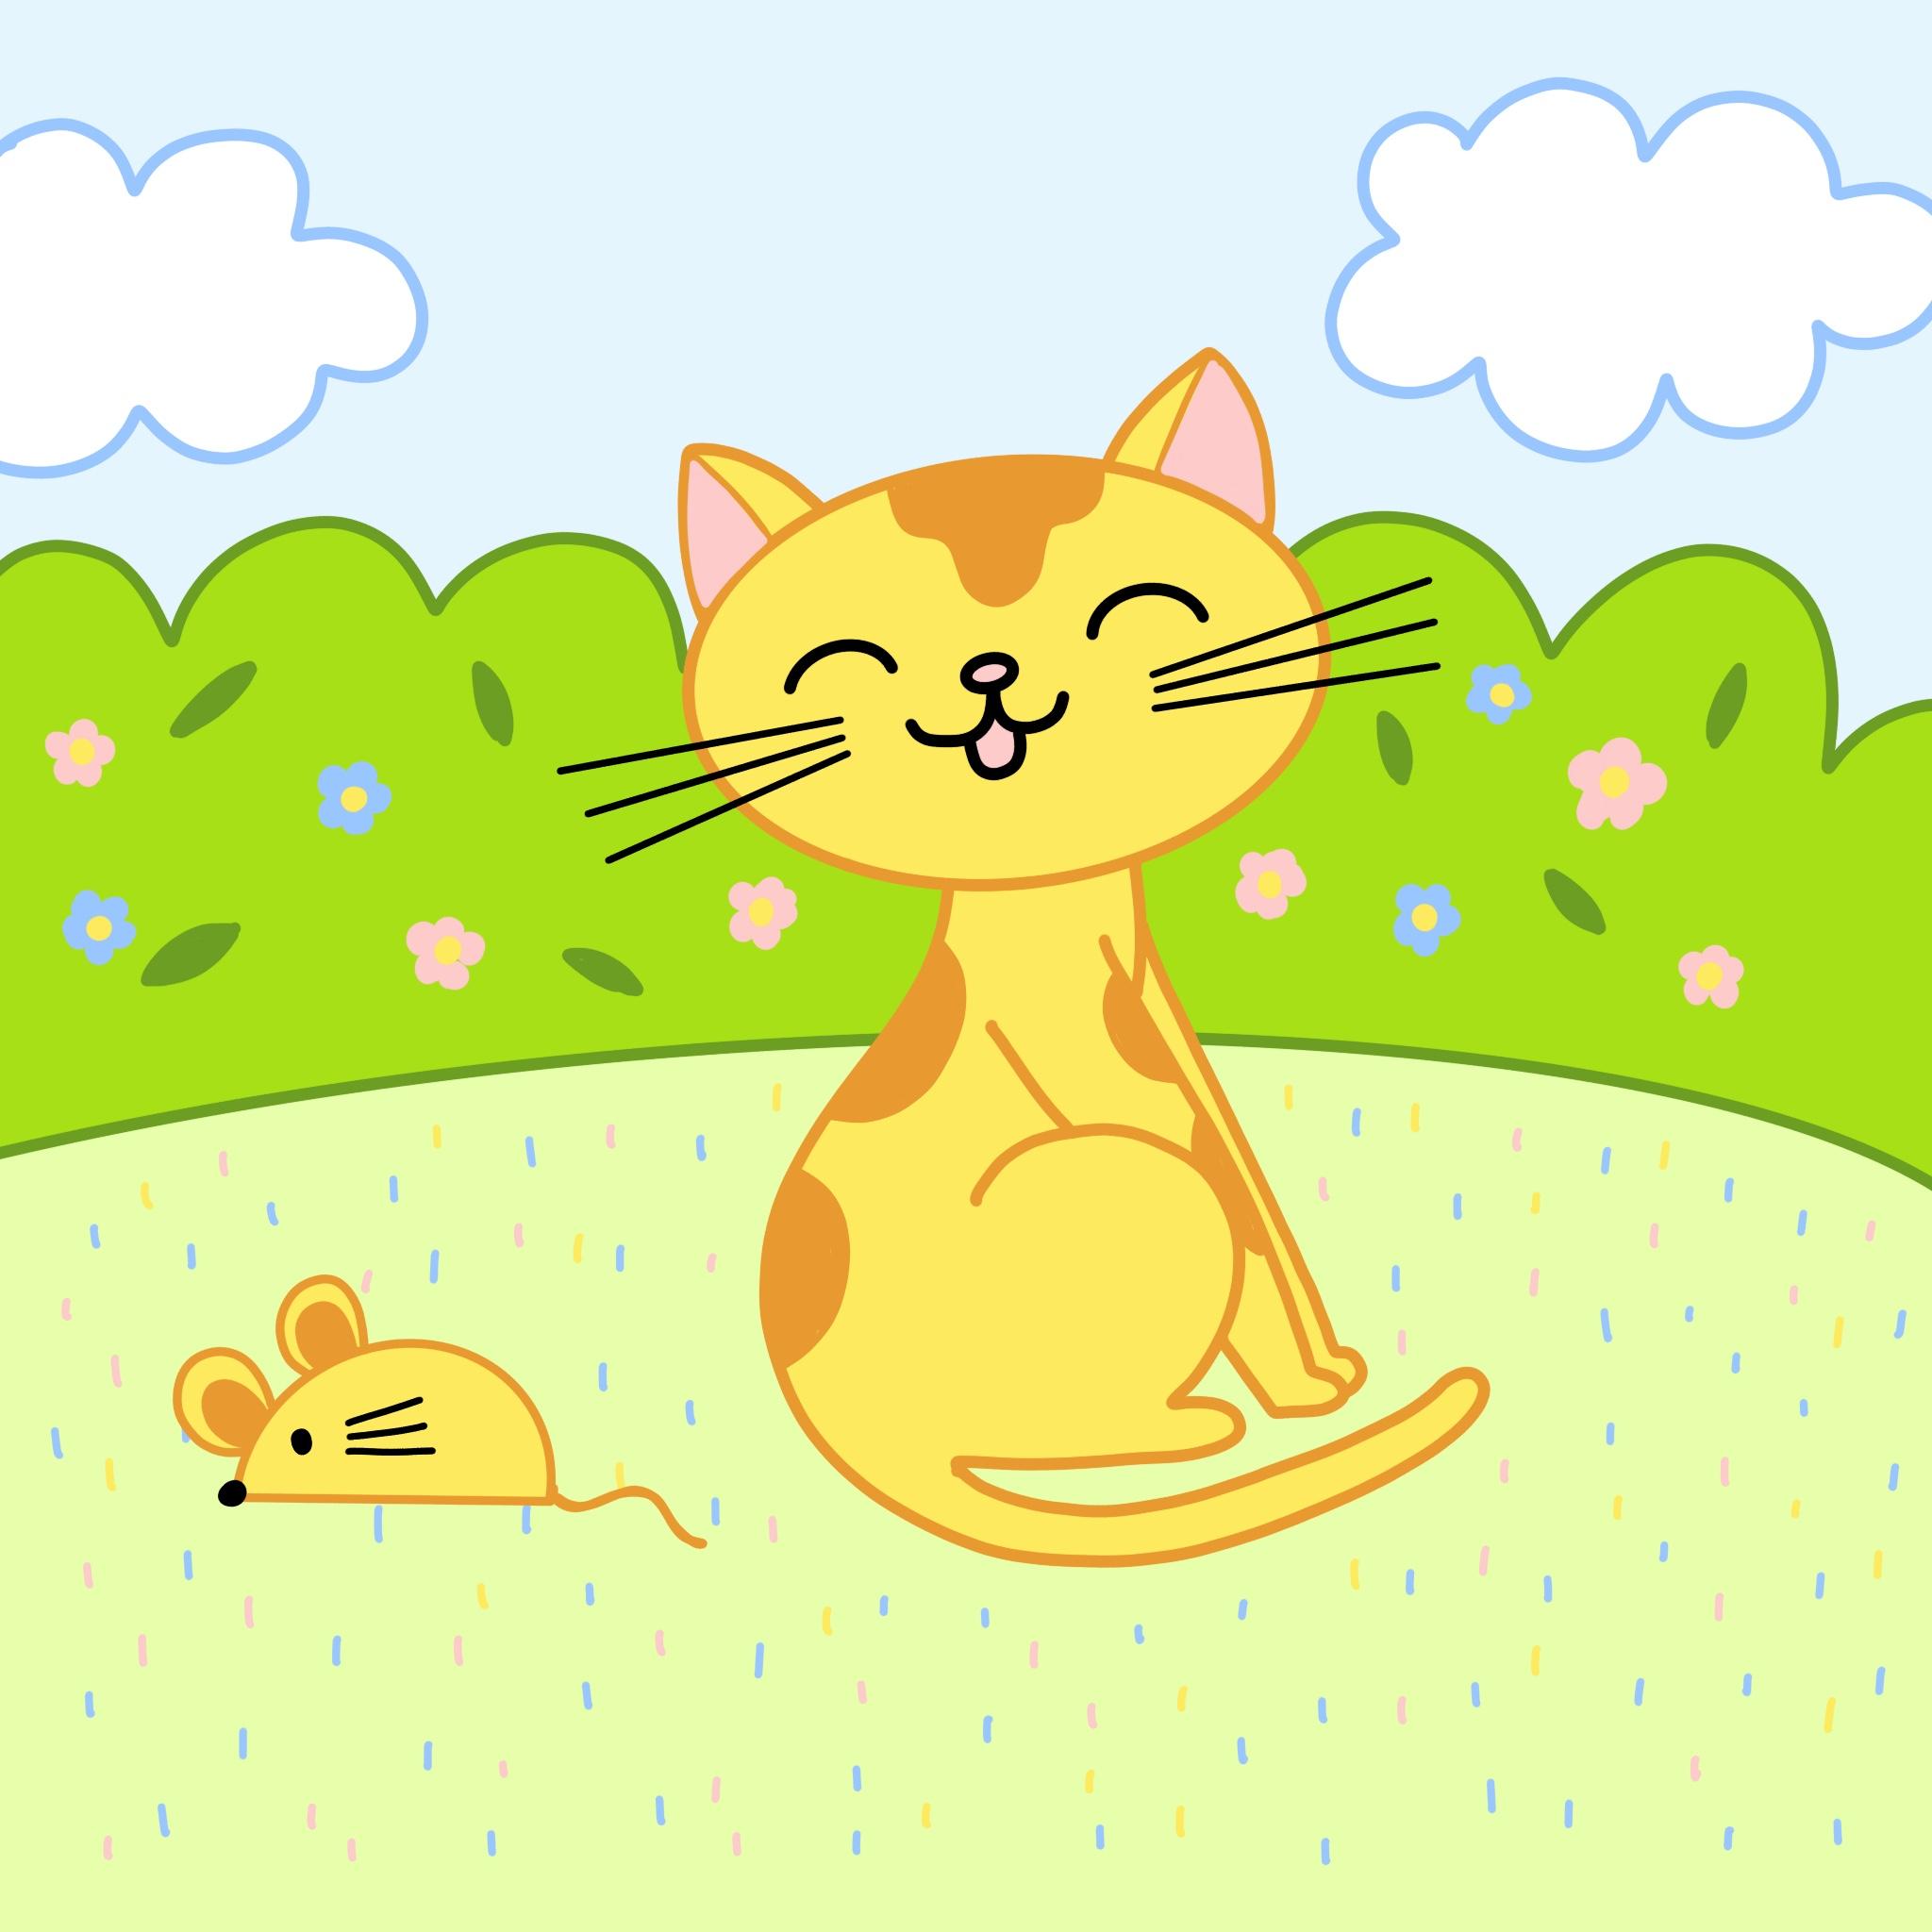
there we have it. We have our cat and
a little mouse.
 Annie Liu, Digital Designer