Transcripts
1. Introduction: Welcome to how to draw cute animals in
three simple steps. In this class, I will
take you on a journey on how I create cute
animals in my style. We'll talk about what
makes a character Cute. Some drawing tips, and you can follow along with
the live examples. All you need is a
piece of paper, eraser or a tablet and
computer to get started. By the end of the class, you'll have the knowledge
and confidence in creating the cute
little creatures you've always dreamed off.
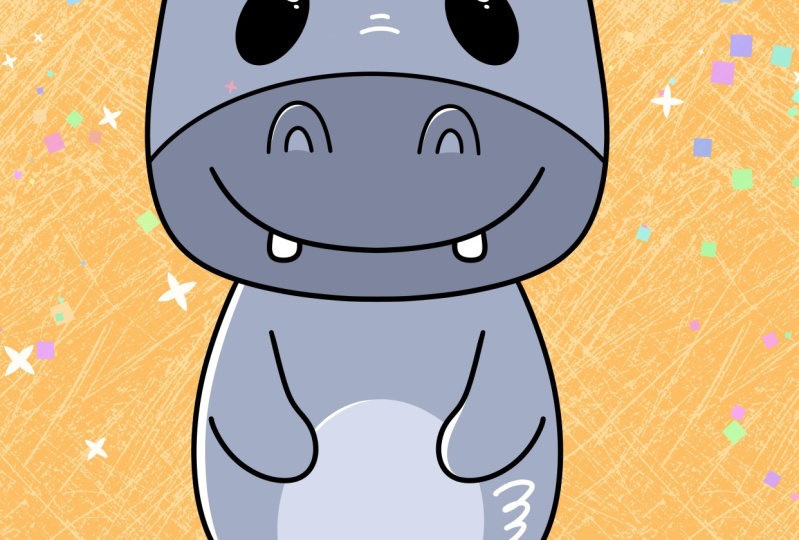
2. What makes a cute character?: What makes a character Cute? Well, there are some obvious
things such as large eyes, a large head, n choppiness. These all trigger our
feelings to make us think animals with these
characteristics are cute. Illustration, we can exaggerate these characteristics to make your characters feel
even more cute. E.g. let's draw a quick circle. Draw in some really small eyes, a little mouth, and
some big teeth. Drawing some large floppy ears. Short body. And let's
give him some big feet, drawing some short arms. Now let's see what we
can do with the eyes. Let's make the eyes really big. I'll increase the size of
the nose a little bit. And let's see how it looks
with a smaller mouth. Let's push it even further
by scaling up his head. Now this is how
we can exaggerate things to make our
characters even more cuter. This really isn't a
very good drawing, but I think you get the picture.
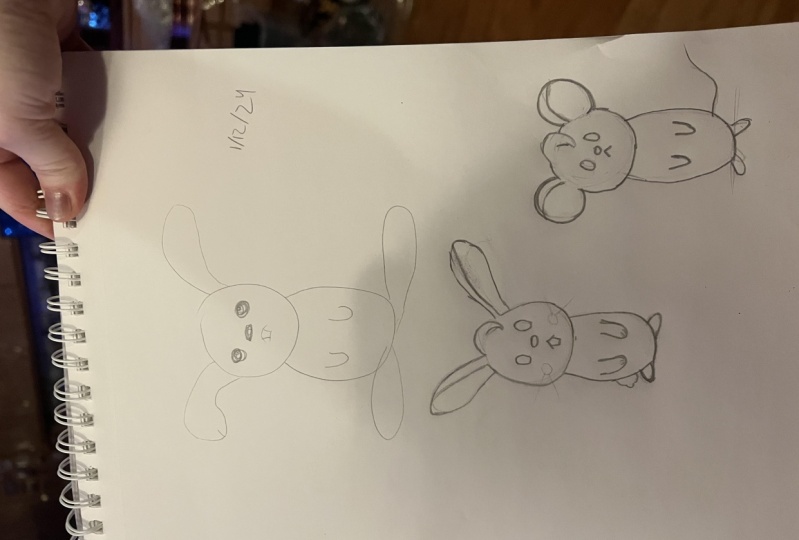
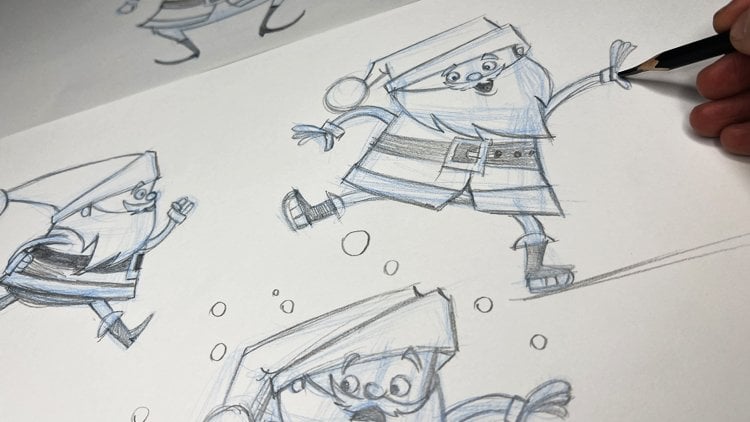
3. Bunny - Basic shapes: Alright, let's get started. Let's begin lightly by
sketching in a basic circle. We are working really
rough and loose. It doesn't need to be perfect. And here we draw an elongated shape to represent the torso
of our character. Something like that.
Looks pretty good. And I'll just sketch
a horizontal line here to represent
the ground plane. And now we will draw in these small little ovals
for his feet on each side. And we'll try and keep these symmetrical as much as possible. Remembering always to keep these shapes very
loose and rough. They don't need to be perfect. Next, we will draw in these
long ear shapes on each side. And we'll try and keep
the symmetrical as well. And to finish off, we'll draw another little
circle for his tail. Then we're on to the next step.
4. Bunny - Adding details: Now we're ready to add in the
details of their character. We'll begin by drawing
in some guidelines, one vertical line and
one horizontal line. Now we can draw in some
little ovals for his eyes. Are we try and keep
these evenly spaced? And we'll draw in
another small oval for his nose, right
in the middle. Moving down, we're adding
some lines for his mouth. Then we'll draw in
some big teeth. Moving up to the ear. We will draw this line to divide the inner ear from
the outer ear. And we will do the exact same
thing on the other side. Next, we will draw
in his little arms just simple little
shapes on both sides. Now, what we will do
here is gently erase the circle of his head so that we can refine the
shape of his head. What I'm doing here
is I'm trying to make the bottom of his
head a little bit wider. So it looks like it's
got a bit of cheeks. You can keep his head to a
basic circle if you want. But I think by doing
this non perfect circle, it adds a little
bit more interest. We'll just do the same
for the other side. That looks pretty good. We'll softly erase his tail. Then we can add in a
little bit more detail. This is looking pretty good. Our character is finally
taking some shape. Now let's move on
to the next part.
5. Bunny - Clean up: Now we are at the final stage of our three-step process
in drawing cute animals. So basically, what we're
trying to do here is refining the line work by adding in cleaner and more
defined lines. So let's start by cleaning
up the sides of his head. At this stage, we want to add a little bit more
finesse by doing careful and clean lines. And we can take our time. There is no need to rush. Now let's move on to the ear. I don't have a
really steady hand. So what I like to do is small little brush strokes
to build the line. And sometimes when I feel a
little bit more comfortable, I'll do a much longer stroke. That's one year done. Let's move on to the next one. Try and keep your
lines nice and clean. I think that does
it for the ears. Now let's move on to his eyes. That looks good. Now, let's gently erase
some of the guidelines. And now let's start refining his nose and now onto his mouth and teeth. Let's move on to his torso. I think that's looking good. Now onto his feet. Now on his other foot. I think I will just gently erase this and
define the shape of the foot a little
bit better as that one looked a little bit
different to the other foot. It's not perfect, but
it's looking much better. Let's move on to his arms and adding a little
bit more detail. Just take your time by making your lines nice and
clean as possible. Over here, let's add in
some lines for his paws. And we'll do the exact same
thing on the other side. Moving onto his tail. Let's start by refining the
shape a little bit more. Looking good. Now let's move on to
the top of his head. Let's give our cute
character a hairdo. I want to give him a
little bit of a curl. So let's just quickly, roughly in a simple shape,
something like that. Now let's go in and
do the final lines. And there we go. I'm pretty happy with this little cute
character we came up with. Just go in and
check your drawing. Adding a little bit of
detail here in there. If you need to. Let's add in some
circles for his cheeks. Let's add in two
whiskers on each side. And that's it. Our cute little bunny rabbit.
6. Mouse in 3 Steps: Alright, let's begin creating a cute little mouse with
our three simple steps. Step one, let's
refine the shapes. Draw a simple circle
for the head. Now let's draw a line
for the ground plane. Next we'll refine the
shape for his body. Some rough circles for his ears. And one on the other side
will give him some tiny feet. And then we'll finish off this step with
small little arms. Step two. Let's draw in some
guidelines to help us place his facial features. Drawing some ovals for his eyes. And another little small
oval for his nose. This upside down
V for his mouth. Next we will begin to
draw the line that separates his inner ear
from his outer ear. And we'll do the same
thing on the other side. Let's also give this
character a little curl. We'll finish it off by adding in some circles for his cheeks. This looks pretty good, but I want to increase
the size of his head just a little to make
him even more cuter. I'm happy with that. Let's finish off this step
by drawing in his tail. Step three, Let's clean
this character up. And we're done. A cute little mouse. See you in the next class.
 Shirhan Manan, Animator / Illustrator