Transcripts
1. 0. Promotion: Hello to those who are
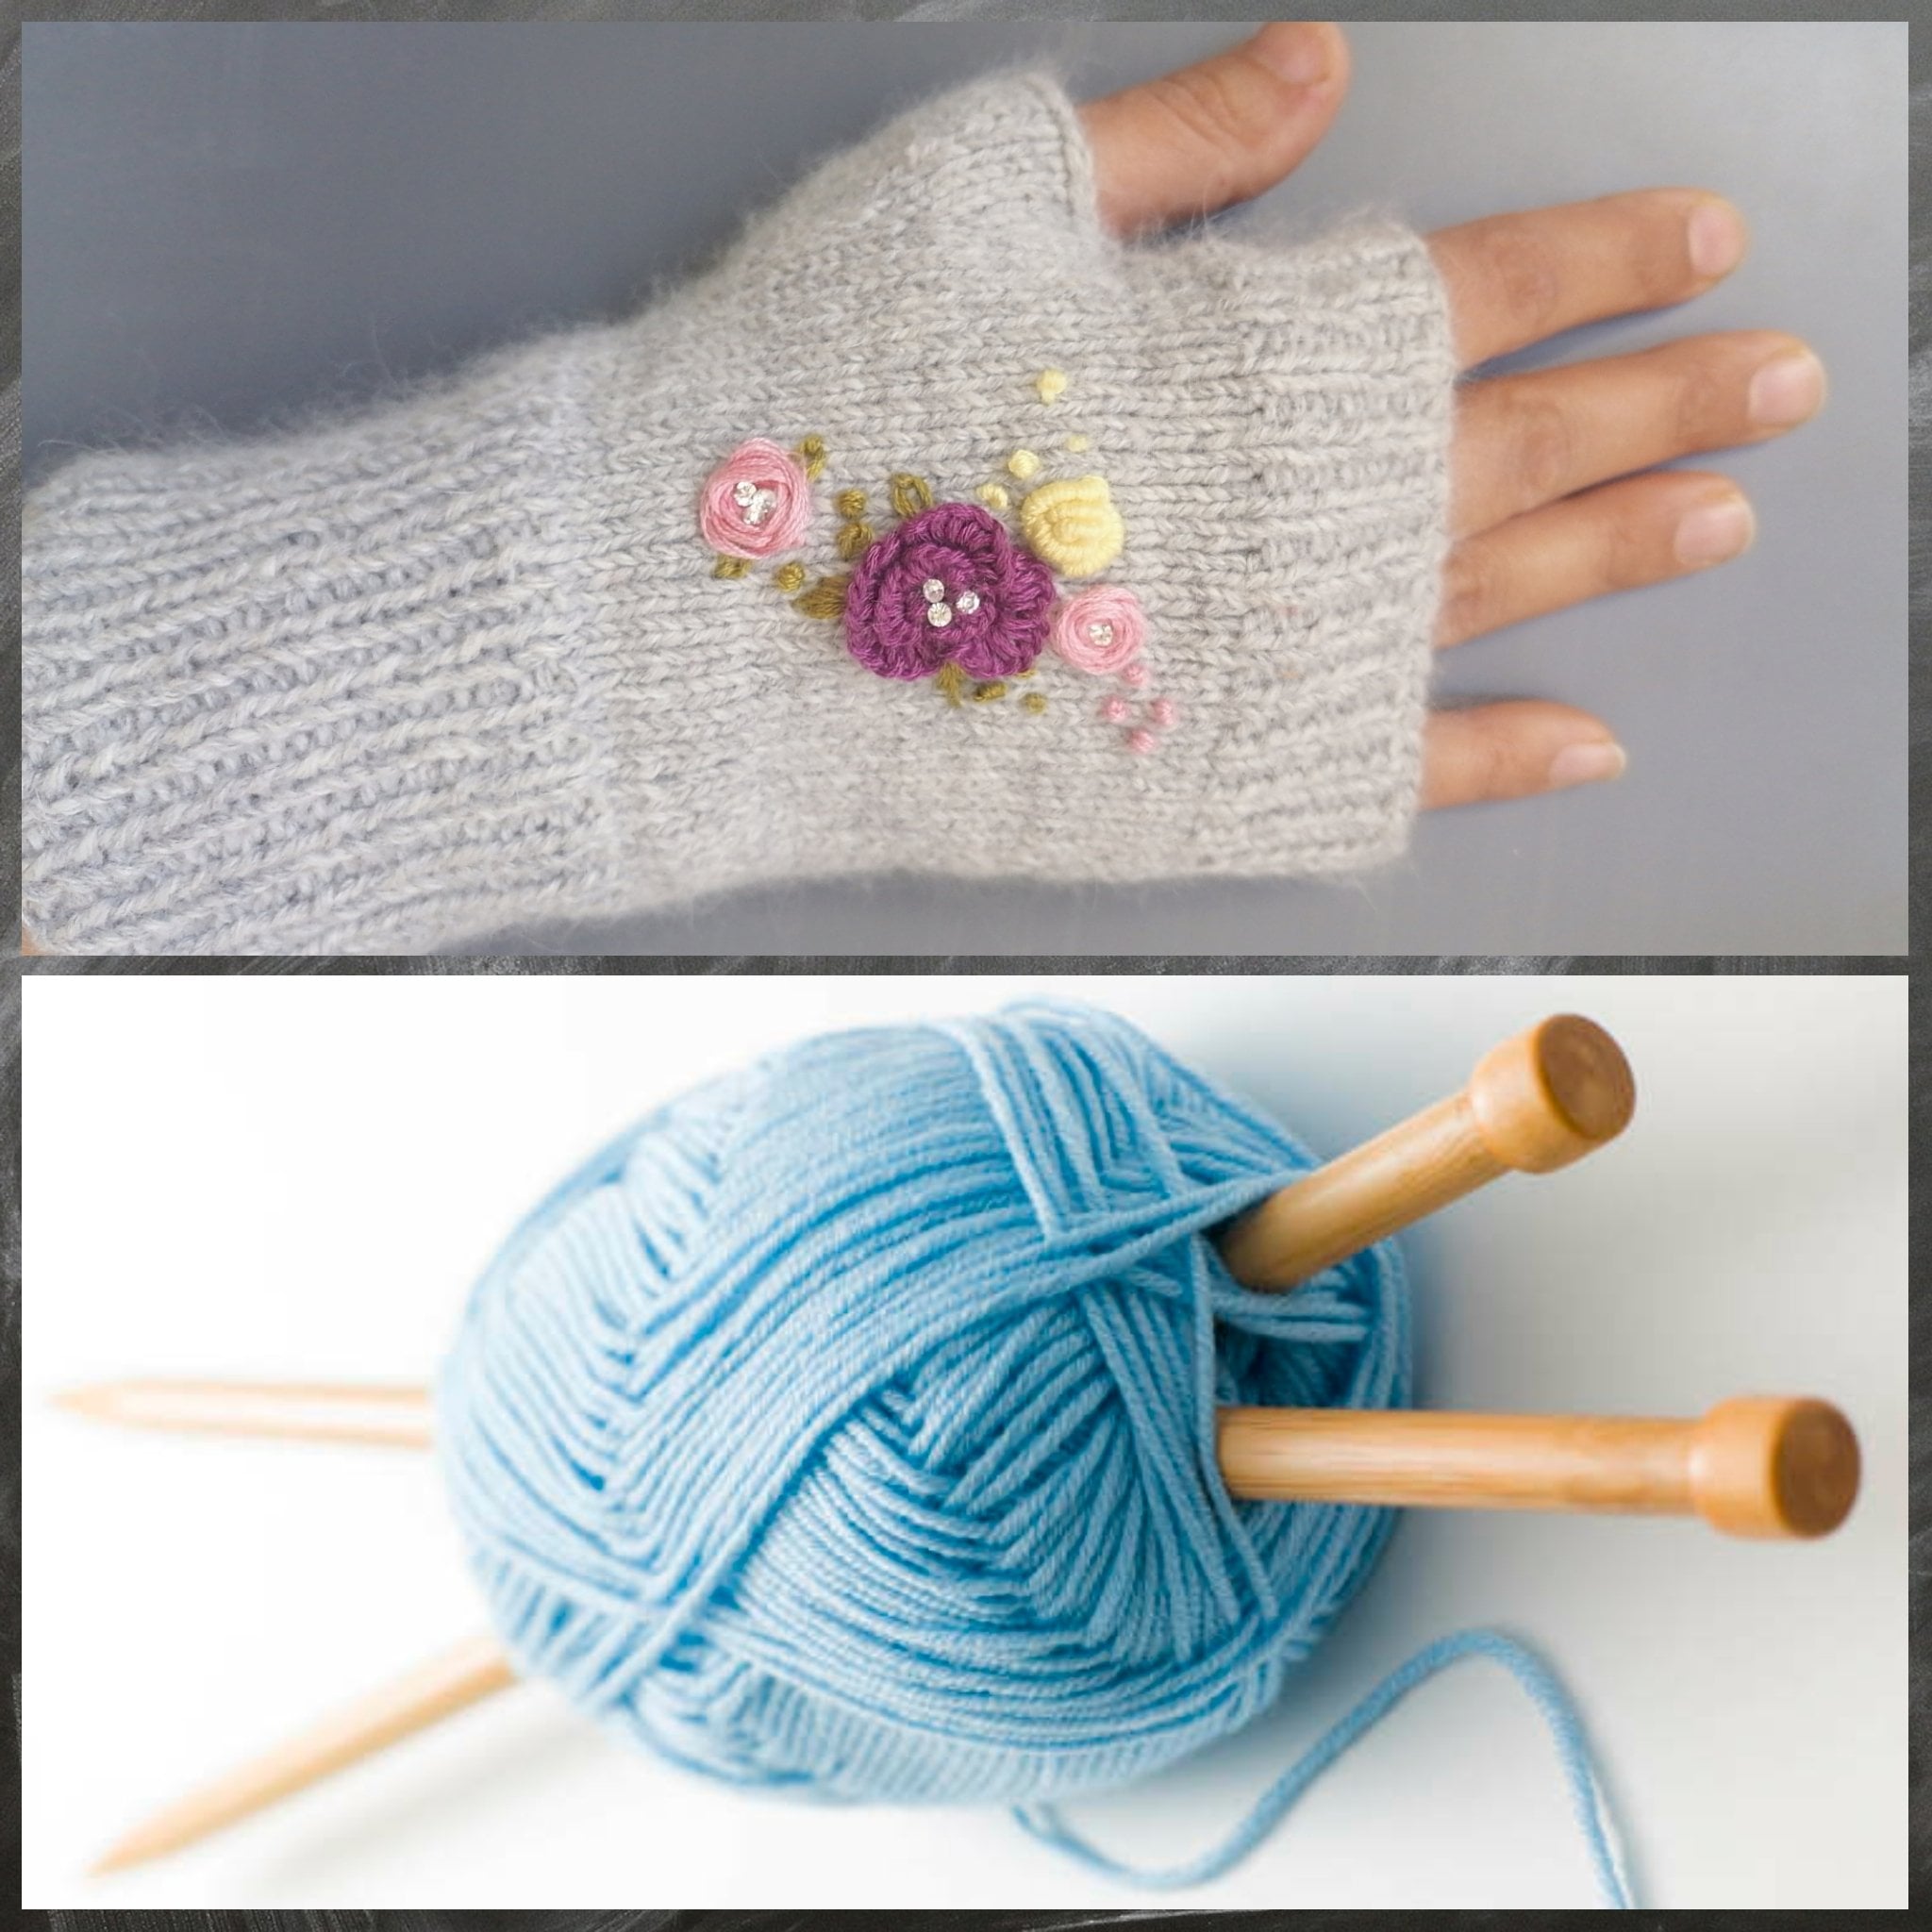
interested in crocheting. In this tutorial, we're
going to learn how to crochet a very useful and
beautiful pencil case. It will teach you this
pencil case in basic way and from the beginning so that
you can enjoy having it. Weaker Shea, this funny case, using a combination
of single crochet, double crochet, and
half double crochet. It has simple but useful tips that you will learn
during the training. Join us now so you can create it with your own artistic hands. And you can use it for your own crochet tools
or you're stationary
2. 1. Start of the pencil case body crochet: Hello, We're here in order to work on a pencil
case this time. And for doing that, we need our gray
color and we need to work on 40 chains
with that color. After doing that, we start our work well inside of
each one of our chains, we are going to work
at double crochet. Now, from the side that my
chain is still over my hook, I count to the
fourth chain and we start working our
double crochet. Inside of each chain, you should only work
one double crochet. And you should continue that
until the end of the chains. So we can work on
the second row. As you can see, are working
is done in the first row. Just like that. When we have worked
All of our chains. The first three chains of our work will be actually
the edge of our work. And we worked double crochet in all of the
chains for starting the second row and an extra rows except chain which
is over the hook, we add three chains. In the beginning of each row. We should work change as the
amount and as the length of the stitches that we are
going to work in that row. E.g. if it was a single
crochet, one chain, if it was a half double
crochet two chain and it was, if it was a double crochet, three chains would be created
in the beginning of arrow. And then we turn
our work and again from the first chain
of our previous row, which is this one, we start our working and we work our double crochet inside of
our previous double crochet. Then you'll do the same
for the rest of your rows. For our pencil case, we have to work 28 rows of
double crochet like this. In order to make
our pencil case. We've already done
the second row, as I've explained before, and the next rows
are the same again, except chain which
is over the hook, we add three chains. We work our double crochet
into double crochet. Now previous row,
as I said before, the rows of our pencil
case would be 28 rows. After you're done
with the 28 rows, then we should actually use another color for the two edges and the two corners of our work. And we should work on them with the new
color for one row. And the rest of our 28 rows are the same way with the
same process and with the same amount of stitches
3. 2. Crochet of hands and feet: Okay, For pencil case, we need to create two
arms and two legs for it. But the way that we're going to work on them is
totally the same. They are the same and similar. In order to do that, first, I create a magic ring and
inside of my magic ring, I work six single crochet. You can work with the pink color for the first four rows
of the arms and the legs. The next eight rows will be
worked with the gray color. After I worked my
six single crochet, I tighten the center
of my ring and then I actually attach the
last stitch to the first one, which means that I
work is lipid stitch. In the second row. Inside of each one of these stitches from
our previous row, I worked to single crochet, which actually makes
our stitches double, which will be 12 is stitches. And then I continue
working on the rest of the rows simply without
any increasing. So for the next rows
inside of each usage, you only work one
single crochet and you'll have 12 is
stitches. Until the end. We continue that
for two rows with our pink color and almost eight
rows with our gray color. And after you've done that, you can actually place fiber
inside of the one-third of your work and the rest should stay empty because
we want to sue them. To our pencil case. We need two legs and two arms. Okay? Now for our mouse's tail, we create a magic
ring inside of that, we work six stitches, sorry, six single crochet. Then we continue
that for 20 rows without any increasing
or decreasing. We don't have any increasing
in working of the tail. Just these six single crochet
are enough for our tail. I stretched a yarn in order
to make my ring tighter. And then I attach the last
stage to the first chain. And then we continue working
on these six stitches until we have 20 rows of them without any increasing
again, I emphasize. Then again, we attach our first, our last stitch to
our first chain, which means we work
as slippers stitch. And we continue for 20 rows
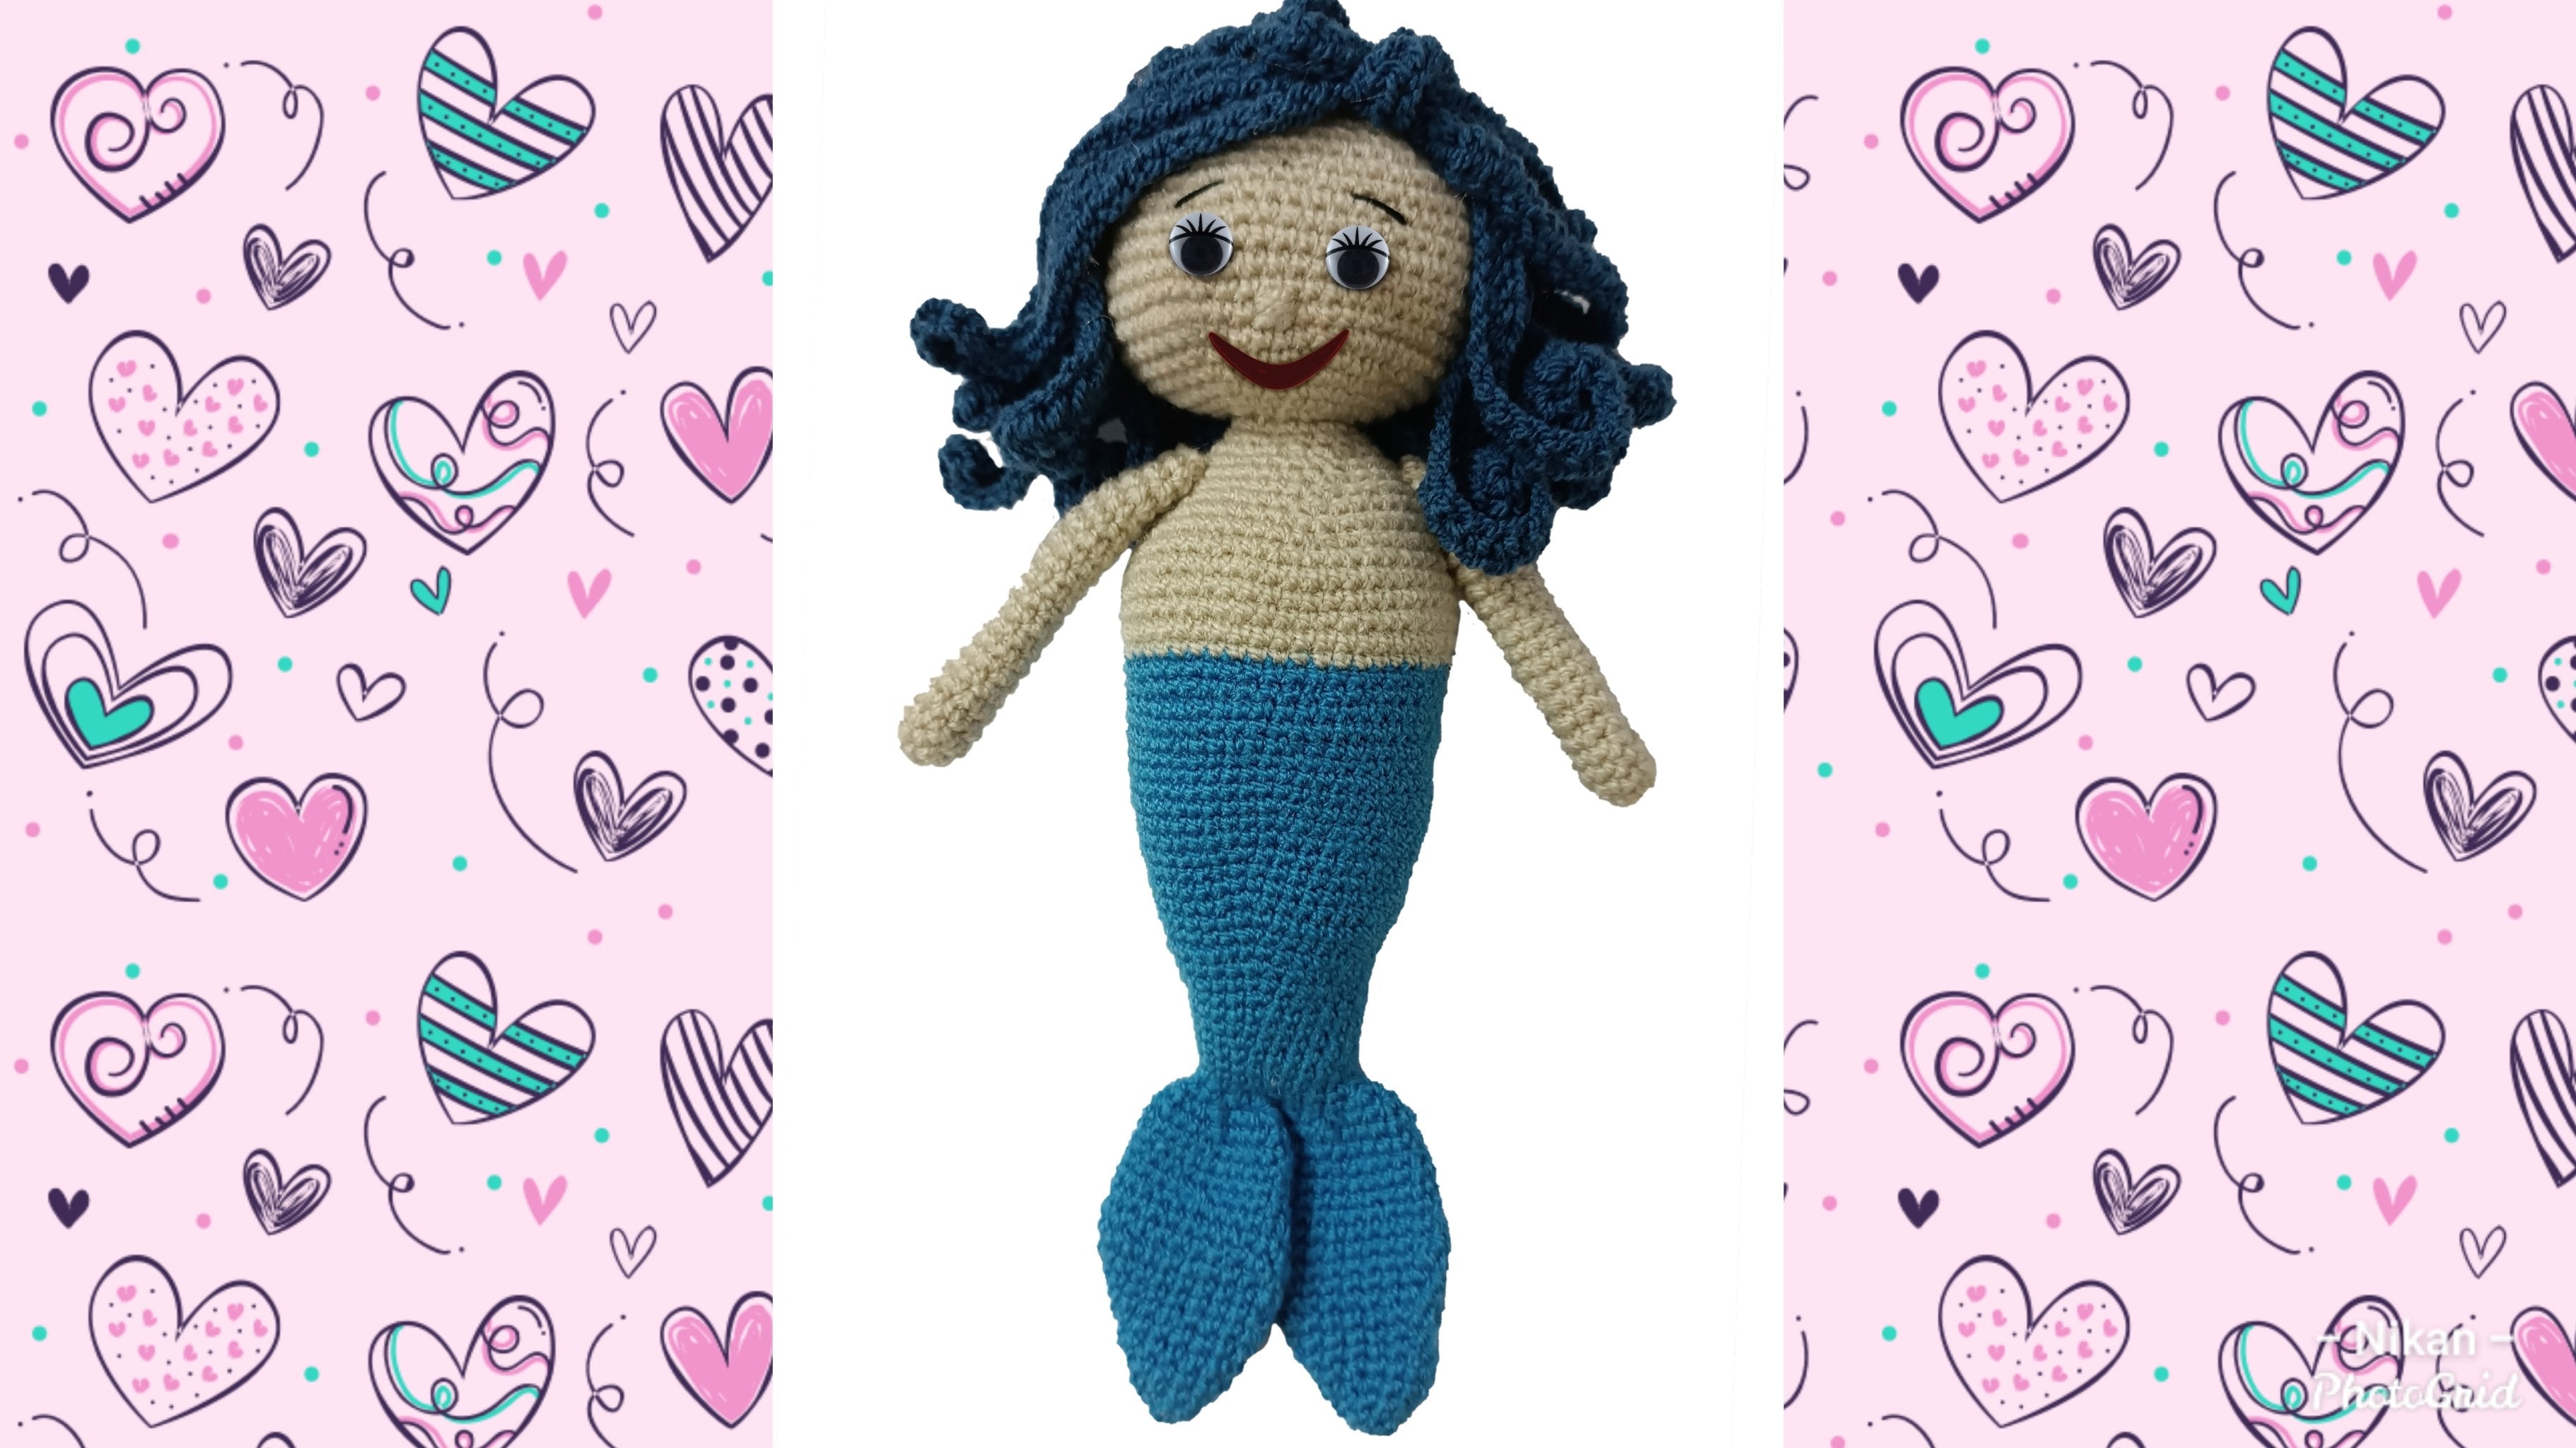
4. 3. Mouse head crochet: Okay, now we're working
on our dolls ahead. First we create a magic
ring and inside of it we work six single crochet. Then after that, we
work as slippers. Stitch means attaching
our last message to our first chain. In the second row
inside of each stitch, I work to single crochet means that we have increasing
throughout the whole row. Then again, we work
to slip is sich. In the third row. First, I worked three
single crochet, creating one single crochet
in each one of them. And then in the fourth stage
we work to single crochet. We continue like that. I worked three single
crochet simply. And then in the furthest search, I work to single crochet. Then in the fourth row, I worked for single
crochet simply it means that inside
of each stitch, I work only one single crochet. And in the fifth stage
we have increasing, which means that in the fifth stitch we
work to single crochet. And we continue like that
till the end of the row. In the fifth row, work five single crochet
simply and say hello. And then in the sixth stitch, we work to single crochet and we continue till
the end of the row. In the sixth row, I'm going to work
without any increasing. I'm going to work simply. And inside of each one of the stitches from
our previous row, we work only one single crochet. In the seventh row, we work six single
crochet, simply insula. And then in the seventh is sich, I work to single crochet. Again. I'll continue like
that till the end of the row. In the eighth row, I work seven single
crochet, simply un-solo. And inside of my eighth stitch, I work to single crochet and now continue till
the end of the row
5. 4. Completing the head of the mouse: Okay, in the ninth row, I work six single
crochet solo and simply. And then inside of
our next 15 stitches, we should work to single crochet inside of
each one of them. After the eighth row. After our increasing, we should have 27 is stitches in total. In the ninth row. First, I work six
of my stitches. Simply. It means that I work only one single crochet
inside of each one of them. And then for the
next 15 is stitches, I work to single crochet
each one of them. And then again after that, we would work six stitches. Simply, again, that
all together in our ninth row we should
have 42 stitches. So now I'm going to work to single crochet in each one of these stitches for 15 stitches. Then after 15 stitches, again, I work six
stitches simply. Okay. And as you can see
in the ninth row, we worked six stitches simply. And then in-between them we had 15 is stitches
of increasing. And then again the last six
stitches, again war simply, we will work to tenth row
simply means that we will not have any increasing
in the 11th row. I work six stitches simply, I work six single
crochet simply. After debt. In the seventh stitch, I work to single crochet and then I'll continue like
that till the end of the row. Okay, So that was my 11th row. From the 12th row
until the 16th row, we just worked simply
without any increasing inside of each stage B only
work one single crochet. We've done our five
rows of simple. And then in the 17th row, we start are decreasing from the row 17 to the row T2 and T3, we will have decreasing
of stitches. So again, we can get to our
first basics, six stitches. First, we work six
single crochet. And then in the 7.2 stitches, we will work them together, means that these two stitches will be work together as one. And this way we will have
a decreasing stitch. Continue like that
till the end of there. In the next row, I worked five single crochet. And then I work the sixth and the seventh stitches
together as one. And then I'll continue
till the end of the row. The next row, I worked
for single crochet. So learn simply. And I worked at fifth and
sixth stitches together. Okay. Before we continue on more rows, we will make sure that we feel inside of our doll's
head with fiber. And then we can start
working on the next row. I worked three single
crochet, same plan solo. Then I worked the fourth and
the fifth stitches together. And I'll continue till the
end of the row. The same way. In this row, I only worked to single crochet
solo, and simply. Then I work the third and
the fourth is stitches together continue until
the end of the row. In this row, I work
one single crochet. And I work the second. And the third is
stitches together. Again, one single crochet. And then I worked the second and the third is stitches together. In the last row, we should actually work all of these stitches
two-by-two together. It means that I work the
first and the second, stitch together,
the third and the fourth together and so on. And just like that, you will have our mouse's head. This is the result. Okay, now, because
I want my last row to have a more organized
and ordered shape, I'm going to use the same
color as I used for my head. And I'm going to use
it with my needle. And I pass my needle through different loops of the stitches
from our previous row. I'll go through all of
them and we sue them all. And then at last, we stretch the yarn totally
so it will be closed up
6. 5. Mouse ears crochet: K. Now we are agreeing to
work on our mouse's here. First, I'm going to start
with my pink color, with my pink yarn, and then I create a
magic ring with it. Inside of it. We work six single crochet. Then we work as slip stitch. And then in the
second row inside of each one of our stitches
from the first row, we work to single crochet. It means that our stitches in the second row will
be double and they would be in the third row. I work one single
crochet simply solo. And then inside of
my second stitch, I work to single crochet. I will continue like that
till the end of the row. Then we continue the next two
rows with our gray color. With our gray color, we work to single
crochet simply. Then, in the third stage, we will have one
increasing and we work to single crochet
in our third stitch. Just like that will continue
till the end of the row. And in the last row we work three single crochet
simply and solo. And in the fourth stage, we work to single crochet. Continue till the end of the
row and our ear is done. We're going to create
two of these workings.
7. 6. Attaching the nose and eyes to the head. Attaching the body parts to the mouse: Okay, As you can see, we've already worked our
pencil case as well, which was to any eight
rows of double crochet. And in each row we had the going row and
the returning grow. And after we've done that, you should actually use your pink yarn to work on
the edge of your work. And you should do it with
half double crochet. You should work it with
half double crochet so the edge would be actually
organized and straight. You've done this
area with the pink. And I'm going to do the
next slide for you. So you'll see how I've done it. So you should keep
almost ten to 15 cm from the beginning of your yarn. And then after that, we should attach
it into our work. Well, in each stitch that we have on the
edge of our work, you say we had one
going and returning. So on the edge, we either have one
double crochet or we have three chains that
in each one of them, it means that in either your double crochet
or in your three chains, we should work to half
double crochet in each. I start from the first stitch
and the edge of our work. First I worked two chains
and then after that, we start our stitches. We will work half
double crochet. And it's like that. I just wrap my yarn
over my hook once. I bring my hook
through this stitch. And then again once more, I just wrap my yarn over my
hook and I'll take it out. And then I work all these
three together as one. And then I'll do the
same for the rest of our change or
our double crochet. Inside of each one of these double crochet or chains that are on the
edge of our work. Inside of each one of them, we should work to
half double crochet. Just like that, will continue
till the end of the row. So the edge of our
work would look like this and it would be a straight
after our work is done. Now, after we've done
that completely and we've also worked at the edge of
our work with pink yarn. Now we need to attach a zipper
on the edge of our work. We should actually sue it. We actually place our zipper
underneath our pink crochet. And then we fixed it
over here and we sue this edge to the zipper
below it completely. You can even use a
sewing machine for that, or you can do it manually
with a needle and a yarn. After that, we've done our
Mouse's face and two ears. We should attach these two ears to the top of the
head or the face. In order to do that first, we should soon as
stitch on the ear. So I consider four
stitches, 123.4 here. You should place the
first and the fourth stitch on each other like that. So you fold your
work and then with the same color yarn
you should do is suing and do a stitch over here, attaching the first and the
fourth is sewage together. You should do this
for both ears. And then you should apply it to the top part
of your mouse's head. So I'm going to pass
my needle through here with the same yarn which is still
connected to the ear. So you should apply to one of the rows of the head
and attach it there Make sure that you tighten
it enough and fix it. So you should do it almost
twice due to suing, so it would be fixated and fine. Okay. I'm Determined these four
stitches with my needles. There are four stitches
in-between my needles. And then from this lower area, we are going to start suing. So first of all, your needle will go through
here that you've already determined with your needle. And just like that, you should start suing
from the first stage. You should go through
each one of these parts once and feel this triangle
from the top to bottom. Ones from the left and
ones from the right should look like one going and returning shape, just like that. From top to bottom, it should be filled. Okay. See, make sure that you're suing will be actually
on one row from the top and also
from the bottom you see is the center that
they've always determined. You should complete
this area totally. So this switches which are
done by your gray color, cannot be seen anymore. Okay, Now we should
attach the two arms of our mouse over here
on top like this. In-between of these rows
that we've worked on them. We should place them here and we should sue
them over here. Both arms go over there. And then this edge of
our work should be completely sued on each other
and it should be fixated. And then after you've
worked and sue the arms, you should attach the head. Over here on top. You can actually
glue it from over here with a heat glue
and apply it here. Or you can do it
with need to learn yarn for the lower part
for the other end. Again, it's the same. You should actually
place the legs on both sides of your work. And then the tail will
go in the center, and then this edge should be so with a needle on yarn or
with a sewing machine. By the way, if you're
satisfied with this tutorial, you should definitely write us. This would help us
in providing and improving our courses
and better tutorials
 H Rafiei & Mariya Karim, null