Transcripts
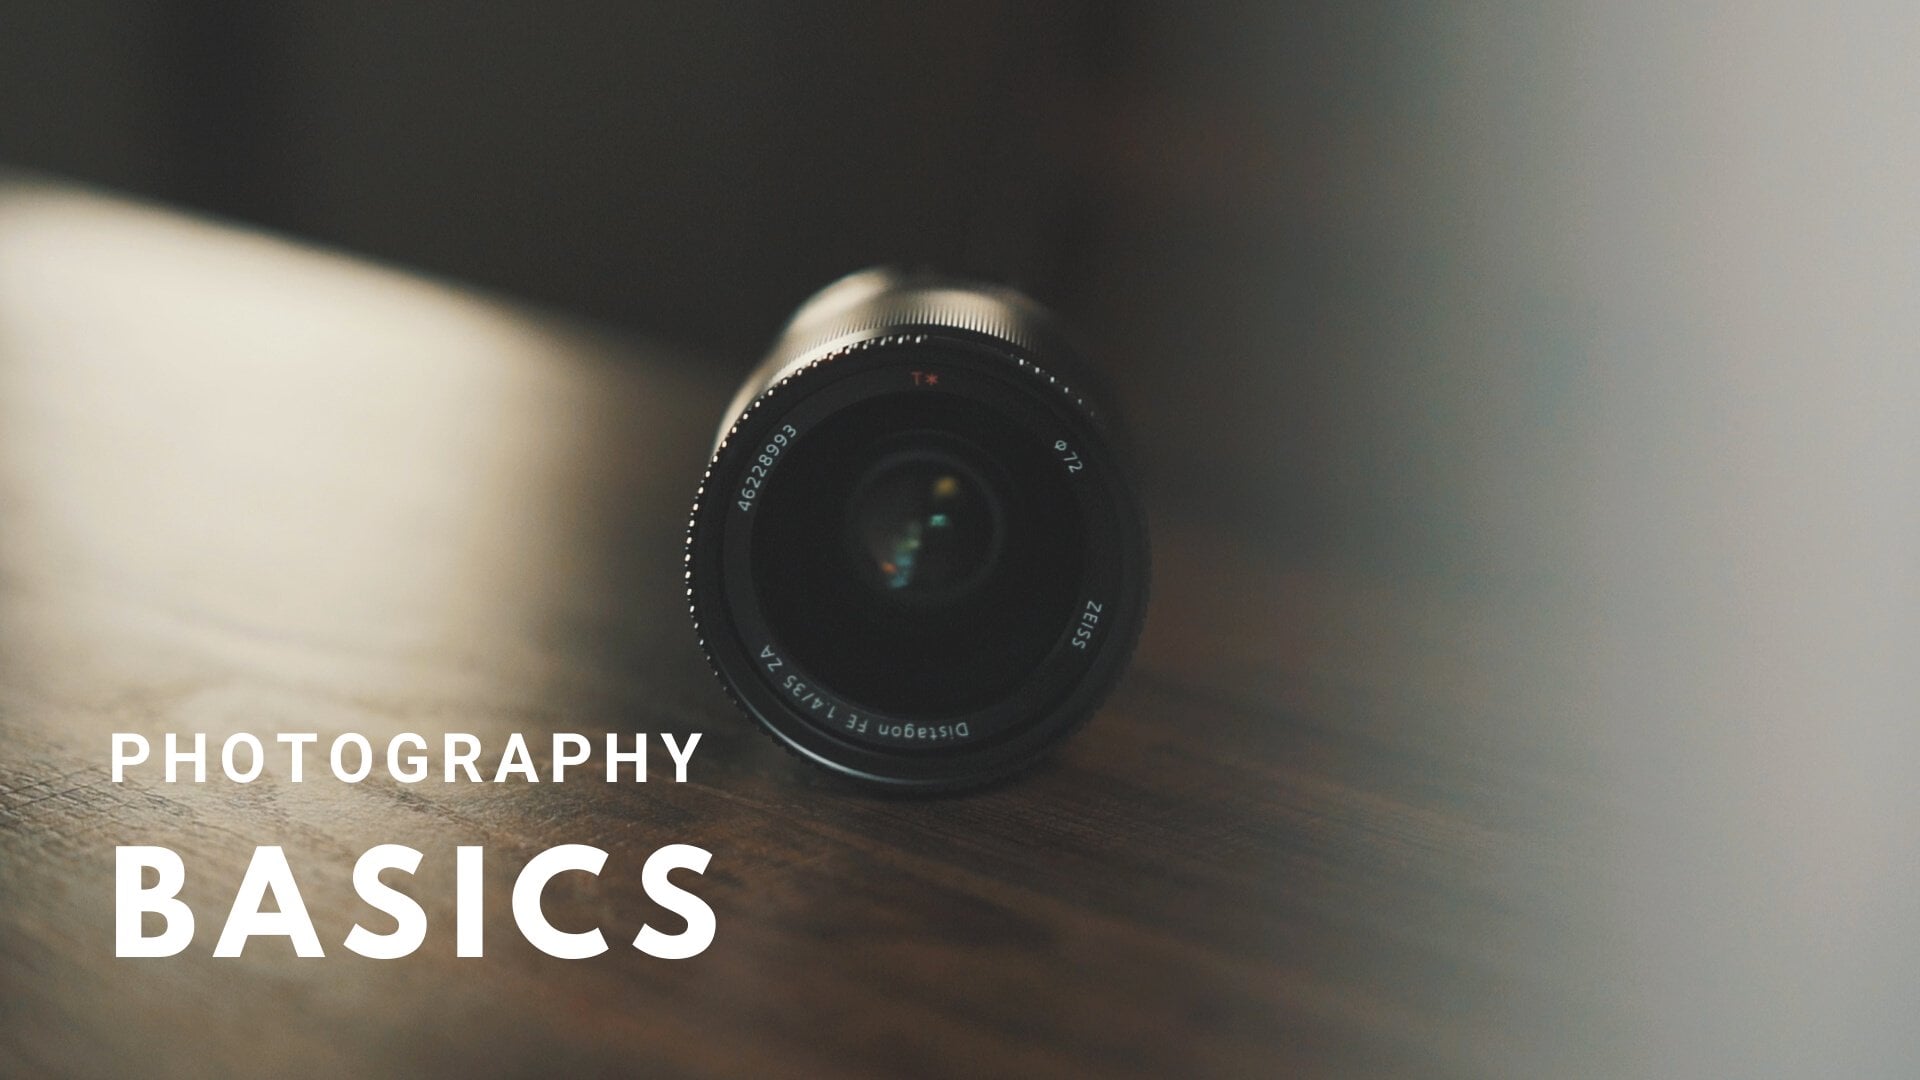
1. Course Introduction: I've always felt that portrait photography is one of the best ways to get started in photography simply because it's fun and it's also incredibly accessible. Hey, everyone. My name is Sean Dalton. I am a professional photographer based in Bali, Indonesia. I shoot a lot of different styles of photography, but one of the styles I always keep coming back to is portraiture. There's something about photographing a person that results in images that express so much emotion and so much visual interest. There's also so much room for creativity and ingenuity as well. Today in this class, we are going to be exploring how to step outside the boundaries of what you might consider a regular portrait and how to capture portraits with a little bit more creative flair. In this class, we're going to start things off with talking about, what makes a good portrait? What are the factors that actually contribute to a good-looking portrait photo? Then we're going to talk about how to plan your shoot from start to finish, everything from choosing a location, a model and props. Also, formulating your own creative vision for the specific shoot. Next, we're going to explore some cool creative photo hacks that you can use in your images. Then we're going to talk about gear and camera settings and everything you need to know about that. After that, we're actually going to head outside and try to shoot two different creative portrait concepts that I've come up with, with my friend Kelsey, who is also my model. She's amazing. We're going to head outside and capture some really cool photos. Then we're going to come back here to the studio and I'm going to show you how I would edit some of those photos. I'm going to be shooting on a DSLR, because I always shoot on my DSLR. But if you don't have a DSLR, maybe you only have an iPhone or a film camera, honestly, those are perfectly fine. You don't need a DSLR to follow along in this course. You also don't have to be a photographer to take this class. Like I said, I think portrait photography is incredibly accessible and it's great for beginner photographers or more advanced photographers, who are looking to just sharpen their skills a little bit. Whether you're a complete beginner looking to master the basics or somebody just looking to improve their skills, this class is for you. I'm excited to bring you guys along on this creative adventure with me. If you are ready to get started, let's go.
2. Getting Started & Class Project: All right right. Well, thank you so much for taking the time to enroll in this class. I'm pumped that you're here, I hope you guys are excited to create something cool. One of the first things I want to talk about is first off just what is creative portrait photography, and how is it actually different from portrait photography? Actually, there is no difference between creative portrait photography and portrait photography. I think every portrait should be creative, but by adding that word creative to the front, it just helps remind us that we should be trying new things. We should be trying to create new concepts and do something different than how we usually do it. I think creativity is all about pushing the boundaries. It's about doing something, even if you don't know if it's going to work, just trying it, trying new ideas, failing, trying again. Just that creative cycle where you're constantly making something, and you don't know the overall outcome. For example, the shoots that I have planned for this class, I have no idea how they're going to turn out. It's not like I went and rehearsed them because I want it to be an authentic experience where I go out and try to execute a creative shoot that's a little bit out of my everyday process for creating. If I fail, then that's the way it is. That is part of the creative process, and I want that to be the underlying concept of this class. Building off of the idea of creative portrait photography. I don't think a creative portrait has to be like this grand abstract, crazy portrait with all these different effects and stuff. A creative portrait can be as simple as just adding a simple prop inside of your portrait. Something that you wouldn't usually use or also going to a location that really doesn't look interesting to you and having the creative ability to make it into something that looks cool and formulate a cool idea based off of somewhere that just really sucks. I mean that takes a lot of creativity to do that. I think that is something worth noting is your idea of a creative portrait might be this grand abstract portrait scene that is creative portrait photography. But creative portrait photography is also having the ability as a photographer to go into a location that just sucks and having the creative ability to go and capture cool photos in that area. With that said, I think the overall goal of this class is just to cover some of the basic concepts of portrait photography and hopefully inspire you to go outside and capture some cool creative portraits. What can you do as a student in this class to maximize your experience? I think what you can do is just to be mindful of what you're watching the class and take notes and also formulate some ideas as you're going through the class content and try to write down some things that you're thinking of. If one part of the course inspires you, write it down and then after the course, go outside and actually put together your own shoot and capture something cool. That leads me into the class project of this course. This course does have a class project. It's an interactive course, so after you guys watch the content, I want you to go outside, put together a shoot, capture 1-3 photos, and then come back here to the class and post those in the projects and resources tab below. Your subject can be anybody, it can be somebody you know, it could be a friend, a parent, a sibling, or even somebody that you meet on the street. Or another great way to meet models is through Facebook groups like photography Facebook groups in your area. That's a great way to find models who might want to be in your photos. But I really hope you do take the time to put together a class project because like I said, it really is the best way to learn and I love seeing those, I like seeing my students are doing, so please take some cool portraits and post those in the class project. But now we're going to move into what actually constitutes a good portrait, like what are some of the things that contribute to a beautiful portrait? Hopefully, these can help guide you as you're out shooting and just give you a general understanding of what are some of the factors that contribute to a beautiful portrait.
3. What Makes a Good Portrait?: What actually constitutes a good portrait? A beautiful portrait photo. What are the things that contribute to a portrait that elicits some type of response in the viewer? I think there's two main concepts that every good portrait has, and those two things are emotion and aesthetic. Emotion is just the vibe that the photo gives off, the actual emotional response that is experienced by the person who views that image. Also, what kind of story that image is telling. Aesthetic is just the way the photo looks, the actual physical characteristics of the image, and whether it's beautiful or not. The best portraits ever of all time, they do both of those things incredibly well. They have emotion attached to them, extreme emotion as well as just utmost beauty as well. The aesthetic is there and the story is there as well. I think the goal of portrait photography is to go out and try to do both of those things well as to capture that story, capture that emotion, as well as capture it in a way that just looks physically beautiful. But emotion and aesthetic are broad concepts and I think there's actually four things that contribute to images that have good emotion and good aesthetic. Those four things are the model, the location, lighting, and composition. Let's break down each one of those things now. The first one is the model, and I think that goes without saying. The actual person in your image is going to have a massive role in not only the way that your image looks from an aesthetic standpoint, but also the emotions that your image is expressing as well. Humans are very emotional creatures and if we see a face, it's very easy for us to read that face and evaluate what's going on. So when your model makes a certain expression in their image, maybe they're smiling or they're crying or they're laughing, that's very easy for the viewer of that photo to interpret. The actual expression that the model has, plays a massive role in the emotion of the image and the way that they look also in the style and they're overall vibe is also going to play into the aesthetic of the photo. When you're choosing your model, it's really important to think about them. They're the focal point of the image, and we want to make sure that the model that we have and the way that they're posing and the way that they're acting is in line with our creative vision. The second thing is the location. This is so, so important for portrait photography because it really does set the overall vibe or the overall tone for the shoot, and you want it to align with your model as well. You don't want to have a massive discrepancy between your model and what they're wearing and the location. For example, you wouldn't shoot a girl in a bikini in the North Pole. Maybe you would, but to me, that just doesn't make any sense. If that's your creative vision though, that's totally cool. Nothing against that. Just as an example, you want to have a location that does align with your model and what they're wearing. Location also affects lighting. Lighting is number 3. Lighting really does impact every aspect of the shot. It really dictates the style of a photographer. So photographers that often shoot in similar light, that's going to be what their style looks like. For example, I like to shoot in low light. I like to shoot just after sunset when it's really dark and there's this really soft light available. Some photographers like to shoot 3:00 PM, 2:00 PM, 3:00 PM where it's really strong, harsh light. That's very much a style and it has a massive impact on the visual aesthetic of the image, but it also greatly impacts the mood as well. A darker image might appear more somber or a high contrast image might appear more intense, whereas a brighter image might be a little bit more airy, a little bit easier to look at, a little bit more happy. But bright photos can be somber as well depending on the subject matter of the image. It's really important to think about the lighting that you want in your scene. A lot of portrait photographer shoot around sunrise and sunset because at that time the light in the sky is horizontal and it's nicely diffused, and it just is very complementing and it's easier to shoot in that lighting, and it just looks really nice. But if you do want to challenge yourself, I do recommend going out and shooting before sunset when the light is a little bit stronger. We call it harsh light. Because you can get some really cool, creative looks in that light, and while it is a little bit more difficult, you'd be surprised at some of the photos that you can capture. The fourth concept is composition. Composition is basically how you arrange all of the subjects within your frame. With portrait photography, you can think of it as do you want to photograph the entire body? Do you want to just photograph the face? Do you want to back up and show more of the actual scene around them or do you want to just blur all that out? That is really going to play a big part in the overall outcome of the image of really up-close shot of the face is going to be maybe a little bit more emotional than a shot that's a little bit wider. Also, when you shoot up at your subject, that makes them look much taller, much grander, and if you shoot down on them, we call it the worm's eye view and it makes them look smaller and a little bit more insignificant. So the way that you shoot the actual photos in your perspective, where you are in orientation to your model is really going to have a big impact on the overall emotion and aesthetic of the photo. What I like to do when I'm shooting is to just constantly shift my perspective. I shoot from far away, I go close up, I shoot from different angles. I shoot from below, from above, and I just try to capture as much diversity with my model as possible. I think it's so easy to just shoot everything from one perspective that I love where you just stand there and you just take your photos like that. But you're going to be limiting yourself creatively, and I think you're going to be massively surprised at the way that some of the images look when you're just trying new things, and you're just shooting in different perspectives, shooting it from different angles, and just being creative with it. So composition is very important. Those are the four things that I want you to be thinking about while you go out and shoot, and we're going to expand on these a little bit more throughout the course. While I'm shooting as well, I'm going to be talking about these things because they really are central to every portrait that you see. They're always on my mind while I'm out shooting and I think they should be on your mind as well.
4. Planning Your Shoot: In this lesson, I will talk about planning out your portrait shoots. With Creative Portrait Photography, you can honestly just grab a friend and go outside and try to capture something cool, and I totally recommend doing that sometimes. Just going outside with nothing in particular in mind and just trying to create something interesting. That's something that me and Kelsey do sometimes, and I really do think it's just a great creative experience. But sometimes you're going to want to actually sit down and plan out your shoots in a little bit more detail, especially if you're shooting for a client or something; or if you have a very specific concept in mind, then you're going to need to sit down and think about all the different factors that are going to go into that concept. But for me personally, when I go about planning my shoots, it all starts with a little bit of inspiration and just getting some ideas out on paper. I sit down and I just write out some things that I think might work well. I find a lot of inspiration for my portrait shoots online: so on Instagram or on Pinterest, or also in some of the magazines that I read. There are so many other artists creating really cool stuff online, and when I see those images, they inspire me to go outside and create something similar or create something that has some aspects of this image and some aspects of this image, and then putting it together and creating my own unique creative portrait. Now, like I said, I use Instagram and Pinterest for a lot of my inspiration, but you can find inspiration anywhere at all: You can find it in traditional artworks, traditional paintings, you can find it in magazines, books, movies. We're constantly surrounded by art, and I think you can pull inspiration from pretty much anything that you see. Now Kelsey and I actually did this together. We sat down and we just shared ideas. We both wrote down some things that we thought might look cool, and we just bounced ideas off of each other and created a few interesting concepts, which I'm going to tell you guys about later on in this lesson. But if you don't have a model to bounce ideas off of, that's totally fine, you can come up with your own concepts and then find a model; or can do it like how we did, we decided to shoot together first, and then we decided to come up with a concept together. I like doing that sometimes because it's nice to hear what other people think and hear their creative ideas as well. Two minds is better than one, so I always appreciate it when somebody else shares their input with me. But if you don't have a model, you can easily find one on Facebook or in your local photography community Facebook group; and also Instagram is a great way to find people, you can send them messages on Instagram; or also honestly just your friend group. Asking friends, hey, can I take your portrait? I think you look interesting and I think you'd look really cool in this scene. Would you like to go out and shoot this Saturday. That's honestly such a great way to not only make friends but capture some really cool images. So I urge you to go and do that. If you're nervous about finding a model, just ask somebody. So many people are willing to get their photos taken. It's also flattering for them because you're saying, hey, I like the way you look, would you like to be in my photo? After you find some inspiration and you formulate your concept, there's a few things that you really need to plan out before you actually go shoot: The first one is location. I talked about this in the last lesson. Location is so important for your shoot. Like I said, it doesn't have to be a crazy location; you only need a very small place to actually capture good portraits, if that one area fits the vibe that you want. For example, I've captured some really amazing photos on the side of a freeway. It was so ugly, there was nothing there, but there was one plant that looked cool, and we shot a whole series of photos there, a whole series of portraits there, so that worked out. Always think about location: Do you have to drive there? How are you going to get there? Is it easy for your model to get there? Location really is one of the first things that you should be thinking about when you're planning your shoot. The second thing is the time of day. What time are you guys going to go shoot? This is really going to dictate the light in your scene. If you're shooting in the middle of the day, the light is going to be much different than if you're shooting just at sunrise or at sunset when the light is much softer. If it's a cloudy day, honestly it's not going to make that much of a difference because if it's cloudy, the light is going to be nice and diffused anyways. Cloudy days are really great days to take photos. I love shooting on cloudy days. I just shot a massive commercial campaign for this brand, and it was totally cloudy the whole day, and the images are awesome because the light was nice and soft. The third thing I like to plan is the clothing. Not only the style of the clothing, because that's going to dictate the overall vibe of the image, but the colors as well, and the fit as well. Now, I always ask my models, what do they have? Do you have any clothes that fit when I'm looking for? Can you send me pictures of some of the things in your closet? In Kels' case, she's my roommate, so I can just go downstairs to her room and look at her closet and then we can pick out her outfit together, and that's what we did for this particular shoot. Photos are great if you're in touch with the model already. Just ask them to send you some photos of some of the things they are thinking about wearing, or also go on their Instagram page or their social media profiles, and you can screenshot things that you see in other photos that you really like, and just say, hey, bring this, if you can, because I really love these shoes or I really love these jeans. The fourth thing you want to plan out is props, both for the shoot that you're actually going to be using in the images, and also that you're going to be using yourself for creativity. For example, if you want to place something cool in front of the camera lens to create an interesting creative effect, which we're going to talk about on the next lesson, don't forget those things and make sure you have a checklist of everything written out before you go shoot because I promise you will forget something. I always forget something if I don't create a checklist. The fifth thing is just the overall vibe of the shoot. I know you probably talked about the concept and the vibe of the shoot in the beginning when you sat down with your model. But it's also really important to just reflect on it after the planning phase. Just to go back and cover everything again and talk about what you're expecting of the model: What kind of moods are you trying to portray? What aesthetic are you going for in the image? Those are all really important aspects of the outcome of your photo: emotion and aesthetic. I think it's important to communicate those things with your model before you actually go out and shoot. Because if you have a vision, but they're not in on that vision as well, it's going to be harder for you guys to work together and capture that vision and capture that concept effectively. With those things in mind: location, time of day, clothing, props, and vibe, now I want to walk you guys through the shoots that Kels and I have planned. We wanted to do two scenes for this course. We want to do an indoor scene and we want to do an outdoor scene. For the indoor scene, we have that locked down pretty well. We want to shoot at night inside, so no lighting, except for the lights that we have available to us. I have a few different LED lights that I'm going to be using. I also just got these really cool new sunset lamps that I got on Amazon. They were really cheap, and they're really cool, and they create like a circle of color. It looks like a sunset. We're going to experiment with those at night. I have two of them: I have a rainbow one and a sunset one, and we're going to experiment with that. In terms of location, we can shoot that here at home because it's nighttime. For their clothing, we chose a few different outfits that are neutral that we think are going to work well for that particular scene. In terms of props, we're going to try maybe using some of these plants that I have behind me. We're not sure if we're going to use them yet. We don't know if it's going to look cool or not, but we're going to try it out, so we're going to bring those. I'm also going to bring some cool things that I'm going to put in front of the camera lens to create some cool creative effects, and I'm going to talk about those in the next lesson. But I have a checklist of all of those things that I'm going to be using in that shoot. Then the overall vibe, we want it to be moody, interesting, and nostalgic as well. We went it to look old school, so we're going to go for that look. The second shoot is an outdoor shoot. This one, we're leaving a little bit more open, because we have an idea, but we're not 100 percent sure if it's going to work. So if it doesn't work, we're just going to flip the switch and try something different. But the overall plan for this shoot is to shoot at the beach, in the water, in a darker, moodier light. I don't want it to be after dark; I want it to be a cloudy day before sunset. Now I don't know if that's going to be the case. If it's a sunny day, we're going to shoot in the sun, which is fine. But it would be cool if it was a little bit moody. I want the shoot to be a little bit dynamic. I want to capture some motion blur. I want it to be a little bit nostalgic, almost romantic in a way. That's because we're going to be using some cool props, like roses. We're going to have a bouquet of red roses that are going to contrast the blue of the ocean quite nicely. For the clothing, I want to get a brown suit jacket. But that's hard to find in Bali, so we might have to end up using something like a white dress shirt or something like that. I really want the photos to have texture to them, like an old-school-looking green or some dust, some texture to just add to the overall vibe of the shoot. I am going to be experimenting with some of the creative tools that I'm going to talk about in the next lesson as well, putting things in front of the lens to just change the actual physical look of the image. I'm excited about this shoot, but if it doesn't work, we're just going to try to be creative on the scene and make something cool, but I do think the shoot has a lot of potential. But now we've talked about planning the shoot, and I gave you guys some tips for doing that. Now I want to cover some cool creative portrait hacks, some actual things that you can use in your images to just create some interesting-looking effects. Let's move on to that lesson now.
5. Creative Portrait Hacks: All right guys. Well, as you can see, I have a ton of random stuff sitting in front of me. That's because I want to talk about how you can use random stuff like this to create a really cool creative effect in your portraits. Some of these I've used before, some of these I've never used, some of these I'm going to be using in this particular class, but there's so many different things that you can do to just add a creative flair to your shoot and just make your image look way different. So let's talk about some of them. Now I'm going to start over here with the prism. A prism, you may have heard of one, it's basically just a chunk of glass and when the light hits it, it refracts in a really, really interesting way. You can hold it up in front of your camera and if the light is hitting it, it can refract and just create a reflection on your photo. Just a cool creative tool for photographers to use and something I might be using during one of our shoots today. The next thing is a pair of sunglasses. You can actually shoot through sunglasses and that will give you your photos are cool look. It can warp your photos, it might do something weird, but I recommend just testing them out. The next thing is a filter like this. This is actually just a UV filter, but you can put stuff on it. You can put chapstick on it, around the edges and that will give your photos a very ethereal look and something that I really do want to try out while shooting later today. This is a poncho. It was a 50 cent poncho that we got at the local minimart, and it's really transparent blue material. First of all, it's going to make it look very soft, it's going to make the lenses much less sharp, and it's also going to put a blue-colored tint on the photo, and I think that might give it a cool vintage look. I'm going to tape that or put a rubber band around my lens and put that on the front of the lens and hopefully, that would look cool. If you can't find something like that, you can just use good old Saran wrap and you can actually take a marker and color a different color on the Saran wrap and then put that over your lens. That's going to have a similar effect and you can really get creative with that. That's something I recommend trying out. These are all things that fall into the category of shooting through something. You're shooting either through the Saran wrap or you're shooting with the prism up in front of the lens. You can also shoot through things that you find out in the field. So if you find some plants outside, you can step behind those plants and shoot through those. That will give your image a lot of depth and it will also just create a lot more visual interest in the photo. I always recommend shooting through things. It's such a creative hack and it can make your portraits look much more interesting. These are all things that I'm excited to try out during our shoot. I'm going to urge you to just try them out as well, and honestly, this list is not exhaustive, you can shoot through absolutely anything. Go into your kitchen and find something random and try to put it in front of your camera, it might look cool. But the next thing that I will talk about is vintage lenses. I paid $60 for this lens. This is a Helios lens, it's a Russian lens that was made in the '70s. It's really old and it's really soft, and it just looks completely different from all of the modern digital lenses that I have now. This lens is adapted, so I have a little adapter that I can put on the back. I can use this on my Sony camera, my professional DSLR camera. If you have a mirrorless camera, you can adapt lenses like this onto your camera with a simple, cheap adapter. This whole package right here cost me $70. It's fully manual focus, but if you get it in the right scenarios, you can get swirly bokeh, which means the bokeh the out-of-focus areas behind your subject are swirly. We're going to be trying to do that later on this course. I don't know if it's going to work, I think it's hard to use, but old lenses like this, vintage lenses are really cool creative photo hacks and I recommend checking them out. Next is lighting. This is just a simple flashlight and when you shine it into a lens, it can make some really cool effects. Maybe not on the lens that I'm shooting with now because this is a modern lens and it has a lot of coating on it, but if I did that to this lens, it would look crazy, and blown out, and old school, and it would just give your photo of very interesting creative effect. So I definitely recommend trying out flashlights and other lights like this. This is a sunset lamp that I got on Amazon for a couple of dollars. This thing is amazing. It's trends, a big circular light on the wall that looks like a sunset, and it's this beautiful golden color, it's red and orange and a little bit yellow and it looks just like a sunset. It's an amazing creative tool to have. It only cost me a few dollars and it can definitely introduce a lot more interest into your scene. But while these things are cool, there are so many other things that you could be using. These are just some the things that I've found online, things that I've used in the past, and things that I'm going to be using for this particular course, but there really is endless possibilities with this and this is certainly not an exclusive list. I recommend just going through your house and looking for things that you think might add an interesting creative effect to your photos and just give them a shot, try them out. They might not work, they might work, but that's all inline with this idea of creativity and trying new things and failing, and just discovering new ways to create beautiful portraits. But with that all out of the way, let's talk about camera gear and some of the gear that you might want to use while you're out shooting.
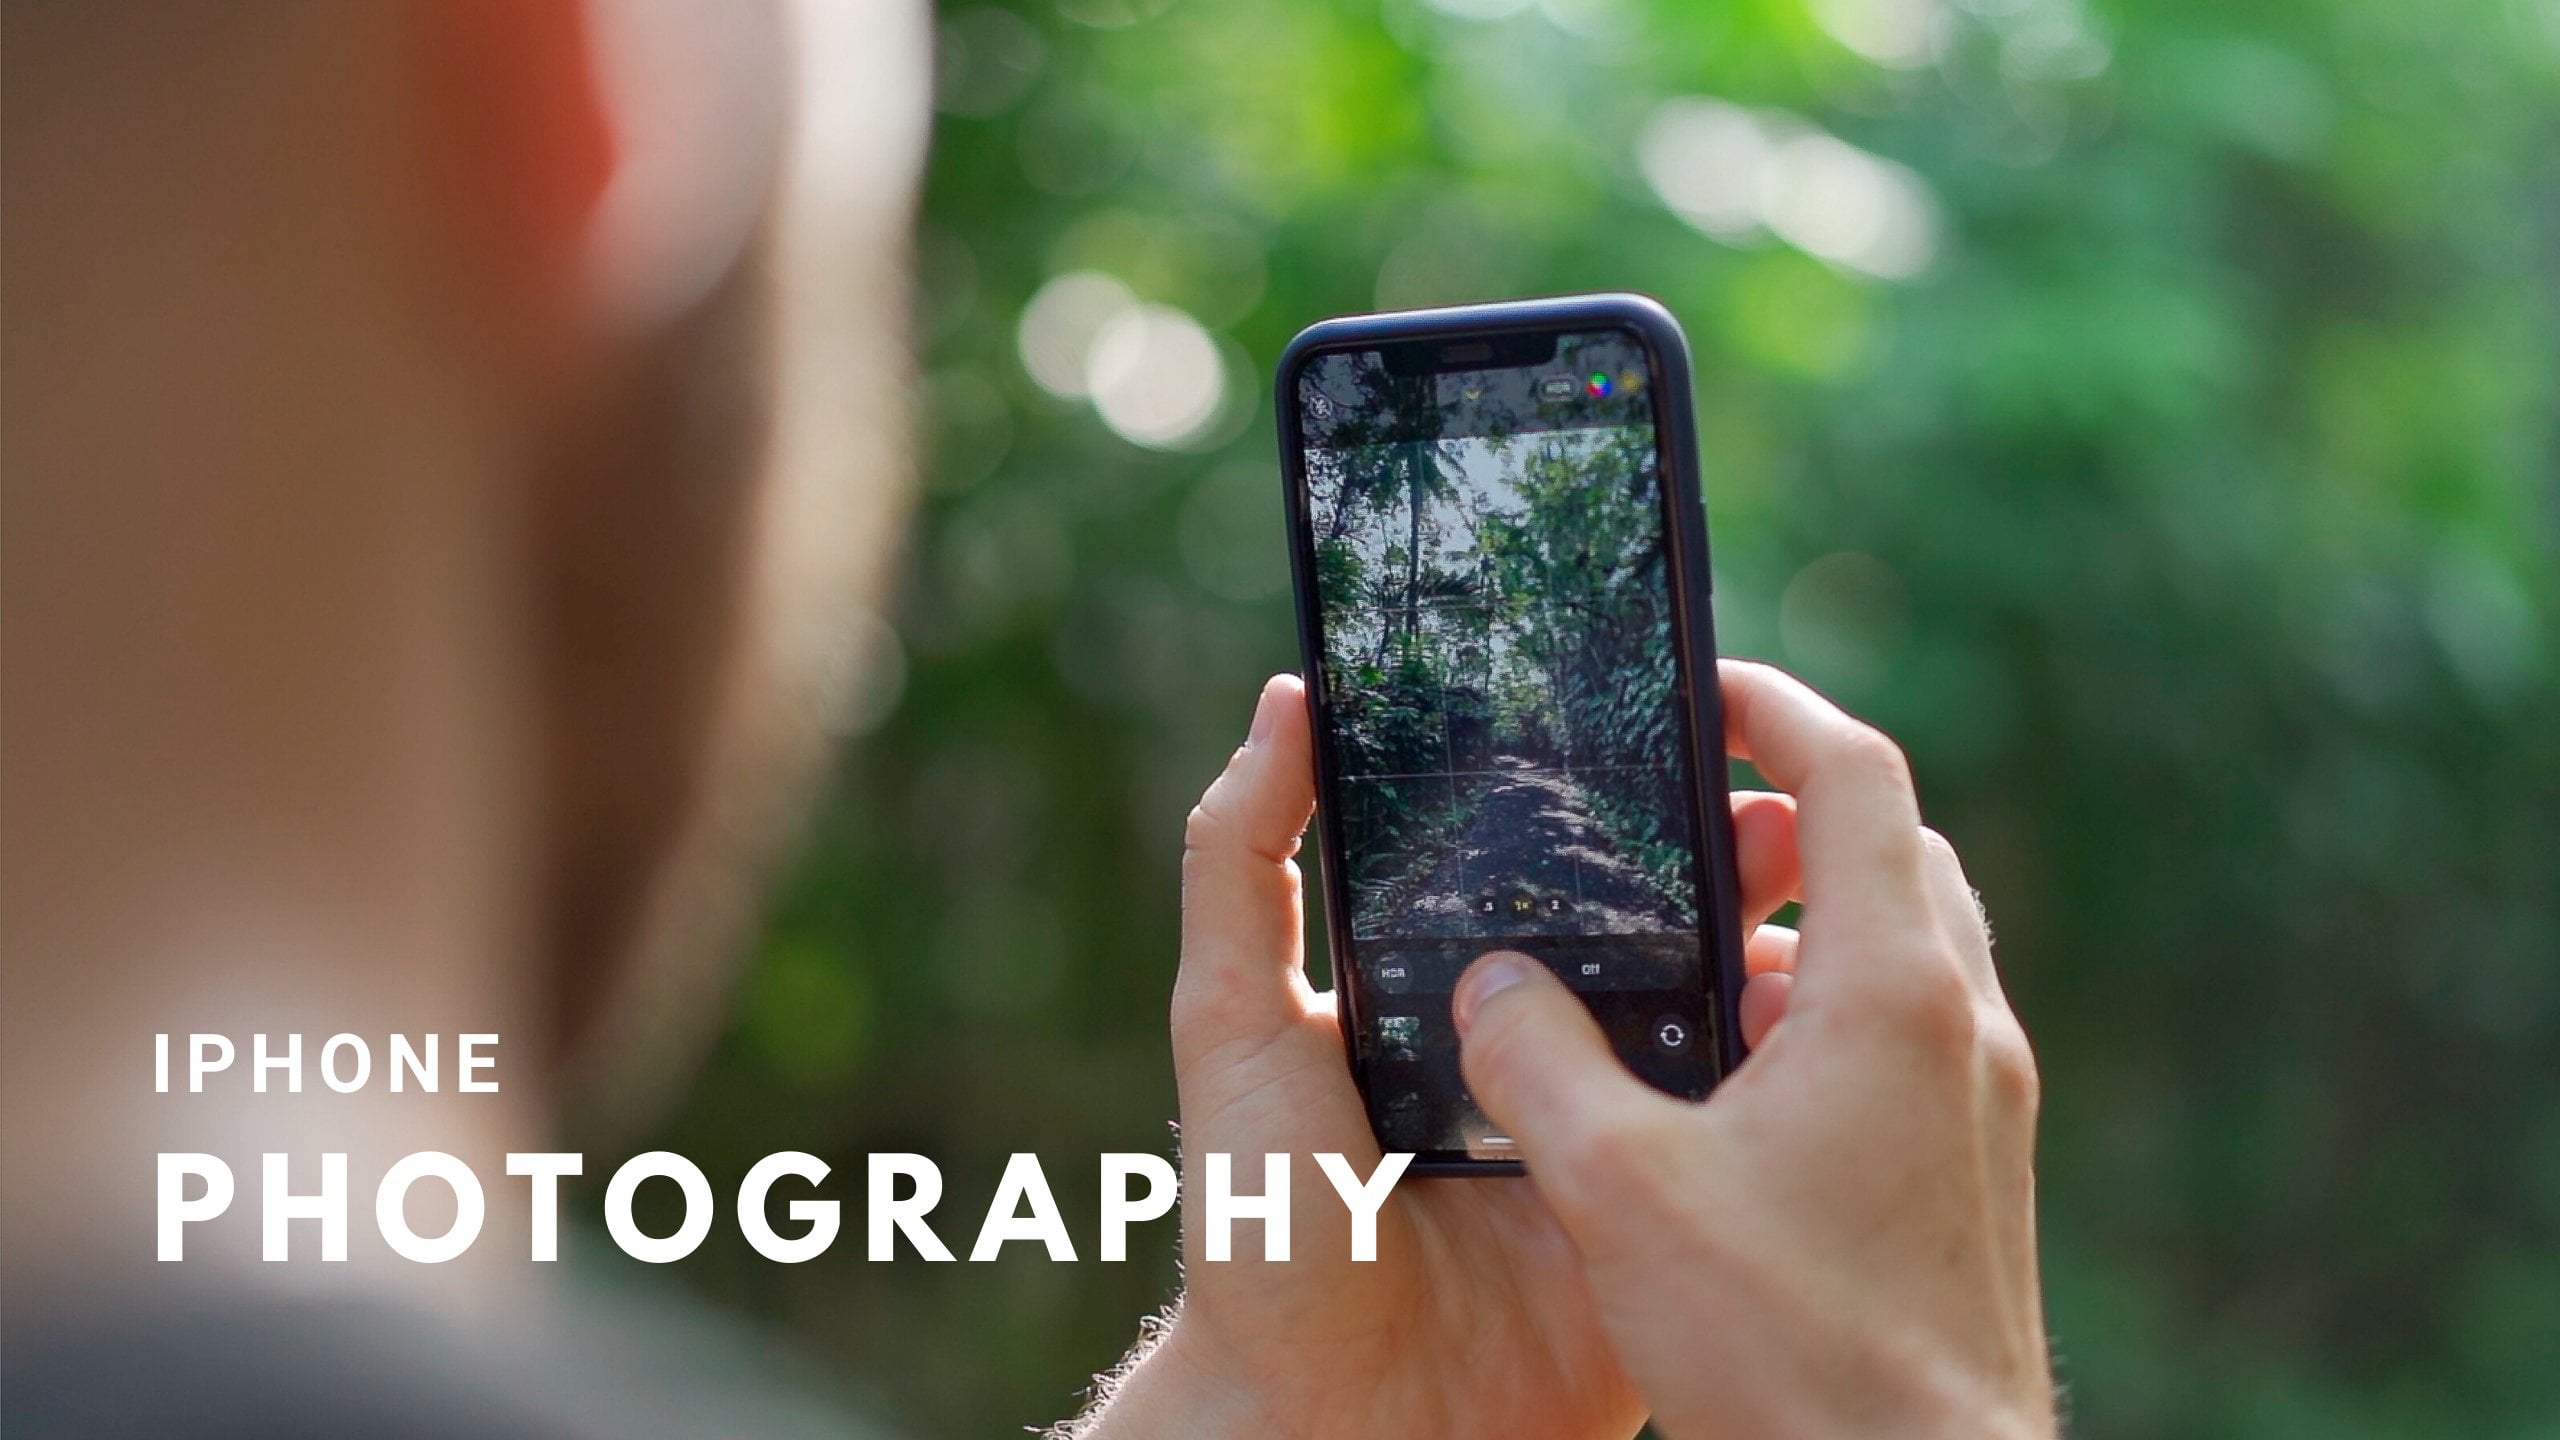
6. Gear & DSLR Camera Settings: Well now we're going to talk about everyone's favorite topic and that is gear. Now in the intro of this class I said you don't need a DSLR to take this class. You can take portraits on anything. I actually have an iPhone Portrait Photography Class here on Skillshare that teaches you how to take really cool portraits with your iPhone, and I used Kelsy in that course as well. Right off the bar, if you don't have a DSLR, if you don't have a nice camera, your iPhone's fine. Also, if you have a film camera, I love film photography. Those are all film cameras back there, and I shoot a lot of film and I shoot a lot of film portraits. If you have your dad's old film camera, use that. Those are really really cool and they create beautiful images, but like I said, I'm going to be shooting with my DSLR. This is a Sony A7III. It's an older camera now, but honestly it's a really good camera. It's my workhorse, I use it all the time. I'm going to be shooting with a few different lenses. I usually shoot my portrait with prime lenses. Prime lenses have a fixed focal length, which means they can't zoom in or out, and focal length is described as the angle of view of a lens. The higher the number, like 85 millimeters, the more zoomed in that lens is going to be, the lower the number like 35 or 24, or 16, the more zoomed out that photo is going to be. I love shooting portraits at 35 millimeters, at 50 milliliters, and at 85 millimeters. They all have very different looks. 85 millimeters is zoomed in, it's a really good head-shot lens, whereas 35 millimeters shows more of the scene, it's cinematic looking. I really love shooting at 35 millimeters, probably the most, it's probably my favorite lens. All of these lenses also have a wide maximum aperture. The maximum aperture of these lenses are 1.4, 1.8, and 1.4. That means the lenses can open up really wide to allow a lot of light to enter the scene, and also when you're shooting with a lower number, a wider aperture, you're going to get more out-of-focus areas in your scene. You're going to have a shallower depth of field and that looks really cool for portraits, because it allows us to separate our subject from the background. Just know that these are really good portrait lenses, all three of them, because they're great focal lengths and the wide maximum aperture is really useful for portraiture as well. Now in terms of camera settings, I am usually shooting in either full manual mode or an aperture priority. The reason for that is because for me when I'm shooting portraits, most of the time, the most important camera setting is aperture. That's because, like I said before, aperture is going to dictate the depth of field in your image. If you're using a wider aperture, which is a lower number, you're going to have more background blur behind your subject. Whereas if you're using a higher aperture, a higher number, which is a smaller physical aperture, that is going to result in more depth of field that you're seeing, more focus throughout the scene, but that also can introduce a lot of distraction into your scene. Shutter speed isn't usually that important for portraiture unless you're trying to freeze fast motion or blur motion. I think you can actually create some really cool effects by using a slow shutter speed when you're shooting portraits like different action portraits, we might try some of that later on, but for the most part, aperture is really the only setting that I usually care about because depth for me is more important than motion blur and with ISO, I always just try to keep it as low as possible, because higher ISOs just don't look good in cameras. My general progression is first I choose my aperture, don't want a blurry background or an in-focus background, then I set my ISO and I usually just leave it at 100 if it's a sunny day, I only raise it up if I have to. Then I'll set my shutter speed and I just regulate my exposure using my shutter speed. Now, this does get a little bit more complicated if you're shooting in low light, I always recommend shooting at your widest maximum aperture for shooting in low light, because it's going to be easier for your camera to capture those images, but for most people, if you're a little bit confused by everything that I'm saying, I recommend that you just shoot in aperture priority that will allow you to select the aperture of the camera and the camera will do everything else. It will select the ISO and it'll select the shutter speed. As long as you're not trying to shoot at F22 in the middle of the night, you're probably going to be fine with your camera settings. Cameras are smart, they know how to choose the right setting. Aperture priority is good for a lot of beginners. If you still don't even understand aperture, that's totally fine. Just shoot in auto mode. Ultimately, the main goal is to be outside taking photos and your camera in auto mode is going to do a fine job. It's going to do mostly everything it needs to do. It's maybe not going to capture your creative vision perfectly, but that's okay. It doesn't have to be perfect. You know, just being outside shooting is a positive thing. There's a lot of other aspects of photography and camera settings, it's just a very small piece of the puzzle, but that is a basic rundown on gear and camera settings. Like I said, if you guys want to learn more about this in depth, my Photography Essentials class here on Skillshare explains it much better than I just did. It just lays everything out. It's very easy to understand, very easy to follow, and I recommend checking that out. Now I don't know about you guys, but I'm tired of chilling here talking. We're going to take this gear, we're actually go outside and shoot now. In the next lesson, we're going to be shooting and I hope you guys enjoy that.
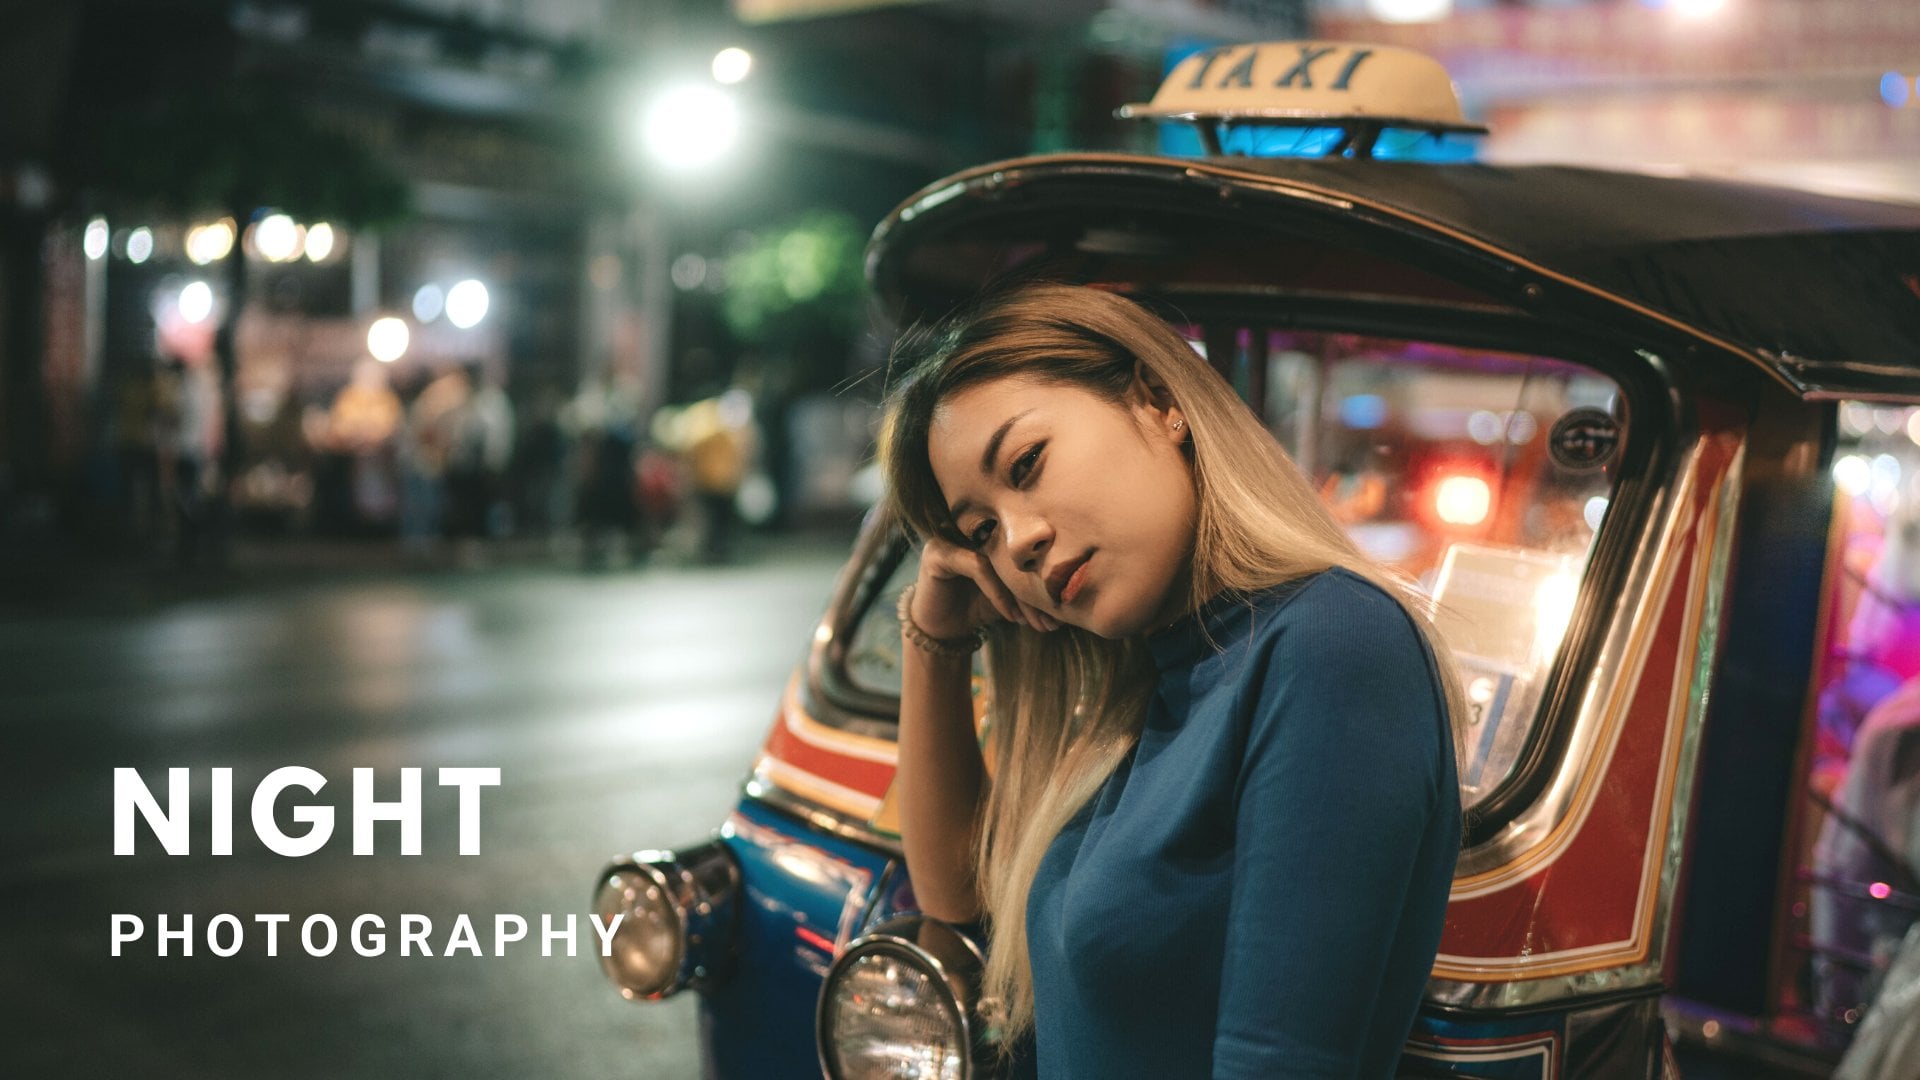
7. Shooting Outdoors: Natural Light: Hey guys, what's up and welcome to Seseh Beach. I'm here with my lovely model, Kelsey. Hi. We're excited to shoot our outdoor session today. We already talked about what we wanted to achieve, initially. We want to go for this old-school nostalgic, dynamic look. We didn't find the exact outfit that we wanted. We didn't find an old-school men's brown blazer, but we did get this one which is cool, it's like a worker's jacket. It's just natural and flowing and I like the color and I just think it looks pretty cool. Then we have this awesome bouquet of roses as well. I'll just add a pop of color against the blue sky. In terms of lighting today, it's not exactly what I wanted. It's still bright outside, in the beginning of our shoot, it's going to be a little bit bright. I was going for a little bit moodier of a vibe, so I wanted some cloud cover. But hopefully, once the sun sets, the light is going to soften out a little bit. It's going to be more in line with what we're trying to achieve in this photoshoot, which is this moody look. We are going to start shooting outside of the water first and we're going to get all the shots we want outside of the water. But later on, when the light is in a really nice spot, we're actually going to get in the water and get wet and that is where the shots are going to get really creative. Those are the ones I'm really excited about. But we're going to warm up with just some basic headshots, just some stuff outside the water, and then later on we'll get in and get a little bit more creative. But that's enough talking guys, let's take some photos. I really like shooting with a 35-millimeter lens because it just shows so much of the scene. I'm shooting at F1.4, 1.4 because I want to get the background really blurry. I just don't want a 100 because it's a bright sunny day. Then my shutter speed is 1/4000 of a second to just balance out my exposure here. Nice. I like how Kelsey is just moving around. She's just being free with it, free-flowing. I'm just shooting the in-between moments and just letting it happen naturally. One tip I am proposing is having your model change where they're looking, so they can look off-camera, they can look into the camera. That's just a great way to change things up. Also, where they're looking is going to change the way the light hits their face. That is a really good way when you're shooting in the middle of the day, have them look up at the sun, away from the sun and just see how the light hits their face. I also have the prism, so I'm going to try and mess with this a little bit. We'll shift this way, right here. Oh, I love that so much. Another thing I want to do while I'm shooting is just constantly shift my perspective. We talked about that earlier on in this course, but for shooting everything, I love, wool, it's going to look a little bit boring, so step further away, close up, down below, up above, etc. This is a really nice shot right here. I just like the way the light is hitting her. Turn a little bit that way. Yeah. Now I've got the 50-millimetre on, this is actually a 55 millimeters F1.8. It's a really good lens, 50-millimeters is a mid-range lens. I really like that. I'm shooting at F1.8 for nice shallow depth of field, I use a 100 because it's nice and sunny and my shutter speed is about 1/2,000 of a second, sometimes 1/4,000 of a second depending on where I am in accordance to the sun. Good. Look back at me. Just your eyes right there. Yeah, nice. Just look at me. That's so good. Look out over the ocean. Nice. Do that where it's like just so the shadow's on your face. I like peeking through the fingers, like right there. Yeah, perfect. That's sick. Look that way. Now I have the Helios 44M, which is the vintage Russian lens, which is actually 58 millimeters. I don't know why they say 44M, but it's really soft and really cool. We're going to shoot with this because it's just really vintage and cinematic looking. The thing with this lens is its manual focus, which is a little bit tough to use. I can't shoot faster or anything, but it's worth it because it looks so old school and cinematic. I'm shooting at F2. I use a 100, 1/1,250 of a second. This lens is really cool when you shoot into the sun because it's really old school. It doesn't have any new codings on it or anything. It just completely washes out the photo and it looks really cool. I want to shoot down, so just stay right there and hold the roses to your chest. Yeah, face the ocean. I want to experiment a little bit with some of the slower shutter stuff, a little bit of motion blur in the scene. I could do that by shutting my shutter speed below about 1/50 of a second. But that means I have to raise my aperture to F9, which isn't ideal. But once it gets darker, I can bring the aperture down a little bit to make that shallow depth of field. I shot still at 100. Okay. We'll go back this way. Try to stay at the same distance. Right there, yeah go. Look to your right. Yeah, good. Wow, those are incredible. Look back at me. Stay right there. Hold it up to your face again and look at me. I've got the 35-millimetre back on. I just really love this lens. I wanted to get some shots when the sun was lower in the sky with this lens. Face the sky. Yeah. Then look back at me. Guys, so you could have guessed, but unfortunately, my microphone died because I took it into the water and it fried. Of course, plastic shown move. But in my defense, I was very much in the creative flow. Kelsey and I were just vibing, we were just having a great time. I didn't think about it. I was definitely in the creative flow, which is the best feeling ever and we were just creating. But here we're just shooting with an 85-millimetre F1.4 lens. This lens is great because it's really compressed and it just looks really nice. You can see Kelsey's far away from me at this point because I am shooting with the zoomed-in lens. But the photos that came out from this lens were really nice. I like these photos. In particular, nice good compression and it looks like she's lost in the ocean or something. I really like this one because it's very very blurry and it just looks ominous. That was something I was going for in this shoot. I love the photos that were done with the slow shutter speed. I think a lot of people would see those images and be like those images are blurry. That's ridiculous. Why would you take blurry images? My answer to that is in any type of photography, there is no right or wrong. There are no rules that set you in stone. I made the executive clear decision to do that. I love how it came out, so I'm pumped with those. These are some images from the 35. I put the 35 on one more time before we closed out the shoot. I really like how these ones look as well. Thirty-five is my favorite lens. Then these are just some of my favorite photos from the shoot, full stop. These are just some of the images that you guys have seen already, but I just think they look amazing and I also really like to edit, just like I did on these. I was going for that darker vintage vibe. I know that this might not be for everybody, but once again, for the look that I was going for, I think I nailed it and I'm just really pumped with how these images came out. I'm excited to show you guys how I achieved these edits as well in the editing section of this video. But yeah, super successful shoot, I'm pumped with it, Kelsey is pumped with it. We were just really happy after. That's just the greatest feeling ever when you're really happy after a shoot. But anyways guys, I hope you enjoyed this little outdoor shooting session, but why don't we move on to the indoor section. We're going to shoot some very different-looking photos. I'll see you guys in that lesson now.
8. Shooting Indoors: Artificial Light: Okay, guys, welcome to the indoor shoot section of this course. We're back here with Kelsie once again. Hi. We are actually in our villa. I know it looks boring. It's just a plain wall, but usually, it looks a lot cuter. But we've moved everything out because we're going to be shooting with some cool LED lights tonight. We have two sunset lamps, one of them is like a warmer golden color and the other one's a rainbow color. We're going to experiment with those and then we also have some LED lights as well. We're actually going to turn off all the other lights in the house, so we can really control the lighting that we have using the various LED lights that we have at our disposal. For the outfit, we wanted to go with something simple and a little bit old school. Kelsie has got this awesome shirt and she's got the glasses as well. The glasses are going to be cool because we can use them to reflect some of the light that we're shining onto the scene with our LED lights. In terms of posing, we're just going to try to mix it up. We don't have a lot planned in terms of poses, so we're just going to have her stand up, sit down. I'm going to shoot from all different angles of the room. Hopefully, we'll get some cool photos. With that said guys, let's turn off these lights and get shooting. We've turned on the sunset lamp and now you can see we have this cool circle light hitting the black wall. We actually have another light on outside, otherwise, this would have been completely black. I think it would have been too much contrast, but this looks really cool. Kels, I'm going to have you to sit down and I'm going to step over here. I'm shooting with a 35 millimeter lens and I'm going to shoot wide for these first shots. I'm going to step back here and just shoot wide. I'll have Kelsie just look at me. This is cool. I'm going for like this minimal look where everything else is dark except for the circle with Kels in the middle of it. Kels, go ahead and look down. Nice, cool. The cool thing about these lights here is you can move them so it's like splitting her face like this. Turn your head towards me, Kels. Cool. It's a little bit dark. I'm going to turn on the other one. That's so cool. We can split them in the middle. Nice, just moving them around. I'm not sure exactly how I want them, just experimenting. Nice. The prism is cool too, if we hold the prism in front of the light. The only problem with the sunset lamp is it has to be so close and it's getting in my composition. I wish I could shoot without it in front of the camera. You know what I mean? I have to work around it. I'm just trying to move around Kelsie and just shoot from different angles. Shooting horizontal, shooting vertical, getting a nice mix. Let me turn this back on. I really like this composition here because her legs are facing this way. The frame, naturally, you want to look left into the frame. Very cool. Awesome. Then look at the light. When I put the prism in front of the light, it just makes such crazy colors. Because I have a 35 millimeter lens on, I can get close enough to shoot this. Kels, sit with your back to the wall. These are so cool. I'm going to put a 50 millimeter lens on. We'll try that out a little bit. I want to move this sunset lamp behind her so that will create a really strong shadow or a really strong highlight right behind her. It's so small. wait, you should sit away from the wall a little bit. That's really cool. We moved the light behind her and this is going to create a little bit more depth in the photo now, because we didn't have a lot of depth before, because everything was right against the wall. But now, there's a lot behind her shining on the wall. It's also reflecting onto her hair. That looks really interesting. Then with the light in front of her, which she's being lit by both sides with two different colors. I think this looks pretty cool. Look a little bit to the right. That is such a cool photo. Honestly, I think we got a lot of really cool photos. We've only been shooting for about 30, 45 minutes. It hasn't been like super fast pace like we did at the beach. But it's so cool. In your house, in a little scene like this, we're in a single room with a few different lights, we can create some really interesting photos. I think we've got enough cool photos, guys. What we're going to do is put the room back in order, and then we'll sit on the couch, and give you guys a quick recap, and close out the shoot. We've put the room back together. I changed my shirt because we live in Bali and there's no AC in this room. It was really hot, so please don't judge me. I think the shoot went really well. The whole shoot went down in this single room. I think that's one of the things to take away from this particular lesson is you don't need to be outsider in this crazy location. We shot everything right here, right where we're sitting. I shot with a bunch of different lenses, I shot from different angles, and we shot with different lights. Because of that, we have a diverse amount of photos, maybe not 150 photos but we have probably a solid 20-25 photos, at least. The outdoor shoot that we did yesterday, we had the ability to do many more scenes because we're at the ocean and we just had the opportunity to put together multiple different scenes. But here at home, even with just one scene, we walked away with a lot of really cool photos. Thank you for helping me, Kelsie. I think the photos are cool. I just wanted to do a quick recap for you guys and talk about the shoot a little bit. This is something that we like to do with every shoot. We sit down and talk about it, maybe write some notes, and reflect on the shoot and some of the things that maybe we could have done better, and also reflect on some of the things that we did well. But I'm ready to start editing some of these images, guys. Let's move on to the editing section now.
9. Shoot Recap & Editing: All right, guys. Welcome back to the studio. I hope you enjoyed those little photo shoot sessions there. Kelsey and I certainly did. I think we've got a lot of really cool images and we just had a great time, and we're very much in the creative flow. Ultimately, that's my goal with every shoot. It's to get into that state where I just forget about everything else and I'm fully focused on the scene in front of me and that's exactly what happens, so successful shoot in my eyes. Now that I've been able to come back to the studio and take a look at some of the images, I'm even more happy. The photos from the first shoot in particular were just awesome. They were exactly what I was going for. The vibe, the colors, the lights, the outfit, everything just really came together quite nicely. I'm really happy with how those images came out. Now for the second shoot, I also think it went really well, but personally, I feel like I vibe much more with the images from the first shoot. I think this is a good talking point because, not every time you go out and shoot a concept, it's going to work out exactly how you would expect it to work out. There's so many times I've gone out to take portraits and we have this creative concept idea, we put everything together and then we look at the photos and they're just not as cool as you originally expected. That's not to say the photos that I shot with Kelsey indoors weren't cool. They certainly are, but personally, I'm just much more drawn to the first shoot that we did outdoors on the beach. I think that's worth noting. If you put all this time into planning and then you go out and shoot and it doesn't turn out how you wanted to turn out or it's just not the way you were expecting, that's totally okay. That's just part of the photographic artistic process. You can just move onto the next project. You move on to the next concept and try something new. Like I said in the beginning of this course, it's okay to fail. It's okay to try new ideas and fail because eventually you'll find that perfect idea and everything will just come together really nicely, and the photos are going to be epic. Keep on it, keep trying to come up with new ideas, and I promise you'll find that perfect concept sooner or later. But now I want to look at some of the images that we captured and take you guys through my editing process for these photos. Editing is an incredibly important piece of the photographic process. It has been since the beginning of photography, back in the film days. Those photographers use to edit their photos and photographers now edit their photos. It really is a massive part of the process because the editing phase is where we really get to culminate all of those things that we had envisioned in the shoot and bring them all together into a cohesive photo. The camera is going to capture as much data as it possibly can. It's going to do its job at trying to depict the scene as well as it can, but it's our job to go in and refine that image and just really make it look how we want it to look. Now, just like shooting, editing is very much subjective and I always like to say there is no right or wrong. There's a lot of creative freedom that can be had in the editing phase as well. One thing I like to do is before I go into a shoot is have an idea in my mind with what I'm trying to achieve. For this shoot, the outdoor shoot in particular, I really wanted this darker, moody, almost a film look to the photo. A little bit of grain, a little bit of texture. I'm sure you guys saw that in the photos already. But that is the vision that I had for this shoot and a similar type of vision for the second shoot as well, the indoor shoot; dark, moody, but really emphasizing the sunset lamp and those colors that were in the sunset lamp. I'm going to jump on the computer now and walk you guys through these edits. But I just want you to remember that the way I'm editing these photos is in line with my personal vision for what I'm trying to achieve. The way I'm doing it might not be exactly right for how you're doing it, but I'm going to explain all the sliders and what they do. Then when you go on to edit, you can have a general idea of how everything works within the software and how you can achieve the look that you want to achieve. I'm going to be editing today using Adobe Lightroom editing software which you can use on your Mac, on your PC, on your tablet, or on your phone. The software is compatible with all those devices. If you want to edit on your phone, you can still follow along with me perfectly because everything is exactly the same. It's just laid out differently. In most of my other classes here on Skillshare, I edit using Adobe Lightroom Classic, which is the original version of Lightroom. But it's basically the same. I think Lightroom, not Lightroom Classic is a little bit more easier to use, it's a little bit more streamlined, and I feel like I can walk you guys through these edits in just a simpler way. As you can see here, this is Adobe Lightroom and these are most of the images that I shot. I actually went through and I sorted them before I imported them into Lightroom using Adobe Bridge. That's a great software to just sort through your images and figure out the ones that are really nice. I I have them separated into different folders here. You can see I have Kels shoots home. This is in the home, inside. Then I have the outdoor shoot as well. You can see some of these images are already edited. They stand out among the others around them. But I went through all of these and I gave my favorites five stars and then I moved them into this folder. These are the images that we're going to be editing today. This is the first photo we're going to be editing. I honestly just love how this photo came out. The light, the way her eyes are peeking through her hand, the shadows, everything is just really nice. This is a shot at 55 millimeters. The first thing I like to do is crop. Before anything else, I crop my photo. I click this thing up here and then I can just drag this in and crop it maybe right about there. Hit "Enter" and we are good to go. After you crop, all you have to do is click this little slider icon up here and you have pretty much everything that you need to edit the photo from start to finish. Light, color, effects, detail, optics, etc. You really just have to work your way down to complete your final edit. I'm going to show you guys how to do that. But I actually did edit all of the images in this course using my presets, which are available on my website. I used my classic portrait preset pack. Basically what I did was I just applied a preset and then fine-tuned it a little bit, and then I saved it and it was good to go. Presets really are a great starting spot if you're looking for a specific style, but showing you guys how presets work is not going to help you become a better editor. I just wanted to point these out, that all the images in this course we were edited with my classic portrait preset pack. However, I'm going to show you guys how to edit these from scratch. Let's close the preset panel there and let's start off with the top with light. Light is the first thing you're going to want to edit because light is really going to dictate the contrast, the overall tones, and everything associated with that in your photo. Let's start at the top here. Exposure is going to basically change how bright or how dark your image is. Contrast is going to increase your contrast, the differences between the dark and light areas in your photo. Highlights is going to affect the brightest areas of your image. Shadow is going to affect the darkest. Then whites and blacks are going to affect the white and black areas of your image, respectively. Now this image is really nicely exposed already and I don't feel like there's anything absolutely jumping out to me that needs to be changed from the get-go, but I do want to reduce the highlights a little bit just to make the image a little soft and then maybe bring up the exposure. But usually most of my tone editing actually comes here in this point curve section. I think a lot of people look at this and they think, wow, this is so confusing. What is this thing and how do I use it? Well, it's actually quite simple. What this does is it basically dictates all of the tones in your image. The bottom left-hand corner represents the darker areas of your image, the middle represents the mid tones, and the top right represents the highlights. Now what I like to do as a basic rule of thumb is make what's called an S-curve. What this is, is a little curve that looks like an S. I put three little points here, and then I drag the bottom one down, leave the middle in the middle of the photo, and then drag the top one up. Then I'll go into the corners and I'll drag that up and drag that down. What that's going to do is just give our photo a lot more contrast, a lot more pop. Maybe a little bit too much then we can go in and refine it. Come up here, maybe reduce the whites, bring up the blacks a little bit. Just bounce back between these two and try to find something that works for us. Now one thing you're going to notice is the colors are way more saturated now, and that's because we increased the contrast and that's really going to make the colors pop. Maybe a little too much, but we're going to get to color in a second here. We just want to make sure the tones are in a good place until we move on to the color section. But I do think our tones are in a good spot. Let's move on to color. The first thing you're going to see here is the white balance. This is basically how warm or how cool your photo is. I think it looks really nice what I shot it as, so I'll leave it as shot. Then we have some sliders down here for vibrance and saturation. I'm not going to touch those because I want to adjust my colors individually. You can do that here in the Color Mixer. You can click on all the different colors in the photo, and then you can adjust the hue, saturation and luminance. The hue is adjusting the actual color itself. If you want the orange to be more green or more red, you can adjust that like that. The saturation is the purity of the color. Basically how strong that color is. That's super saturated orange, that's desaturated orange. Luminance is the brightness of the color. You can see if I drag that up, it's going to make her orange skin look really bright, and if I drag it down it's going to make it look really dark. It can make skin look funky, so you have to be careful with these settings here. But the first thing that jumps out to me is just that her skin is a little bit too orange, so I'm going to drag that down a little bit. Then you can just work through each color and just play around with each one to find the look that you want. I like to just play around with each color and see how it's going to affect my image. I think if I drag the yellows to more orange, I think that looks nice. There's really not a lot of greens in our photos. Just right here. I like how the greens look, maybe desaturate it a little bit. But we do have a lot of blues and teals in our image. Not so much teal, but maybe a lot of blues. A lot of blues. I can maybe drag the blue to the left a little bit and then maybe drag the luminance down to get that darker look that I was going for. I think that looks pretty nice and then I can hit the backslash on my keyboard to see the before and after. This is how far we've come so far and honestly, I think this looks pretty, pretty good, but I do want to show you another cool feature for color called the color grading panel and this basically allows us to add colors into the image, whether it be into the shadows, the highlights, the mid-tones, or into the entire image here. If you can see if I'm on global, I can go ahead and drag this wheel around and it's going to add whatever color I'm on into the image. I don't usually use the global ones, sometimes I will, but I do like to add some colors into the shadows. For these particular photos, I really want to enhance that blue, so I want to add some shadows into the blue and I can do that by just dragging this down into the blue area, and then this little slider down here is going to affect the luminance of that value, the shadow luminance. I can drag that down a little bit just to darken it. I think that looks pretty, pretty good. Then if you wanted to balance it out, you can always add some warmth into the mid-tones. I actually think that looks cool maybe I'll do that. Just to really, really enhance the colors in our scene, so there's before without the color grading and after maybe just reduce that a little bit. I don't want it too strong. I think that looks pretty nice. Our color adjustments are pretty straightforward. We have the HSL and the color grading panels and then we move on to effects down here. Now there's a few different things here that are worth noting. I never usually use the texture slider, which makes your photos look unnatural. But I do like to use the clarity, but not how you think. Usually, actually bring the clarity down in my photos because I find that it just softens them out a little bit. It makes them a little bit easier to look at. I'm just going to reduce that by maybe minus five. I'm not going to do anything with the dehaze, which basically removes haze from your image and really can enhance contrast. But I do want to add some grain. I think it's important to have texture in your images if that's something you're going for. A lot of photographers like to avoid grain in the images, but I just think it looks so cool. I think it really is complementary to a lot of images, especially if you're going for that little old-school look. I like to do is just drag this up. Maybe up to like 26, which is a lot here. But if I zoom in, it just gives our photo a nice texture and it makes it more interesting in my opinion. Then you can adjust the size and the roughness. I usually like to keep the size not too big, but I like to enhance the roughness because I think it looks more natural and I think that's pretty awesome. I really like how that looks. After the grain, we can come down here and maybe add some sharpening. Not a whole lot because I don't want it to be too sharp, but maybe 30 and I think that looks pretty good. Now that I'm looking at it, I think the blue is a little strong. I'm actually going to come into the blue, maybe desaturate it just a little bit, perfect. That's the edit from before to the after. Like I said, this is just how I personally edit, but I hope that the way I covered these sliders will just give you guys some ideas for when you're editing your photos as well. Now what I can do is command C on my keyboard to copy the settings and then I can go over to the other photos that I shot that day, which I also really love and I can hit ''Command V'' and just paste the settings over. Now, I don't have to go through all the steps that I did. I basically just created my own preset and applied it to the other images from the shoot. Maybe I'll go in and increase the saturation on the orange here to make her skin pop a little bit more. Maybe bring some back into the blues, and then maybe add some more oranges into the highlights to make that sunset pop but just fine-tuning each photo. That's basically how I would do it for all of them. We can do the same thing here, Command paste. Now, the colors are looking really strong here in this photo because the lighting is a little different. I'm going to come in and I'm actually going to just desaturate the whole photo. I got a crop it as well because the horizon is not straight and I think that one looks pretty nice. Then I do the same thing for black and white photos as well. Let me just reset this photo here. What I'll do is I'll go ahead and do my crop and then I'll hit ''Command V'' so that paste my settings and then you can go up here and click black and white and now it will turn your photo black and white and then you're only dealing with basically luminance values. Editing black and white photos in Lightroom is really cool because you can go ahead and adjust the luminance of each color in particular. You can see if I adjust the orange here, it's going to brighten up her skin a little bit same with yellow in the sky. Now, one thing with color grading is you can still add color grading in a black and white photo, but it looks unnatural, so that's not something I do. I always like to make sure that I reset these so they're not being affected. We spent a lot of time on the photos from that particular shoot. Let's move on to the photos from the indoor shoot now, and I'll walk you guys through this edit, but it's actually basically the same as how we did it before, so let me just reset it. We're going to go ahead and start with the crop here. I sometimes like to crop to four by 5 because that's the ratio that Instagram uses, I'm often posting there. I'll crop it there with her in the middle and then we'll do the same thing and we'll just work down the list here. I actually really like the way it's lit, but maybe you just drag the highlights down, and then I can enhance them in the tone curve section here. I'll drag that corner up to increase the softness. Drag this up, drag the corner down, get my S curve in there. Let's see here, we bring the shadows up and I'd like to just basically move between the tone curve and these adjustments here because they really are connected in so many ways and just adjust each one independently and see how it affects my photo. I think that looks nice gives us a good starting point. Now for the colors, I actually really liked the colors in the light, and I didn't really want to change them too much because I think they looked quite nice, so I actually didn't change them. I left them where they were. But one thing I did change with these images was the clarity of the photo. I found that clarity to be a little strong and you can see there's a lot of unwanted contrast on Kelsey's hair and Kelsey's face. I just didn't like the way it was lit. What I did with these photos is I actually reduce the clarity a lot. Like almost, I think it was 25 when I edited these images and that just makes things a little bit easier to look at, a little bit softer, and just more in line with my vision. Now, this photo could also benefit quite well from the color grading panel. You can see if I add some blues into the shadows, but I just found it looked a little bit unnatural and I wanted to keep things in this scene natural because we already had a really nice contrast, we already had a really nice color. These edits are actually quite simple. I can do the same thing here, I can copy these settings and then move on to the final photo. Let me just reset this one and then Command V and that gives us a starting point and then I can go ahead and make sure that her skin looks good by maybe raising the exposure a little bit, by dragging the shadows down to enhance that contrast maybe bring the highlights up. Her skin is still looking a little bit orange. Then I can come in here, maybe raise the luminance, and then maybe desaturate it a little bit and that's basically it. Copying settings over to other images is such a time saver. It's something I do with all of my shoot and you can just see how much time I'm able to save while I'm editing when I do that. Then you guys might have noticed in the shooting section of the course that some of the images actually had what looked to be like film burn applied to them, a film burn filter. I actually did that in an app called Rookies. I just want to show you guys how I would do that. I just exported the images that we just edited and I got it on my phone. I just want to show you how I got that cool film burn filter. I opened it up in the rookie app. If you tap ''Edit'' and then you tap ''Light Leaks'' on the bottom here, there's a bunch of different things. I personally like film burn and then you can just tap these and you can see that it gives your photo a really cool creative film burn effect which basically means that when you're shooting old school film if there was a leak in the camera and a little bit of light gun and it would do an effect like this and I just think it looks really cool. You can just go through and choose one and then you can adjust the strength. Maybe for this one, I'll just drag it up a little bit and I think that looks pretty cool. There's so many other apps like this that you can do cool features like this. This one has different film emulations as well, so you can edit your photos using this app. We already edited the image, so it's going to look weird, but I think you guys get the idea. Editing on your smartphones is totally viable these days and that's why I like using Adobe Lightroom because you can use it on your phone, you can use it on your computer, on your tablet, whatever. It really is very accessible and very capable editing software as well. But I hope you guys found this editing lesson useful. If you're a little bit confused by it all and you're still not sure what each slider does that's totally okay. I think the best way to become a better editor is just a practice. Try your hand at it. Just edit different photos and try different styles. That really is a great way to learn. But now that we've talked about editing guys, let's move on to the last video and I'll leave you guys with some thoughts going forward.
10. Next Steps: We've talked about a lot of different things in this course, and I hope you guys have found it useful. I hope that just sharing my process, and explaining all the steps that I go through to create the images that you saw will help you guys understand the process of what it takes to create cool, unique, creative portraits. But as much as I think that's important, I think my overall goal with teaching is to just inspire you to actually get outside, and do it yourself, and put the things that you learn into action. You'll hear me saying that every single one of my course is the best way to improve in photography or any type of artistic creative activity, is to just do it, is to practice, and fail, and try again, and just continue on that route. That's the best way to improve. I hope this course inspires you to get outside, and capture your own creative portraits. Speaking of which, I cannot wait to see your student projects. Once you guys put together your shoot, and you go out, and capture those portraits, please come back here to the course and share those in the class project. I'm really excited to see what you guys create in this course. I like looking at your projects in all my other courses, but this one, in particular, I think portraiture is an amazing type of photography, and it's accessible to so many different types of people. I'm really eager to see who you select as your model, and how you decided to depict them in your photos. Now, if you guys want to continue learning with me, I have a ton of courses here on Skillshare. Some of my most popular courses I would recommend are my photography essentials class. That'll teach you all the basics of photography from a technical sighed and how to use your new DSLR and basically everything you need to know about that. I also recommend my Adobe Lightroom course, which dives into Adobe Lightroom in a little bit more detail than I did in this class. It will teach you guys how to use that software through and through. I also recommend my iPhone Photography Essentials class for all of you iPhone photographers. That class is great for understanding how to use your iPhone. I also have a course on how to take portraits with your iPhone. If you're interested in taking cool portraits with your iPhone, I recommend that class as well. You can also check out plenty of free content on my YouTube channel. I do a lot of different tutorials there for editing and photography. It's just a treasure trove of information, so I recommend checking that out. If you guys want to support me directly, the best way to do so is to continue watching my content here on Skillshare. Also, purchasing my presets does help me as a creator. But if you guys aren't interested in presets, you can just buy me a coffee. I'll put a link in the about me section, buymeacoffee.com/seandalton, and you can just buy me a coffee to support me as a creator. But thank you guys again so much. I appreciate you taking the time to watch my content here on Skillshare, and I do hope it is useful for you. If you enjoyed the class, please leave a review. I read every single review among all of my courses, so I'm paying attention to what you guys think of the content. I'm always trying to improve for future classes. But I'm all out of words, guys. I've talked a lot throughout this course and once again, I hope you found it useful, and I look forward to seeing you in some of my other courses here on Skillshare. Hope you have an awesome day, and I'll see you in the next one.
 Sean Dalton, Travel Photographer