Transcripts
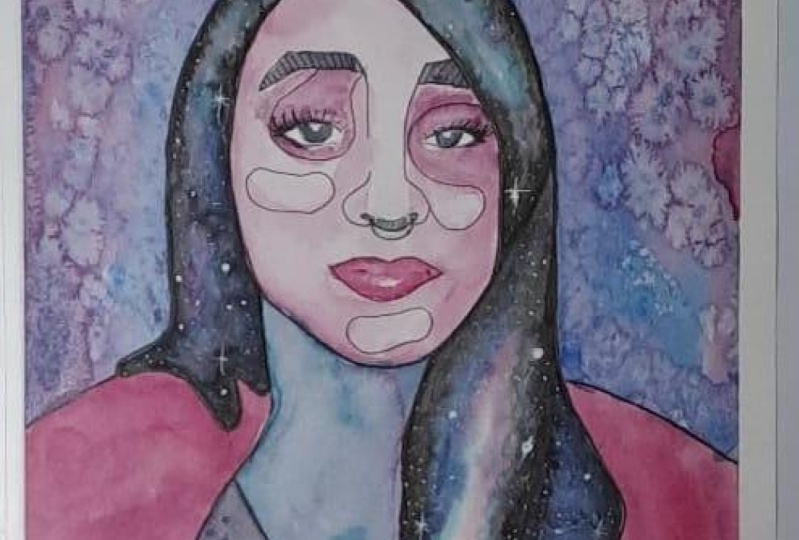
1. INTRO: Hi creators. This is my new class created portraits. My name is Andy and I'm a graphic designer and creative director of the app, a fashion brand racing Cancun Mexico lunch in 2008, and eclectic and feminine contemporary lines that combines my approach to fashion in wearable thesis so far to inspired by my travels around the world. This gave me the chance to learn about different cultures and fall in love with take cells, colors, unexplored new landscapes. A major motivation for making food out this glass is to break down creativity from the, from perspectives to not be afraid to stay away from the norm biota intake. And to hub you to play with different techniques to express yourself without limitations and just to have fun. This class is for anyone that wants to dive in into the war Baroque art. Make happy little mistakes and finding joy in the process. Today, I will be sharing with you one of my biggest questions for each ministration, color, textures, and how you can bring to life your own creative portrait. When you take this class, I will be sharing with you my peeps and tricks. Exploring techniques like watercolor, acrylic, Photoshop, and Illustrator. You said your creative port Christ to a whole new level. We start from the creative process, then the different pricing techniques, coloring, and compensation. And that will give you some free elements that you can download and use it with your own oropharynx. And finally, will be transferring your work into Photoshop to play around and experiment with different options that the program offers. I think you will load these glass, but most important is that you will find that magic that comes with it. So let's start.
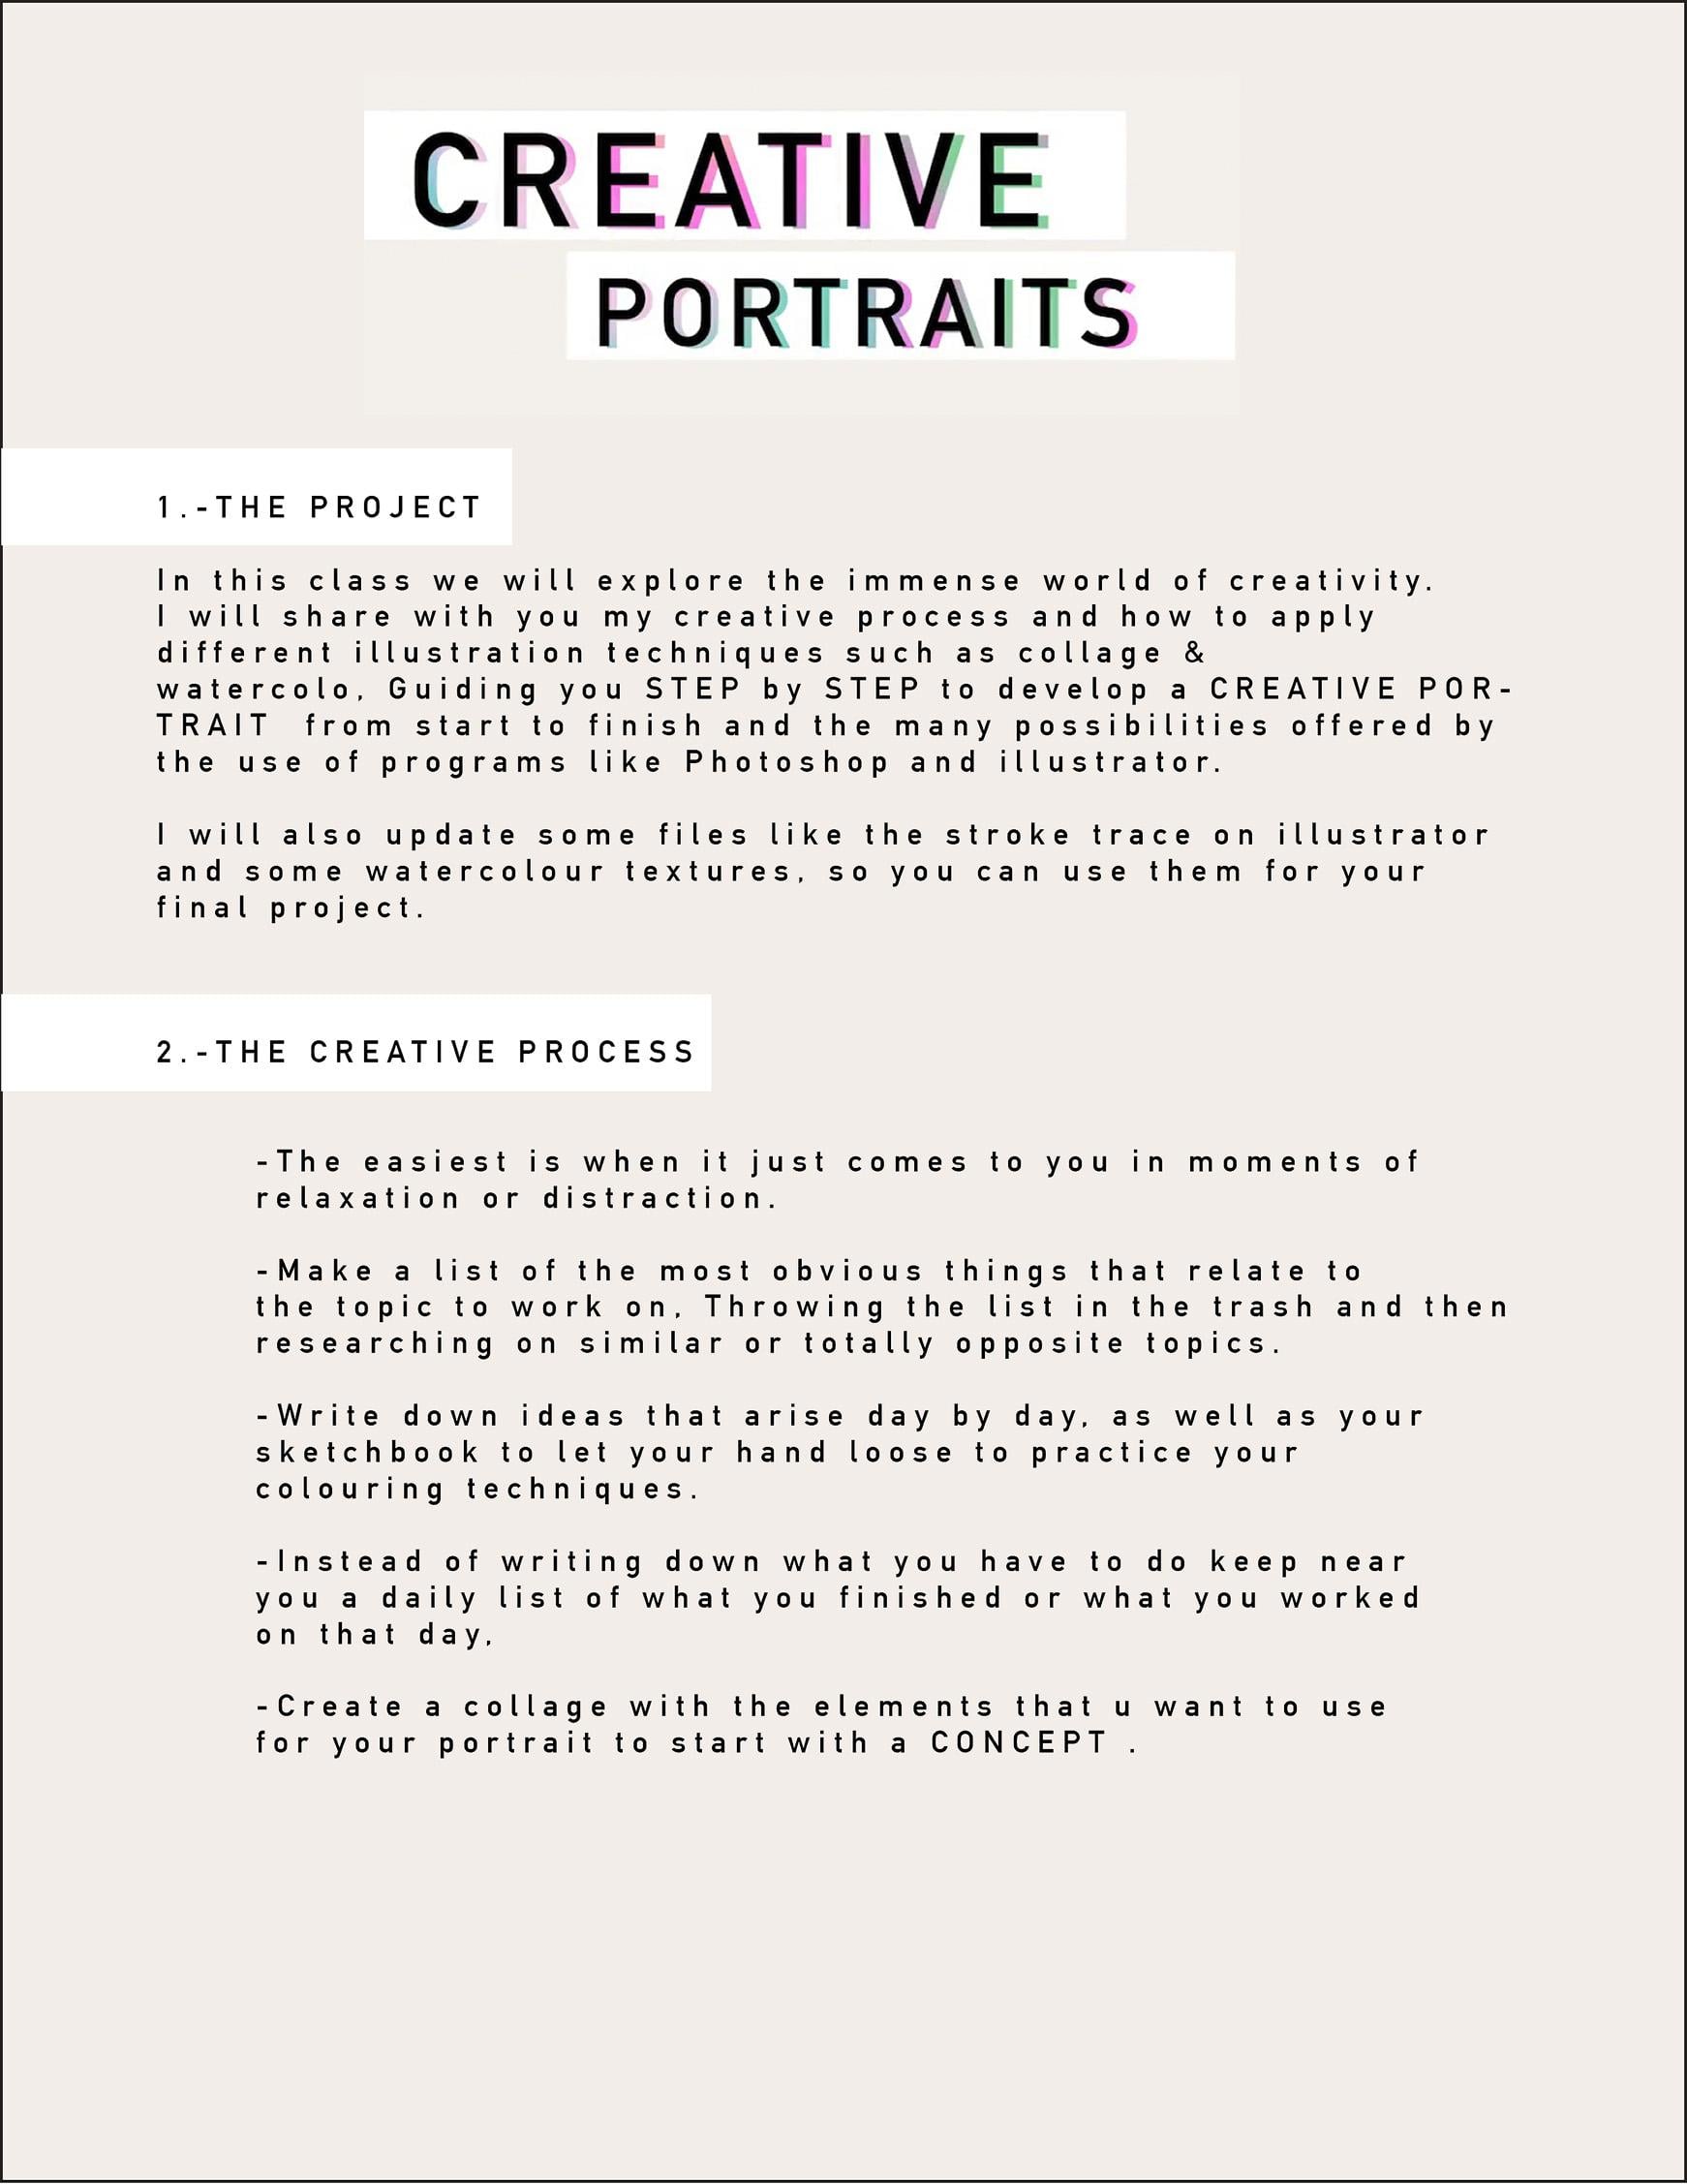
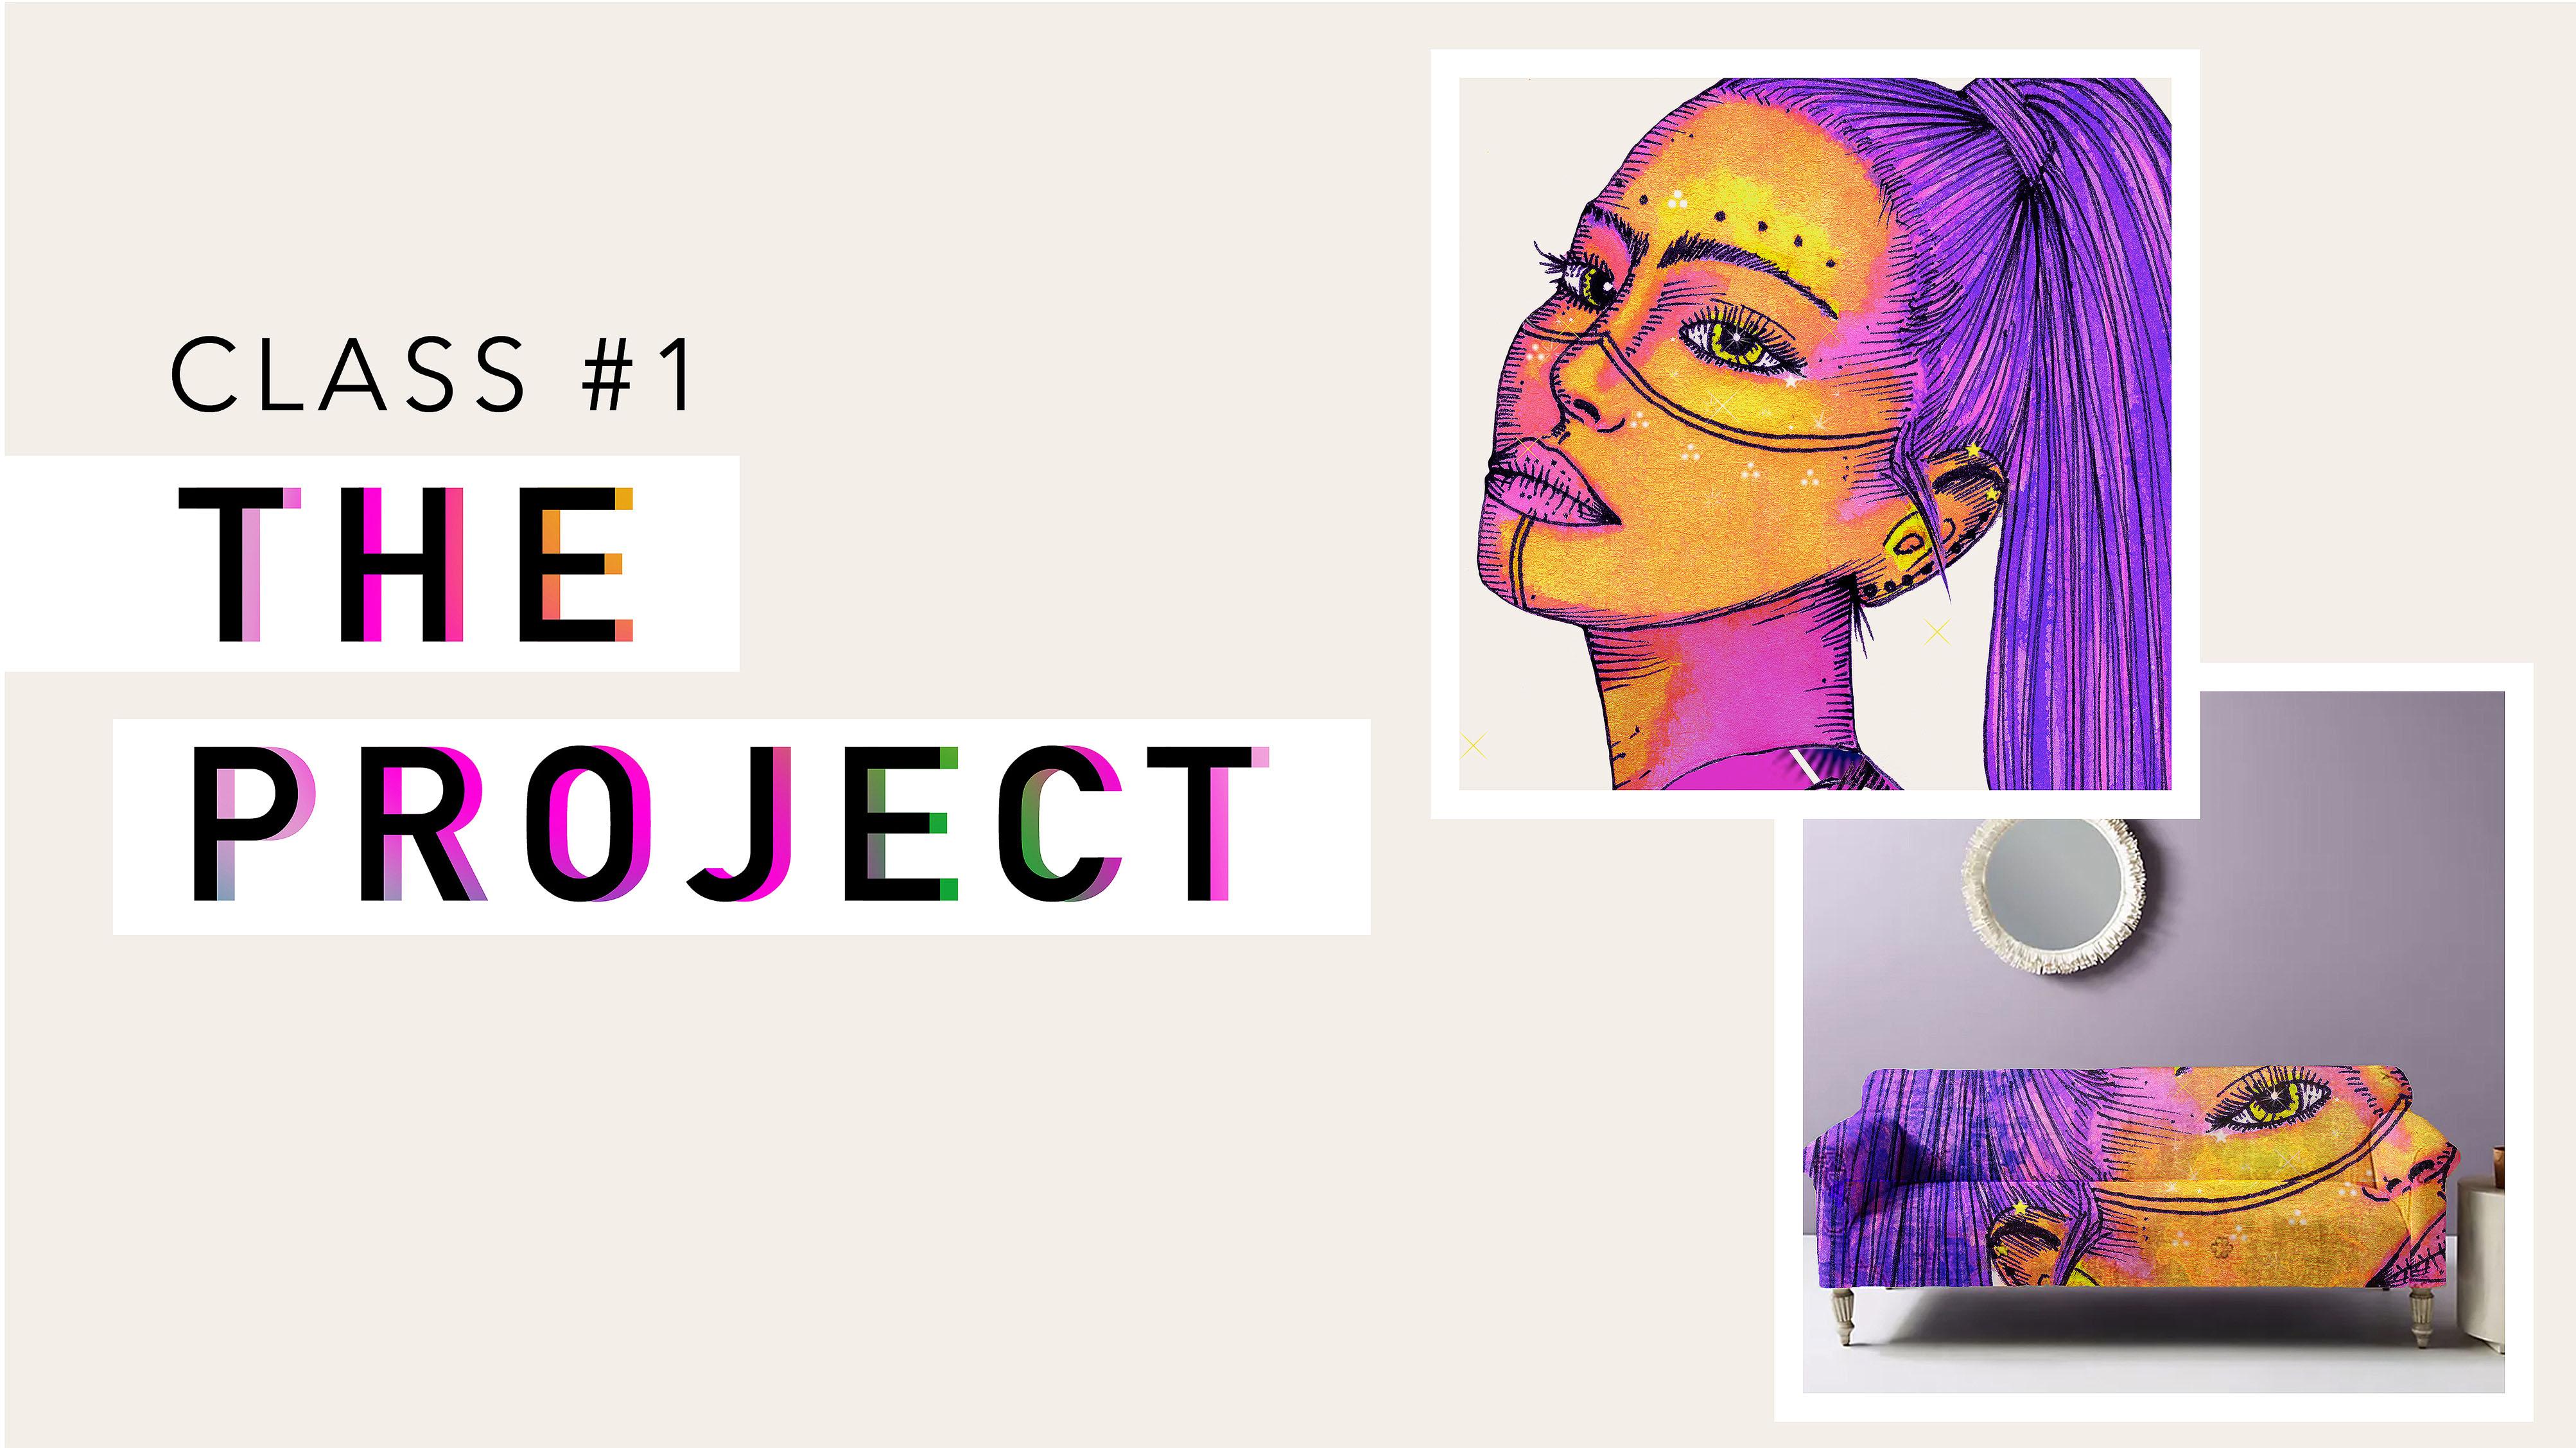
2. THE PROJECT: Stephen is what makes me happy and able station has me to bring those ideas to reality. Hi Grace. Welcome again to my class, create a corporate. In these lesson, we are going to talk about our main approach. First, you need to start looking around your house, is looking for some inspiration. It could be books, could be a magazine, it could be online, but tried to make a concept and think about a concept that you want to work on and transform that in your creative porphyry through the project that we will develop during these clefts will be at creative corporate. And by this, I mean to explore different techniques which we feel more comfortable with to reach an amazing result. I believe that by using different techniques of illustration, using tools such as Photoshop and Illustrator, the result will be reached by being able to take full advantage of what each of these techniques can open. In order to start this project, it is necessary to define what we want to be the focus of inspiration. In my case, nature, styling and photography are my greatest inspiration. However, you can explore different possibilities, such an animal's your own PID, or simply take a reference, something that you can find in a magazine that you will have on hand. So materials that we are going to be using in this class will be from a basic pencil pain. What of callers, some markers, brushes at either your phone or an scanner. And we will be using some Photoshop and Illustrator tools. Remember to validate all of the files that I update for you. So get ready for this class. Let's pay.
3. CREATIVE PROCESS: Hi creators. Welcome again to my class. In this lesson, we are going to talk about our creative process. First I want to share with you six different habits that help me to stay creative and motivated. Making the bed every morning gives me the feeling of clarity and calmness. Organizing my desk before start working. Music, it's incredibly stimulating for me and I usually play music with a certain flow or beat depending on the mood I'm in that day. Keep up the day with local activities. Being part of some kind of community will keep you in constant communication and generate natural feedback. First, [inaudible] make new techniques simply for the fact of facing new challenges, new ways to reach the same result. Work day by day to develop a discipline that works for you, such as creating a portrait every month, then one every week, and then one every day. You will see that over time, the effort and dedication will bring results that flow more easily and with better quality. Now the fun part. When we are in that creative process, the easiest is when it just comes to you. Usually, ideas comes to me in moments of relaxation or distraction. Like when I go for a daily walk with my dog or walking in the park and sit just in the bench watching people go by. Making a list of the most obvious things that are related to the topic to work, then throwing that list to the trash, and then start with researching on similar or totally opposite topics. Visit bookstores and take the time to explore either the topic, its opposite or unrelated topics. As you give your mind the space to create none obvious relationships and find a space to just flow and start creating associations or meta-forms around the main topic. Personally, I like to visit museums and photography exhibitions or installations even if they're not related things. I always find my mind stimulated during these visits and it's always refreshing and energizing. Bring with you notebooks to write down ideas that arise day by day, as well as notebooks to get your hand moves and practice your techniques without looking for perfections. Simply capturing what catch your attention and then having the notebook to write down ideas that in the future projects will help you to find the best techniques to communicate the message you want to convey. The reason why I create this work it's because I believe that art help us to express ourselves. So join me into the next lesson.
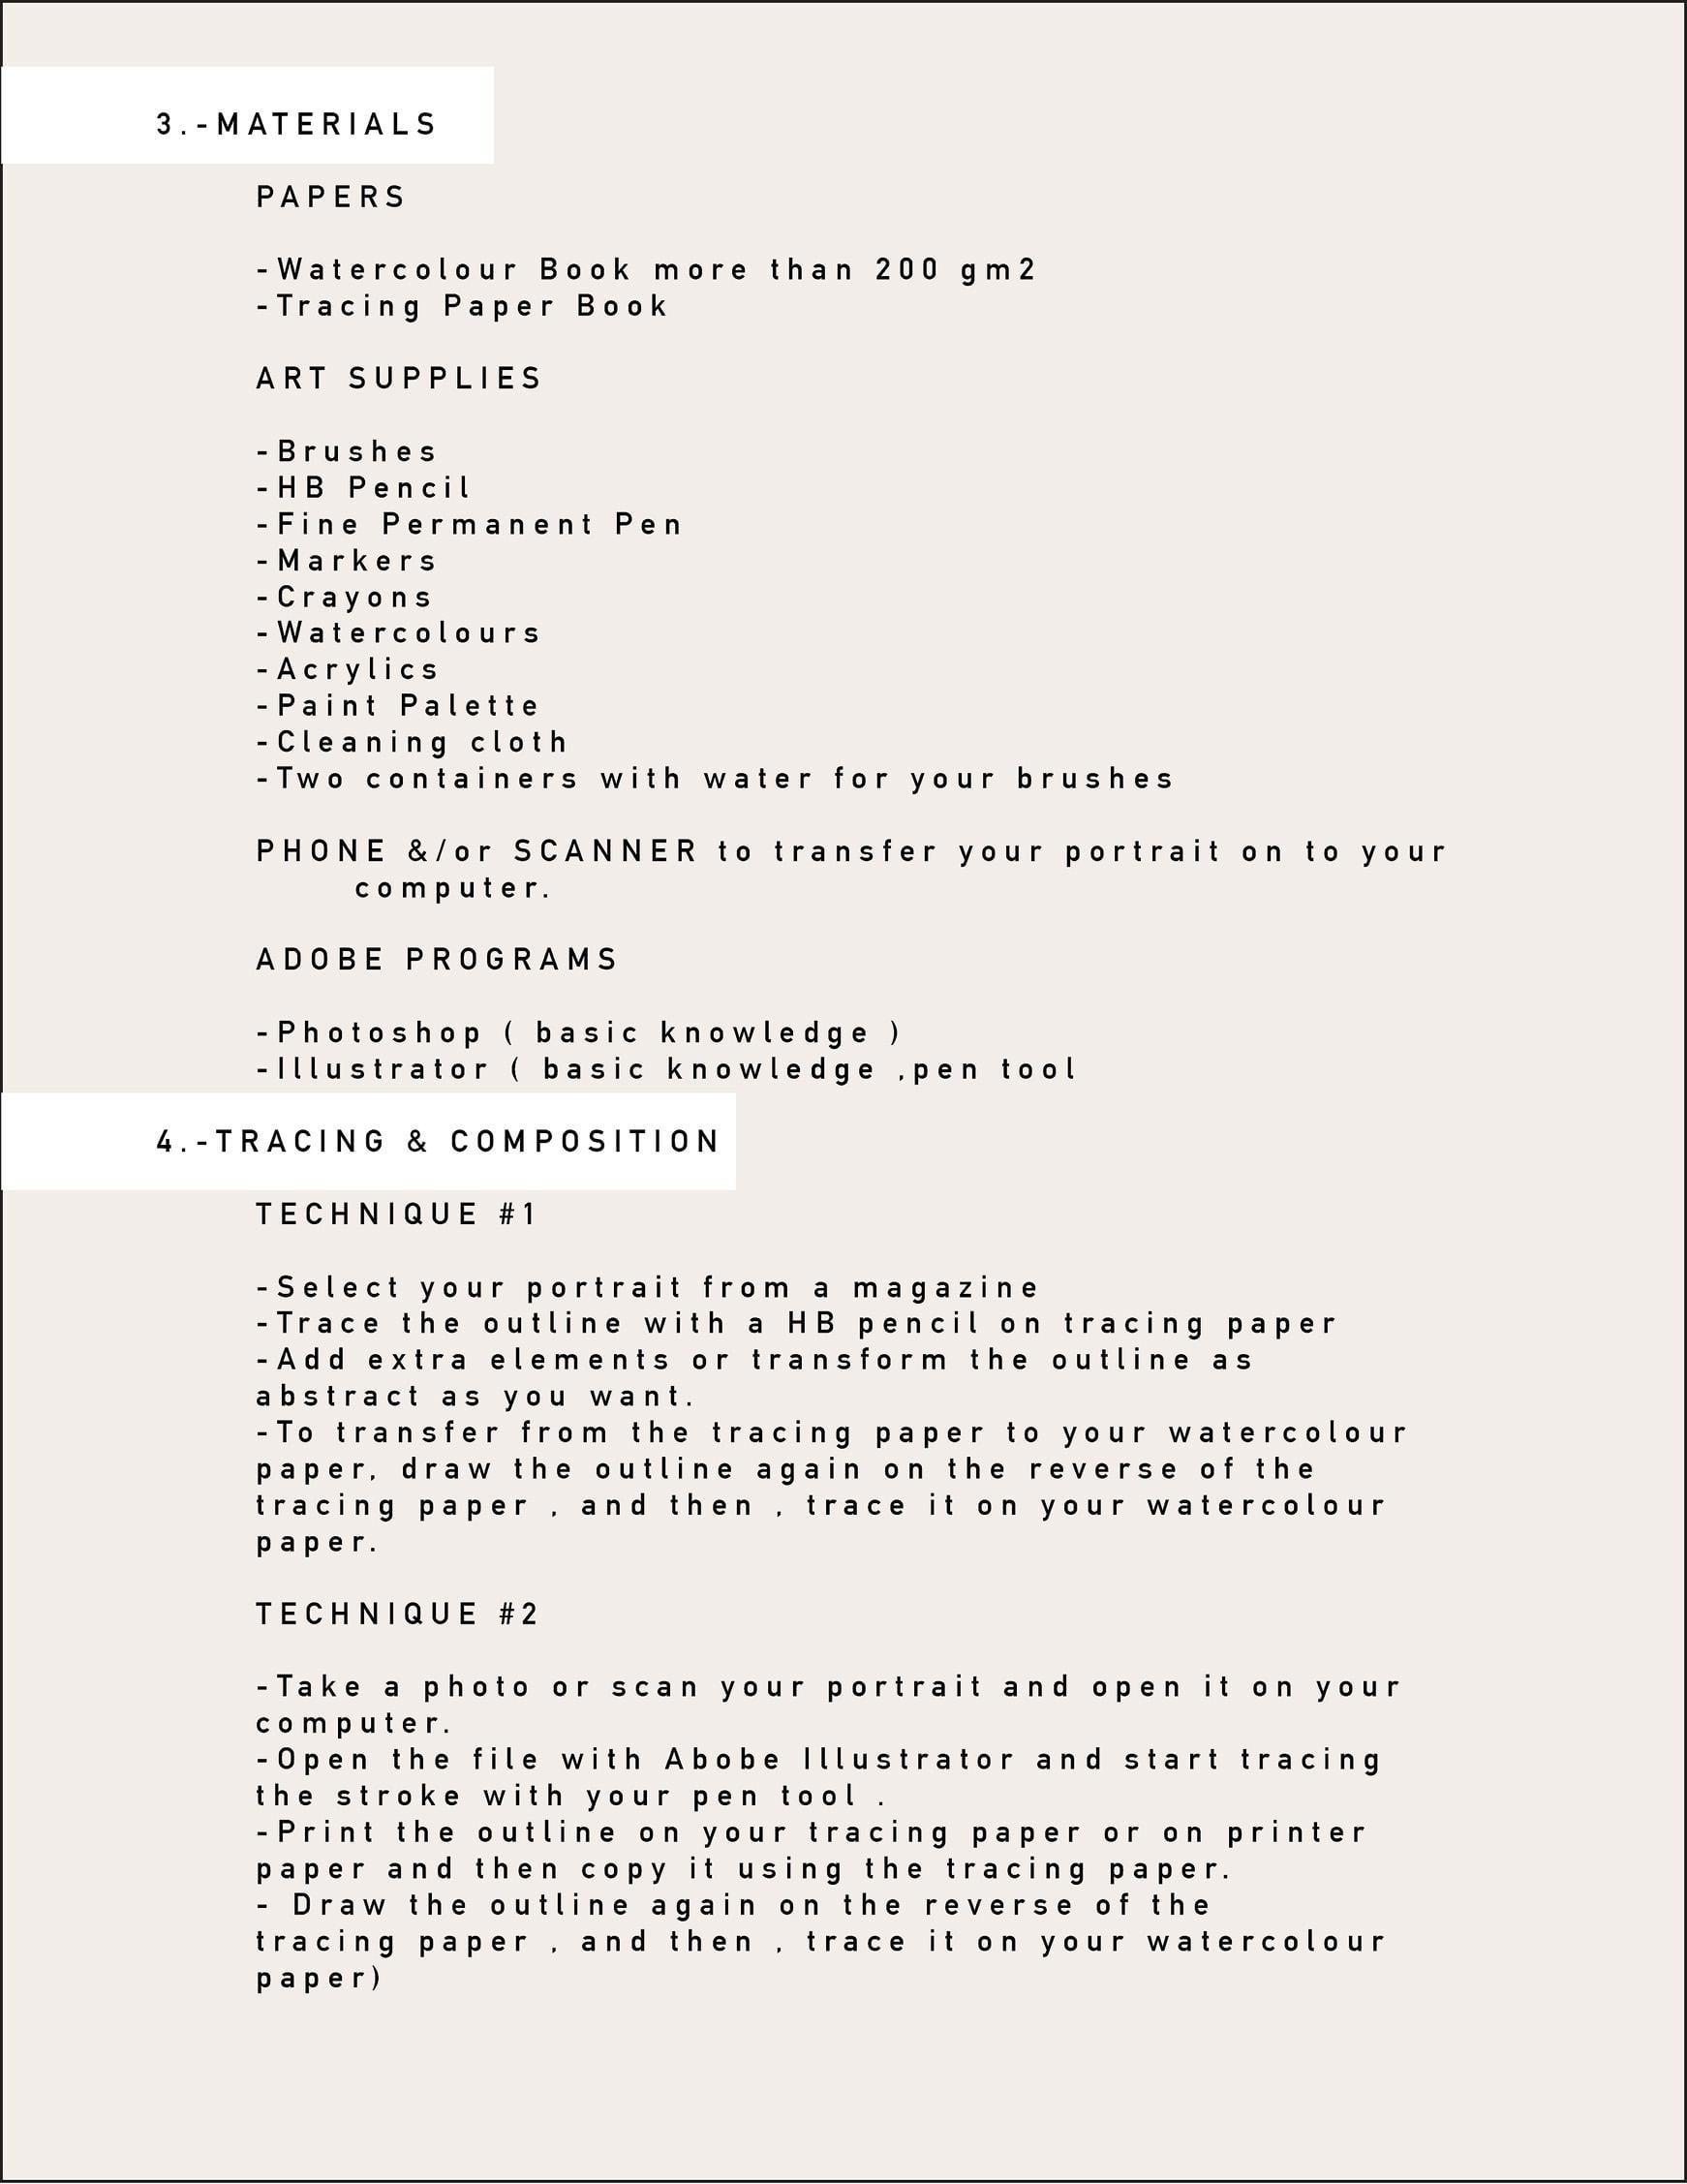
4. MATERIALS: Welcome again to my class. In this lesson, we are going to talk about all the materials that we are going to be used in M-phase probing. Use whatever you have in hand. However, it is important to consider the quality at the end of this project. Recommend you use any watercolor book with a weight of more than 200 grams. I also recommend buying tracing sheets to play with them. As a juxtaposition of elements that we are going to be using in our composition. And next, we will start with the basics, which is a pencil and a fine point pen, as well as the variety of color markers. As you can see, my favorite colors are neon. And it is here where you will begin to define your own style. I'm personnel takes. Other important materials to have in hand are for example, prions, water colors, acrylics, other materials that you would like to experiment we do. You can rely epidemic unit in any magazines, brochures, or books that you can find at home. Personally, the world fashion who has always fascinates me and they are part of my source of inspiration. In fashion magazines. We can also find career selection of portraits. And it is very interesting to analyze the light, to shadow, the textures and some position of the body and movement. We can also find inspiration in photography books are ordered nature. And because we are going to be used in two of our favorite that only programs, Photoshop and Illustrator. It will be important to have basic knowledge of either of these two programs. So remember that you can always add any other materials that you want to experiment with. Let's start with our project.
5. TRACING & COMPOSITION: Hi, welcome again to my class. In this lesson, we are going to talk about the trade thing under composition for our port trunk. And now after all they're researching. I find her leg. These photo for our portrait. Now this far where we're going to be used, no tracing paper. I will show you how to transfer your tracing into your watercolor paper. Now after selecting our photo, we can start analyzing where is the light, was the shadow, and which colors are we going to be using for the light and the shadow? Remember there's no rules, but I will always use the lightest color for the mind and the darkest or the shadow. I will recommend to start tracing your pulse rate with an HB pencil. The outline of our main element will be the face, paying special attention into the eyes, the nose, and the mouth. It seems to me that if we abstract these three elements to their simplest form without leaving behind the ethos that define the face, we will achieve a result that will allow us to transform it from there. Here, you will try your personal taste of how simple or complex you want your courses. Remember that it's all about practicing different possibilities and find one that works better for you. The next step will be analyzing the shadow and the light here. Which parts you want to keep and which parts you want to modify it or taken to a more abstract also realistic level. Since in this case we are based on B's already established photo. My first recommendation would be to choose silhouettes or portraits that allow you to transform and integrate other elements, such as flowers and birds, are simply geometric lines or textures. You can either start working with the silhouette and the trace that I update for you. Or if your way to a different folder for your portrait, we can start drawing our face. There are two techniques that are very simple and allowed us to abstract the image as much as we want. The first and the one that I enjoy the most is taking a tracing paper and simply start tracing your portrait. Always remember to analyze this space first. And I like to trace the areas of light and shadow are more obvious in your image. Remember that you can always transform this image and just big as much as you want from the original photo. The second technique to be using Illustrator to start tracing. You're faced with a pen tool. Now you can bear with me. You'll find more corporate and with which it is easier to achieve the best term you would like to work with. Now when you have these outline grading, you can either use the same technique to transfer trace into your watercolor paper. Or if you use the illustrator techniques, you need to print that and transfer it onto your watercolor paper. And now after taking the technique that you like better, we are ready to start with our color in part. Who join me in the next lesson?
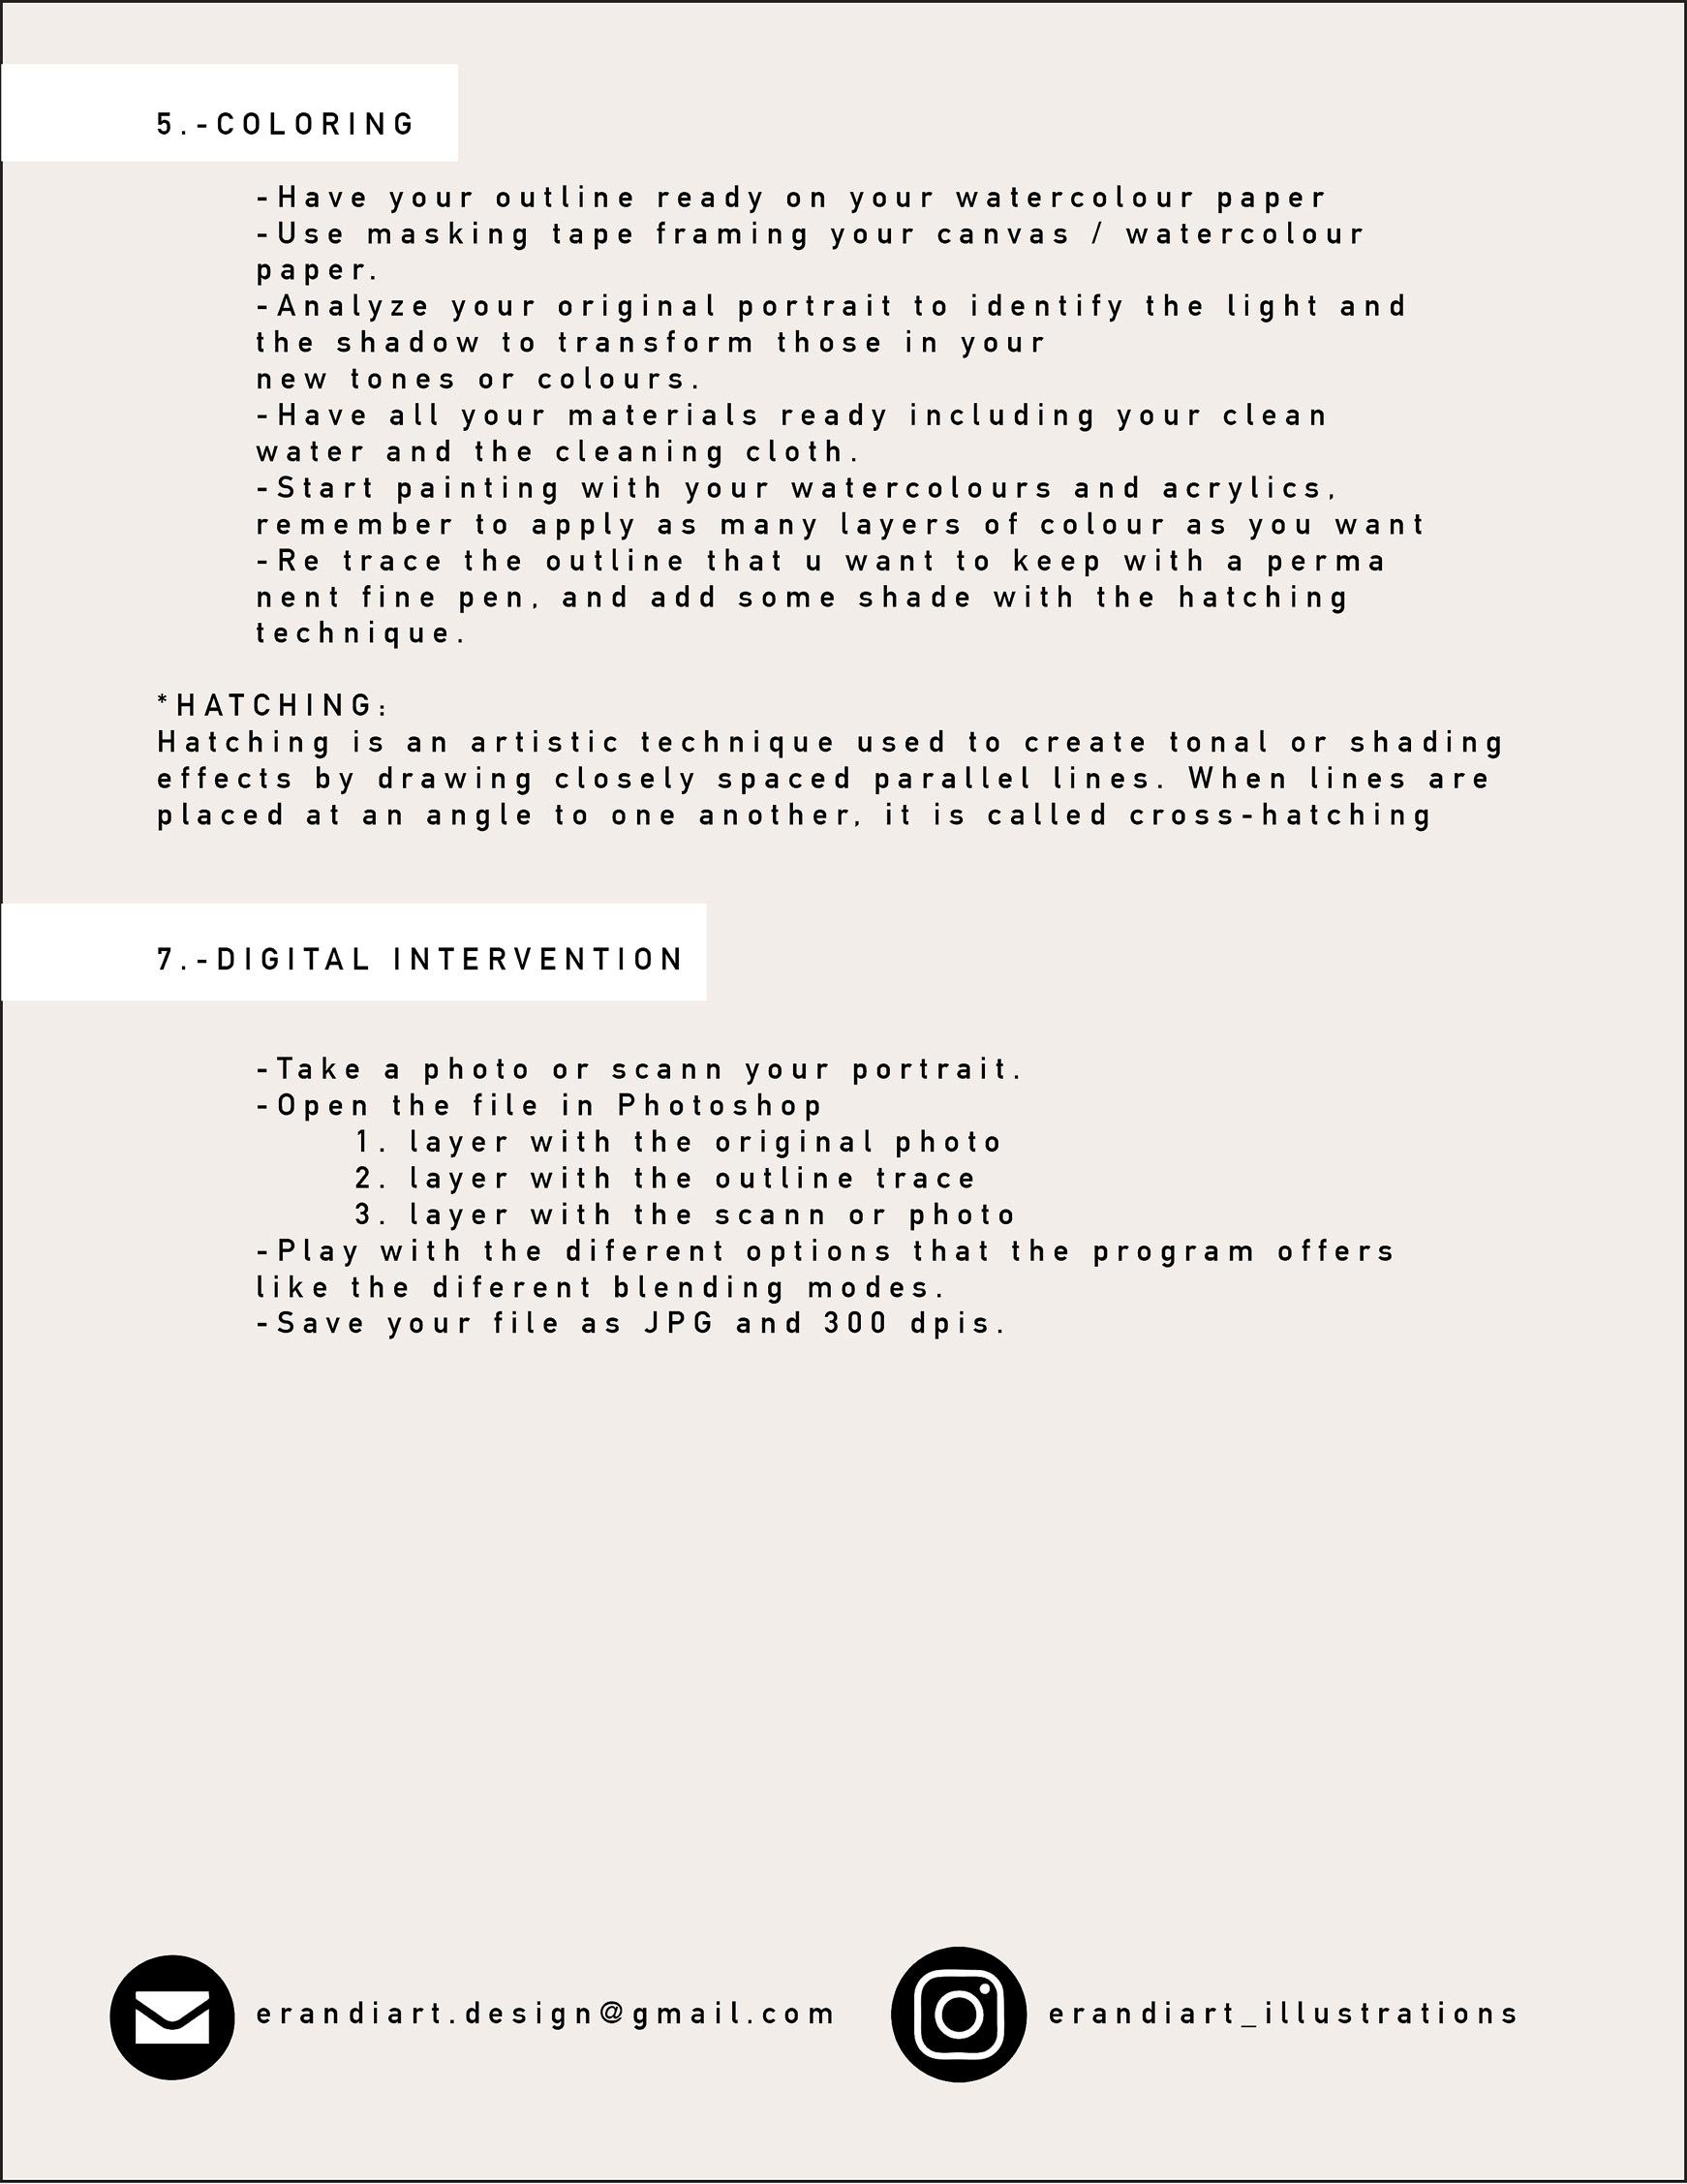
6. COLORING : Hi, creators. I'm so excited to start this lesson with you. This is my favorite part of the process. This is where I find relaxation where I simply let the idea flow. I allow that idea that came to me during the creative process to come to life and take it on sense without judgment or without looking for perfection. I believe that it's during this step where knowing how to flow makes sense. Many times I find a mistake the most valuable thing. Now, I like to start transferring my trace into my sketching book first, because here is where I select the color that I'm going to be using later on. To start with our first technique, it is necessary to have our paper ready. For this, I recommend to put a frame of adhesive tape. It is also important to have our material ready, as are our brushes, watercolor, paints, acrylics, and markers. As well as some crayons, and do not forget the clean water to mix with, and a piece of absorber napkins; that will help us to correct mistakes and remove excess water or color. For our project in this class, we will start off with the use of water color, as it is a technique that give us transparencies and interesting textures that can be applied in the areas of clothing, skin or hair. In this first layer of watercolor, it is important to establish the area of light and shadow, to be able to choose the tones that we want to use for these zones. For our second layer, I like to work with acrylics because they allow us to obtain more intense and bright colors. Remember that you can always apply different techniques and as many layers of colors as you want. Remember to leave your comments or questions down below. I'll be more than happy to help you. Now, let's jump into our next lesson.
7. DIGITAL INTERVENTION: Hi creator. In our final lesson, we are going to talk
about how to digitalize our project using two of our favorite programs,
Illustrator and photoger. For the last step of
our created portrait, it will be necessary
to digitalize it as we already mentioned
in the last class. Either with the use
of a scanner or with a photograph with
your cell phone or with a digital camera
for higher resolution. To start with this step, I'd like to open in photoshop our two images in a single file, each one in a different layer, as well as bringing to photoshop
the stroke that we have digitalized in illustrator
to mix the tree in one. Here is how I do it. During this step,
we start processing the scale and the composition that we want for our portrays. In this case, I'd like to
open also our original photo. Change this one to a
gray scale and just play around with our tools of
levels and blending modes. I I In this step, I'd like to integrate
different backgrounds. Play around with some textures. Or we can also import from Illustrator lines or
geometric shapes. Remember that if you guys have
any questions or comments, you can always leave
it down below, and I'll be more than
happy to have you. And to finish this course, remember to save your file with the highest resolution in case you want to print that
portrait later on. Thank you so much for taking this class creators.
I'll see you soon.
8. RECAP: Congratulations,
creator. You made it. If there's anything I hope you
take away from this class, I recognize art as a very powerful tool to
express our thoughts. Just a little bit of tap. We cover from the
creator process to creating a trace to
start the coloring part, using different
techniques and then digitalizing our portrait
on trator and pica. Remember to obd your portrait to the project cattery
on the class late. Thank you so much
again, created. If you like this class, remember to leave a
review and follow me on my profile.
I'll see you soon.
 ERANDI DESIGN, Fashion & Graphic Designer .