Transcripts
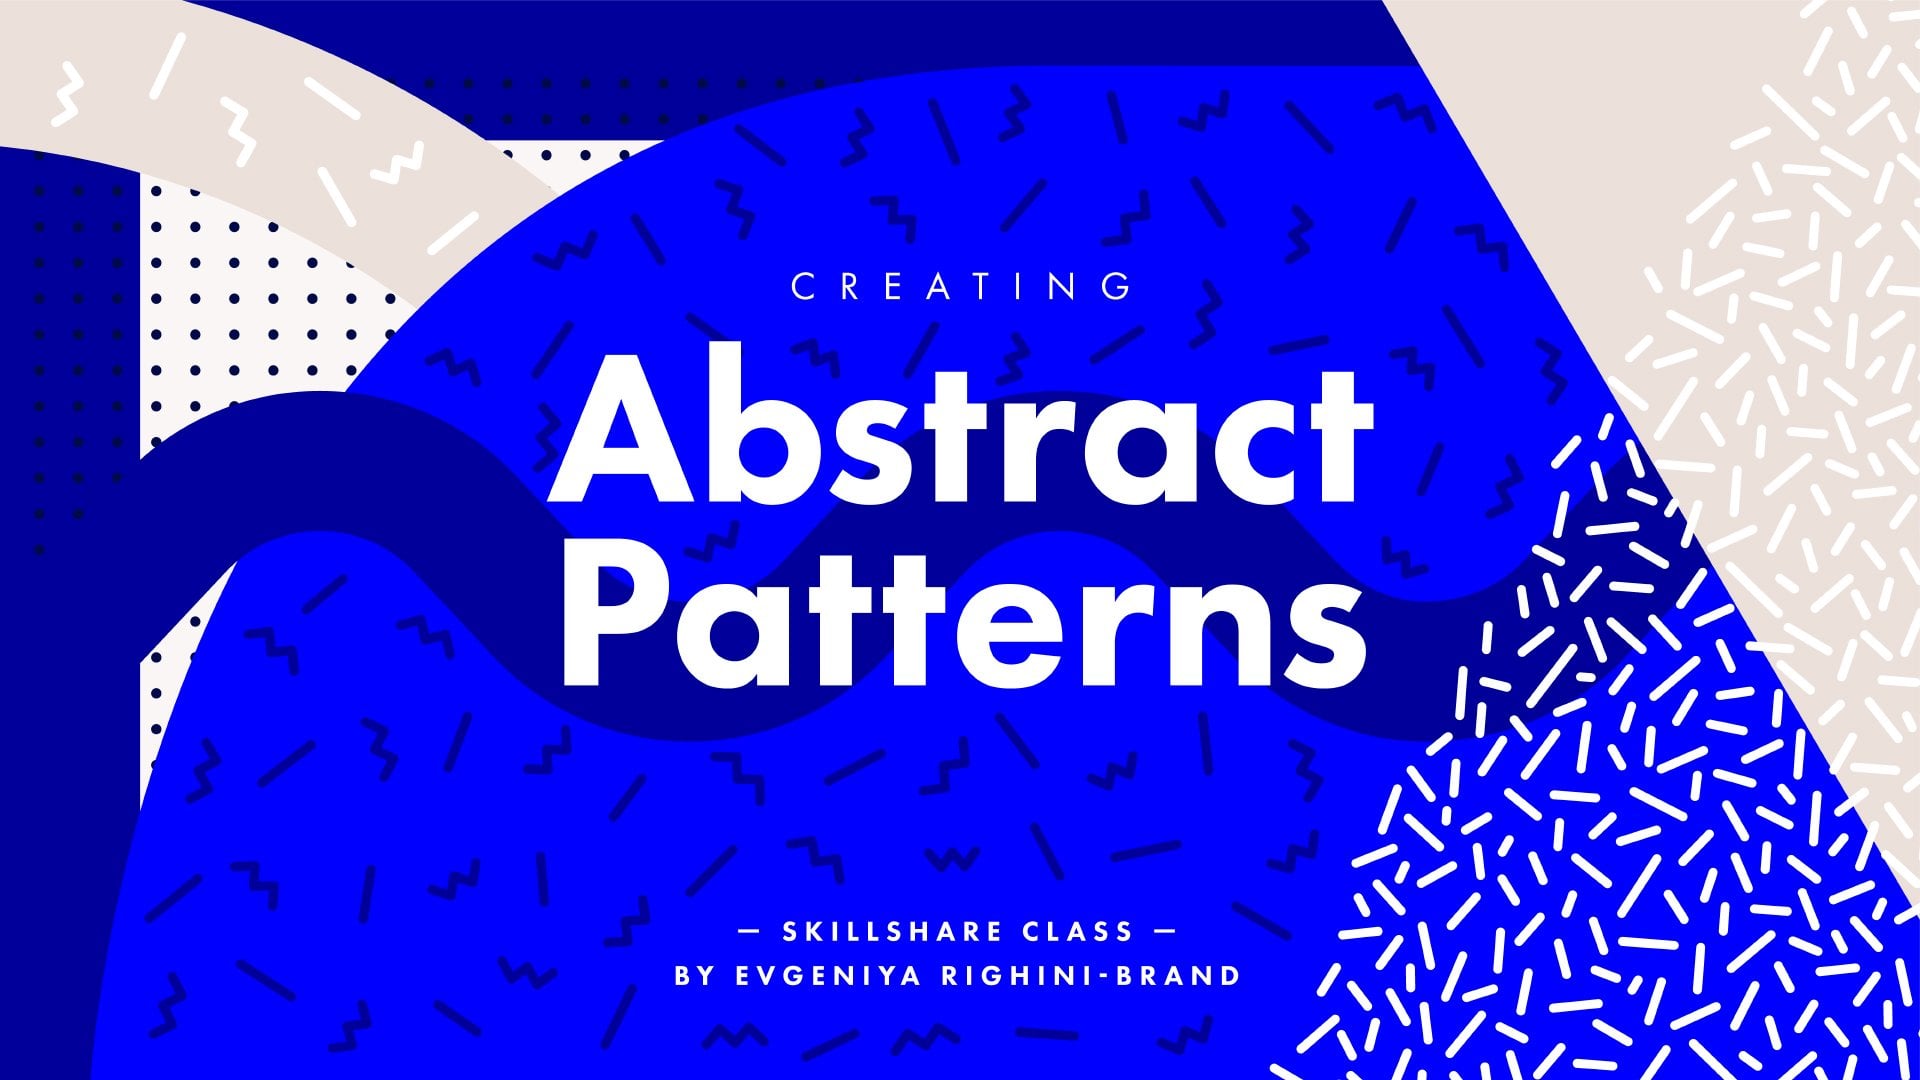
1. Introduction & Overview: Abstract patterns are awesome on their own, but they truly come to light when you start combining them into collections and even more so, when you incorporate them into expressing designs or illustrations. This is what this class is all about. This is Evgeniya from Attitude Creative. This class is a followup on the class on creating abstract patterns. Due to their style, individual abstract patterns can be quite similar to each other. Taking your patterns one step further and using them to texture, layer or try out a new meaning or visual qualities to your work, is a great opportunity to add more of your personal creative flair to them, and to make exciting graphic outcomes. Apart from different approaches to using patterns, in this class, I will show you a number of techniques to help you master working in Illustrator. I'll also cover the basic principles of design composition. I cannot wait to see how you use abstract patterns in your work. Get on now and let's make something awesome.
2. Preparation: On this class, you'll need a number of abstract patterns and patterns swatches. If you've taken my previous class and made some patterns, then great. That's an ideal scenario and if you haven't, I really recommend you check it out first because this class is a Part 2 in a way. In the first run, I have covered tools and techniques for creating abstract pattern elements and then turning them into ordered non-repeatable chaotic and manually arranged seamless patterns. If you're competent at working in Illustrator and creating patterns, you'll probably be fine following this class. But still, checking the previous class out won't hurt and you might pick up some new technical and workflow tricks there. For those of you who just want to get on with it and experiment, ever touched a few of my patterns. You can download them in the project section and freely use to play around with any project for this class. Either way, open Illustrator, create a new document for a future experiments, get some patterns ready, and let's begin.
3. Design Considerations: When designing surface patterns, in a way, we are creating textures and we follow the rules which are applicable to them. We work towards creating balanced surface designs which have an even spread of flow of elements arranged against the background. Unless by the design intention, typically, surface patterns do not have focal points. The repetition of elements creates harmony and we can easily be surrounded by multiple surface patterns in our everyday environment, and not be constantly distracted by what's going on in them. On the other hand, when we work on designs or illustrations which are confined within a certain format and are intended for grabbing viewers attention, all other principles of design composition come into play. Before we get into the specific approaches to using patterns in design and illustrations, I want to quickly go through the principles of design composition, which are applicable to any visual outcomes and can help you to create a desired visual impact. Composition is an organization of elements based on the specific intention. With the different arrangement of elements, you can create a very different mode and guide the viewer's eyes for your work in different ways. The first thing to consider when designing is space. Firstly, space is the format of your work, the boundaries within which it exists. Placement of elements within the format can be symmetrical and create a balanced static composition. Or it can be asymmetrical and create a dynamic composition with a sense of movement within it. Symmetrical compositions are more conservative and asymmetrical ones are more playful and draw viewer's attention. When working with a number of elements, you can also create chaotic compositions which are even more playful. Controlled chaos approach with a dynamic arrangement and overlaying elements is very popular in print, editorial, and web design lately and there are a lot of opportunities for creating exciting compositions. Space can also refer to the positive space, which is your design elements and negative space, which is the background. The way elements interact with the background is called figure-ground relationship. The scale of the elements and the space in between them determines whether the background is recessive when there is not much left of it visible. Or it is dominant when there is a lot of white space and it plays an active part in the composition. Use of active negative space adds lightness to the composition, creates more contrast by making the elements stand out more and it emphasizes form, structure, and rhythm within the design. Contrast makes designs interesting to look at. Apart from the figure ground contrast, it can be created between the elements by varying their scale and shape, as well as color and texture of both elements and background. As mentioned before, patterns can be used to add texture, thus, juxtaposing solid shapes with textured ones. Patterned elements can appear lighter or heavier within the design depending on how loose or tight the patterns are. The same way as the darker colors appear heavier than the lighter and the brighter ones. The contrast and arrangement of elements also aid in creating a focal point in the composition. The viewer shouldn't really wonder where to look, the design should lead them there. Utilizing the rule of [inaudible] can also help to create effective and dynamic focal points in the composition by placing the focal elements where the lines intersect. You can also create a sense of movement in the competition for the viewers eyes to follow by arranging elements in an imaginary line or by leading with a dominant shape edge. Diagonal lines add more dynamism to the composition than horizontal or vertical ones. As the curves as opposed to straight lines and generally triangles are more interesting to look at than any other geometric shapes. The final tip, compositions with an odd number of elements are more interesting and organic to look at, then compositions with an even number of elements. Keep all of this in mind when creating your designs and realize your creative intentions by means of composition. Next, let's talk a bit more on how to approach colors for different creative intentions and how to choose colors which work well together.
4. Choosing Colours Which Work Together: Before we start looking at combining patterns, let's quickly talk about the colors. Because principles of using colors and Neo-Memphis style and actually generally in graphic design are pretty much the same regardless of what you want to make. Color is very important in the style, but you don't need to overdo it to achieve an amazing result. Color should be used to emphasize the composition not to hide it's imperfections. It's always a good idea to start with creating an exciting composition which works well in black and white or grayscale, if you need to control the intensity of the colors in the design. Only then, color the composition and based on it, make a decision whether your design benefits from the colors or it works great in black and white or grayscale. Good things to try when adding colors to your designs are, combining black and white with a pastel color to create a soft and elegant look. Combining black and white with a bright color to create a bold look. Using shades of the same color to add depth and the sense of layering. Using contrast in bright and intense colors to create dynamic compositions. Combining deep saturated colors with light pastel colors to add contrast in an elegant manner. You also need to make sure that the colors you choose work well together. Putting colors from the images which inspire you is one way, but it doesn't necessarily ensure heaven the cleanest colors and the best set possible. Instead, you can use the Color Guide panel and create color groups based on the color harmony rules to make sure that your colors work well together. Start by creating a bright color, which you definitely want to use in your design. I recommend setting the color, brightness, and saturation to 100 percent in this stage. Because the color guide will create alternatives based on it and you'll have all the tints and shades of the same color there. Now on the Color Guide panel in this menu in the top right corner, make sure you have Tint and Shades selected. Then click on this drop-down list and select a color harmony rule, which you like. For contrast in colors, I would go for Pentagram. Sometimes high-contrast options also look good, so keep an eye on them too. Now in the color variations here, I can select what tints or shades I want to use. Hold down Command key to select multiple colors. I will create a color group from the contrast colors to my base active color first. I will select all of them and click on the Save color group to Swatch panel button. Whilst I'm here, I will also save another group from the pastel tints of these colors. Now, I can choose another base color for something else that I have in mind. Again, I am going to keep the saturation and brightness at 100 percent. On the Color Guide panel, I want to have a look at the other harmony rules now. Because I want to keep this more monochromatic or a subtle hue and shade variants of the same color. I can choose Analogous or Monochromatic harmony rules here, or maybe even straight Shades. These look good to me, so I will use them. Again, I will create a color group from these colors here. I'll also pick a few shades of my best color. It's also worth having a look at the complimentary colors. Even if they don't look like something you'd use as they are, their tints might be handy. For example, I will pick a few deep and bright shades here, and if you like and pastel tints here. All of them will be useful for different purposes. Close shades I can use to color a pattern and it's background, if I want to use a pattern as a subtle texture for the shape. The lighter versions I can use to lay the pattern over something on its own, like here. All of the color groups I have created and now in my Swatches panel. I can fill that with the individual colors if I need to. They can also convert them to global colors, so later, I can easily make global adjustments to all my designs which use the same colors. Or this color groups can also be used to recolor patterns and final designs using the Recolor Artwork tool. I've covered it in my previous class, but we'll briefly get back to it later in this class too. Get some nice and different color groups ready. Remember to keep it simple and then work on the compositions first and secondly on the colors. Now, let's have a look at how buttons can be combined with each other.
5. Combining Patterns with Each Other: The combination of patterns with each other in its purest form comes when you have a collection of patterns which can be applied to a number of different services, exist in the same environment, or within the same design or object. An interior with a range of pattern decor elements is a good way to look at how patterns work together. For example, a pattern wallpaper, upholstery, beddings and crockery all have their own function and level of importance. Some grab our attention and dominate, some support them, and some leave on the background and require a closer look. This pattern hierarchy is created by different levels of contrast within the patterns. In this case, contrast can be created by using different scale of elements, complexity of pattern compositions and their elements, spacing of the elements in the patterns, holes or [inaudible] and the colors and their range used within the patterns. Typically, a dominant pattern would be larger, bolder, and brighter. If you alter any of these characteristics, for example, your subtle and note very contrasting colors it will become less prominent right away. When you're designing a collection of patterns, it's important to design patterns for all different roles. You need one or two leading patterns, supporting patterns and a few background patterns, just like in films there are stars, supporting actors and extras. The size of the objects onto which the patterns are applied also affect how the patterns are perceived. Quite often, the smaller objects can have larger patterns applied to them to make them become a focal point and dominate in their environment. Larger surfaces, such as walls, can be colored with less contrast and more subtle patterns to fall into the background. Different patterns also come together in a collection of products where they are applied to a number of different things which potentially live together, not just in a lookbook or on the shelf in a shop, but in the environment they're designed for, like in this case with ceramic plates and cups. Here, all these objects are from the same collection, have the same function, similar size, and there are no dominant objects within the collection. All the patterns have more or less the same level of contrast. Another way to look at how patterns work together is when they are put together in one product. It can be done digitally like here or for example, by being manually sewn together in a garment or a clothe, In this case, you can approach it either way dependent on what your intentions are, and either have a balanced and not very contrasting combination or add focal points by combining large and bold patterns with small and delicate ones, or by utilizing different colors and their intensity. When combining patterns together, you also need to pay attention to how different shapes the patterns consist of, work together. Combining patterns which are made from different types of elements, for example, curves and rounded objects versus straight lines and angular shapes will add more contrast your designs and make them appear more interesting.
6. Weight & Spacing Considerations: Personally, I am integrating pattern compositions where different elements have uniform or very similar weight because I like it as simple as possible. Since the weight of the individual elements is out of the question, I can concentrate more on how I can increase or reduce contrast by using different colors and by spacing elements to have more or less negative space. Tighter compositions with a small amount of negative space appear heavier. On the other hand, loose compositions with a large amount of negative space appear very light and airy. You can use absolutely the same elements, but space them differently in a pattern and you'll get a range of patterns with a very different fill. Try creating free patterns from the same elements; one tight, one medium, and one lose, and you'll see how different they are. But all of them probably have a purpose in your collection. Both elements are typical to new Memphis style. So if you want to get closer to the style with your designs, I suggest you start off by sticking to uniform stroke weight of your patent elements and don't go too light on the stroke. To make it easier to control the weight of the elements, I normally keep them as strokes and don't outline them until the last possible moment when it's necessary for further steps, like using the Pathfinder. Having paths with a stroke allows to easily scale pattern elements up or down to make different patterns work better together by keeping stroke the same. Here, you can see that the paths change their size, but the stroke applied to them stays the same. To achieve this, you need to make sure that in Transform panel, the option for scale, strokes and effects is not selected. In different cases, this option can be really important both ways. So it's good to remember that it exists and make a good use of it. If you deal with the manually arranged repeatable patterns which have outlined elements, you need to pay attention to the scale of the elements and the stroke weight when you develop your patterns in a collection, and make sure that they work together the way you intend them to. Starting off with a uniform weight in different patterns is a good way to go. It is possible to scale patterns which are applied as pattern swatches in Illustrator. But in this case, all the elements will be scaled proportionally. So enlarging them will make elements heavier and more prominent, and reducing the size will create more delicate patterns. We'll have a look at the technique of scaling patterns from swatches in a moment. Now we've got the basics of pure pattern combinations. Let's throw in some geometric shapes into the mix and look into how you can combine patterns with them.
7. Combining Patterns with Geometric Shapes: Combining individual patterns or arranging them with geometric shapes is a great way to create some cool designs and have a good design composition work out at the same time. There are a few ways you can approach using geometric shapes as patterns depending on how simple or complex you want your designs to be, and what sort of mood you want to create. Combining patterns with geometric shapes can be as simple as juxtaposing a pattern with a colored shape. In this case, you'll need a pretty large shape so that it is seen more as a color spot or color container, rather than the shape itself. You can experiment with straight lines like a side of a rectangle, or curves like size of a circle or ellipse, or angled lines like sides of a triangle or any other polygon. For this approach, you can keep colors to a minimum and explore how the shape and the texture the pattern creates work together. First in one color and then throw some other colors into the mix. [inaudible] that here would be to combine a black and white pattern with a shape in a puzzle or bright color. But feel free to explore other options too. Another thing you can do with patterns in geometric shapes is creating a composition which beautifully directs the viewer's eye by incorporating graphic elements, which can create movement and flow in the composition. It can be actual shapes you use such a straight or curved lines or the arrangement of geometric shapes and aligned for the viewers eye to follow. As for the patterns, here you can use them as background or you can texture the geometric shapes with them. Or you can even use the same pattern in different sizes and create an impression of perspective or movement this way. You can also take your patterns a step further by creating complex elaborate designs which feature multiple different patterns and shapes. With this approach, you can use your patterns to texture the shapes and make the designs more sophisticated this way. Experiment and see where it takes you.
8. Using Clipping Masks: While developing designs like that, I usually create a rectangle in the size of my artboard for the design, and then use it as a clipping mask for any elements which are larger than my artboard. To create a clipping mask, makes sure that the shape you want to use as a mask is on top of the elements which you want to put inside of it. Then select them both, right-click and select Make Clipping Mask. On the layers panel, you'll see your clip group displayed like this. If you wish to add more elements into the same mask, you can simply drag them into this group on the layers panel, and put them where they should be in relation to other objects, but make sure to put them under the clipping path here. To work with the mask contents, you need to double-click on the masked elements on the pasteboard. It will open the contents of the mask in isolation mode. All other elements outside the mask will be dimmed and you won't be able to edit them. Now, you can do whatever you want to do with the elements within the mask. You can color them, scale, rotate, move, and basically do anything else you can do normally in Illustrator. If you have a number of objects within the mask, you can go even deeper in isolation mode by double-clicking, and edit individual elements separately. You can see the path to the isolated object here in the document window, and you can go to the parent object by click here. You can exit the mode by clicking on this arrow, or by double-clicking on the pasteboard away from your object.
9. Transforming Patterns: When you are juxtaposing a pattern with a color shape, you still need to think about the scale of your pattern elements in relation to the size of the shape and the overall format. If you're using a non-repeatable pattern composition, simply place it into the same mask under the shape, and scale it to the desired size. If your pattern elements paths have stroke applied to them, experiment was both scaling and not scaling stroke together with the puffs when you are resizing them. If you want to use a repeatable patterns swatch, then create a shape you want to feel with it. You can keep it under the clip group or you can put it inside of the mask too, it doesn't really matter. To edit the size of your pattern elements, select the shape your patterns swatch is applied to with the selection tool and then select the scale tool. With the scale tool selected, press Enter. It will open up these scales of that window. Here, tick transform patterns and then tick transform objects. This will allow you to scale your pattern independently of the object it is applied to, which is super handy. At this point, I don't have any stroke, effects or corners applied to the elements of my pattern, because I have expanded everything when I was making my pattern tile. So I don't really care whether this options are ticked or not. Now I can play around with the scale of my pattern. Makes sure the preview is ticked here, otherwise you won't see the changes. I advise you to scale your patterns in uniform style to keep your designs intact. Experiment with different variants of scale and see what works best for you. Click Okay when you're done. The same way as scaling pattern within the shape, you can rotate it using the rotate tool by pressing Enter to access this dialog window, and then set the angle here. You can also move the pattern within the shape-based selecting it into the selection tool, pressing Enter, and changing the position of values here. In all these cases, make sure that in the dialog box you have transformed patterns selected, and transform objects is not checked. If you have it the other way around, when you modify the object, the pattern will stay the same, and it will be tiled to cover the shape. If you have both transform objects and patents selected, pattern will be transformed together with the shape it is in. So if you are scaling the object with the settings on, make sure to hold down the Shift key to constrain proportions of both the object and the pattern inside.
10. Recoloring Patterns: Now, you can quickly recolor your pattern if you need to. Select it and go to the menu Edit, Edit Color, and select Recolor Artwork. Here you can quickly define new color or colors for your pattern. Since my pattern has only one color, I'll manually adjust it here. Make sure that your color art is ticked here and that color change will take place for the colors. You should have an arrow here and not a dash. To control whether the recoloring is applied, you can click on the dash to turn it into an arrow and it will work just fine. Illustrator can true pop on this if you have only one color. If your recoloring is not happening, that is the second place to look after the preview. If you want to apply colors from your color groups, you need to select a color group here, and then go through the colors by clicking on this randomly change color or the button until you get the result you like. This will also work nicely if you have multiple colors in your button. Click Okay to apply changes. Here is your recolored pattern. The original patterns swatch is still the same as it was, and what's even better. Now you've got the patterns swatch for your new color which you can reuse later.
11. Expanding Patterns: When using patterns within the shapes, sometimes it is nice to release the pattern from its frame and have a more organic edge to it. For this you need to select your pattern and then go to the Menu Object and select, "Expand". This will turn the pattern into individual editable shapes within a clipping mask. Then whilst having your expanded pattern selected, go to the Pathfinder Panel and press the "Trim" button here. This will cut away everything hidden by the mask and you will be left with a group of only visible elements. Ungroup them and delete all the cut elements to have a more organic arrangement. If you have some nice geometric shapes within your pattern, you can take them out of the pattern the same way by expanding it and then enlarge them and use them in your compositions. This way, you can have a nice continuity between the patterns and the geometry used in your designs. Next, let's have a look at what you can do with patterns and organic shapes.
12. Combining Patterns with Organic Shapes: You can also juxtapose a pattern with an organic shape, the same as you will do the geometric one. Though here, because it is organic, it might be a nice touch towards the edges of your pattern. In the same way as in the previous video, expand the pattern and delete all the cut elements. Then you can also adjust your pattern or your shape to have a nice transition. If your pattern doesn't have a background, you can also let it overlap the shape a little bit to create an even more playful and not so strict fill about it. Organic shapes ask for a more chaotic approach. So you can create some nice random compositions with them and texture some of them with the patterns. Again, as with the geometric shapes, if you have some interesting organic shapes in your pattern, you can pull them out of it, and enlarge them to use in your designs. Another cool approach is to create a layered pattern landscapes. For this, you need to have a number of organic shapes covering all or most of your artwork without any gaps between them. The easiest way to achieve that is by drawing a rectangle in the size of the artboard and then drawing a number of organic lines across the artboard using the pencil tool, the same we've drawn elements in the previous class. Here you need to make sure that you lines either start exactly from the edge of the artboard, or to be saved outside of it. Again, like in the previous class, you can use the smooth tool to make your lines smoother, or use the direct selection tool to adjust the lines more precisely. Also, if you're into precision, you can draw these lines using the pen tool if you wish. When you have all your lines ready, select them, and the rectangle on the background. Then go to the Pathfinder panel and click on the Divide button here. Here we've got all our nice objects without any gaps between them. Ungroup them, and if you have any extra bits left outside of the artboard, delete them. Now you can work with objects and fill them in those patterns. You can use different patterns. Or you can use the same pattern and scale it differently within different shapes to create an illusion of depth and establish foreground and background. Here, you can also consider using shades and tints of the same color for different shapes to create an illusion of depth and create a different level of contrast between the shapes and patterns, filling them having more contrast in the foreground, and less contrast in the background. There are a lot of things you can do with this stuff, especially if you're more into illustration and graphic design. So have fun.
13. Combining Patterns with Type: You can create really exciting and trendy designs by combining your abstract patterns with simple graphic sans-serif typefaces. Anything from Futura, Gill Sans, Proxima Nova, to Helvetica, Alternate Gothic or similar type faces who work great here. So check them out. The style of these typefaces is rather clean and the shapes are bold and relatively neutral. So when combined with the patterns, it will be the patterns and color choice which will dictate the mood they create together. You can approach type in a similar way to the way we looked at geometric shapes. Use large letter forms and play around with patents in relation to them. Or you can use patterns to texture the type or texture the background the type is placed on. If you've throw some shadows into the mix, you can make the compositions more lively and dynamic. Simply draw a large shadow like this using the pencil. Send it backwards, and then adjust the colors if necessary. Alternatively, you can add a drop shadow to a type. I prefer doing it manually by copying the type, and offsetting it the way I need to, and then coloring it any way I want. This is really simple but rather cool stuff. But something even more exciting is entwining patterns and type together to create an illusion of depth.
14. Entwining Type and Patterns: You can expand the pattern and arrange the elements using the arrange tools to bring some of them in front and put some of them behind your type. For this, it will be useful to memorize these shortcuts. The arrangement tools in Illustrator work within one layer. We want to be able to send elements to back and not worry about background being in front of it. For that, we'll need to put the background on a totally separate layer, so it doesn't interfere with our arrangement. So the first thing we need to do is send our type to back, and then select all of the pattern elements which we want to be behind the type and send them to back too. You can do it in bulk like this and revisit individual elements later if you need to. Well, this is really nice and easy if you have a straight-forward pattern like this. But what if you have a more complicated pattern or want your pattern elements to be under some letters or their parts, but above the others? For this, you can use the Pathfinder tool. To use the Pathfinder, you need to make sure that all your strokes are outlined and your type is also outlined. To outline your type, go to menu type and select create outlines or press Command Shift O or Control Shift O in Windows. Now it is an object and not an editable text. Send you type object to back and make a copy of it by pressing Command C or Control C in Windows and paste it in front by pressing Command F or Control F in Windows. Now, lock the bottom type object. Select all your pattern elements and the type of object, and then go to the Pathfinder panel and press the Divide button. Now, you need to ungroup the result. Where the shapes overlapped, now we have holes in the type object because it was behind the pattern when we used the divide function. So Illustrator kept the shapes on top but created the holes underneath. That's why we have created a copy of our type object before. You can now delete all the cut type and only keep the second uncut copy. You can do it manually if they are not a lot of letters, or select all of the letters using the select same function. This will work only if the letters are in a different color from anything else in your composition. Lock all other layers in your document which might have the same color and make sure that your uncut type is still locked too. Then select one of the cut letters and go to the menu, select same, fill color. This will select all the cut type. Now you can delete it. Now finally you can start manually deleting the cut piece of the pattern elements which you don't want. By doing that, making them appear to be behind your type. That might be a bit of work depending on how many elements and letters you have. But and then you will have some awesome compositions.
15. Using Patterns in Illustrations: Using patterns to texture illustrations which otherwise your solid colors is a great way to add a new character to your work and make it look more detailed, considered, and resolved. Depending on what your patterns look like and what your texturing, you can create a technical look or an organic and playful look. You can texture all surfaces or small details. You can texture illustrations, which for all intents and purposes are flat, or use buttons to shade sides of illustrations or free dear-looking objects. To combine patterns with illustrations, you can use the same techniques I've already covered of either masking non-repeatable patterns within the shapes which you want to texture, or by applying pattern swatches. In both cases, you will need to address the scale of your pattern in relation to the size of the elements in your illustration. You can also easily texture any asymmetric illustrations with this patterns. With some of them, you don't even need to worry about sharing your patterns to merge the angles. But if you need to distort your pattern, then remember that if you already have a shape which conforms to isometric grid, then when you're using on the Share tool, you only need to have the transform pattern checked here and then distorted the way you need to. When working with illustrations like this, you can also fully explore Recolor Artwork tool to play around with all the colors in your illustration at the same time, from the same place. Explore your color groups and swap around the colors manually or randomly, and adjust them separately if necessary. This way, you can create something really cool. If you have designed patterns which resemble or imply something figurative, then you can combine them together to tell a story. The composition might make sense on its own. Or, as I mentioned in the previous class, adding a caption or a work title can turn it into something meaningful.
16. Final Thoughts & Conclusion: You can also create a layered look by placing patterns with transparent backgrounds or certain areas or entire artworks. This approach can work for anything from any type of design outcomes, illustrations, or photographs. This way, patterns can also tie together a collection of images and be used as graphic devices in visual identity systems. There are tons of creative possibilities of mixing patterns with images, so experiment and have fun. There are also a totally different story of using patterns in 3D compositions. I might make a separate class on that at some point, so make sure to give me a shout if you're interested. I think this approaches should be enough to get you experimenting with using your patterns. It will be great to see if you can come up with some other ways of integrating patterns into your work. Remember to export your pattern artworks from Illustrator using "Art Optimized" anti-aliasing. You won't have any gaps between pattern tiles. That's it for this class. I hope you have enjoyed it and learnt something new. If you like this class, please leave a review so more people could discover it. If you have any questions, leave a comment on the community board for this class, and I'll hopefully answer and provide feedback. I cannot wait to see how you experiment with using abstract patterns in your work and hear about your experience. Make sure to post your work in the project section for this class. If you are going to share your work on Instagram, please tag attitudeskills so that we can see it there too. Also, don't hesitate to follow our page on Facebook to see what we're up to, get all the latest updates, send us private messages if you need to get in touch about something, and not to miss if you're featured in our Students Spotlight gallery. Thank you for enrolling in the class. I hope to see you in our other classes.
17. Bonus: Making of Geometric Composition Timelapse:
18. Bonus: Making of Layered Organic Composition Timelapse:
19. Bonus: Making of Composition with Type Timelapse:
 Evgeniya & Dominic Righini-Brand, Graphic Design & Photography