Transcripts
1. Creating Leaf Brushes in Adobe Illustrator: In this class, you will
learn how to create custom leaf brushes
in Adobe Illustrator. Through step-by-step
instructions, you will discover the process of creating and using leaf brushes
to enhance your designs. From simple leaf shapes to
more complex leaf brushes. You will learn
techniques to make unique and re-usable brushes that can be used in
your future projects. By the end of the class, you will have a
solid understanding of the art brush tool in Adobe Illustrator and
be able to create stunning lethal
effects with ease.
2. Creating a Simple Leaf Brush: I'm going to start out by
creating a new document. I'm going to work on a
twelv by 12 inch artboard. But you can use
any size art board that you want because
we're gonna be creating brushes and not really going
to be exporting any assets. I'm gonna be working
in RGB color mode, but you can certainly
work in CMYK as well. But just go ahead and open up whatever size art board
you typically use. Now that I've opened a document, I'm going to go ahead and create a simple tear drop shape. You can do that by going
over to your tools bar. And if you click and hold
down than a little menu will pop out and you can
click on the Ellipse tool. The keyboard
shortcut for that is the letter L. Now
I'm just going to go ahead and draw an elongated
ellipse like that. Then you're gonna go back and
select my selection tool, which is shortcut,
keyboard shortcut V. And then I'm gonna go ahead
and recolor my oval here. So I want to make it green. I don't want it to
have any stroke. So I will turn that off. Now I want this to be
more teardrop shaped. So I'm going to edit the
anchor points on that. So I'm going to hit
a on my keyboard, which will open up the
direct selection tool. I'm going to select this very bottom anchor point and bring it up just a little. I'd like to make this
one be pointy so I can click on that
and come over here. I can convert the anchor
point to a corner, but I'm gonna go ahead and
select that anchor point again and drag it upwards. If I hold the Shift key, then it will stay in alignment. And that's pretty good. Now hit V on the keyboard again, that's going to be
my selection tool. And I'm going to click
off for a moment. So there we have a
very simple teardrop shaped green leaf. Now I'm gonna go ahead and
move that over to the corner. And I'm we'll just go ahead and make it a
little bit smaller. That's pretty good.
Now when I go to draw or use the paint brush to paint these leaves
onto my canvas. I'm going to be
starting at the base of the leaf and drawing
out towards the point. That'll become pertinent
in just a moment. I'm going to select
the green leaf. Go over to my brushes window. If you don't have the brushes
window available to you, you can just simply go to
Window and select brushes. And then click the
little plus down here, which is going to
give us a window to determine what type
of new brush it is. There are five different
types of brushes that you can create or use
in Illustrator. And we're gonna be working with the art brush in this lesson. So select art brush
and then click Okay. And new dialog box appears. We can give our brush and name. I'm going to call
this one green leaf. I am working with a mouse
and on my trackpad, not with a stylus. And so therefore, the width is fixed and I'm going
to keep it at 100%. So you won't need to
change any of that. The scaling options,
it defaults to stretch to fit stroke length, and we're going to leave
it at that direction, is determining which way
the brush stroke goes. You can go from right
to left, left to right, bottom to top, and it
defaults at top to bottom. But as we mentioned earlier, we're gonna be going
from bottom to the top. So I just want to click
on the appropriate arrow. Right now we're going to leave
the colorization at none. And we're not going to choose
any of the other options. Click, Okay. And you'll see
that the brush has been added to our window of brushes. I'll click on that brush ups. I always do that. I'm going to hit Undo, which is Command Z or Control Z. Because that was selected, it applied that brushstroke
to my little shape, and I didn't want it to do that. So making sure
nothing is selected. Now I will choose the
green leaf brush. B on my keyboard
is the shortcut. Or you can come
over to the toolbar and choose the brush tool. And then I'm just going
to create a stroke. On my canvas, actually several strokes. Going to hit V on
my keyboard again, so that I'm back to my
direct selection tool. And if I hit Command
Y or Control Y, I will change mode to see
what the outlines are. And you can see all those
strokes are simply lines. Command Y or Control Y again, will take you back to
senior actual shape. What's really cool is that you can click on any
of these strokes. I'm going to change the
color of my layer here because it's currently
light-blue and it is very difficult to see it
against the green. And to do that,
I'm just going to double-click on the
little layer icon. And let's change it to orange. Much easier to see. Now, if I select
a on my keyboard, I will change modes to the
direct selection tool. And I will be able to see
that this stroke is made up of two anchor points. I can move them around. I can use the handles to manipulate how I
want the leaf to go. And I can do that
for all of them. Now, this particular leaf, there are three anchor points. And I find that with
this leaf shape, it sometimes is awkward. And you get weird things that happen where that
middle anchor point is. So I usually remove those. If you hit the Minus
key on your keyboard, it will change to the subtract
or delete anchor point. And I click on that
and it deletes. It hit a again to go back to
the direct selection tool. And I'm back to selecting that I can still get
interesting shapes. But I just don't want that
extra point in there. This one has quite a number
of little points here. So let's hit the Minus
and take those out. There we go. Hit a
again. To come back. We have our array of
little leaves here. Now if I want to
change the color, let me change back to
our selection tool, which is V on the keyboard. And I go to my Color Window and make sure that
I'm on the stroke. And let's say that I wanted
to make this an orange leaf. It didn't change. Well, that is because
our original leaf is green and we set the
color mode to none. So no matter what color
I change the stroke to, this leaf would stay green. In a later lesson, we'll be able to
change the color. But for now, what you
can do is select a leaf, go to Object,
Expand, Appearance. This now changes it from
a stroke to a shape. And to see that I'm
going to hit command Y. And you'll see that we have
no longer have a stroke. We have a shape, just
like we have a shape with our original brush. Command Y again to come back. Now that that is a shape, I'm going to come over here
and I'm going to change too. Fill color. You can also do that by hitting X on your keyboard. And now if I want to
make that leaf orange, I can, I can make it
any color that I want. But only because it's expanded. And now that it's expanded, if I hit a for the
anchor points, you can see there are a
lot of anchor points. If I go to move any of them. They will do weird things like that, which
could be helpful. But at this particular moment, not so much, I'm
going to undo that. Now one of the things that
I like to do after I expand the shape is go to Object, Path. Simplify. I use this so often. I've created my own
shortcut for it. Now when I hit a, you see it has simplified
it down to four points. Not necessarily in
the best position, but it's a lot less than the
ones that they had before. Alright? Now what else can you do while you're leaf is
still in a stroke? You can use some of these stroke tools to
change how it looks. So right now, our
stroke is one point. And if I make it a
two-point stroke, it broadens the leaf. I can continue doing that
and it becomes the crazier. But actually two points.
It looks pretty good. I think we'll keep that. Let's take this leaf over here. Will also make that two points. Sometimes when you do that, you'll notice it gets a
little bit funky shaped. And I can manipulate that again. Oh, I have extra anchor
points in there. We take those out. That's a little helpful. But notice as I change
the handle around, I get some interesting shapes. Contours. This way we have a
nice round curve here, but a more pointed curve there. I can continue to
manipulate this. But very quickly,
I had a bunch of different leaves that
I can move all around. That took a lot less time
to create than if I had to draw each individual
shape by itself. I love being able to use the handles to
manipulate the leaf into exactly the shape
and position that I want. And it's much more difficult
to do that with a shape, even when you've gotten it down to just four anchor points. Because now they all have to move in conjunction
with each other. So this is drawing a simple leaf and some basics
and manipulating that.
3. Creating a More Complex Leaf Brush: In this lesson, we're going
to make a leaf outline that can change color based on
the stroke color we select. Will also learn to expand the brushstroke to further
manipulate the leaf. Let's get started. First thing I wanna do
is make sure that I have no fill and that I am going
to use a black outline. Color wise. In RGB, that is, zeros, zeros, zeros,
zeros, zeros, zero. And you could also click
on the black right there. Now, there's multiple ways
that you can draw your leaf. I'm going to use the pen tool which can be found
in this fly-out. And it is keyboard
shortcut, the letter P. Now I'm on my MacBook Pro
using Trackpad to draw. I'm just going to draw basic
little leaf like this. I could actually stop right
there and mirror what I have, but I want my leaves to be
a little character to it, so I don't want it to be
an exact mirrored image. With that last one,
come down here. I'm gonna hit V on my keyboard, which puts me into
the Select mode. And there's a few little points
that I want to clean up. I want this bottom to be
more curved like that one. So I'm going to hit a, which is the direct selection tool. And now I can use the handles to manipulate any of
the anchor points. What I drew with the
pen tool earlier. Alright, that's acute,
quirky little leaf. Let's make me move this over. Slightly. Perfect. Alright, well, since we're just
doing an outline, this is the perfect
opportunity to add a little, little more details to our leaf. So again with the pen tool, and that was just
P on the keyboard. Or you can find it over
here in your menu bar. I'm just going to
click two spots. I'm done with that. So I'm gonna hit V. That just selects it. That gives us a
little bit of a stem. And again with the pen tool. And I'm going to make some more details of the
veining and the leaf, just some simple ones. And every time I'm done
with the pen tool, I just hit V and that
caps off the pen. Alright, there we go,
our cute little leaf. So I'm going to select
everything just by clicking and dragging over all the parts
and group that together, that is Command G or
Control G on the keyboard. You can also group by going to Object and selecting Group. I've already grouped it so
I can't group it further. But that's where
you would find it. Alright, now we're gonna
turn this into a brush. I'm just going to move
it off to the side and I'm going to make it just
a little bit smaller. I'm holding Shift as
I'm dragging through the corner there to
keep it in proportion. That way we have
plenty of room here to play with airbrush
once we make it. So selecting our leaf, I'm going over to
the brushes tool. That menu will fly out
and I'm going to hit the Plus to create a new brush. It wants me to select
the type of brush, and that is going
to be an art brush. And click. Okay. So here our art brush
options pop up. We're going to give it a name, this one I'm going to
call outline leaf one. The width stays
fixed because I am just using my trackpad. Mouse. If you're on a desktop
computer and if you're using a tablet that
had a pressure-sensitive pen, then these options would be
available, but they're not. So we'll just leave
that for right now. I am going to leave
it to stretch to fit. Stroke length will
leave that as is. That's the default. The direction I want to draw my leaf from the stem
out toward the tip. So I'm just going to
change the direction, that's the direction
of the line. And for colorization,
I'm going to change the method to tints. Now I've started with black, which will be key to getting the color that I
think I'm going to get. When I change it,
and then click Okay. Now we're gonna go head
to my color swatch. And let's make a nice fall
leaf and a bright orange. So I've changed the
stroke color to orange. Then I'm going to, oops, I still had my original
leaf selected there. So let's unselect that. Nothing selected, select
orange as my stroke color. The leaf brush is
already selected, but if it was not, I could select it from the menu here or from the brushes
menu here as well. Then I'm going to
use the brush tool, the paintbrush tool,
which is over here. The shortcut is the letter b, which is what I'm going to use. And then I'm just going to
draw a line and a leaf. And then anytime I
change the stroke color, so let's make a
reddish leaf here. Then the new leaf
is in that color. There we go. So you can see that There's pretty much look the same and of course it acts like a line. So I can use the
direct selection tool, which is a on the keyboard. And I can grab an
anchor point and I can stretch it further. And of course I can
manipulate the anchor points. Anyway, I want this
one has three, I'm gonna go ahead and
delete one of those. I just find that for
these types of brushes, it's usually easier to just
deal with two anchor points. We'll make this one a
little bit shorter, squatter ear leaf here. My stroke is at the
default of one point. If I make it two points, you can see it makes the stroke, or in this case the leaf wider. It doesn't make it any longer. But I could stretch it to
make it a super big leaf to go back to one
point for that. So it's really fun to be able
to fill up your page full of these stretchy leaves. You can see that the line weight of the stroke of the leaf, not the stroke that we drew is consistent through all of them. And that is because
they're all the same. Stroke. When I do increase the
stroke weight than it does increase the weight of the
line that makes up the leaf. I want to show you
what happens when we change one of the
brush settings. I'm going to pull up
our brushes menu and double-click on
our outline leaf. And that brings up our options. And this time I want to
scale proportionately. That's the only thing
I want to change. I'm going to click Okay. Now it will come up and asked me if I want to apply it
to the strokes that I already have using this brush or just leave those
strokes as is, I'm gonna go ahead
and hit Apply. We can see what changes happen. Now you may remember that this
leaf was long and skinny. But now it has just gotten
proportionately bigger. So all of the leaf sizes are
proportionately the same. It isn't stretching and
elongating the leaf. I'm going to undo. So you can see, say
here's how it was skinny. This one was short and squat. And that is when we change to have a proportional stretch. It keeps the proportion of the original outline and
just makes it bigger. But you can also see by Zoom in here that this line weight is heavier than It's a
little Swati, leave. So you will get
variances that way, even though all of
these are still at one point for our line weight. So let me go ahead and change the stroke
weight of this one. And you can see it's
still just gets wider. And if I, let's go to this leaf, if I move any of the points, the whole leaf gets
proportionately bigger. So that is scale
proportionately. I'm gonna go ahead
and change it back to stretch to fit stroke length. And apply that to
all the strokes. Now I'm back to short squat
leaves and long leaves, which I think have
more character and nicely all have the
same line weight. But what happens
now if I would like to fill in the
color of the leaf? Well, I can't do that because illustrator thinks
these are just lines. I've just changed my view to the outline view using
Command Y or Control Y. Change it back here. And you can get to that as
well from the view menu, changing it to outline. So if I want to actually
color in this leaf, then I need to expand it. So I've selected the leaf, I'm going to go to object,
expand appearance. And you can see that
it has changed some. And if I hit Command Y again
to go into outline mode, you see leaf and no
longer see just a line. Now one of the things
that I like to do after I have expanded a shape is to simplify
the number of points. Because if you can see now that this was a relatively straight
line here on this vein, but it has five anchor points. That's just not necessary. So I go to select that, go to Object Path, Simplify. I use this so often I've
created my own shortcut for it. And now it has gone
down to 22 points. You can always click
on the little ellipsis there to see what it was. It was originally 74. It's now 22. And if I move it over here, I could make some adjustments. But I'm pretty happy
with how that looks. So I'm going to click, Okay, so now that it's a shape, it's still showing that
they're the outline is orange. And if I change the
fill to say a darker, let's go with a lighter orange. There we go. Then you get a little bit
of a funky thing there. You see how, because it's
filling all of the lines. So I'm going to undo that. What this is actually made
of is a group of lines. So if I select it and come
over here to my layers panel, you'll see that it's
actually made up of four different paths. So this bottom path is
the leaf, it's self. And that one. Then I can go ahead and with
just that one selected, I can choose my fill
color for that. And then these others
are just lines. I don't really
want to fill them. So now I have this cute little leaf and
maybe I do want to change the fill color or the
stroke color and make it a little darker so it's a little more obvious
what's going on. And maybe I don't want a
stroke color around that, the actual leaf shape. So again, I'll select
just the leaf shape and I will select no stroke. I like that. So there we go. But now I could even go and manipulate these lines
that are part of the leaf. Let's change the stroke
weight of that up to one, so it's a little more defined. I'd like it to
have rounded caps. Not very noticeable at
such a small scale, but that's just the
way I like the, the ends of my lines
to be wouldn't be even more fun if it was tapered. And this line was
little narrower here at this point of the leaf and
a little wider down here. So first, making sure that I'm selecting just that line because this is
grouped together. I'm gonna go ahead
and double-click it to put me in isolation mode. So now when I click on
any one of these items, it will select just
that particular path. So I'm still on the main stem. I'm going to change
that to two points. And then in the
variable width profile, I'm going to change that to this sort of
triangular profile, but it's skinny
at the wrong end. So all I need to do to change
that is go to Object Path, Reverse Path Direction.
Much better. Alright? So this is one
stroke here and I'd like each end to be skinny. And then get a little
wider as it approaches the main vein and then
get skinny again. So I can't use the same profile. I am gonna go ahead and change it to two points
that might be too much. And this one, I want it
skinny, wide skinny. So that's profile 12 points
is a little much, so. Make it down to one point
and change the profile. I need to change
the stroke weight. Let's see what two points
it looks like there. Not too bad. Actually, one-and-a-half points
might be good. So I'm going to come in here
and just type in hit Tab. That's much better. That's a much more dynamic leaf. So to leave isolation mode, I'm going to double-click. It takes me back out. So now we have this leaf, but I can no longer
manipulate it as a line the same way that
I can these leaves. Because now this is a shape.
4. Creating a Two-Toned Leaf Brush: In this lesson, we're going
to create a multi-color leaf. So we're going back to that very first leaf that we
drew in the first lesson. That's a simple tear drop shape. But we're gonna go ahead
and make it two colors. So I am going to
draw a rectangle, and I'm going to draw it
in a different color. Let's make it a lighter green. And I'm aiming for covering
about half the leaf. So I've drawn my rectangle. I used m as the
keyboard shortcut. But you could have
also gotten to the rectangle from the toolbar. Once I've drawn that, I'm going to select both shapes. And I'm going to use
the shape builder tool, which can be found
here on the toolbar. Or you can use keyboard
shortcut Shift. Now I had already
selected both shapes. And really what I wanna do is get rid of this
extra piece here. You can see that my cursor
has a little plus next to it, which is that it
will add the shape. If I hold down the option
key on my keyboard, that will change to a
little negative sign. And now when I click on
that shape, it disappears. And really that's all
that I wanted to do. I'm going to hit V, which
is the select tool. And now I have a two toned leaf. By the way, there is more than one way to create
that too toned look. When I had the rectangle, I could have also used some
of the Pathfinder tools. I personally love the
shape builder tool. I feel it gives me
the most control to get exactly what I want. Alright, now that we
have our two toned leaf, I'm going to select both pieces
and group them together. That's Command G or
Control G on the keyboard. And you can also find
that under Object Group. I'm going to go ahead to
my brushes menu here. Click on the little plus
to add a new brush. This is an art brush as we've
been doing this whole time. Click, Okay. And I'm going
to call this two toned leaf. Or width is fixed because
we're just using our mouse. We're sticking with the
stretch to fit stroke length. I am going to change
the direction so that I go from the base to
the tip of the leaf. Then this is where
we're going to learn a new colorization method. So if I chose none, which I will do here
for a moment so you can see what
happens and click Okay. Then just like in
that first leaf, any leaf that we make will look like that regardless of the
color of the stroke. So if I change the
color of the stroke to a reddish color,
use the brush. It's still those two
shades of green. But I would like
this leaf to change color depending on what color
I start with for my stroke. So I'm gonna go back up
to the brushes menu. I'm going to double-click on the two toned leaf so
that we get to edit it. And I'm going to change the
colorization to Hue Shift. Now it needs a key color. And here it has chosen
the darker shade. And I'm okay with that. Let's, let's see what happens. I'm going to click, Okay. I'm going to go ahead
and apply it to strokes. It's probably not going to change too much of
those original ones. But that last one I drew
with the red stroke. Let's see what happens. Well, it did change these and it definitely
changed that red one. So let's play around
with some of the colors. So this was a light green leaf. If see if I make it up using
the original green color, then indeed it would
look like the original. If I make an light orange leaf, we kinda get an orange
and a peachy color here. Let's try purple
leaf just for fun. There we get purple and blue. So the hue shift takes your original color,
the key color, which you can determine
in the brush panel, and then the color
other colors that you have are in
relation to that color. So this is a lighter shade
and a yellower shade. So it is moving on
the color wheel. Likewise here we have this
as our breadth stroke. And this is a color the same distance that these two greens are
from each other. And lighter. So you don't always get
what you think you might. That's why it's always fun
to play around with those, but you do get some really interesting
color combinations. Now if I wanted to
change my color, I'm going to go into isolation
mode by double-clicking on our original brush here and
choosing this lighter green. I'm going to make
it the same color as the other half of the leaf. And then I'm going to
go into my color guide. And I'm going to just
go ahead and move it down two tenths. So it's within the same color. It's just had some
white added to it. Now, let's go back to our brushes and let's
select this again, will make a whole new brush
with our new coloring here. Our brush. We'll call this two toned. Two will still stay
with stretching, will change the direction. We'll go with huge shift again. We still have the key color. If I wanted to change
the key color, I would just click on
the eyedropper and then click on which
color I wanted. I do want the darker
color because that's sort of our base color. And then we just lightened
this second color. Now let's click Okay, and let's try this red leaf. And we're going to
just change that. And you see, it became a lighter shade of
red into a pink. And our orange leaf
becomes later. And our purple leaf indeed
becomes a purple shade. So you can use it for totally different
colors as this one is. Or using a shade or tint. And in this case
we did the tint. Alright, let's do one more. Let's just go with a totally
different color here, not even a shade of green. Let's go with yellow. I'm gonna go ahead and create
a new brush once more. So I had my brush menu. Click the Plus art brush. I'll call this two tone. Three. Change our direction. Change the hue shift. I'll stick with the green. We'll click Okay. And now let's see what happens. Let's pick our orange leaf here. And now we're getting a
peachy pink or purple leaf. It gets a teal color. And our Redleaf gets
a purple color. Here. It's just shifting
along the color wheel. The same distance between
this green and this yellow. Hue shifts for a brush
can be really fun. But just know that you might not always get
what you expect. Of course, in the end, you can take your leaf. You can expand it, going to Object,
Expand Appearance. And now you have two
shapes grouped together. Enter into isolation mode. And then you could go and
you could color them. However you wish.
5. Leaf Brush Class Project: The project for this
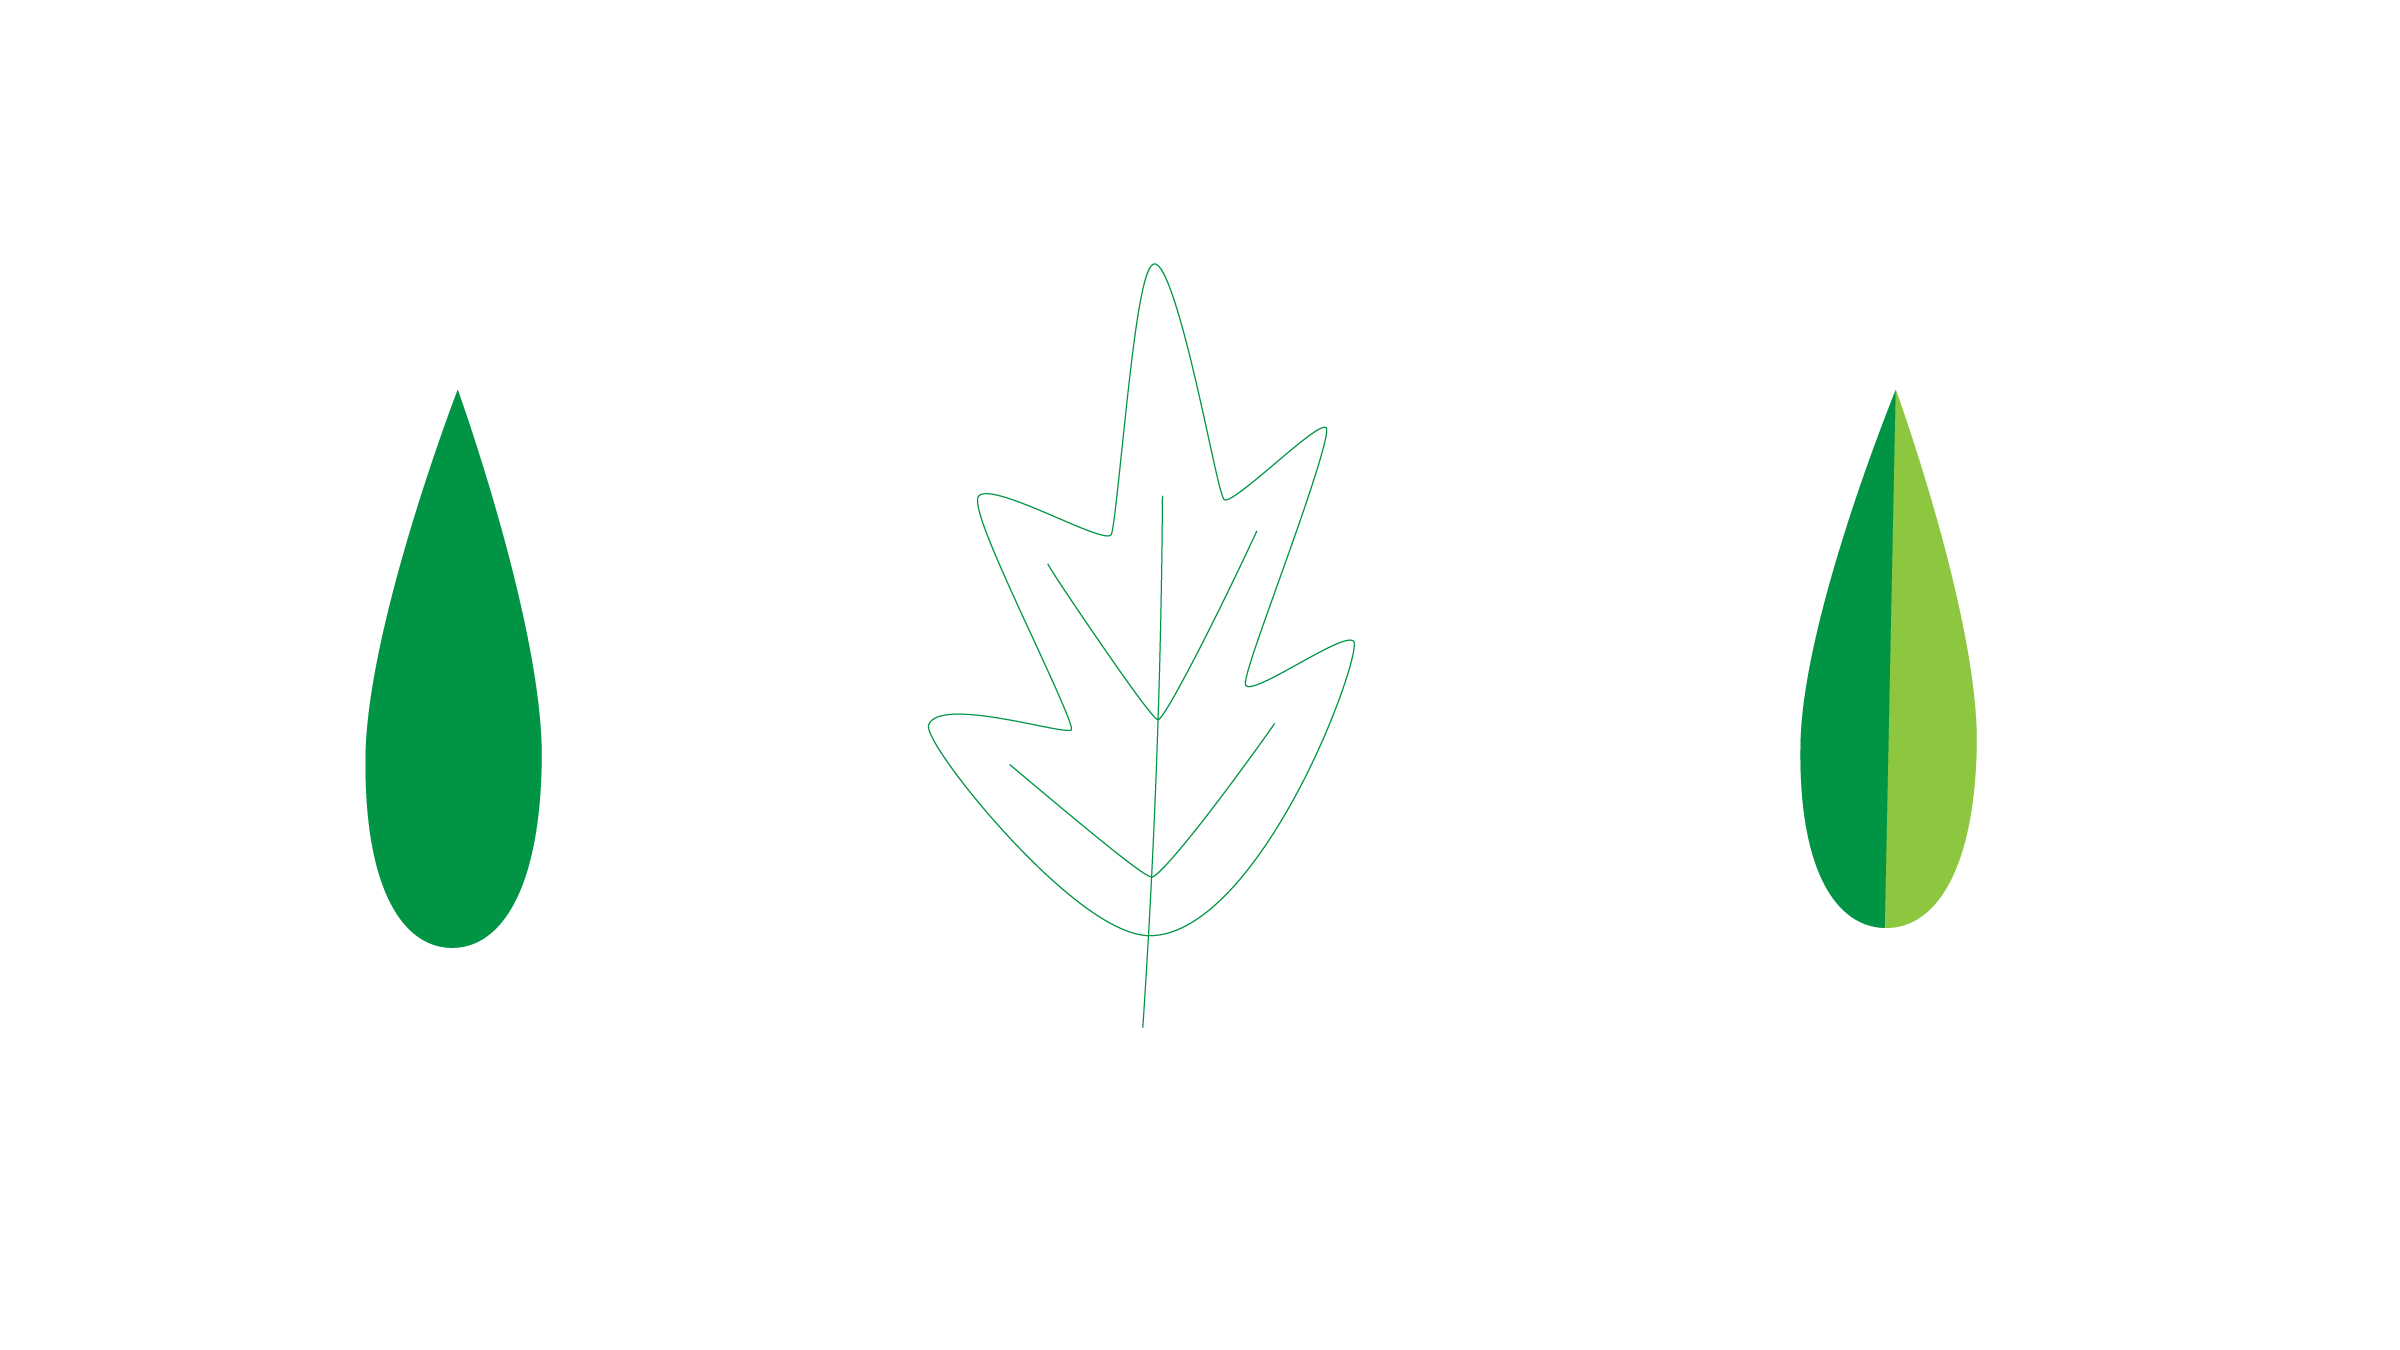
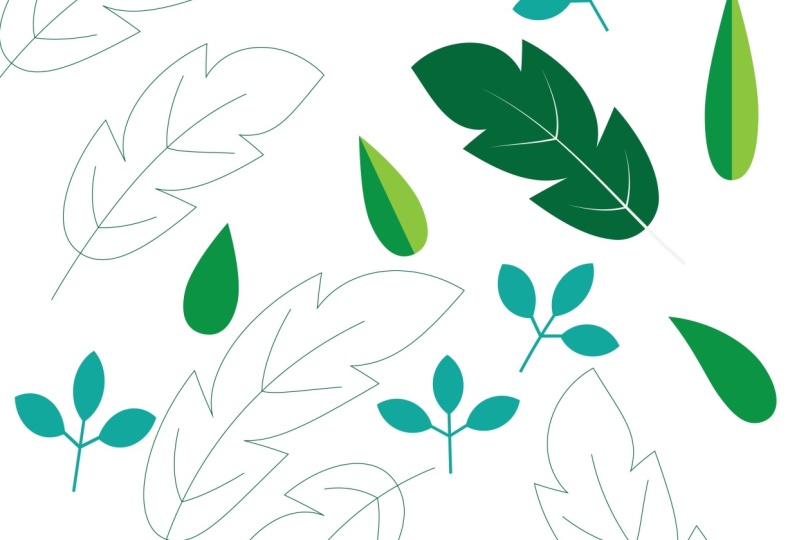
class is to create three different leaf brushes. Start with a simple
solid shape leaf brush. Then try one that's an outline of a leaf with some details. And then a leaf brush
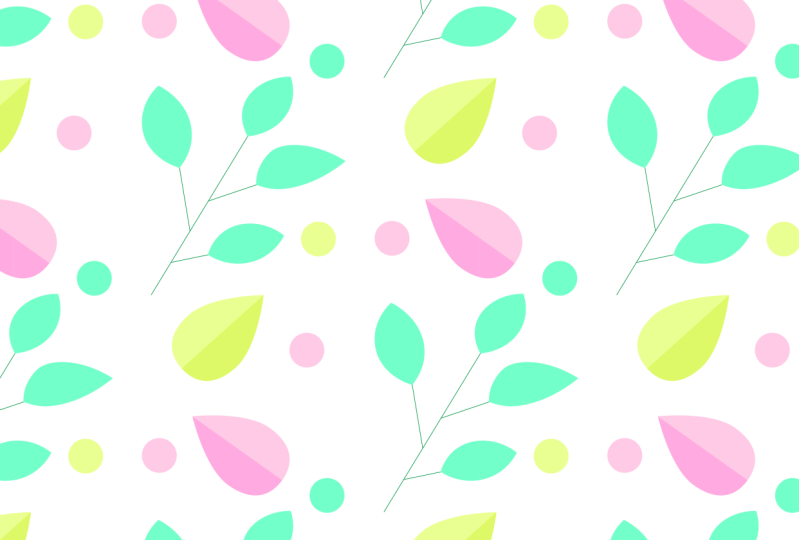
with at least two colors. Once you have your brushes made, create an illustration
or pattern that incorporates the brushes. You don't have to
stick to the types of brushes that
we made in class. Feel free to use your imagination and come up
with different leaf shapes. I can't wait to see
what you come up with.
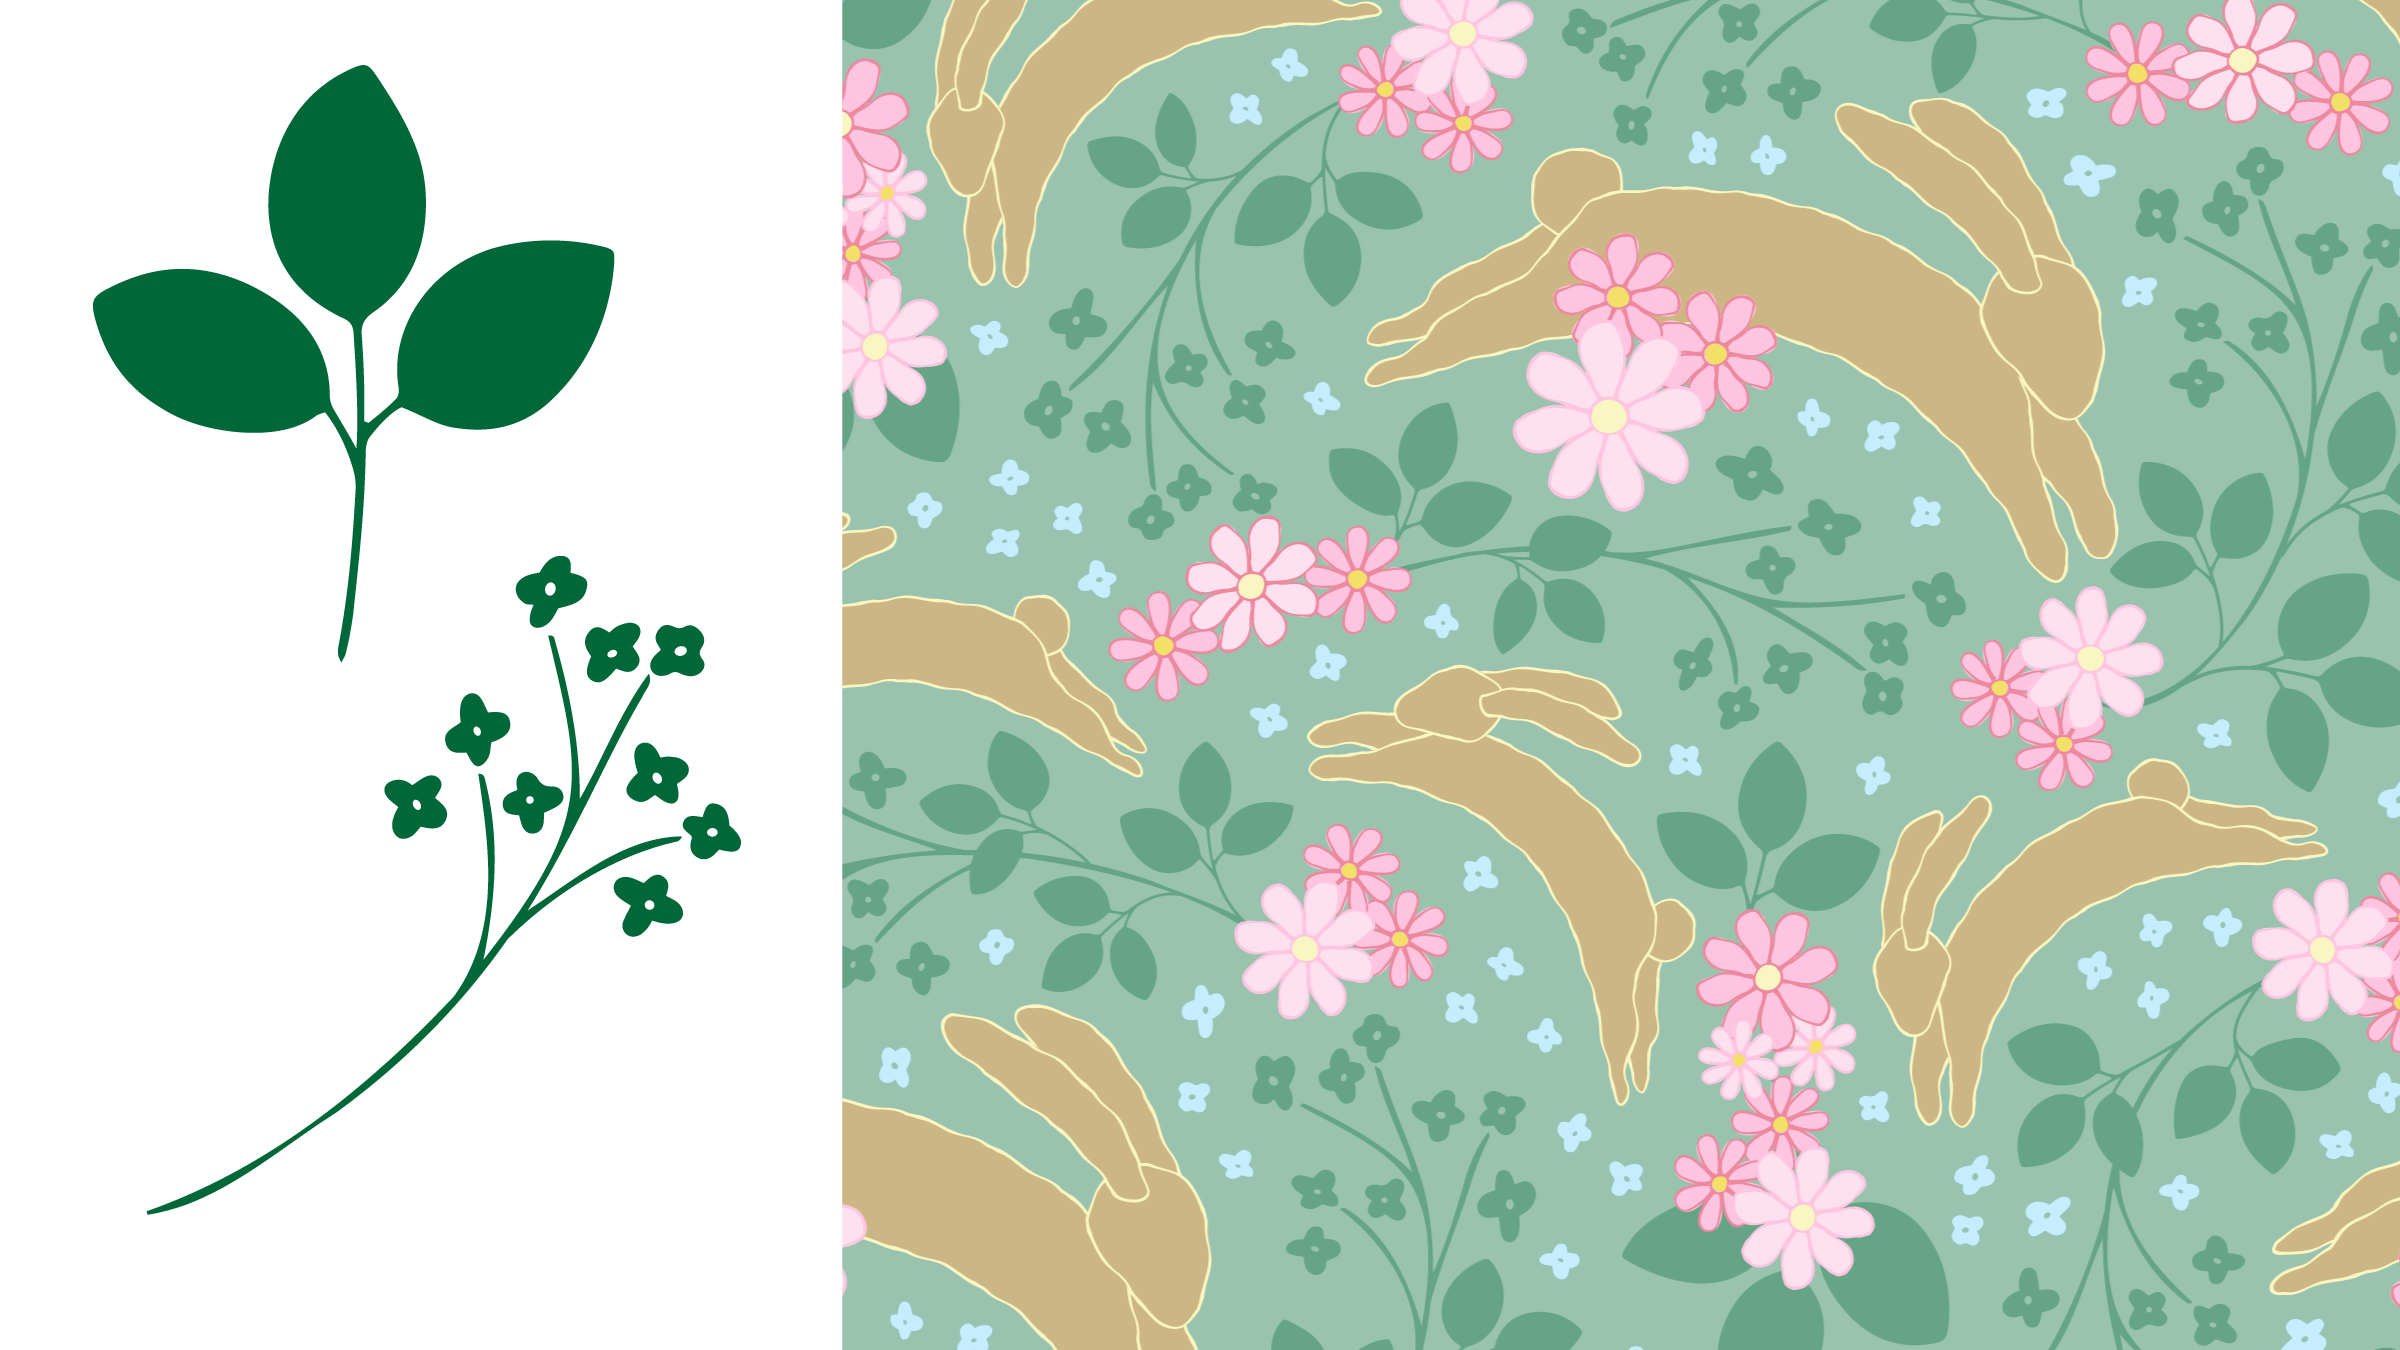
6. Bonus! Examples of How I Use Leaf Brushes: I have a library of leaf
brushes that I call upon when creating illustrations
and all over patterns. This little three leaf brush appears frequently in my work, sometimes as the star and
sometimes in a supporting role. It makes creating my designs much more efficient
as I can easily manipulate the stroke to position the leaves
exactly as I wish. So give it a try. Create a series of leaf brushes that you can incorporate in your
own design work.
 Stacy Mitchell, Artist, Author, Entrepreneur