Transcripts
1. Introduction.: Hey everyone, I'm Sarah and
I'm a full-time artist. I love creating colorful, bold, and visually
appealing art. In this class, I will be
teaching you how to create the simple painting using
acrylic paints and resin. You can create your own vibrant, colorful artwork to
hang around the house. I'm self-taught. So all the information
I will be giving to you is from my own experience and how I like to do things. First thing you will
learn is how to create your umbrellas shades. Second, z, once you
have your colors ready, I will be teaching
you how to paint straight lines using tape. Finally, you will pour
your resin to give the painting this shiny,
beautiful glossy finish. It also gives you some tips
and tricks along the way to make this painting even
easier than it already is. This class is perfect
for all levels, even if you're a
beginner and you've never held a brush before, I promise you, you can
create this painting. You can follow along
and be part of the class's project and
create your own painting. And I will be able to answer to any question you've
got to bring me. I am so excited to share this quick and easy
class with you. Thank you so much
for watching and hopefully I will see
you in my first class.
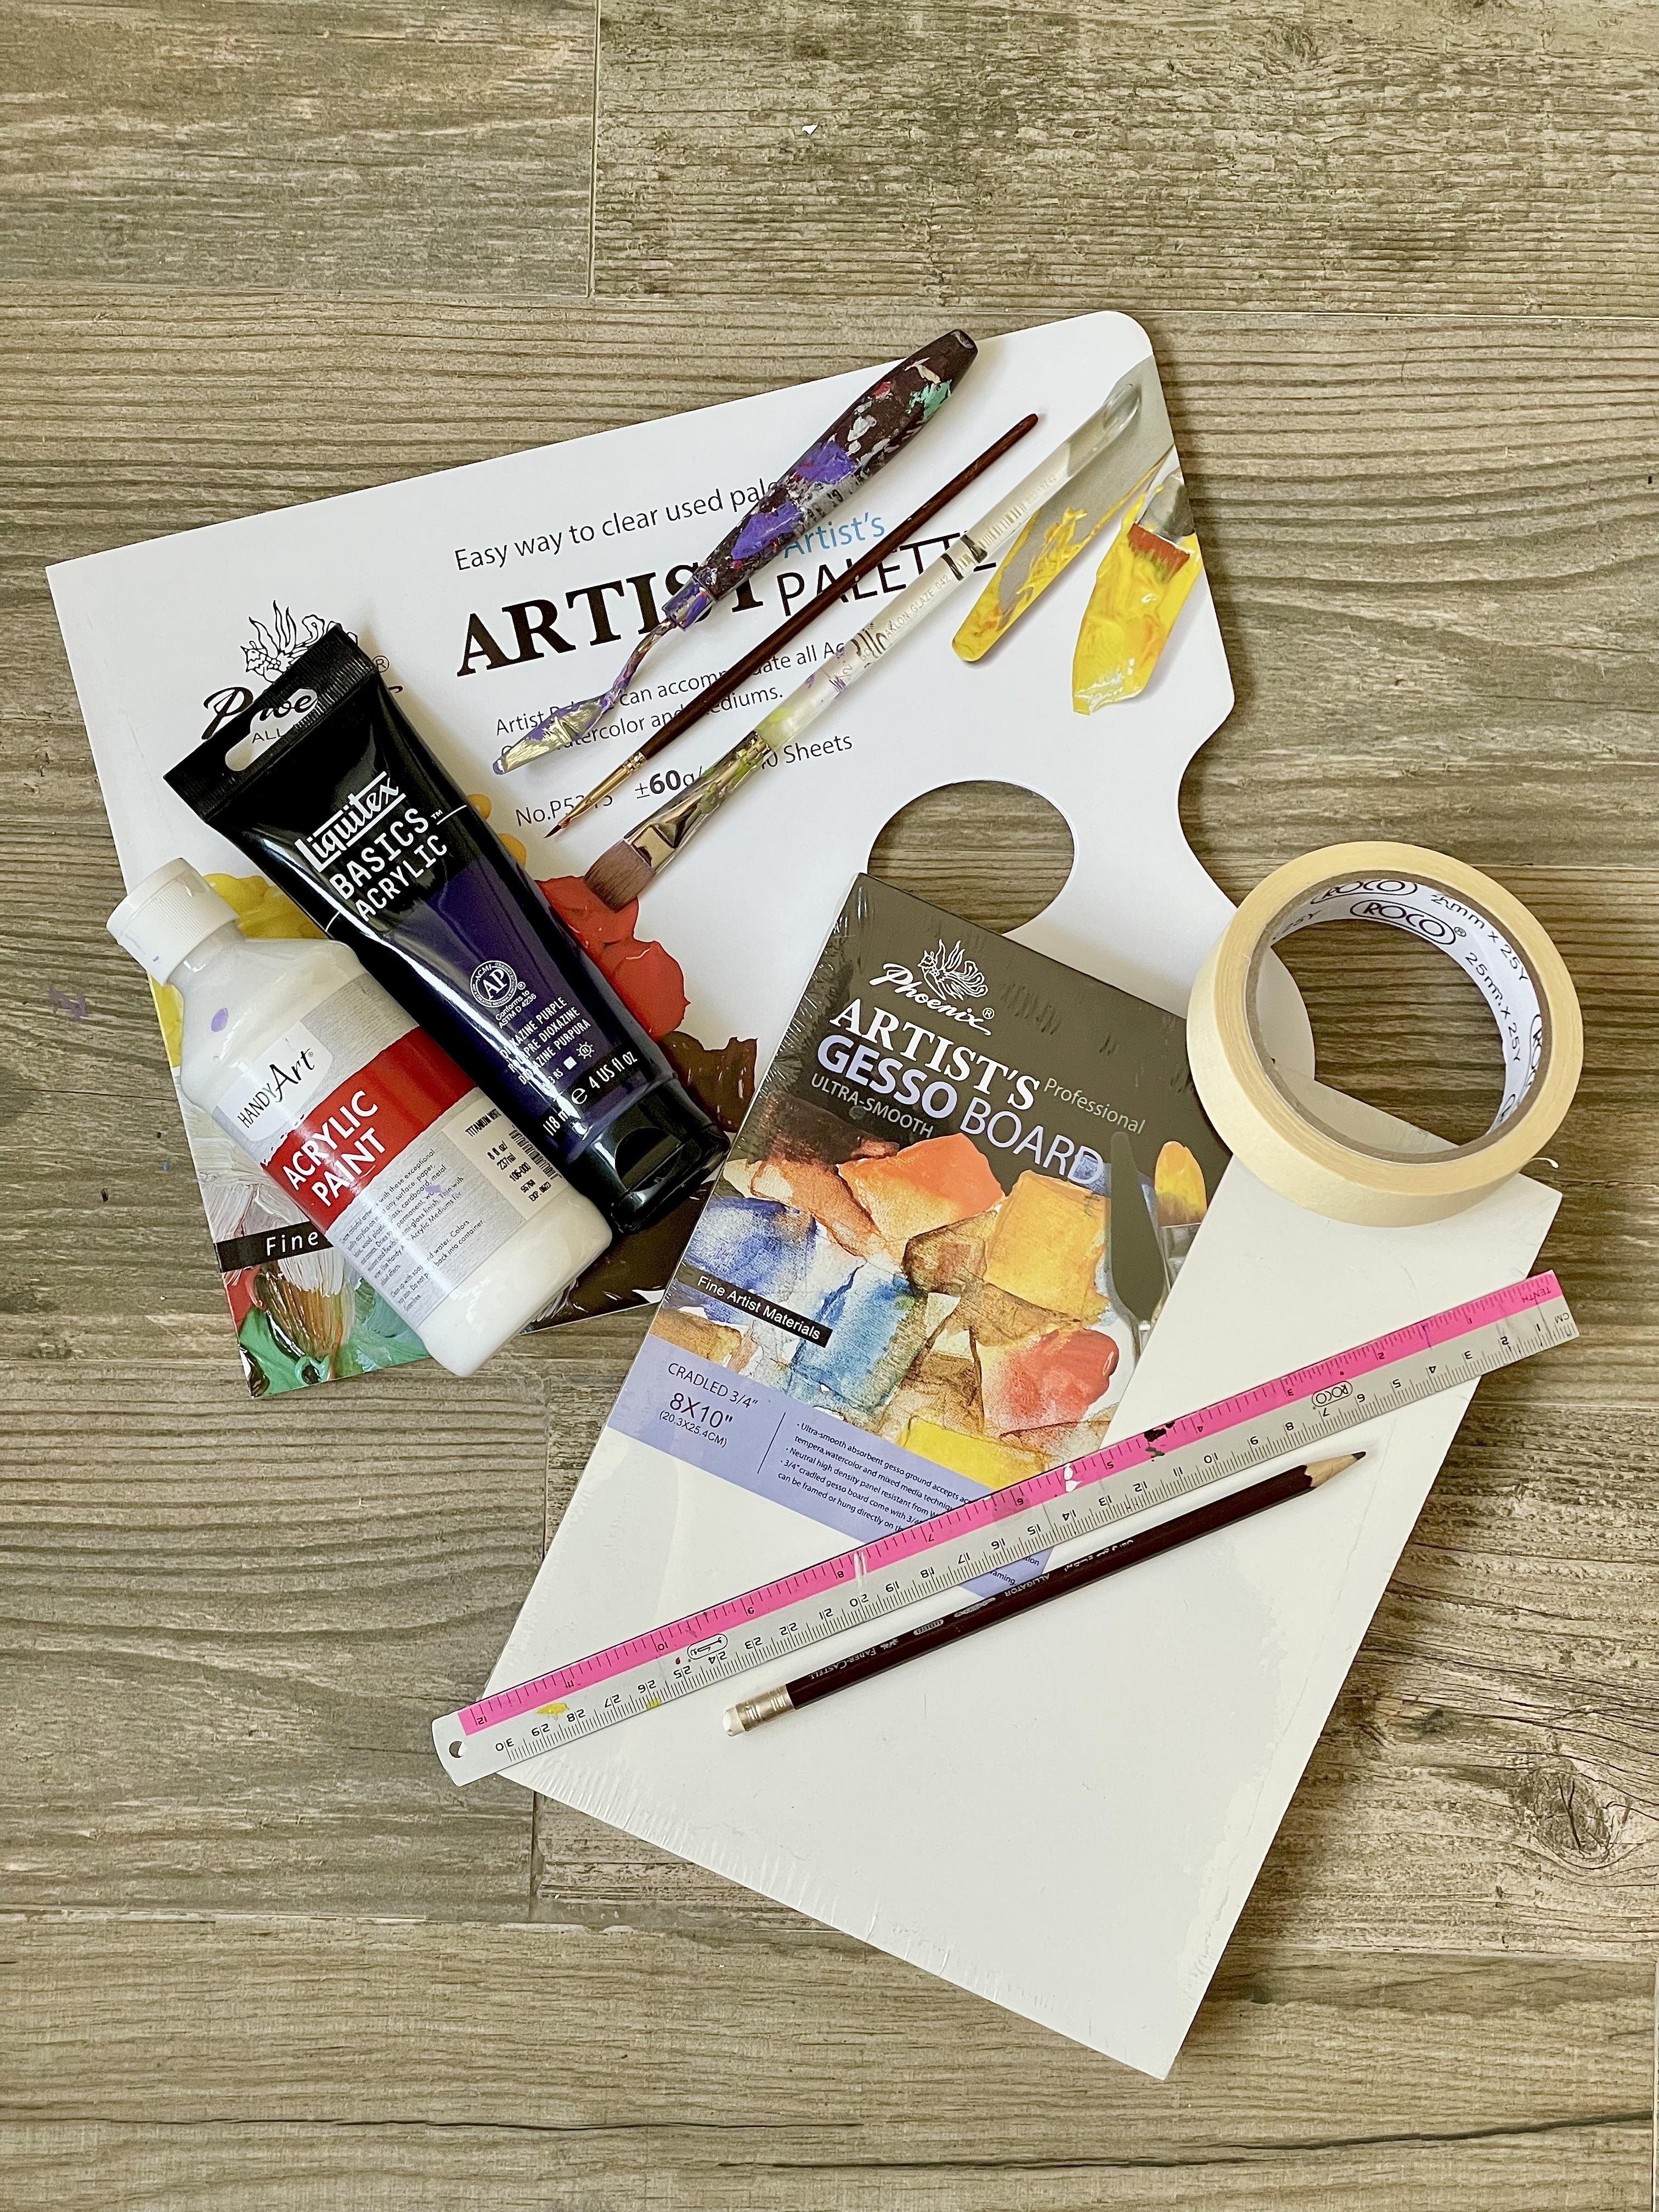
2. Project Supplies. : For this project, you will
need to adjust. So bored. This one is already
primed and ready to use. You can pick and choose
whichever canvas size you would like to work with. You will also need a ruler, a pencil, eraser, scissors,
and masking tape. So you have to use
masking tape or you can find it under the name
of Painter's tape. You have to use this kind
because it does not leave any glue residue on the surface and it's can
be easily peeled off. You will also need a pilot and a palette knife to help you with the color mixing process. I like to use these
disposable paper palettes because I don't have to worry about cleaning my
palette and I will be working on a clean
surface every time. You will also need two different
sizes of a flat brush. One for the main coloring, and the tiny one is for to fix any mistakes to find by
the end of the process. You will also need a
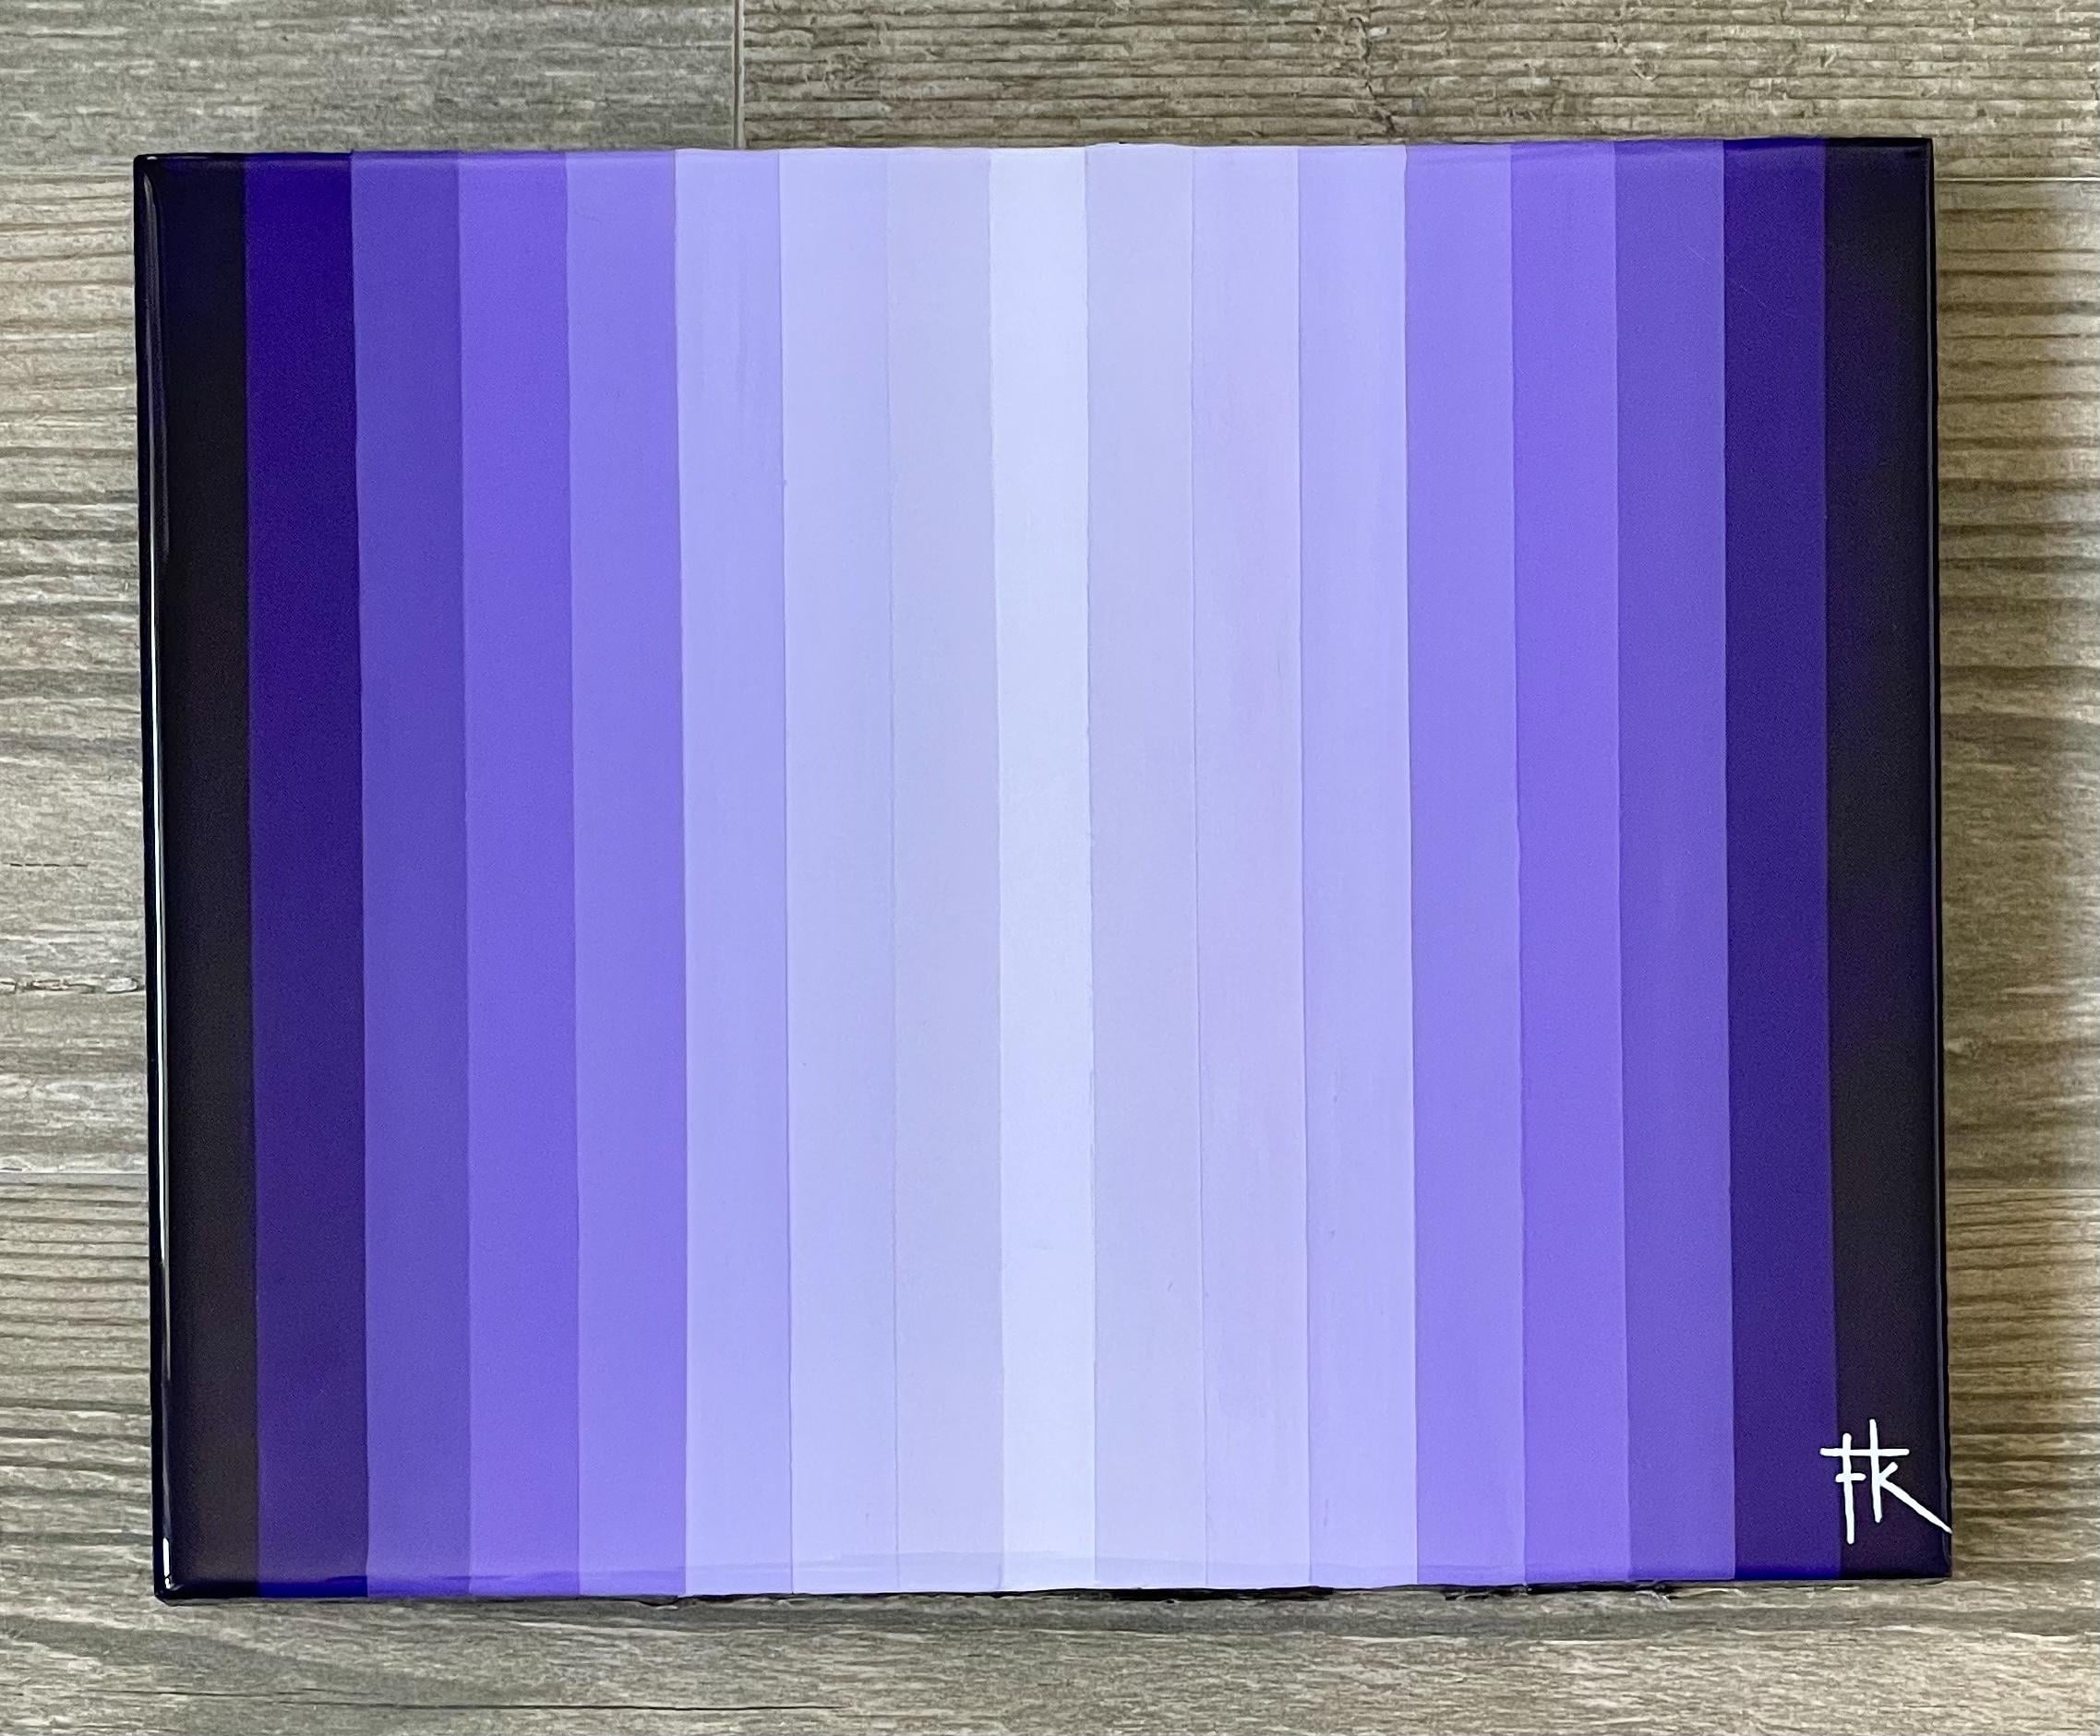
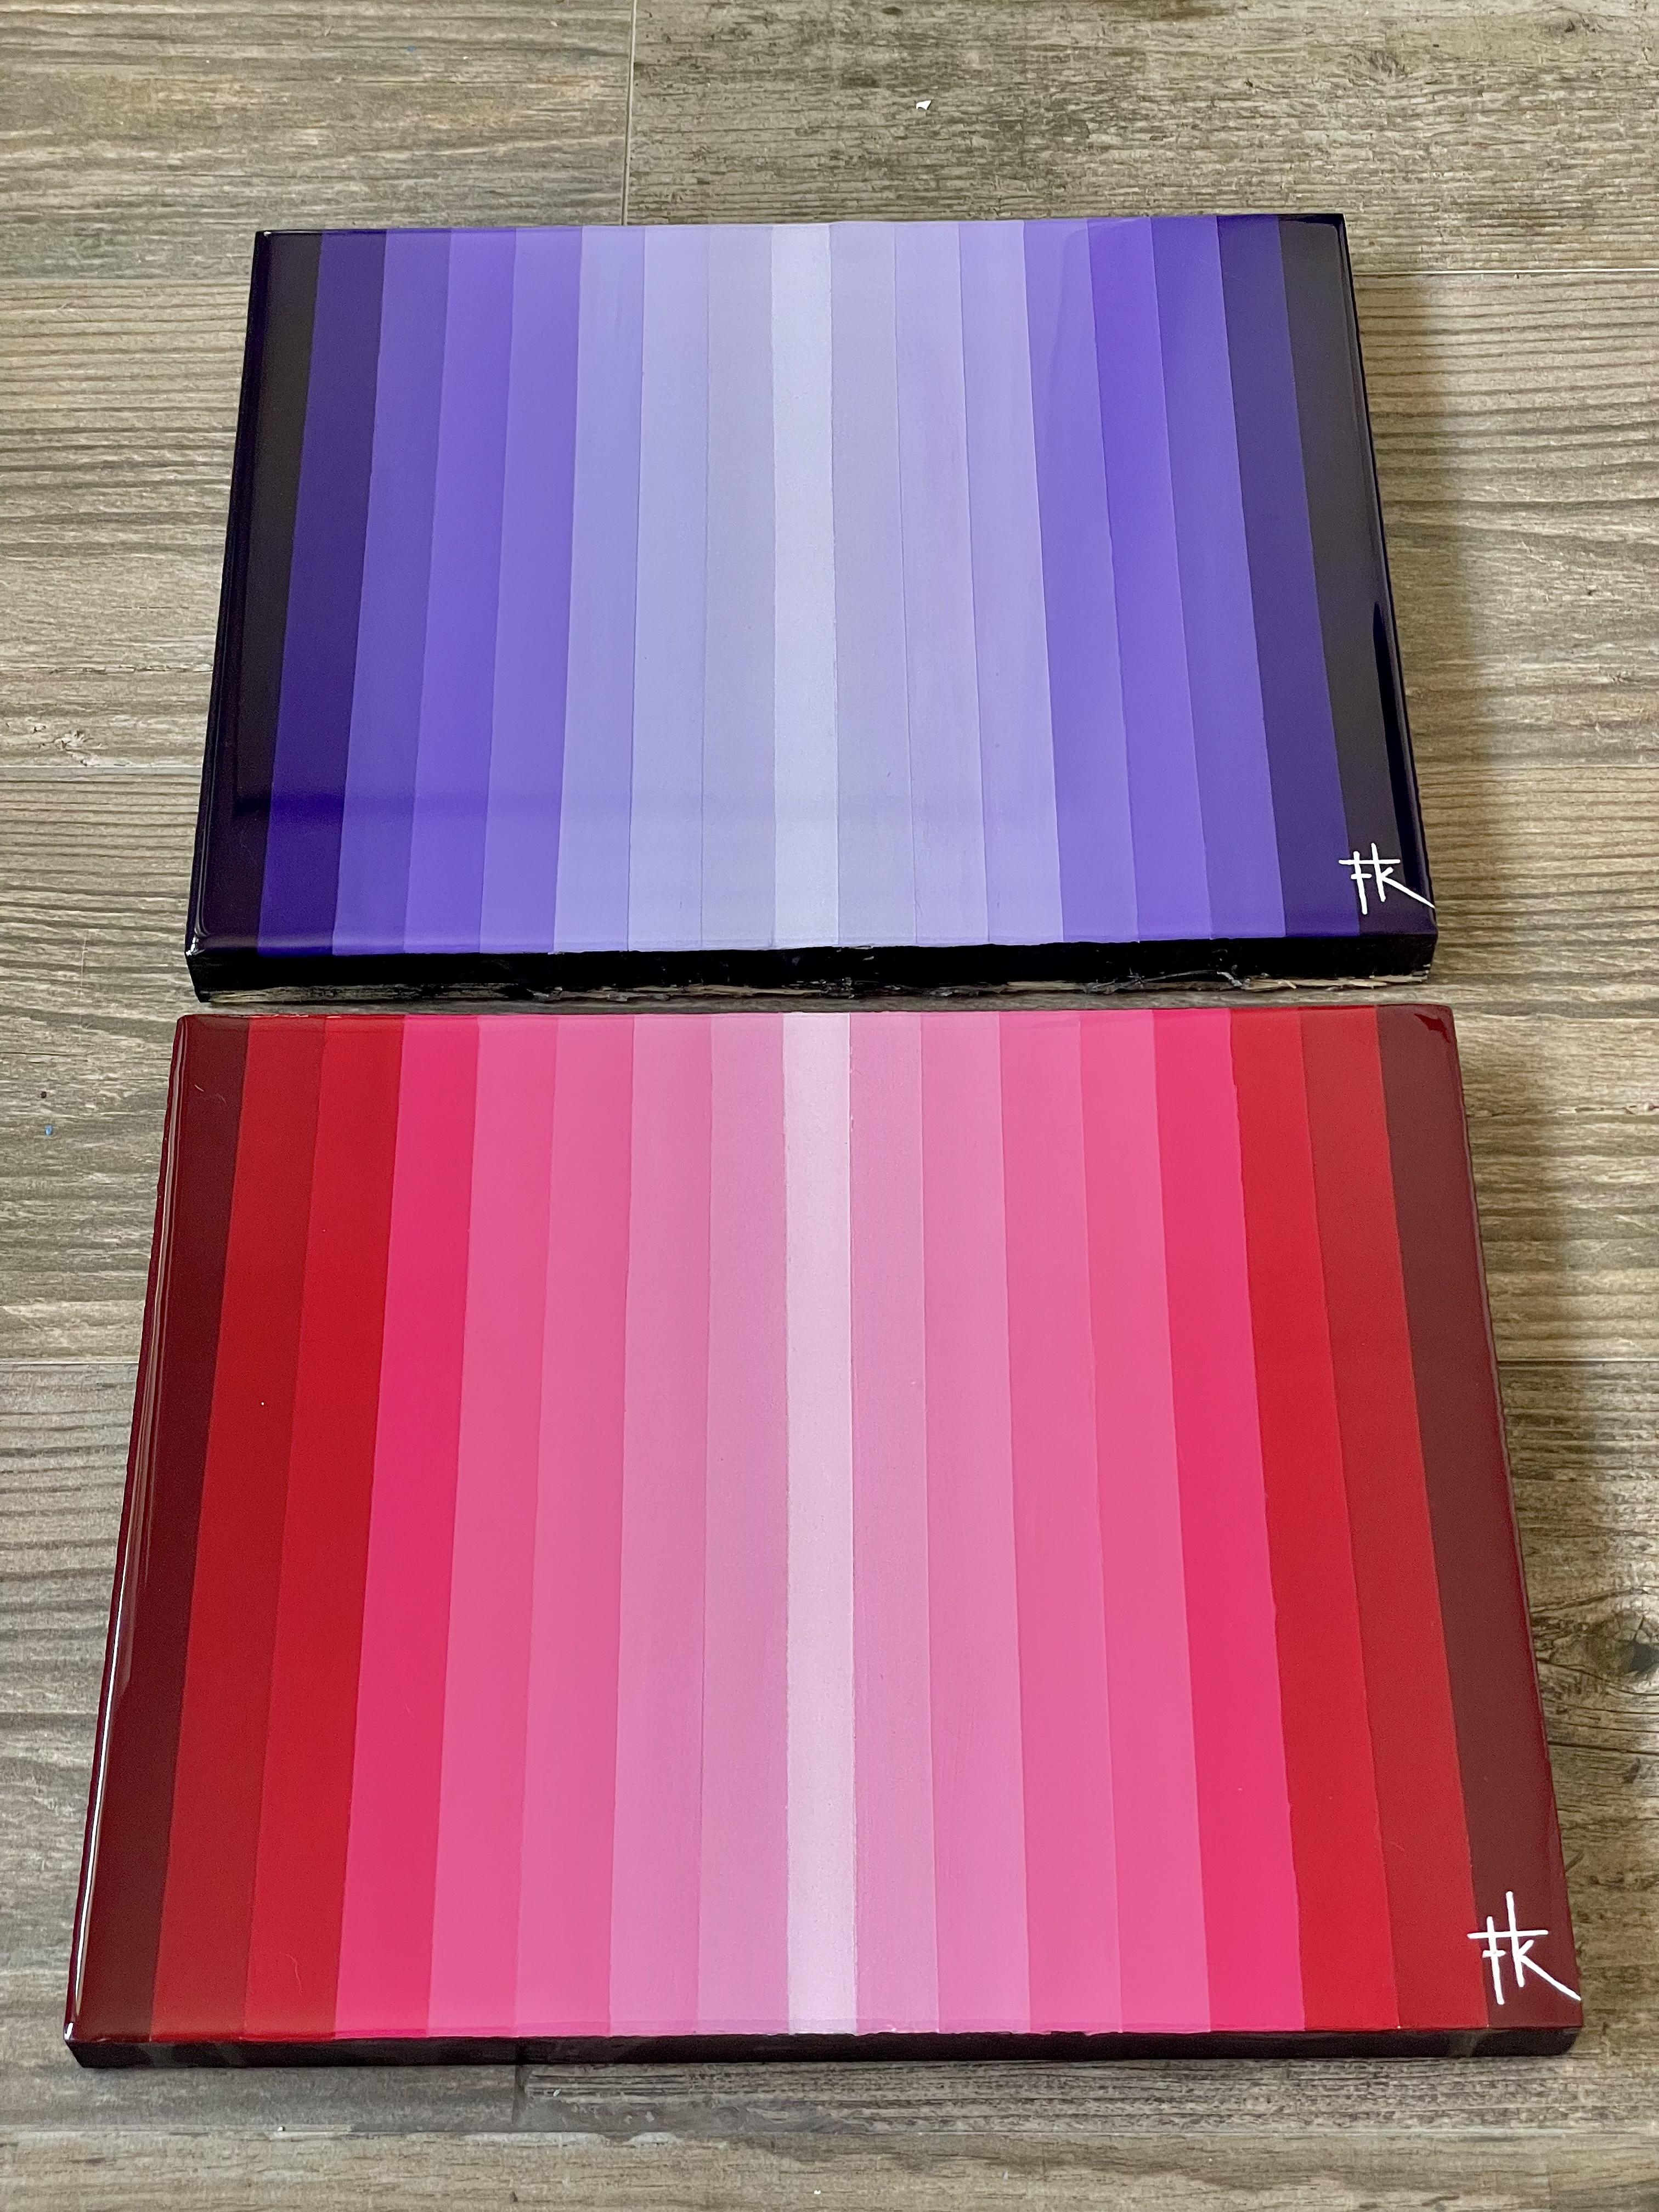
color of your choice. For this class, we will be using purple and you will
need titanium white. Now, you can choose
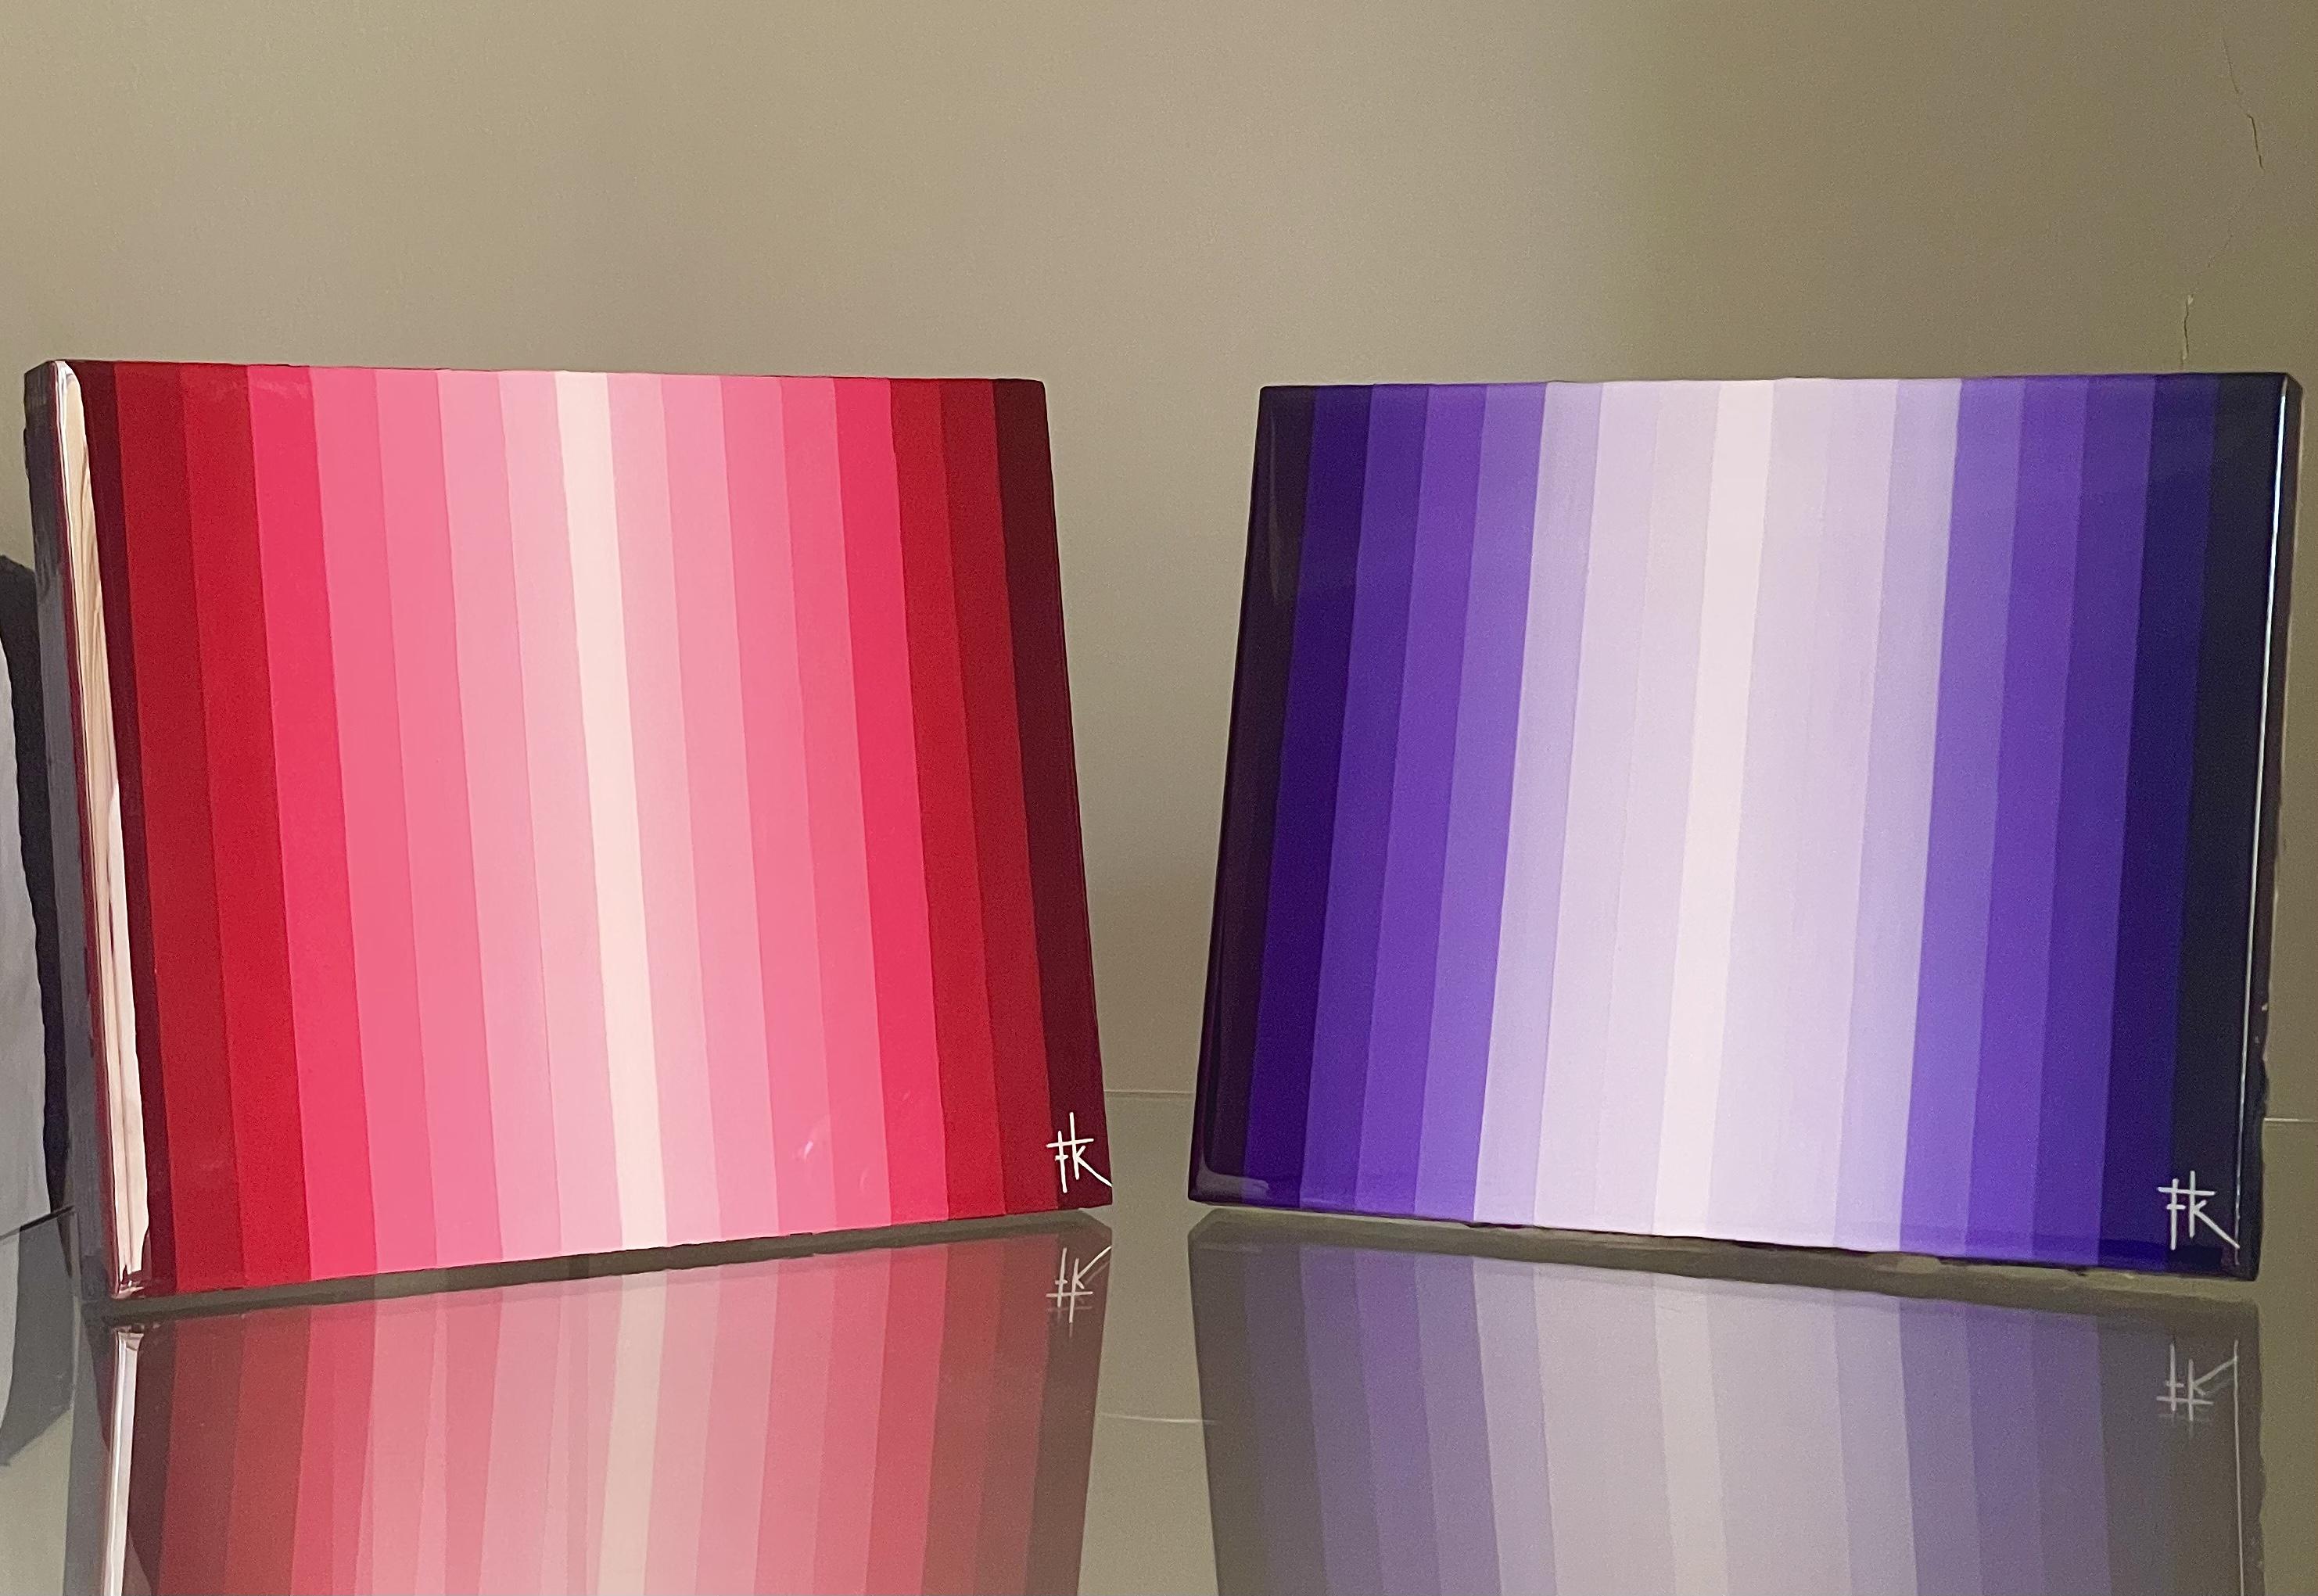
whichever color you've used. For example, I have used
crimson to create this piece, which is exactly
like the one we did, but this one with a
different color shade. So you can pick and choose
whichever color you'd like and you will only need
titanium white with it. I would suggest to use heavy paints because
for some reason when I paint to a thin paints on
decile boards using tape, the paint won't stick on
the board and it will stick on the tape and get peeled
off right with the tape. So for example, like
even golden acrylics, the fluid acrylic ones, and the like Apple Barrel one. They all peels off with me
when I use them with tape on a board just to be on the safe
side, go with heavy paint. You will also need a blow dryer. This will just help you so
much with the drying process. If you're impatient like me. It's so useful to use because
you don't have to wait minutes and minutes
every time you paint a line for it to dry, it just speeds up the
process 100s per cent. So this part of the
class is optional. You can just stick
with the painting as it is before applying the resin. Or you can go ahead and
try applying the resin, which I 100% suggests because it makes the
painting just ten times better with this glossy and shiny
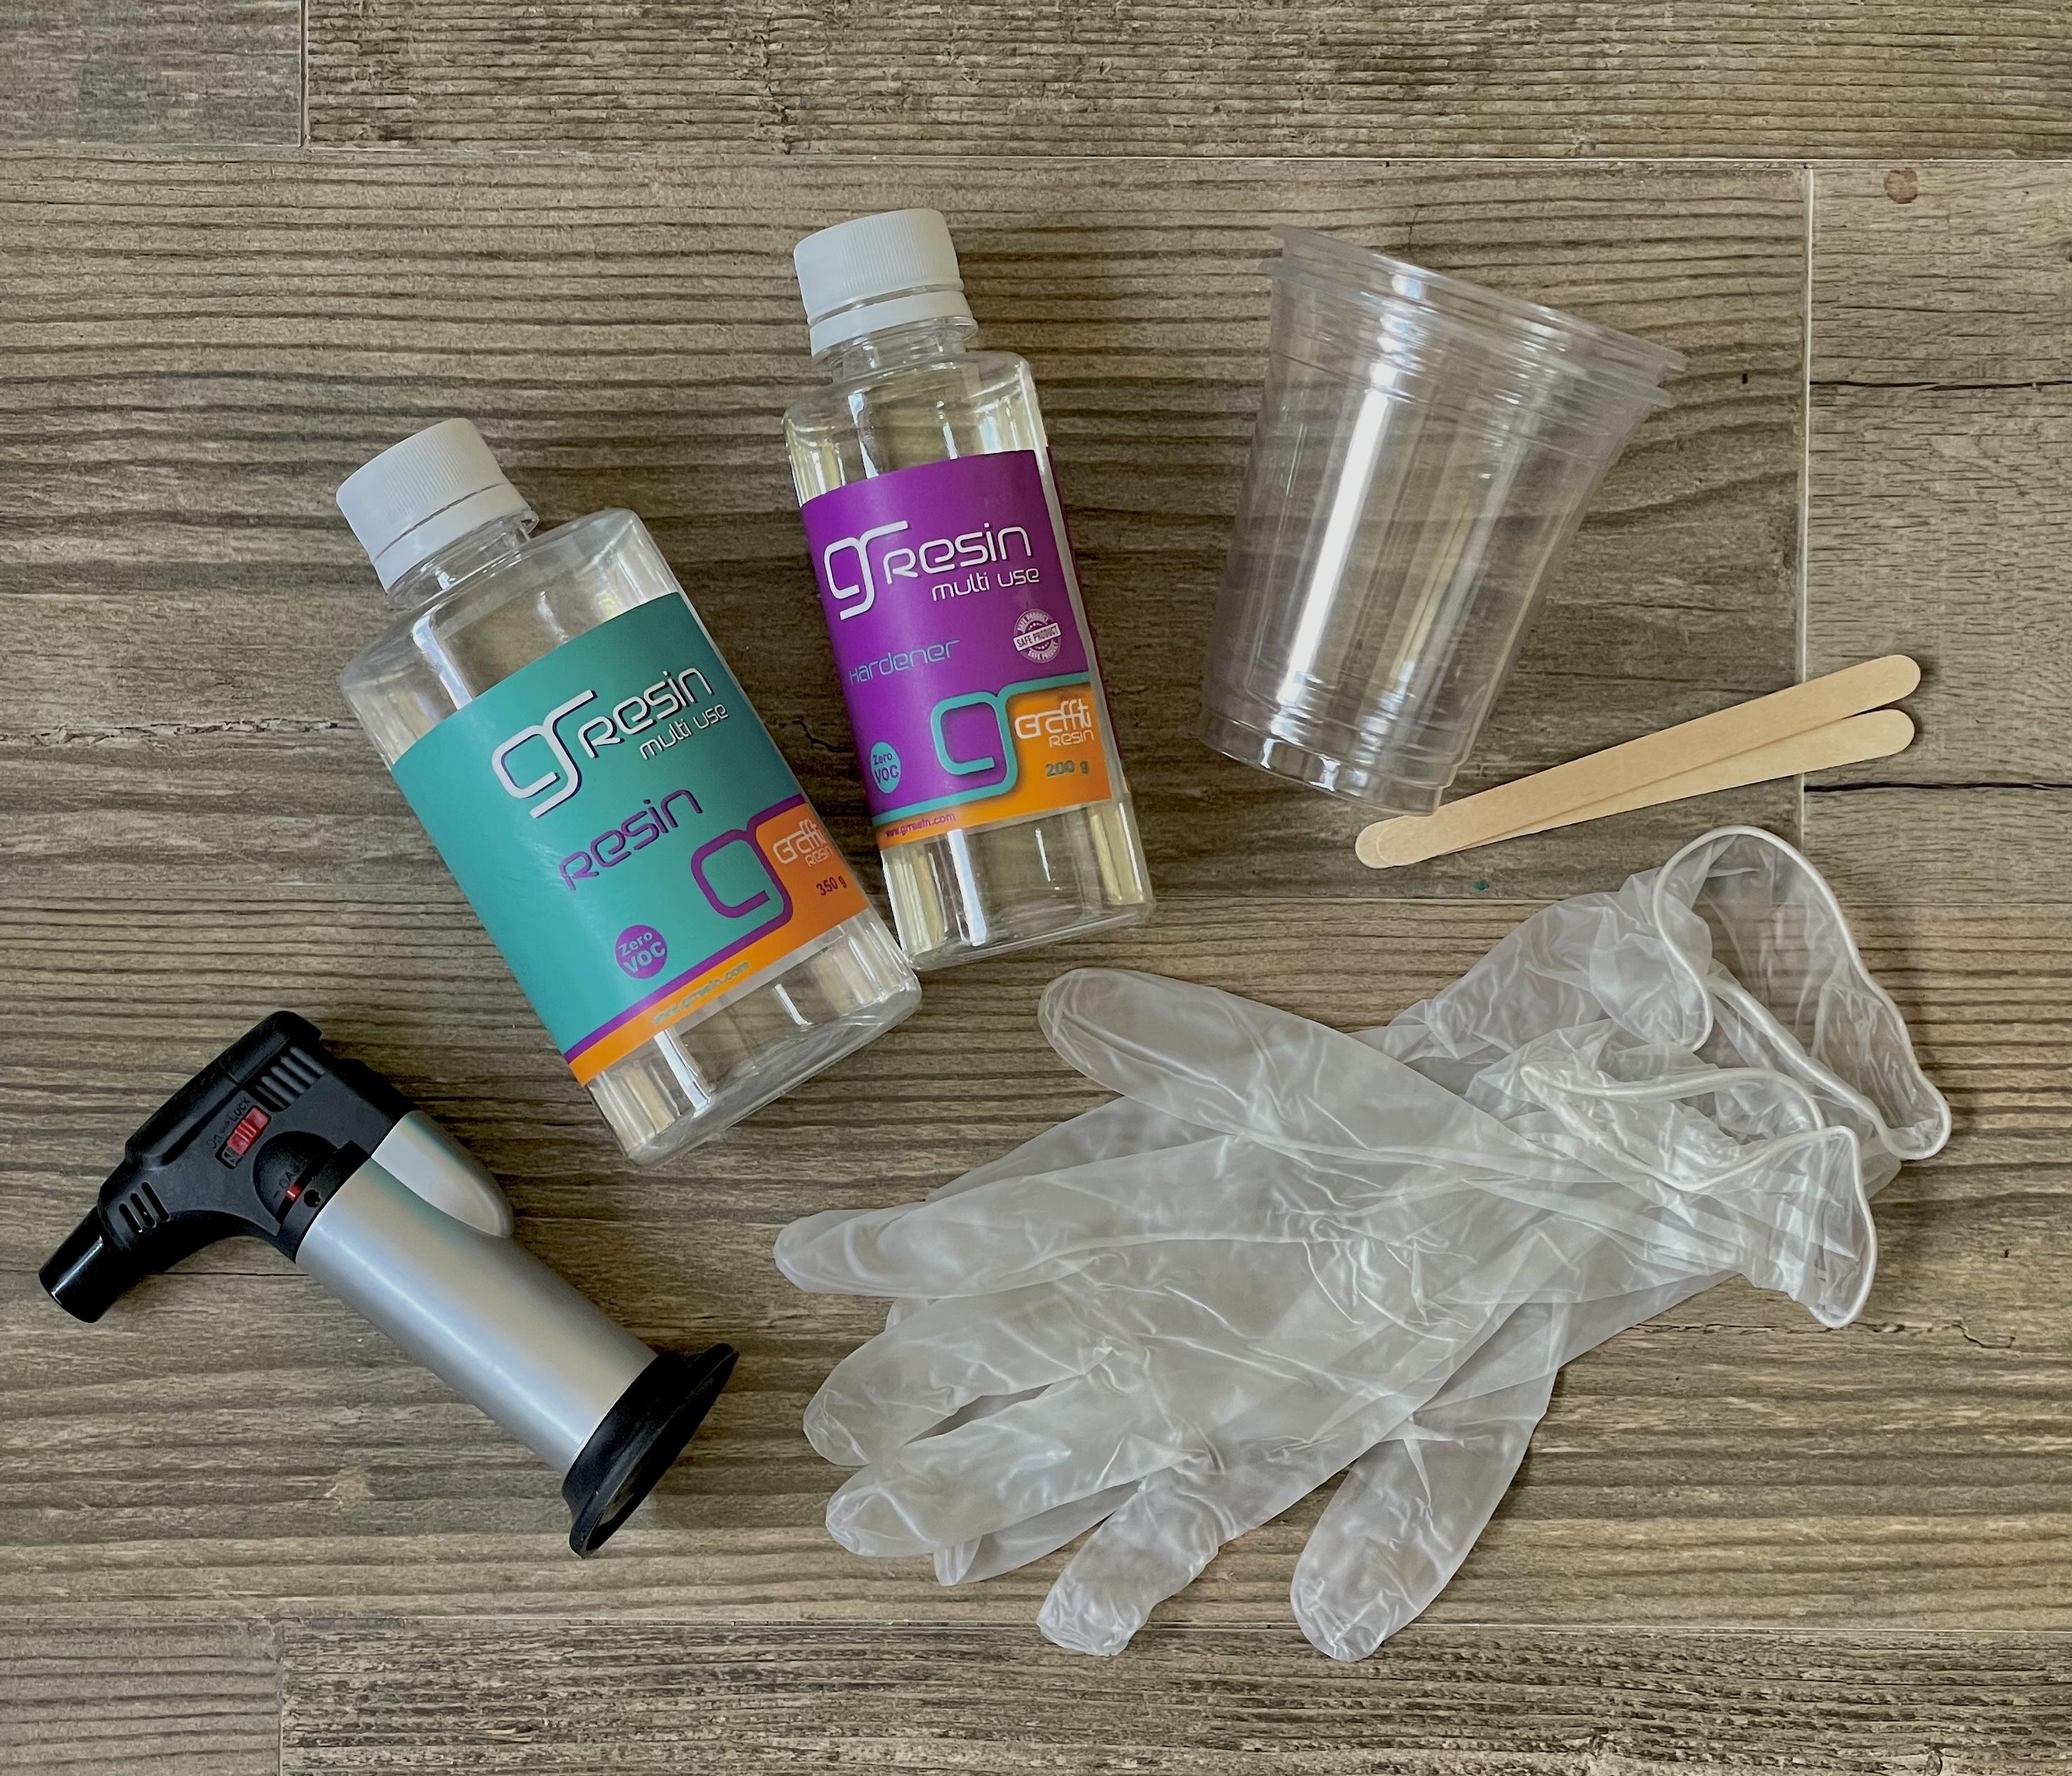
finish that it gives us. For the resin, you
will need hand gloves, you will need to face mask, which is very important. You will need some
disposable plastic cups, some lipsticks to mix
the resin together. You will also need a
like a tweezer to remove any particles or anything that flies on the Resin
while it's still wet. You will also need a torch. And you will need the resin. I don't have the resin park. I throw it away. I have the hardener, but they usually come together. I will insert a picture of the resin and the
hardener together. They come in a set. So basically this is what you
will need for this course. I will have some links for all the products
you will need. They might not be the
exact same brand, but it will be a total, have the same results. And I hope you go for
this shopping spree. And Let's work on this together.
3. Preparing Your Canvas & Creating Your Ombre Shades. : First to want to start dividing
your canvas into half, then decide on the
size of your lives. I chose to make my lines
two centimeters each. For the lines to be
perfectly straight, you'll want to dot your Canvas from the top and the bottom. When dotting your Canvas
start outwards to inwards. Going from right, from
the right to the center, then from the left
to the center. Because it was my canvas, one line will be
1.5 centimeters. And if I dot my piece from
left to right or vice versa, the last line will be different in size and
it will look weird. But if I do the
outward to inwards, the middle line will be the
one difference in size, which I actually like the
way it looks and it's much nicer than if it
was just the last line, the edge of the canvas. Then you just need to
connect the dots together. Here I'm just fixing this line because
it wasn't straight. After we're done with the lines, I suggest you paint
the edges block. It puts the piece altogether and gives
it back clean look. You can use any other color. I just like how it looks when
the actors are in black. Plus do it before you start
painting on the canvas. Because if the color
on the surface, it will be much easier
to use a flat brush. It will help you not
to make it a month. Through the first coat dries, apply a second coat if needed. So now you will be
creating your own brushes. If you don't have
to go with purple, it can be any color
of your choice. Start with the main shade. This will be your darkest color. As you can see here, I like to swatch my shades on paper and because
with acrylic paints, your colors, we'll look
darker when they're dried. Now you will gradually
start adding titanium white to lighten
your color a shade or 2. First few shades you will use
more purple and less white. Then as you go lighter and use more white and less purple. I created nine shades in total. You can do more or less. Unfortunately, these two shapes that I'm creating right now, they were very similar without the resin
they looked okay. But after I applied the resin, they looked exactly the same. So make sure you don't make
the same mistake as I did.
4. Taping & Painting : Measure the tape with your canvas to know
how long it should be. A useful tip is to cut your
tape and half that way, you don't use much tape
and it takes less space. You can paint multiple
lines at the same time. Starts with the darkest
shade on both ends. Now to paint multiple
lines at the same time, used to tapes on
top of each other. Making sure that the straight
uncut side of the tape, as on the outer side. You will need two
to three codes, depending on how opaque and
pigmented your paint is. You always have to wait until
the paint is completely dry before you add the second code so your paint will
start clumping up. Also use a light
hand when painting. Don't push hard or you
will move the paint around to make sure
the pen drive faster. Use a blow dryer on
the cool setting. Before appealing the tape off, make sure your paint
is completely dried. After you are done
with the first half, repeat the same process
for the second half.
5. Resin Pouring.: You will need a scale
to measure your resin. The one I'm using says to 60% resin and 40
per cent hardening. So it will depend on
the instructions on the package of the resin
product you're using. It's important to
wear gloves and a face mask in this process. Then you need to combine the resin and the
hardener together, stare them to get there
for about three minutes, trade to minimize the bubbles. Before you start
applying the resin, wipe your Canvas
clean when pouring, start from the edges
tool the center, make sure all areas are covered and the resin
will settle evenly. I have my Canvas sitting on a Bath and Body Works
scandal because you will need your Canvas
high from the ground so it doesn't stick
on the surface below. Just make sure that Canvas is balanced straight
and not tilted. To measure the total amount
of how much revenue need. Use a resin calculator. You can Google resin calculator and you'll find
plenty of websites. You will add the canvases
length and width, and it will calculate the total amount you'll
need. For my canvas. The website said, I'll
need a T2 milliliters. So I took 60% of
that where the resin and 40 per cent of the
dots for the hardener. To remove all the air
bubbles on the resin. Use a torch to pop all of them. Don't let the torch on one area for too long or it
will burn the resin. If there's anything
that flew into the resin while
you're working on it. Like in my case, it's always cat hair
or dust particles. So you use a tweezer to
pull all of them out. Finally, use a
stick to smooth out the edges on the
bottom of the canvas. The canvas aside in a safe place and leave
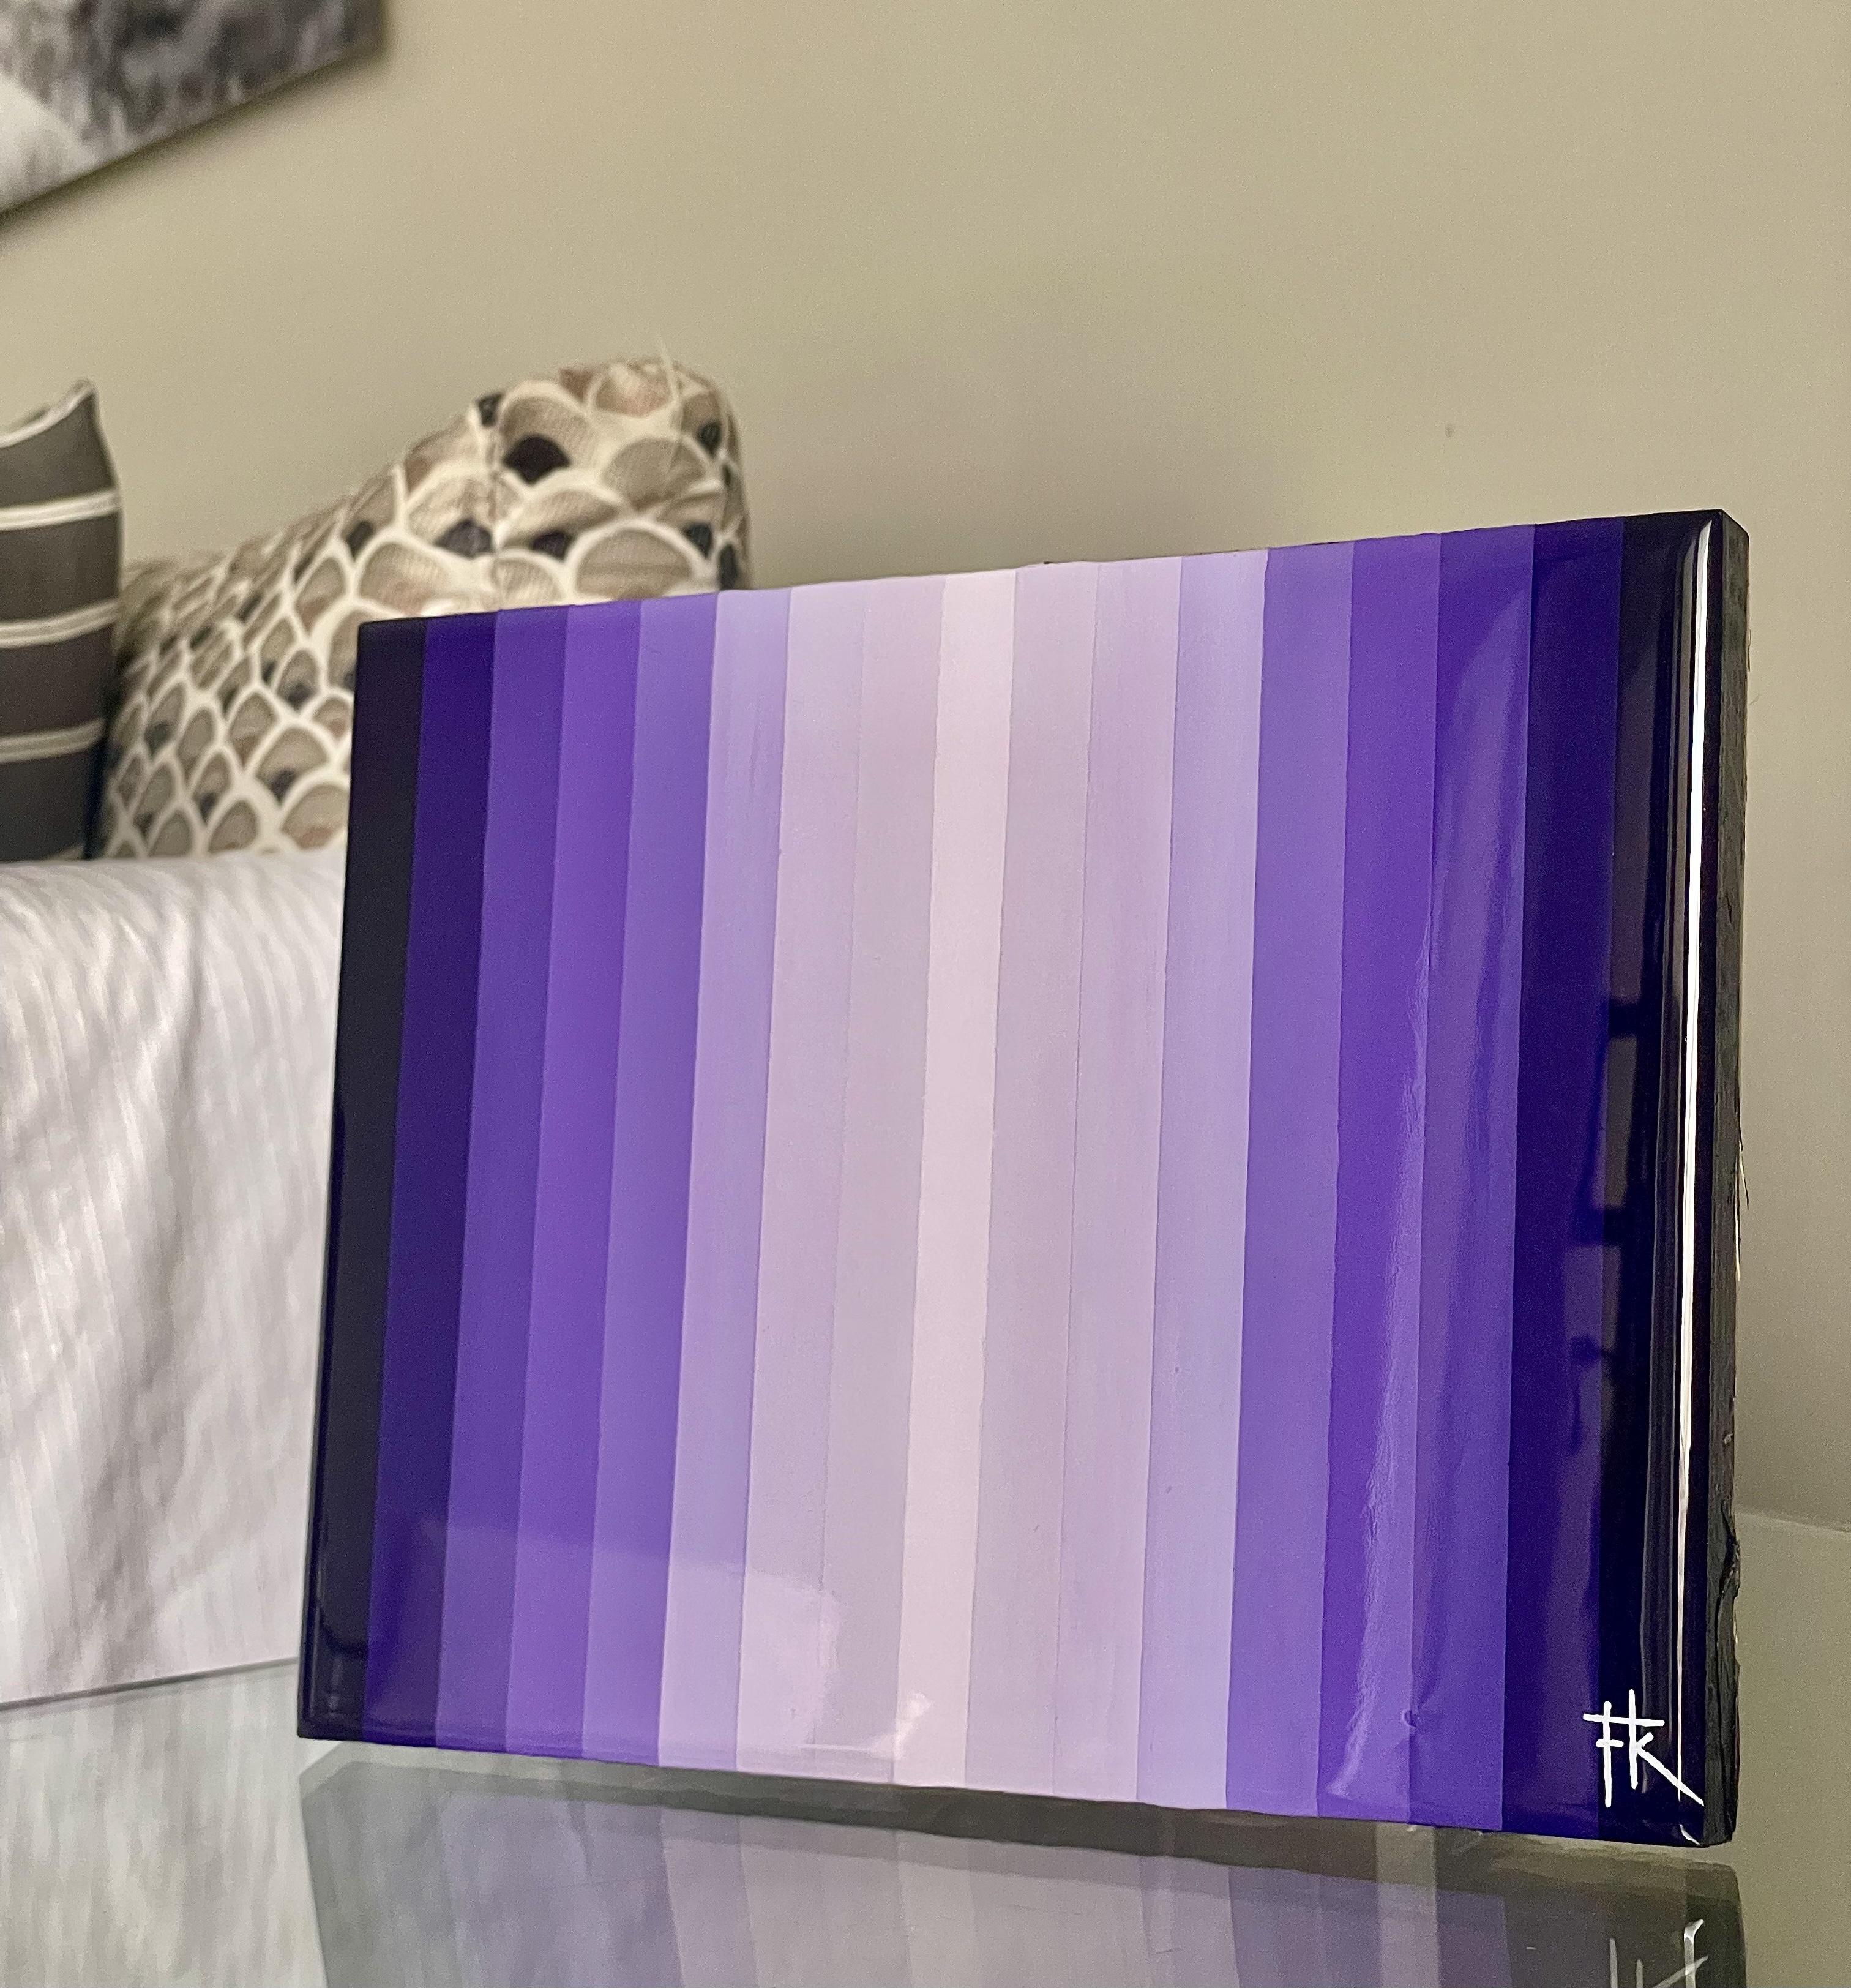
it for 24 hours. It should be. You can hang
this piece or have it set on a table to give
that extra colorful decor.
6. Final Thoughts. : Thank you so much
for taking my class. I hope it was easy for
you and I hope you enjoyed the process of
it as much as I did. If you did create a
painting, please, please share it with us
in the project group. I would love to see
your version of it. And if you would like
to check my art, you can follow me on Instagram
at by underscore therapy. Thank you again and
hopefully I will see you in my next class. Bye.
 Farrah K, Artist