Transcripts
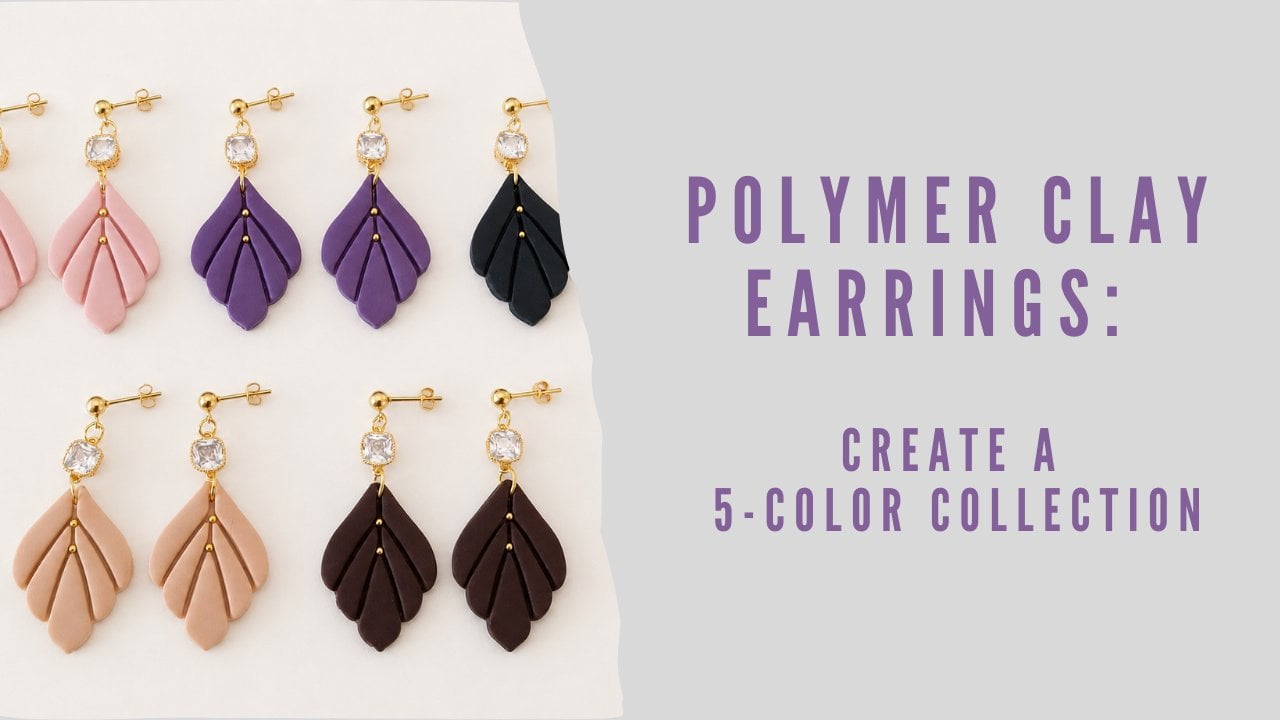
1. Welcome: Welcome to my creative corner. I'm Nina Louder, and I make
polymer clay earrings. In this class, I'll
show you how to create simple polymer
clay earrings using one basic shape
and minimal assembly. We'll focus on making clean lightweight earrings by adding a single charm and
attaching it to a jump ring. And I'll also show
you how to send the earrings after baking to get smooth, professional
looking edges. This class is perfect for beginners and anyone
who wants to create beautiful earrings without complicated techniques.
Let's get started.
2. Materials : Let's talk about materials and tools that we are going
to use in this class. To create polymer clay earrings, you need polymer clay. And that's what happens when you deal with
it for some time. And this is not all of it. Okay, you choose the clay. You have several brands
like primos, scope, Femo, Cernet and just
choose whatever you like. You can also mix them together. I will be using
Cernet for this one, but it's your choice
what to pick. Now, you need your
working space. Usually, I use also a big sheet of paper just to
put things on it, but it looks nicer, I'm just showing you the like, one of the most important
things that you should use while creating
polymer clay earrings. This is the glossy tile. Mine is white,
because I really like to see the contrast
of the colors, but the point is that it
is glossy glossy surface, and then it will
help you to have a glossy surface on
the earrings, as well. Yeah. Okay. Here is my acrylic roller. You could also potentially use glass bottle if you don't
have the acrylic roller. This one really helps a lot. Um, we also need blades, one blade or a cutting knife. This is from Ova Blade, and it works really well. Then you need a pasta machine, a roller, so that you don't have to do
everything manually. You can buy an electric one or just a simple one to
condition the clay. And here, you can adjust the thickness and you can choose how thick your earrings will be, and then you can have a consistent thickness
on your earrings. You also need cutters. And when you start creating, you soon find yourselves
with a lot of them, and that's not all of it. It's just a little
bit that I have. But what you have
to be careful is, I really like the cutters because they are a
little bit higher, and then you can do earrings
as thick as you want. Push them into the clay
and take them out. You can actually use
your fingers on them, and they're really smooth. So you don't have to work a lot later with smoothing
your earrings. But, for example, this one, doesn't have a lot
of space here. And then when you stick
it into the clay, you can't really
get it out nicely, and it's also three D printed, and you can feel little
lines that are here, and then you have to work a lot on the earring after
you use the cutter. Before using the cutter, you should put it into a corn starch so that it
doesn't stick to the clay. Some people also use water
or just use a folia over it, but it's okay with
a corn starch, you just use brush to, to put it away, and
everything's fine. So that. And then we bake our
earrings on the tile. I'll explain the
baking process later. Then when we have baked
pieces, we use the dremel. This is a machine that actually helps us to
smooth the the edges. This is cotton, so it actually even if
it touches your fingers, there's no problem
even if it's working, but don't touch other parts. So this is really very useful. I like it like that so that
I use this almost as a pen. I don't have to hold
this in my arms. And another tool that I
have is for drilling hose. I like to have two. I could change this one, but because I'm working
a lot with the earrings, I don't want to exchange it, so that's why I have two. And with this, you can use wooden board or
you'll see I have a plastic one when you drill the hose so that it's no
problem if it goes through. Okay. Then you also need different
charms that will be used on the earrings
and earring hoops. And that's it. So, it's easy assembly, and this is something that I really like because
assembling is a part of creating earrings
that I like the least. So let's get everything that you need, and
let's get started.
3. Process : Now, I'll show you the process of making easy polymer earrings. Here I have chosen the clay. It's cernt in this case. And here are two colors that
I have chosen for this. I'm cutting them
into smaller pieces, and then with acrylic roller, I start to roll them. To soften a bit, and then I will put it
through pasta machine. And this will take some time
because I have to condition the clay so that it's soft and smooth and there are
no air bubbles in it. So I'm doing this a few times, putting the edges inward so that I get a
nice piece of clay. And now I'm going to put this piece on the tile
on a glossy tile. And this is very important step. I'm rolling it with acrylic roller so that
all air bubbles go out. This is cornstarch,
and now I am using my simple cutter to
create earrings. You have to press it. It's good. If you take it out just
a little bit and then press it again,
then it's better. And another one Now, I'll remove the clay, and here are the earrings
not finished yet. Just clean them a little
bit from cornstarch. And now one more crucial step is that I'm smoothing the edges. This is really
important because then you won't have to do
it when it's baked. This is really important
for you to do. And another one. And the blade is helping me get the earring from
the glossy tile. Now, I'm creating another pair, again, press it on the
tile with acrylic roller. I'm using cornstarch
and another cutter. Square this time. And again, press
it into the clay, pull it out a little bit, and then press it again. And then it will
be a nice shape. Clean with your brush, and then remove excess clay. And then smooth the
edges with your fingers.
4. Baking : Now it's time to bake
our earring pieces. Baking is important because it makes the clay
strong and durable. Every brand of polymer clay has slightly different
instructions. So the most important
thing is to follow the temperature and time
on your clay package. But let me tell you
how I like to do it. I don't preheat the oven. But I put the tile with all
the pieces in the oven, and I turn it on to 130 degrees. And then I leave the earrings
to bake for 45 minutes, and then I turn the oven off. I always do that in
the evening so that I leave the oven closed
for the night, and then in the morning, I take everything out.
5. Making holes: This is my machine
for drilling hose, and this is my plastic board. You can see there are a
lot of numbers on it, so you can measure where you want to have the ***
in your earring. And now I press down everything and make a little
hole for the hoop later on. There are a lot of
little pieces of clay, so there's a lot of
cleaning after that. One more on the same
spot as the other ones, so that they are equal. Okay, now, the green pear, again, just press it
down, and that's it. And then clean everything again.
6. Sanding : Here, I'll show you how
to send the earrings, and this is my dremel machine
with cotton attachment. Now I'm turning it on and I'm sending the edges
of the earring. And you can see, again,
the little beads and pieces just fly away. And the edge of the earring is going to be smooth
and really nice. It's a little messy, again, but this is, again, one more stage when you clean everything
again and then move on.
7. Assembling : And the final stage
is assembling. Okay, here are all the pieces
that I'm going to use, the polymercla earrings,
charms, and then hoops. This is the easiest way
to assemble the earrings, and it's really great because you have your earring quickly. And that's it. And then you just finish
the other pieces, and while you're doing this, you can get so many
ideas, what to use, which colors, which charms. And you can even exchange
them so you can only have one hoop and a lot of charms. And you will also
see on the pictures the other earrings
that I have created. And that's practically it. You have got your earrings.
8. Class project : For your class project, you'll create a pair of simple polymer clay earrings
using one basic shape. After baking, you'll send the
earrings to achieve smooth, clean edges and assemble them using a single
charm and jumping. Feel free to experiment
with different shapes, colors, or charms while
keeping the design minimal. Once your earrings are finished, take a photo and upload it
to the project gallery. You can also share
a short note about your design choices or what you enjoyed most
about the process.
9. Thank you : Thank you so much for
taking this class. I hope you enjoyed creating these simple polymer
clay earrings and learned how effective a clean shape and
minimal design can be. Don't forget to
upload a photo of your finished earrings in
the class project section. I'd love to see your work. Thank you for watching
happy creating.
 Nina Louder, Shanti yoga and polymer clay earrings